Home / Resources / Photo Library
Resources

Photo Library

537 photographs of our own manufacturing and installed work — every one a real photograph, not a render. Filter by product, or click any image to enlarge.

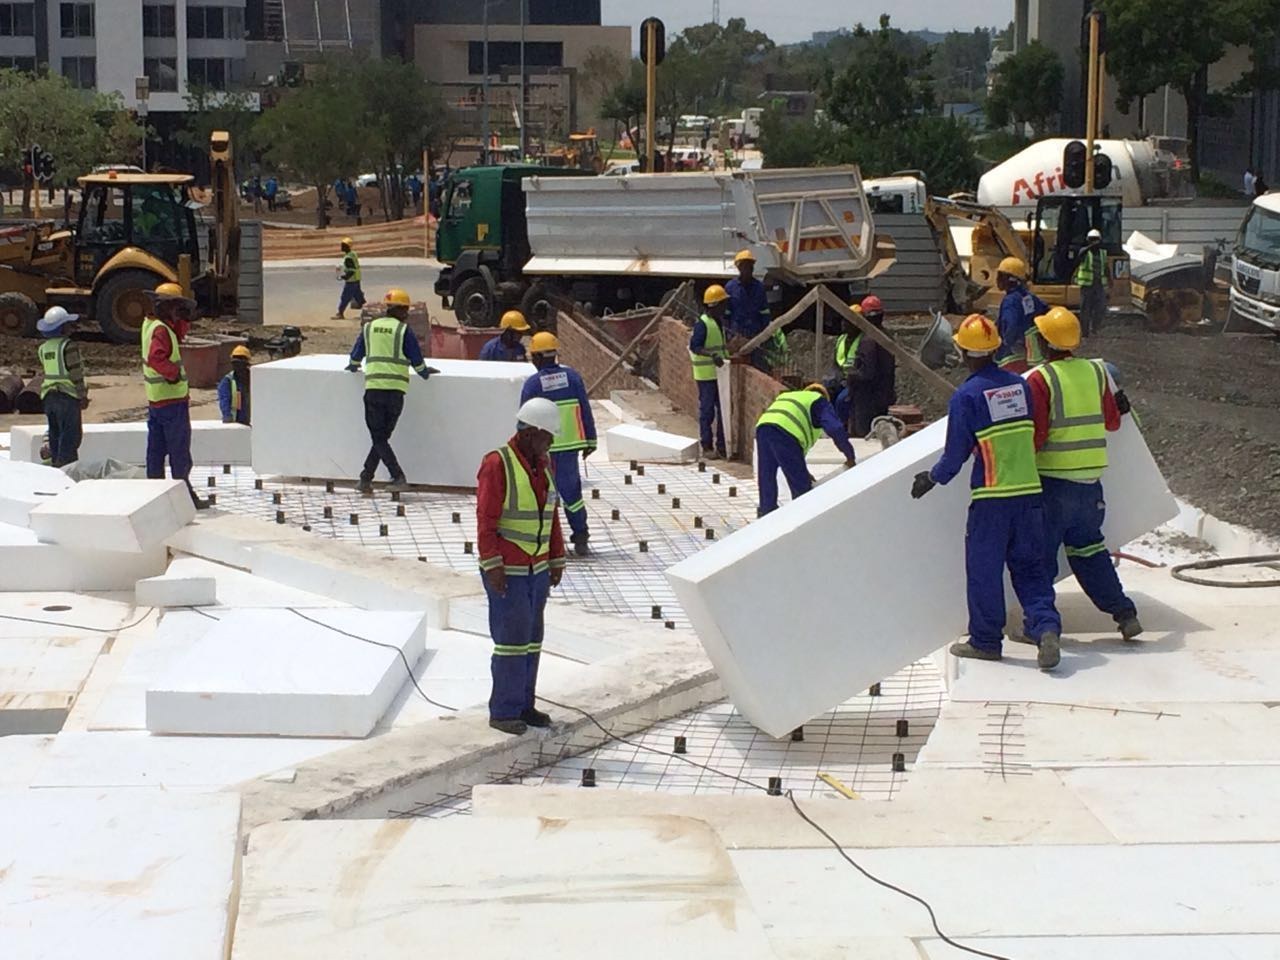
Workers carrying a large EPS block into position on site, with blocks already laid flat and reinforcing mesh on chairs set out over them. Mixer trucks and a TLB working behind.PHOTO
Workers carrying a large EPS block into position on site, with blocks already laid flat and reinforcing mesh on chairs set out over them. Mixer trucks and a TLB working behind.Geofoam Lightweight Fill
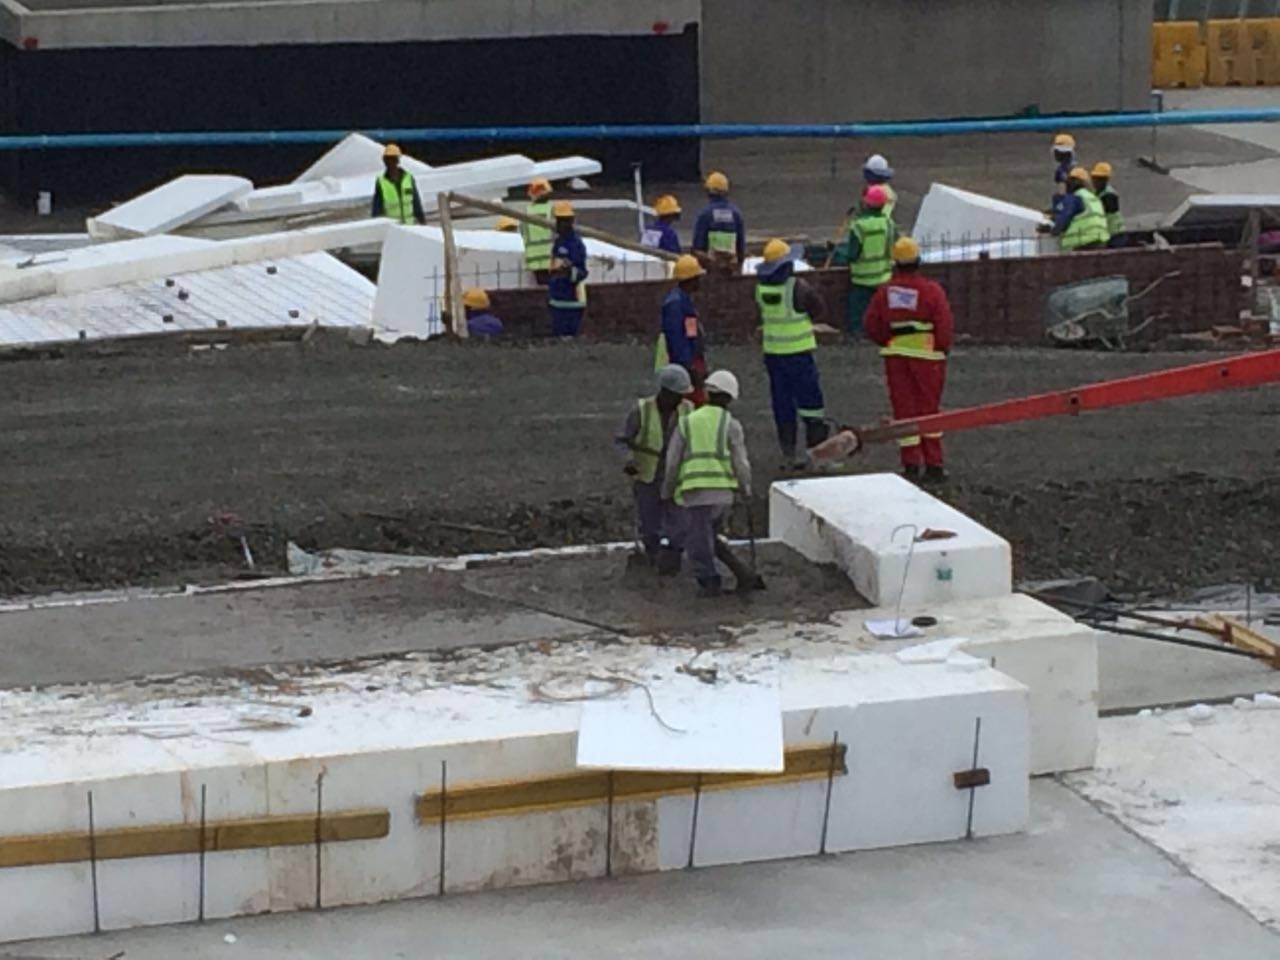
A run of EPS blocks laid end-to-end on the levelled platform, with steel bars and a batten set across the top course. Site crew and offcuts around the working face.PHOTO
A run of EPS blocks laid end-to-end on the levelled platform, with steel bars and a batten set across the top course. Site crew and offcuts around the working face.Geofoam Lightweight Fill
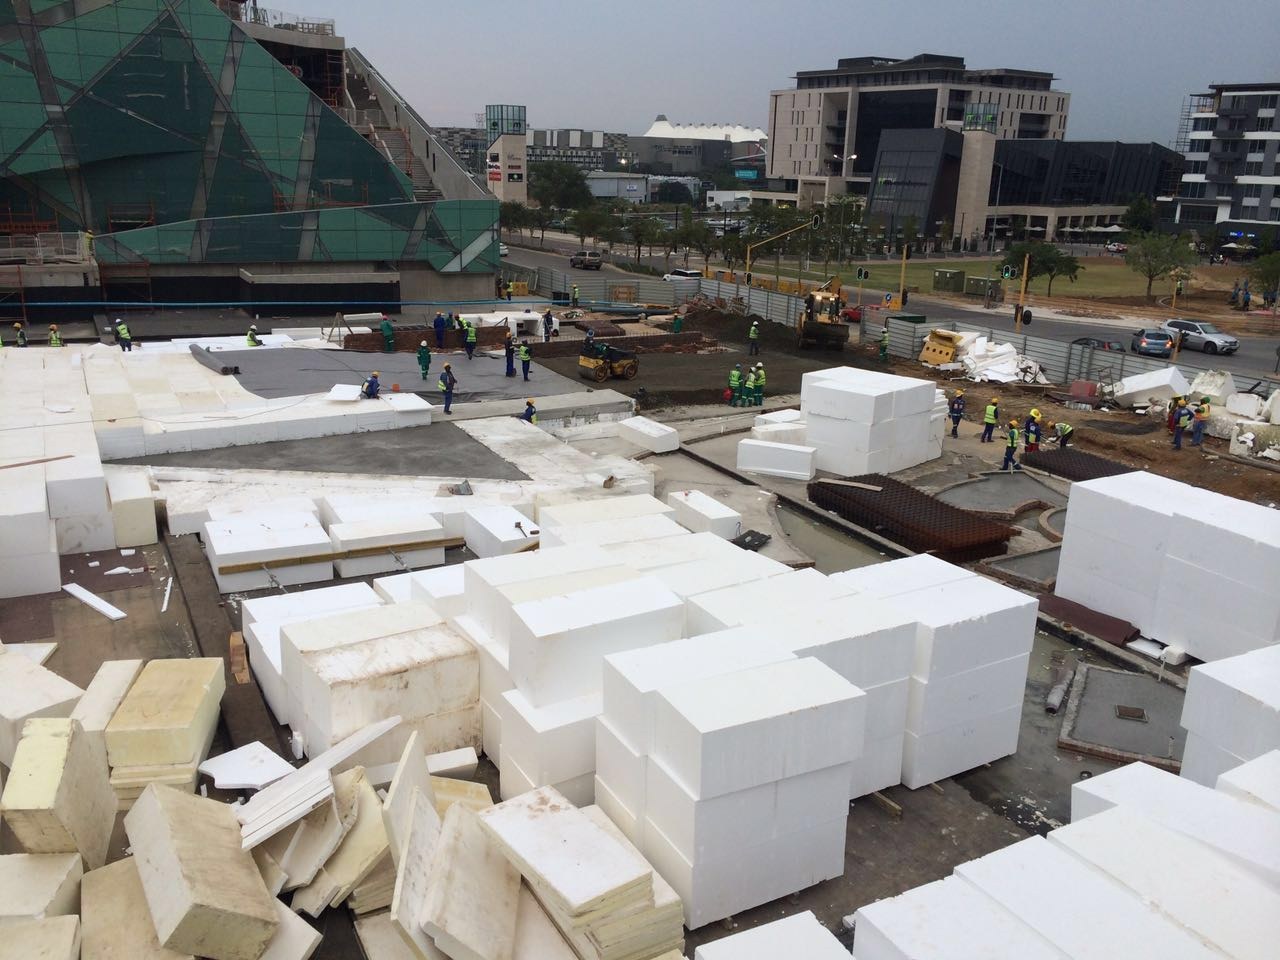
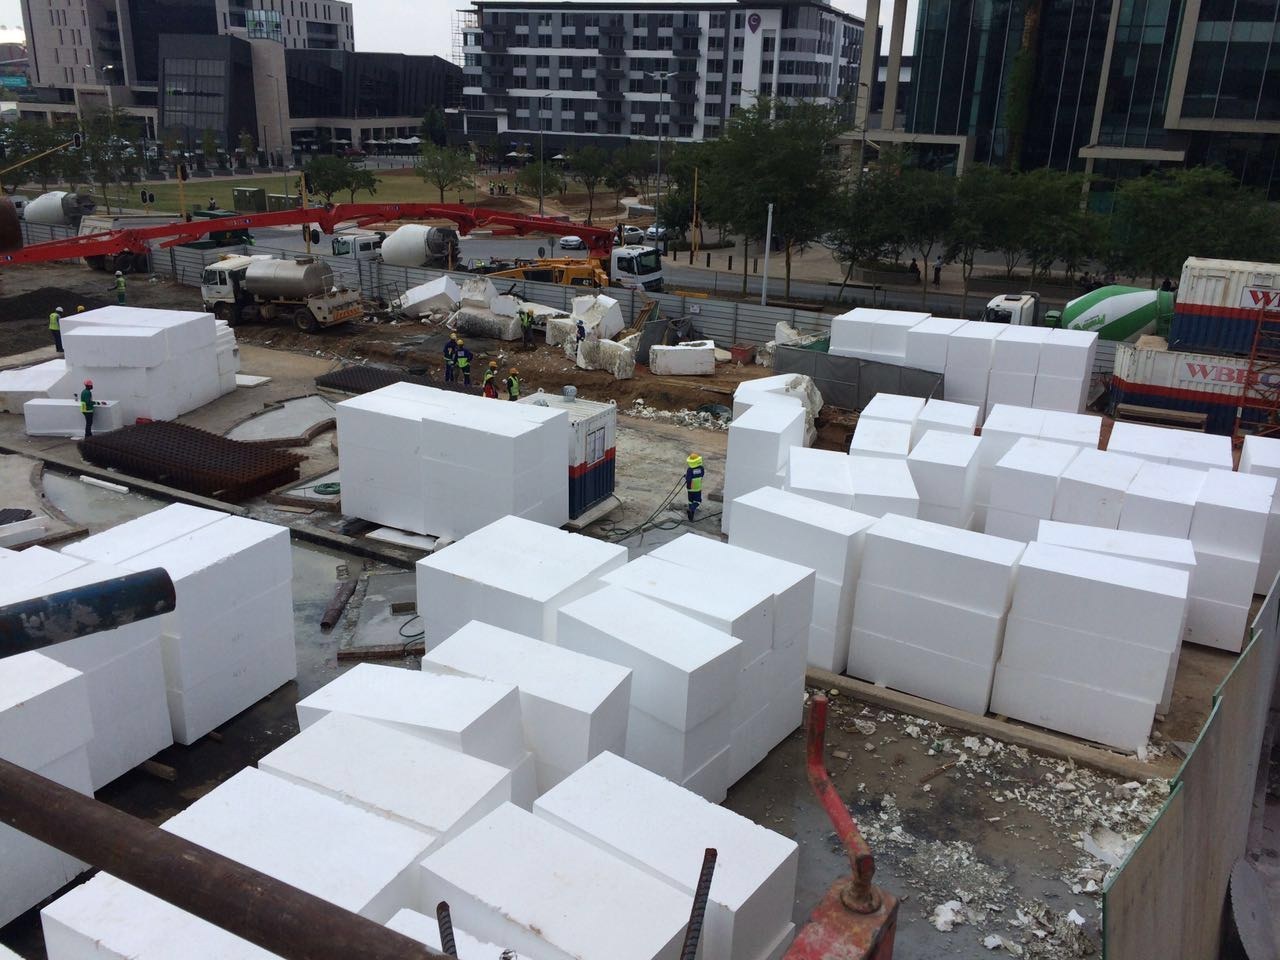
Elevated view of the site with metre-scale EPS blocks stacked in rows across the working area, membrane and reinforcing mesh laid alongside. A roller compactor and crew work between the stacks.PHOTO
Elevated view of the site with metre-scale EPS blocks stacked in rows across the working area, membrane and reinforcing mesh laid alongside. A roller compactor and crew work between the stacks.Geofoam Lightweight Fill
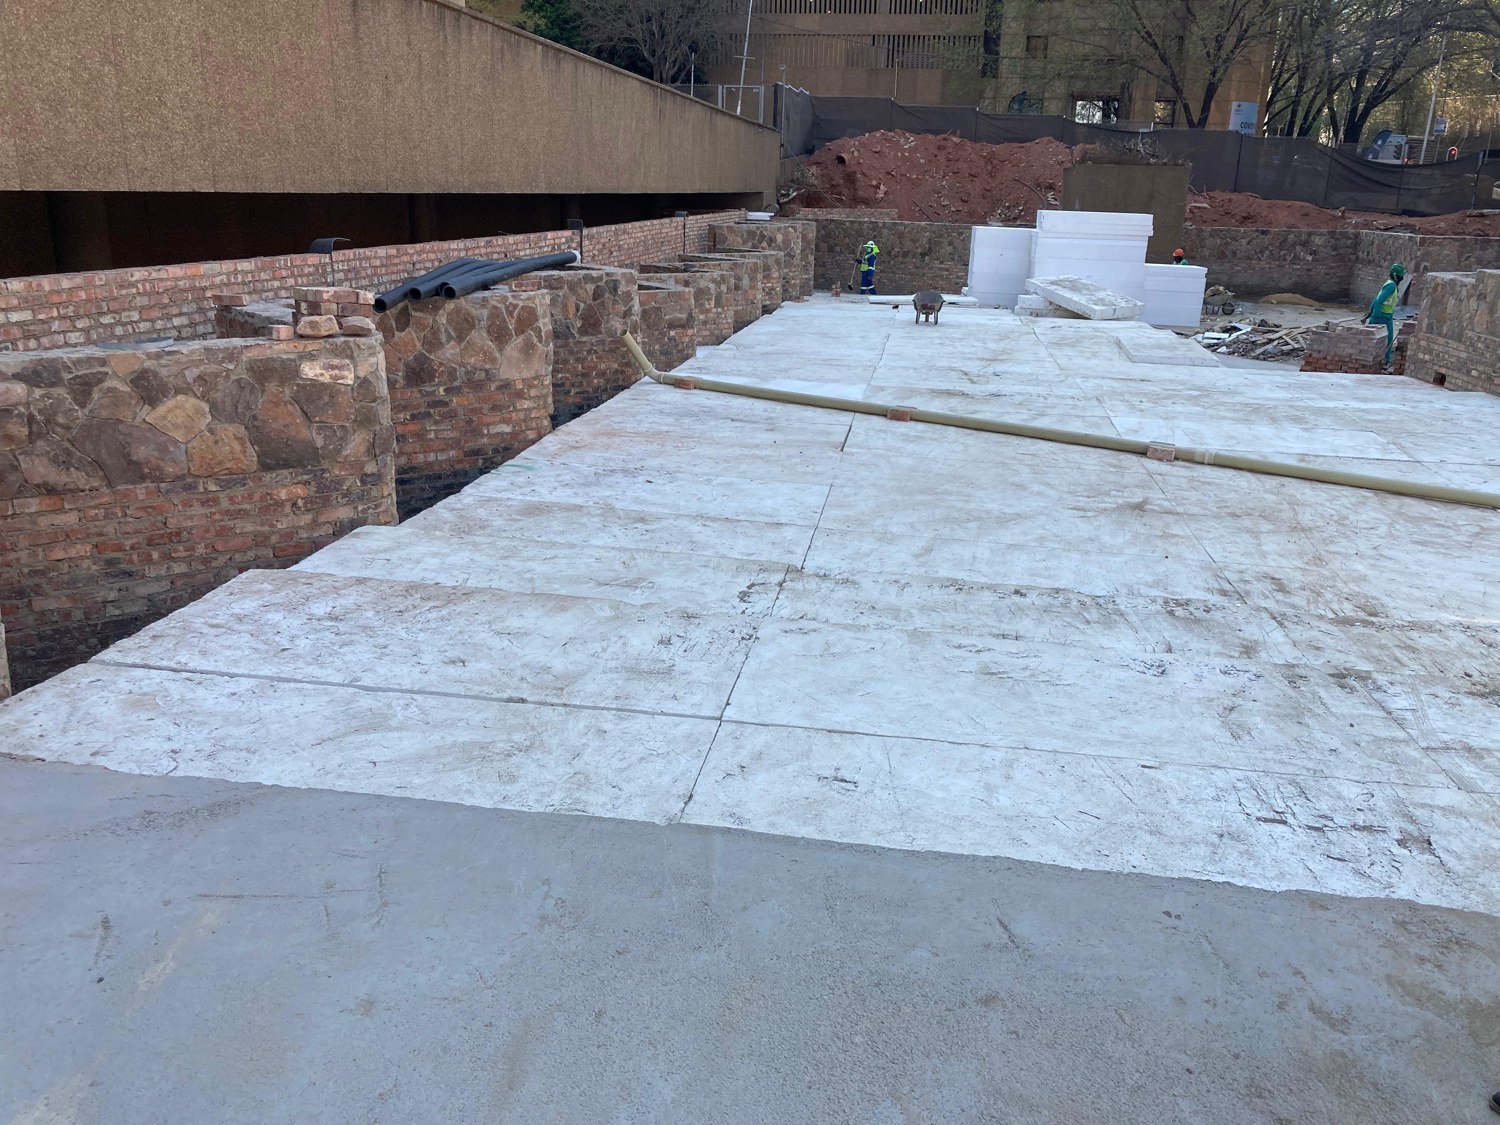
EPS blocks laid tight and level to form a continuous fill platform between the stone and brick retaining walls; the trafficked top faces are scuffed grey with site dirt. Further blocks stacked at the far end.PHOTO
EPS blocks laid tight and level to form a continuous fill platform between the stone and brick retaining walls; the trafficked top faces are scuffed grey with site dirt. Further blocks stacked at the far end.Geofoam Lightweight Fill
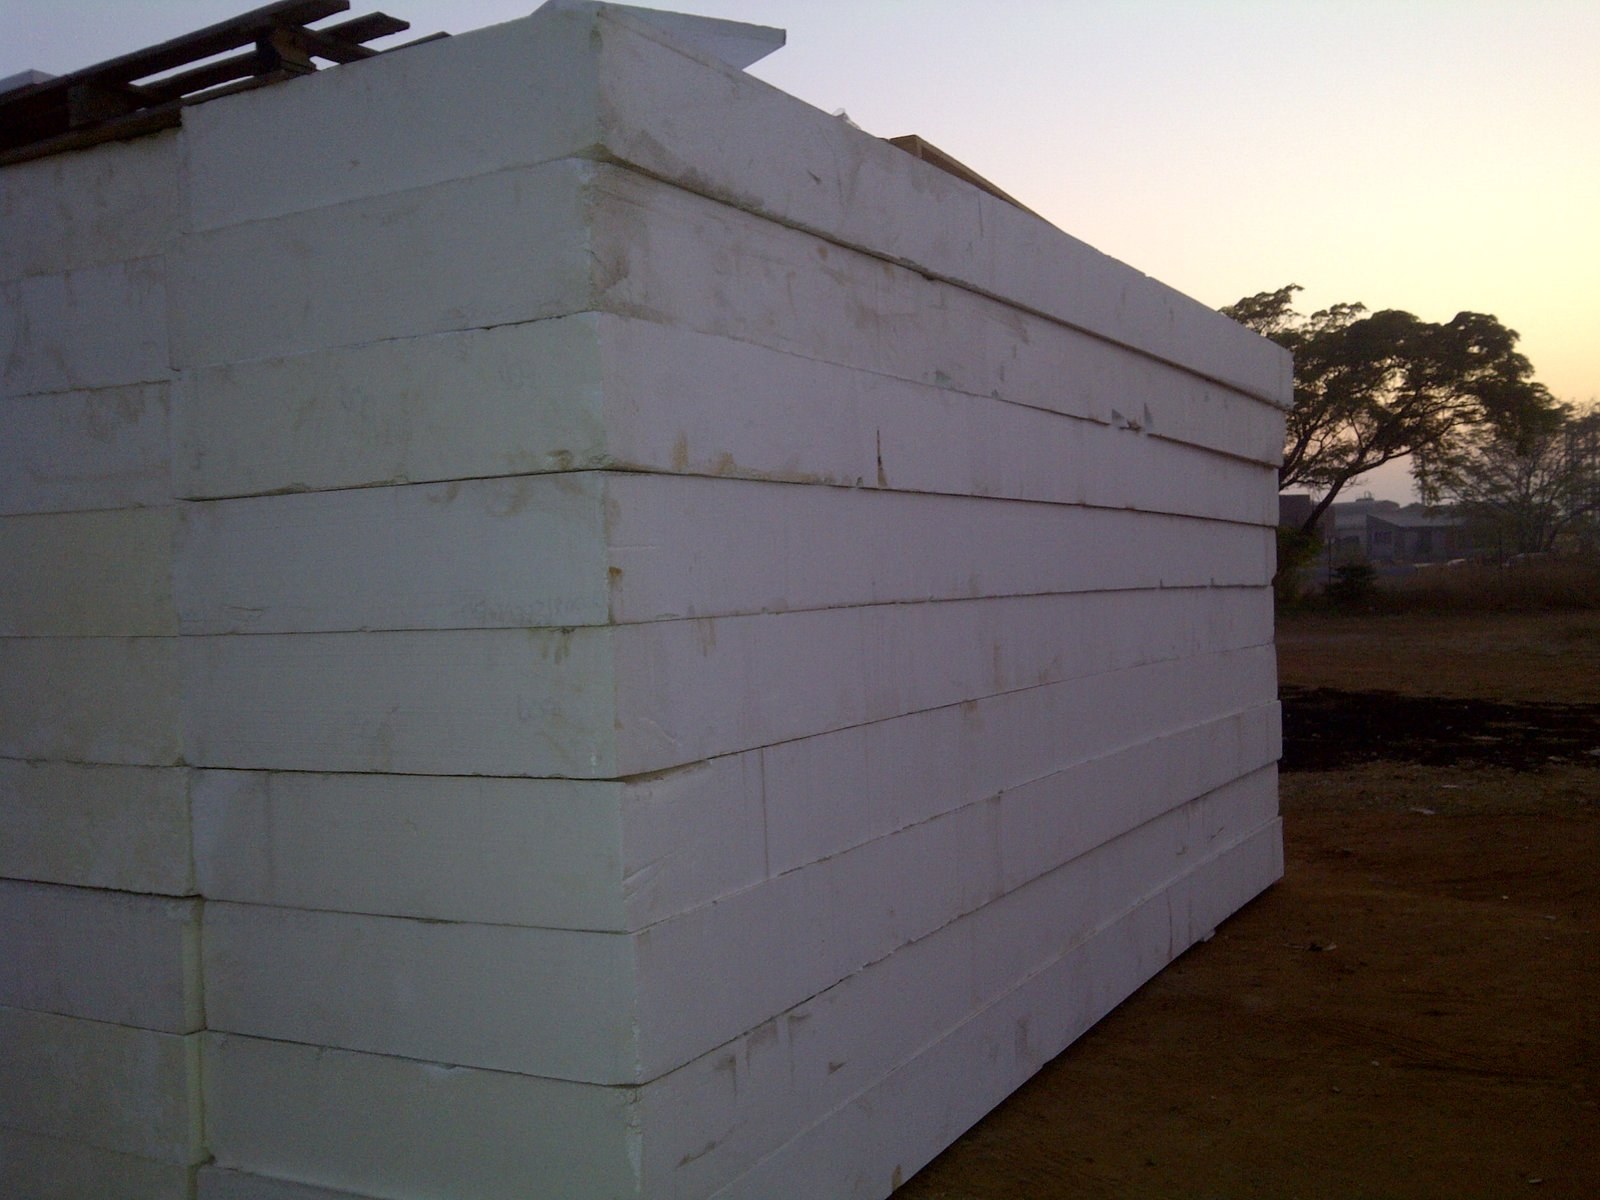
Large EPS blocks stacked several high across the site, staged for placement. A concrete pump boom and mixer trucks stand at the perimeter.PHOTO
Large EPS blocks stacked several high across the site, staged for placement. A concrete pump boom and mixer trucks stand at the perimeter.Geofoam Lightweight Fill
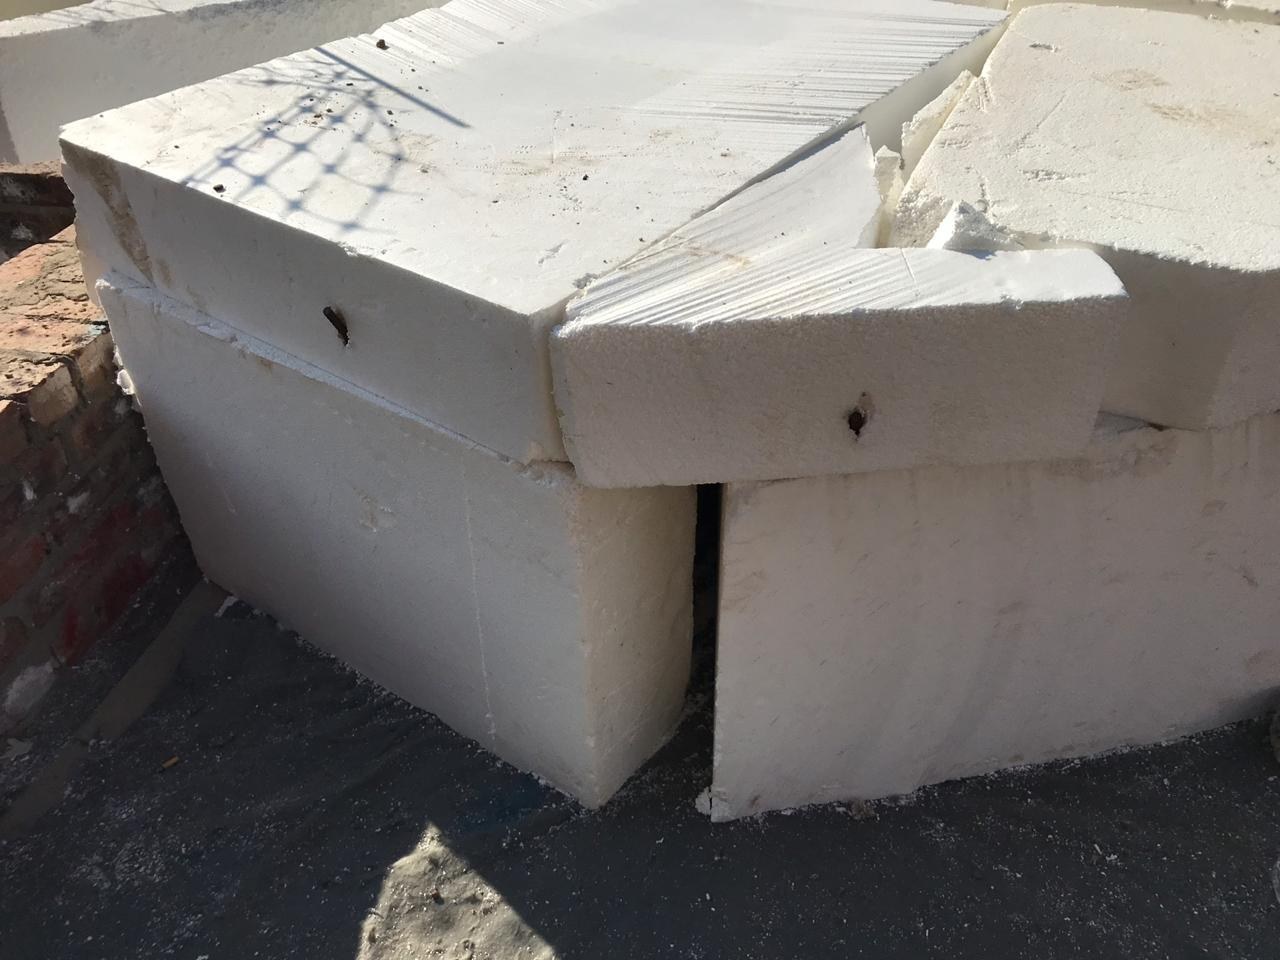
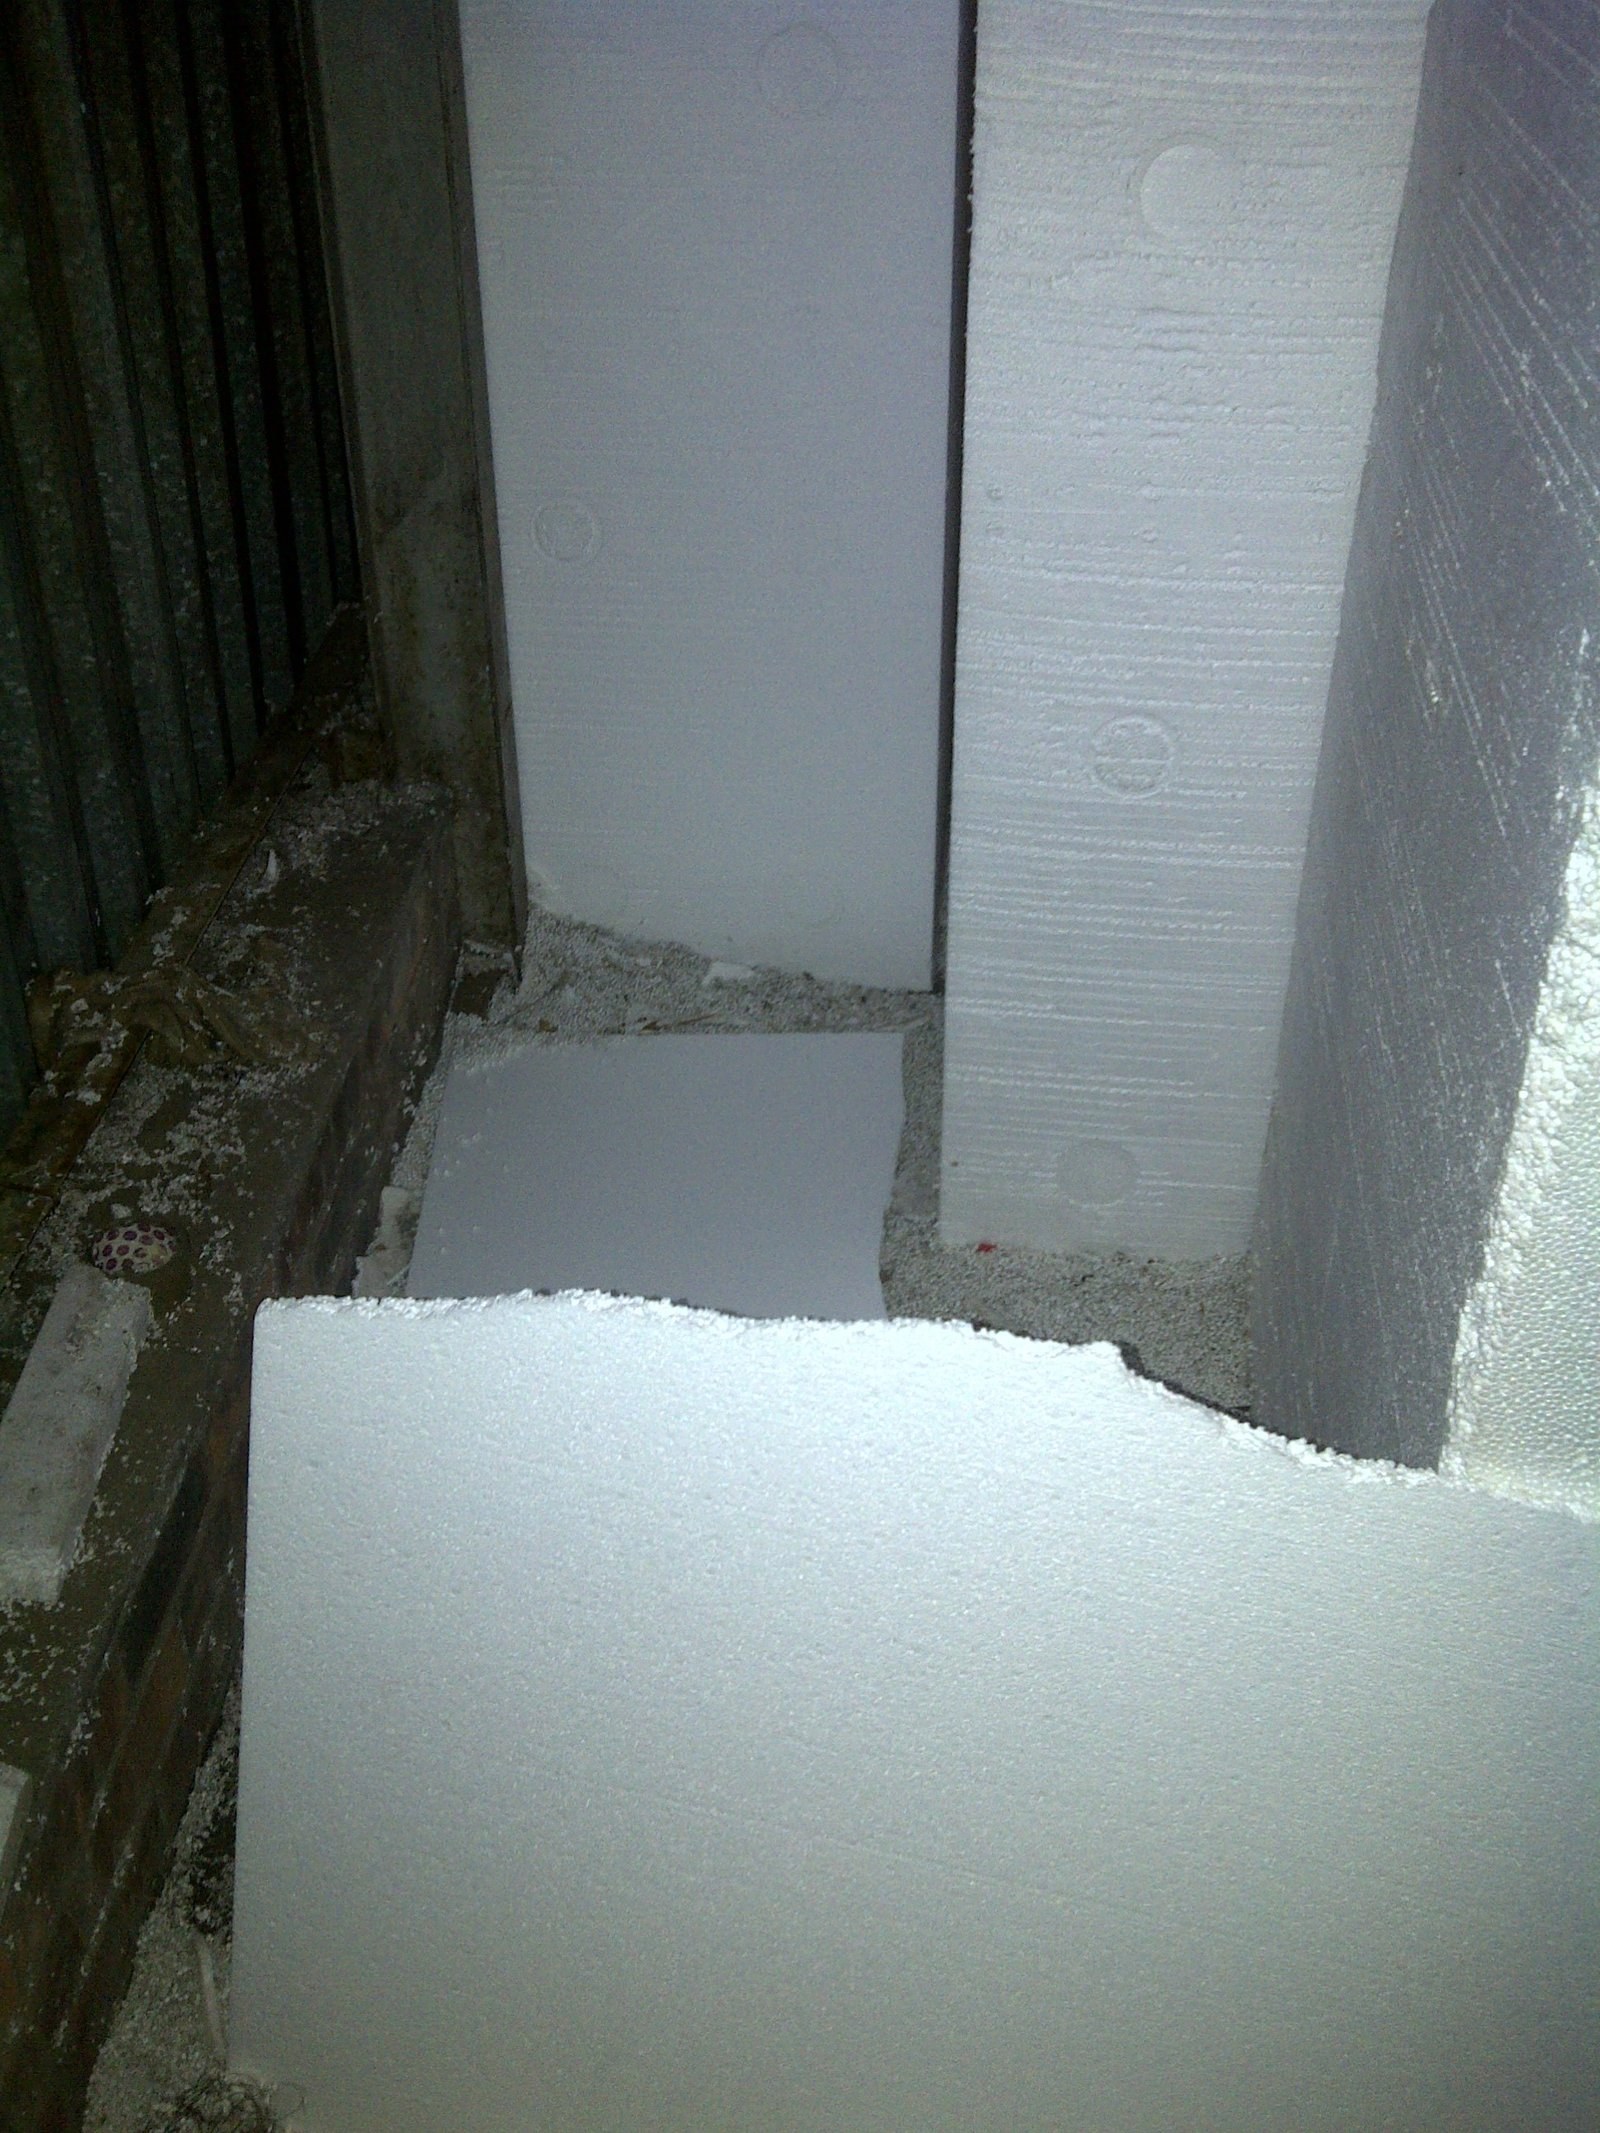
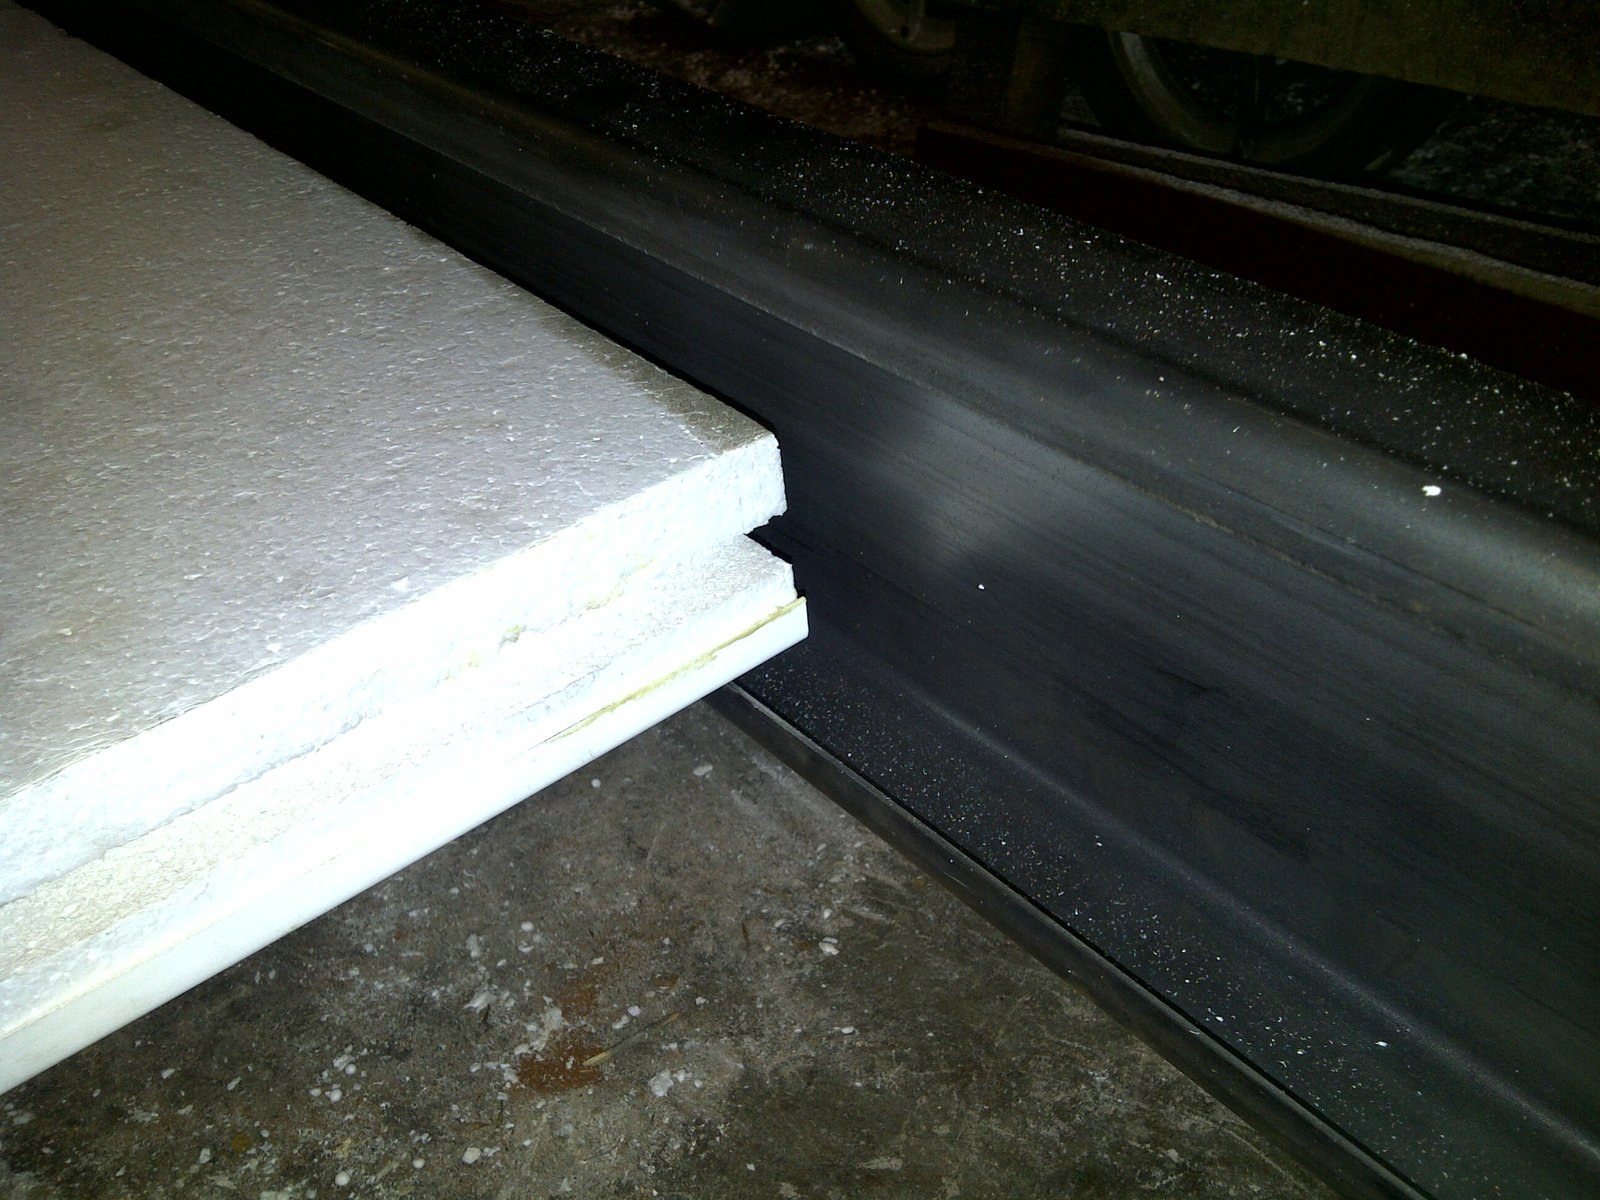
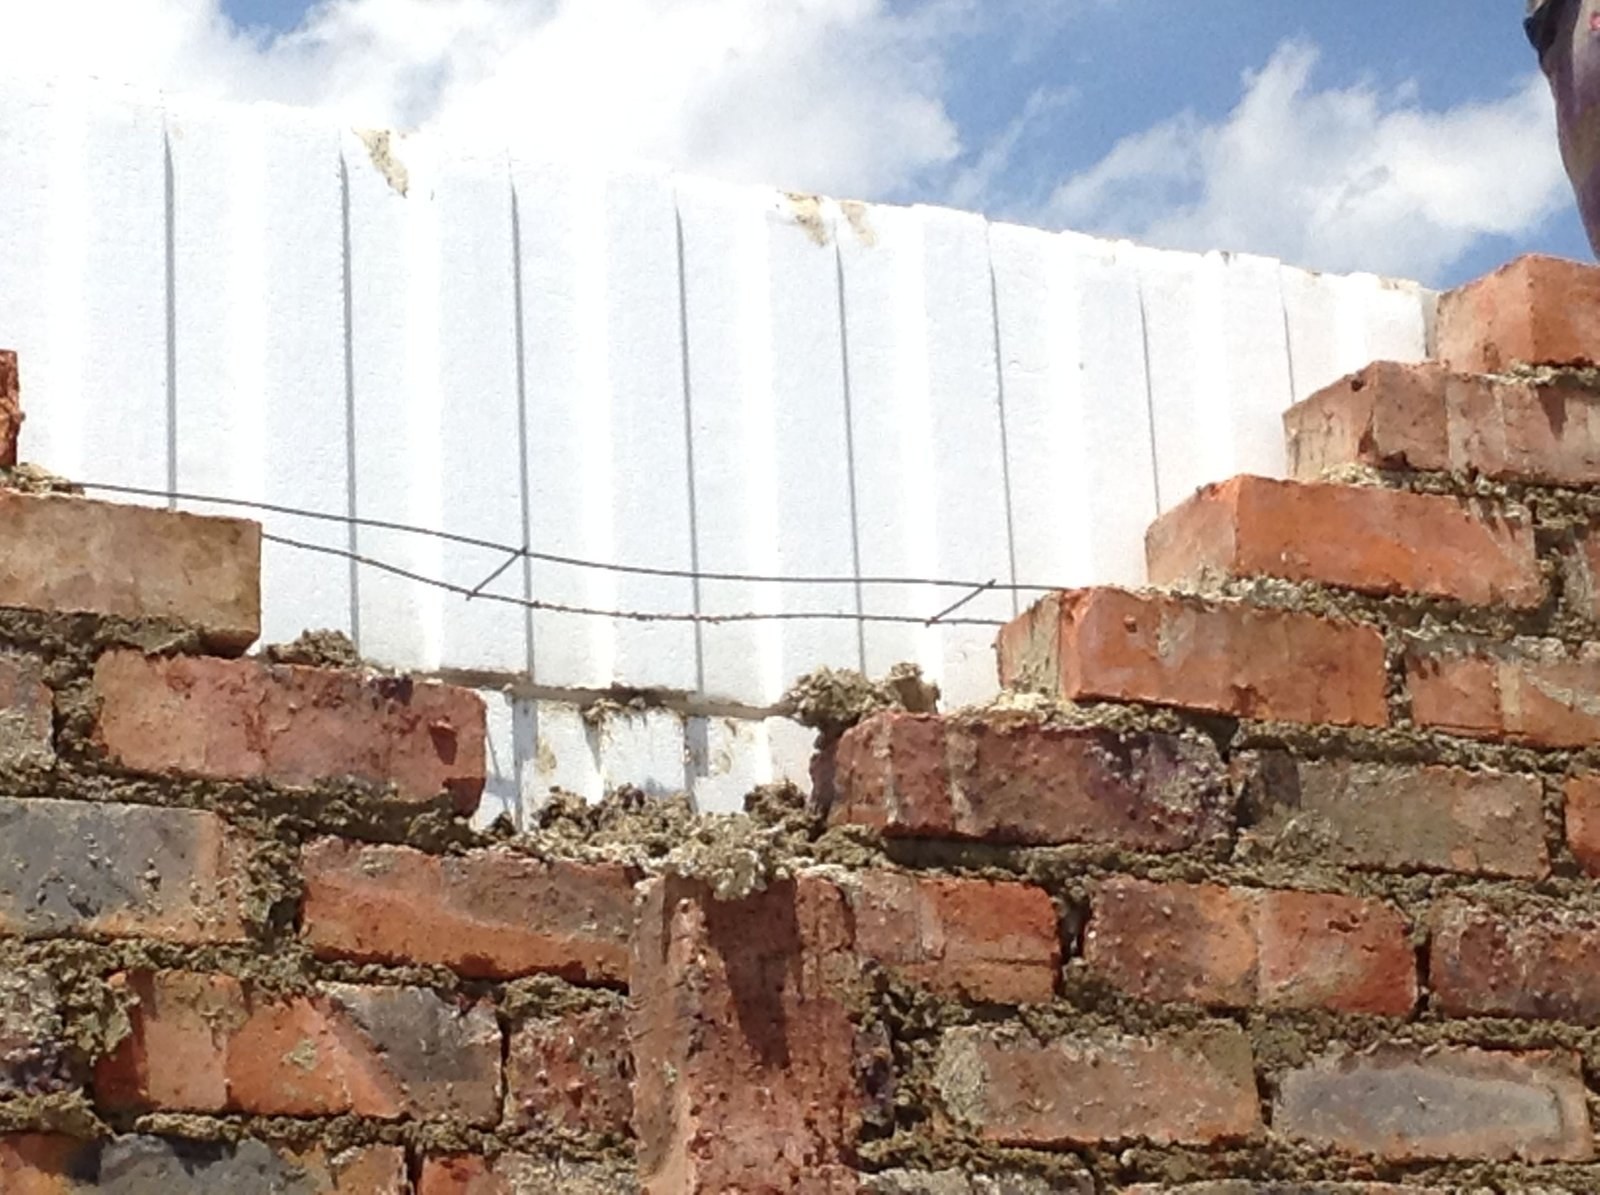
EPS blocks butted together over a black waterproofing membrane against a brick wall, showing hot-wire cut faces and steel pins driven in to key adjacent blocks together.PHOTO
EPS blocks butted together over a black waterproofing membrane against a brick wall, showing hot-wire cut faces and steel pins driven in to key adjacent blocks together.Geofoam Lightweight Fill
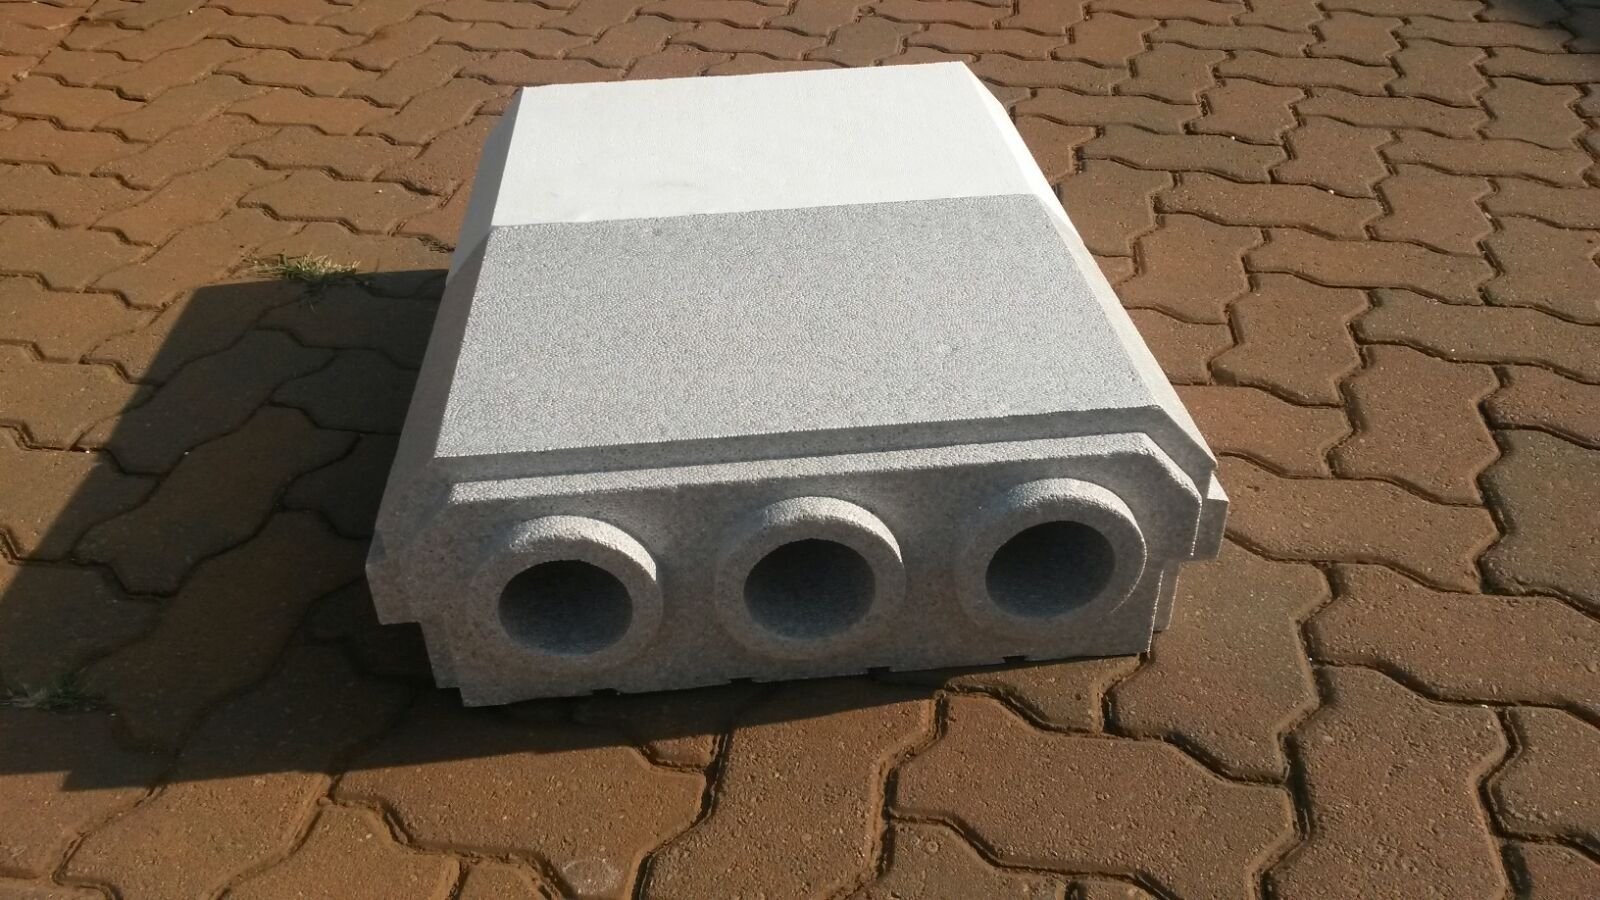
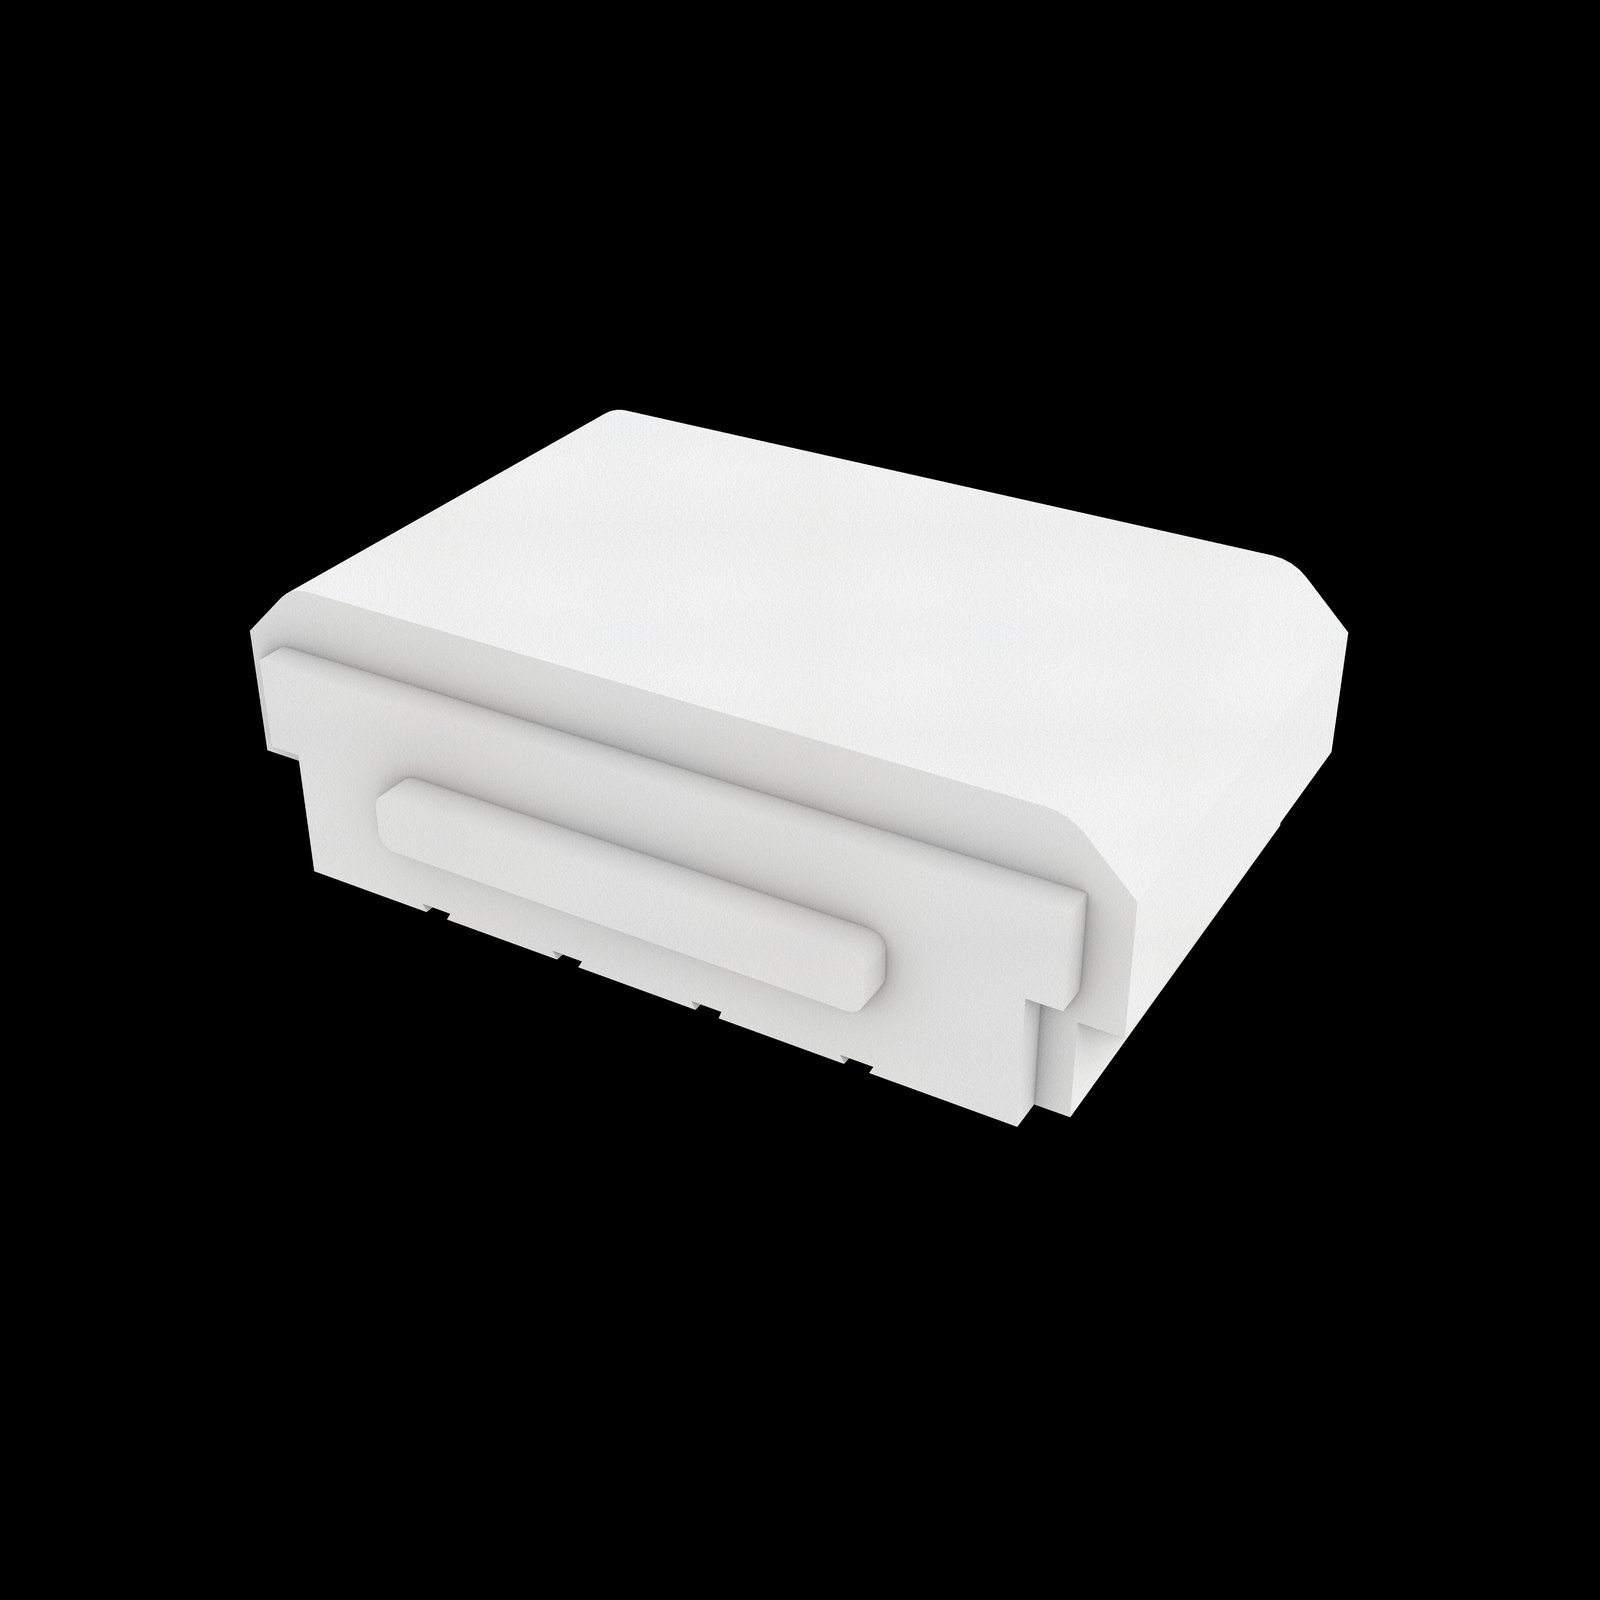
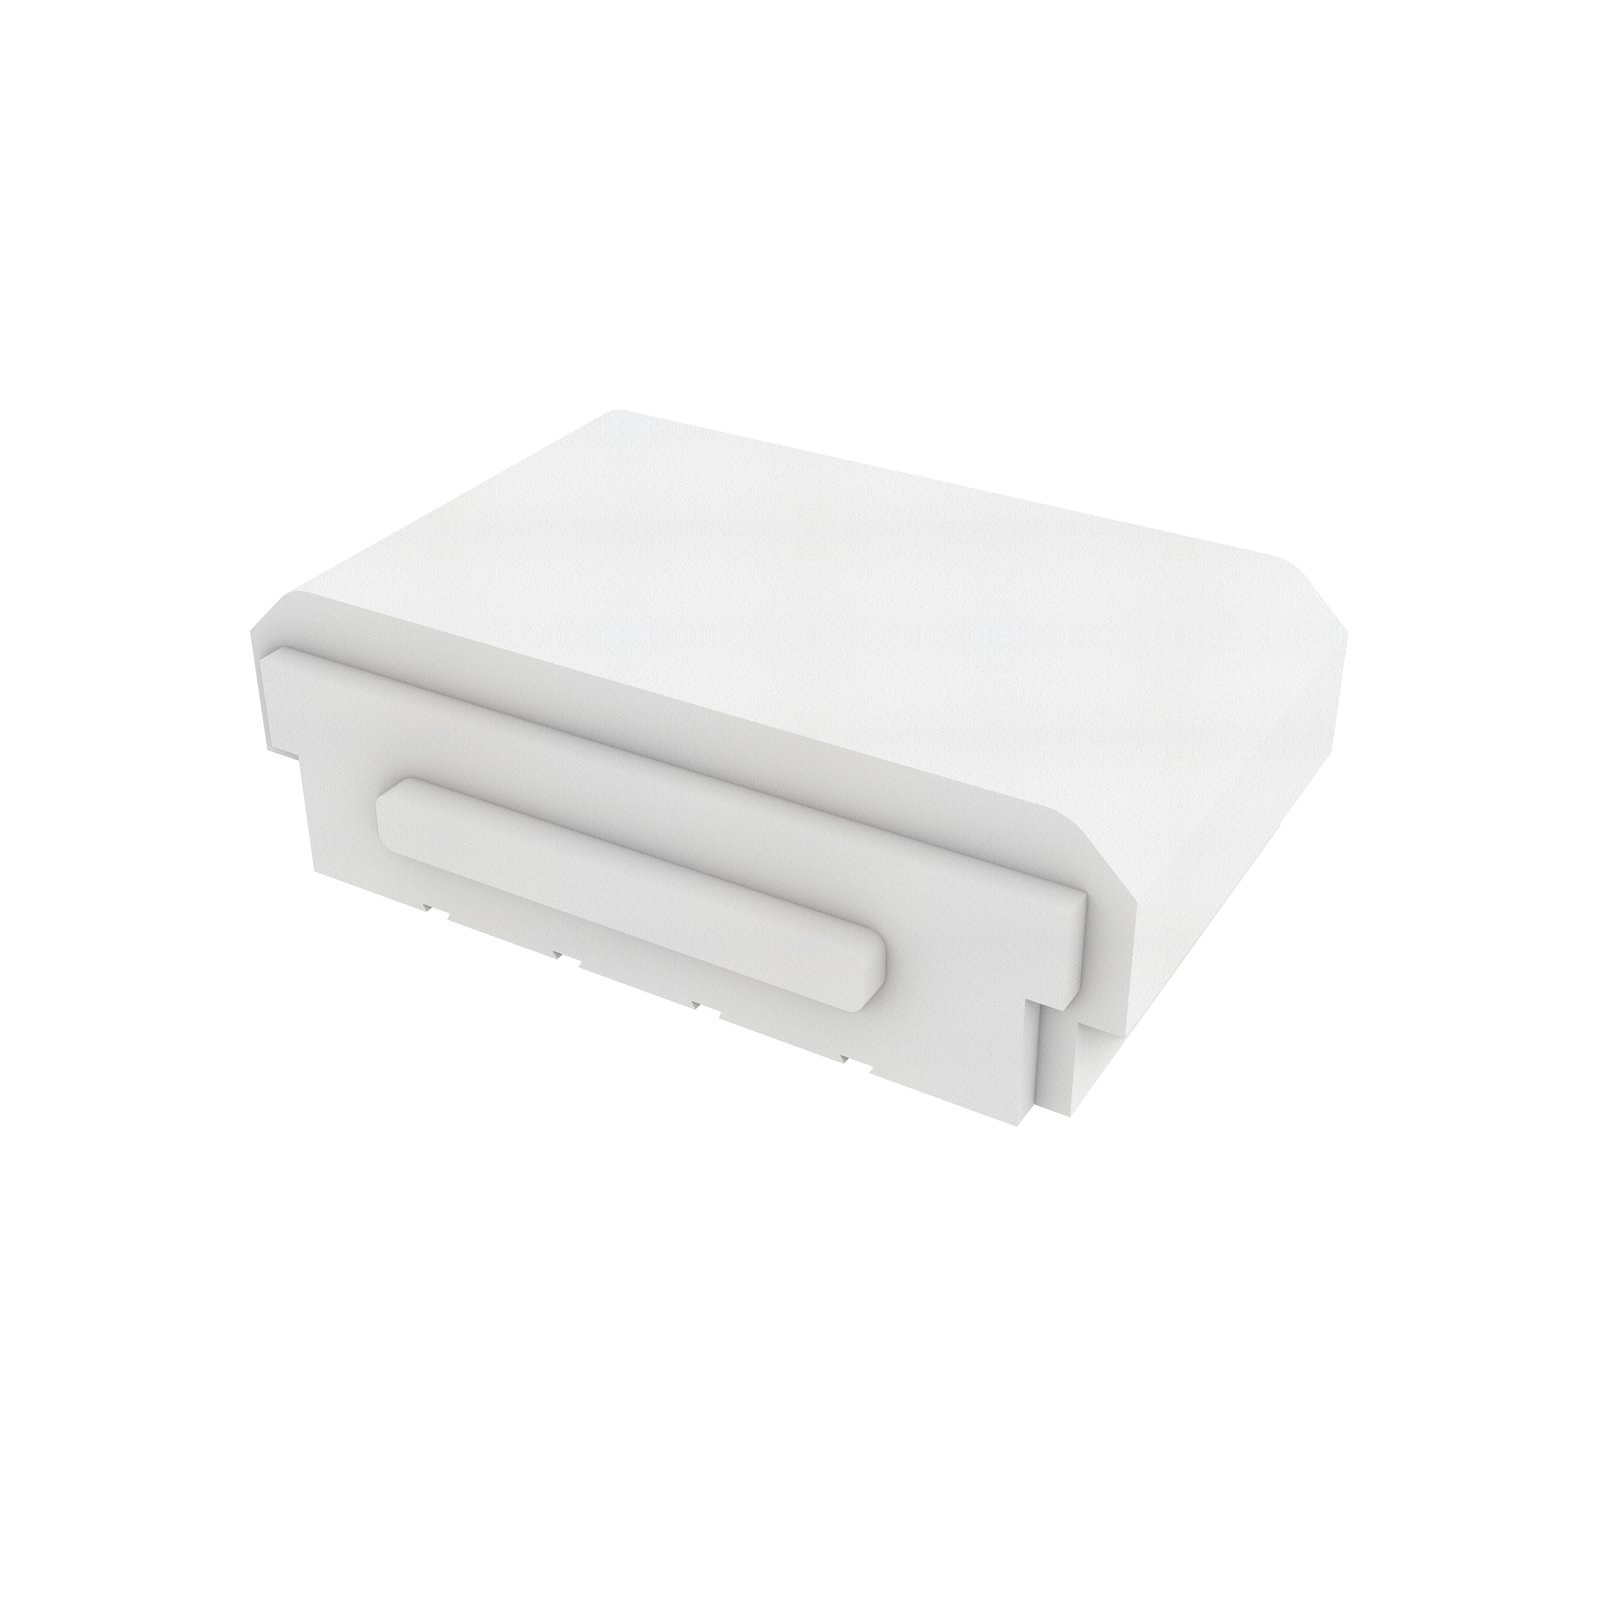
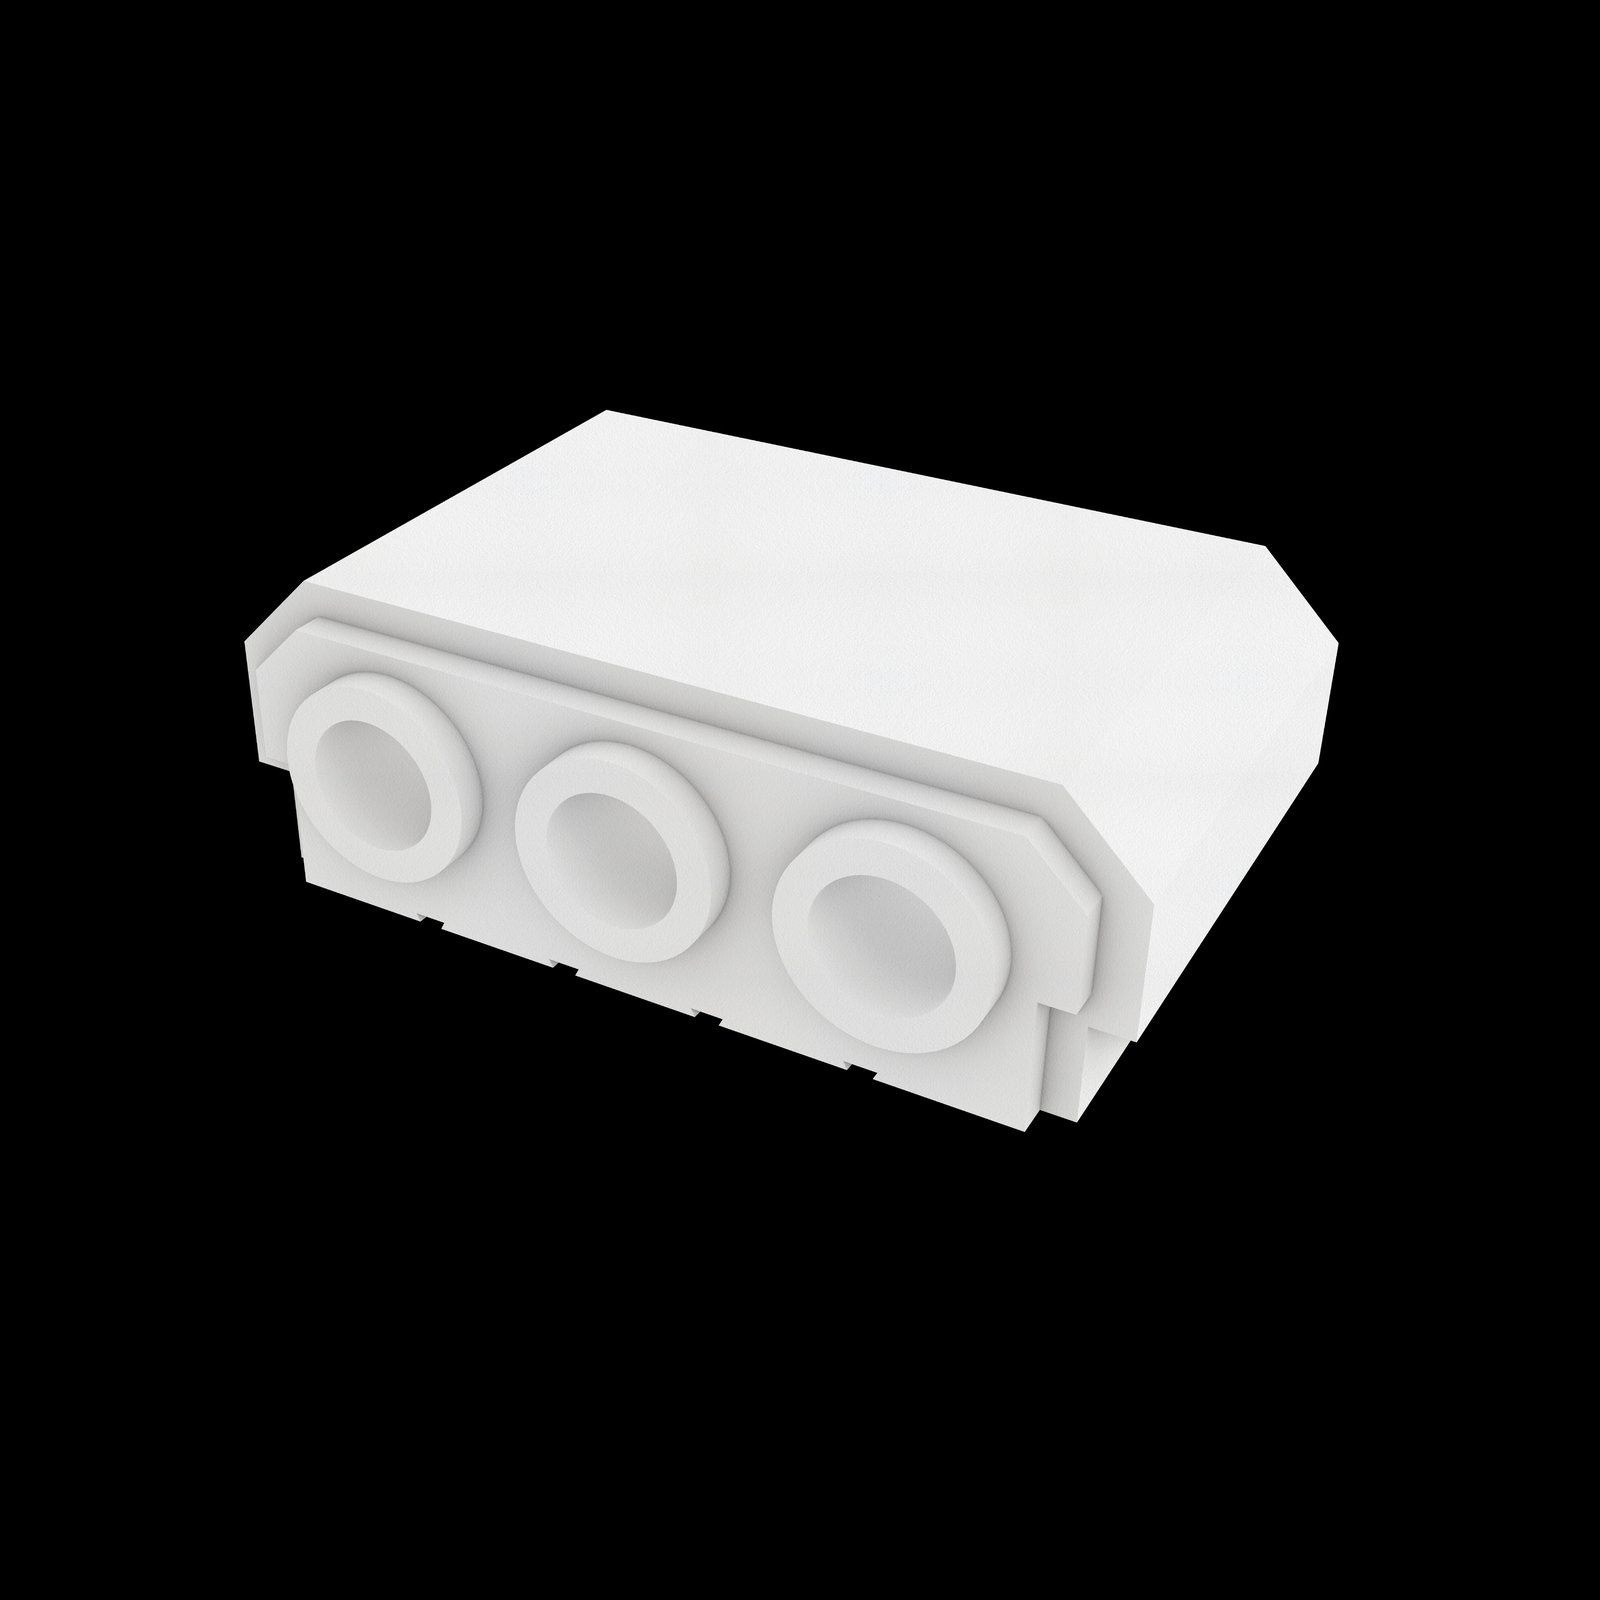
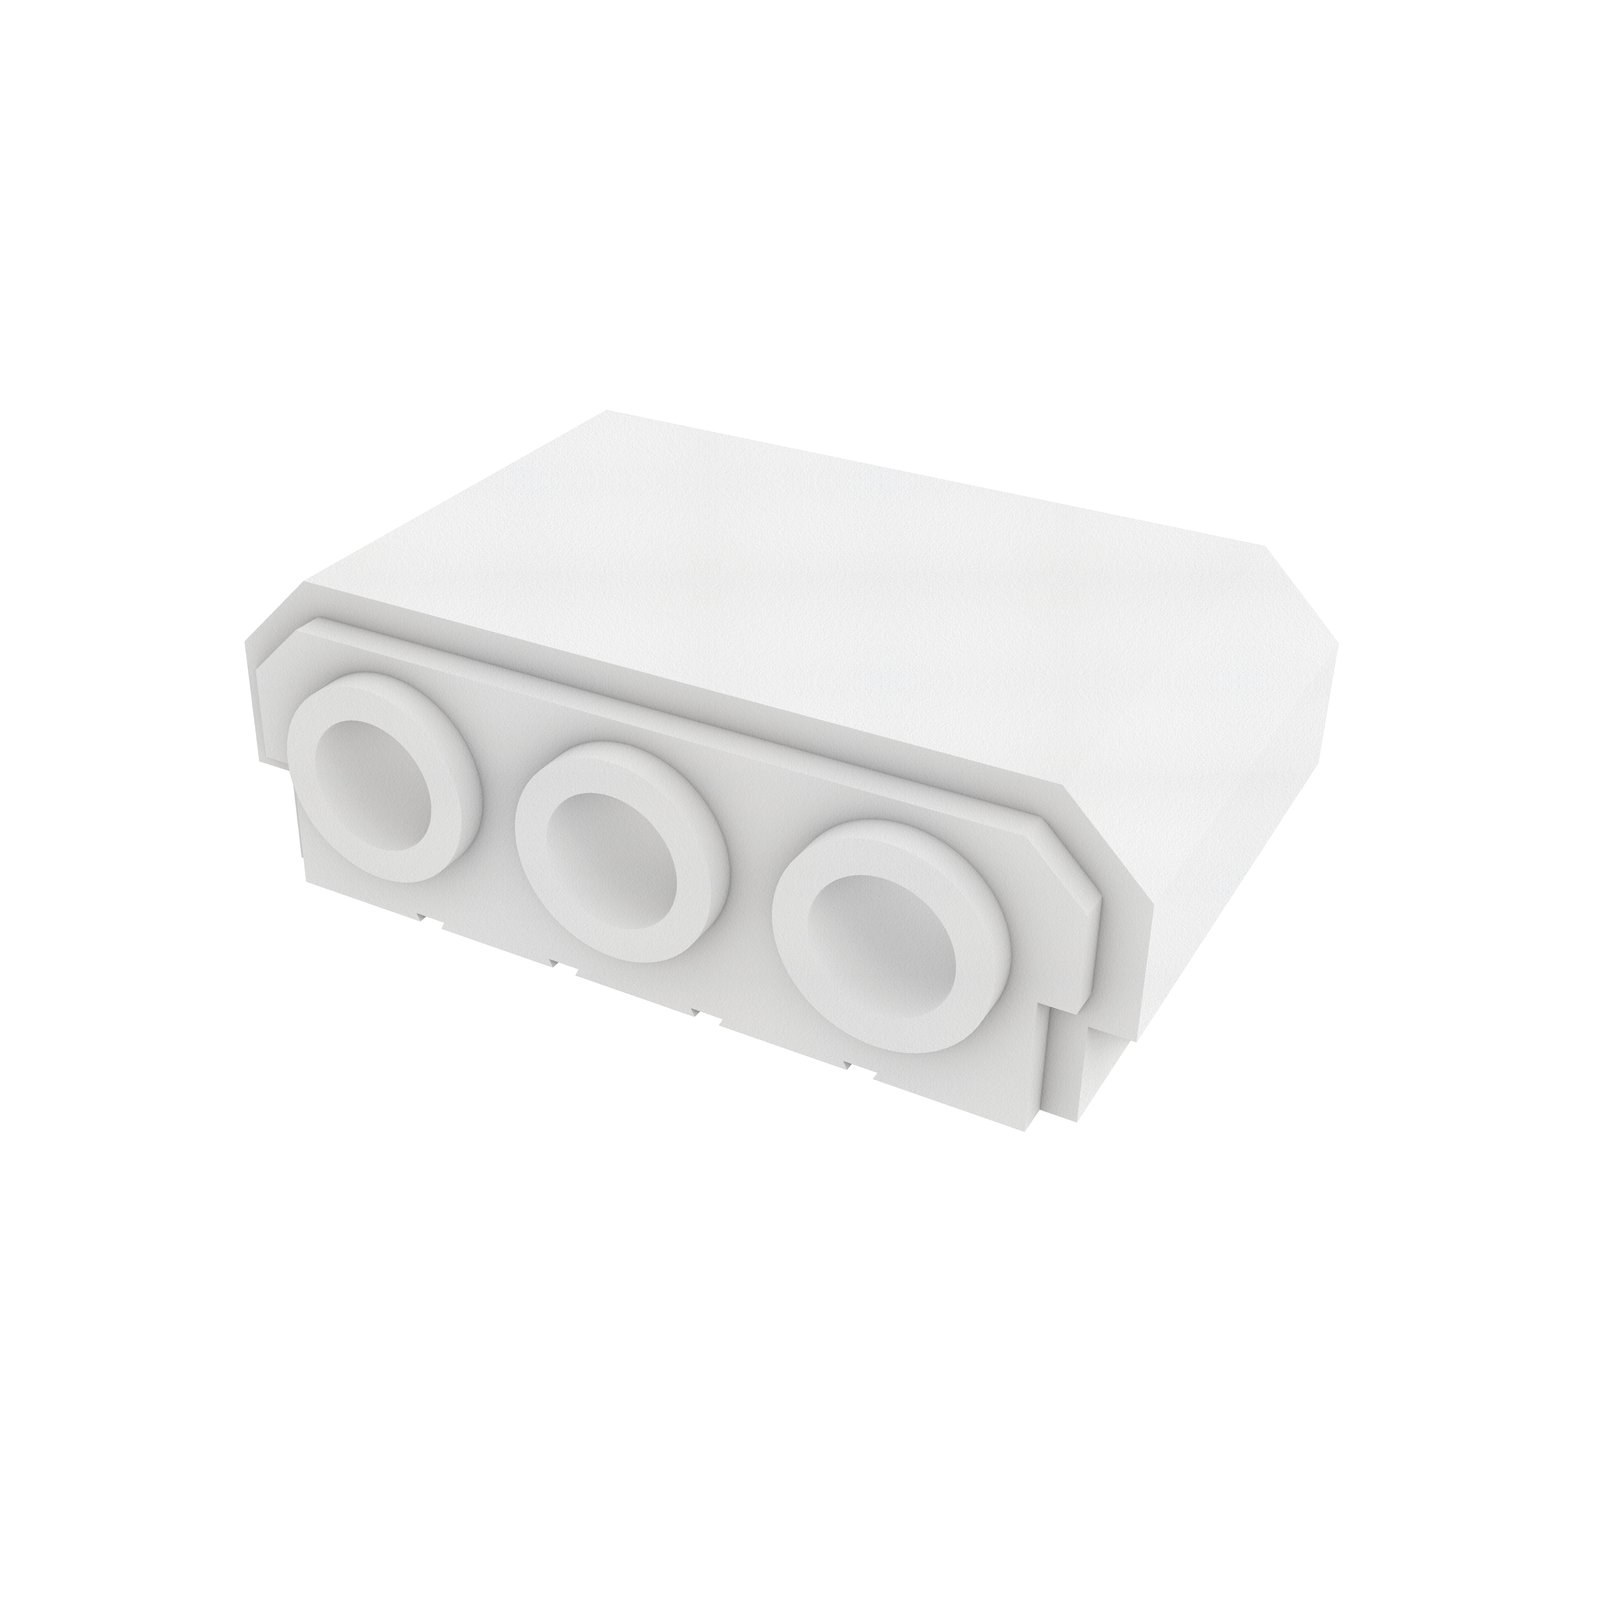
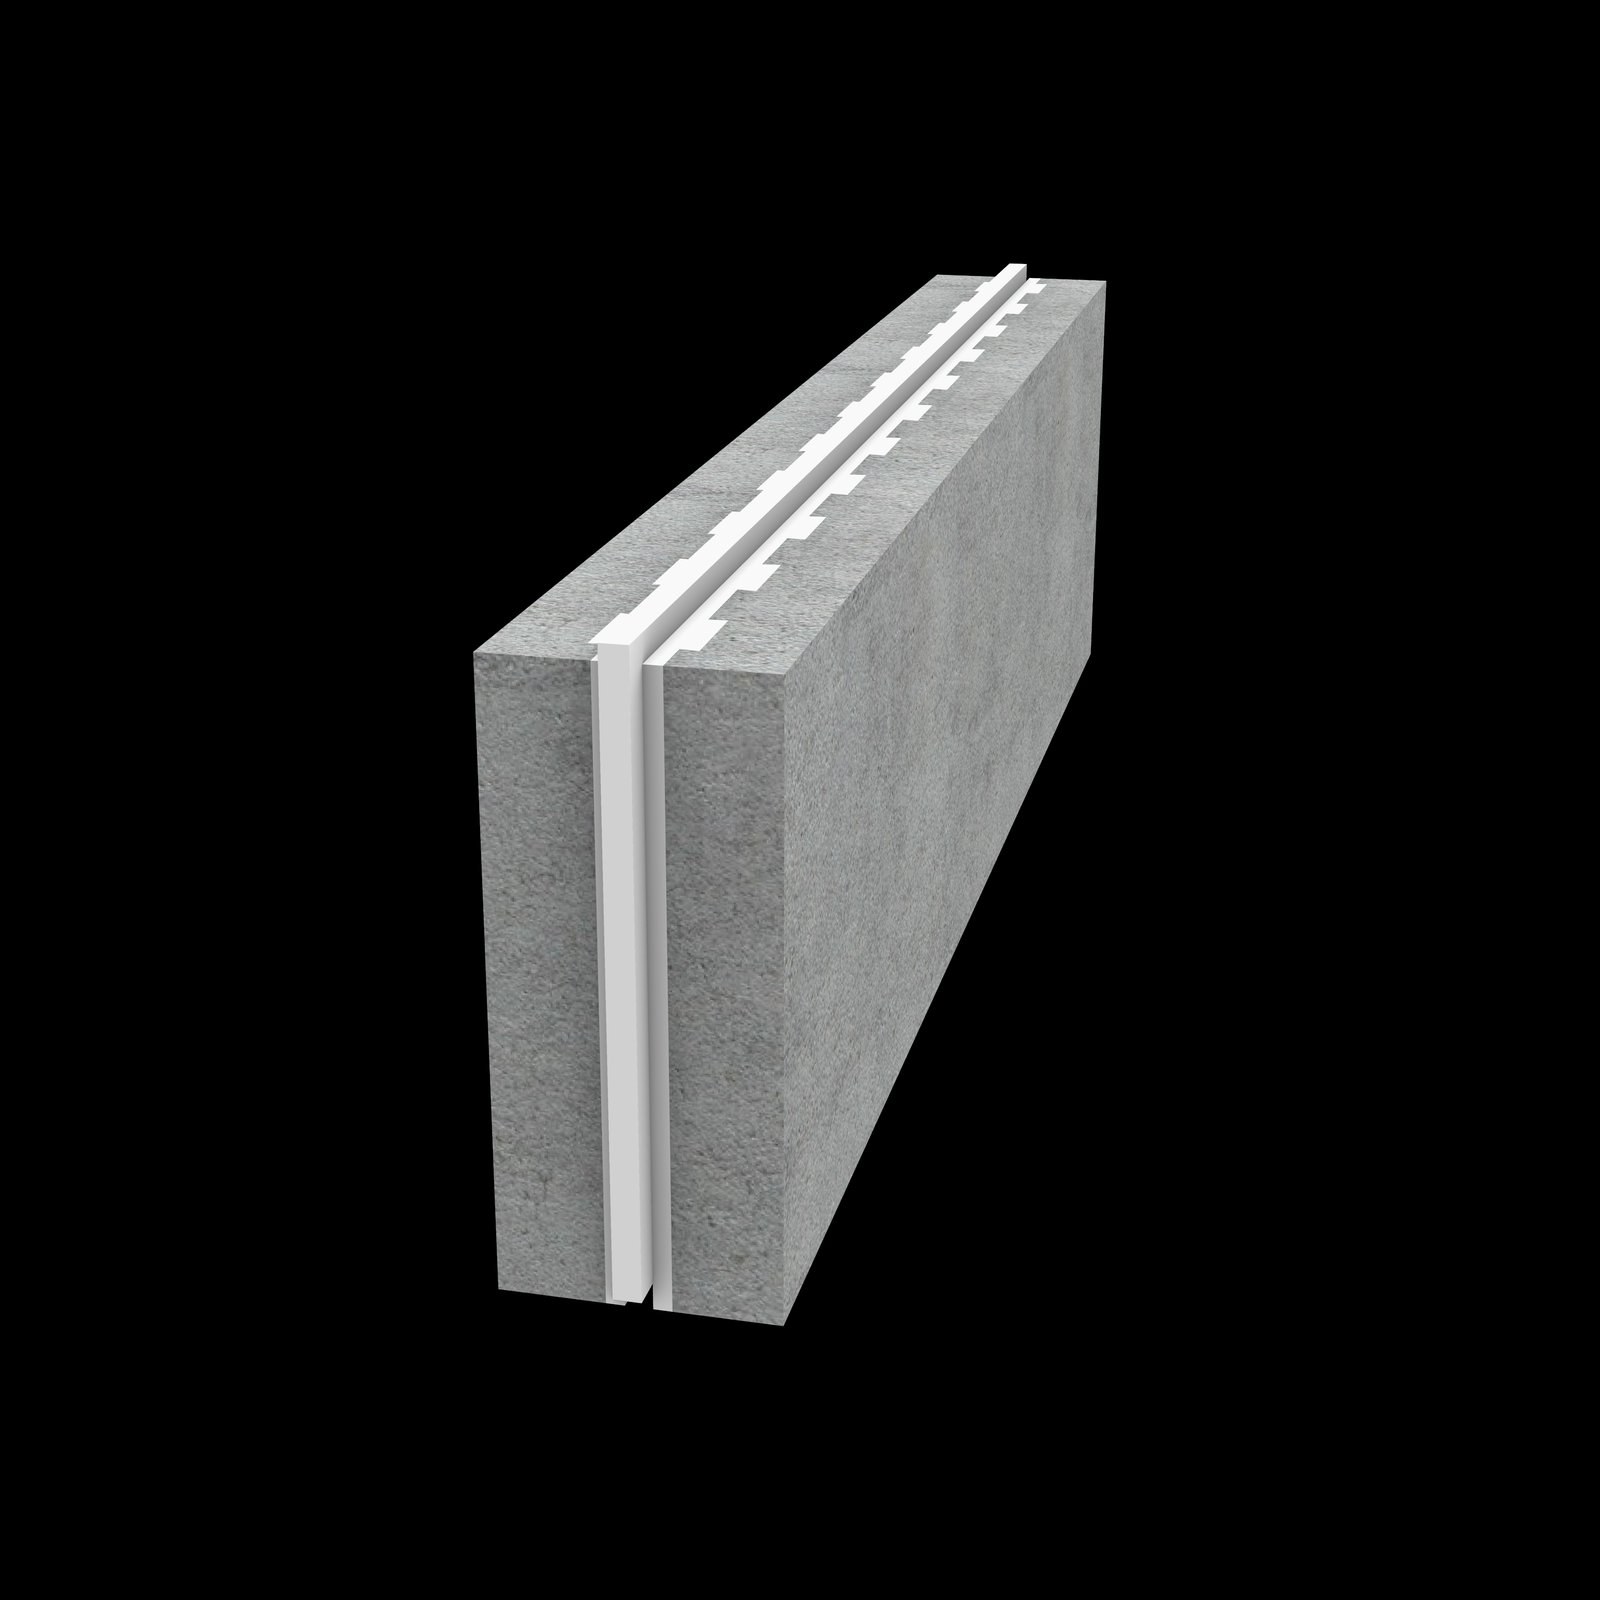
A single moulded EPS block photographed outdoors on paving, with the three circular cores running through it and the stepped rebates along its bottom edges clearly visible.PHOTO
A single moulded EPS block photographed outdoors on paving, with the three circular cores running through it and the stepped rebates along its bottom edges clearly visible.Technoblock Slab Blocks & Void Formers
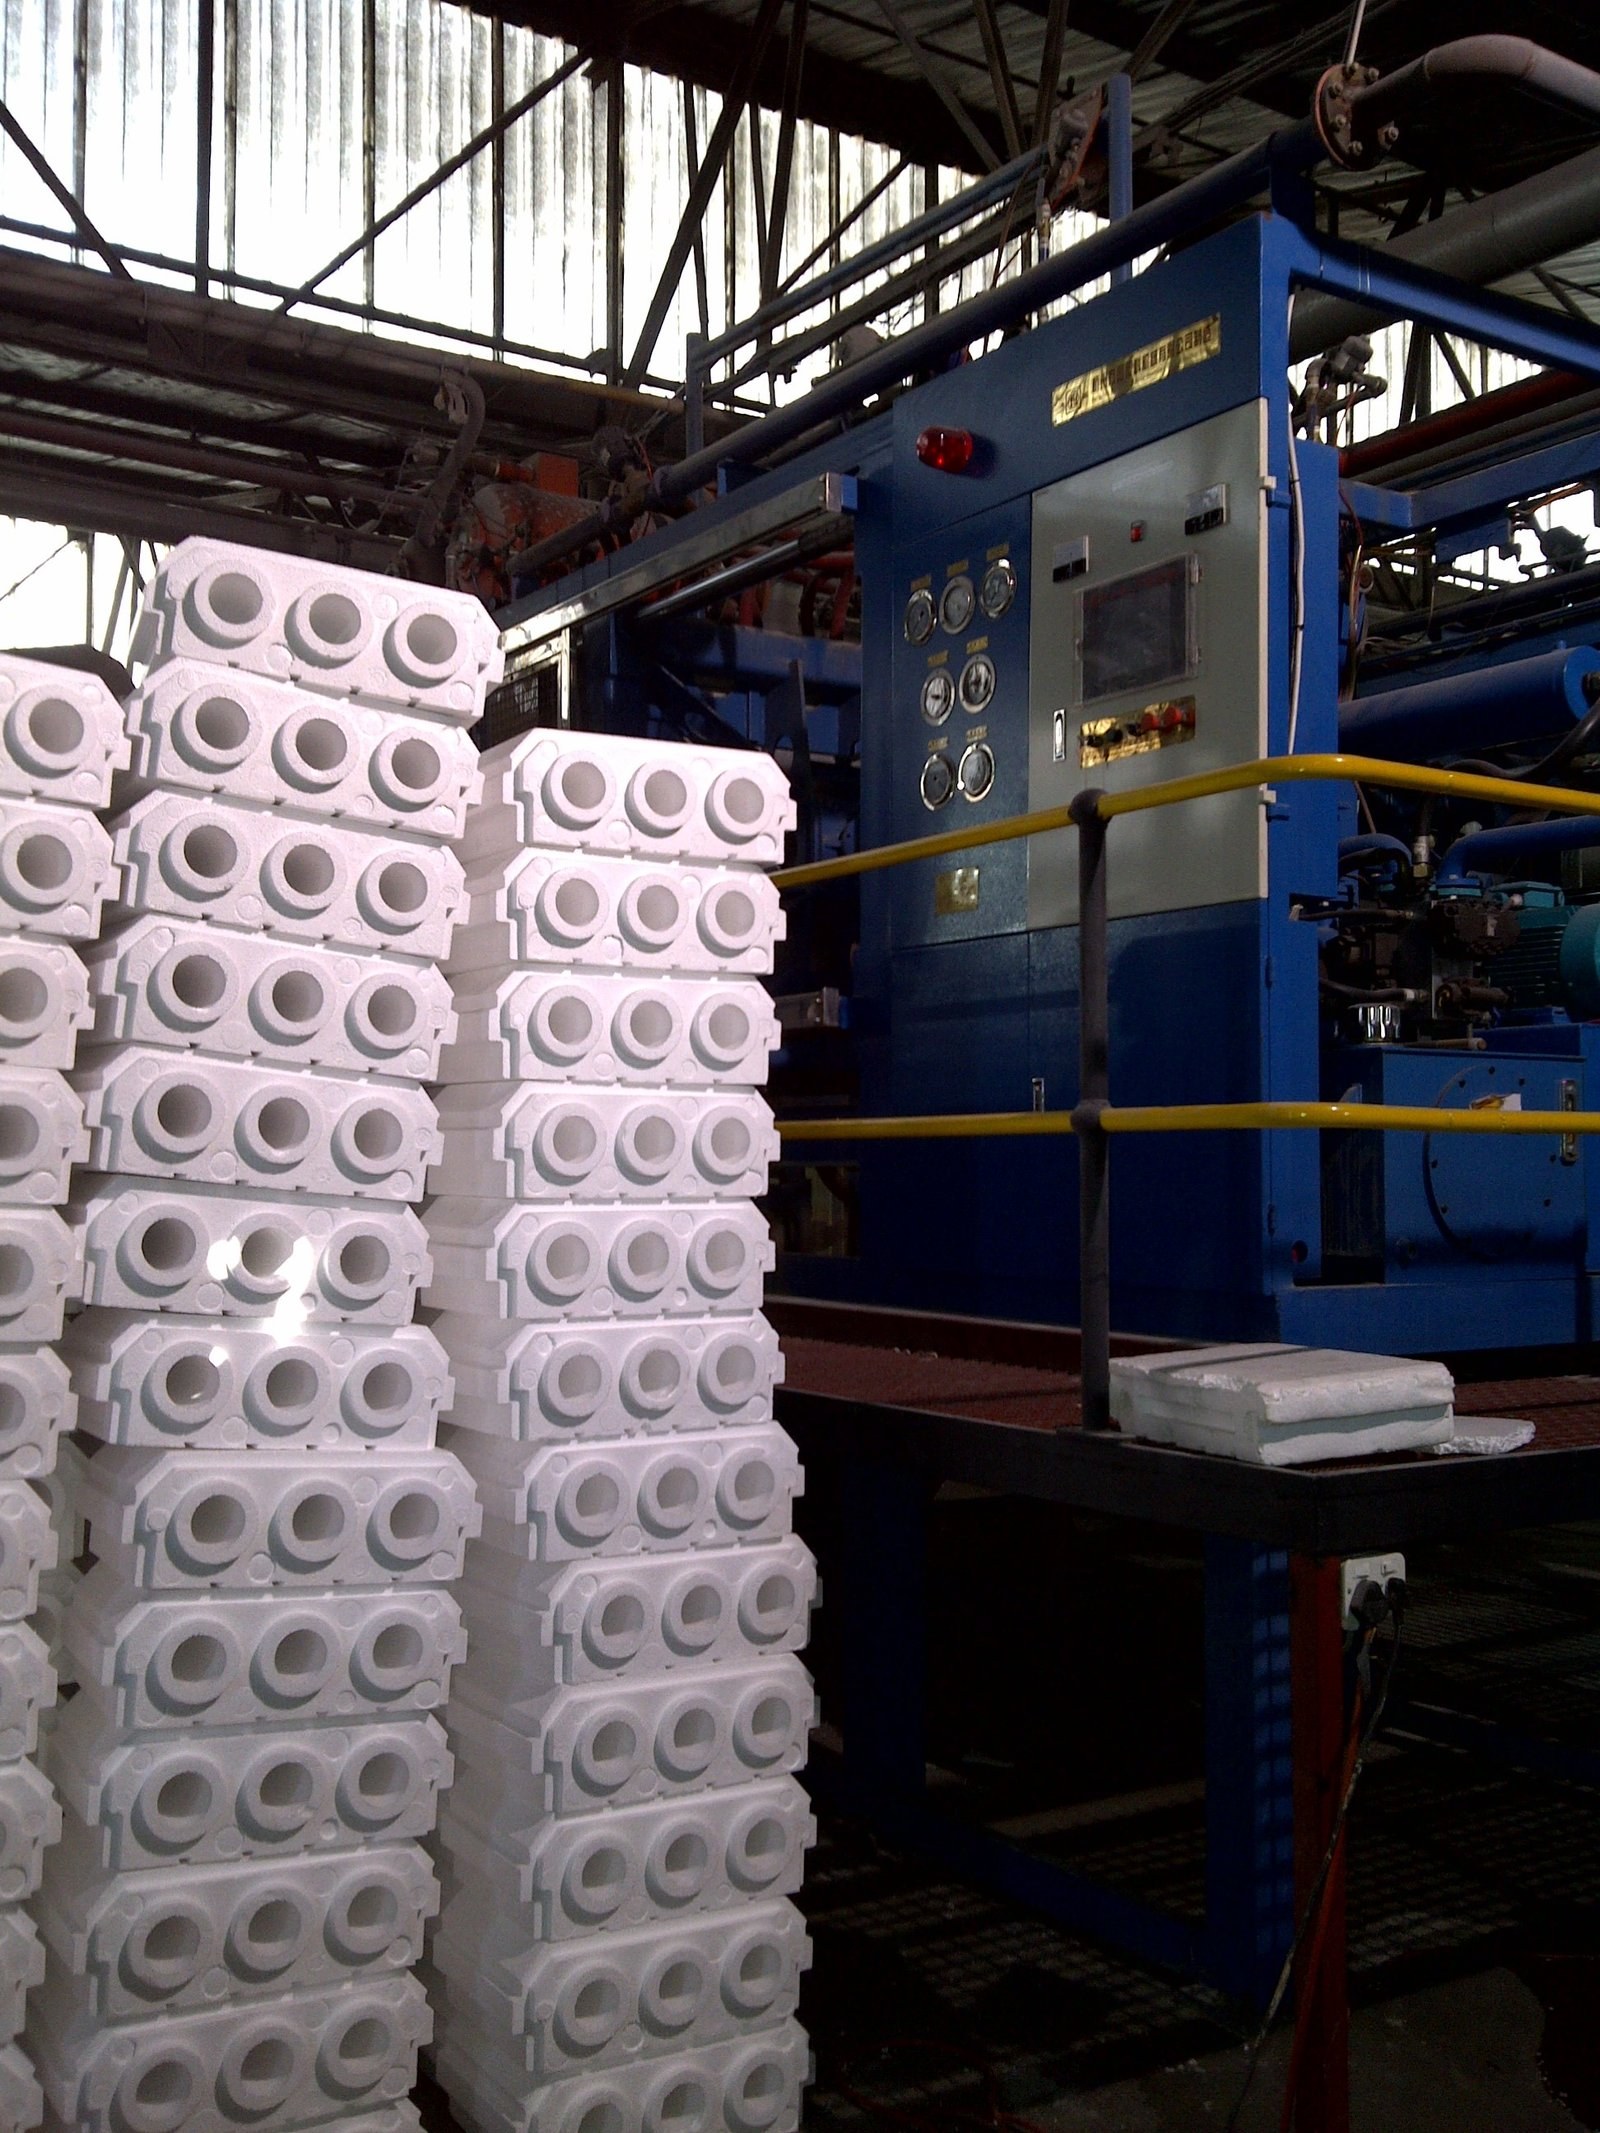
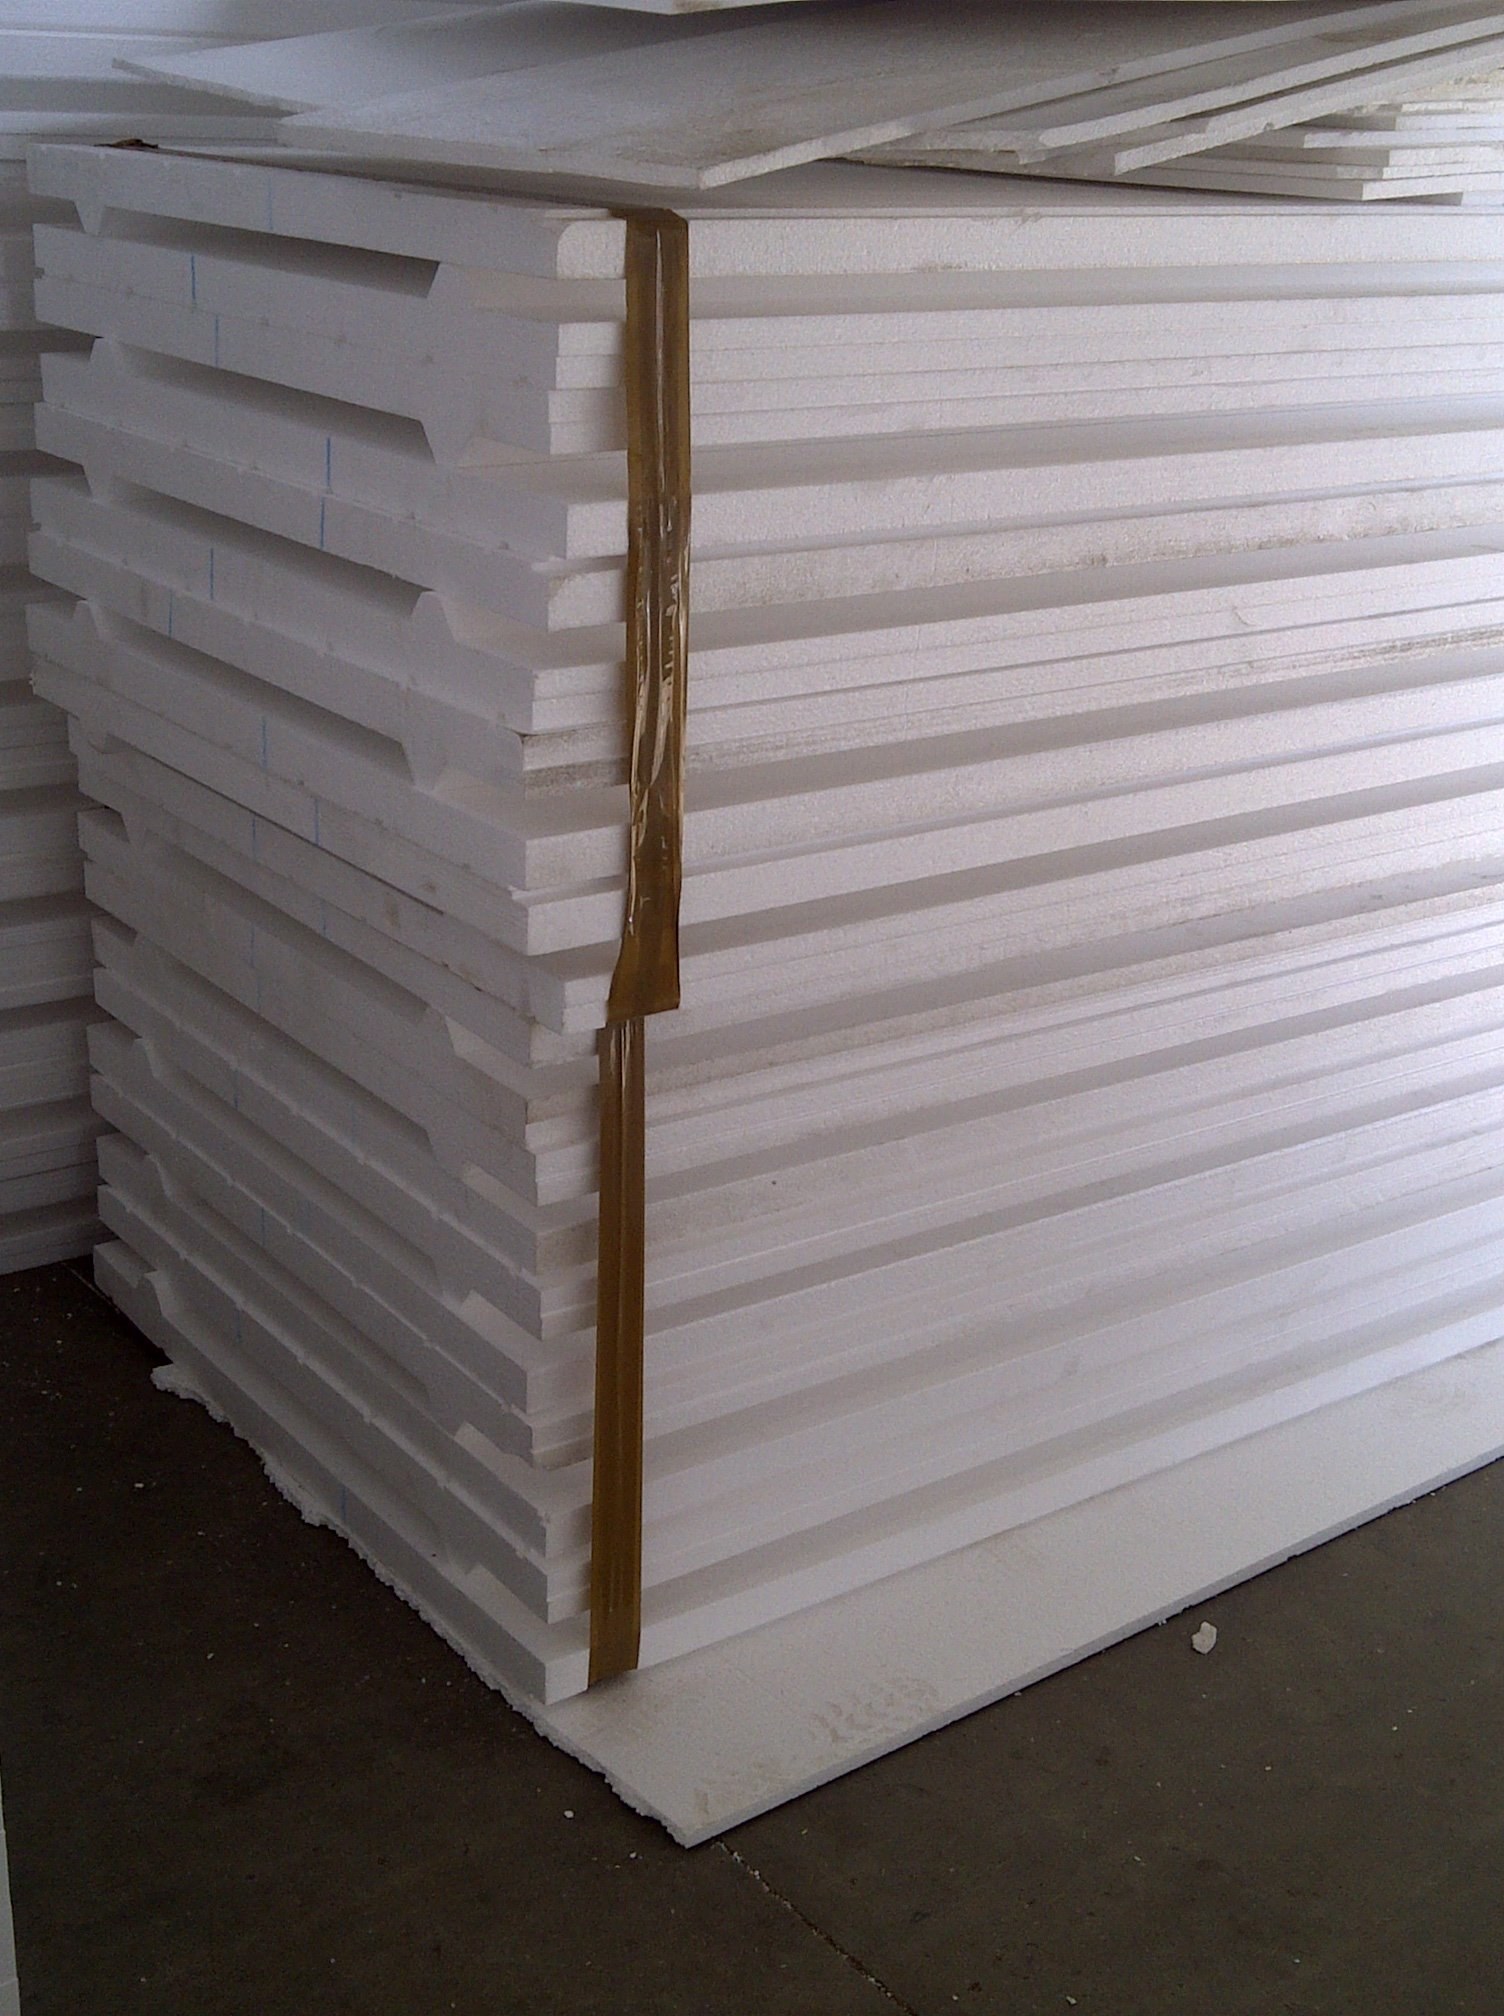
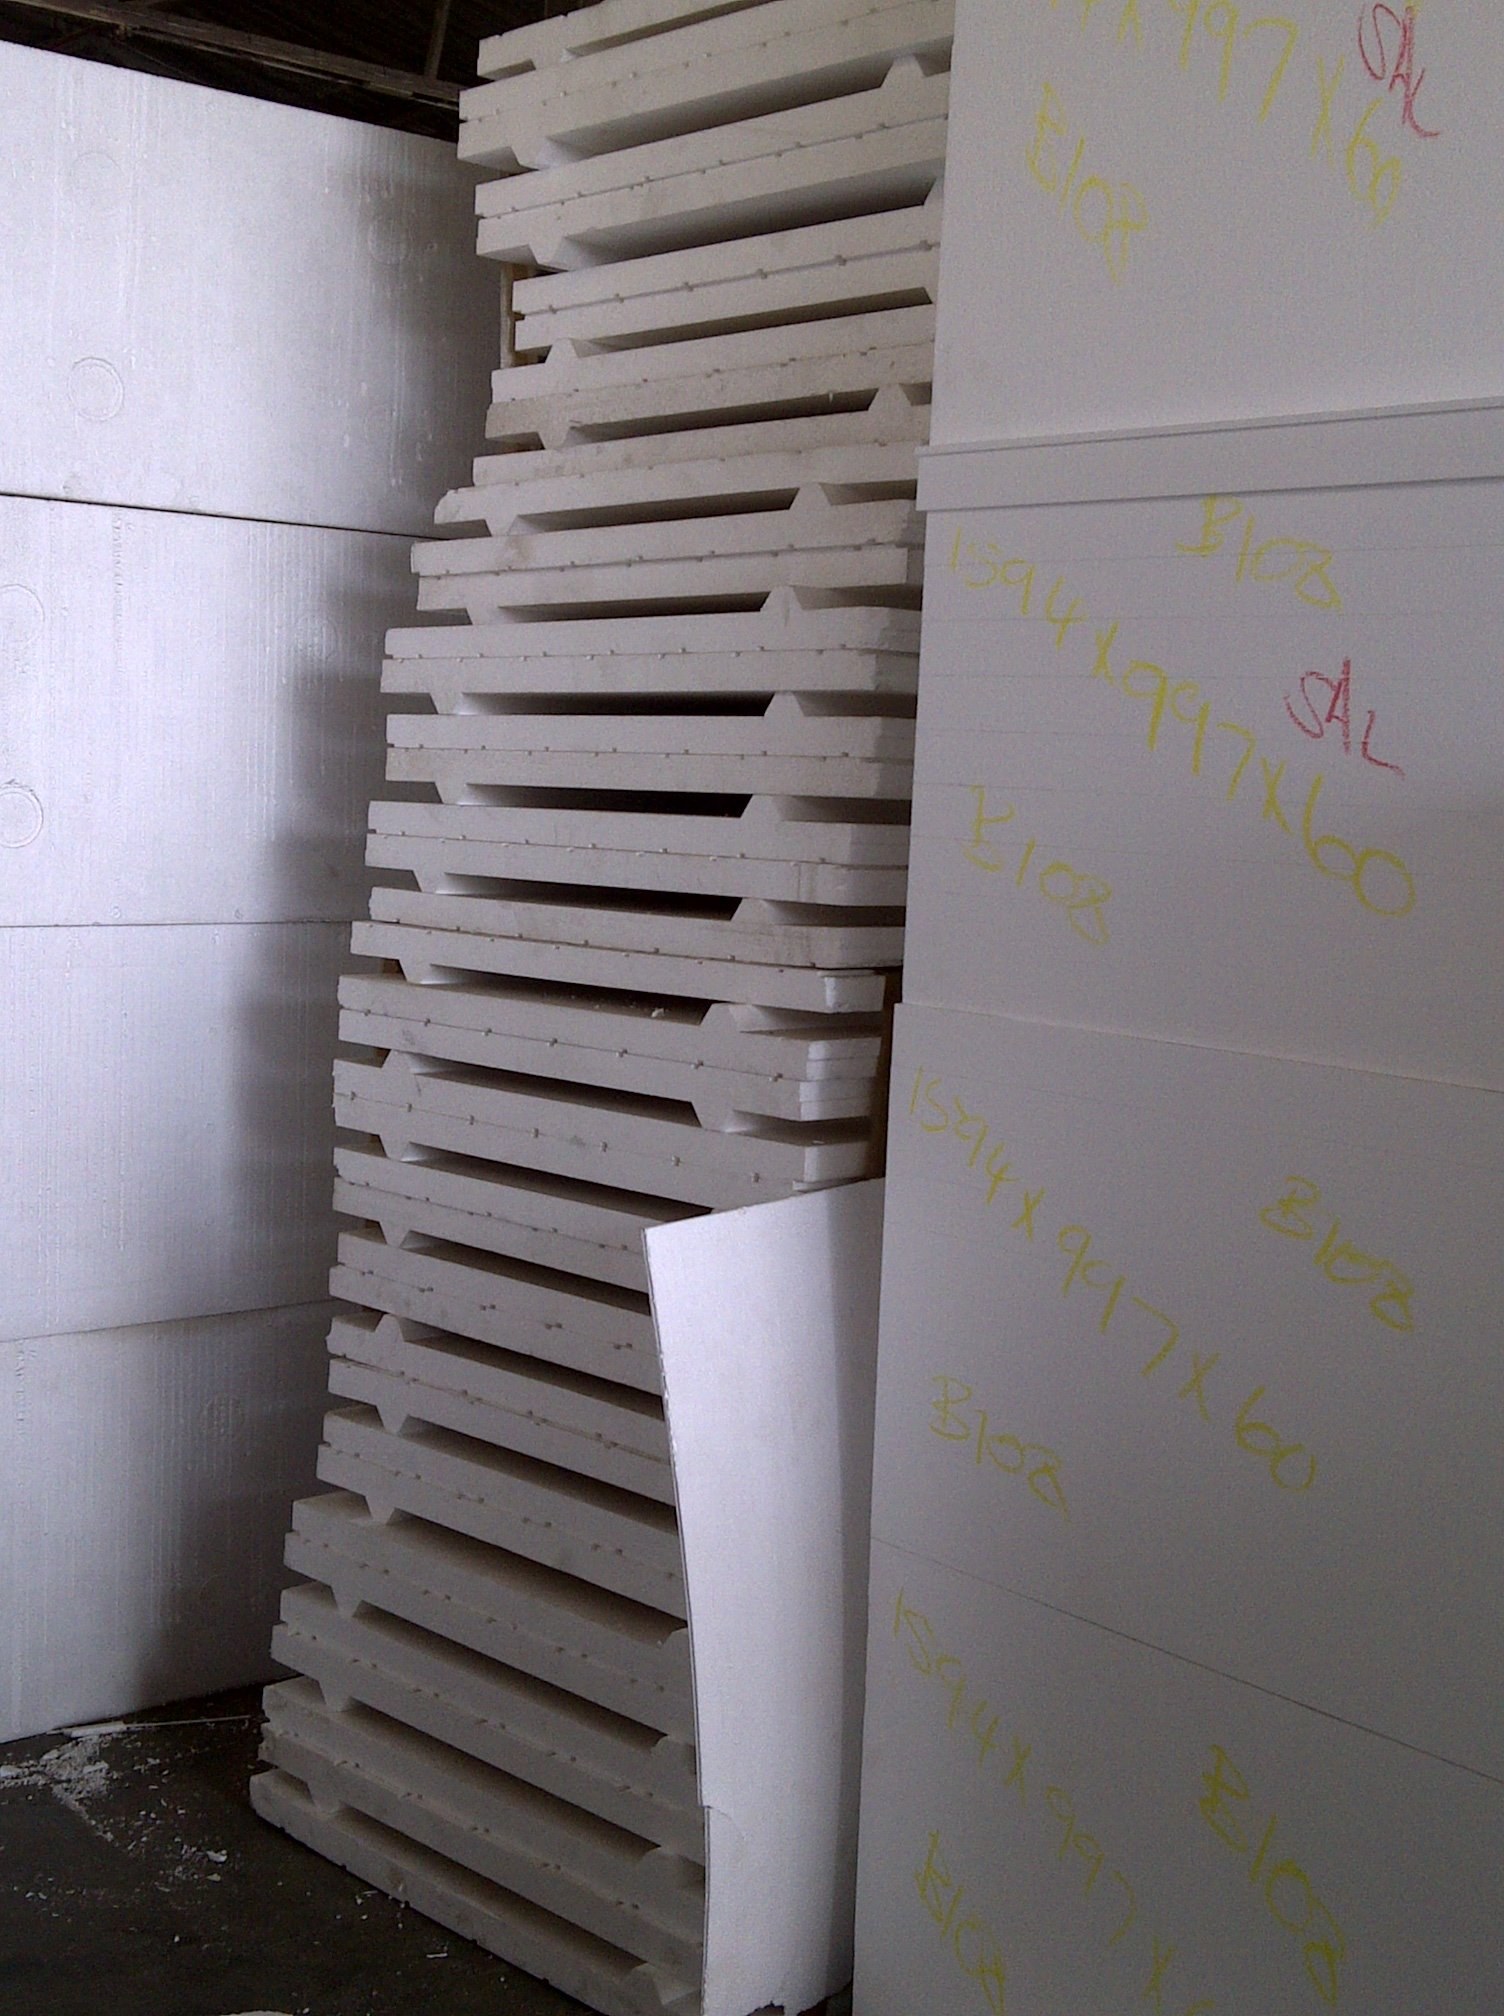
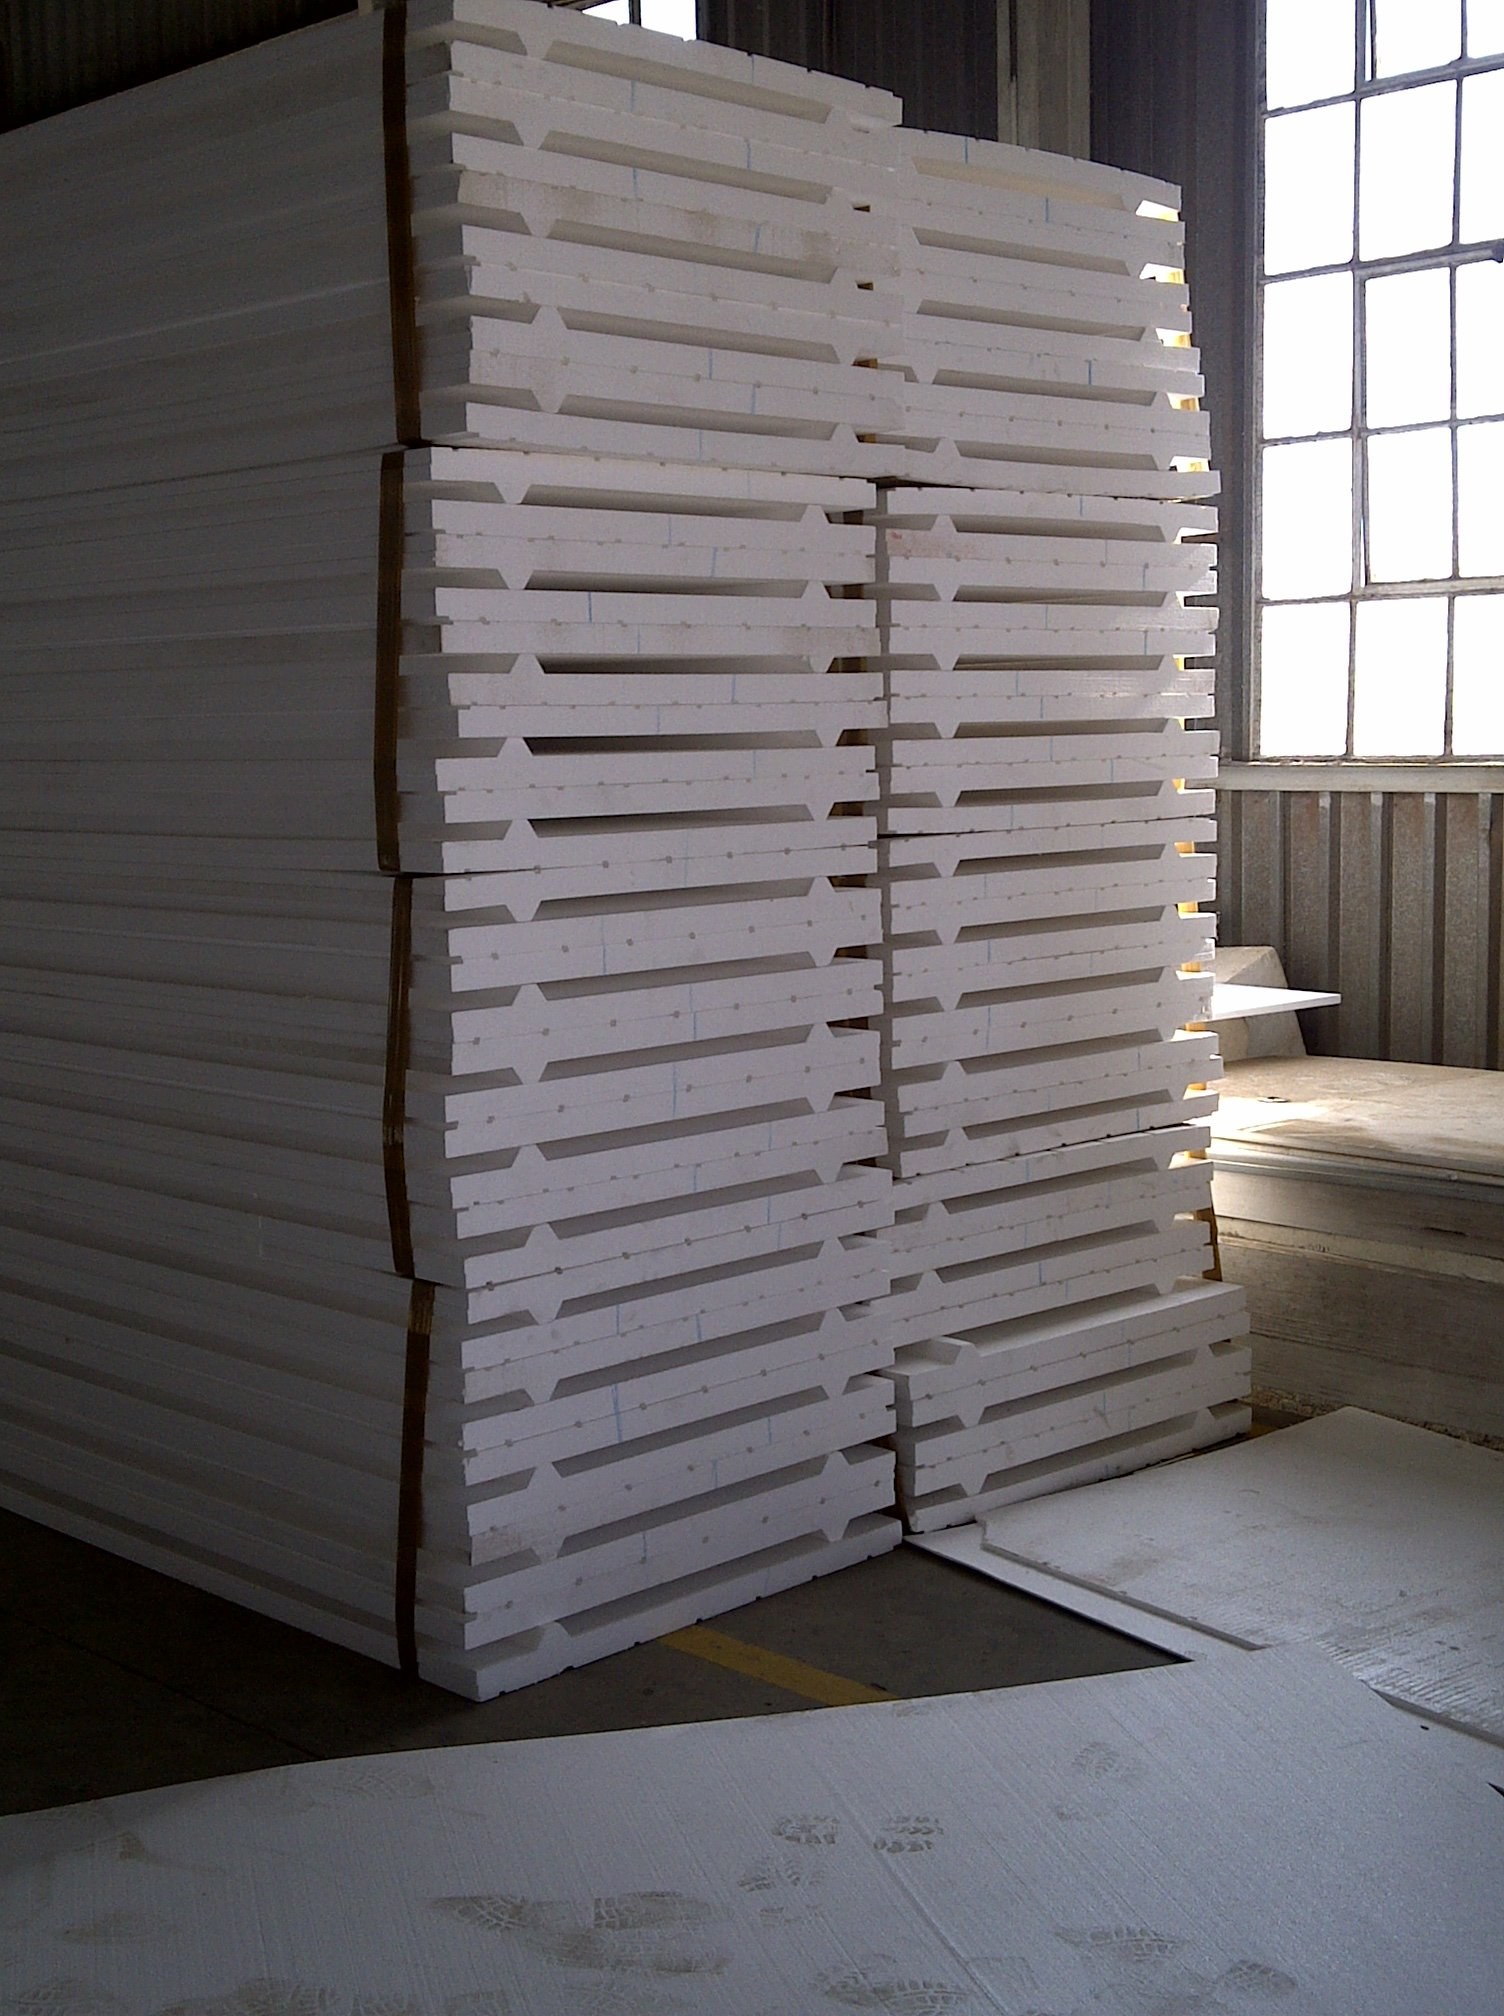
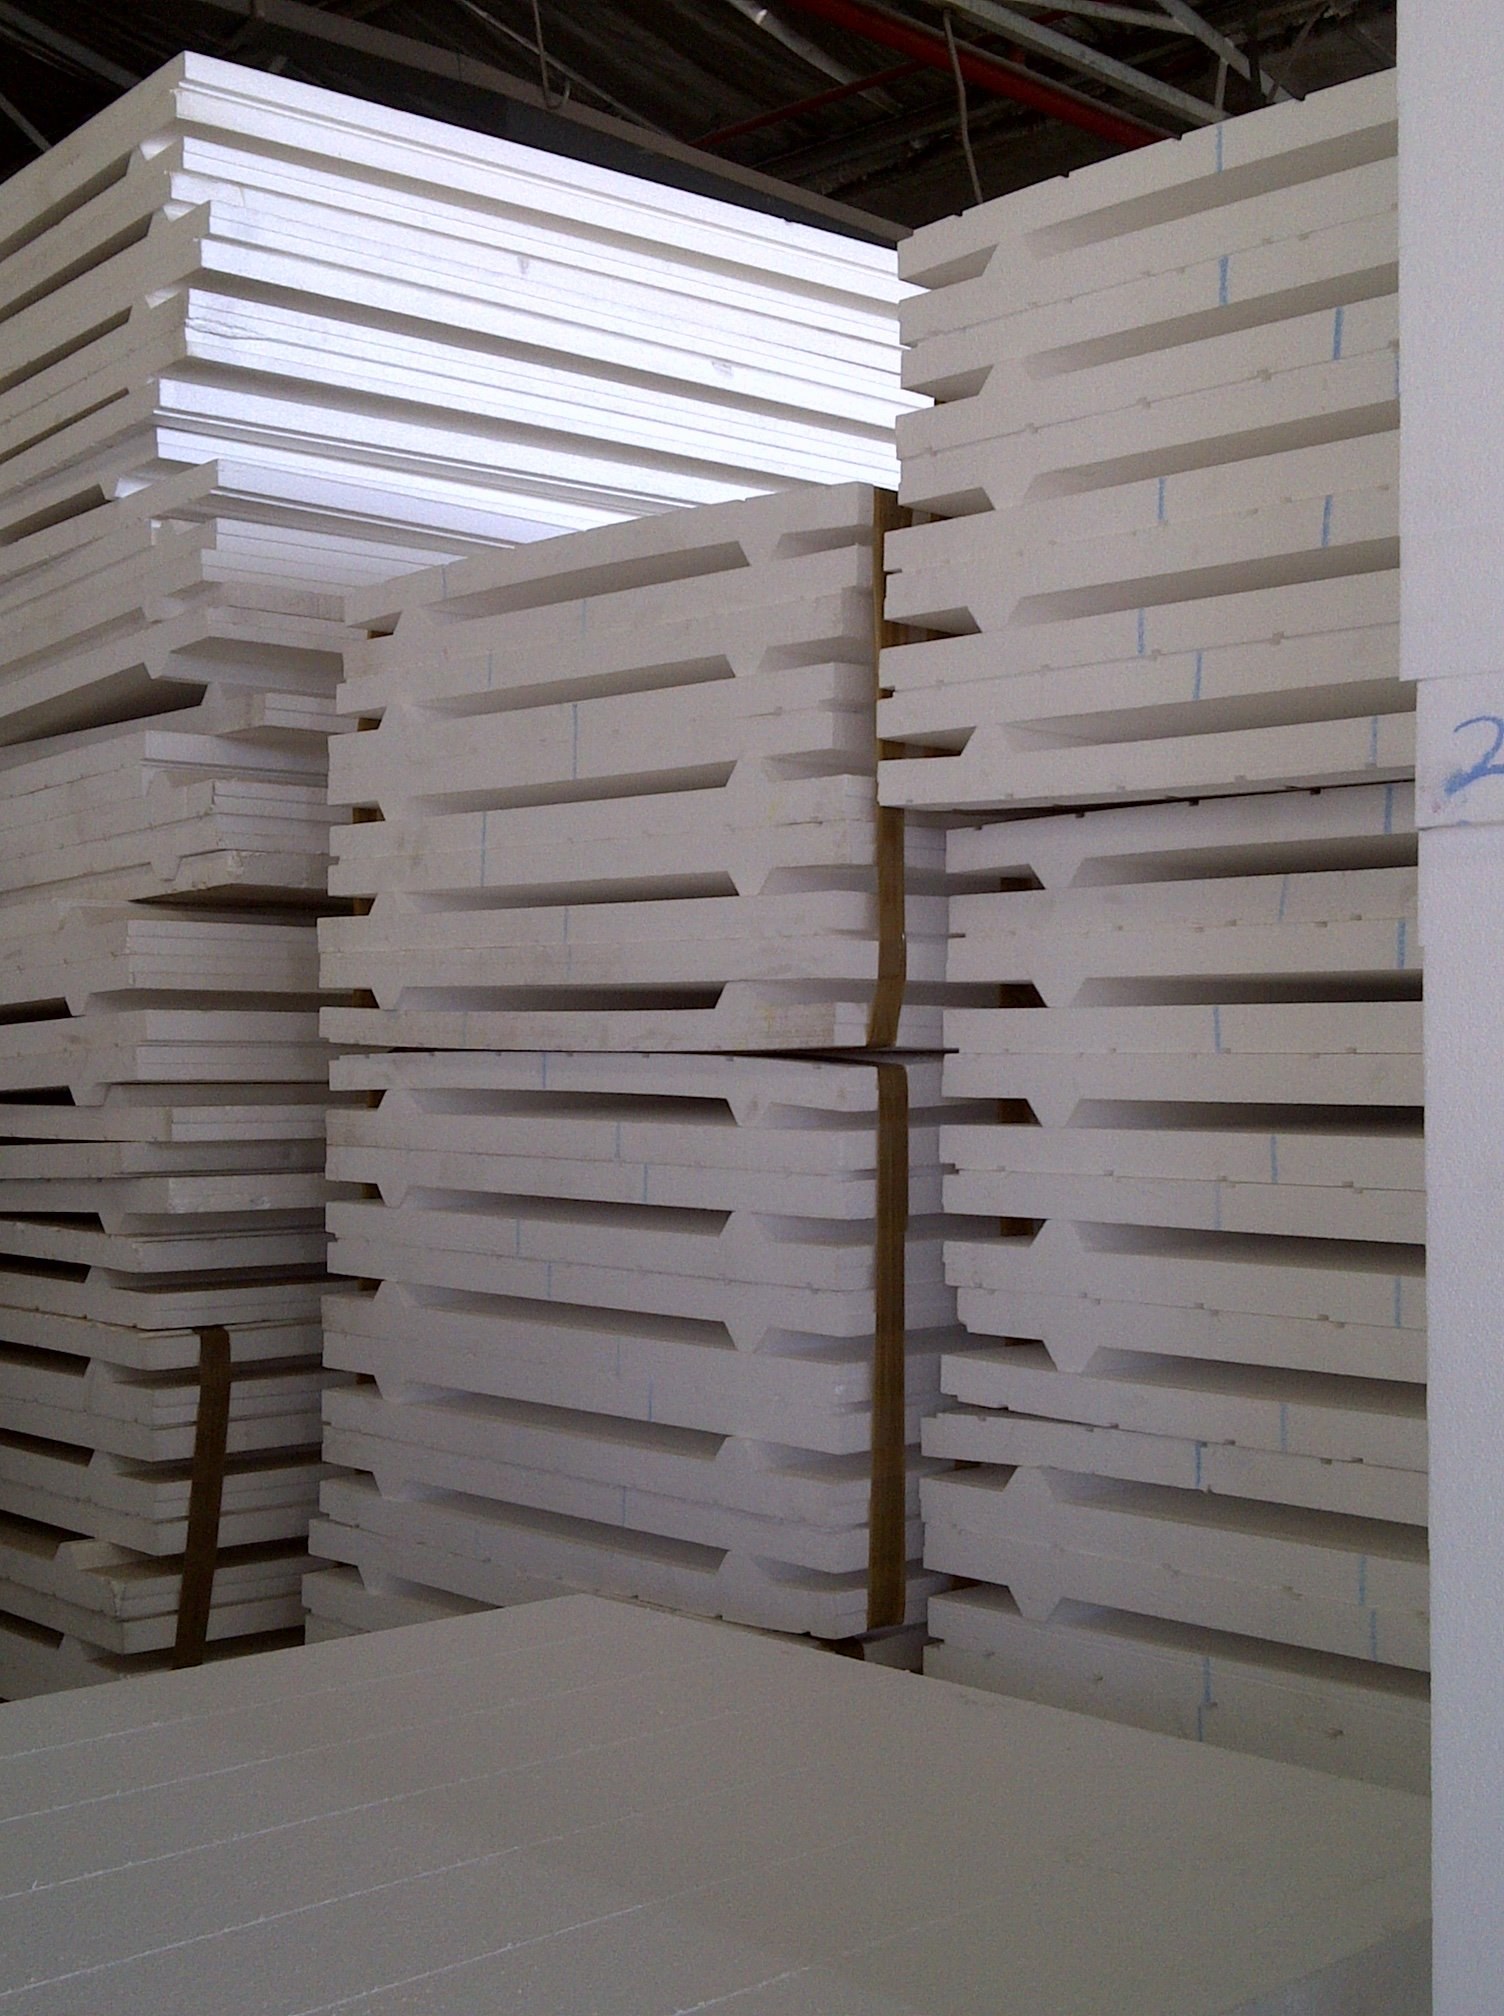
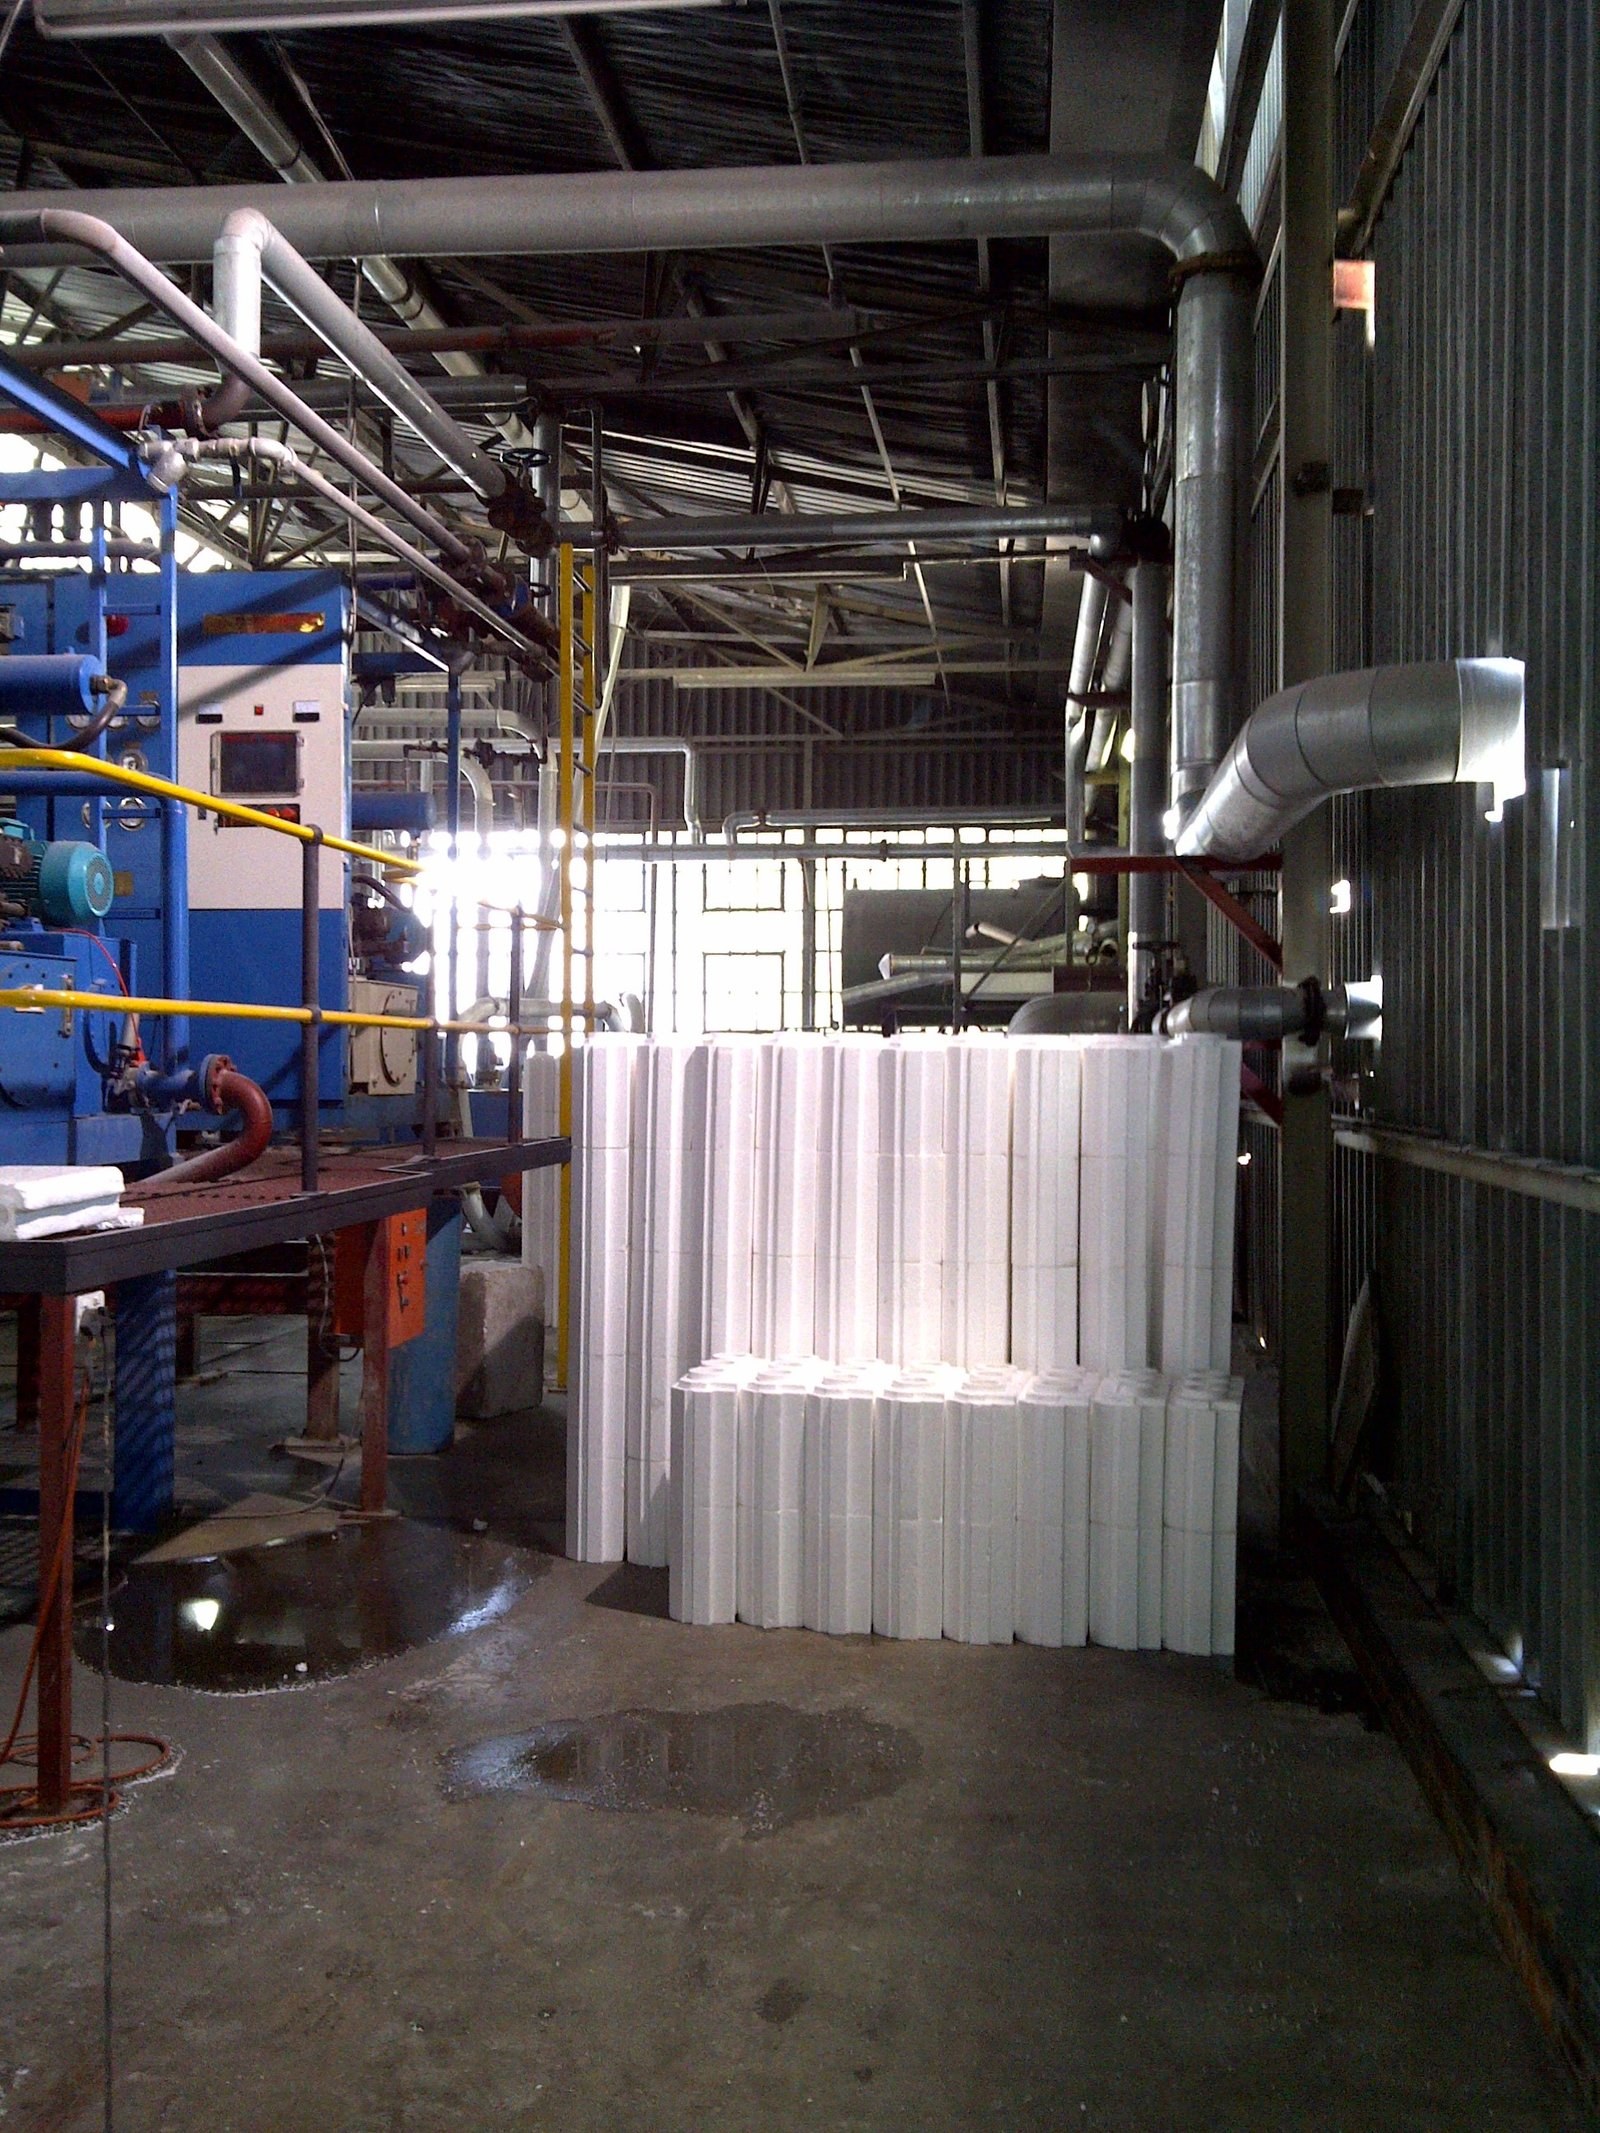
Moulded EPS blocks stacked on the factory floor next to the moulding machine, each block showing its three cores and notched profile.PHOTO
Moulded EPS blocks stacked on the factory floor next to the moulding machine, each block showing its three cores and notched profile.Technoblock Slab Blocks & Void Formers
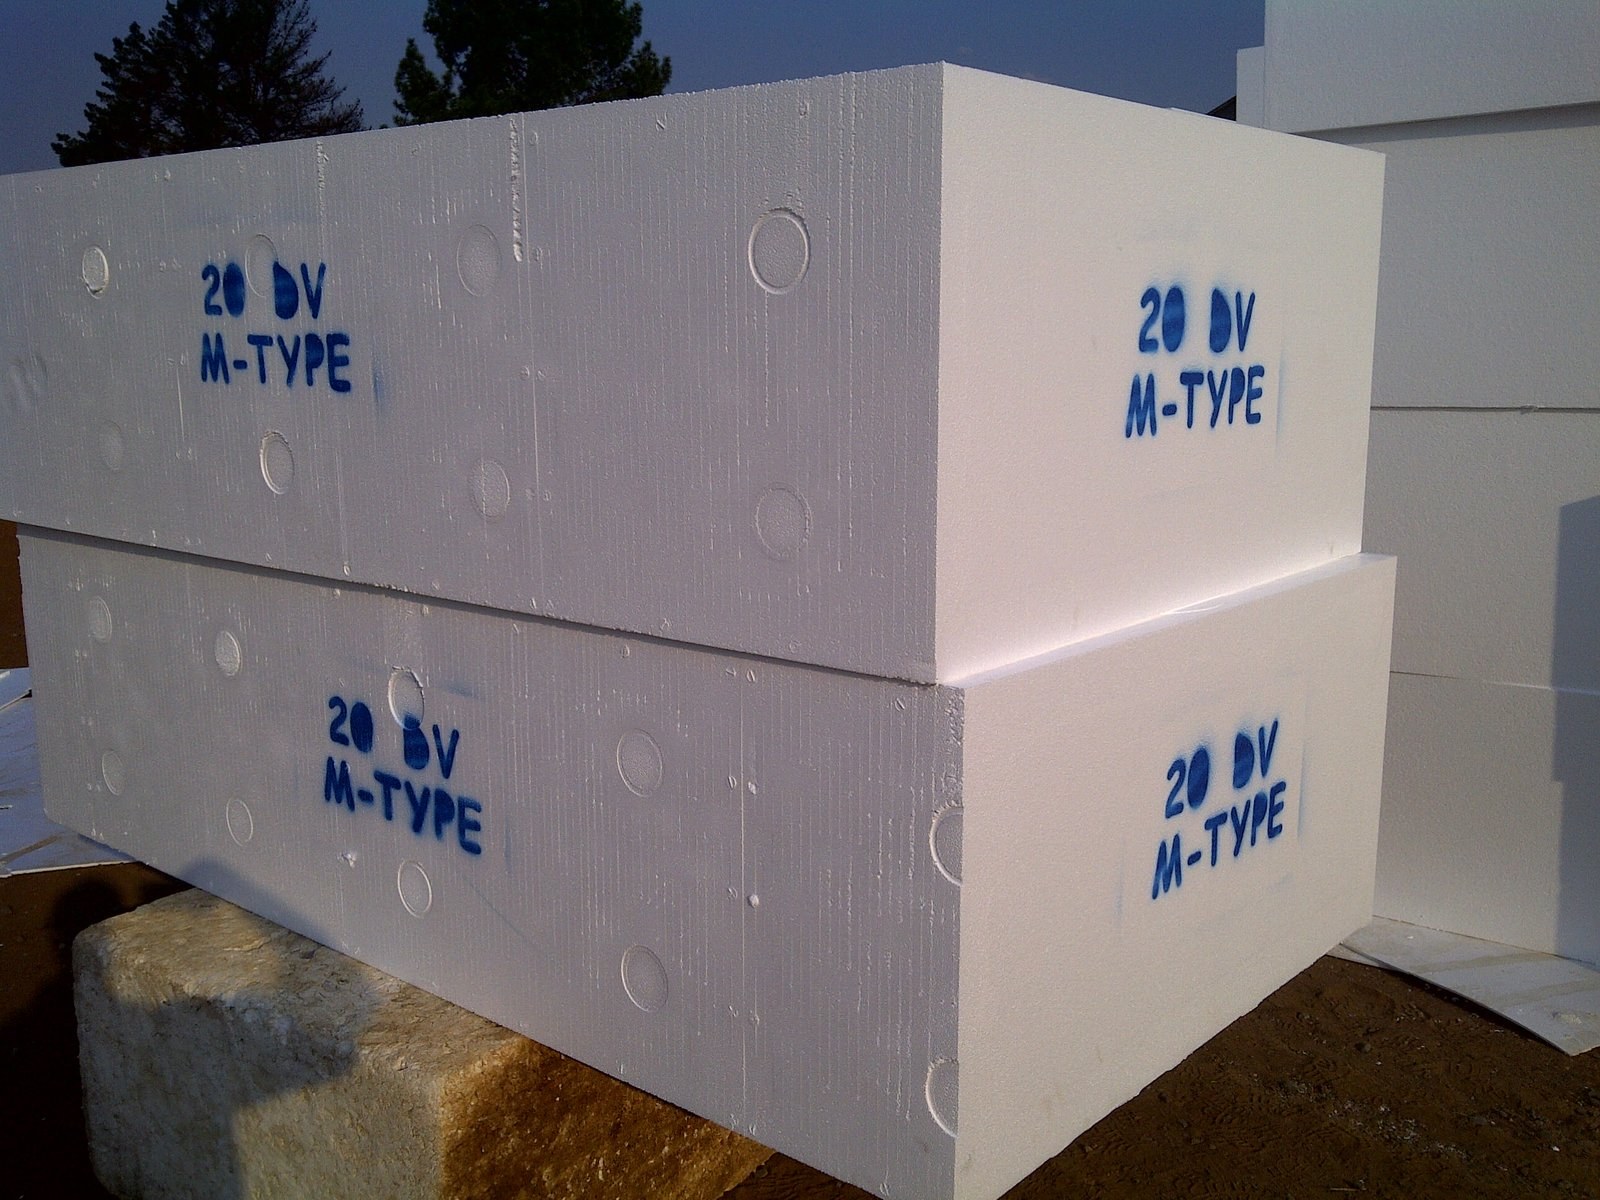
Two 20 DV M-Type void former blocks stacked outdoors, product code sprayed on the end facePHOTO
Two 20 DV M-Type void former blocks stacked outdoors, product code sprayed on the end faceTechnoblock Slab Blocks & Void Formers
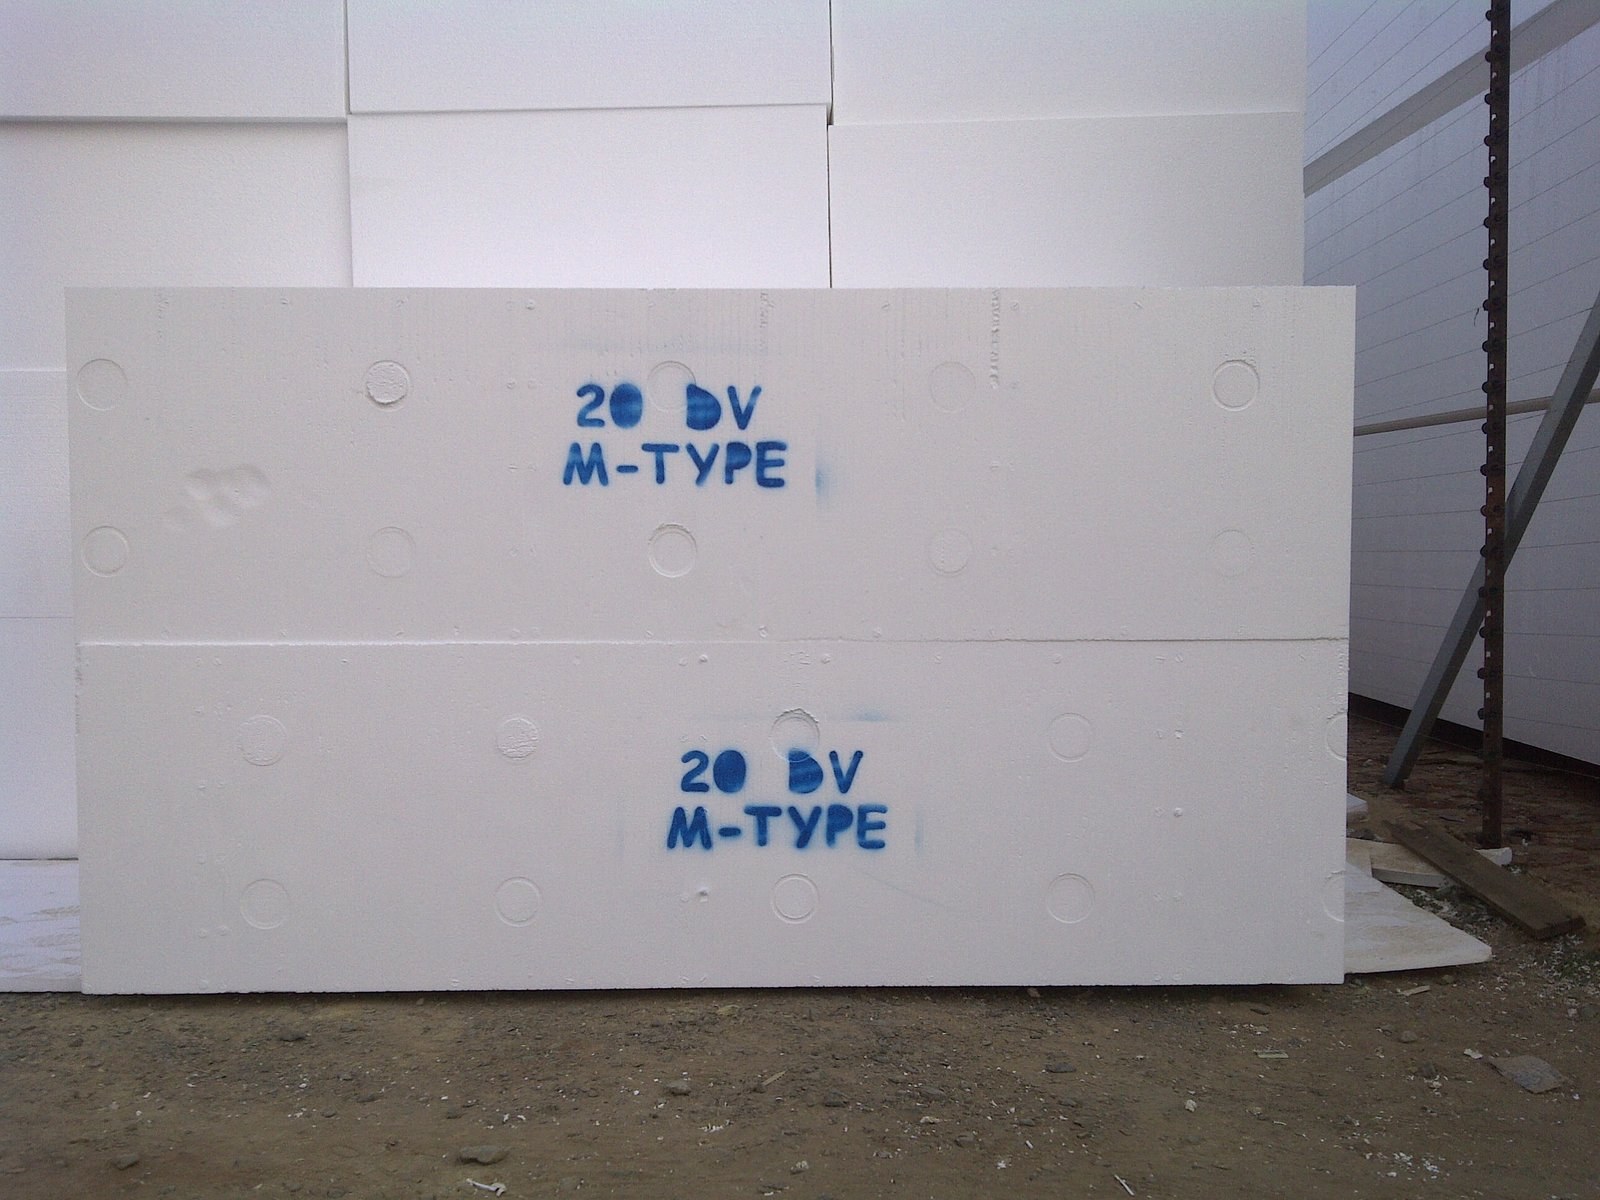
20 DV M-Type void former blocks stacked in front of a building, dusk lightPHOTO
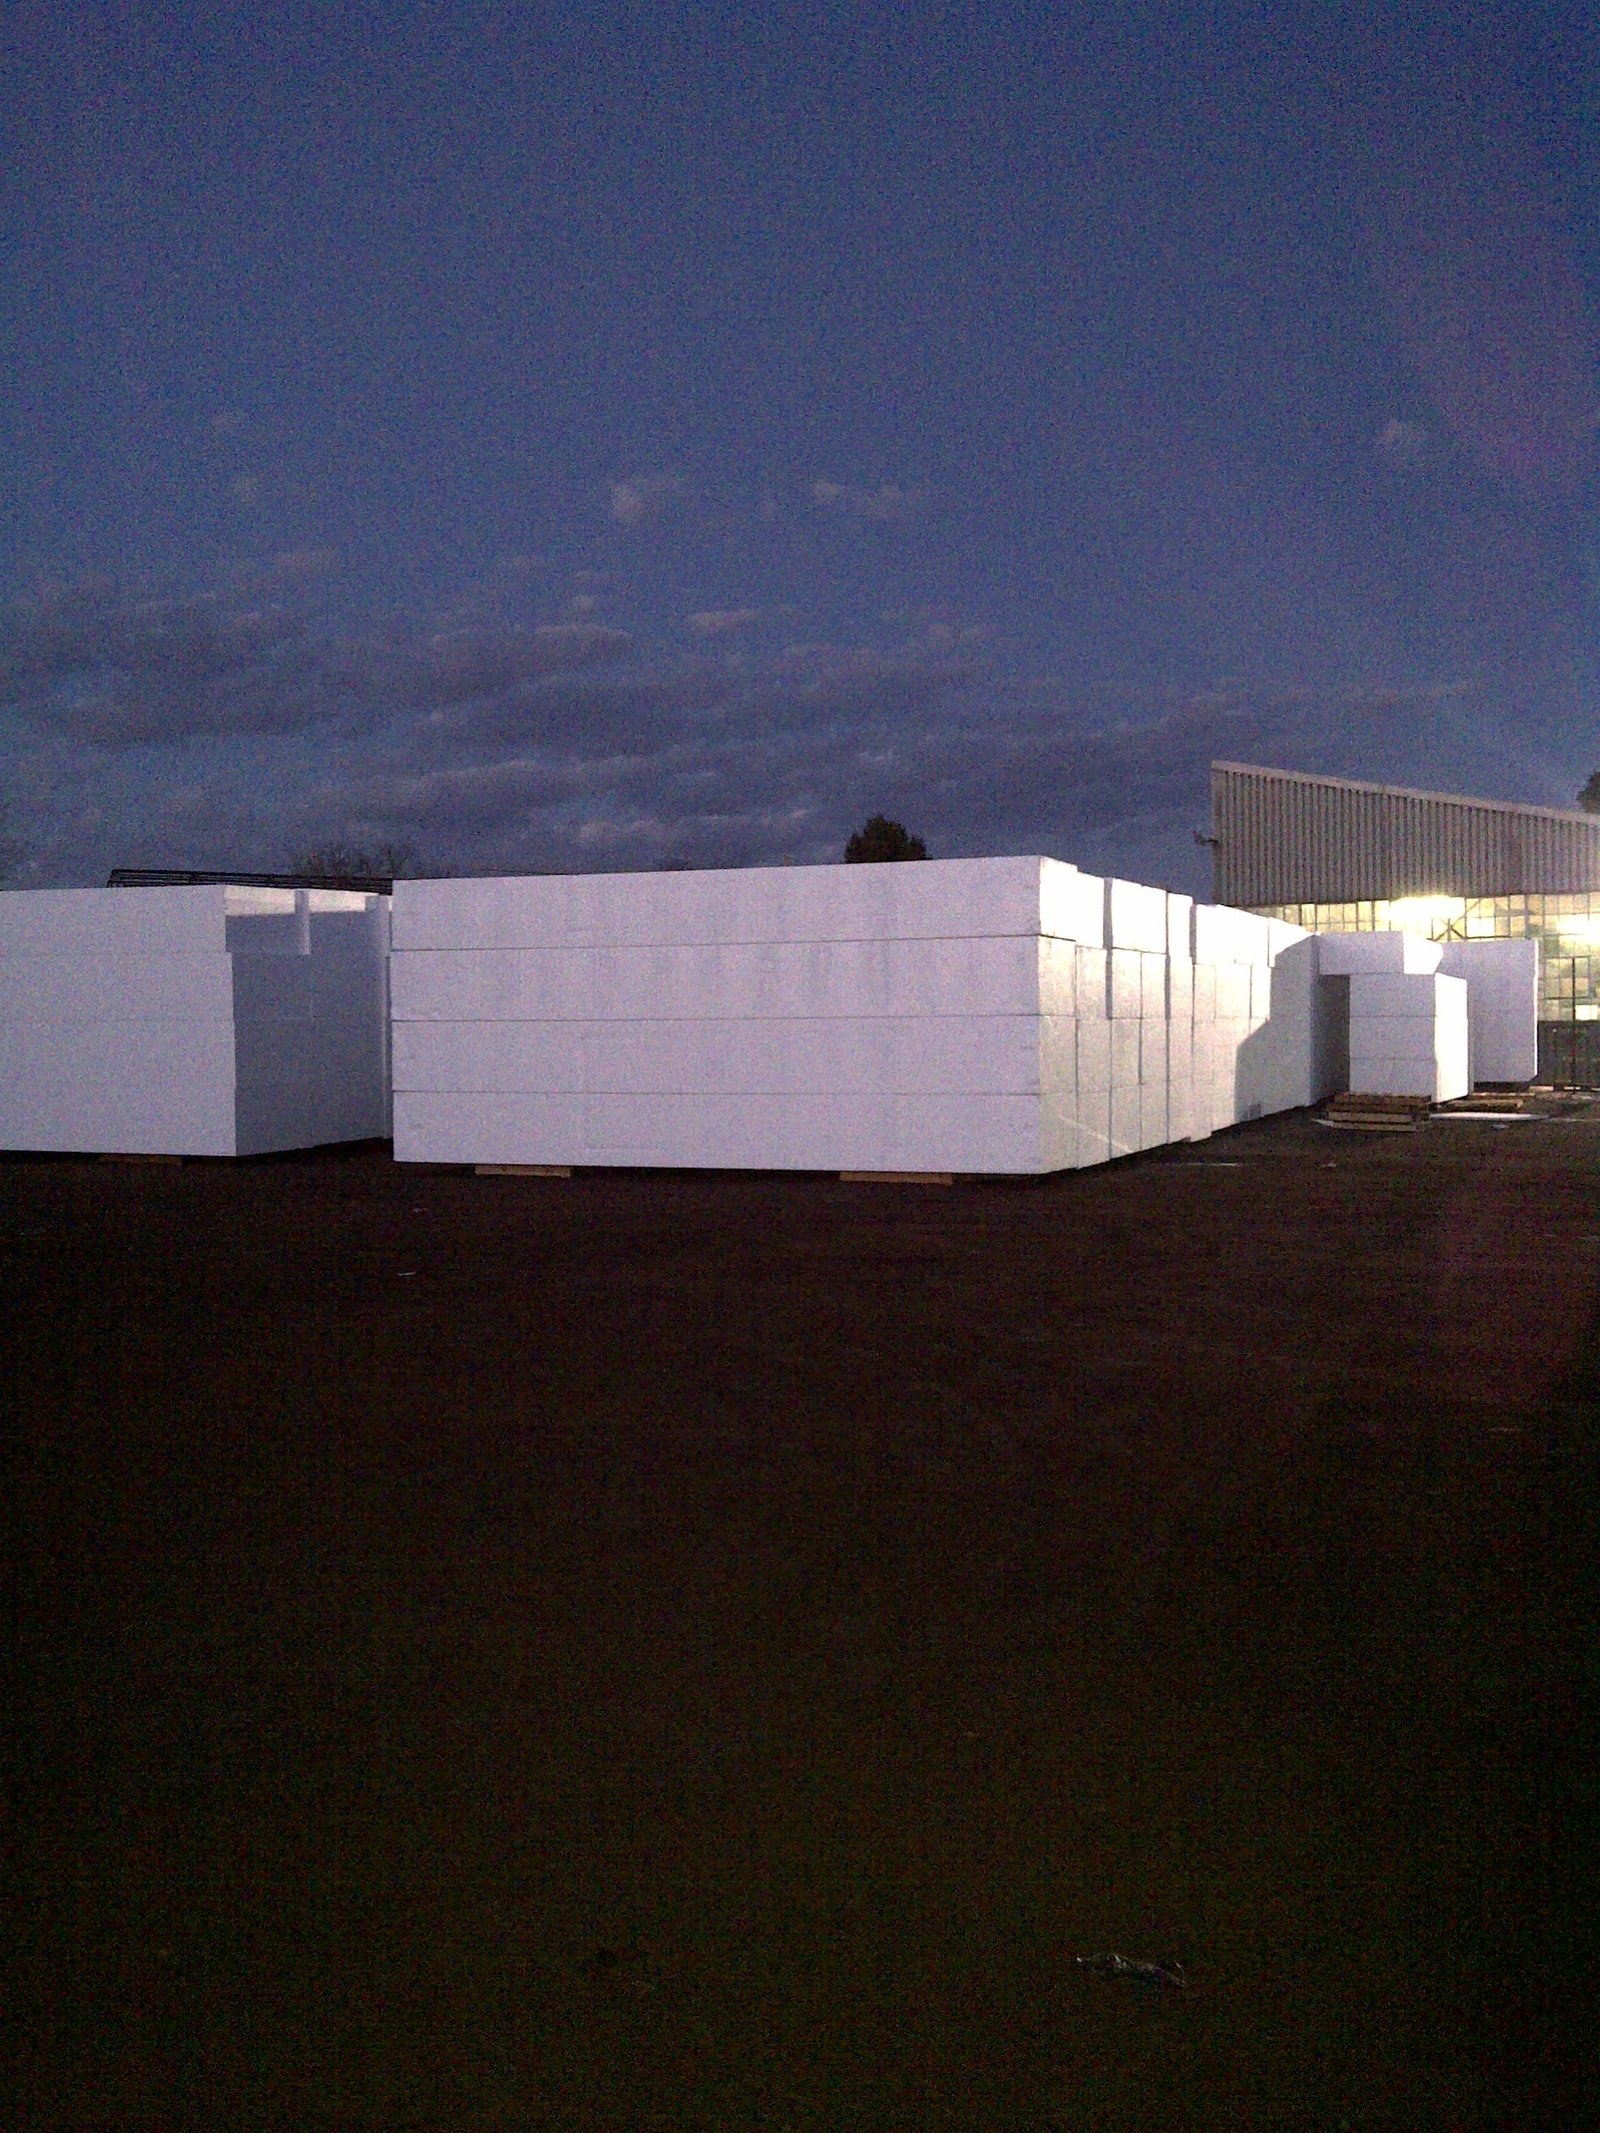
20 DV M-Type void former blocks stacked in front of a building, dusk lightTechnoblock Slab Blocks & Void Formers
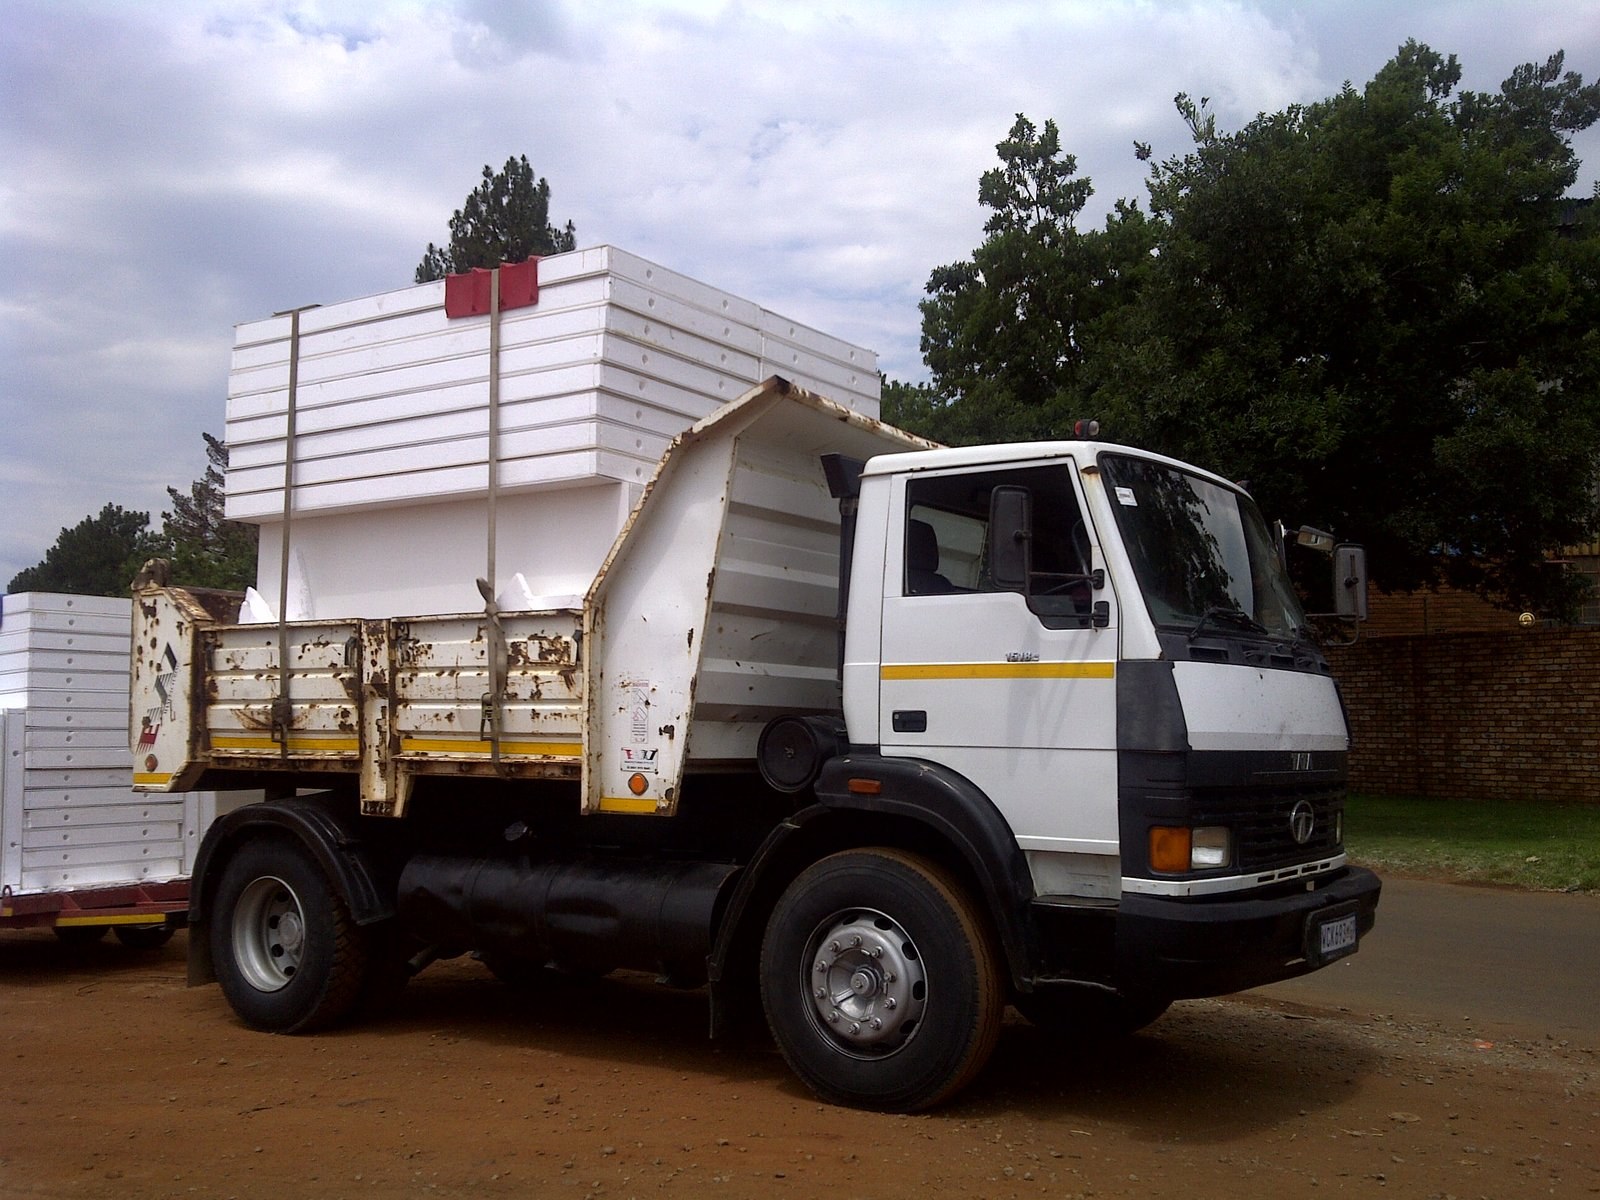
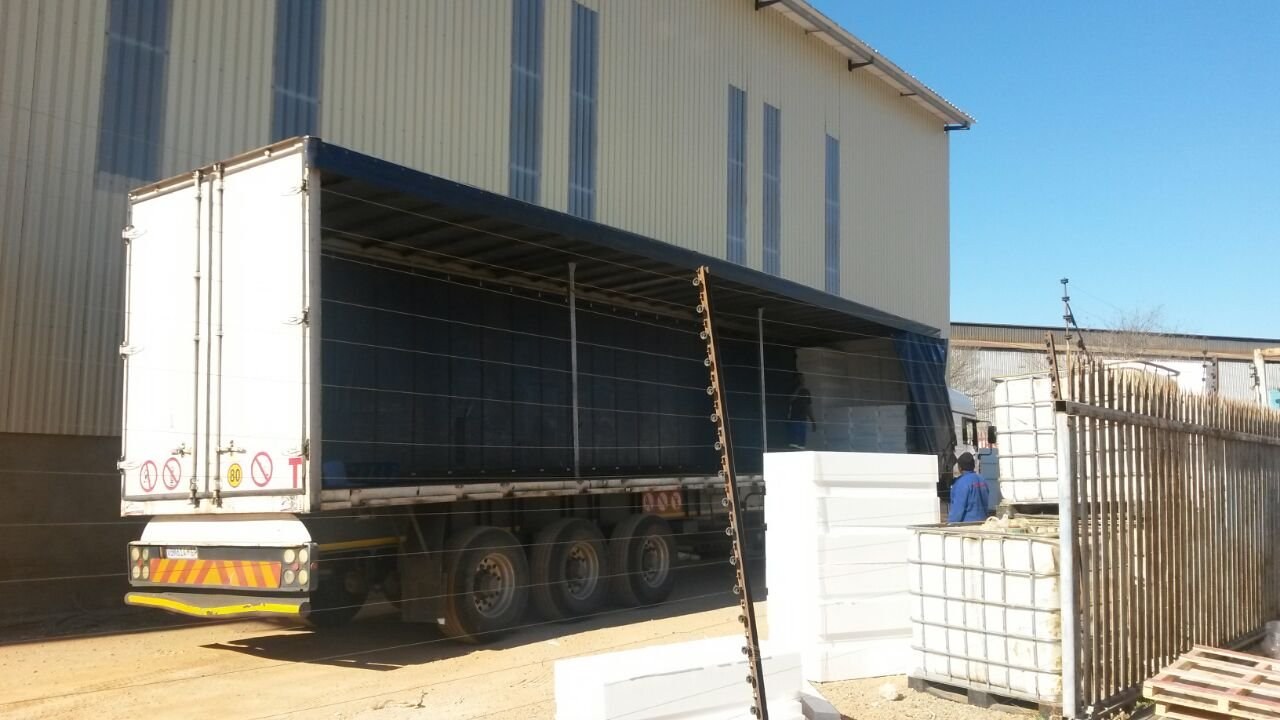
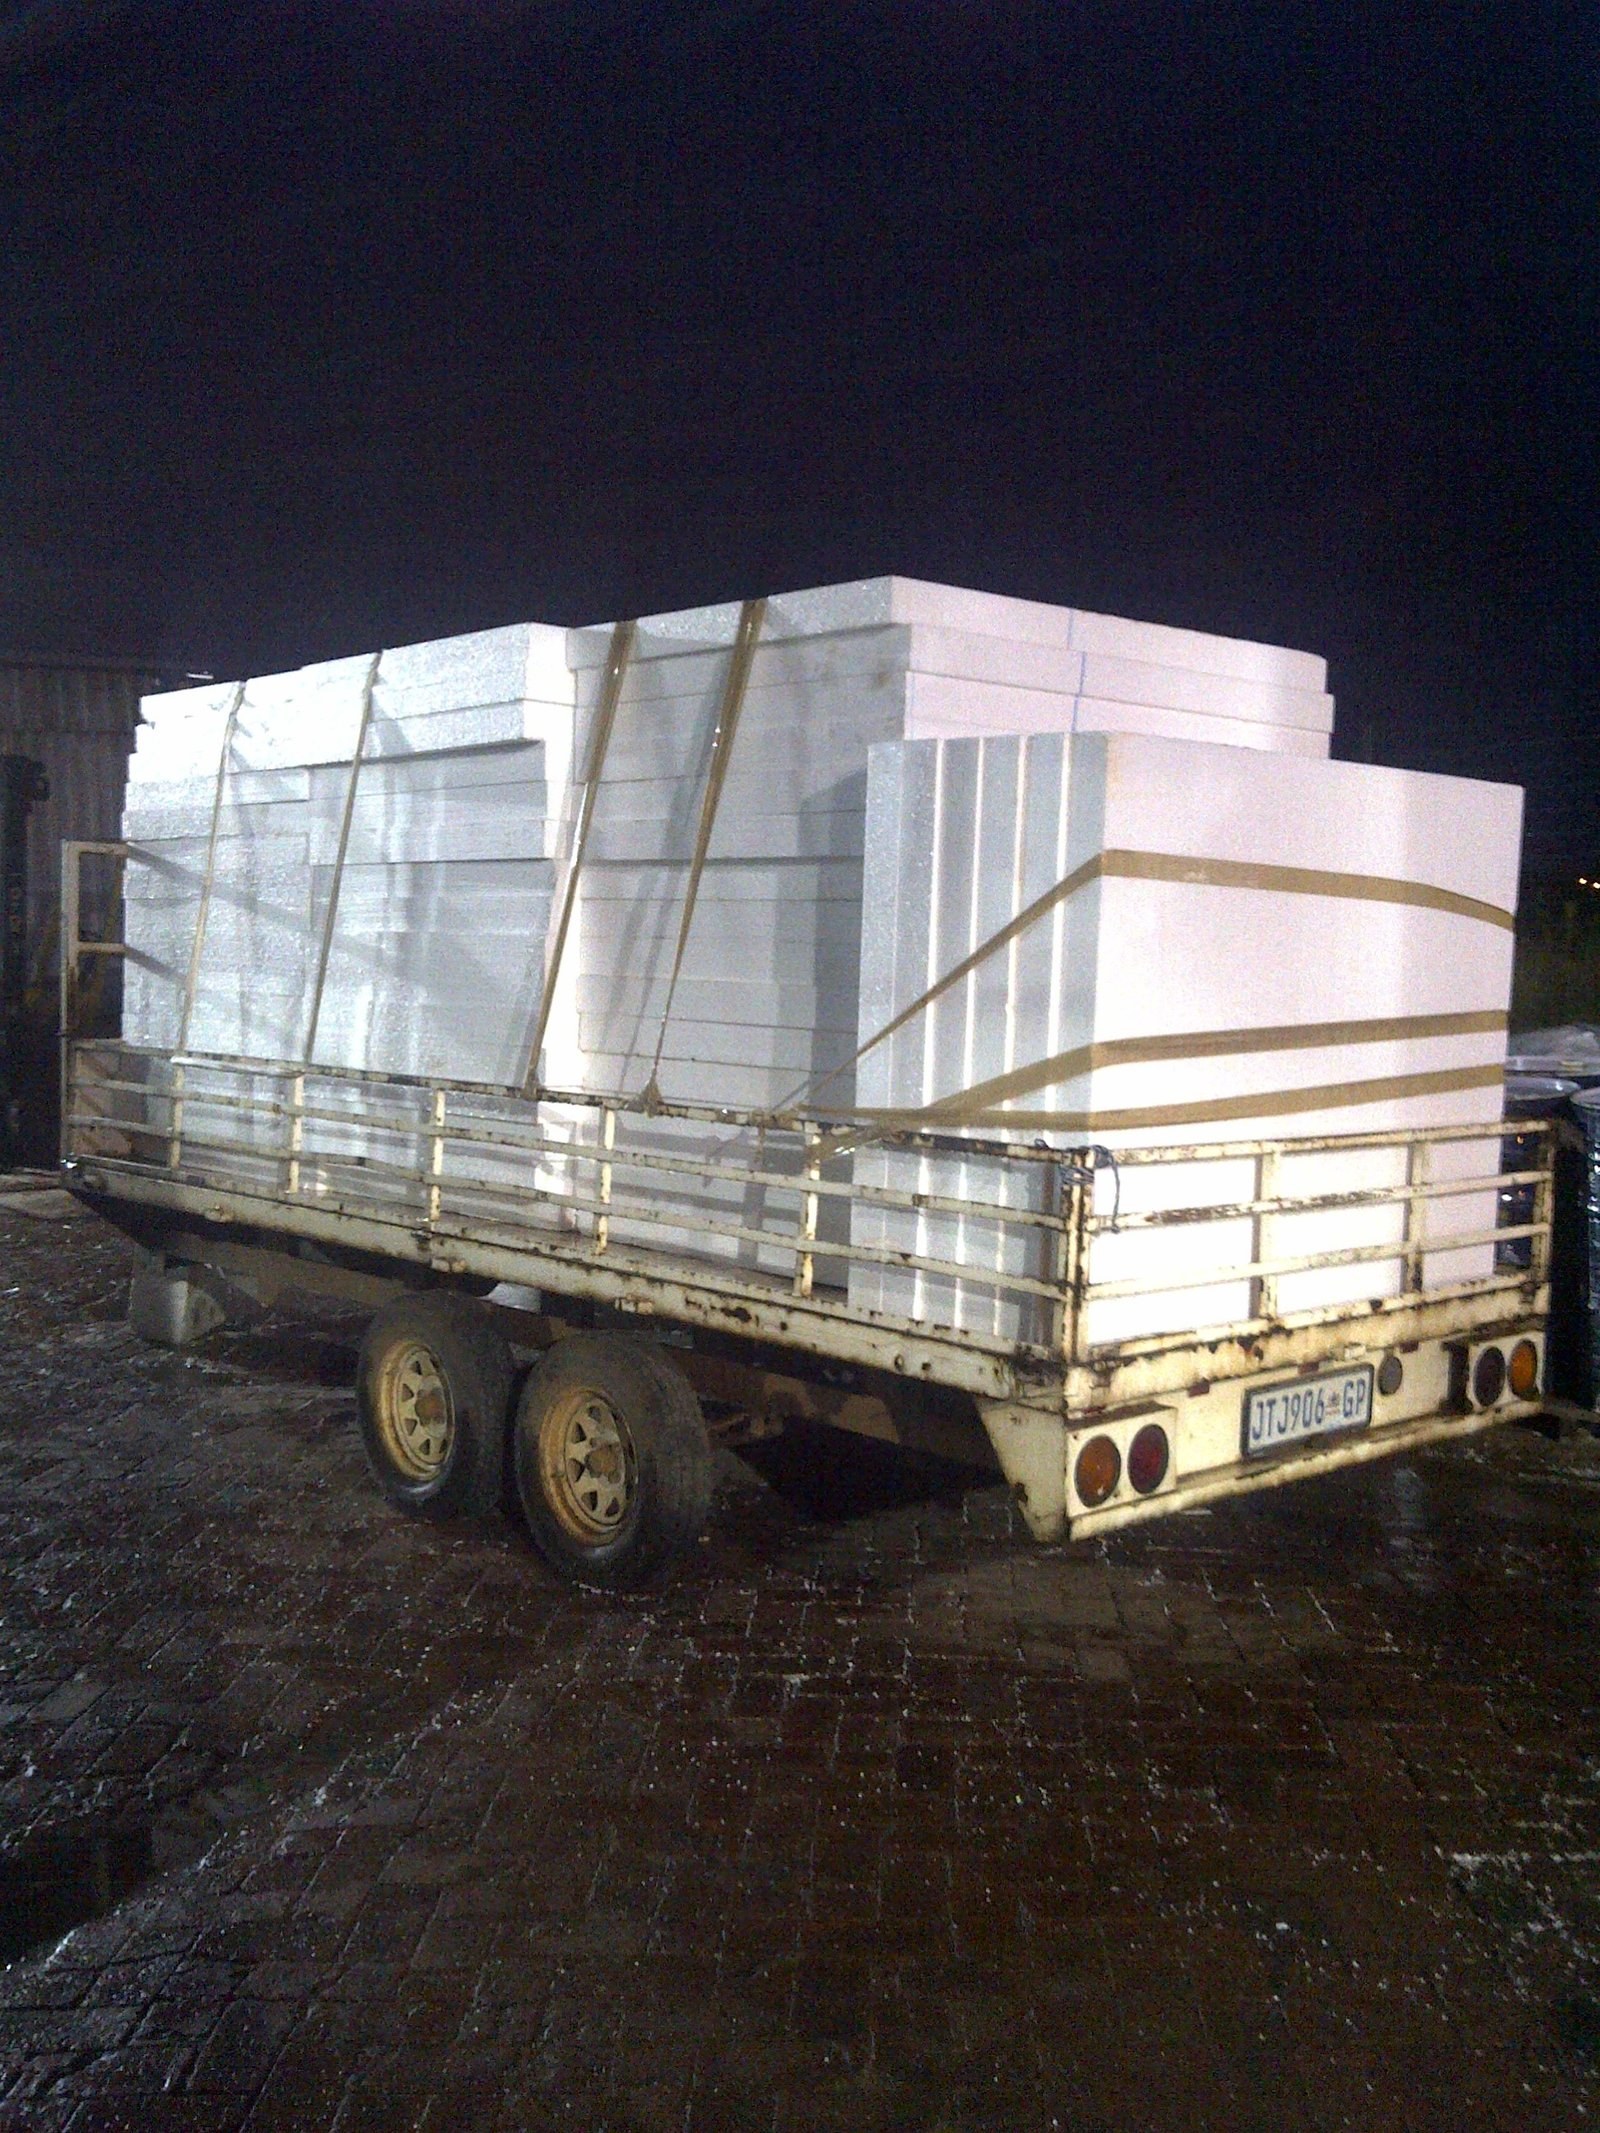
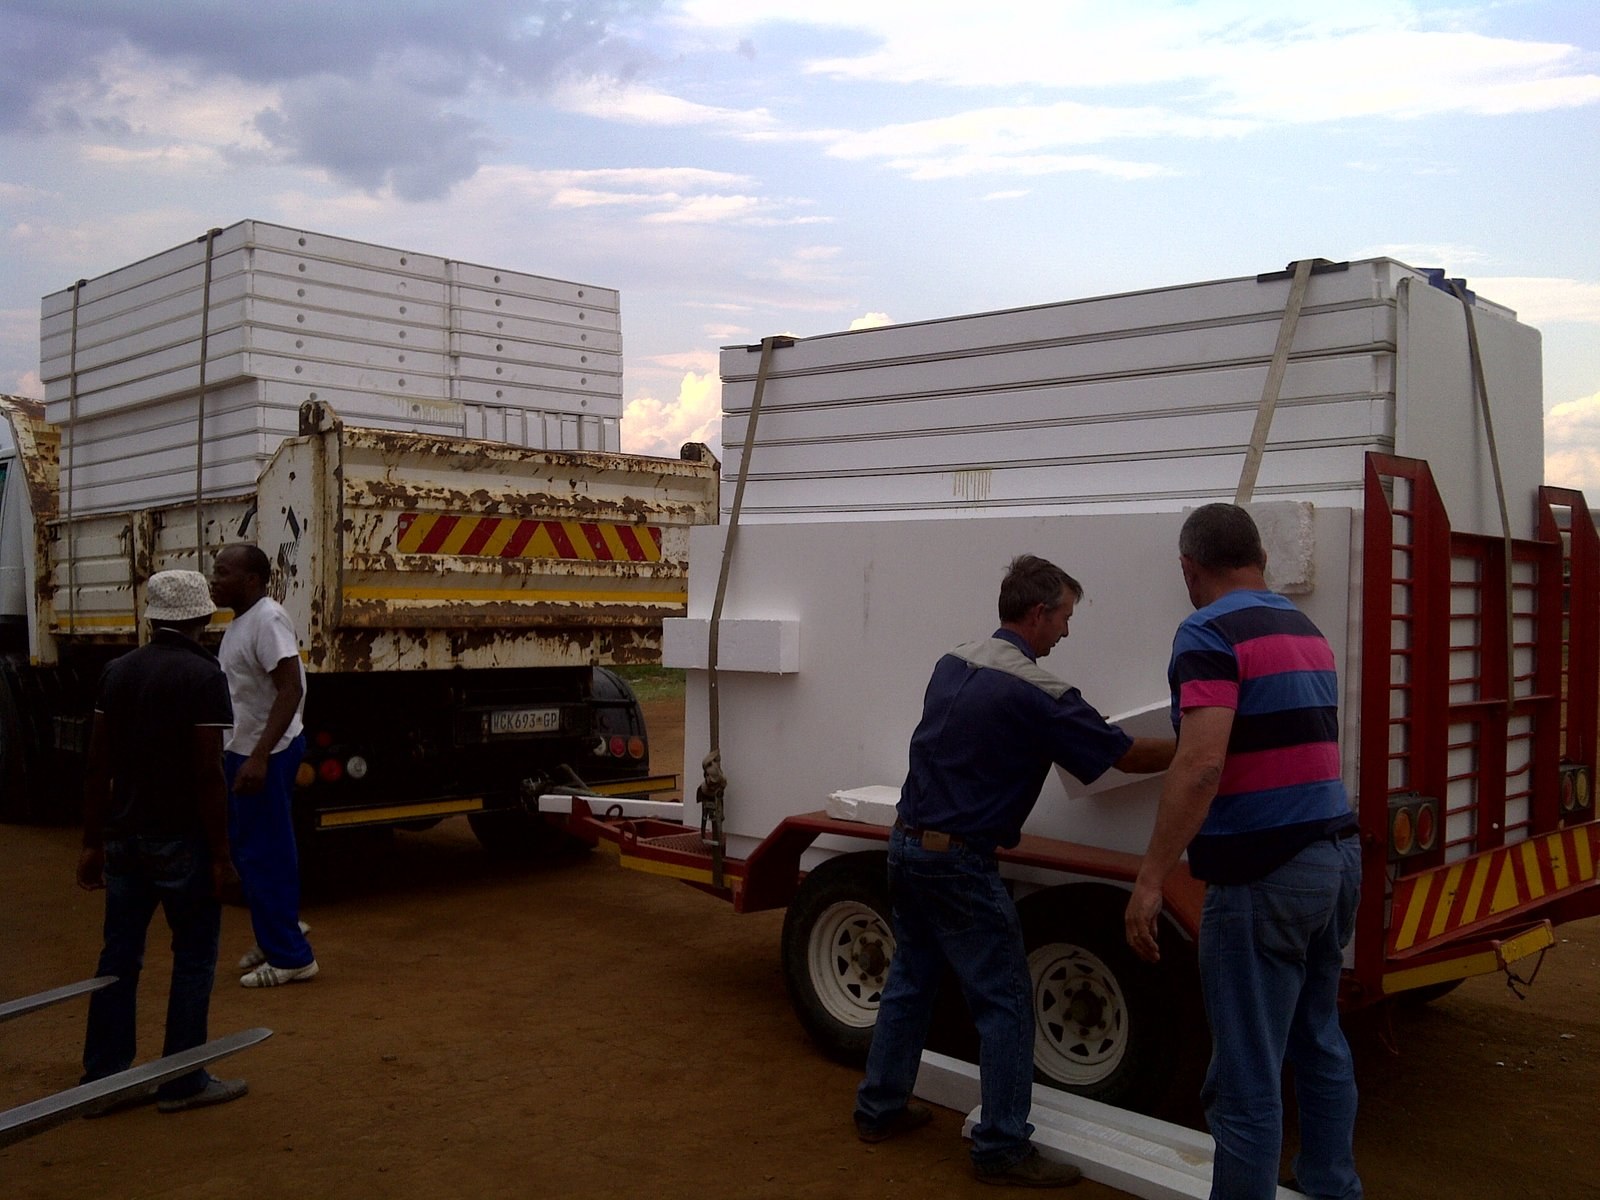
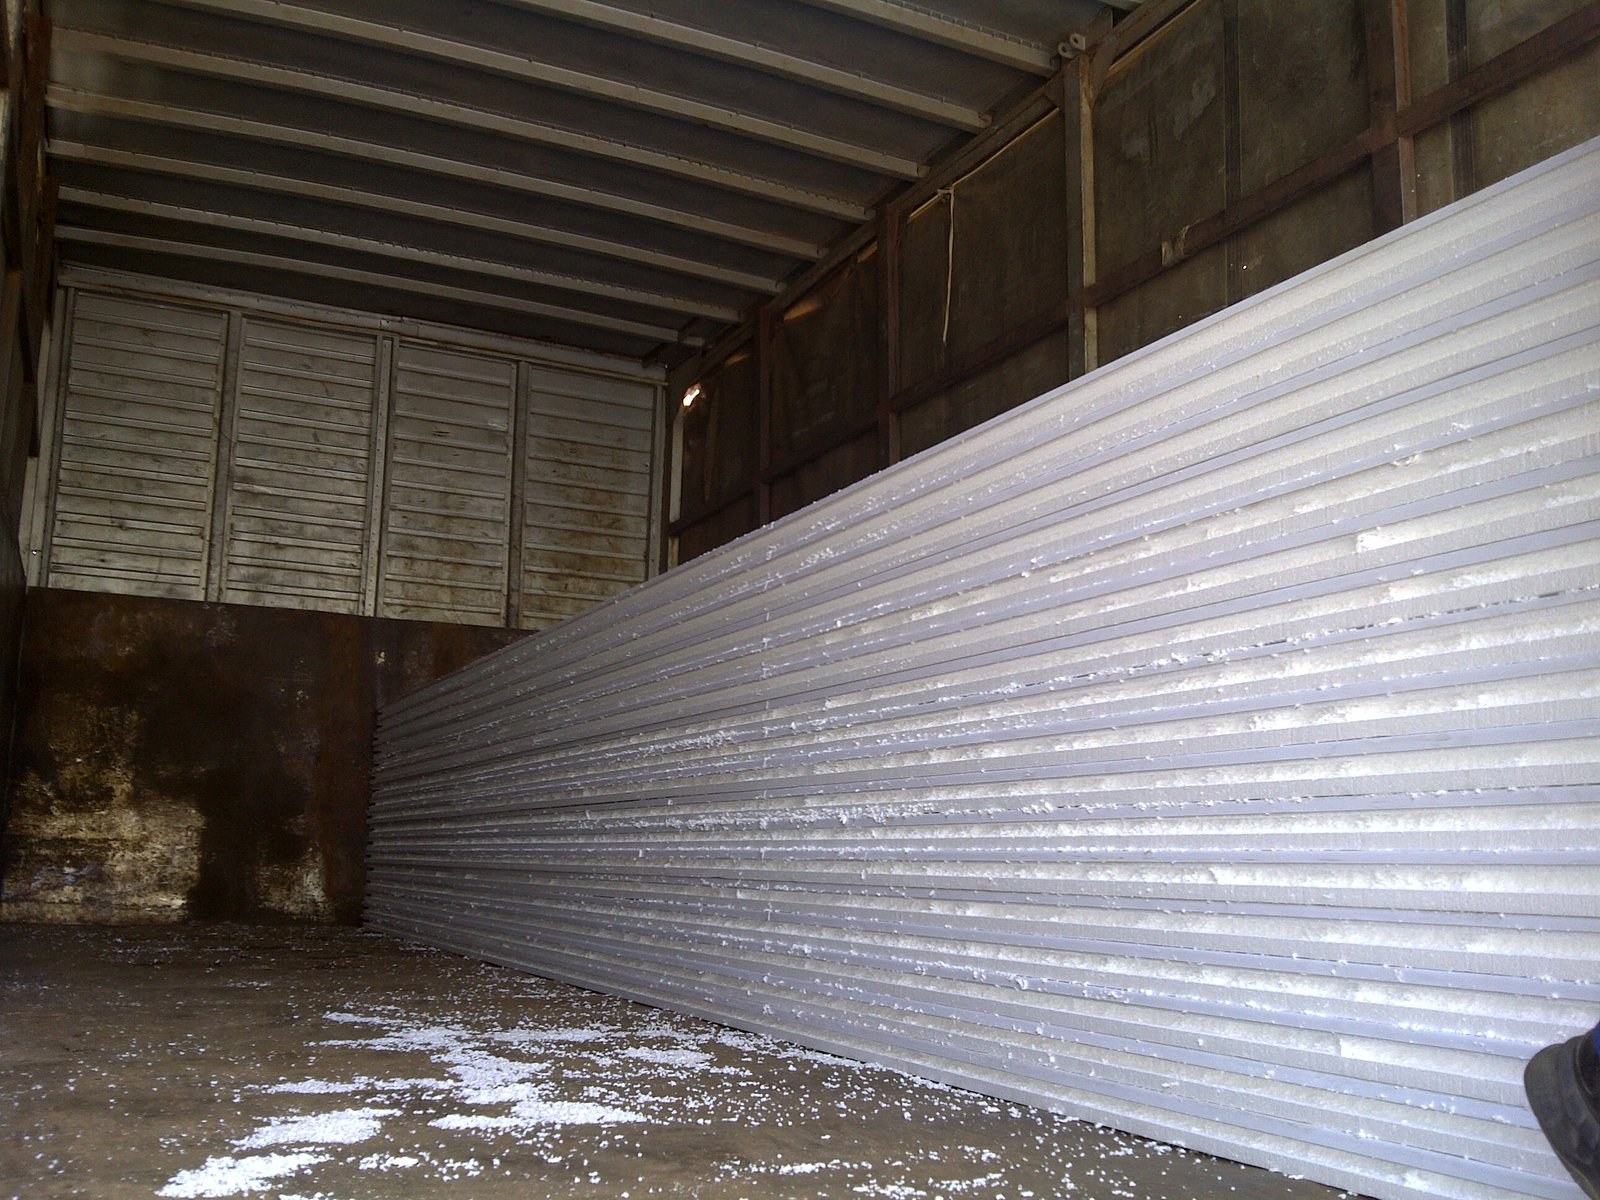
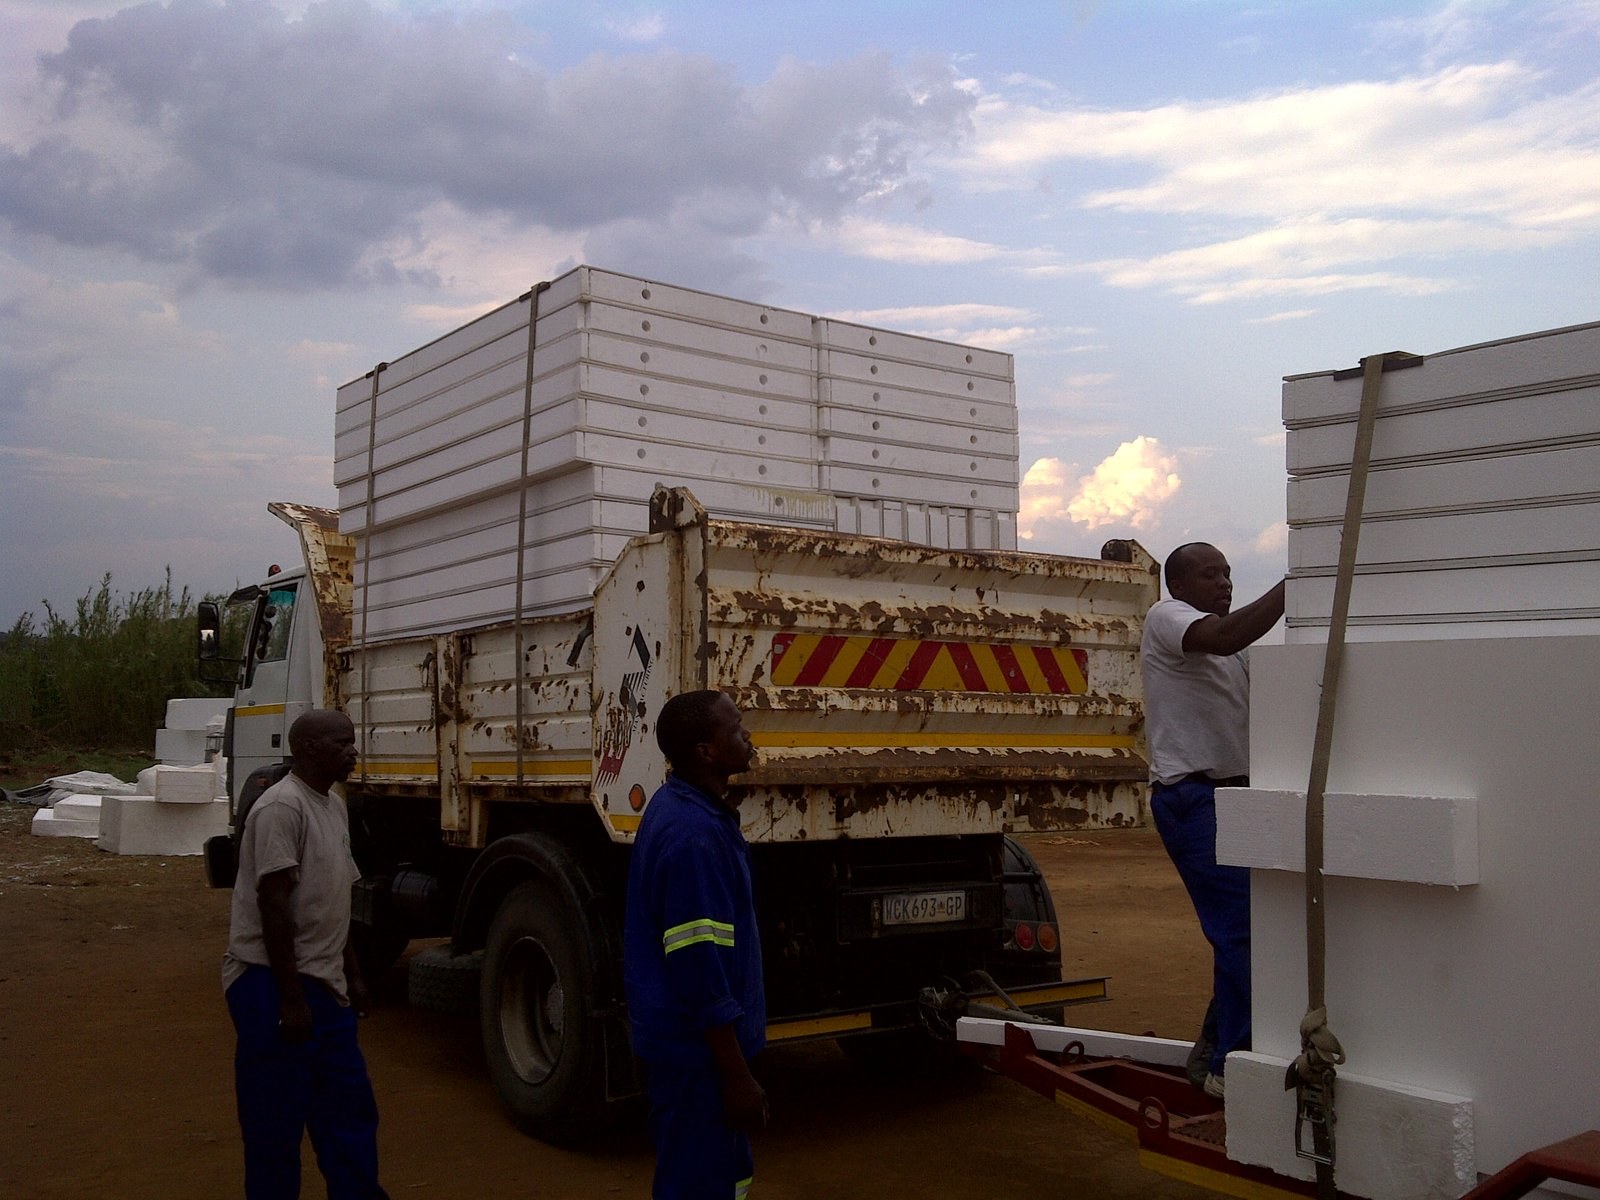
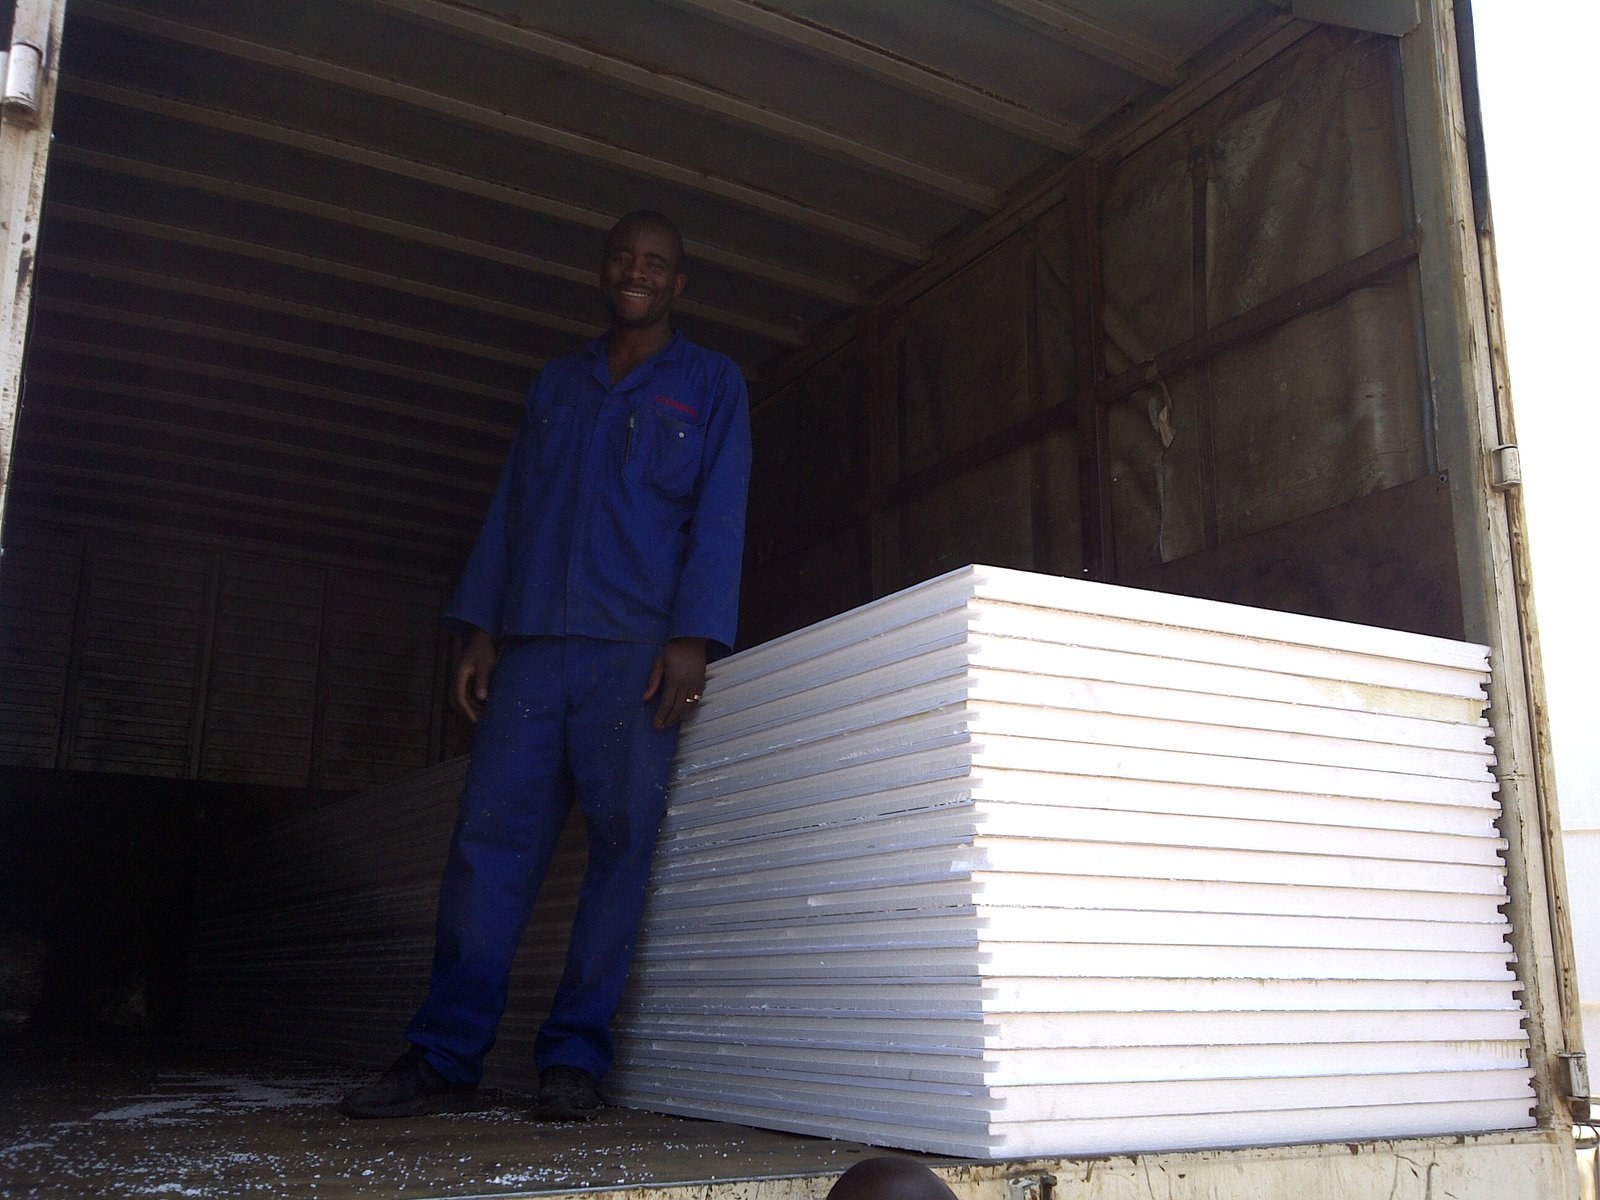
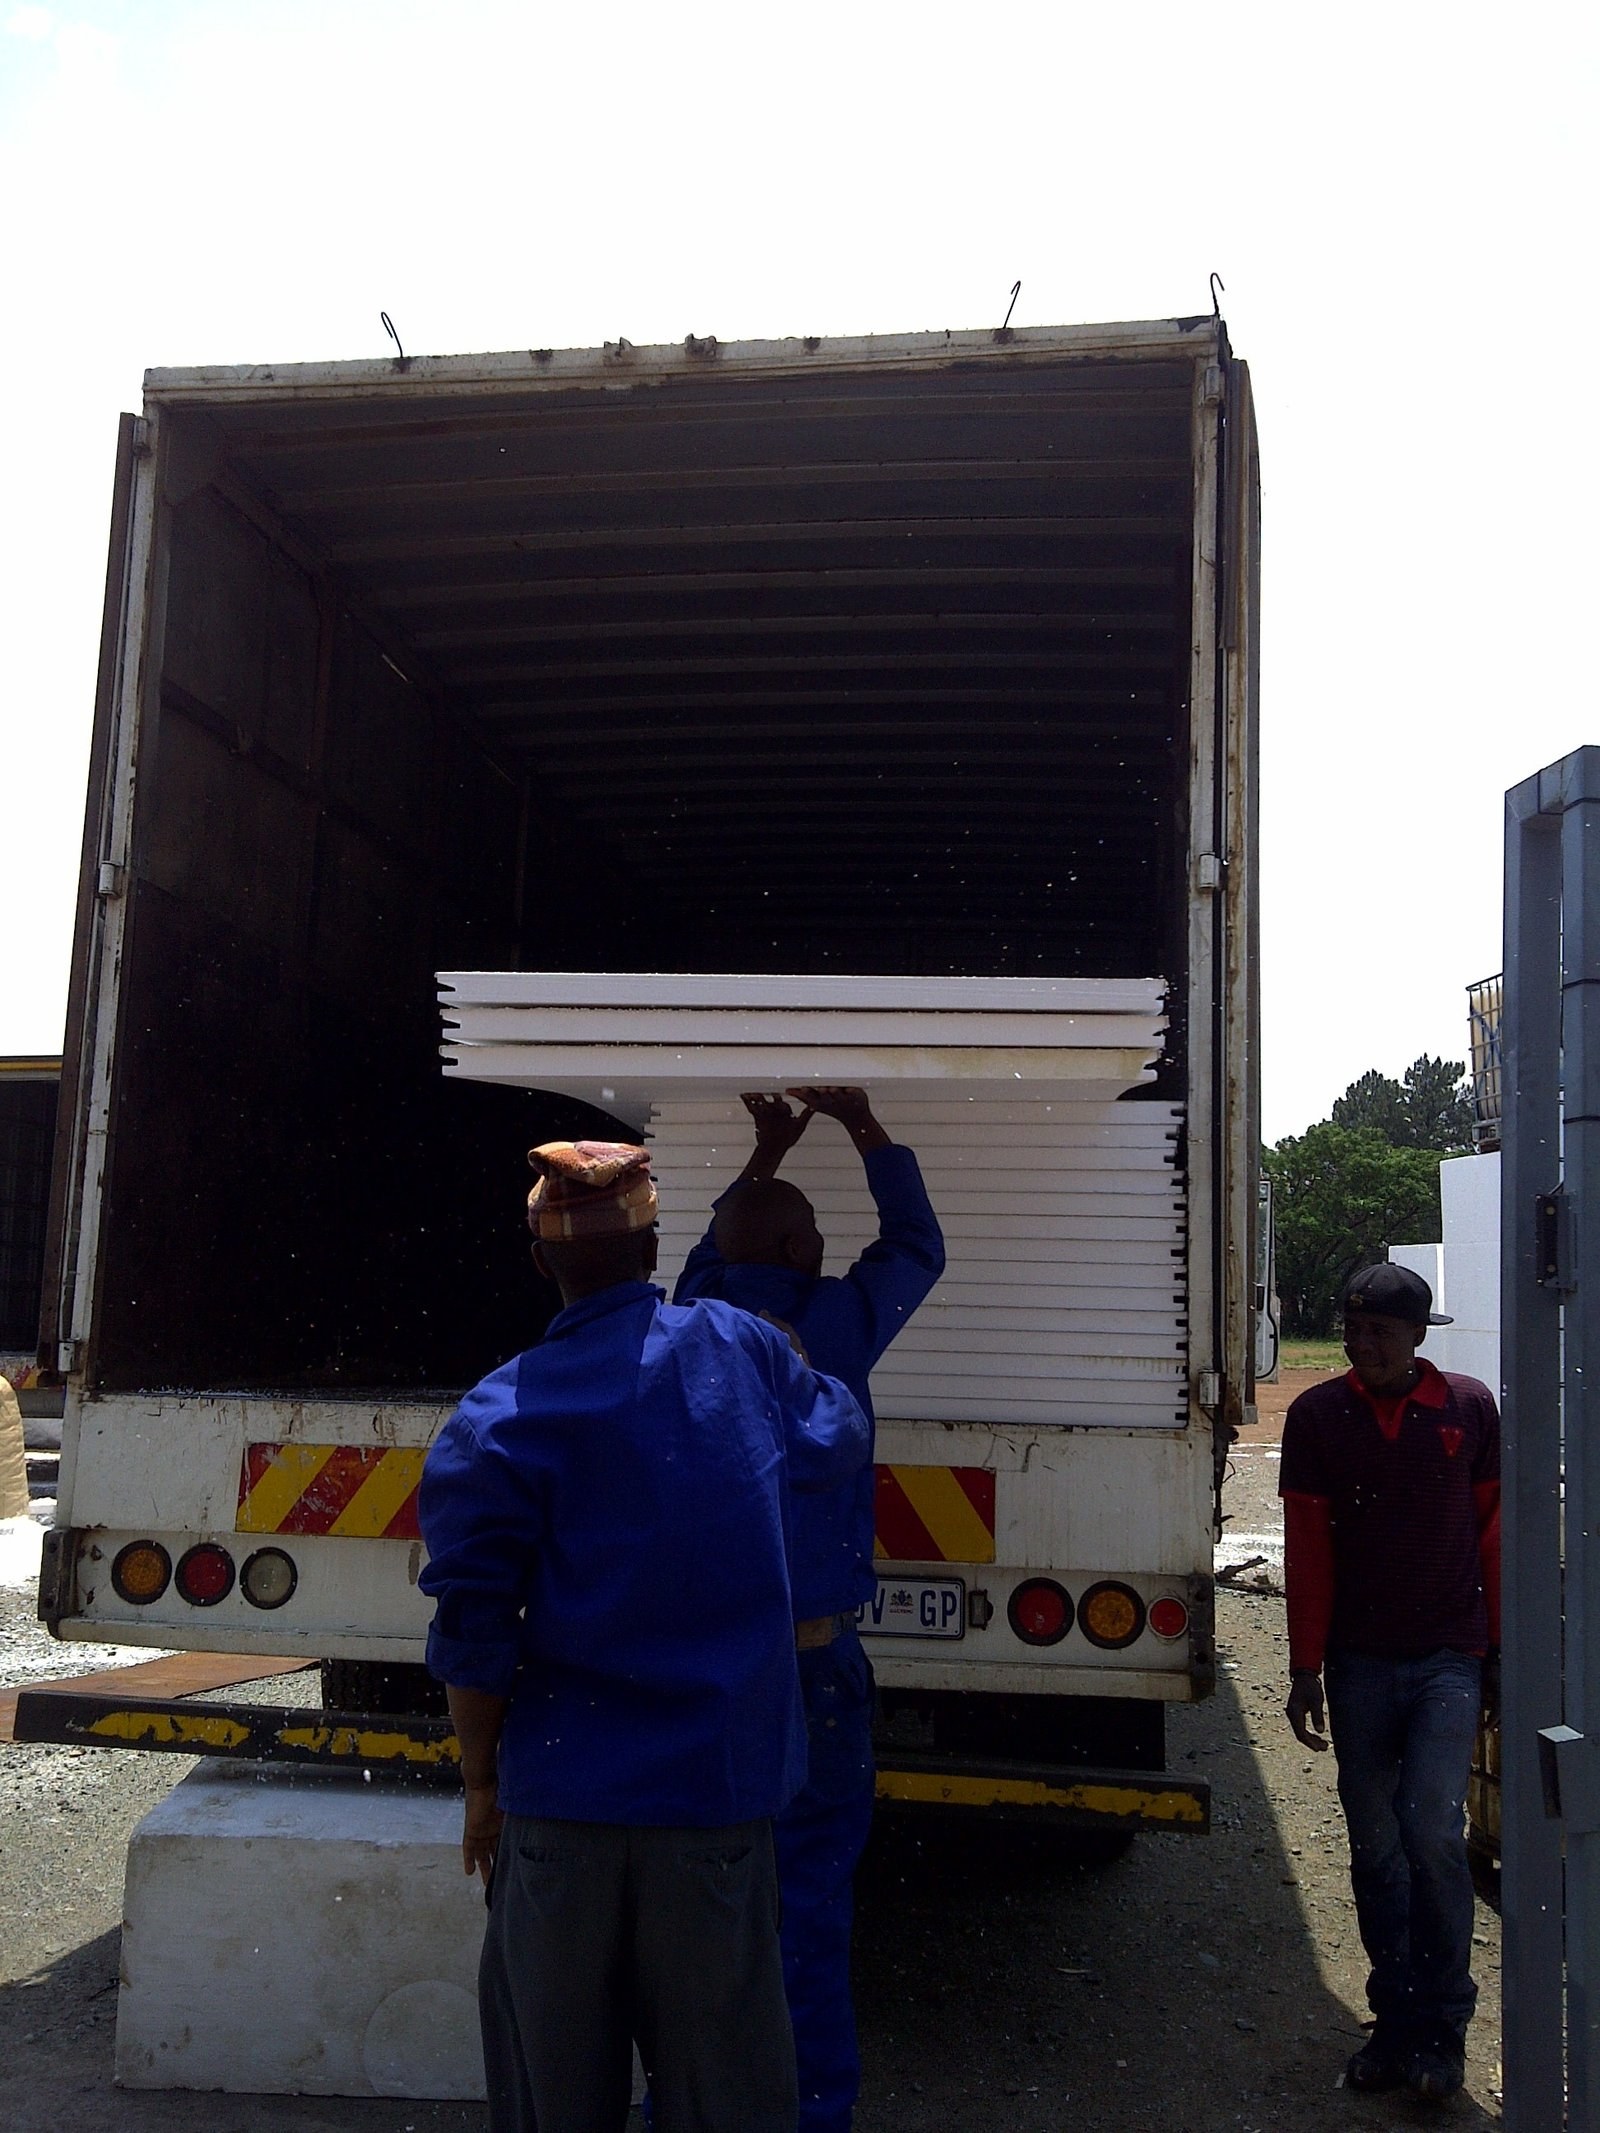
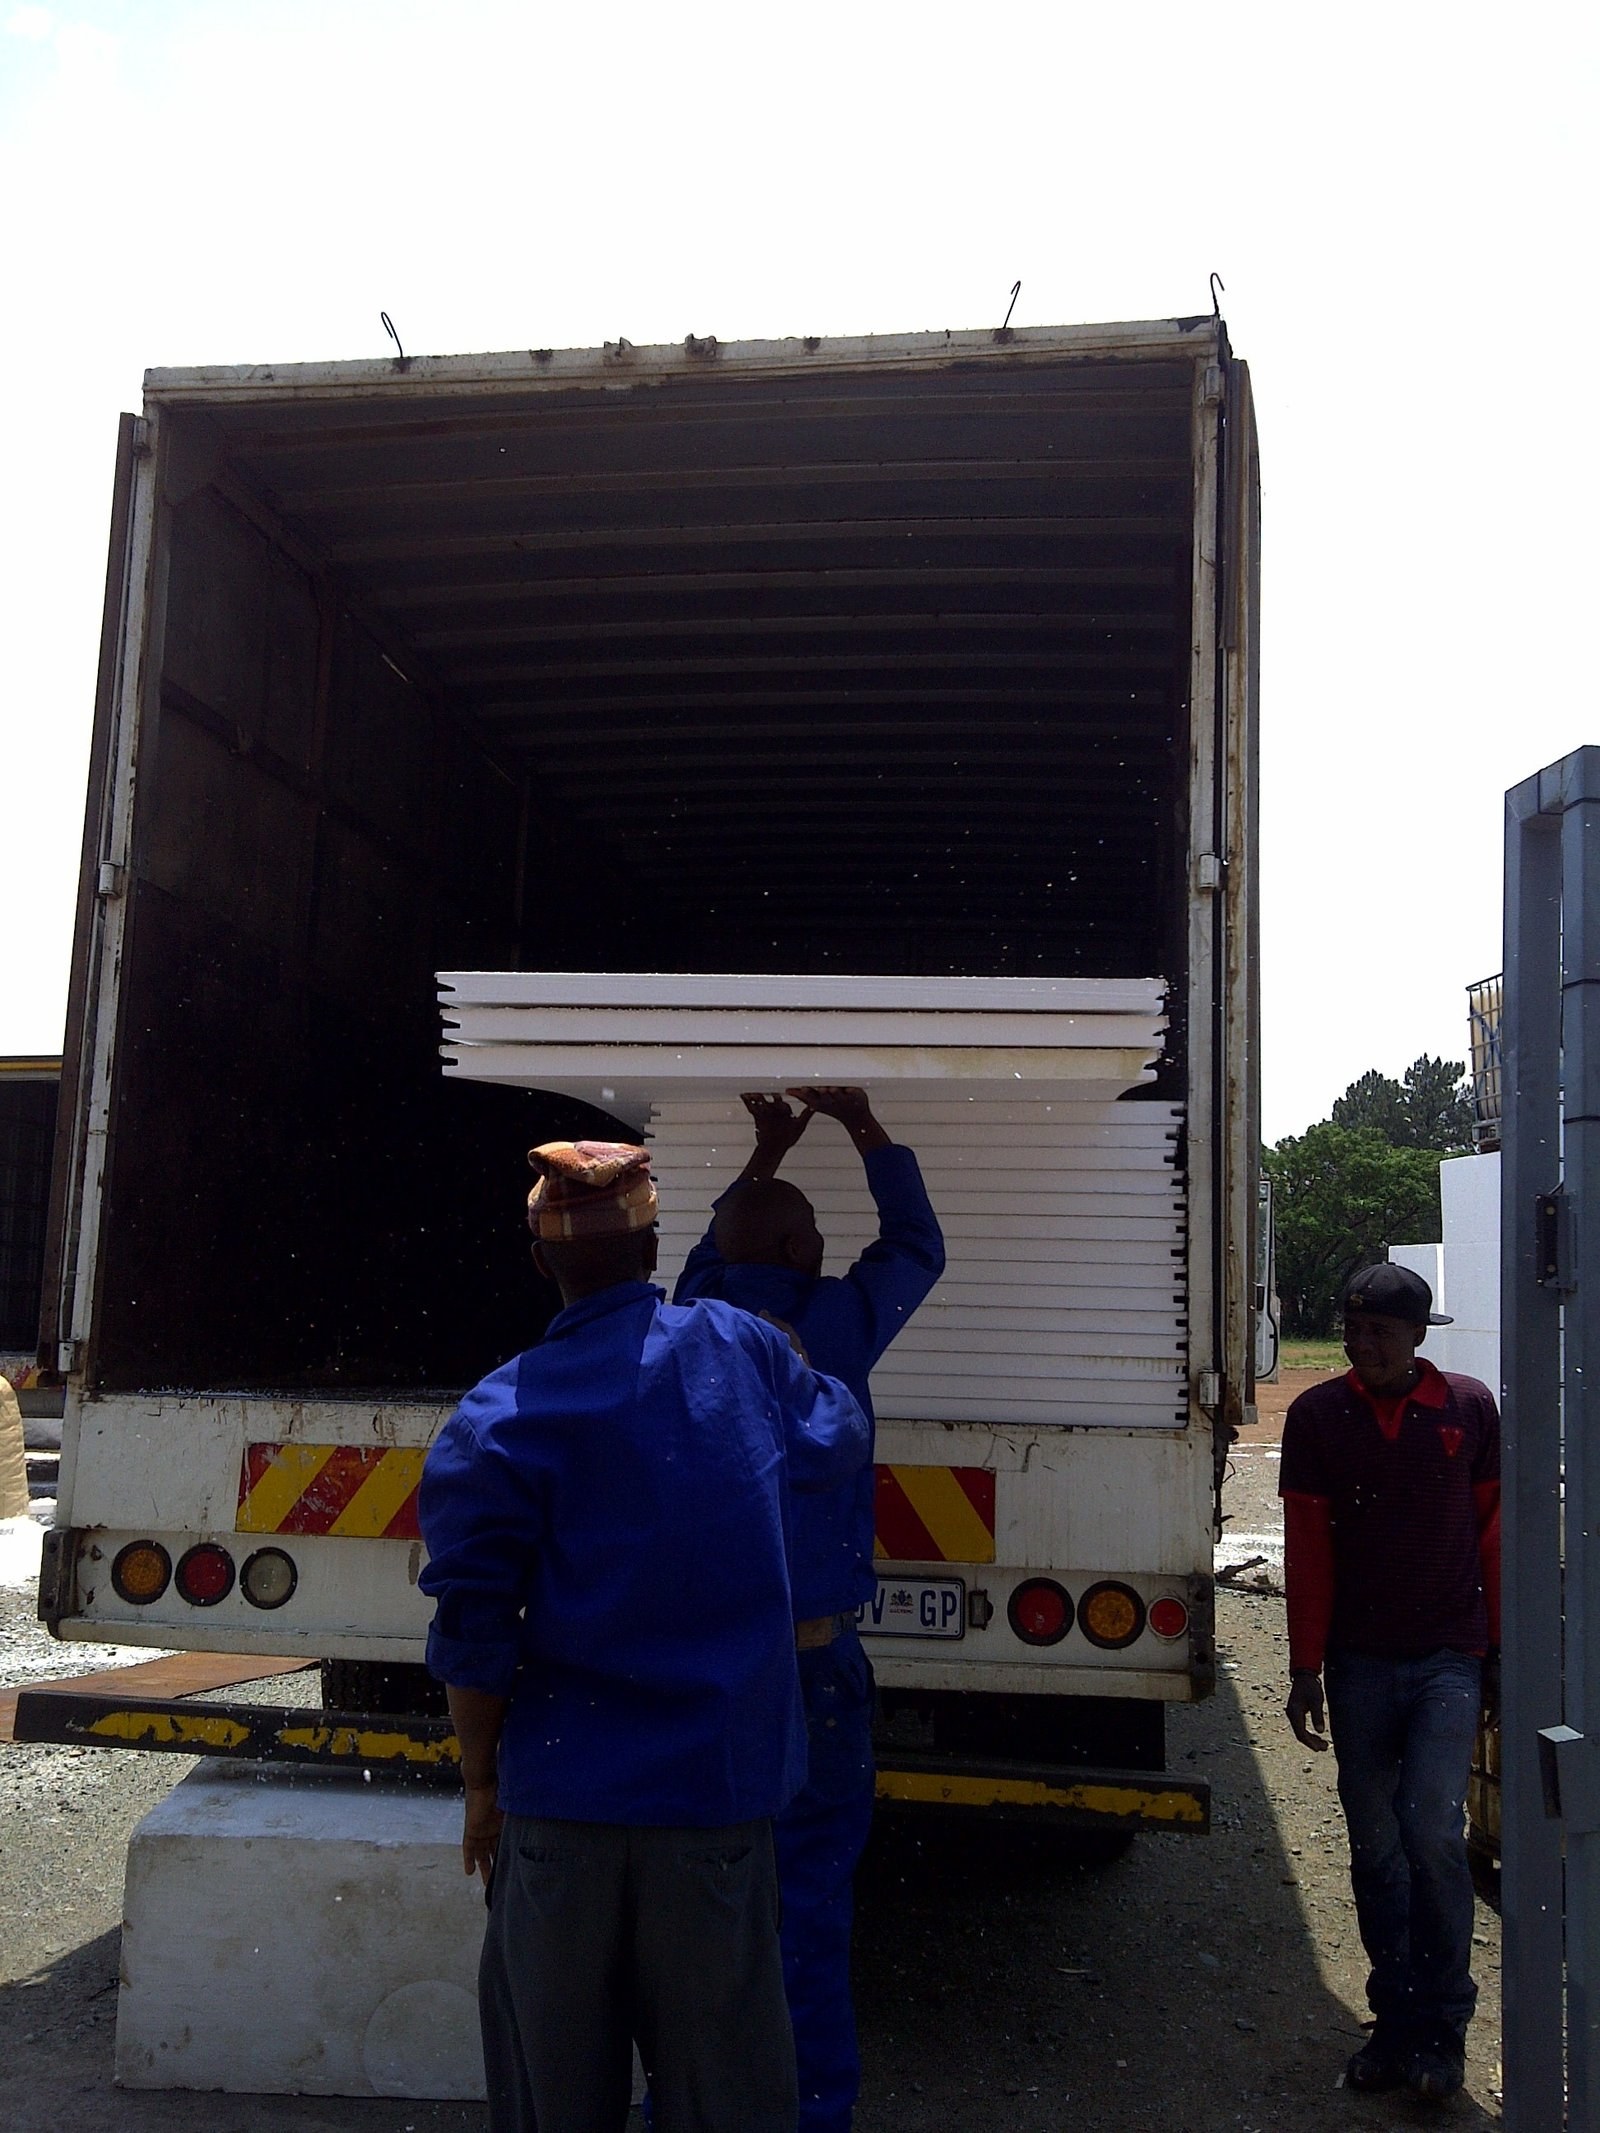
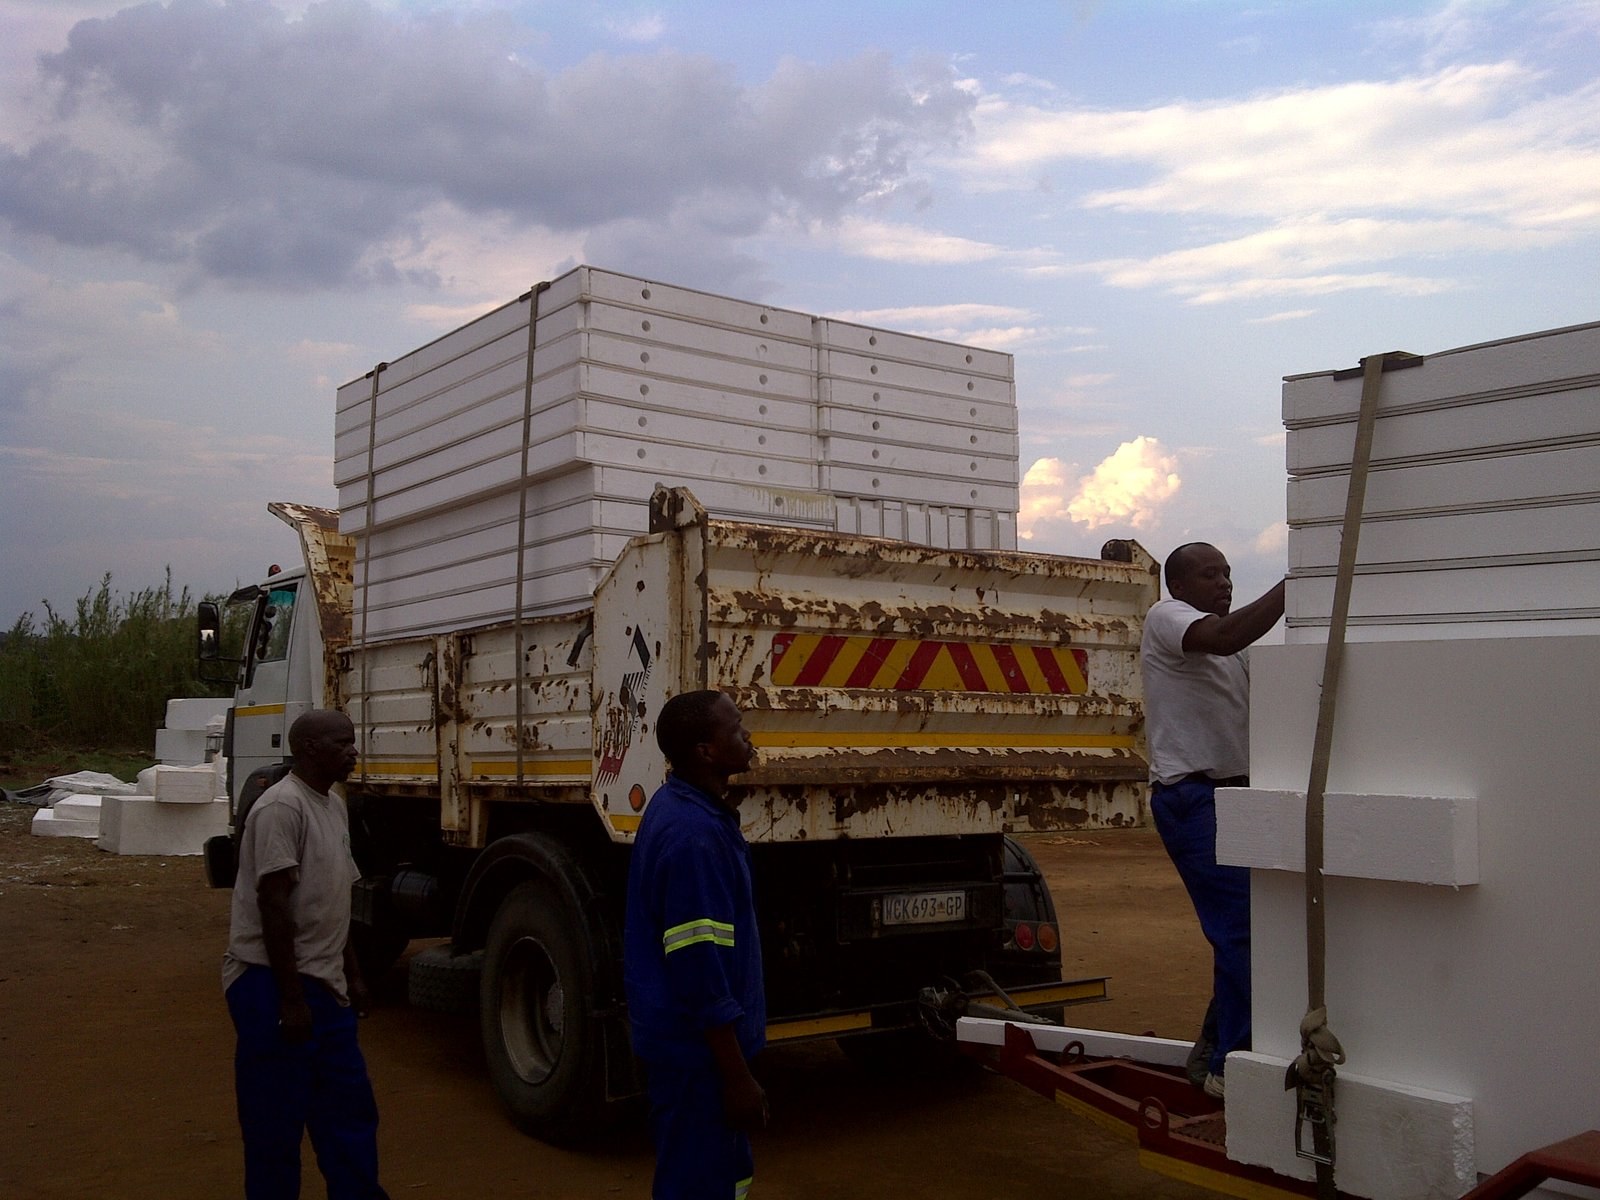
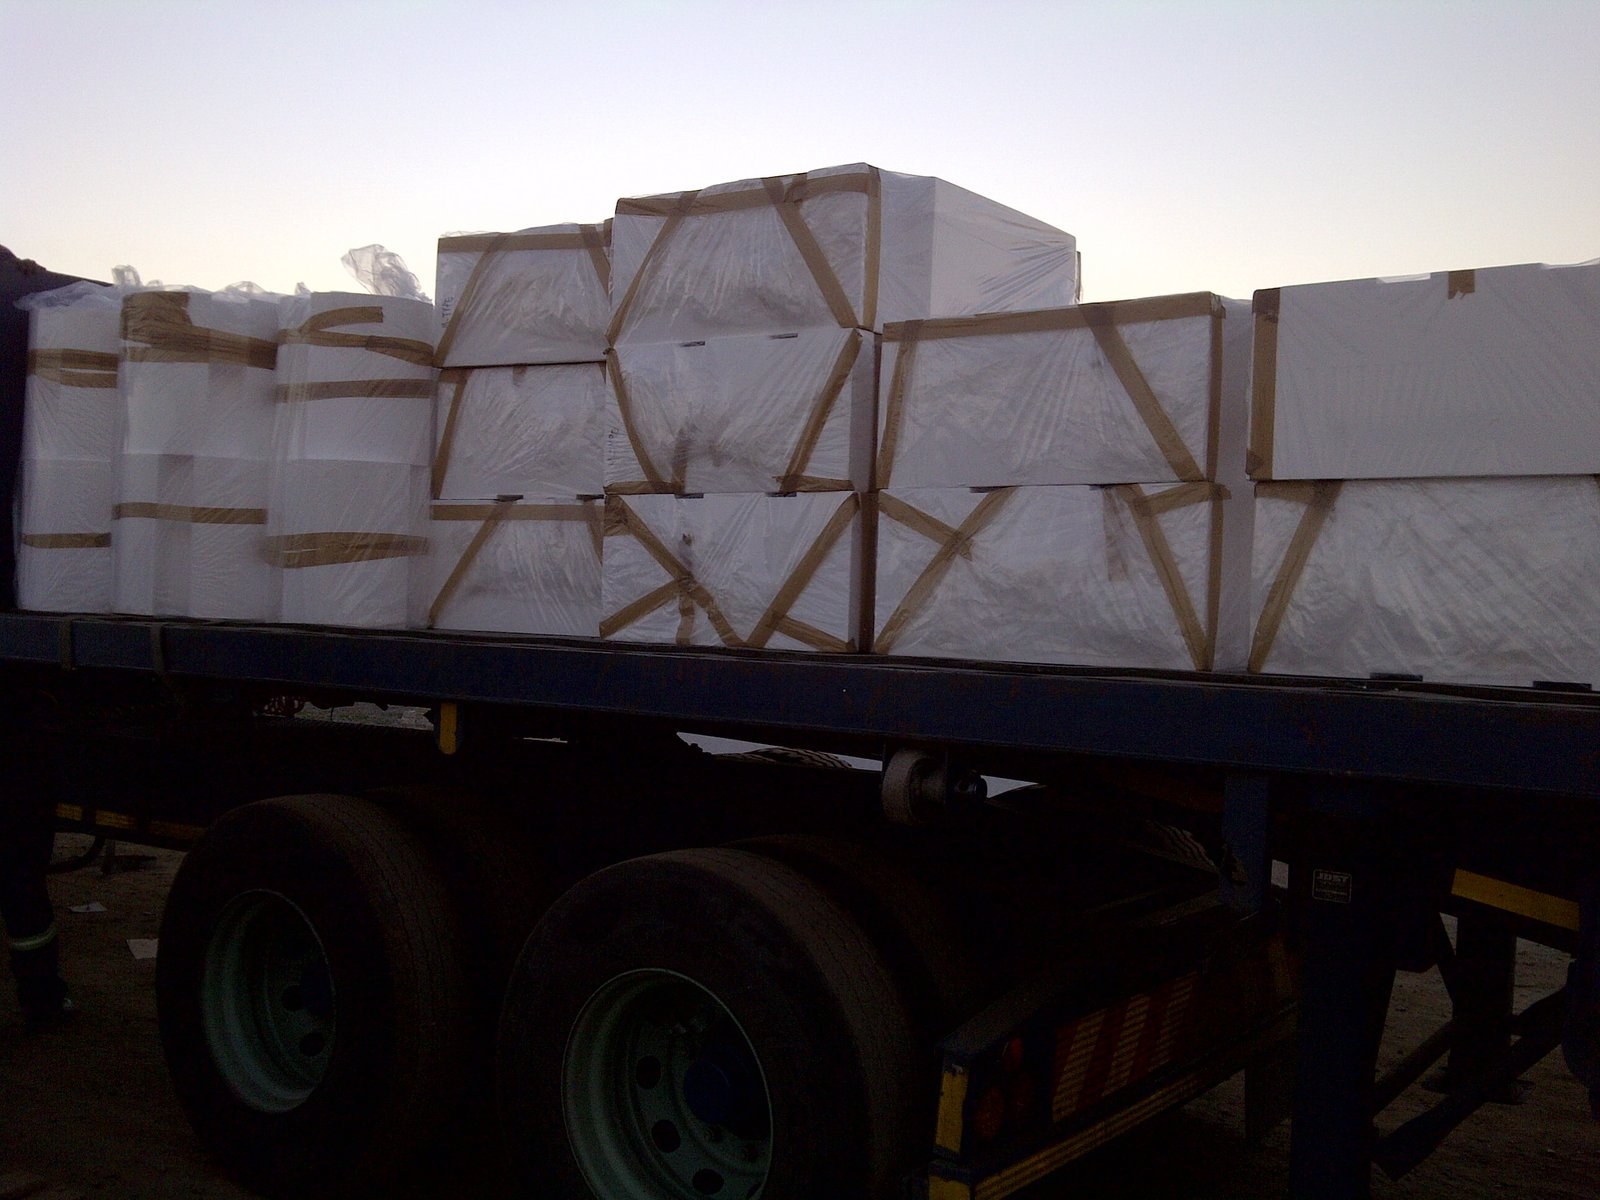
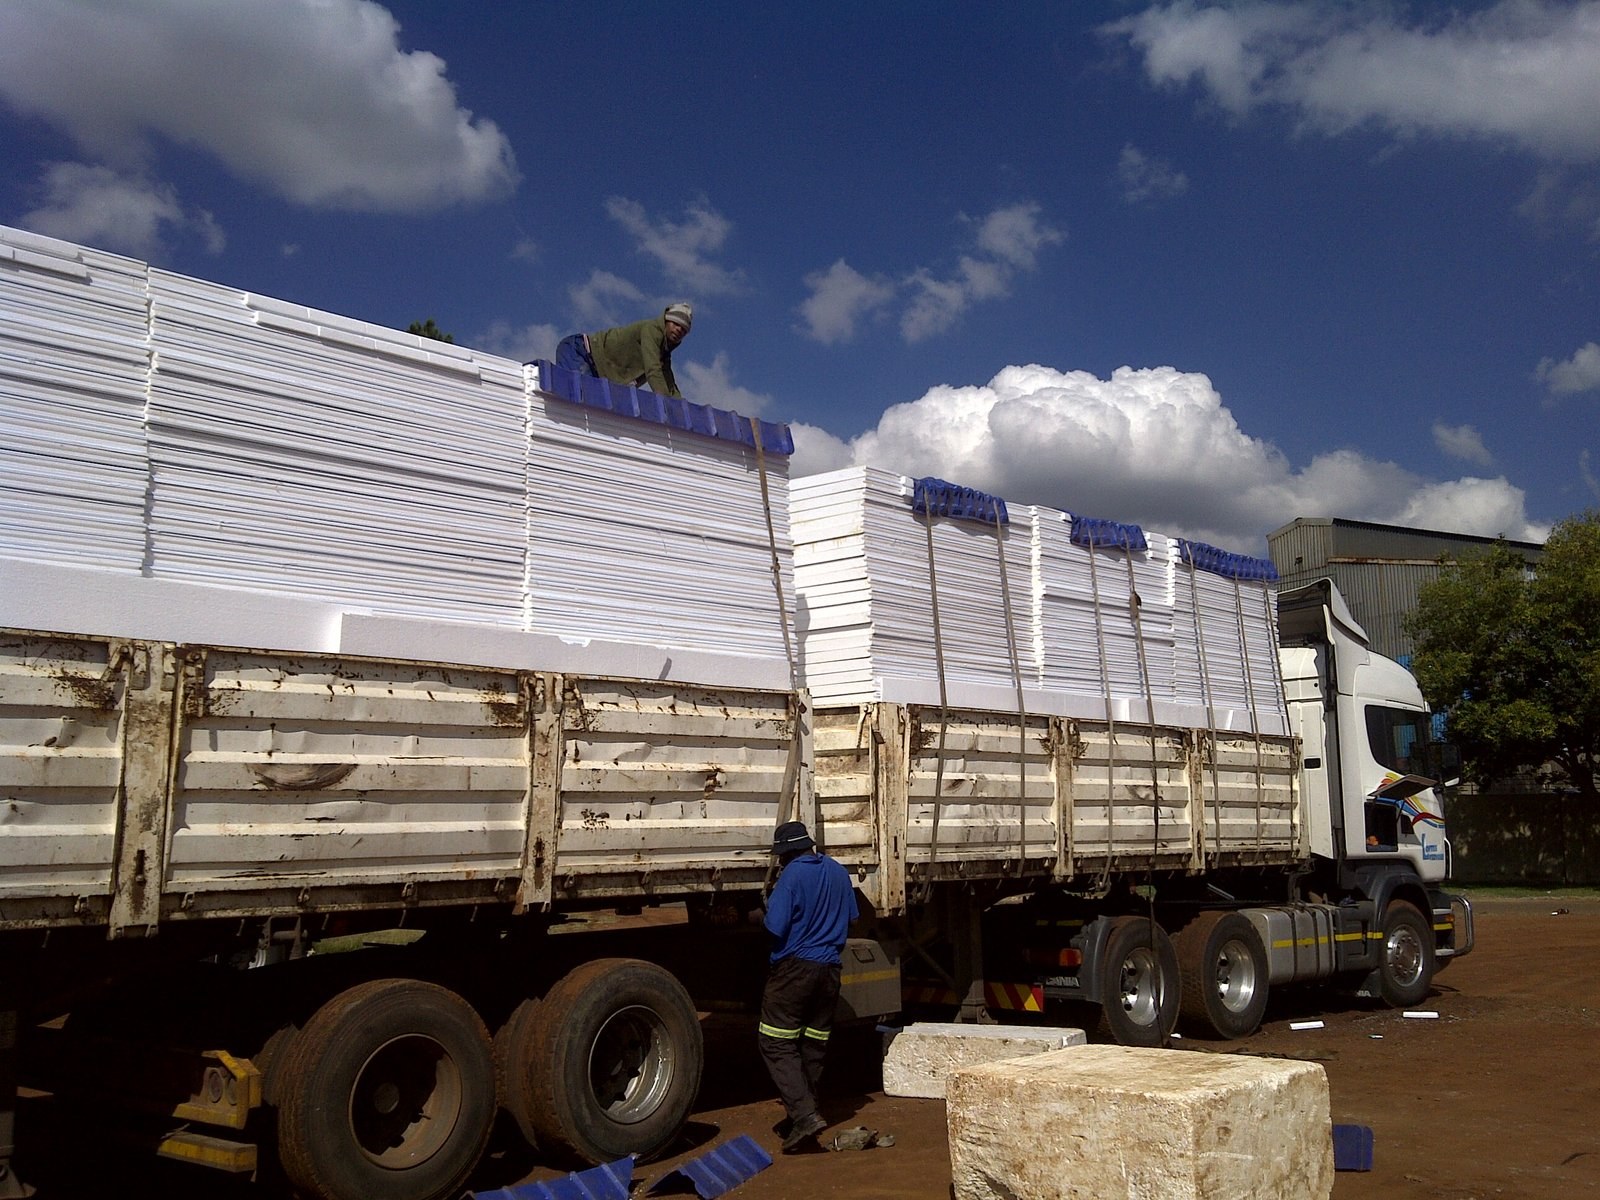
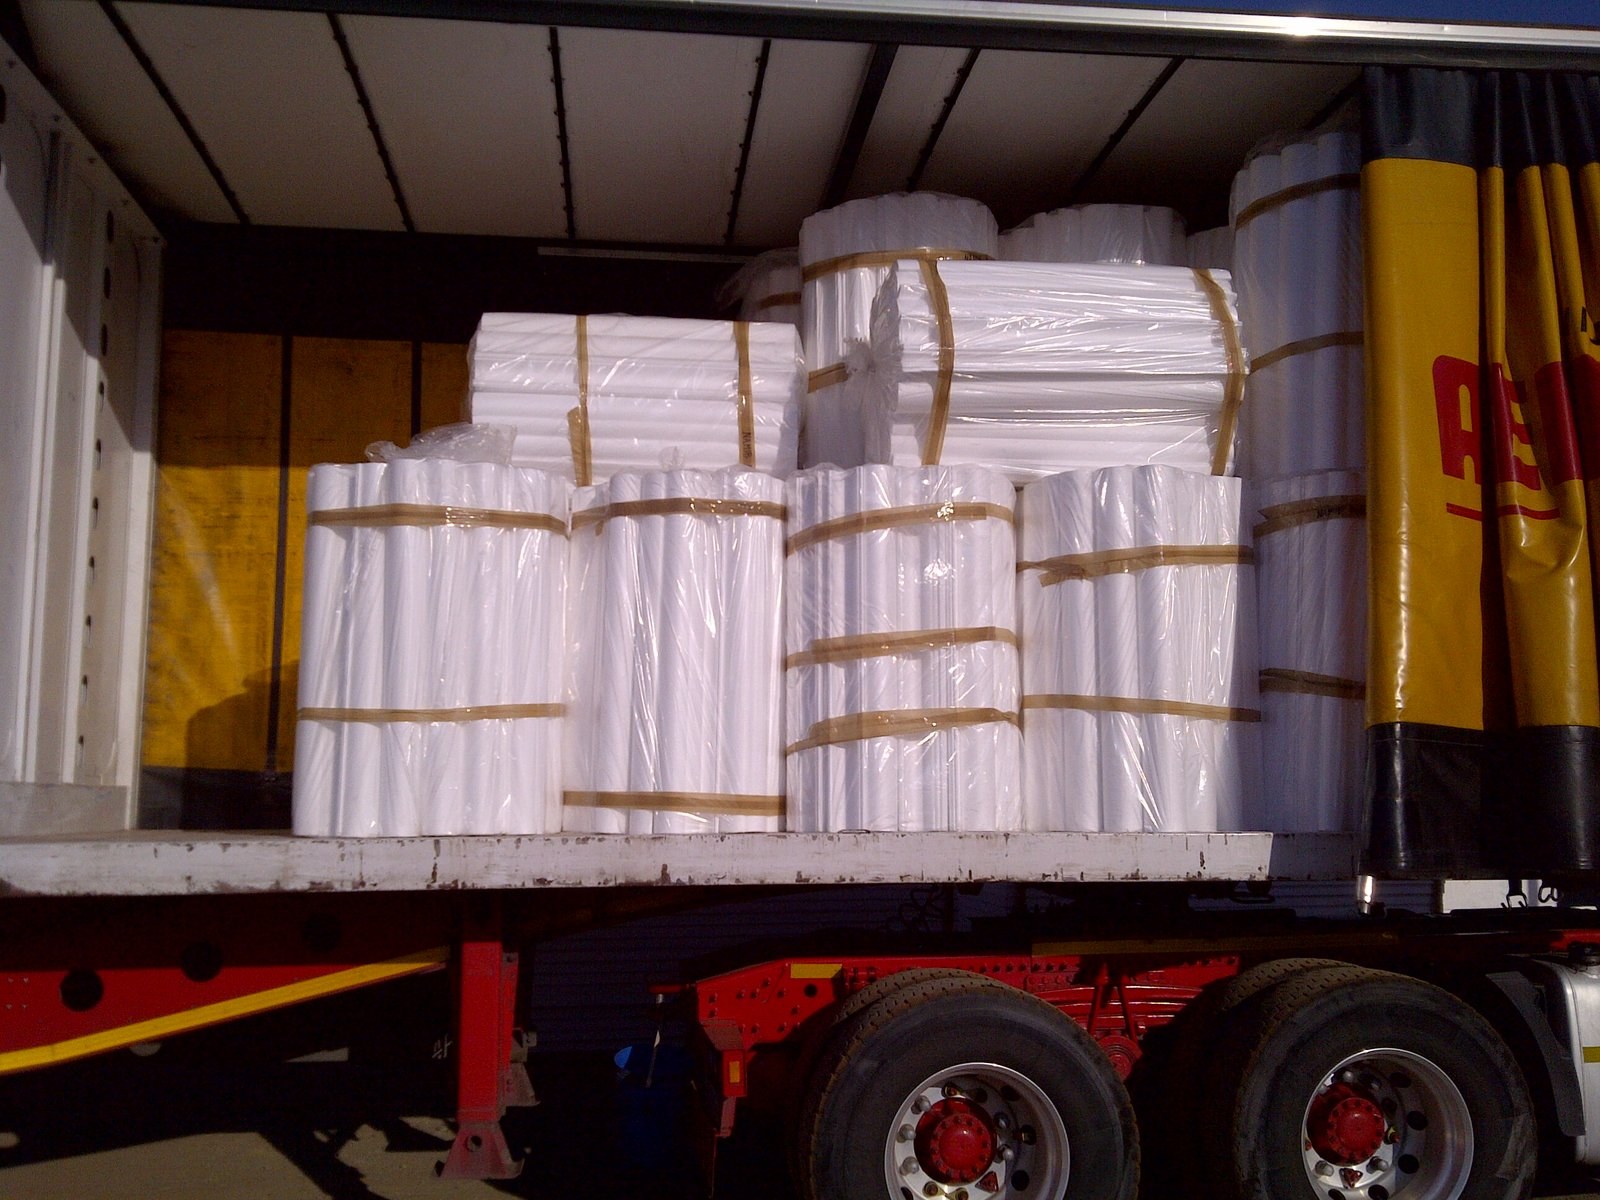
Void former blocks strapped down on the back of a delivery truck, another loaded trailer alongsidePHOTO
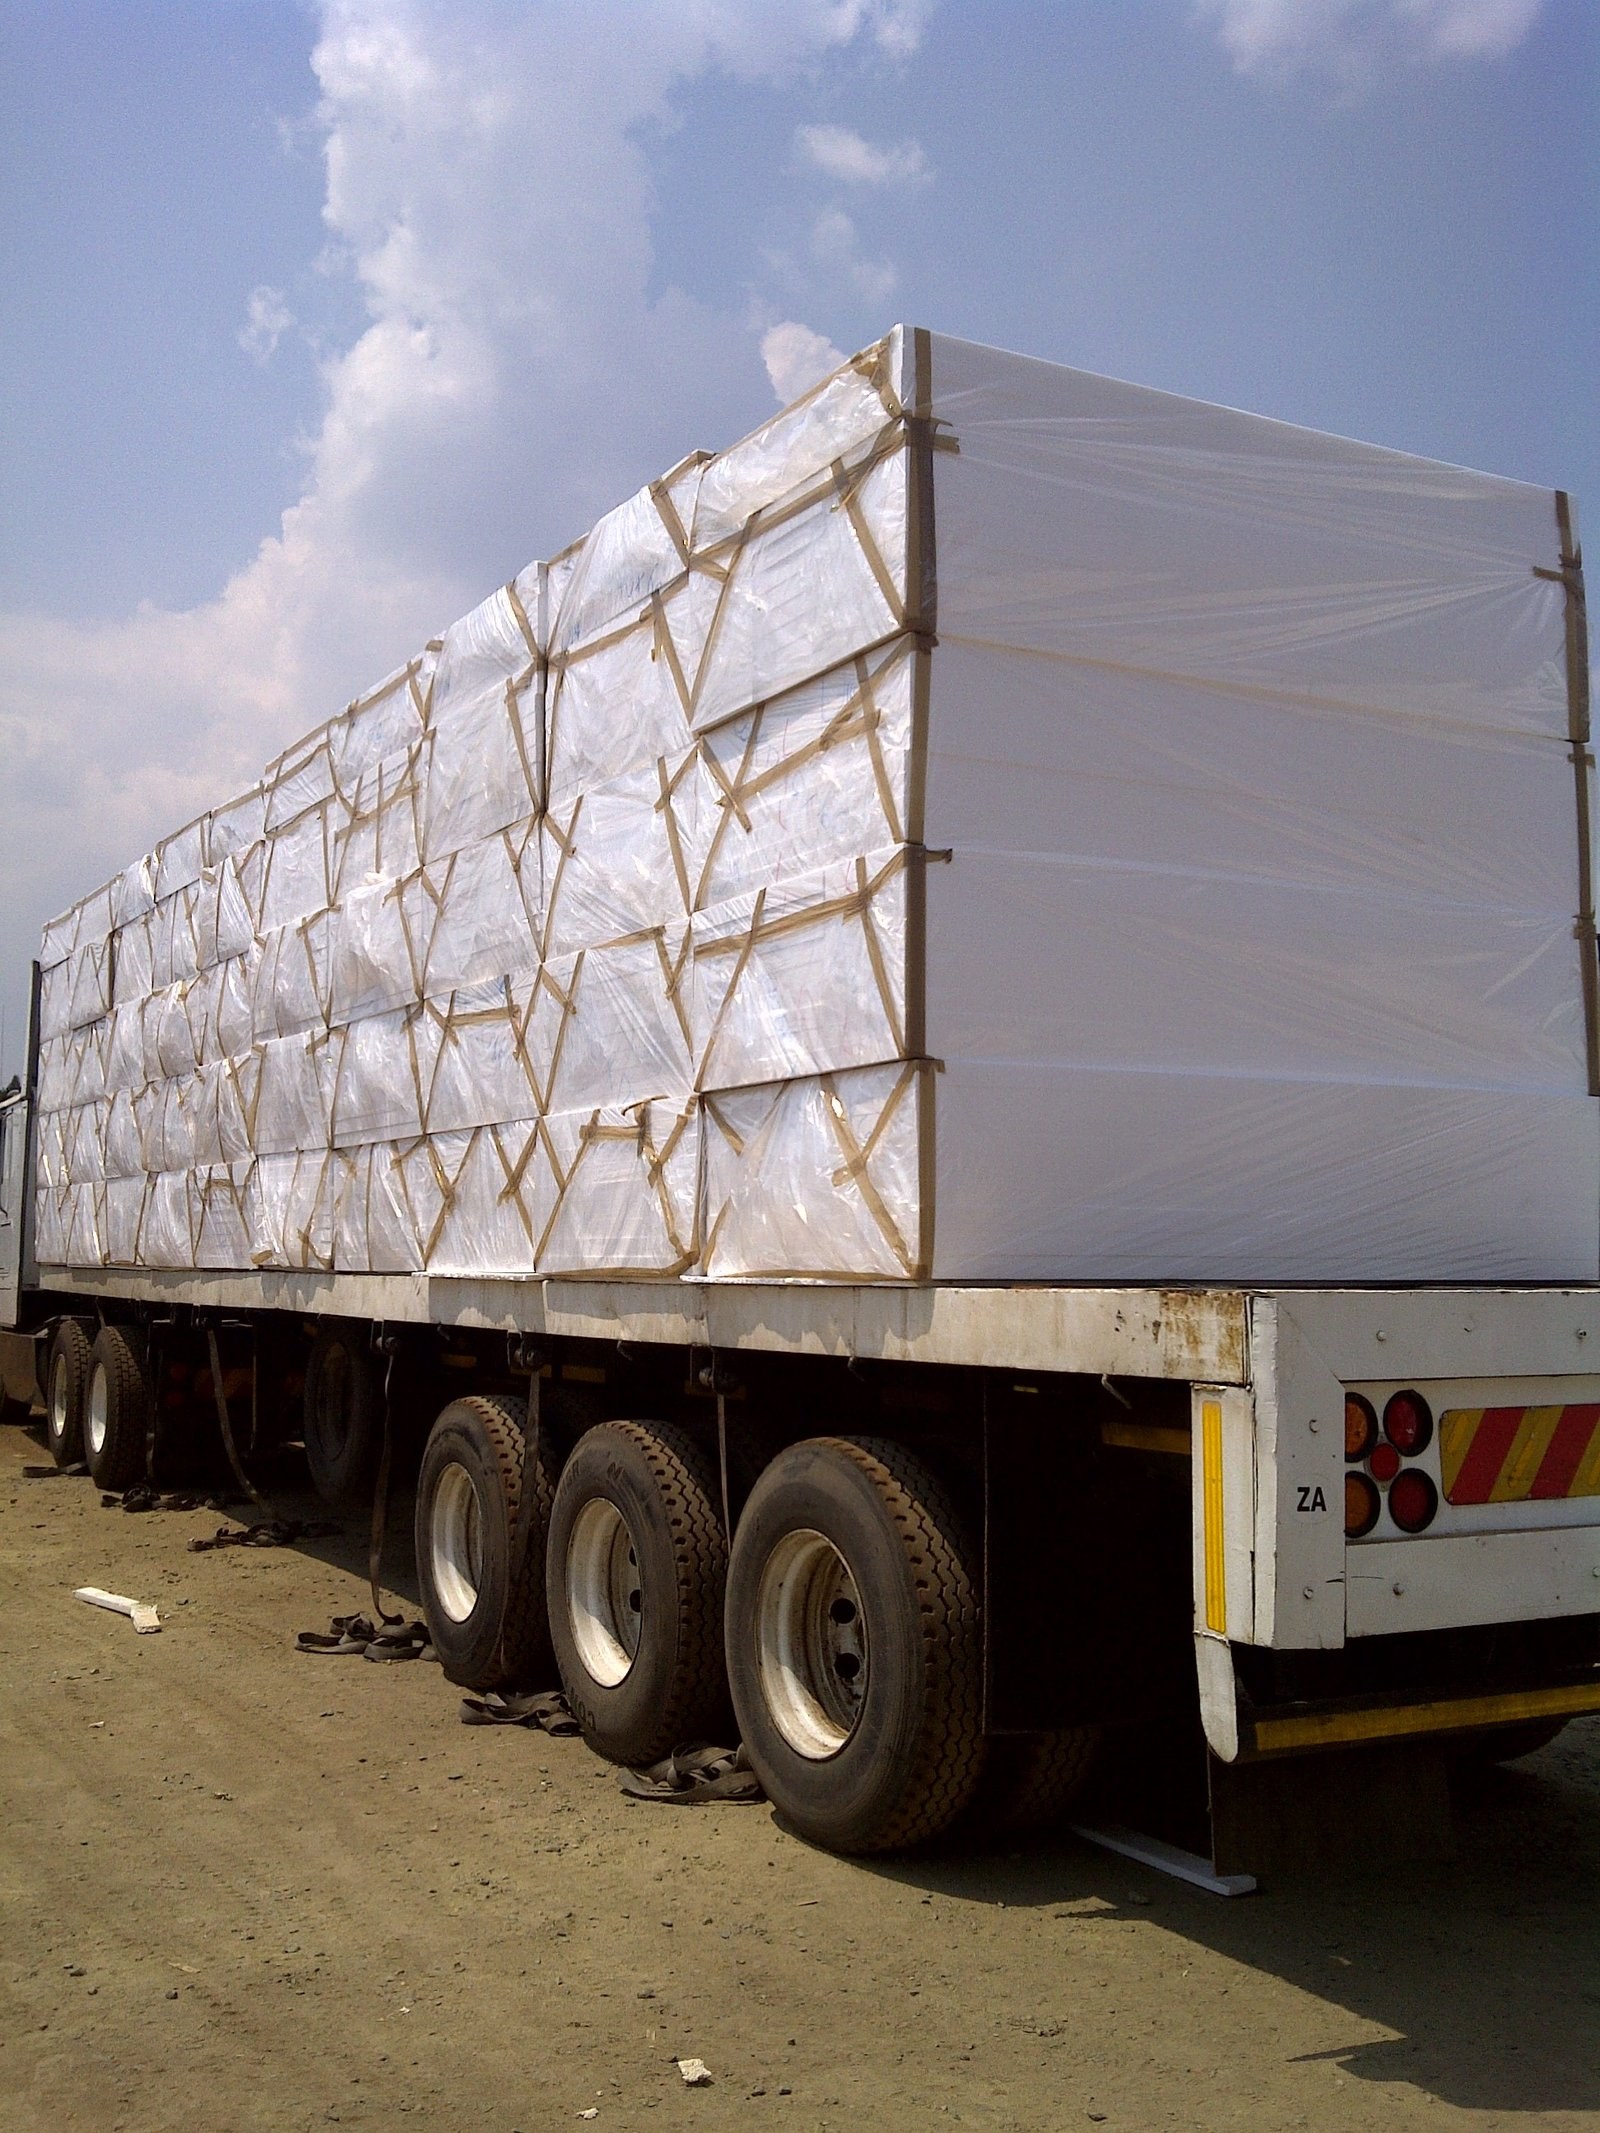
Void former blocks strapped down on the back of a delivery truck, another loaded trailer alongsideTechnoblock Slab Blocks & Void Formers
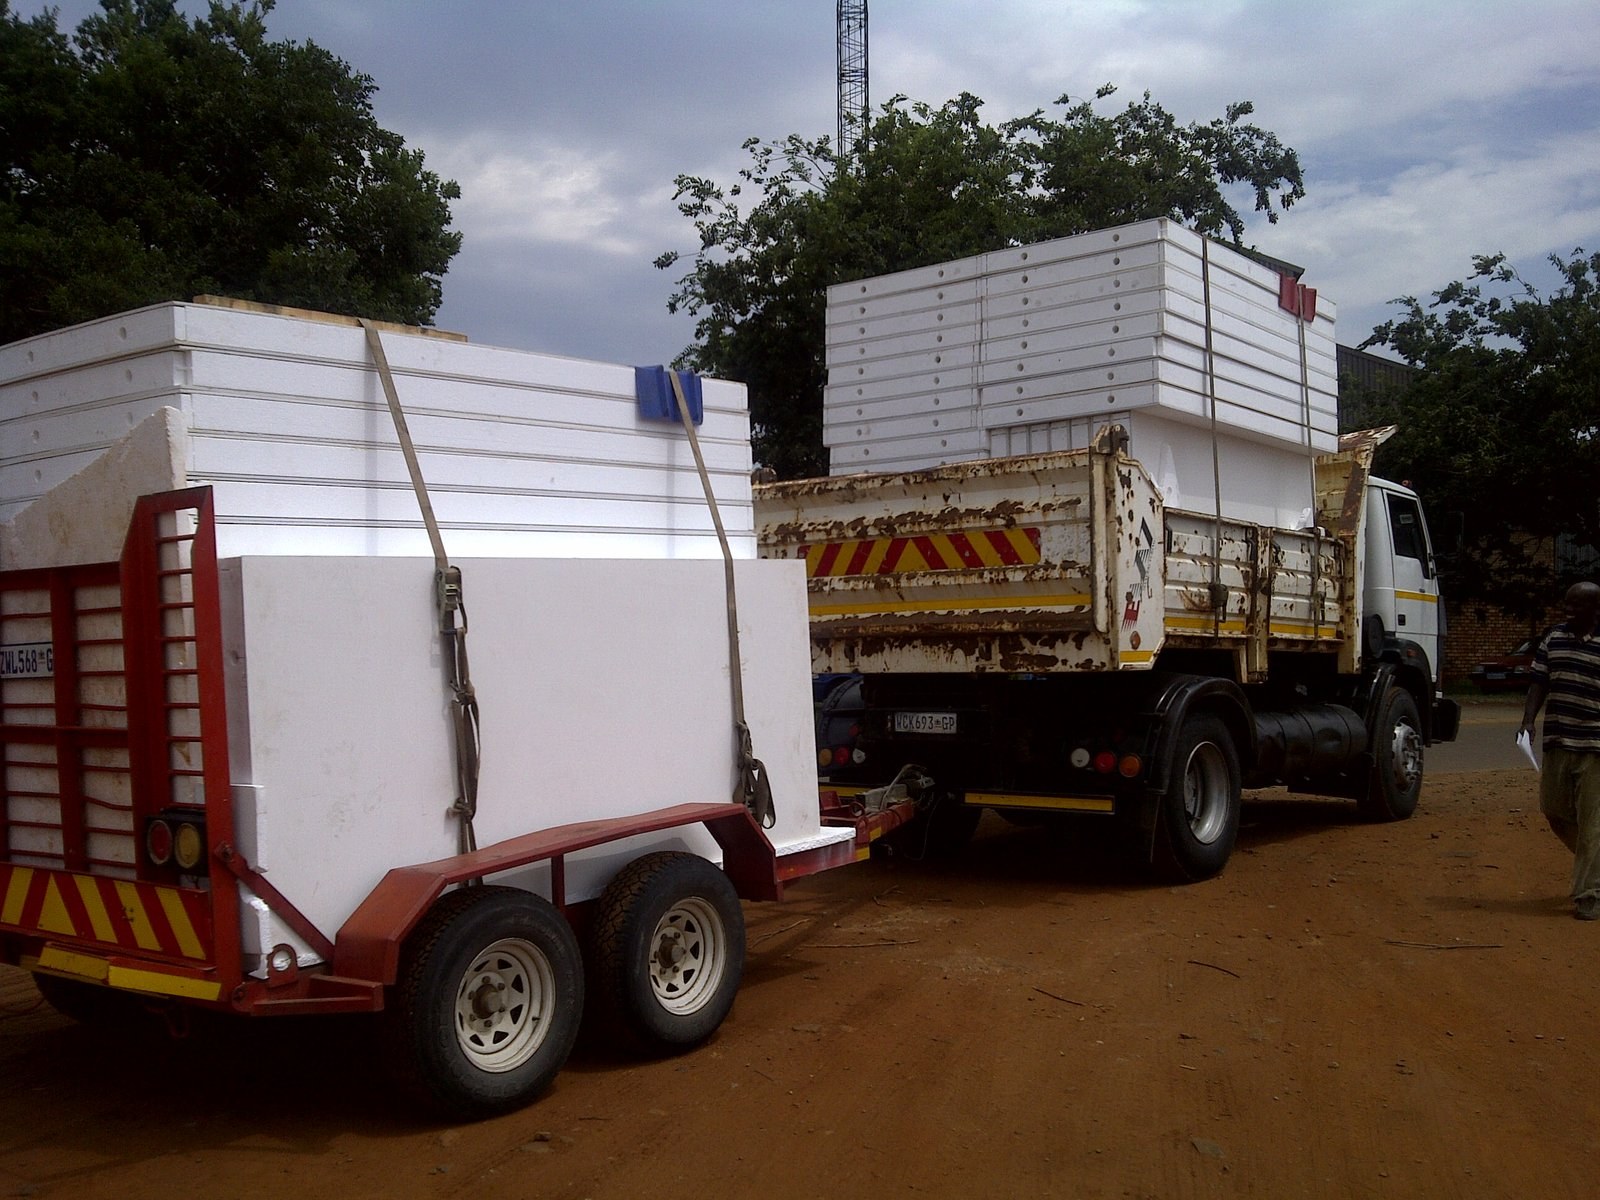
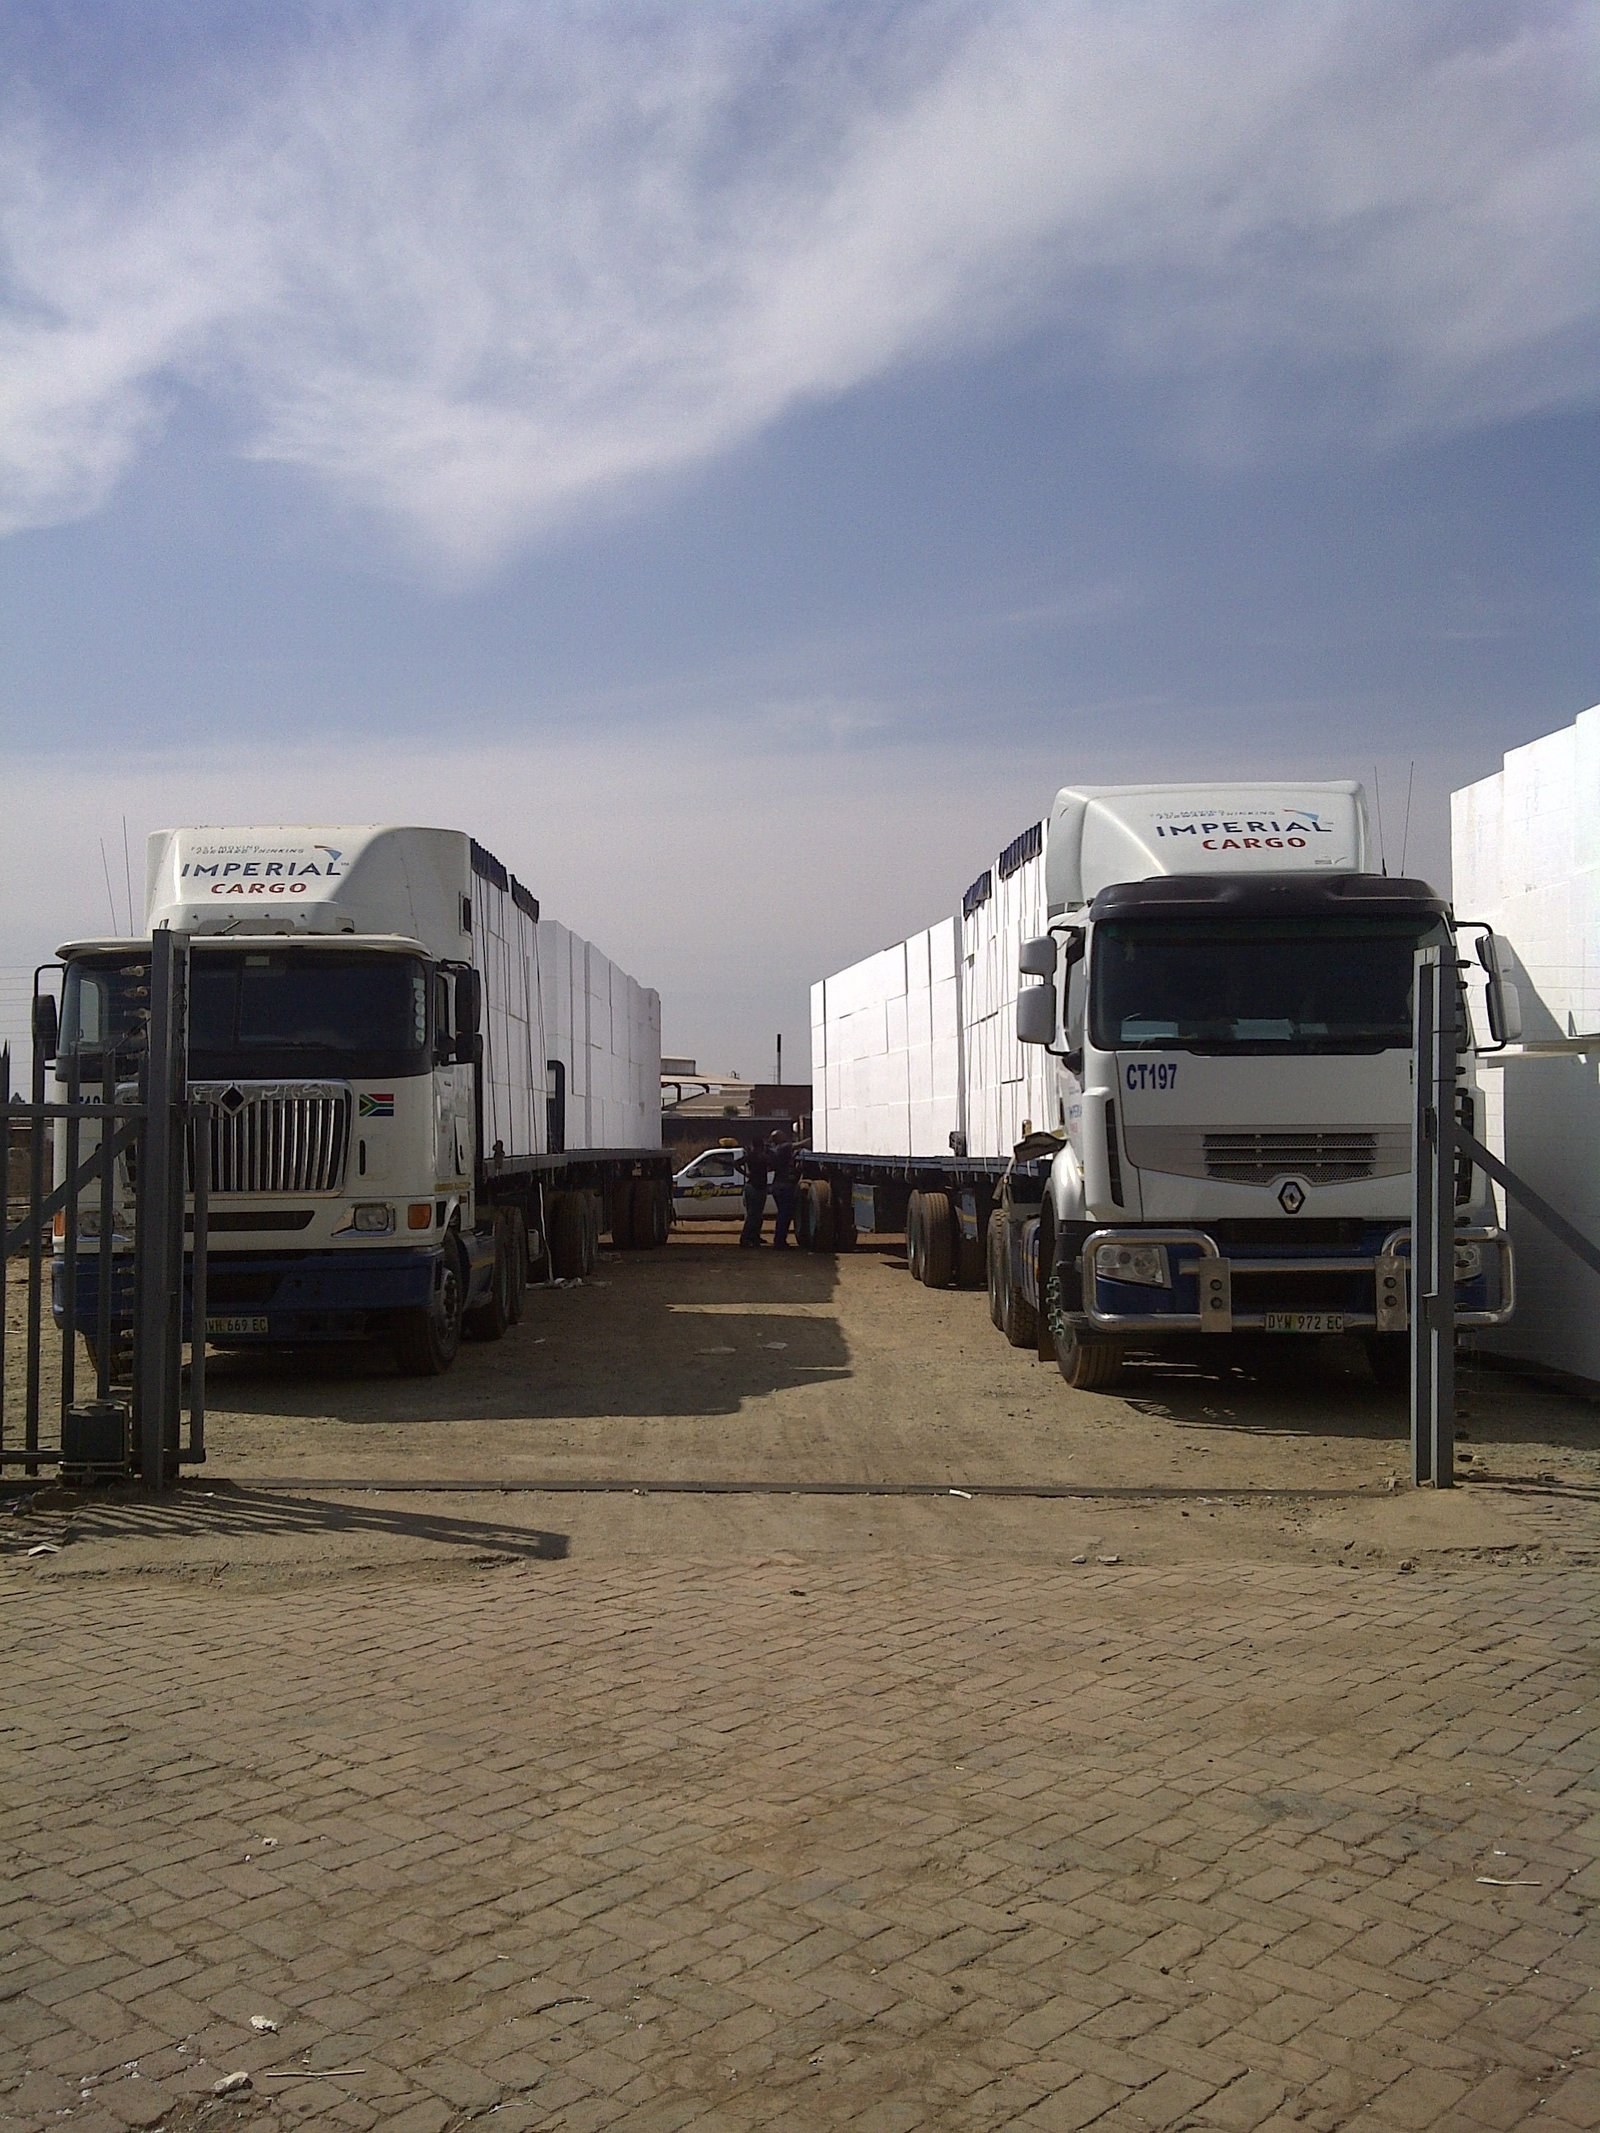
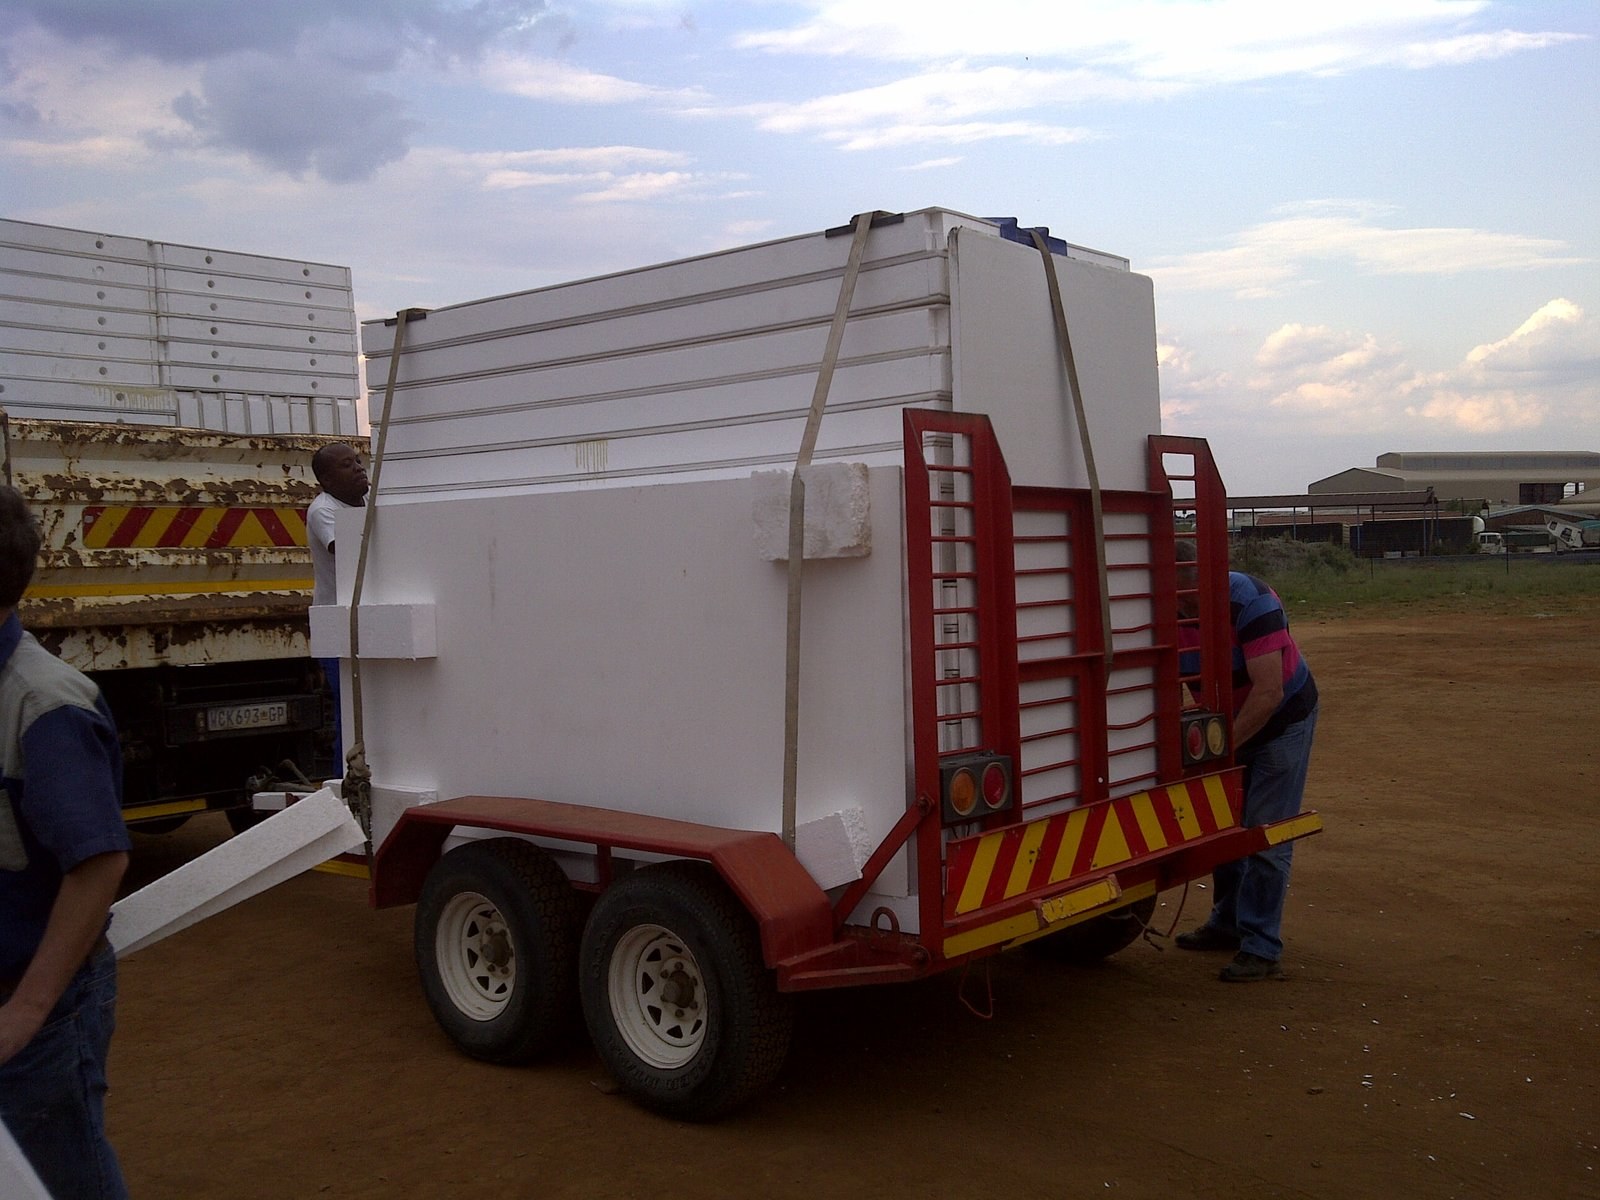
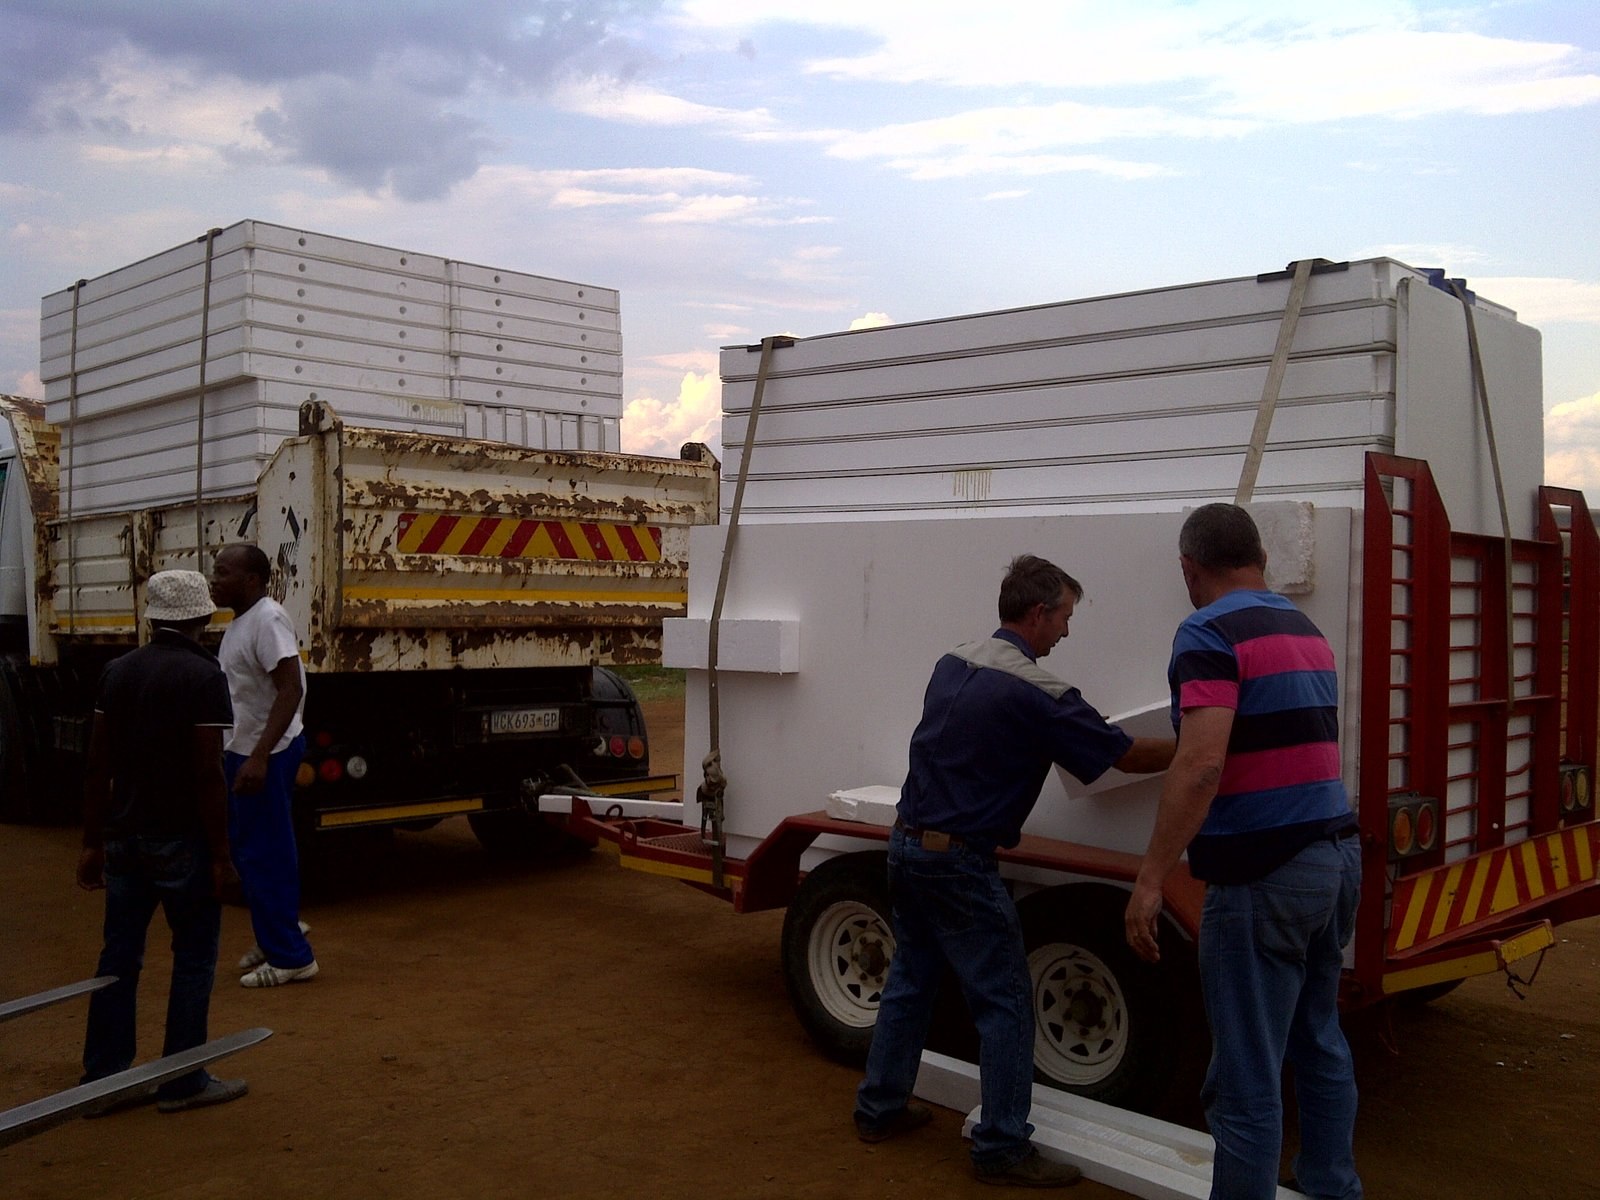
Two truck-and-trailer loads of void former blocks strapped for deliveryPHOTO
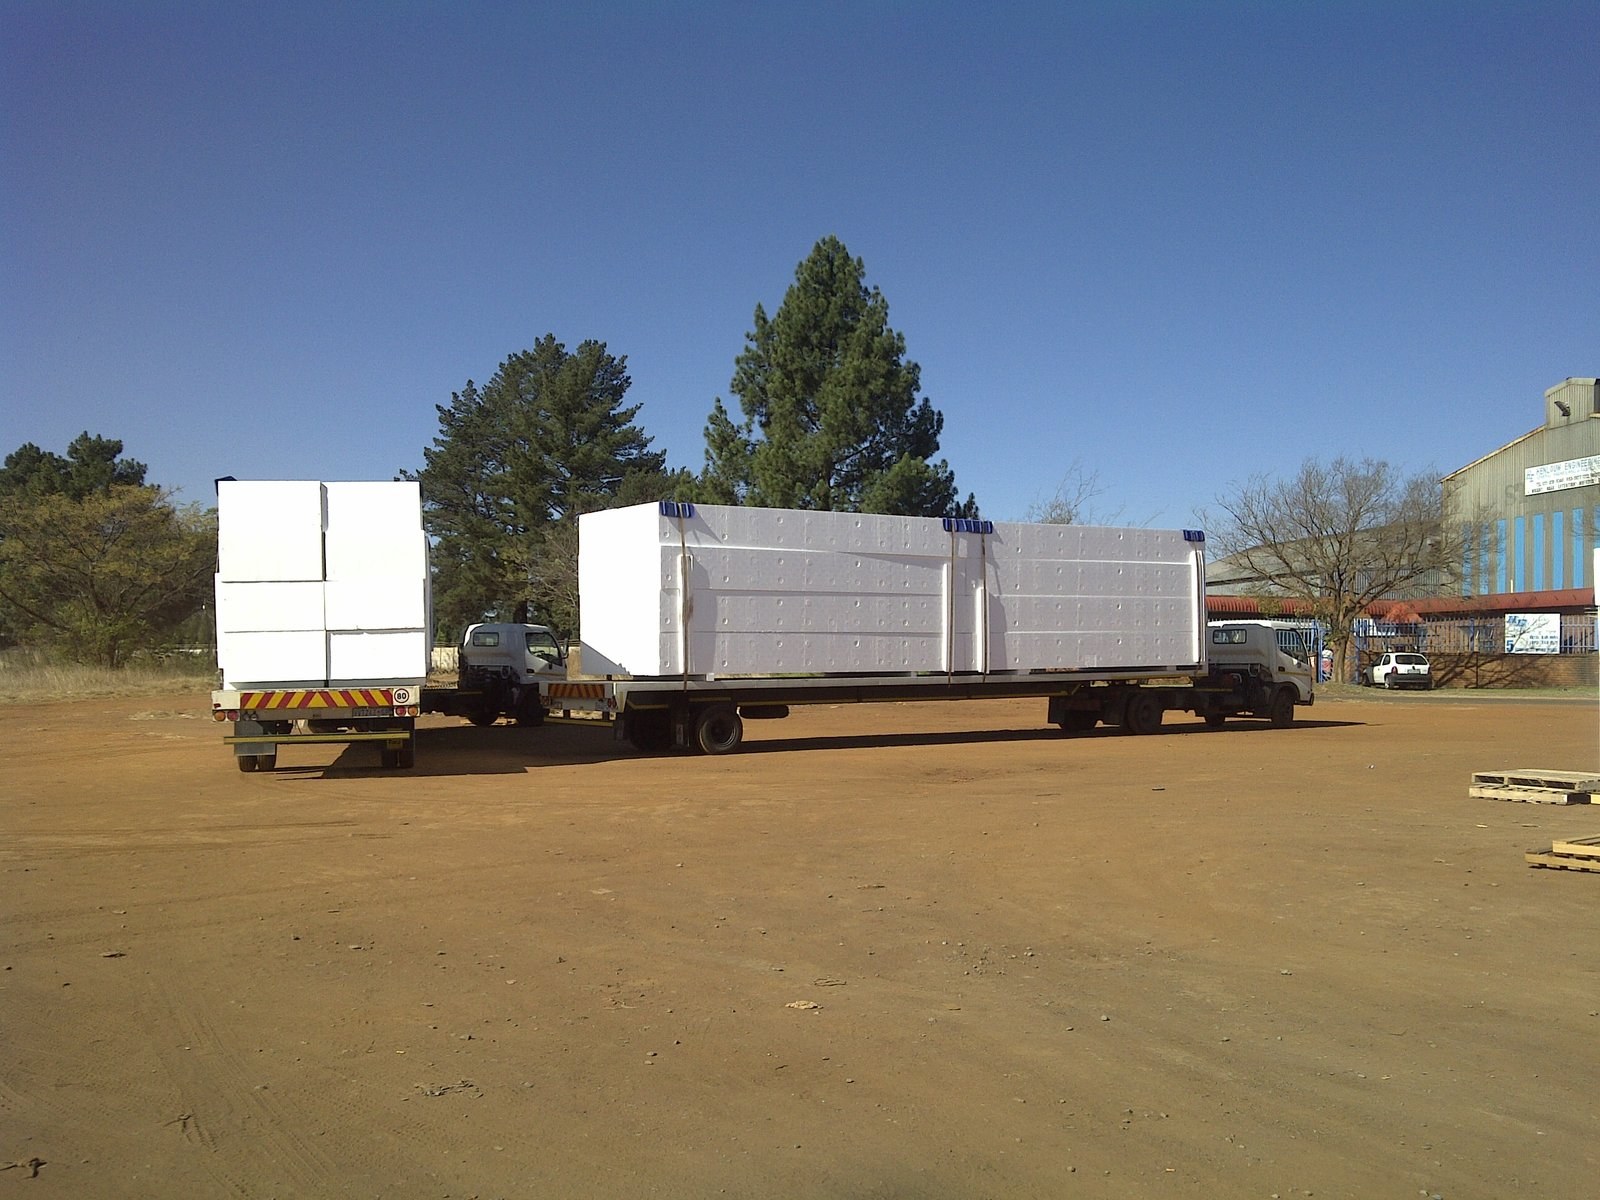
Two truck-and-trailer loads of void former blocks strapped for deliveryTechnoblock Slab Blocks & Void Formers
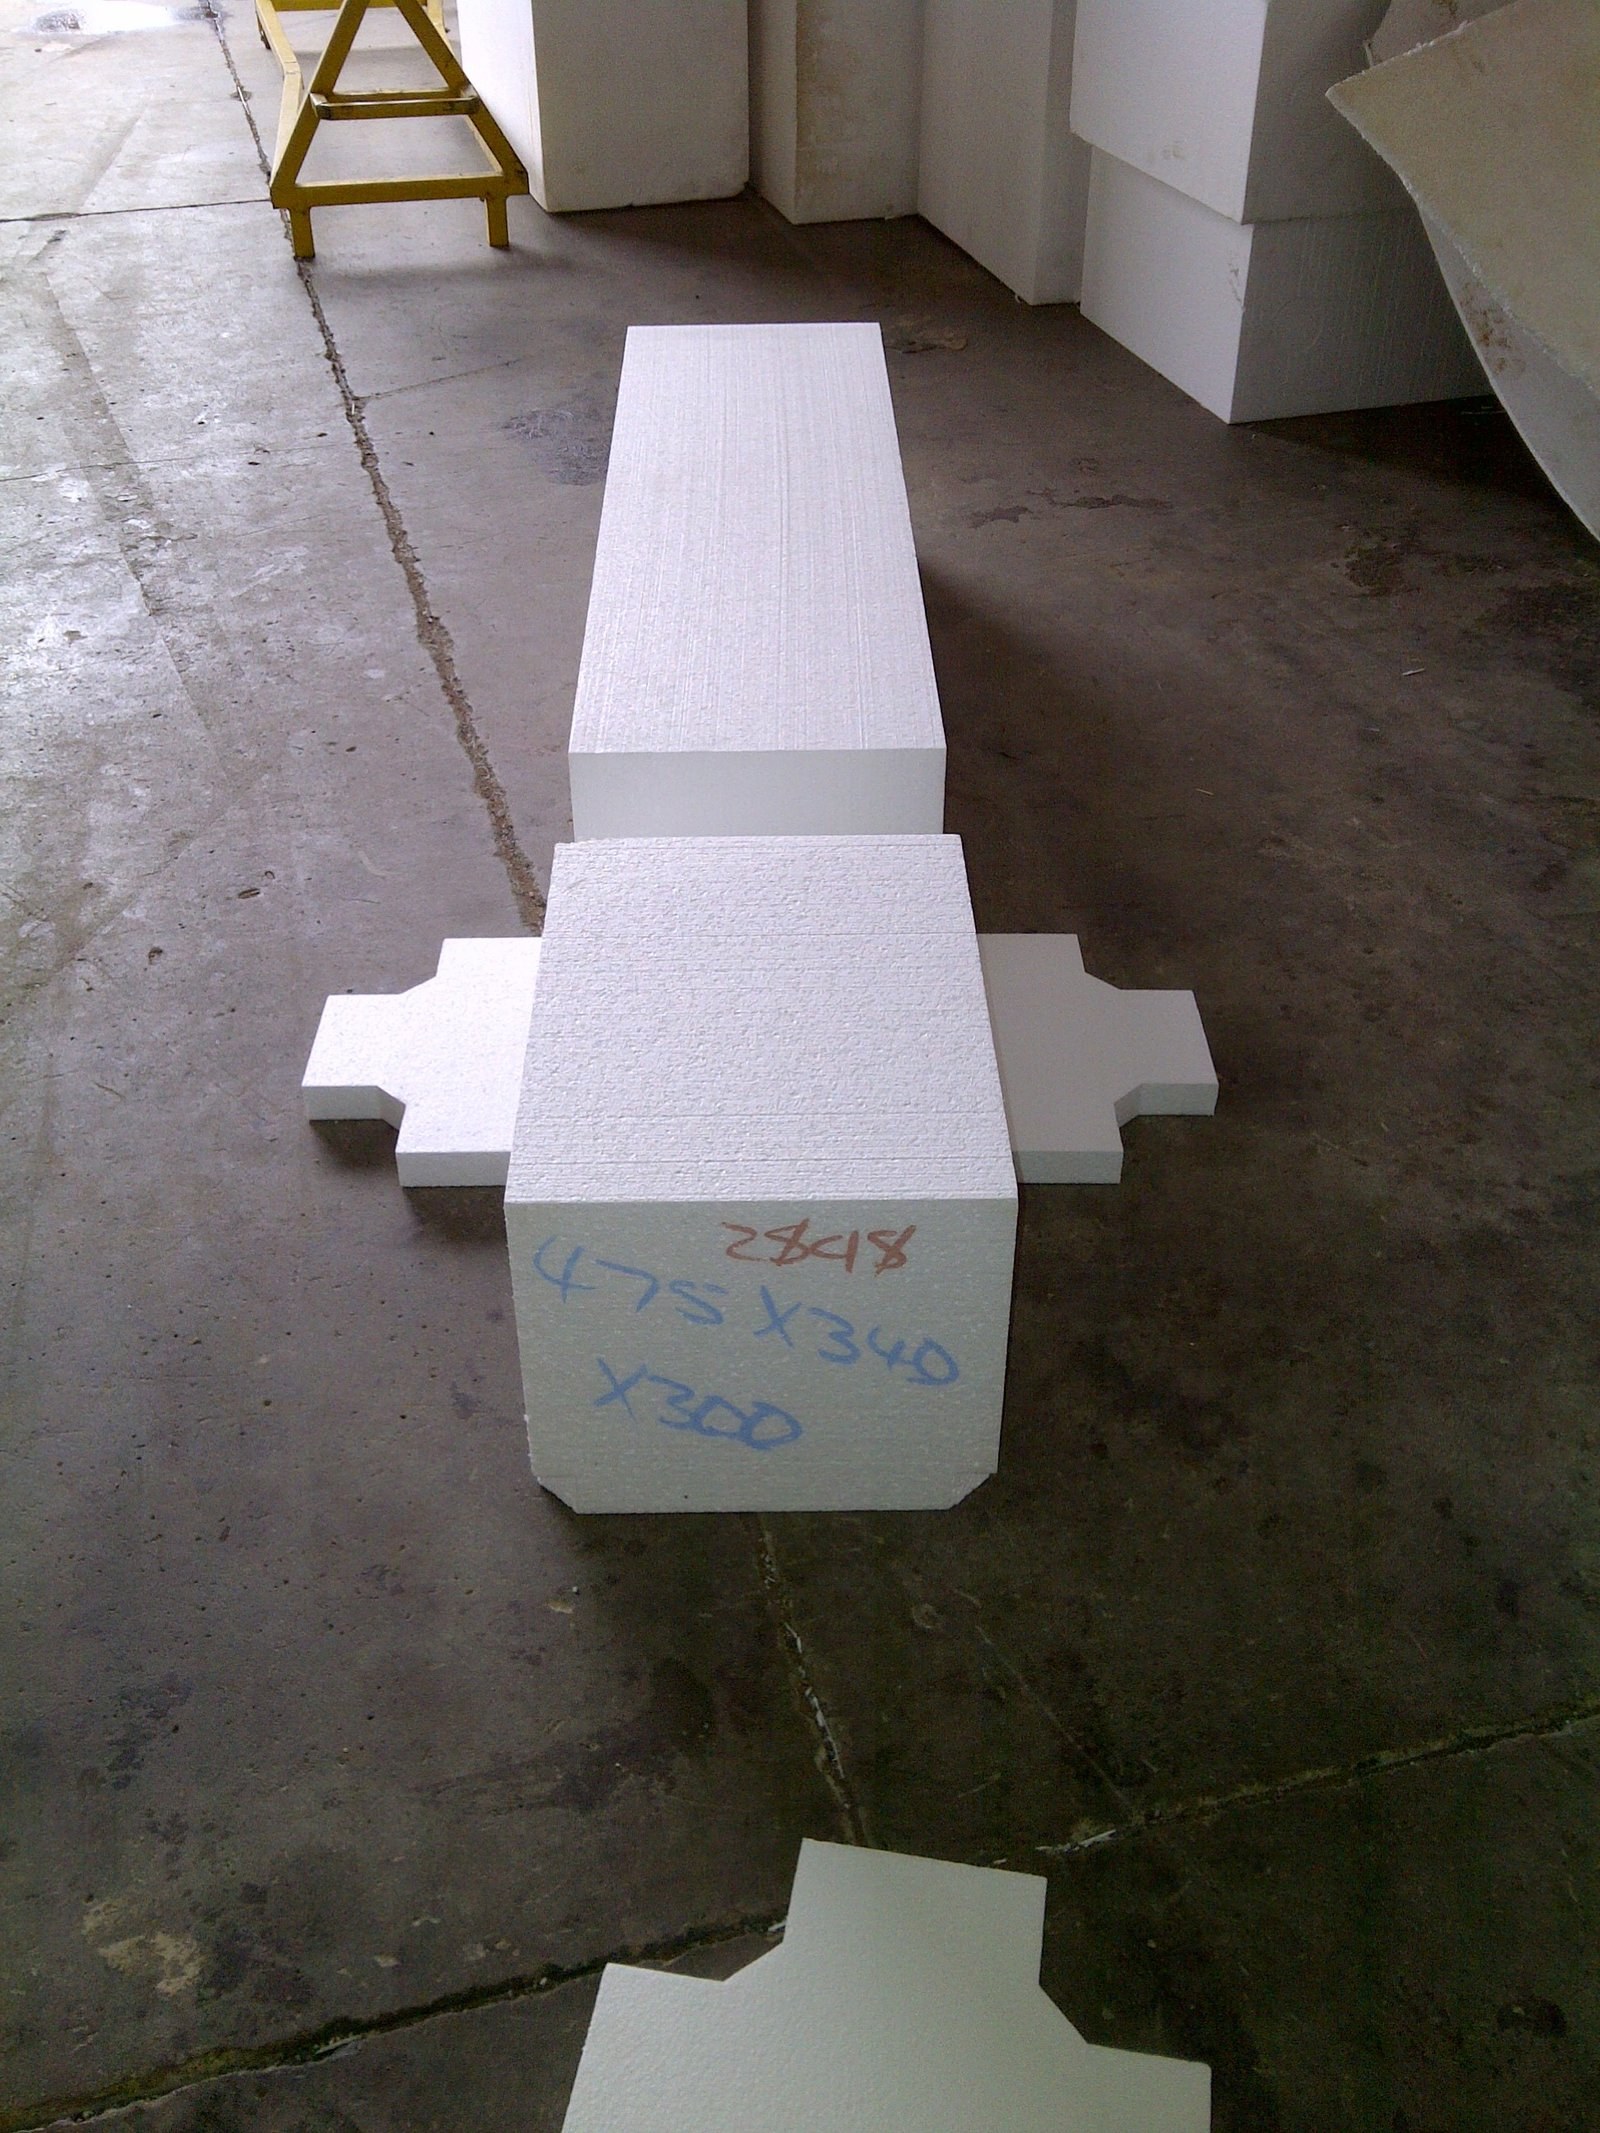
Custom-cut void former pieces with dimensions marked in pen, laid out on the workshop floorPHOTO
Custom-cut void former pieces with dimensions marked in pen, laid out on the workshop floorTechnoblock Slab Blocks & Void Formers
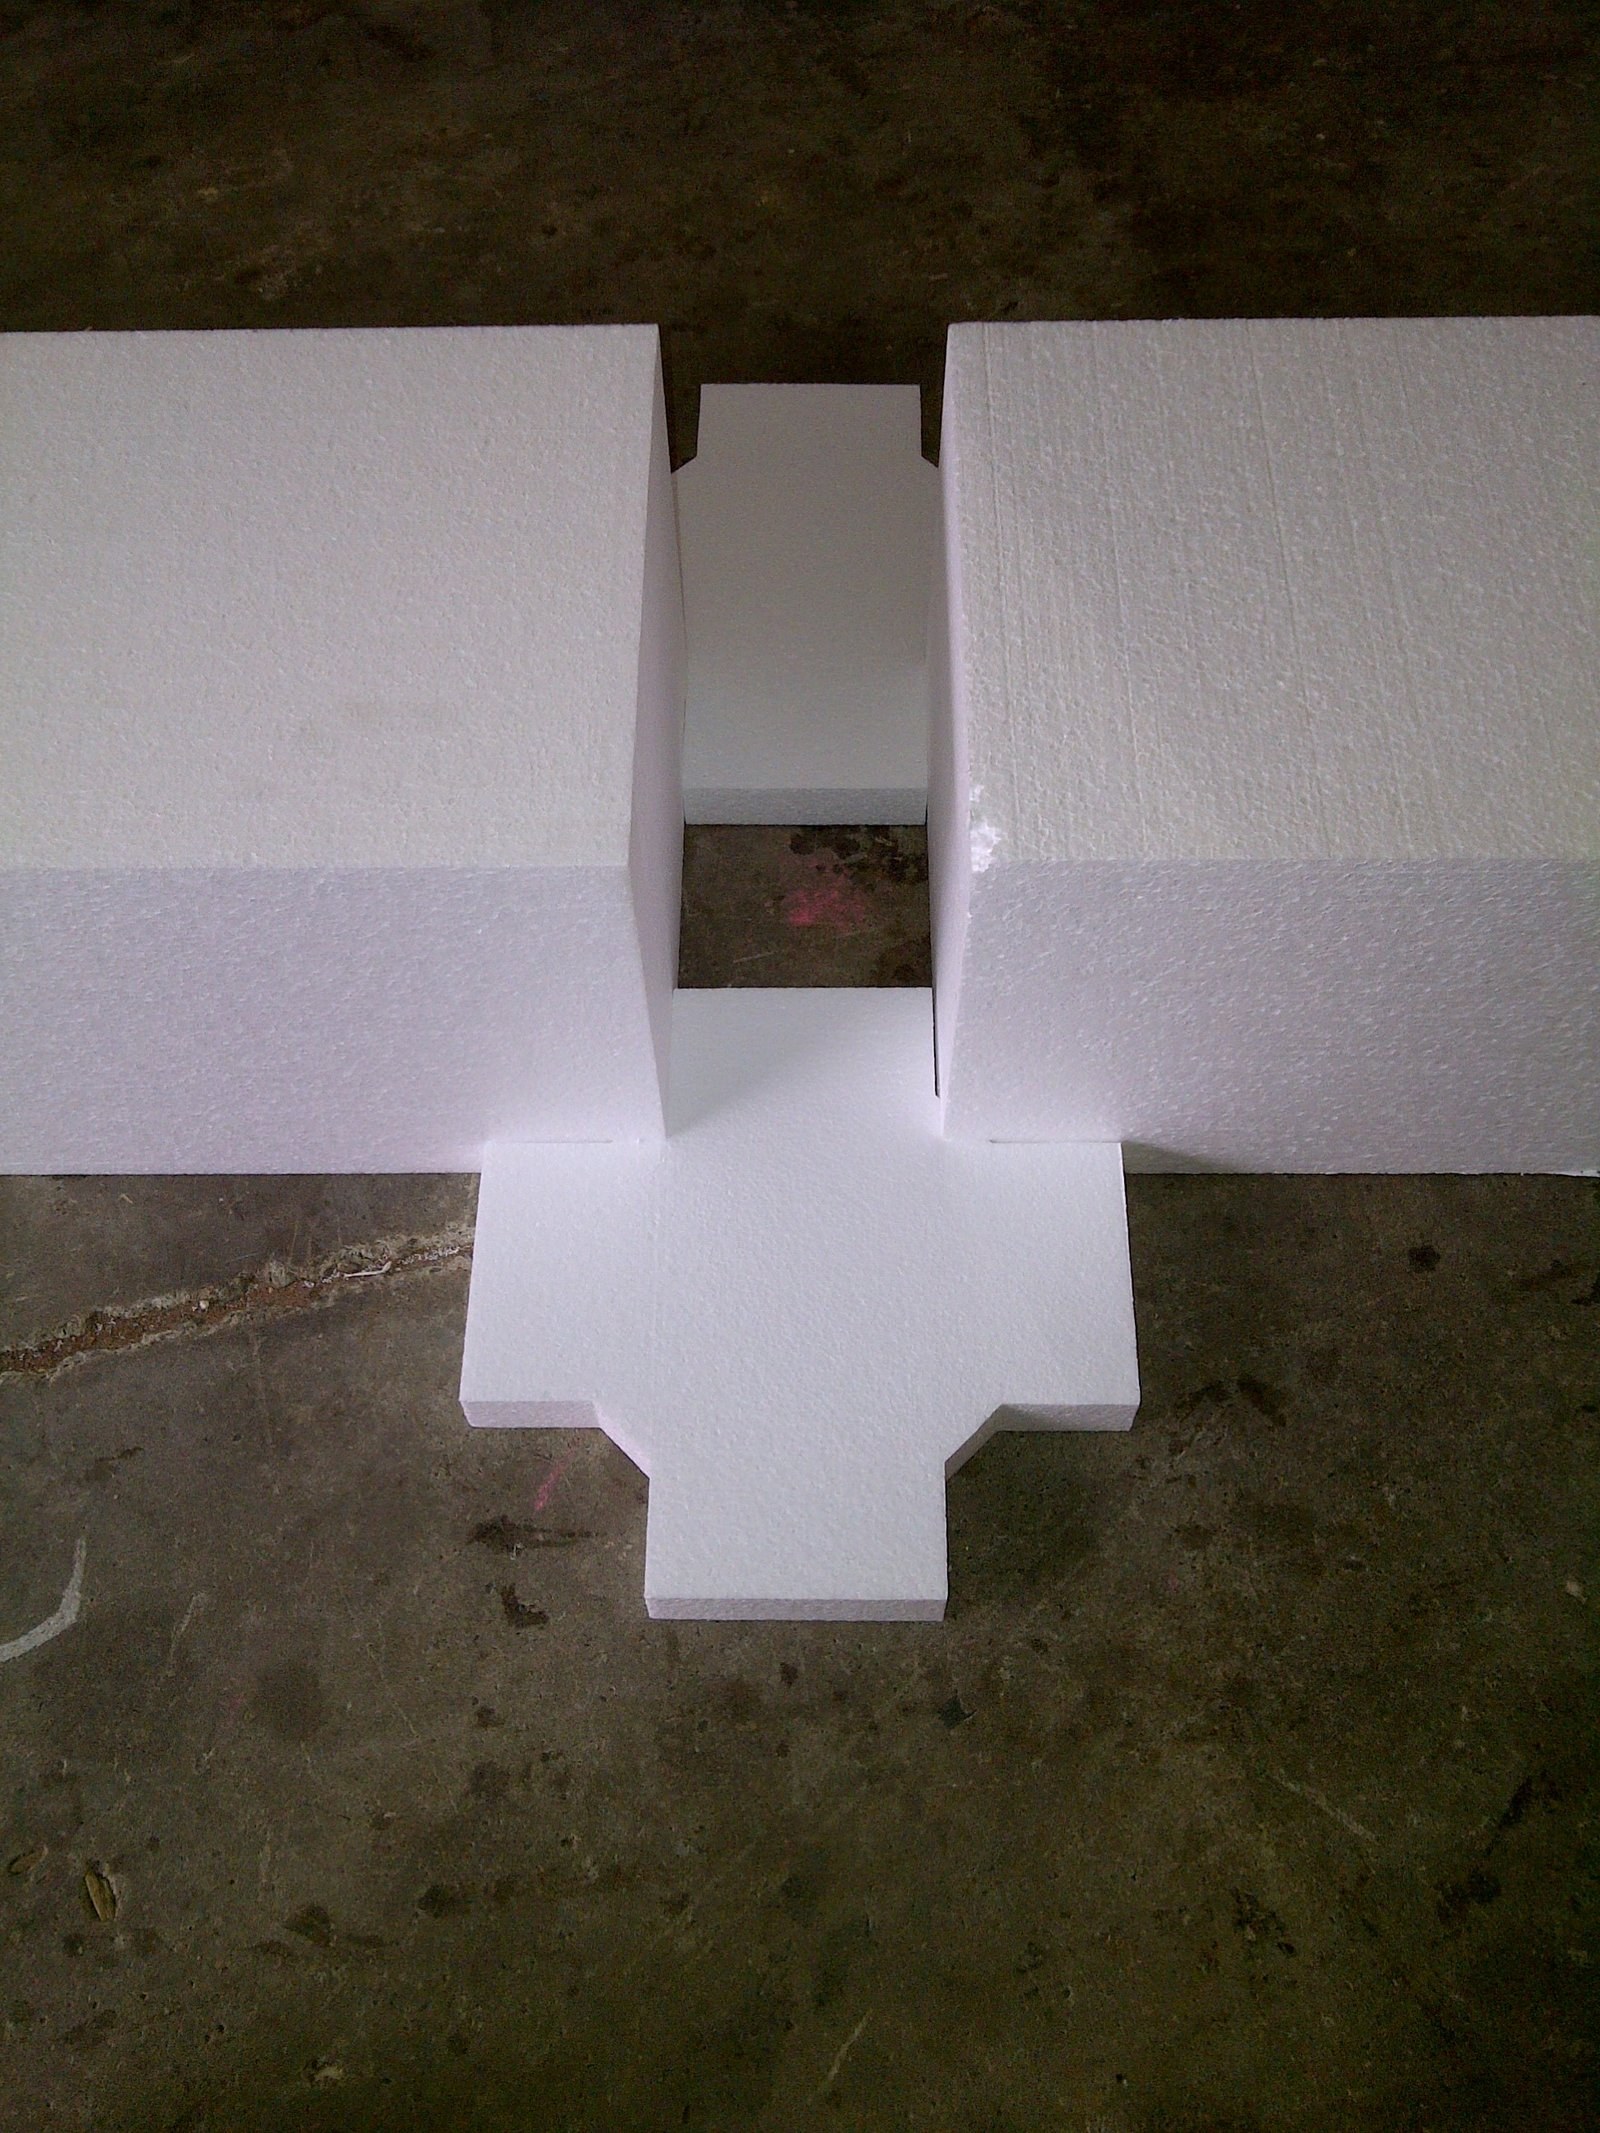
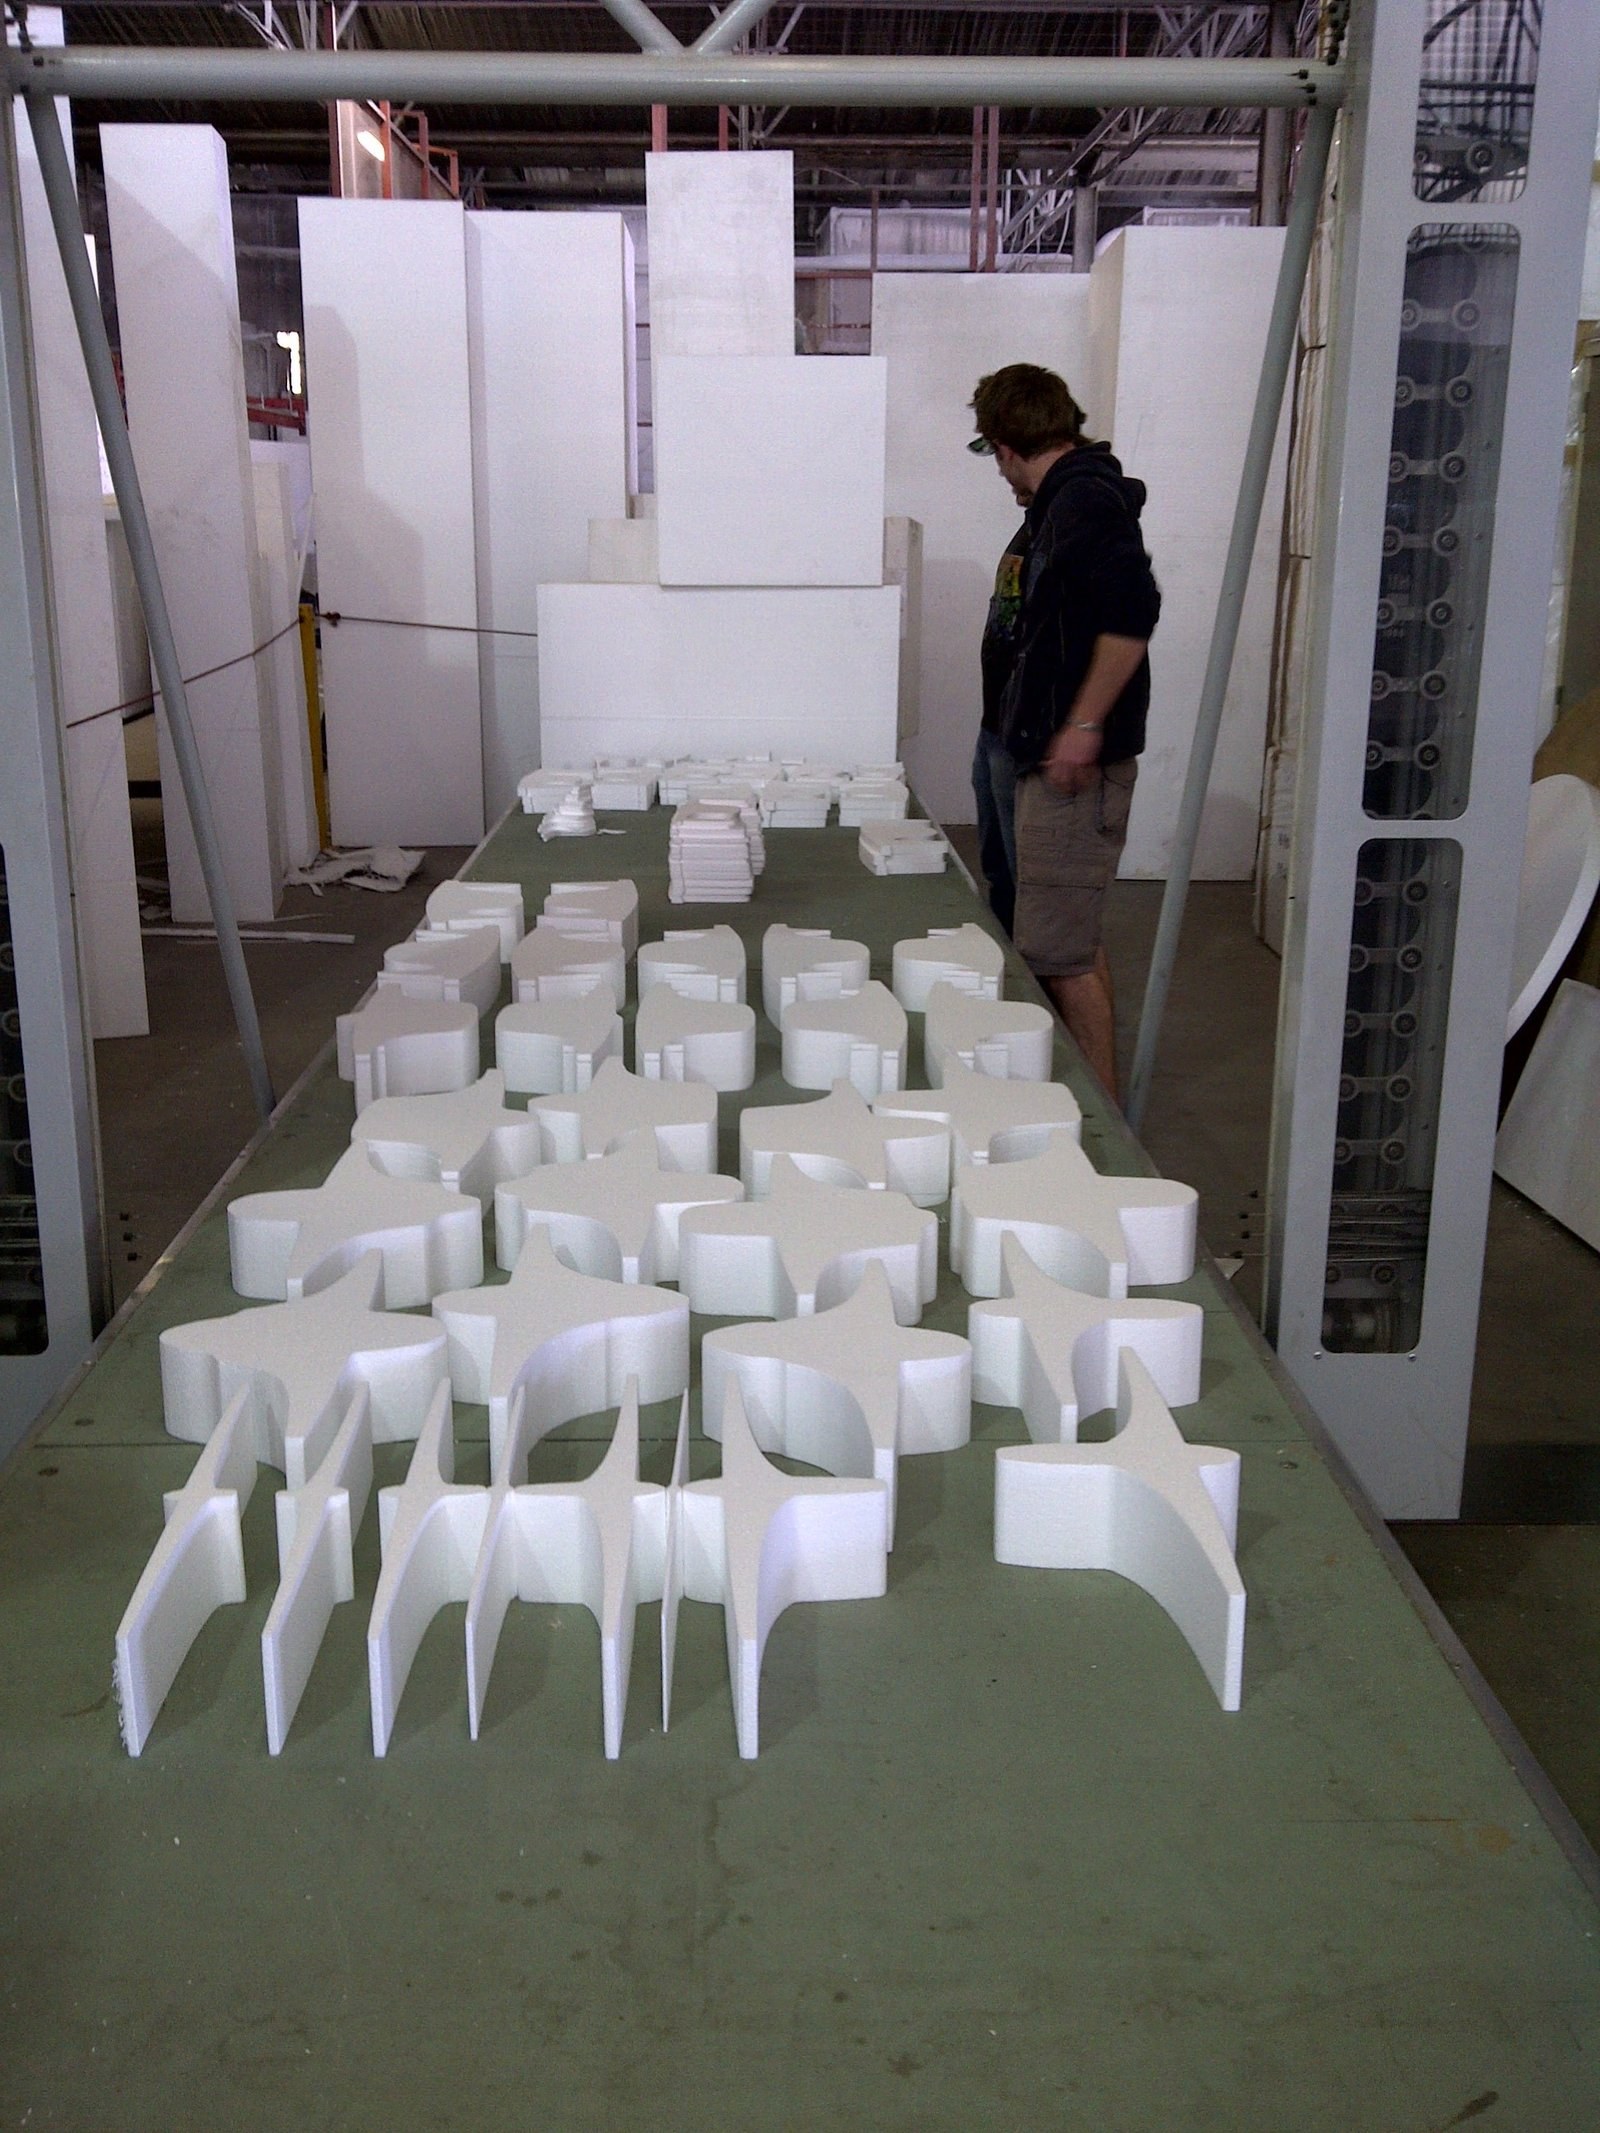
Cross-shaped void former pieces positioned end to end, showing the void gap they leave between beamsPHOTO
Cross-shaped void former pieces positioned end to end, showing the void gap they leave between beamsTechnoblock Slab Blocks & Void Formers
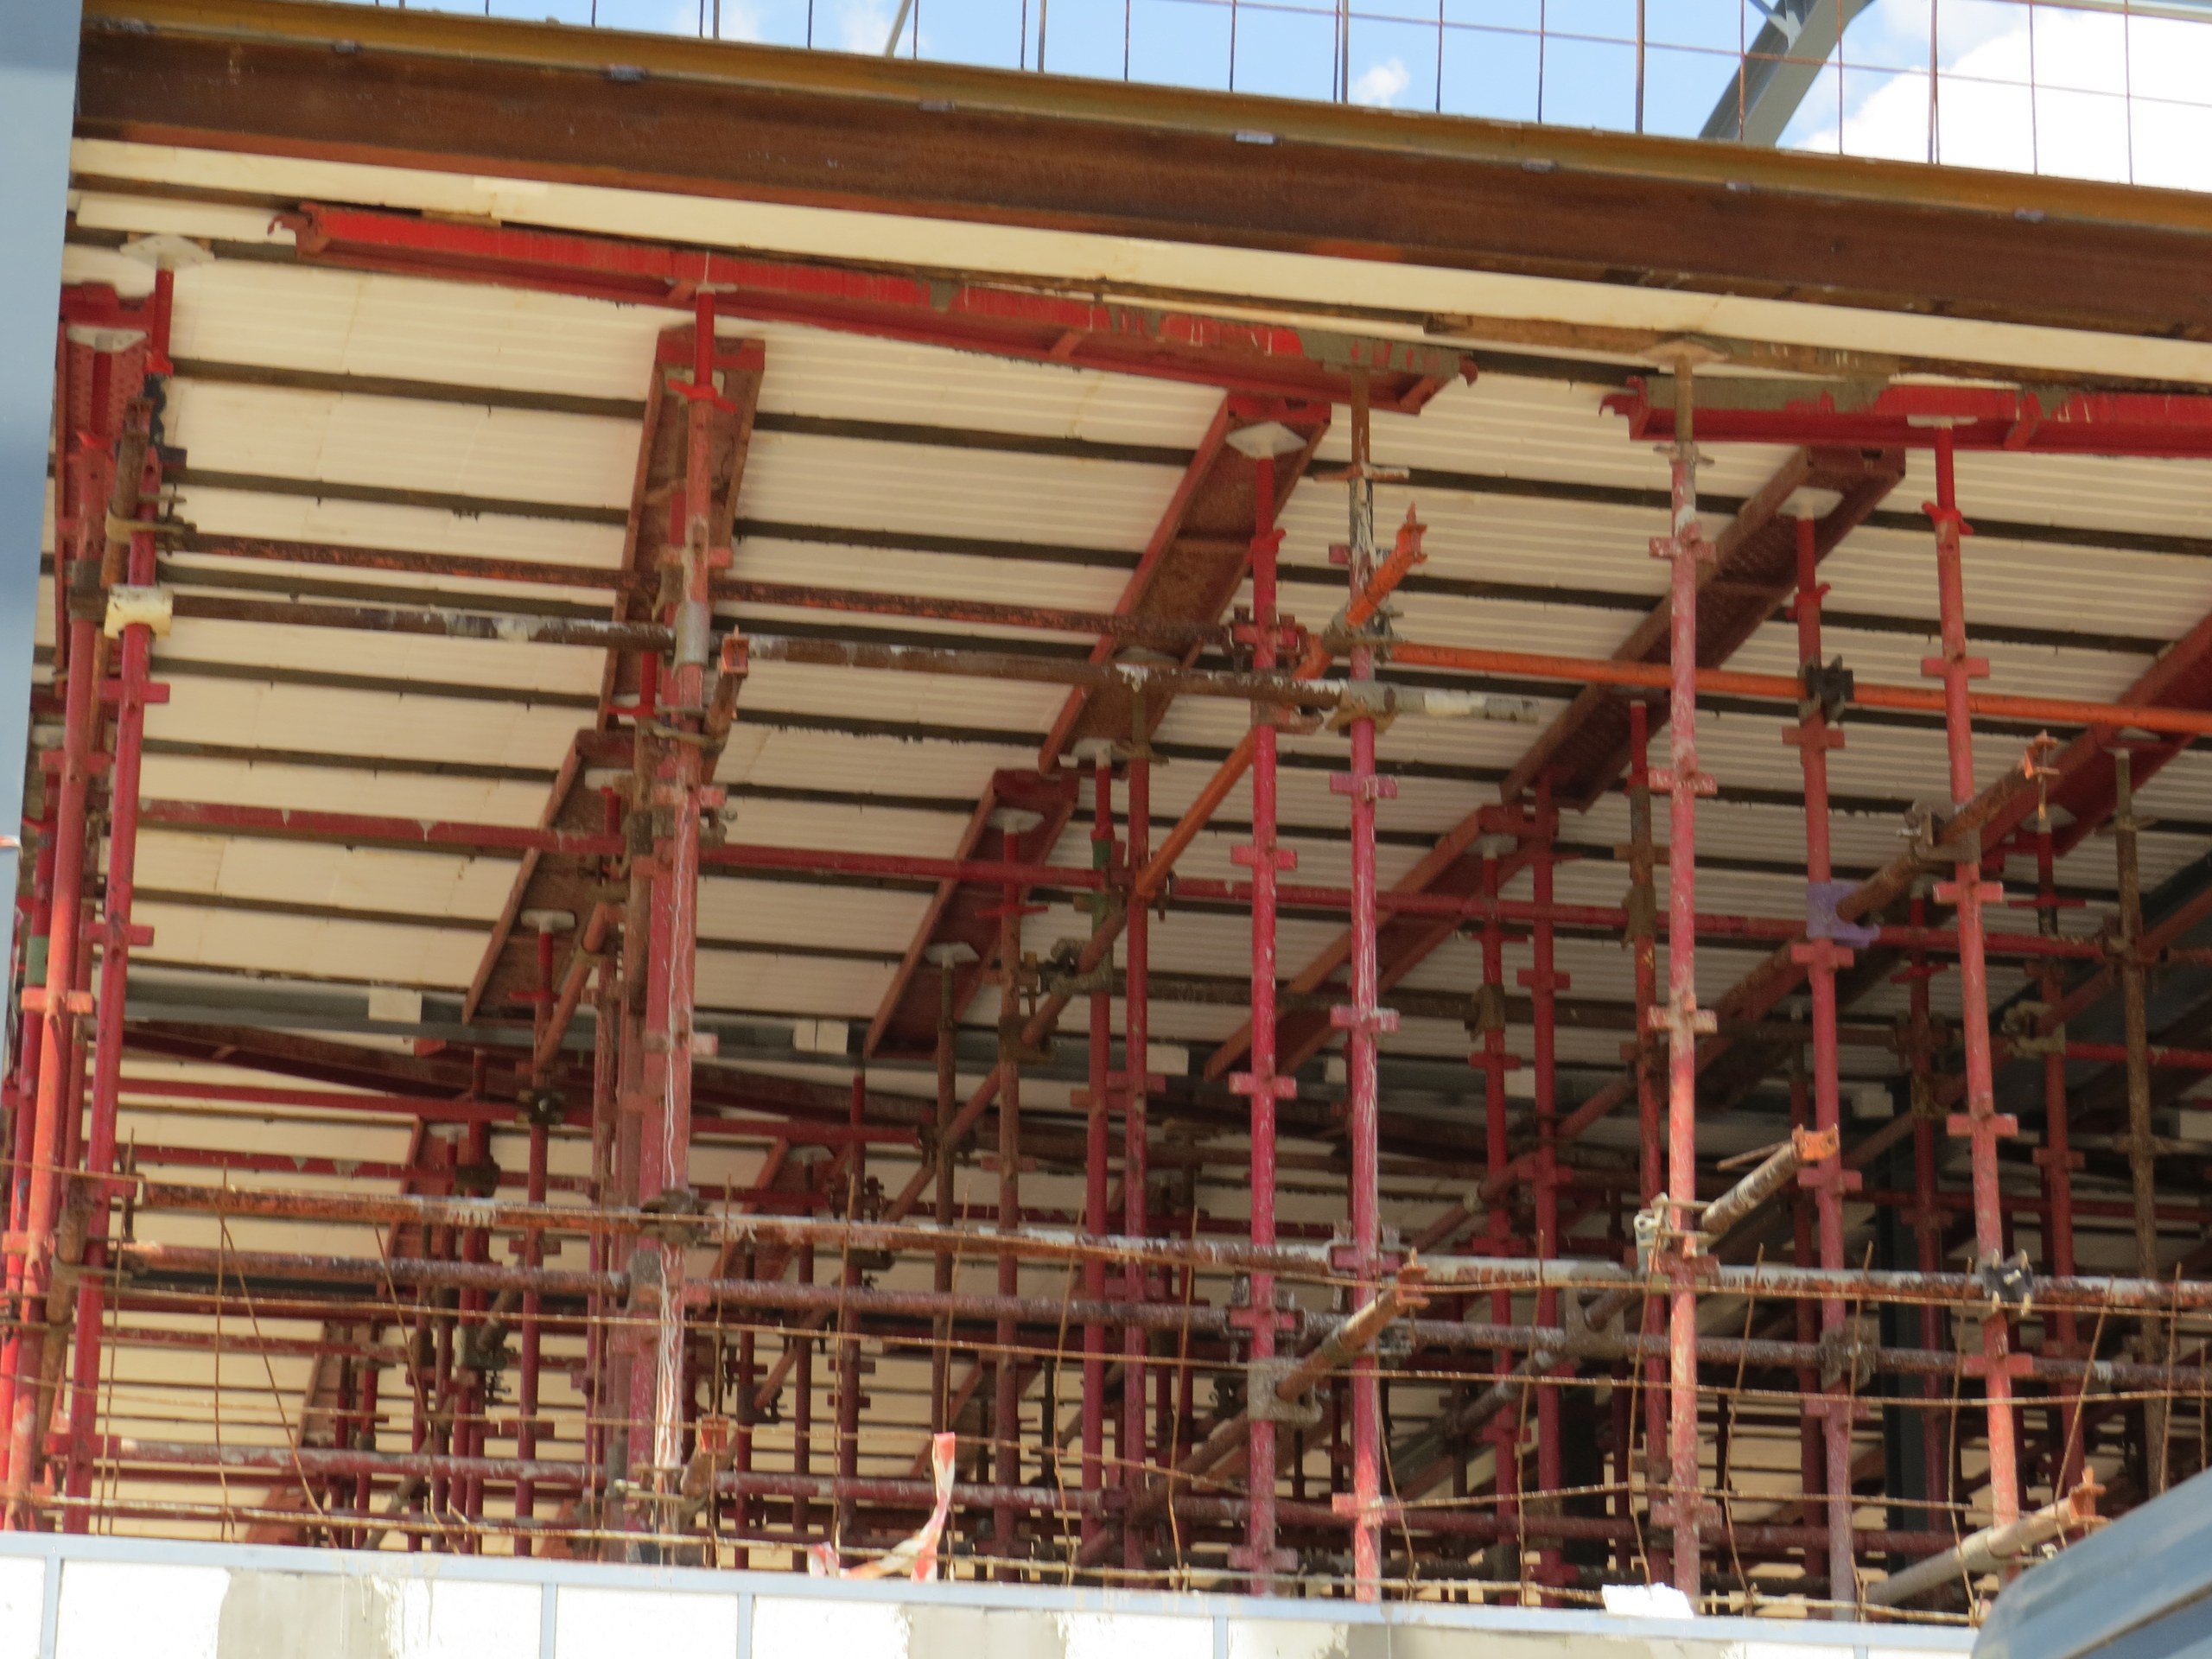
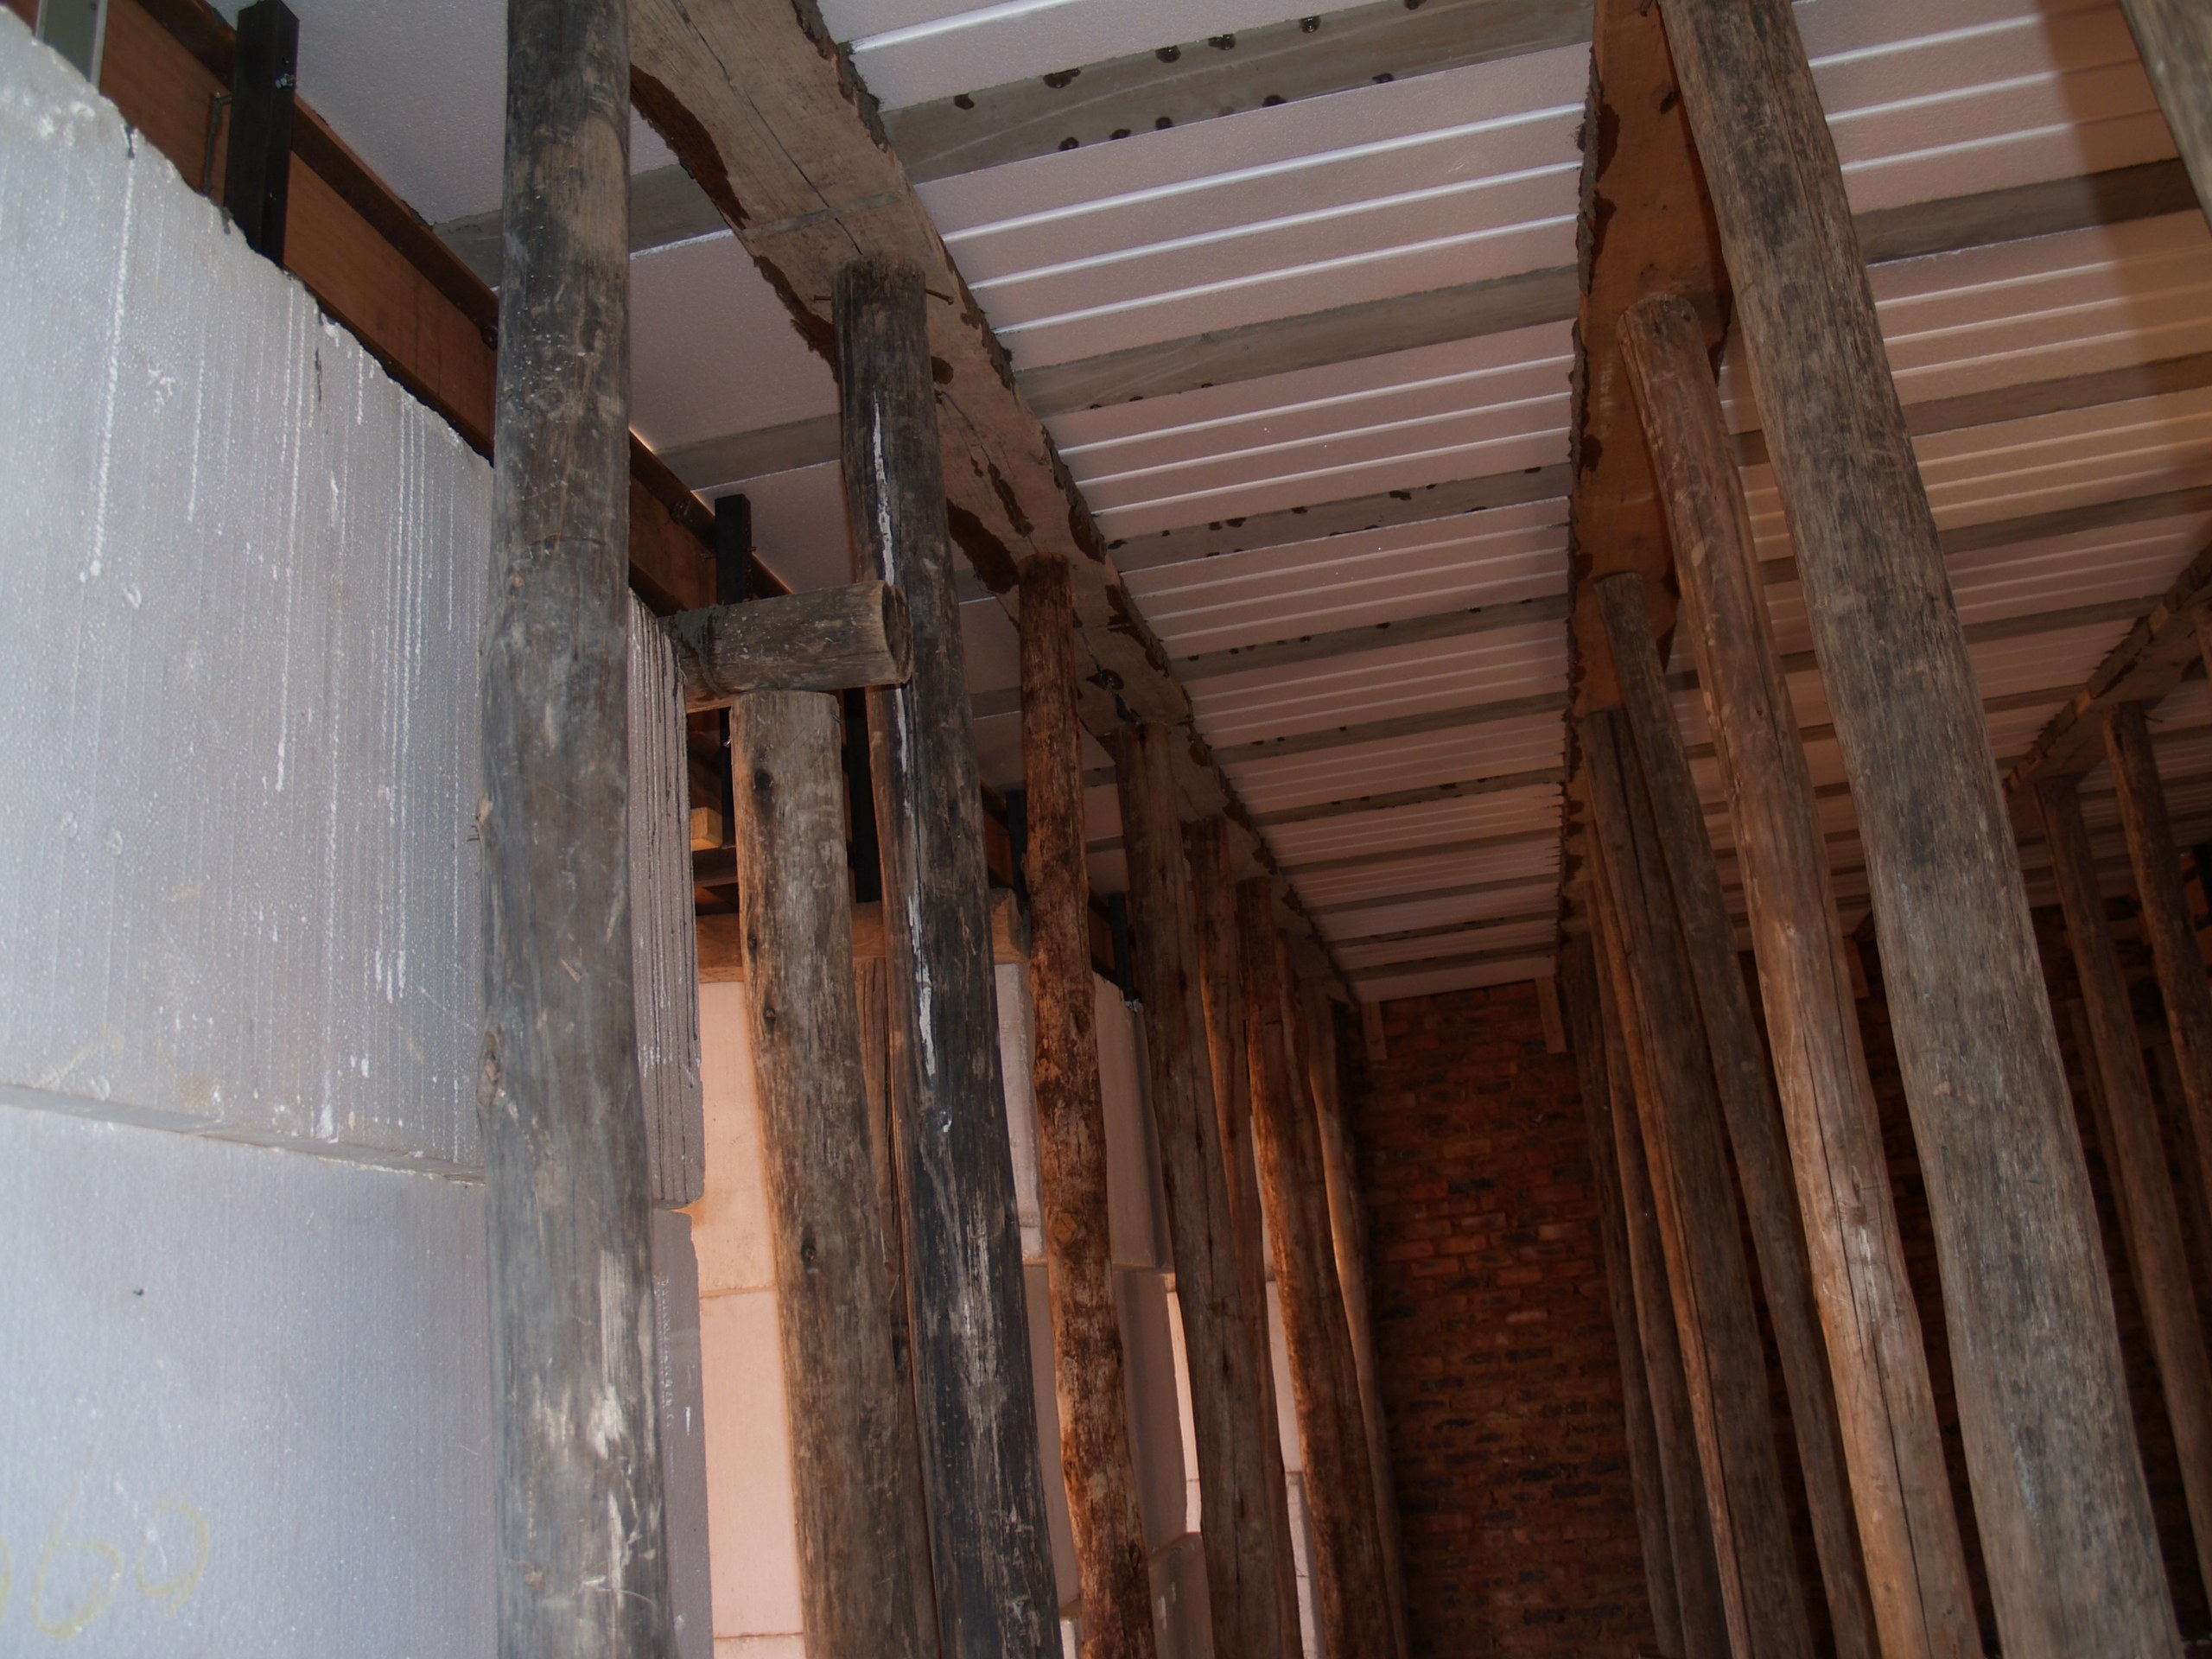
The underside of a suspended floor slab during construction: white moulded EPS void formers span between the joists, held up on a dense array of props while the concrete topping over them cures. The blocks are what make the slab a rib-and-block floor rather than a solid one.PHOTO
The underside of a suspended floor slab during construction: white moulded EPS void formers span between the joists, held up on a dense array of props while the concrete topping over them cures. The blocks are what make the slab a rib-and-block floor rather than a solid one.Technoblock Slab Blocks & Void Formers
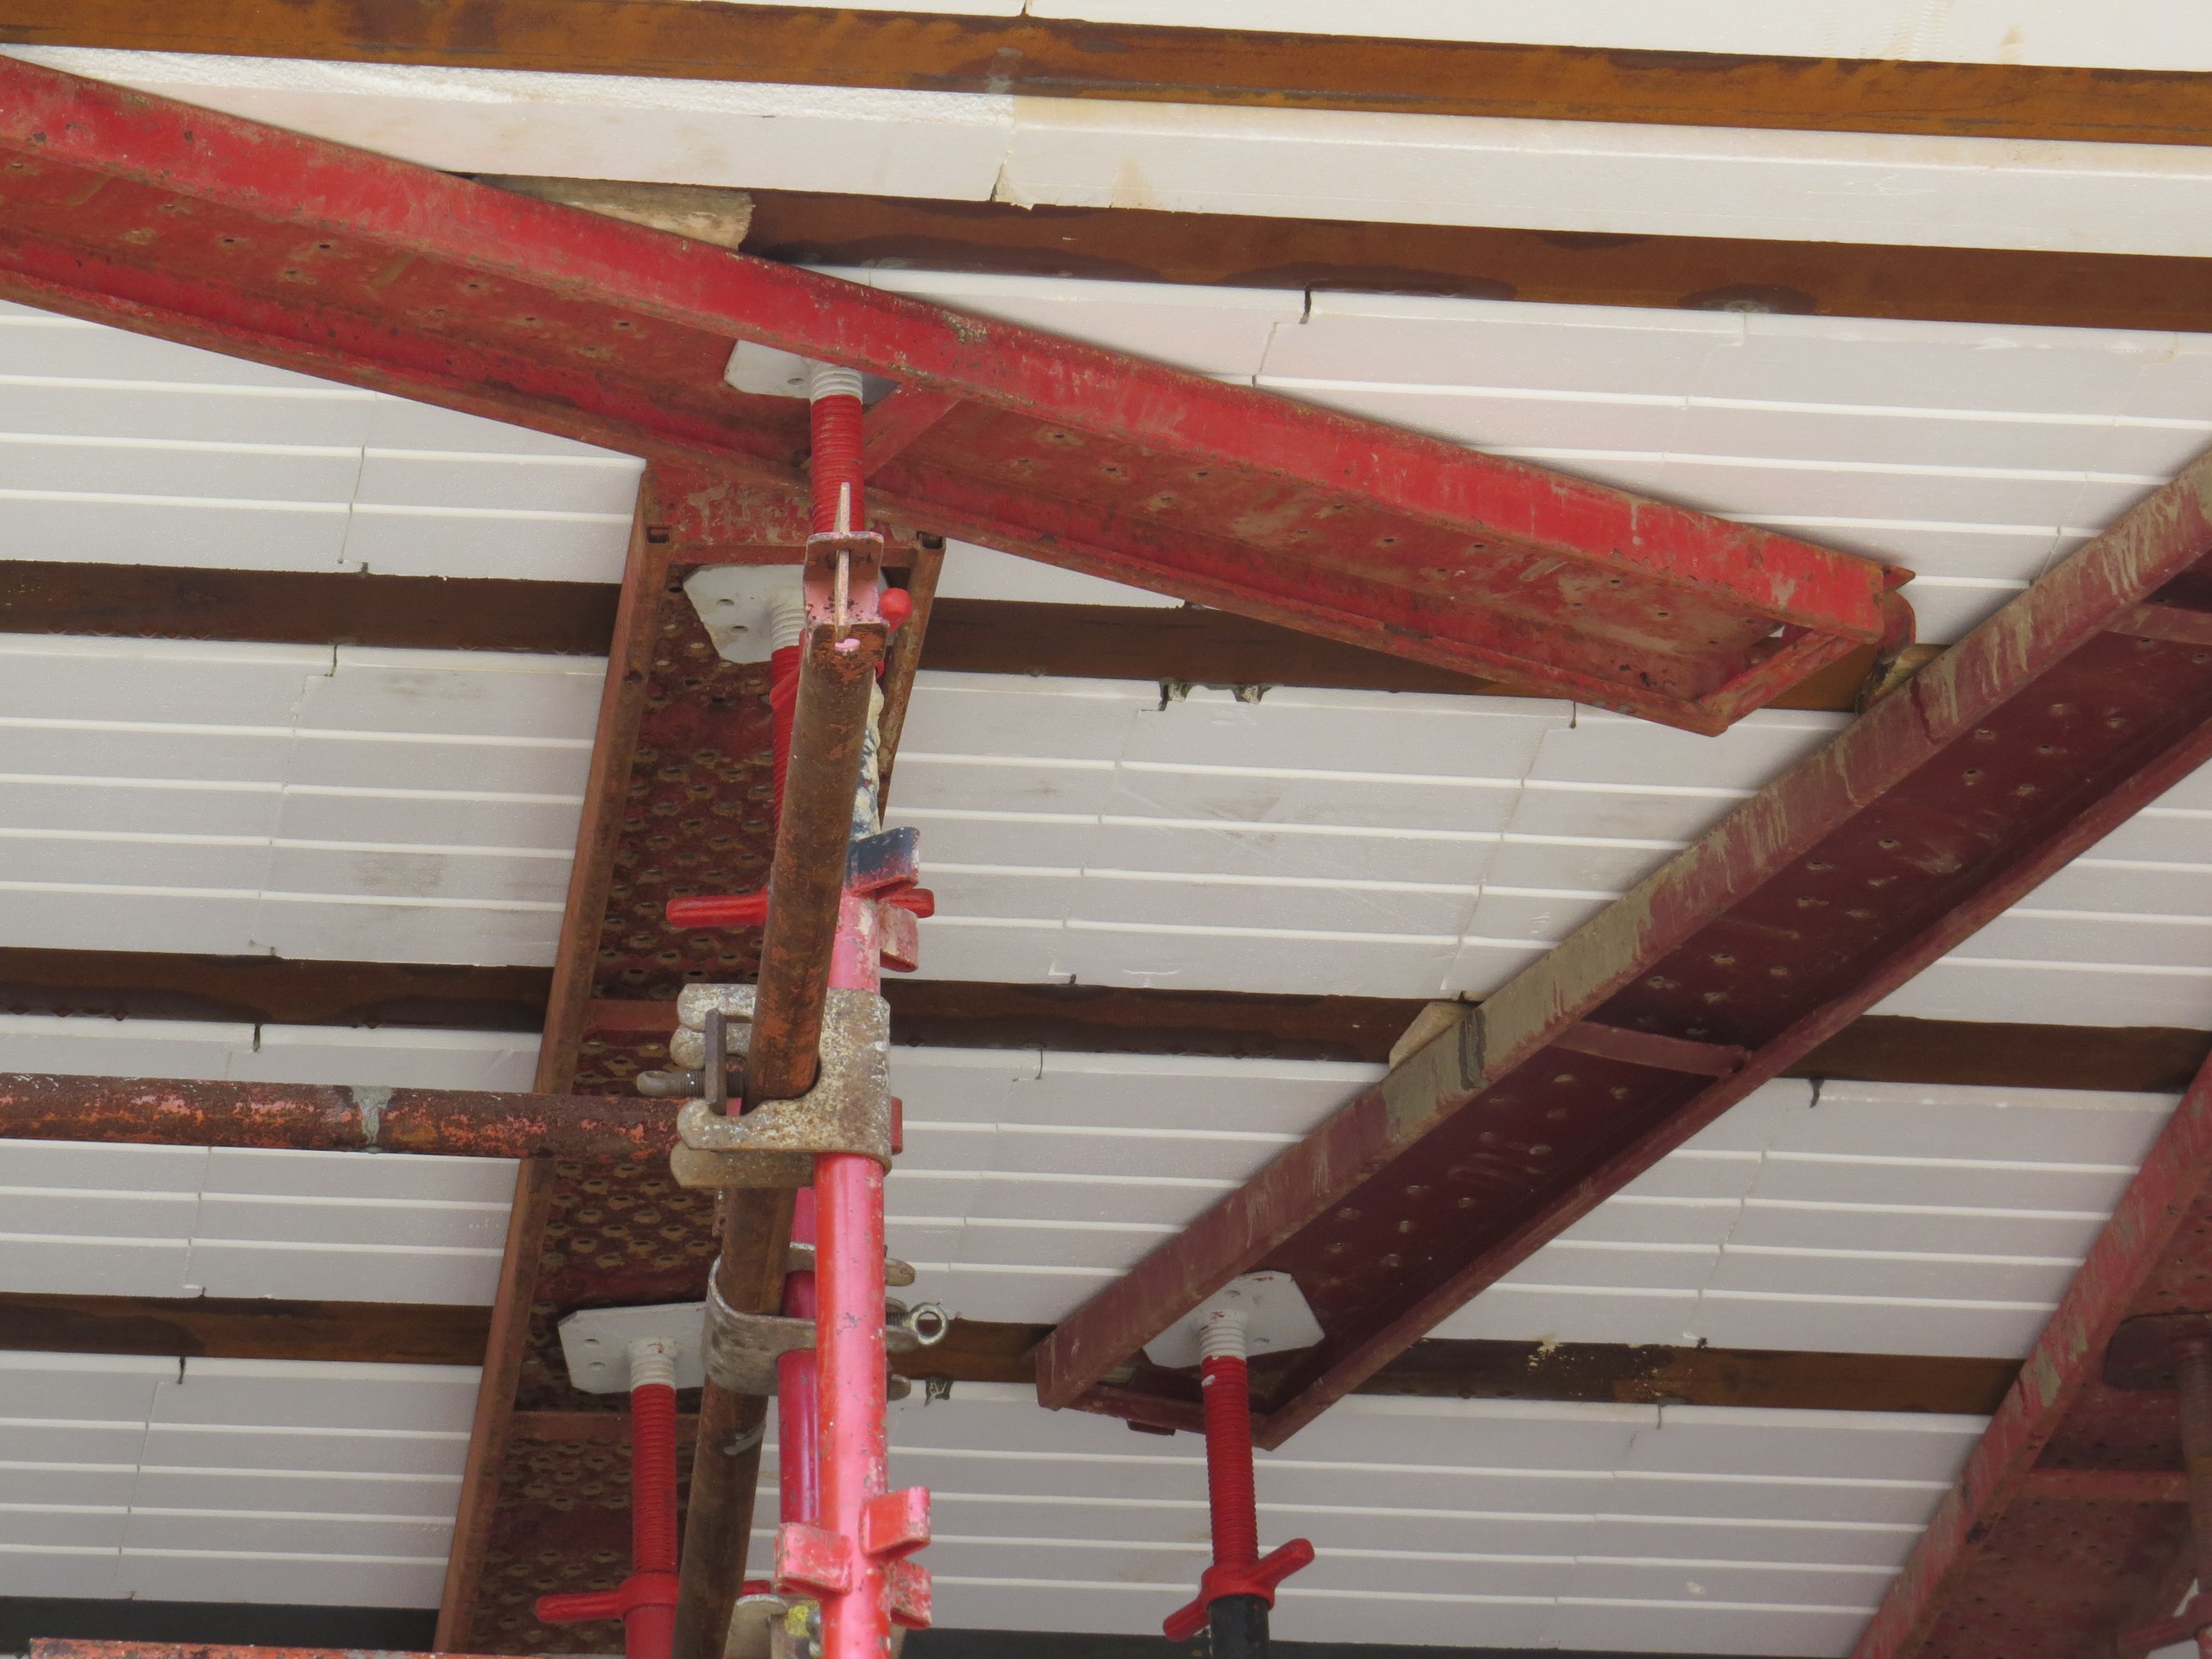
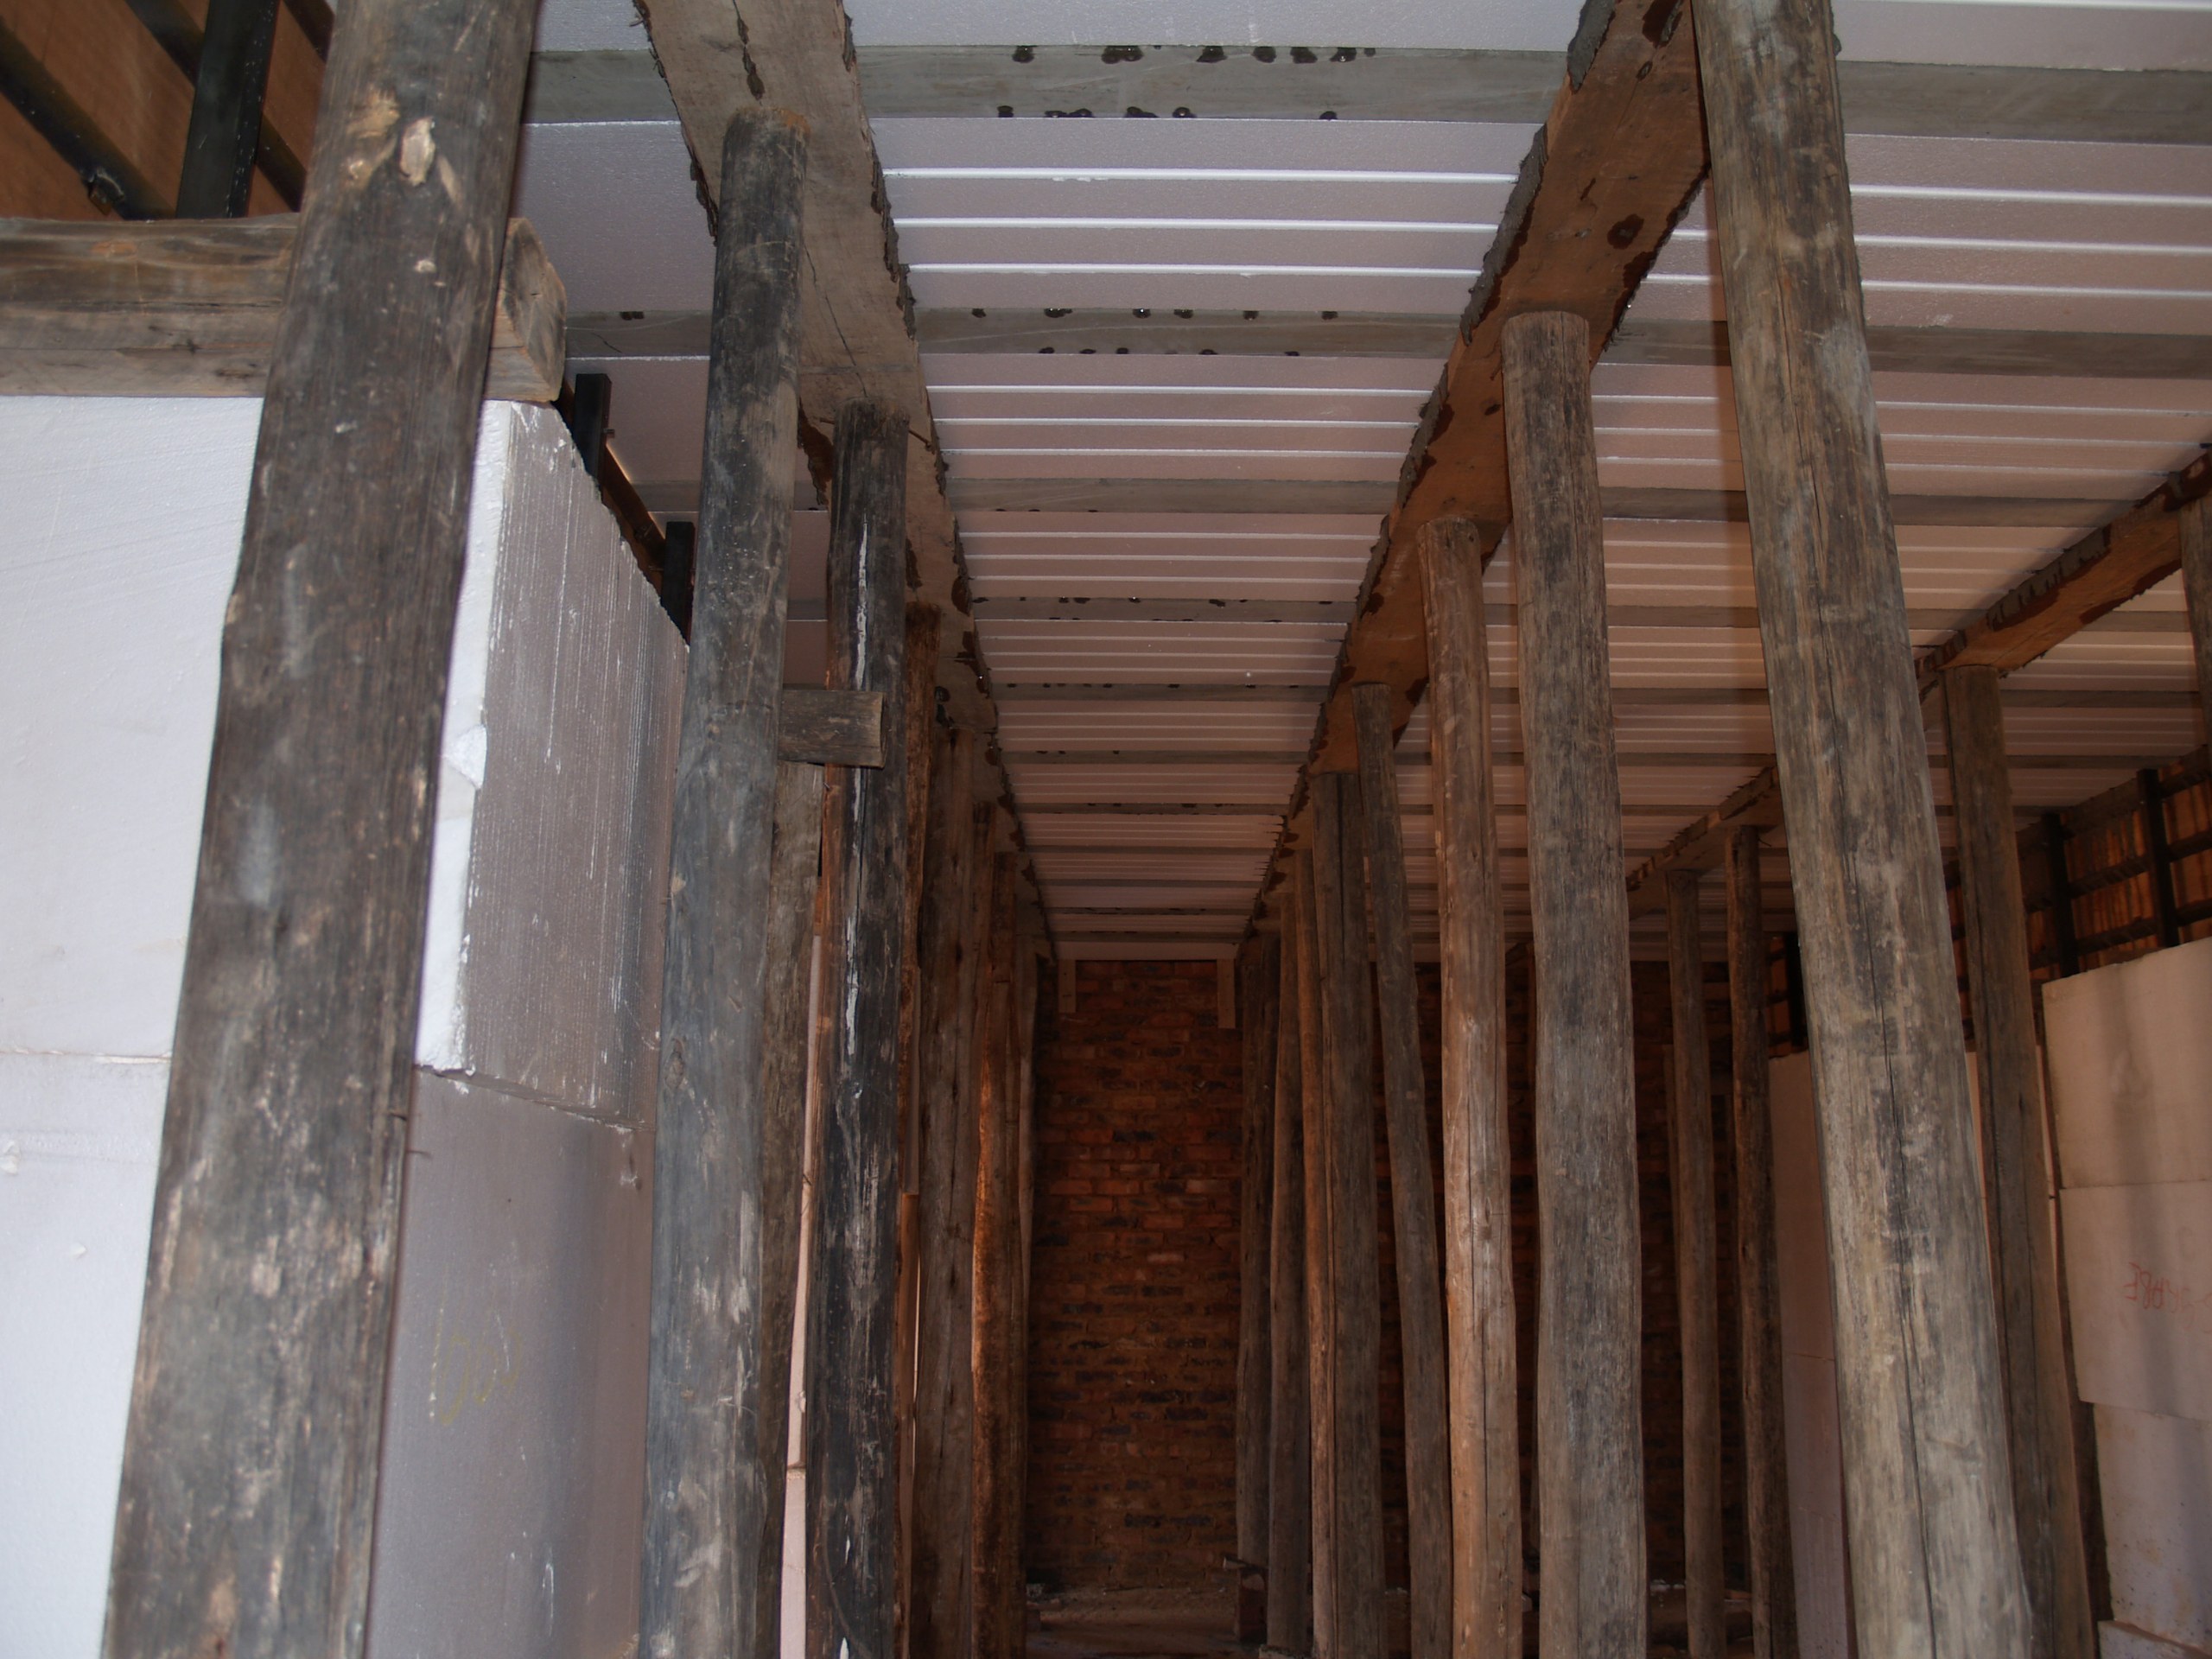
Void-former soffit seen from below, the blocks sitting between the steel beams and props before striking. Each block leaves a concrete rib either side of it, so the finished slab spans further for its weight.PHOTO
Void-former soffit seen from below, the blocks sitting between the steel beams and props before striking. Each block leaves a concrete rib either side of it, so the finished slab spans further for its weight.Technoblock Slab Blocks & Void Formers
Void formers laid out across the steel frame of a building, with reinforcing bar being placed over them ahead of the pour. The blocks tile the whole floor area; the concrete fills only the ribs between them and a thin topping over the top.PHOTO
Void formers laid out across the steel frame of a building, with reinforcing bar being placed over them ahead of the pour. The blocks tile the whole floor area; the concrete fills only the ribs between them and a thin topping over the top.Technoblock Slab Blocks & Void Formers
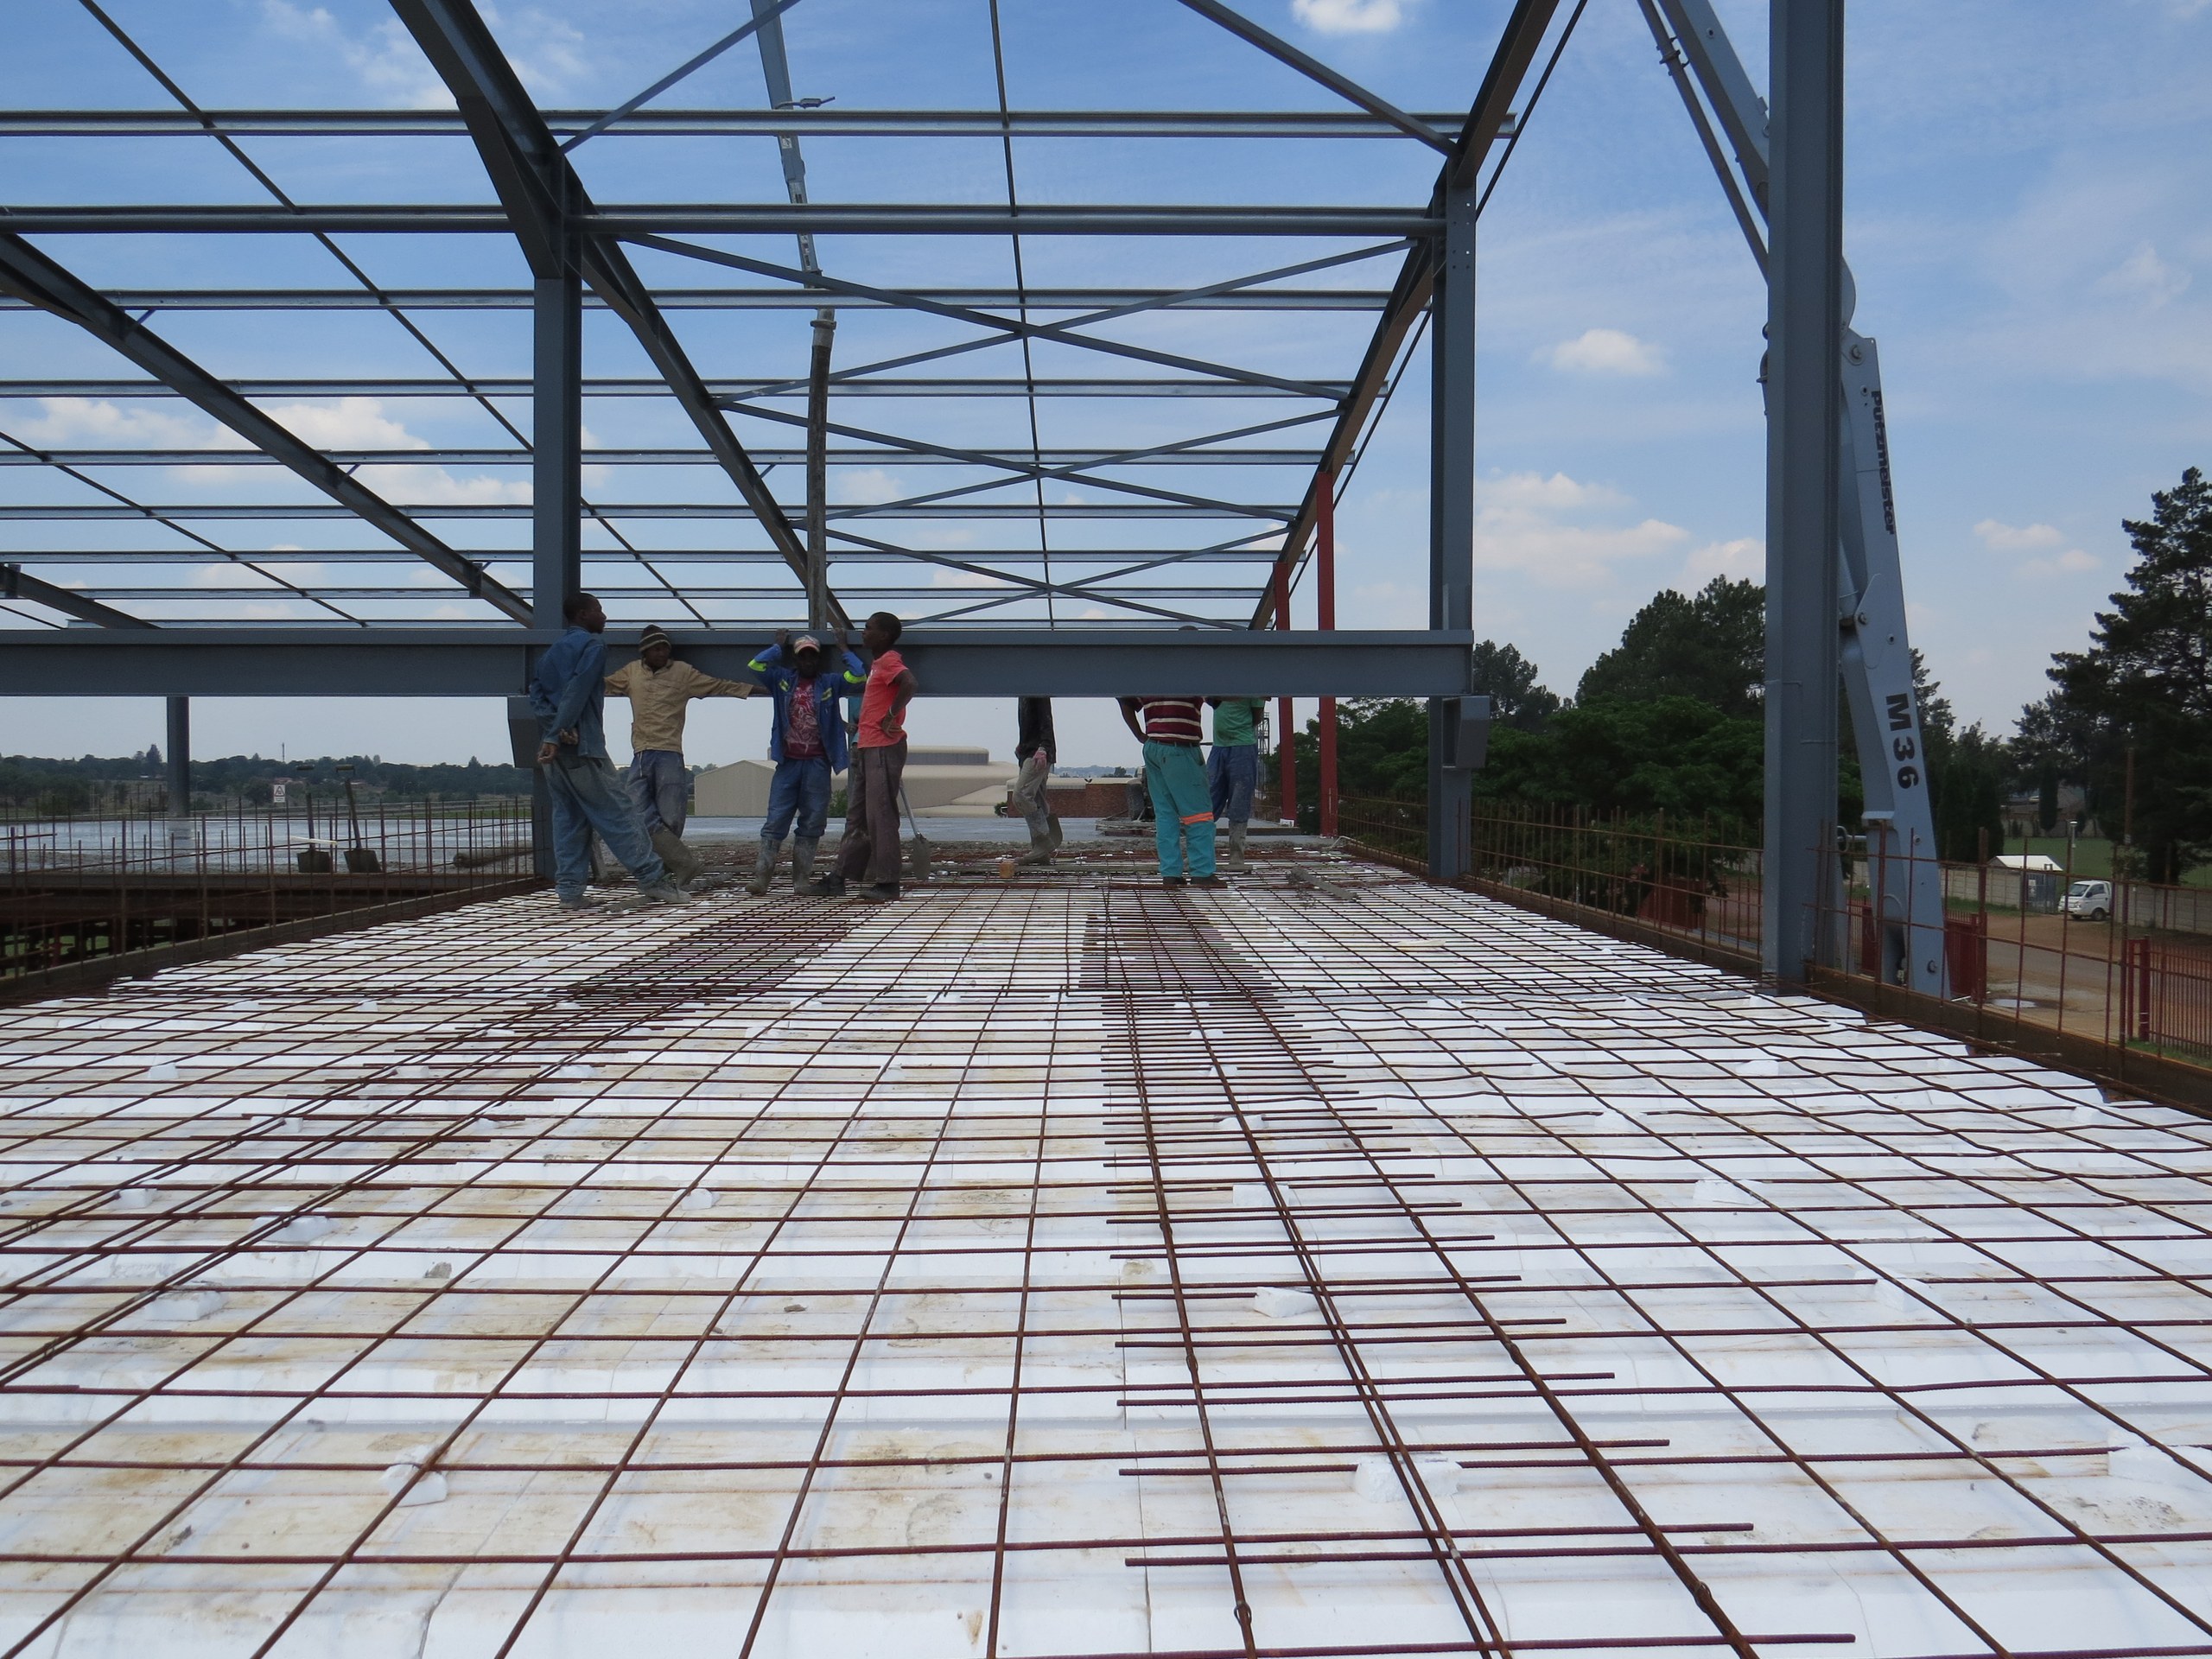
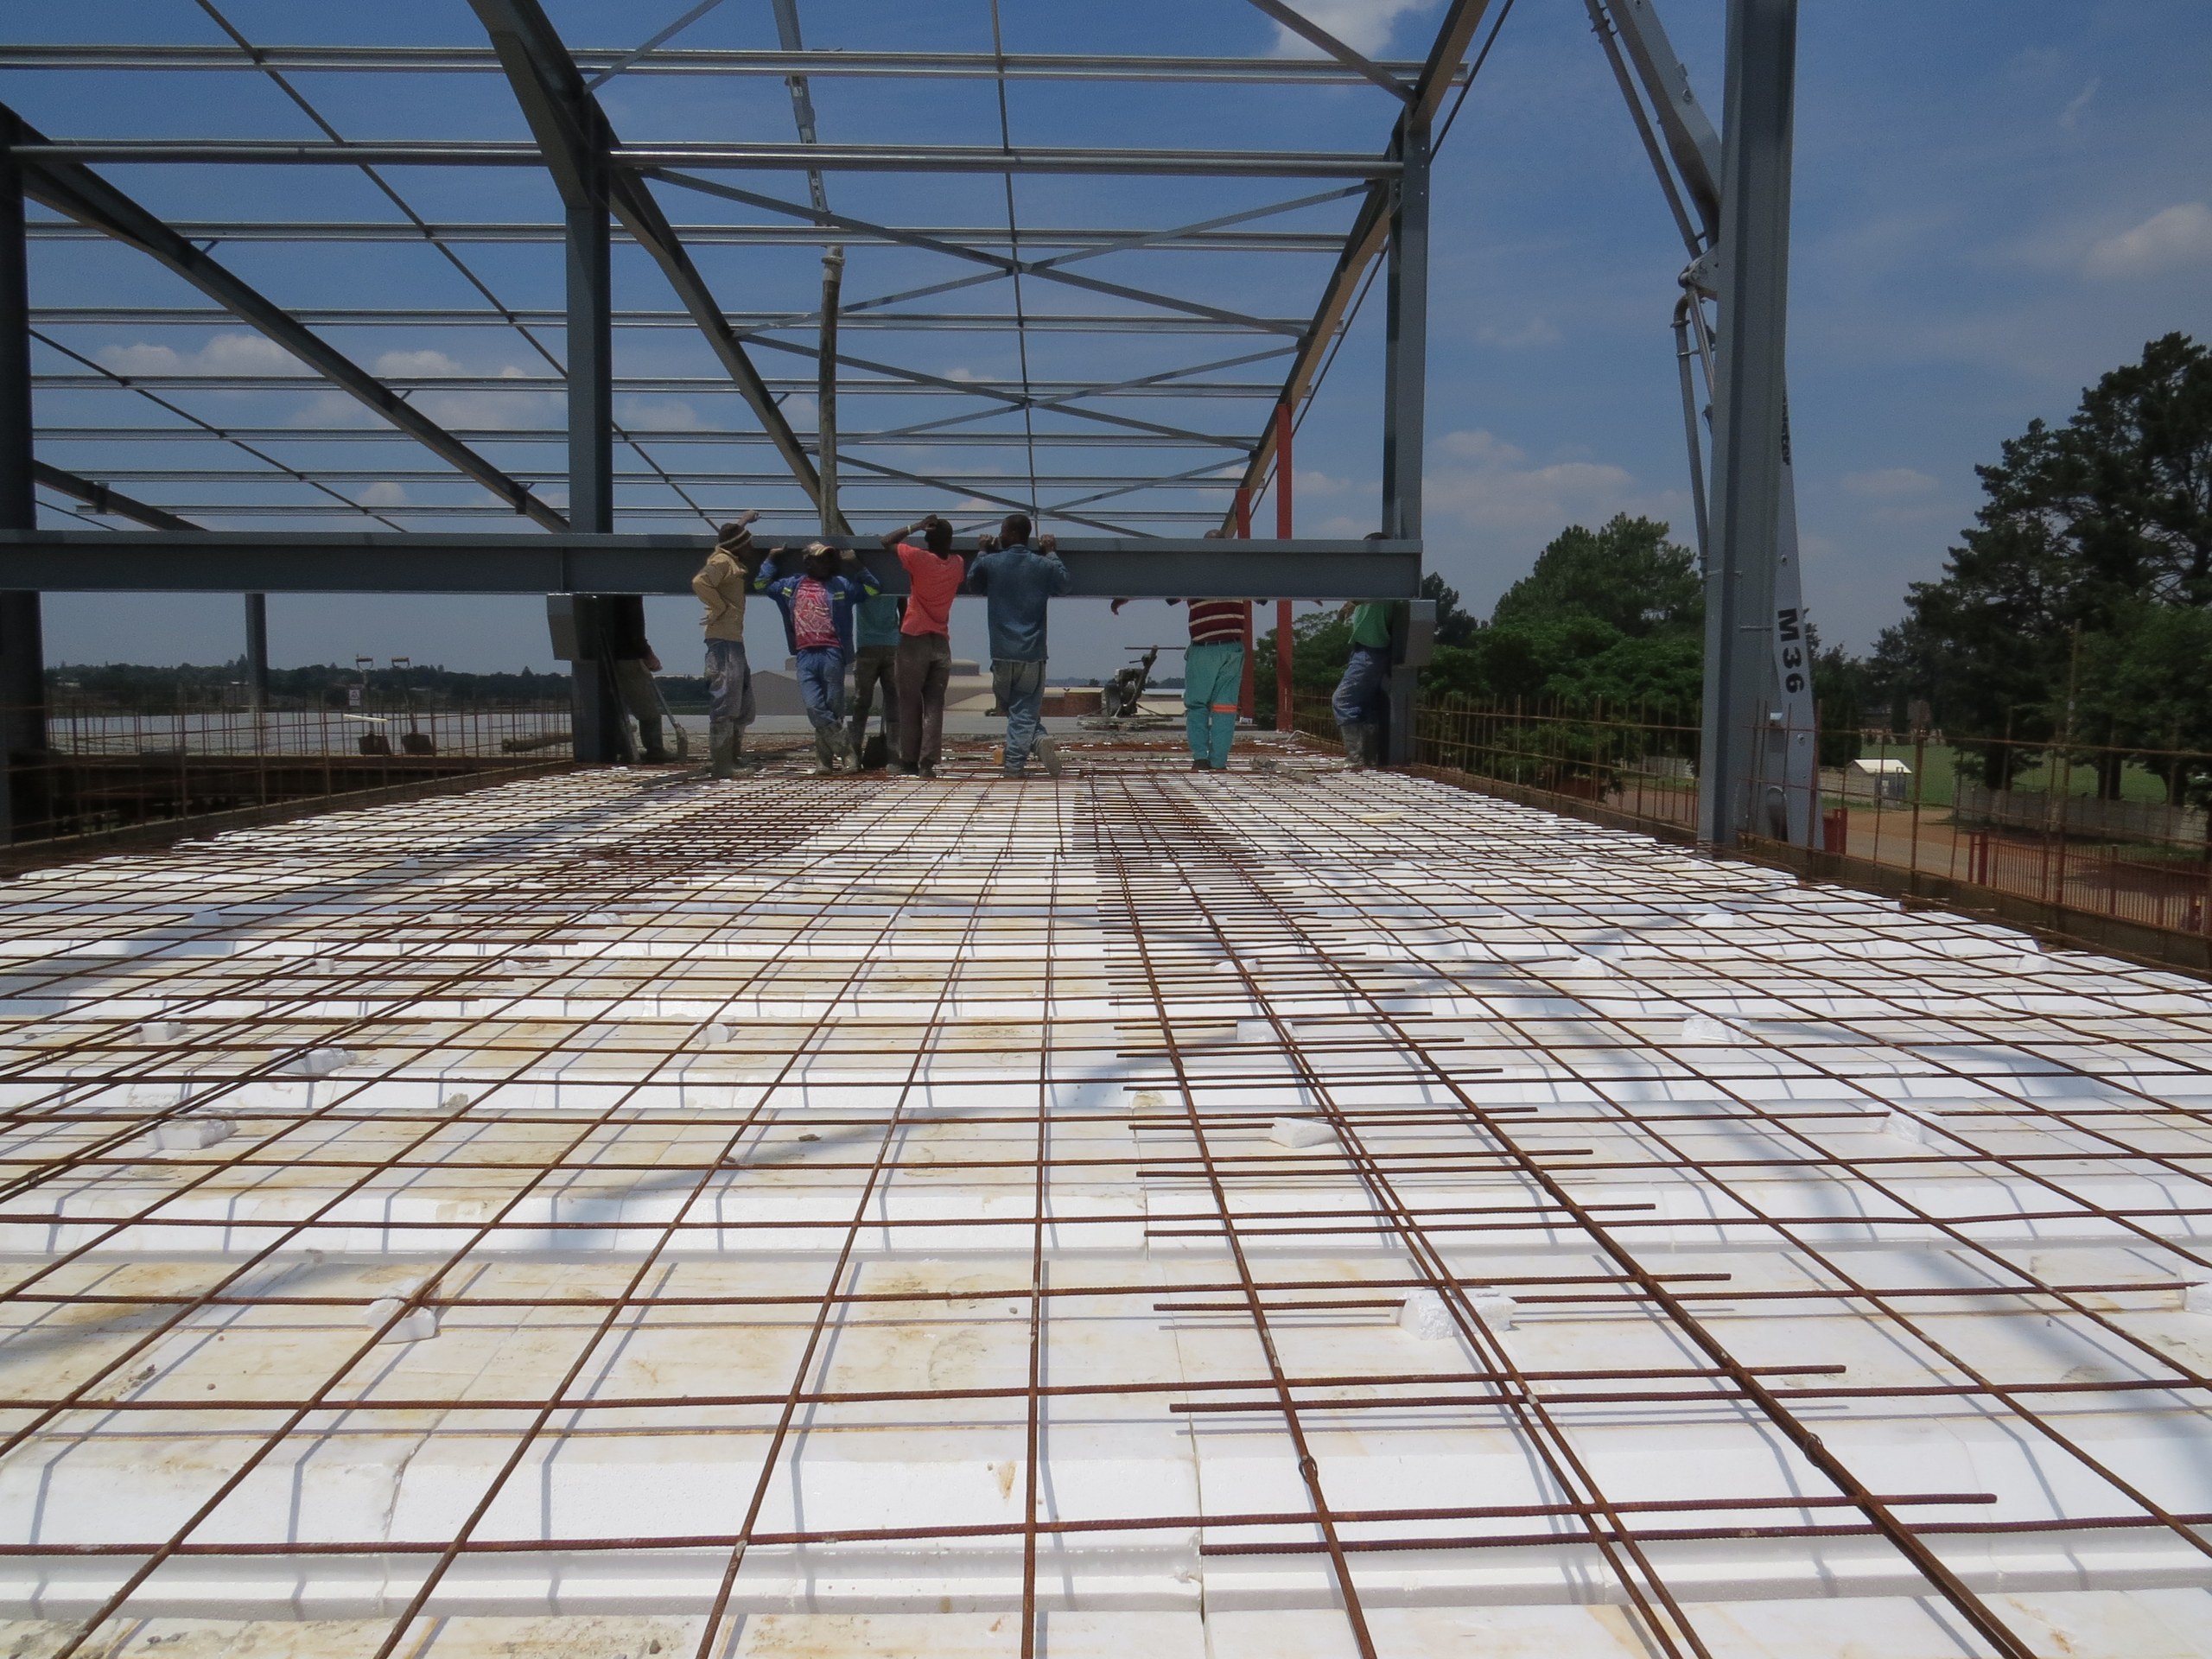
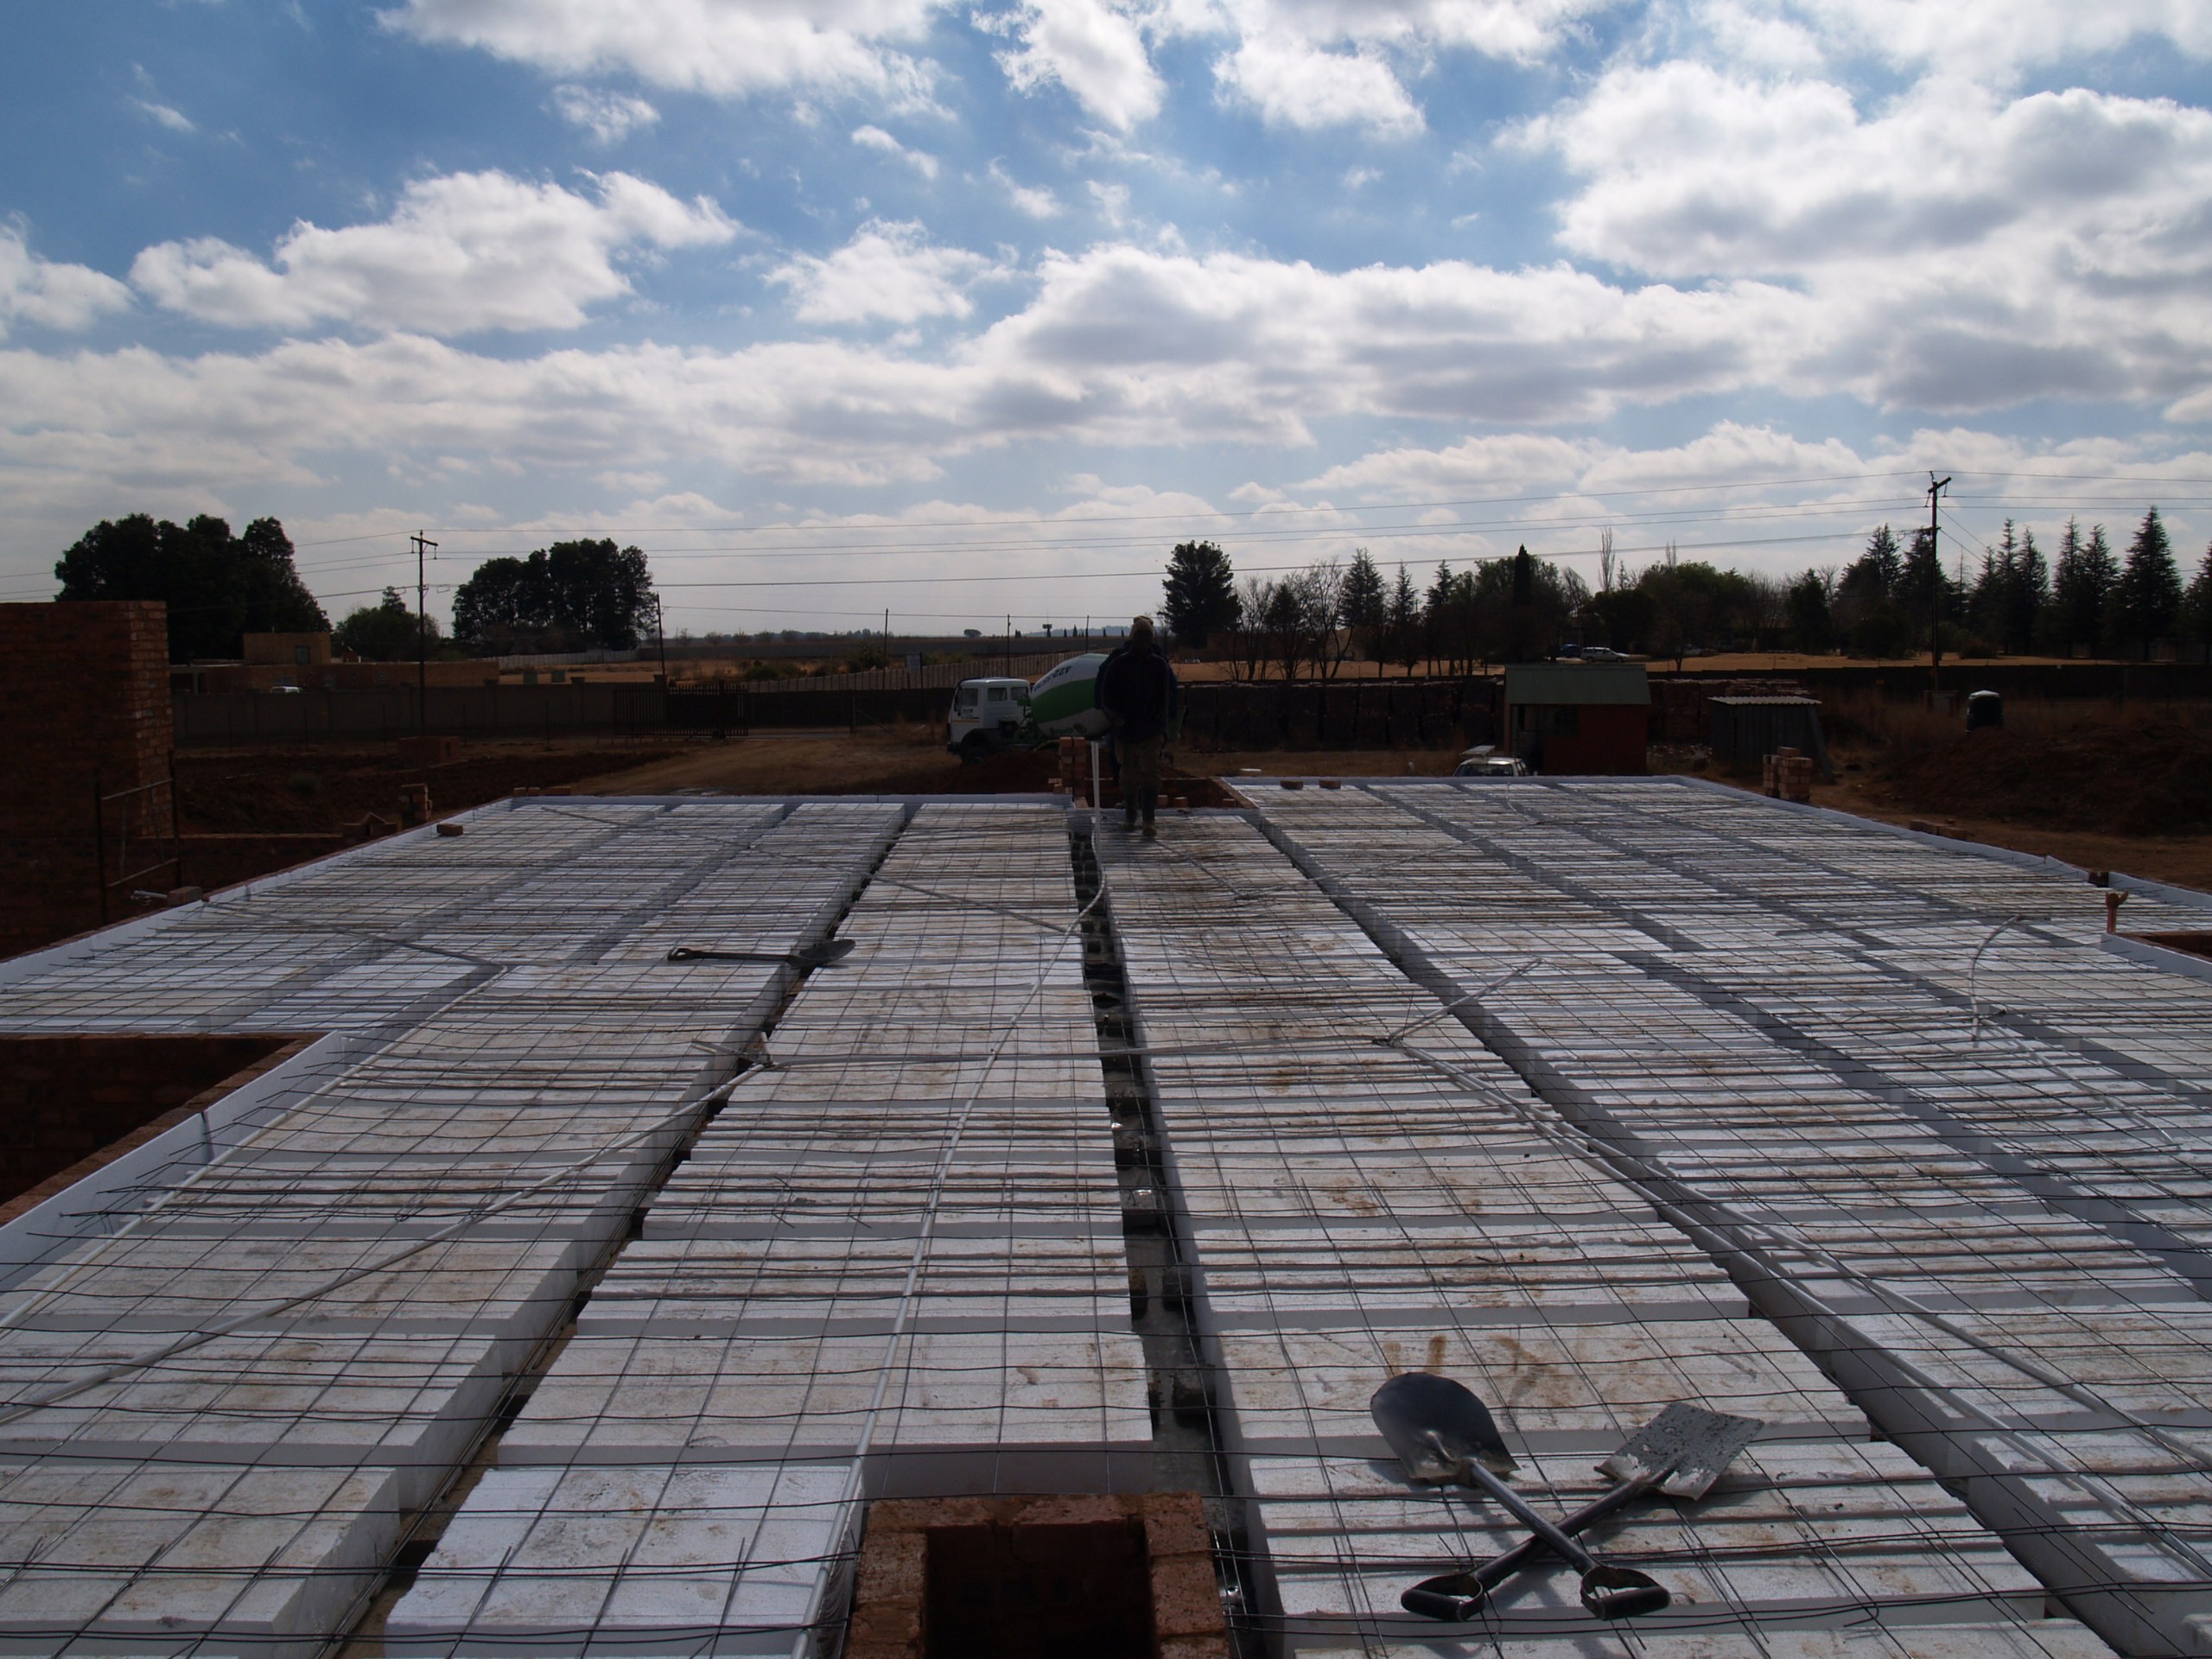
Looking down the length of the slab: rows of void formers with the reinforcing mesh laid over them, ready for concrete. The lightweight blocks are quick to place by hand, with no shutter to the underside of each void.PHOTO
Looking down the length of the slab: rows of void formers with the reinforcing mesh laid over them, ready for concrete. The lightweight blocks are quick to place by hand, with no shutter to the underside of each void.Technoblock Slab Blocks & Void Formers
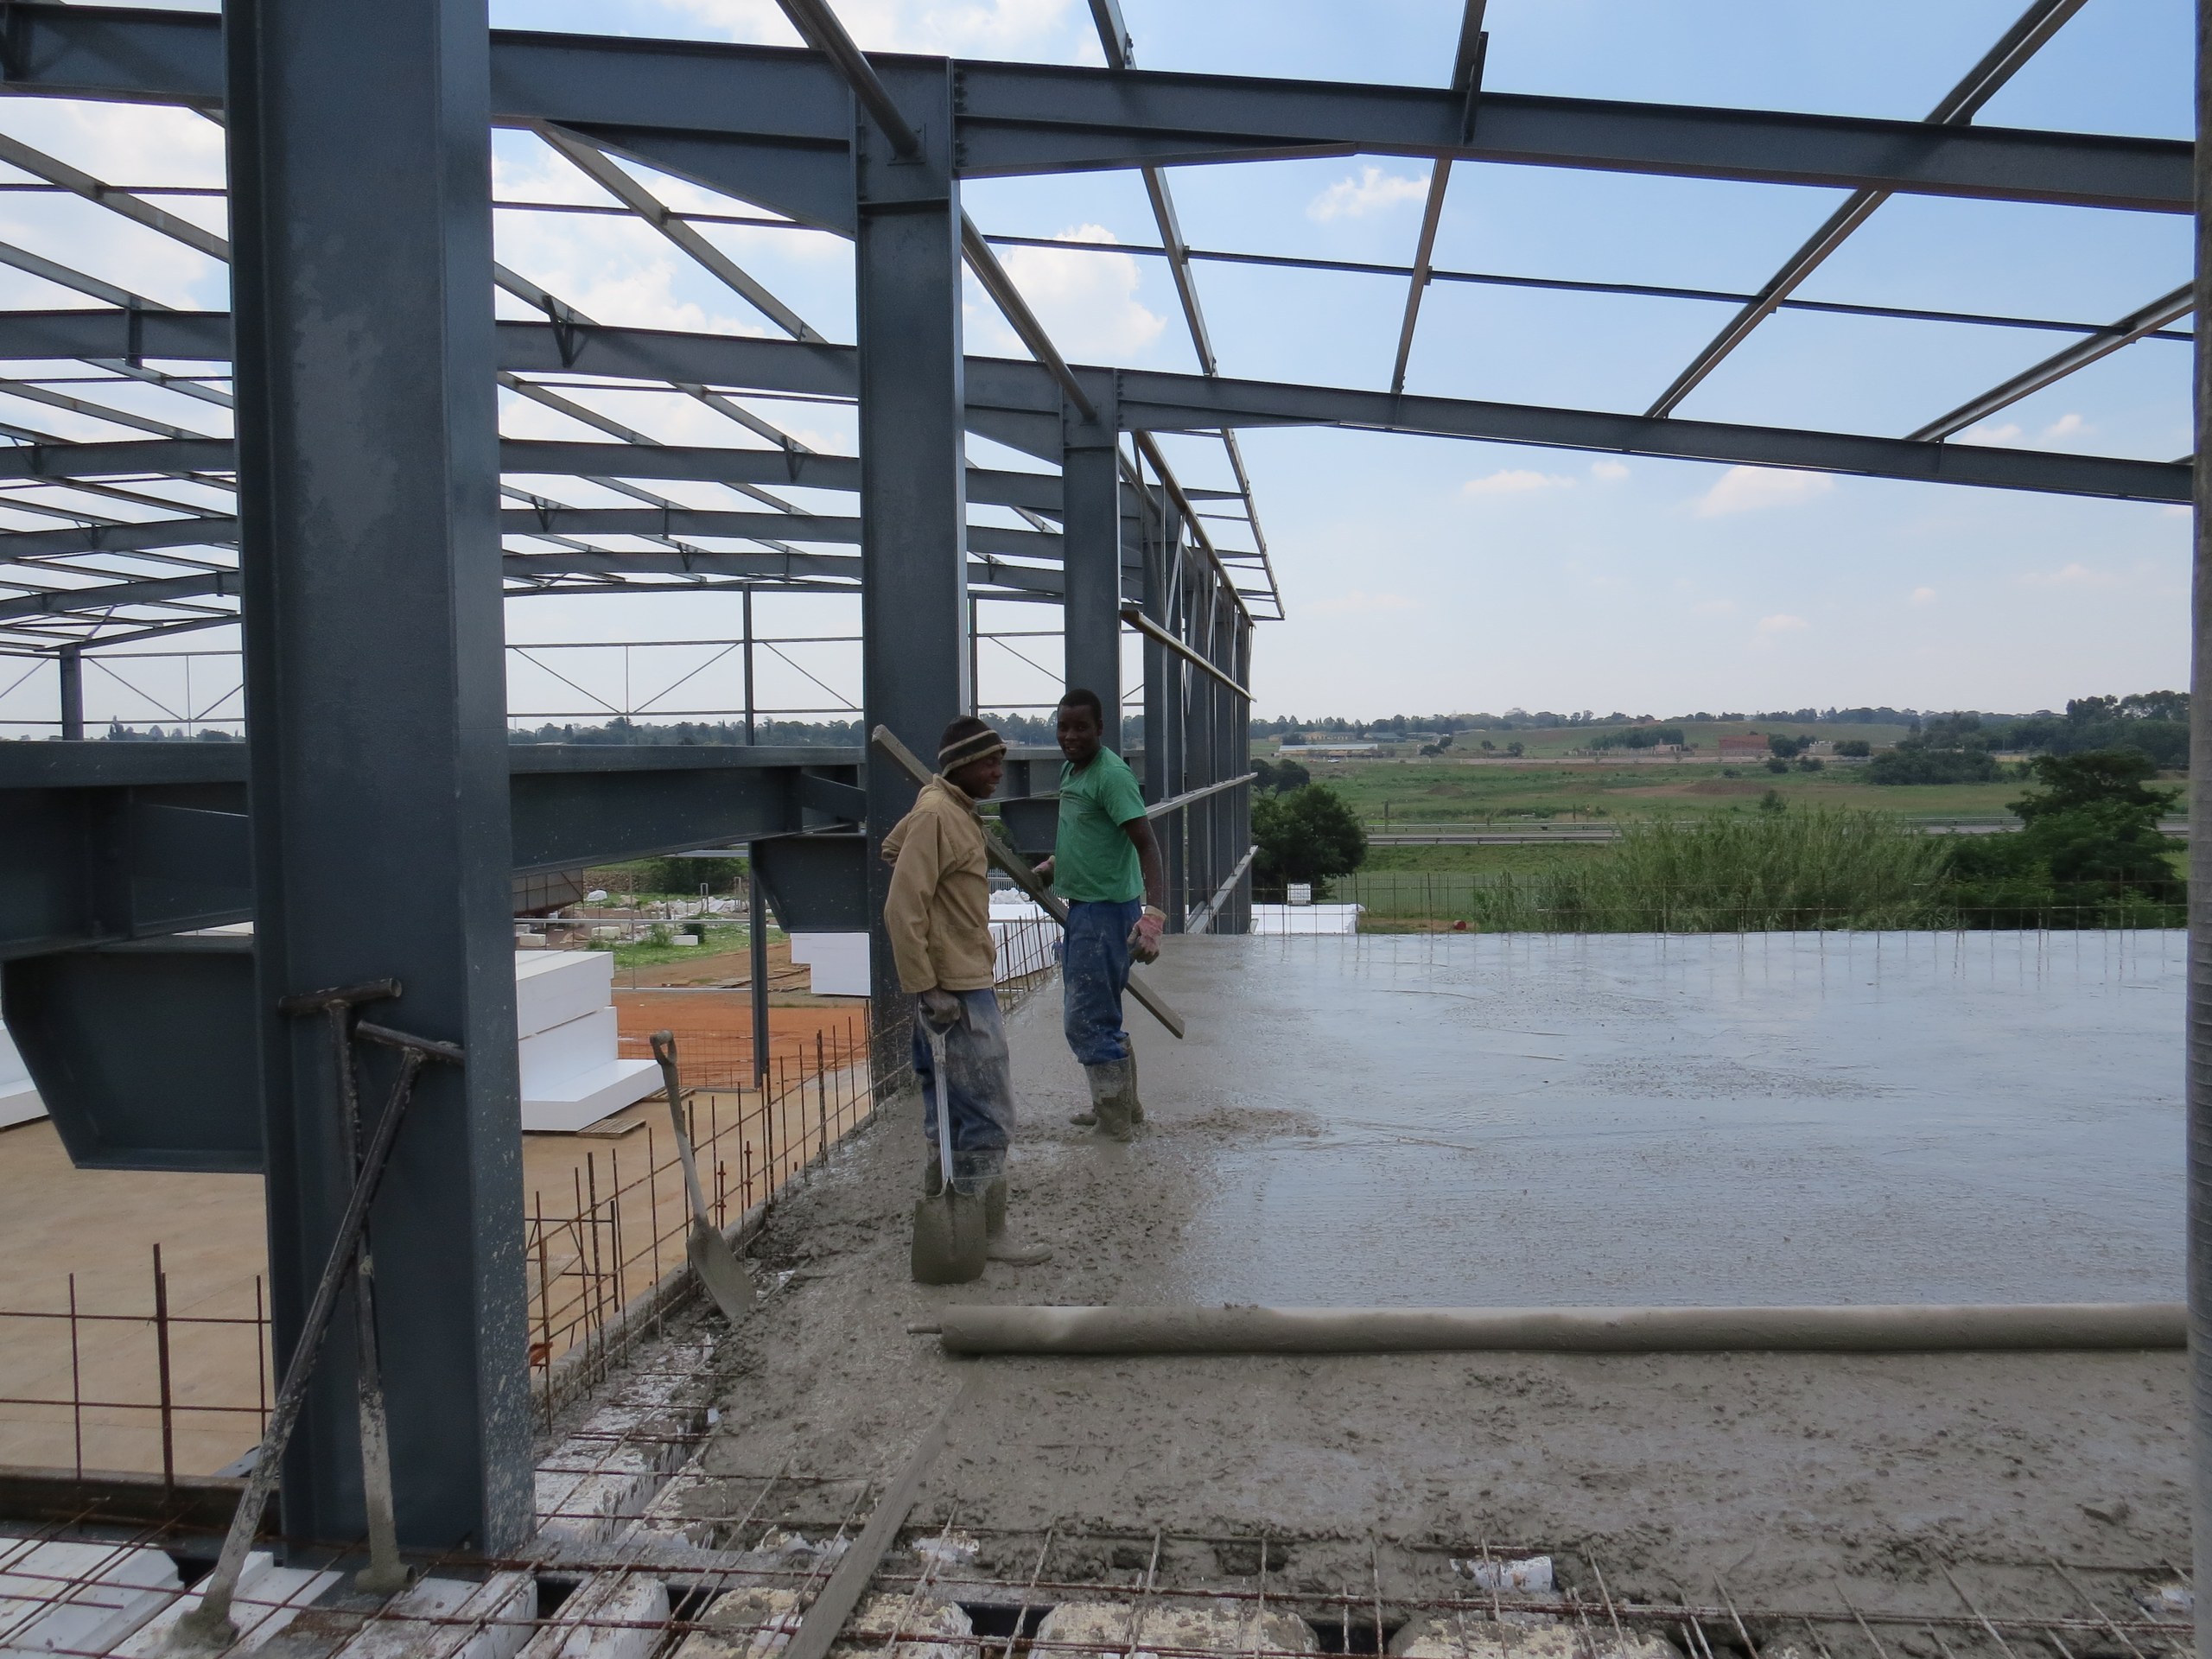
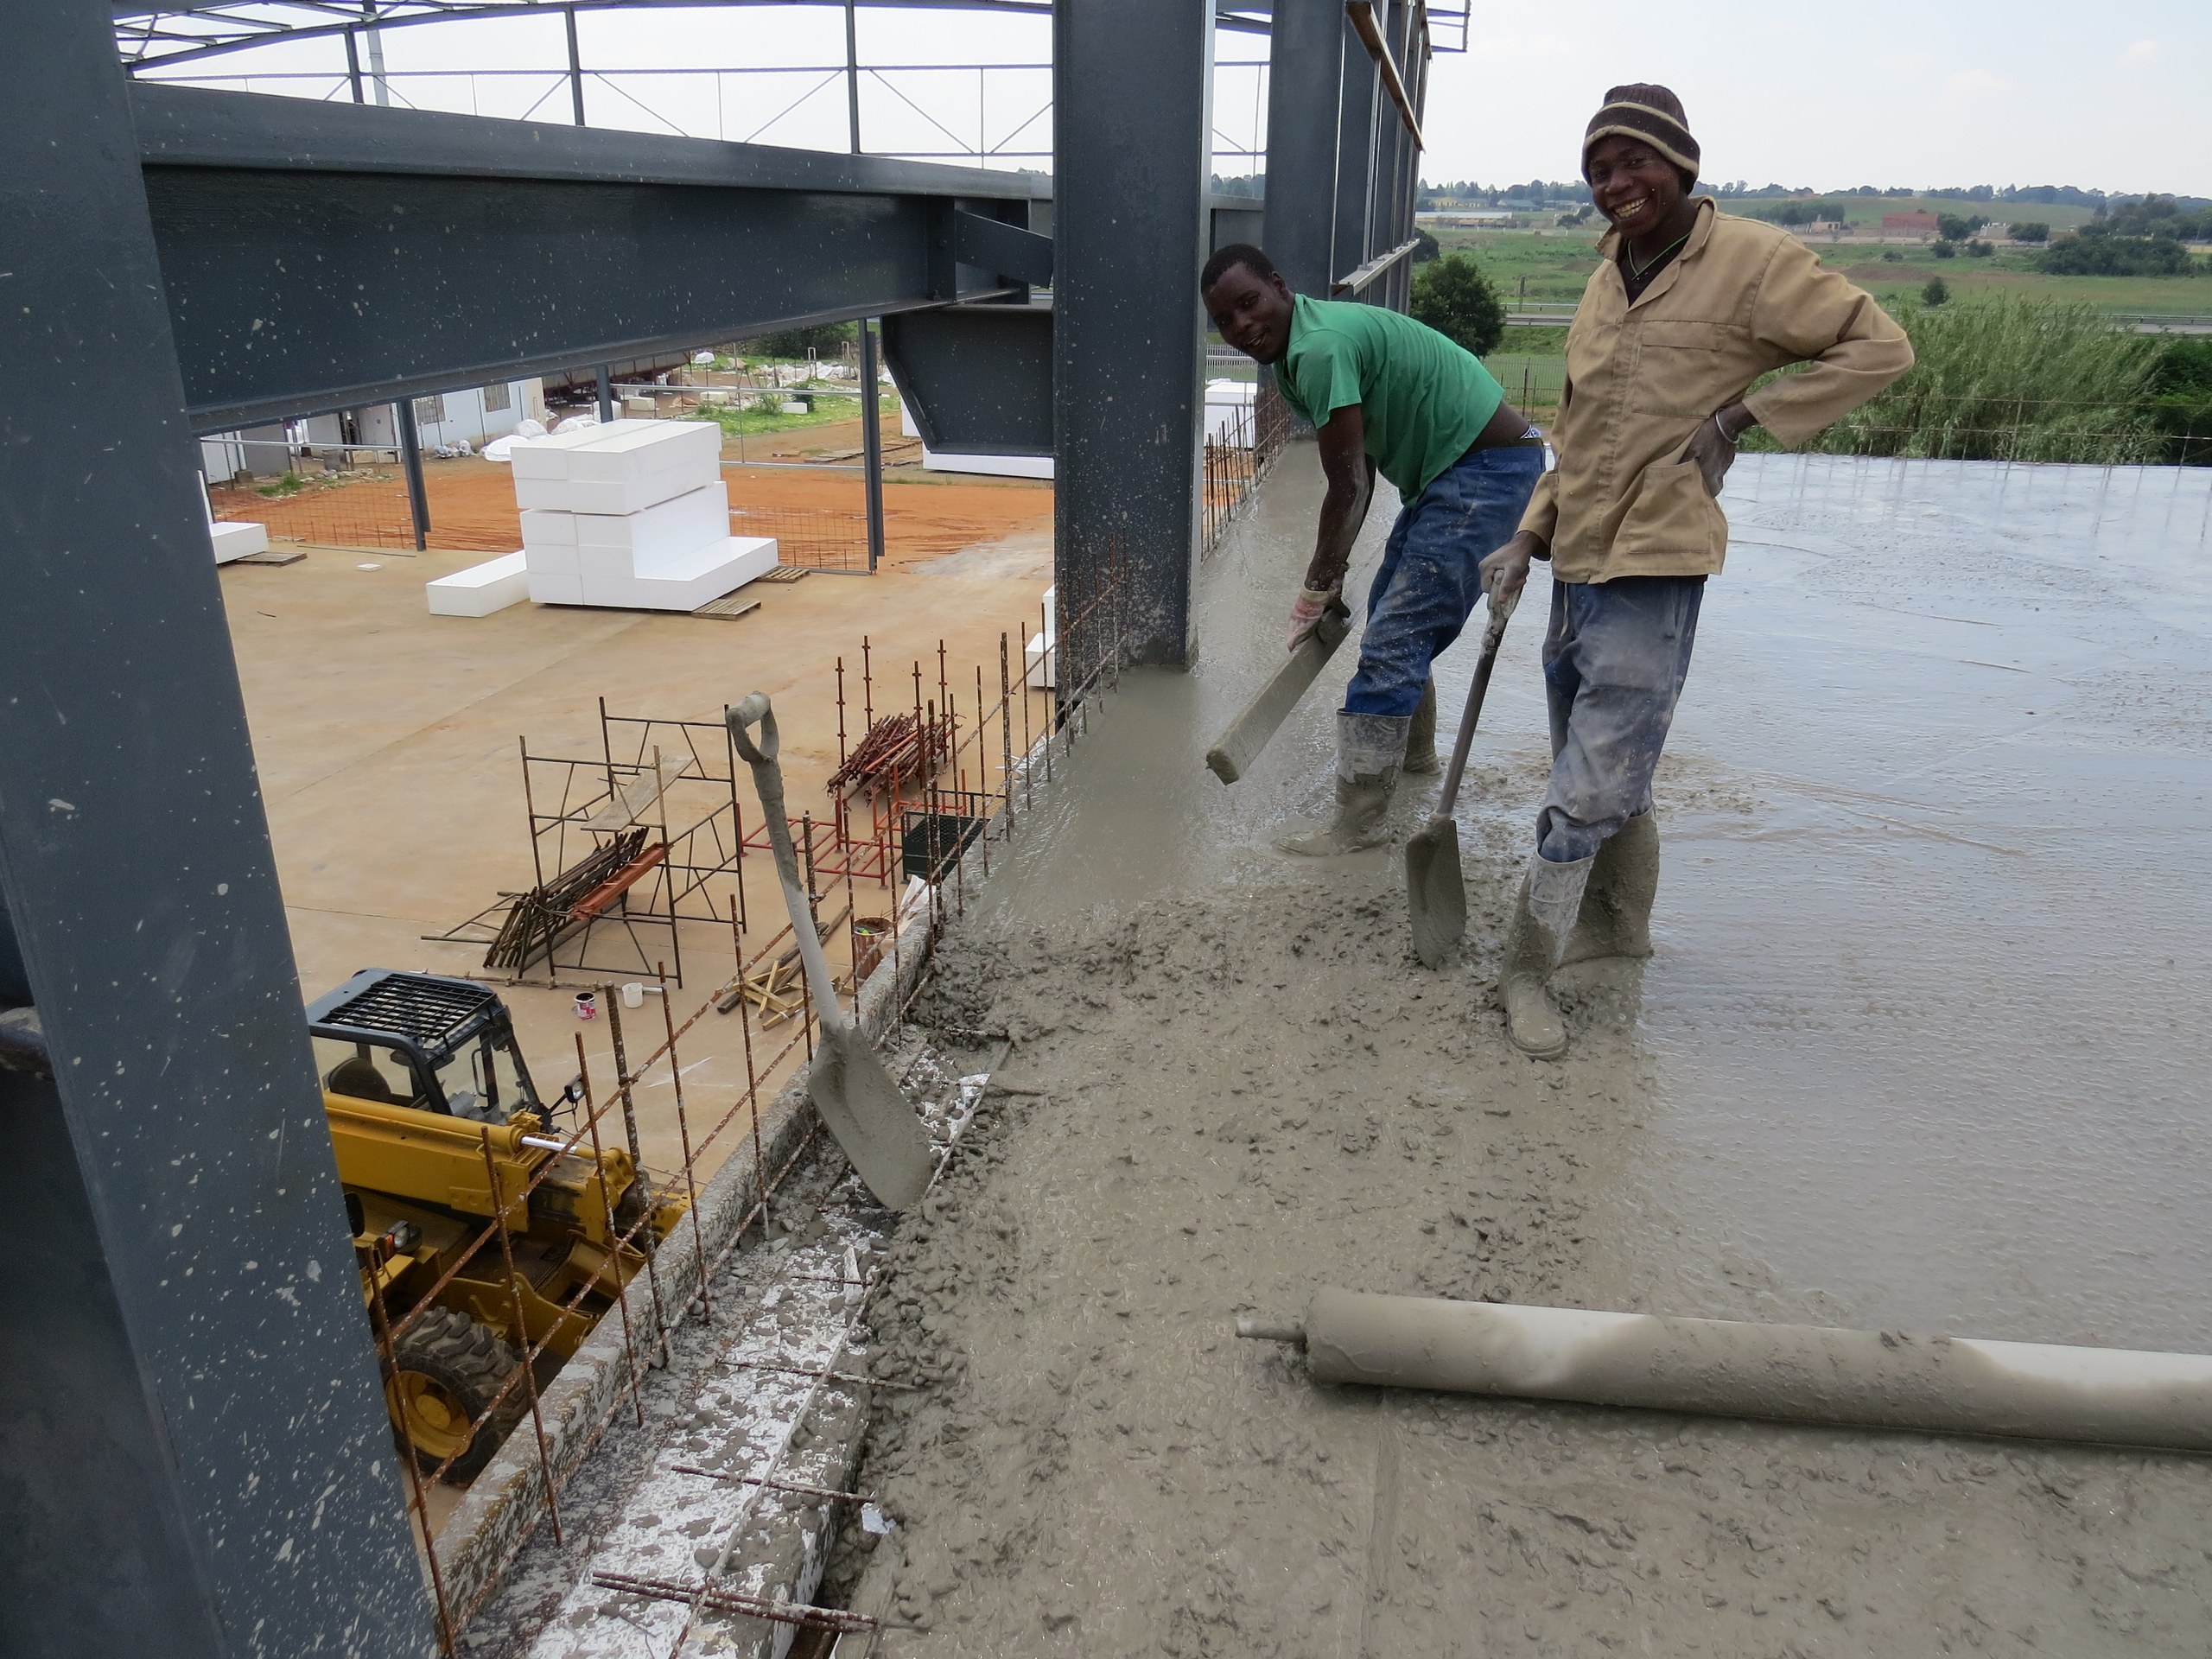
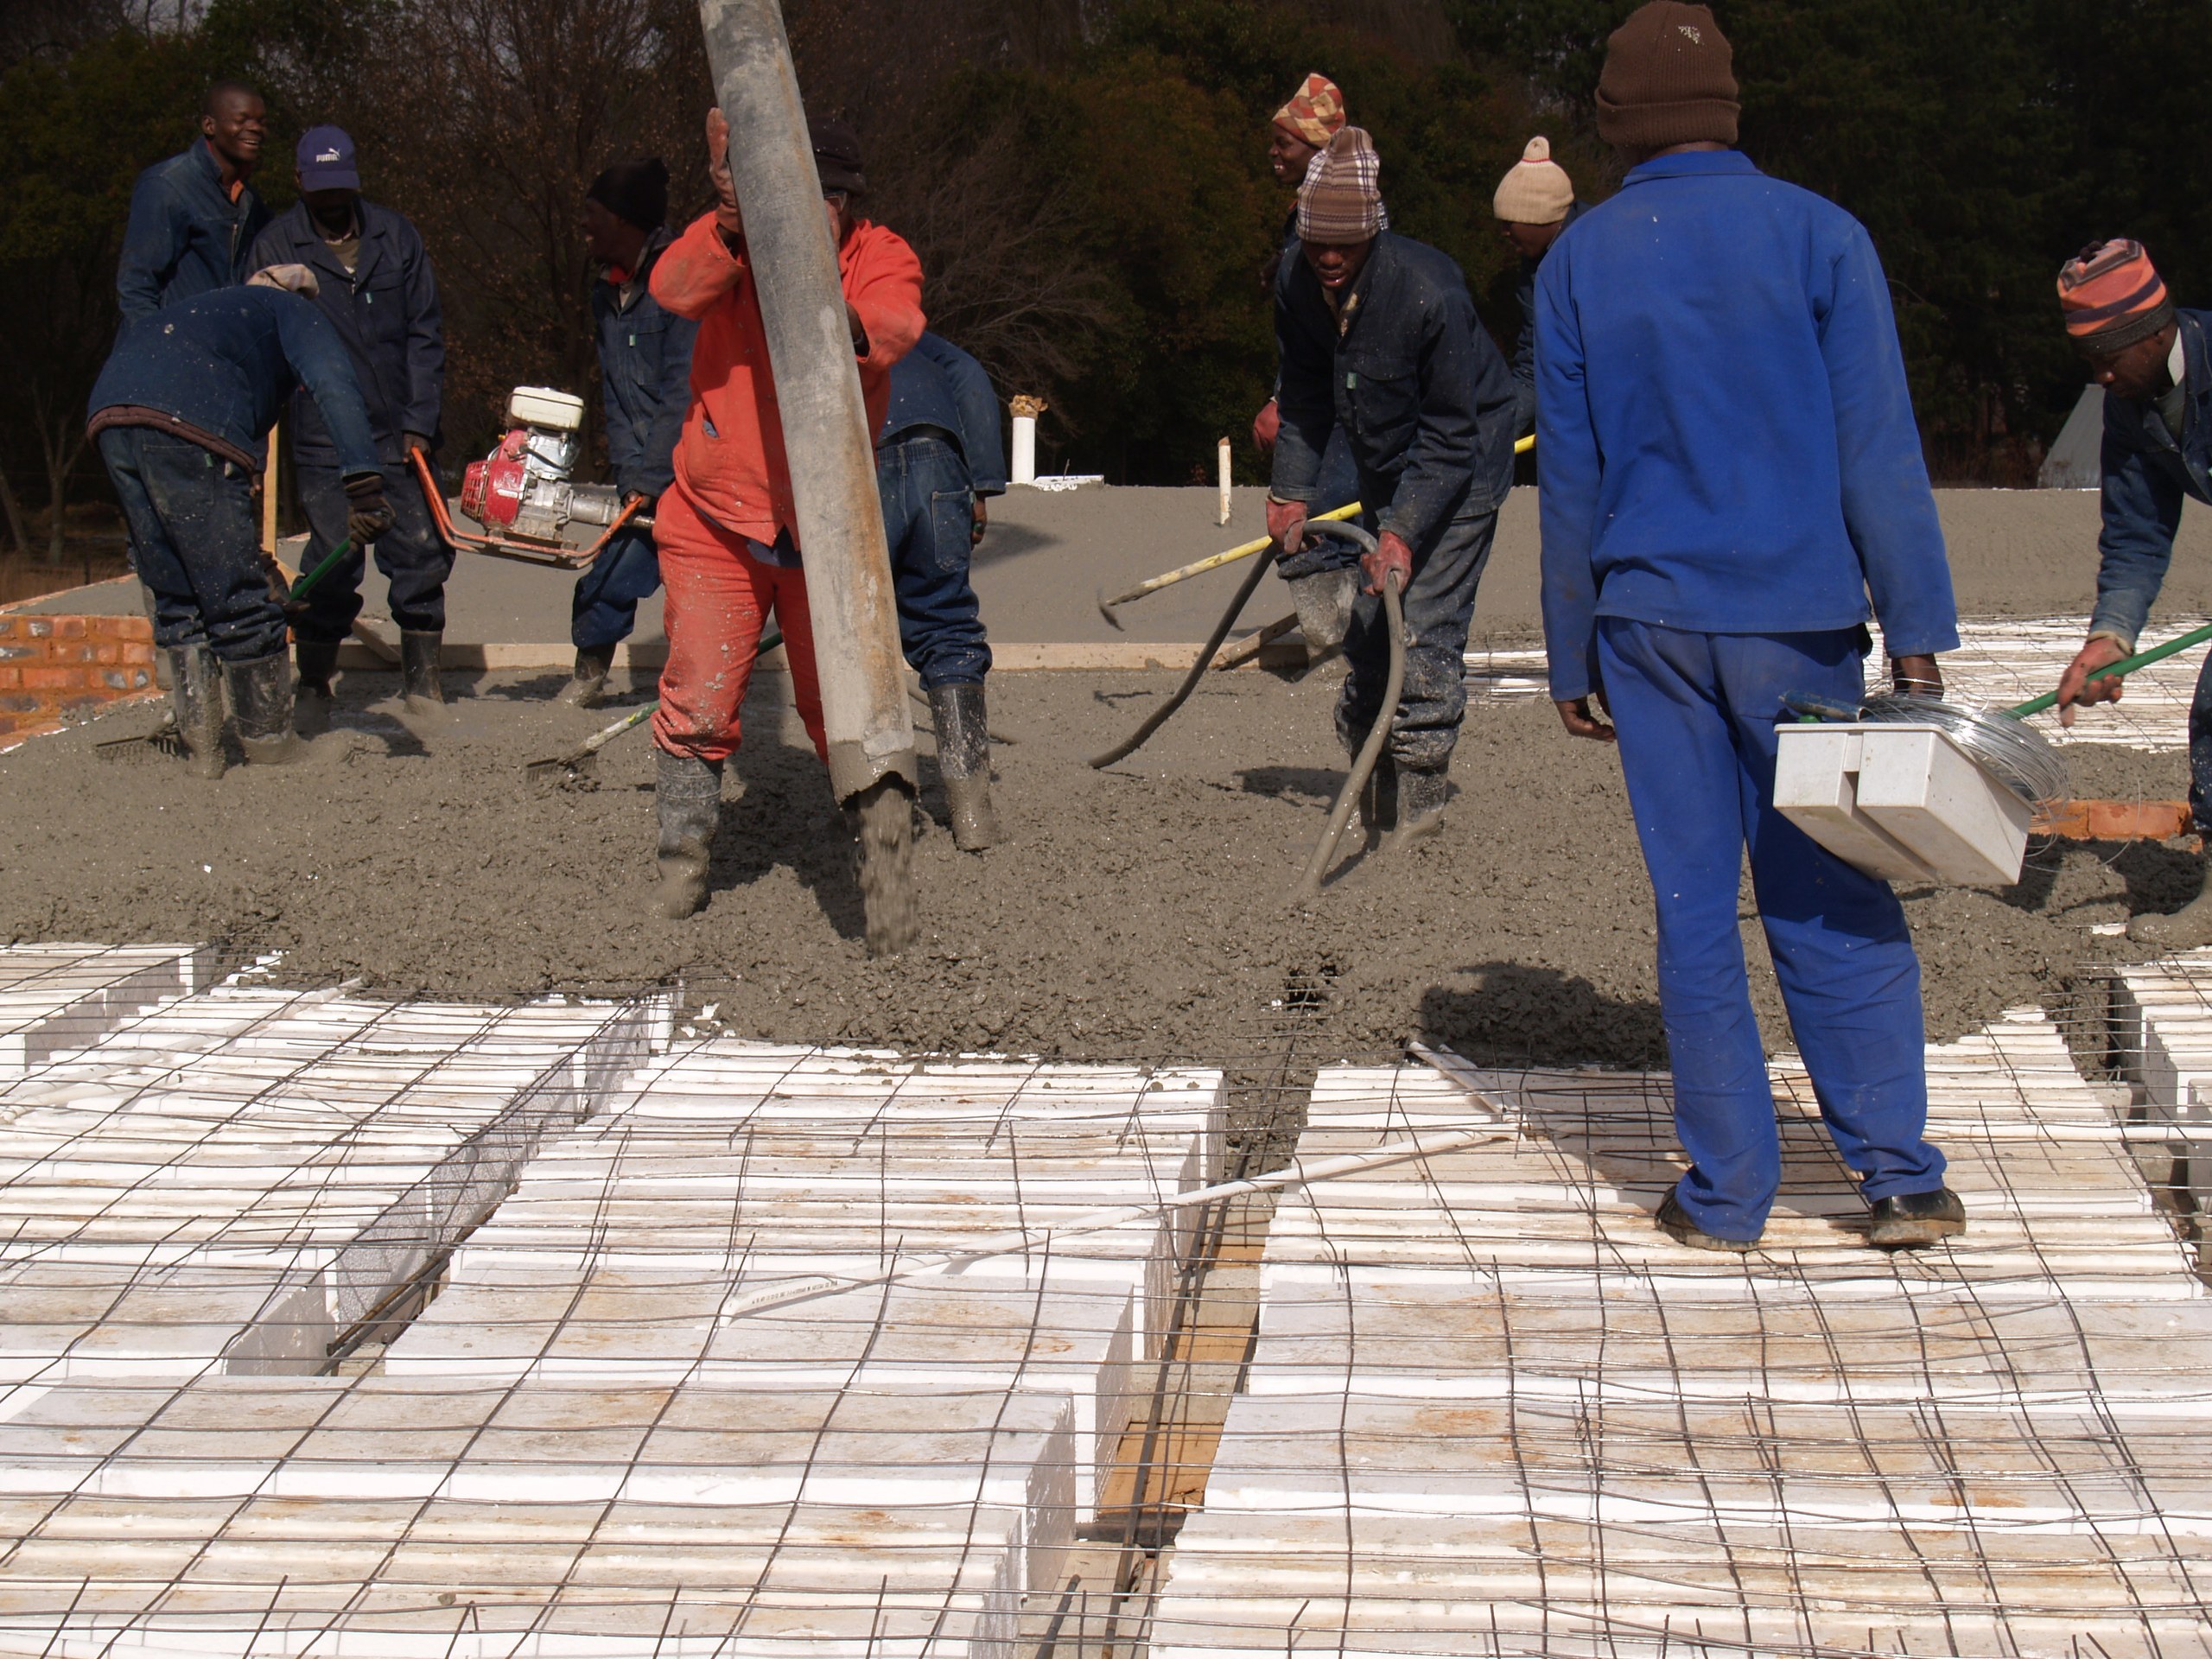
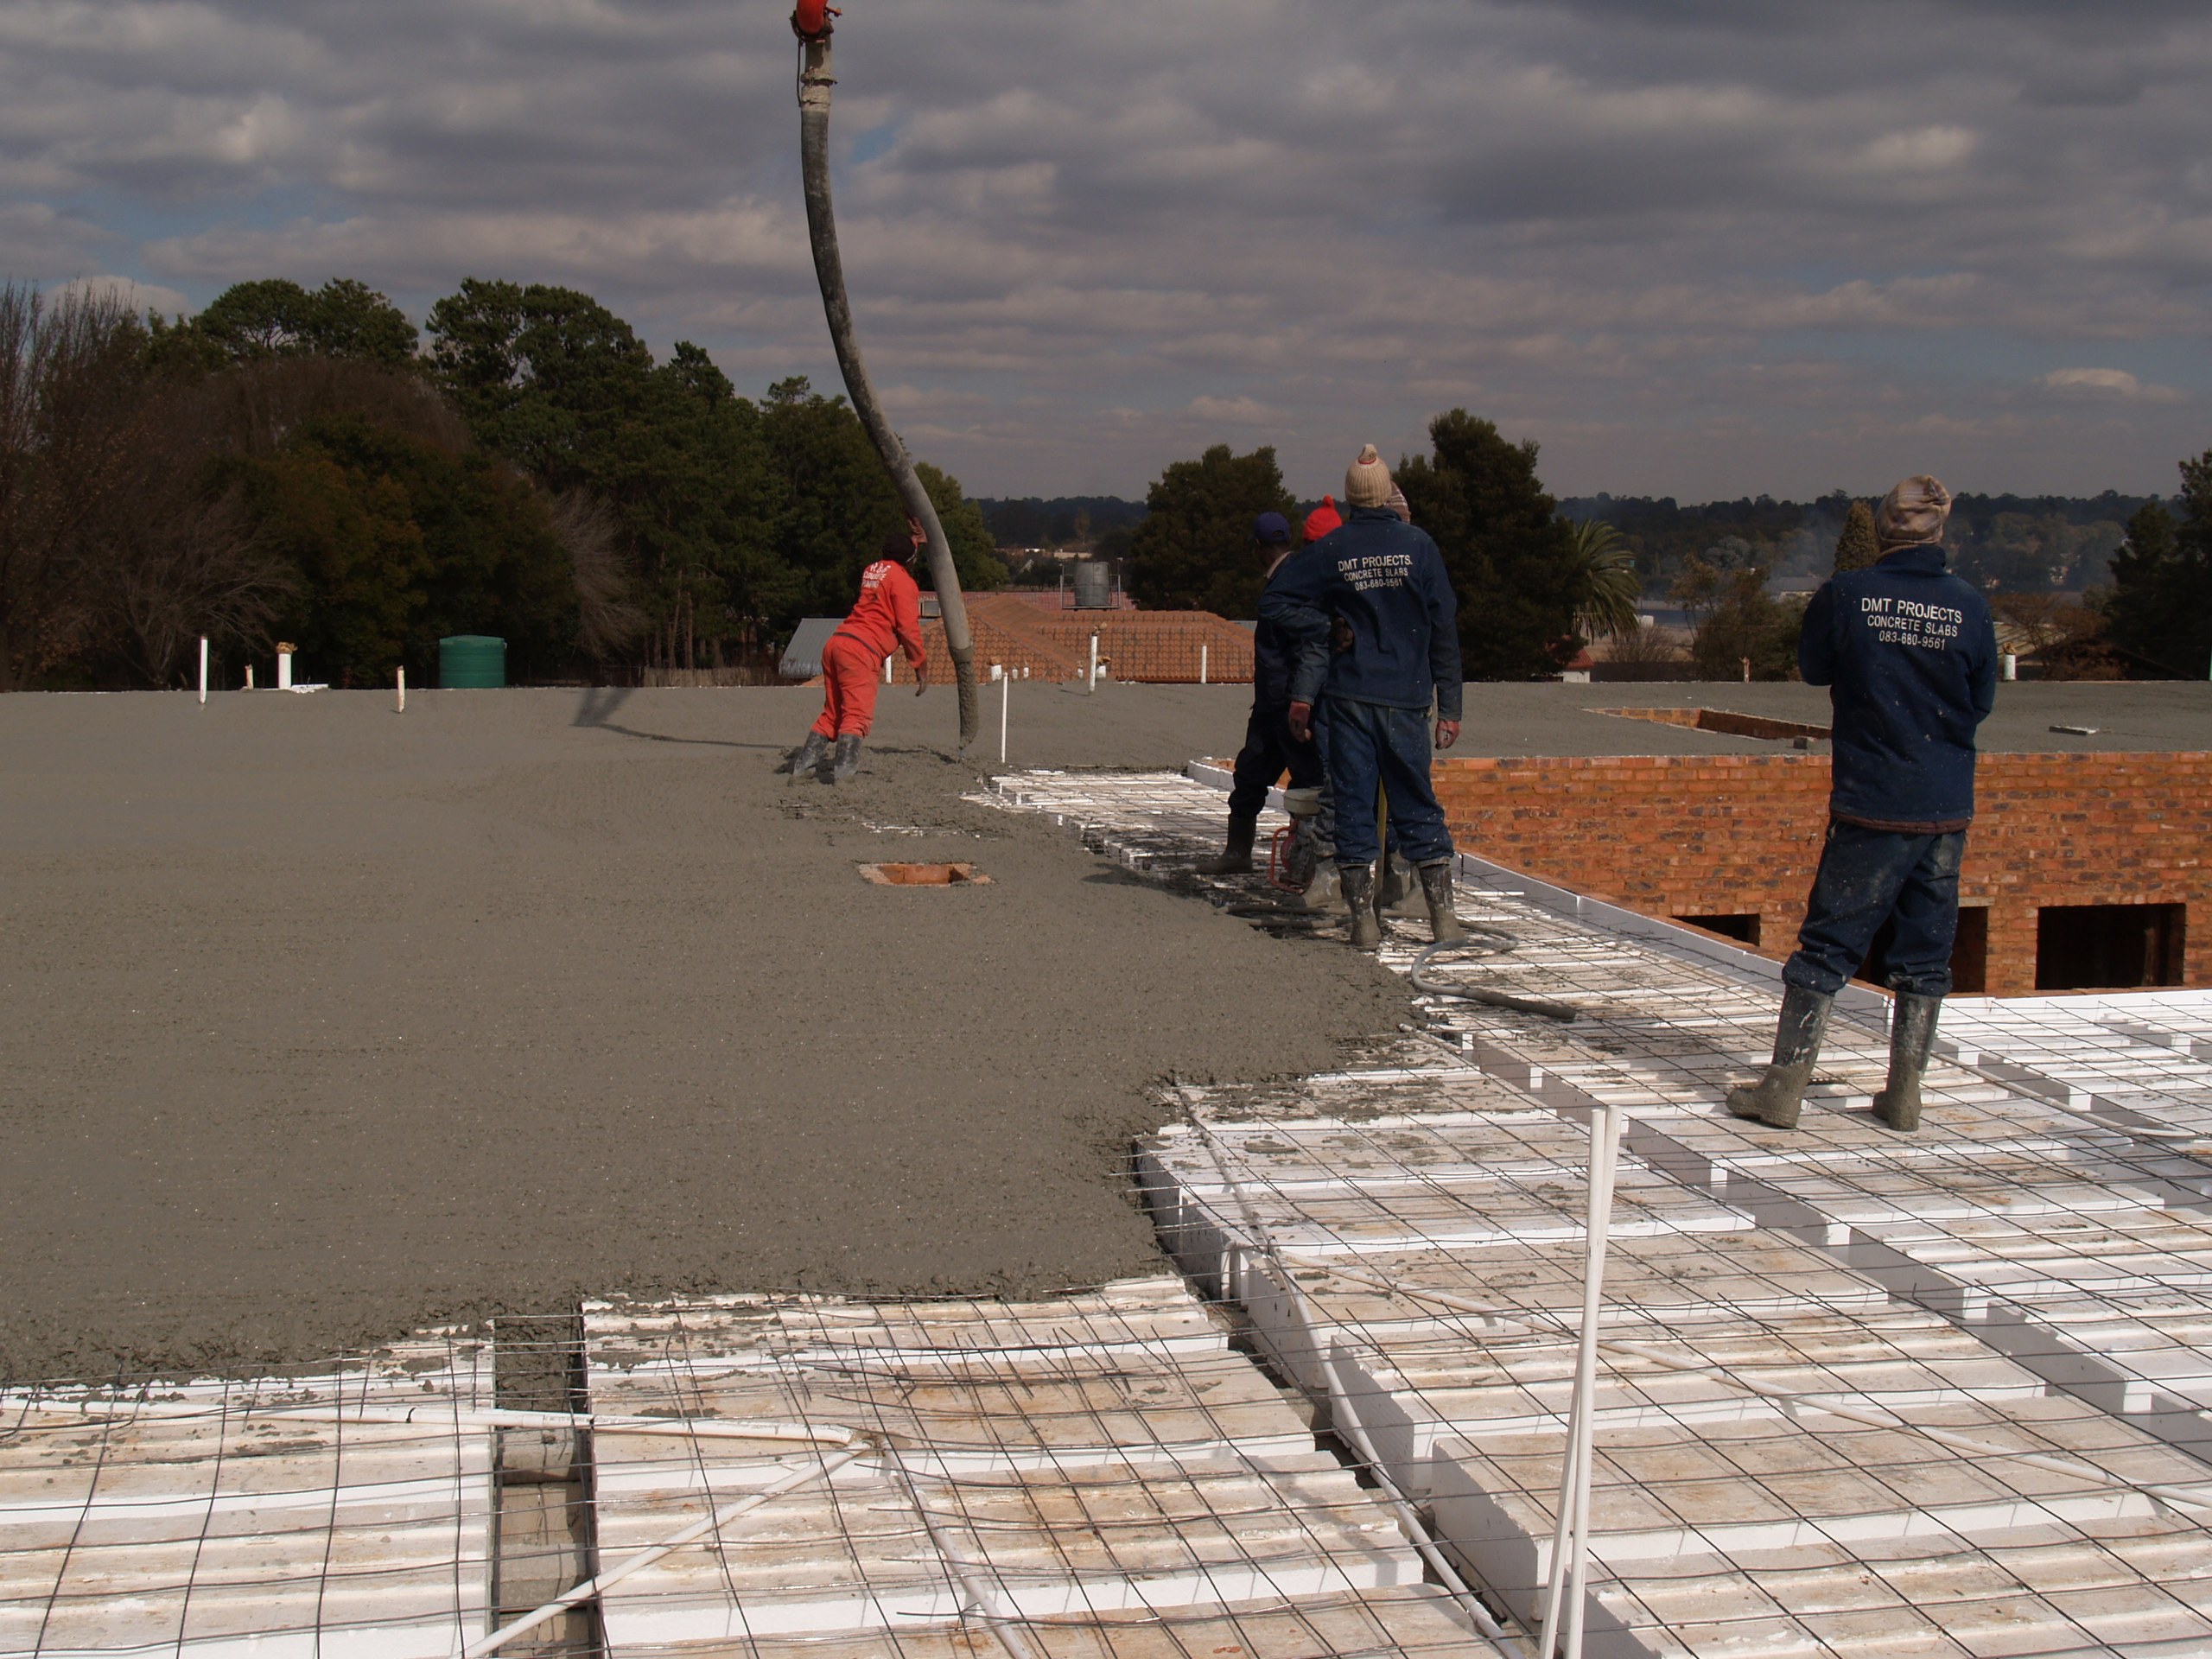
Placing the concrete topping over the void-former deck on the elevated floor. Only the ribs and the topping take concrete, so the slab is markedly lighter than a solid one of the same span.PHOTO
Placing the concrete topping over the void-former deck on the elevated floor. Only the ribs and the topping take concrete, so the slab is markedly lighter than a solid one of the same span.Technoblock Slab Blocks & Void Formers
Screeding the fresh concrete flat over the void formers. Once cured, the blocks stay in place as permanent void formers inside the finished slab.PHOTO
Screeding the fresh concrete flat over the void formers. Once cured, the blocks stay in place as permanent void formers inside the finished slab.Technoblock Slab Blocks & Void Formers
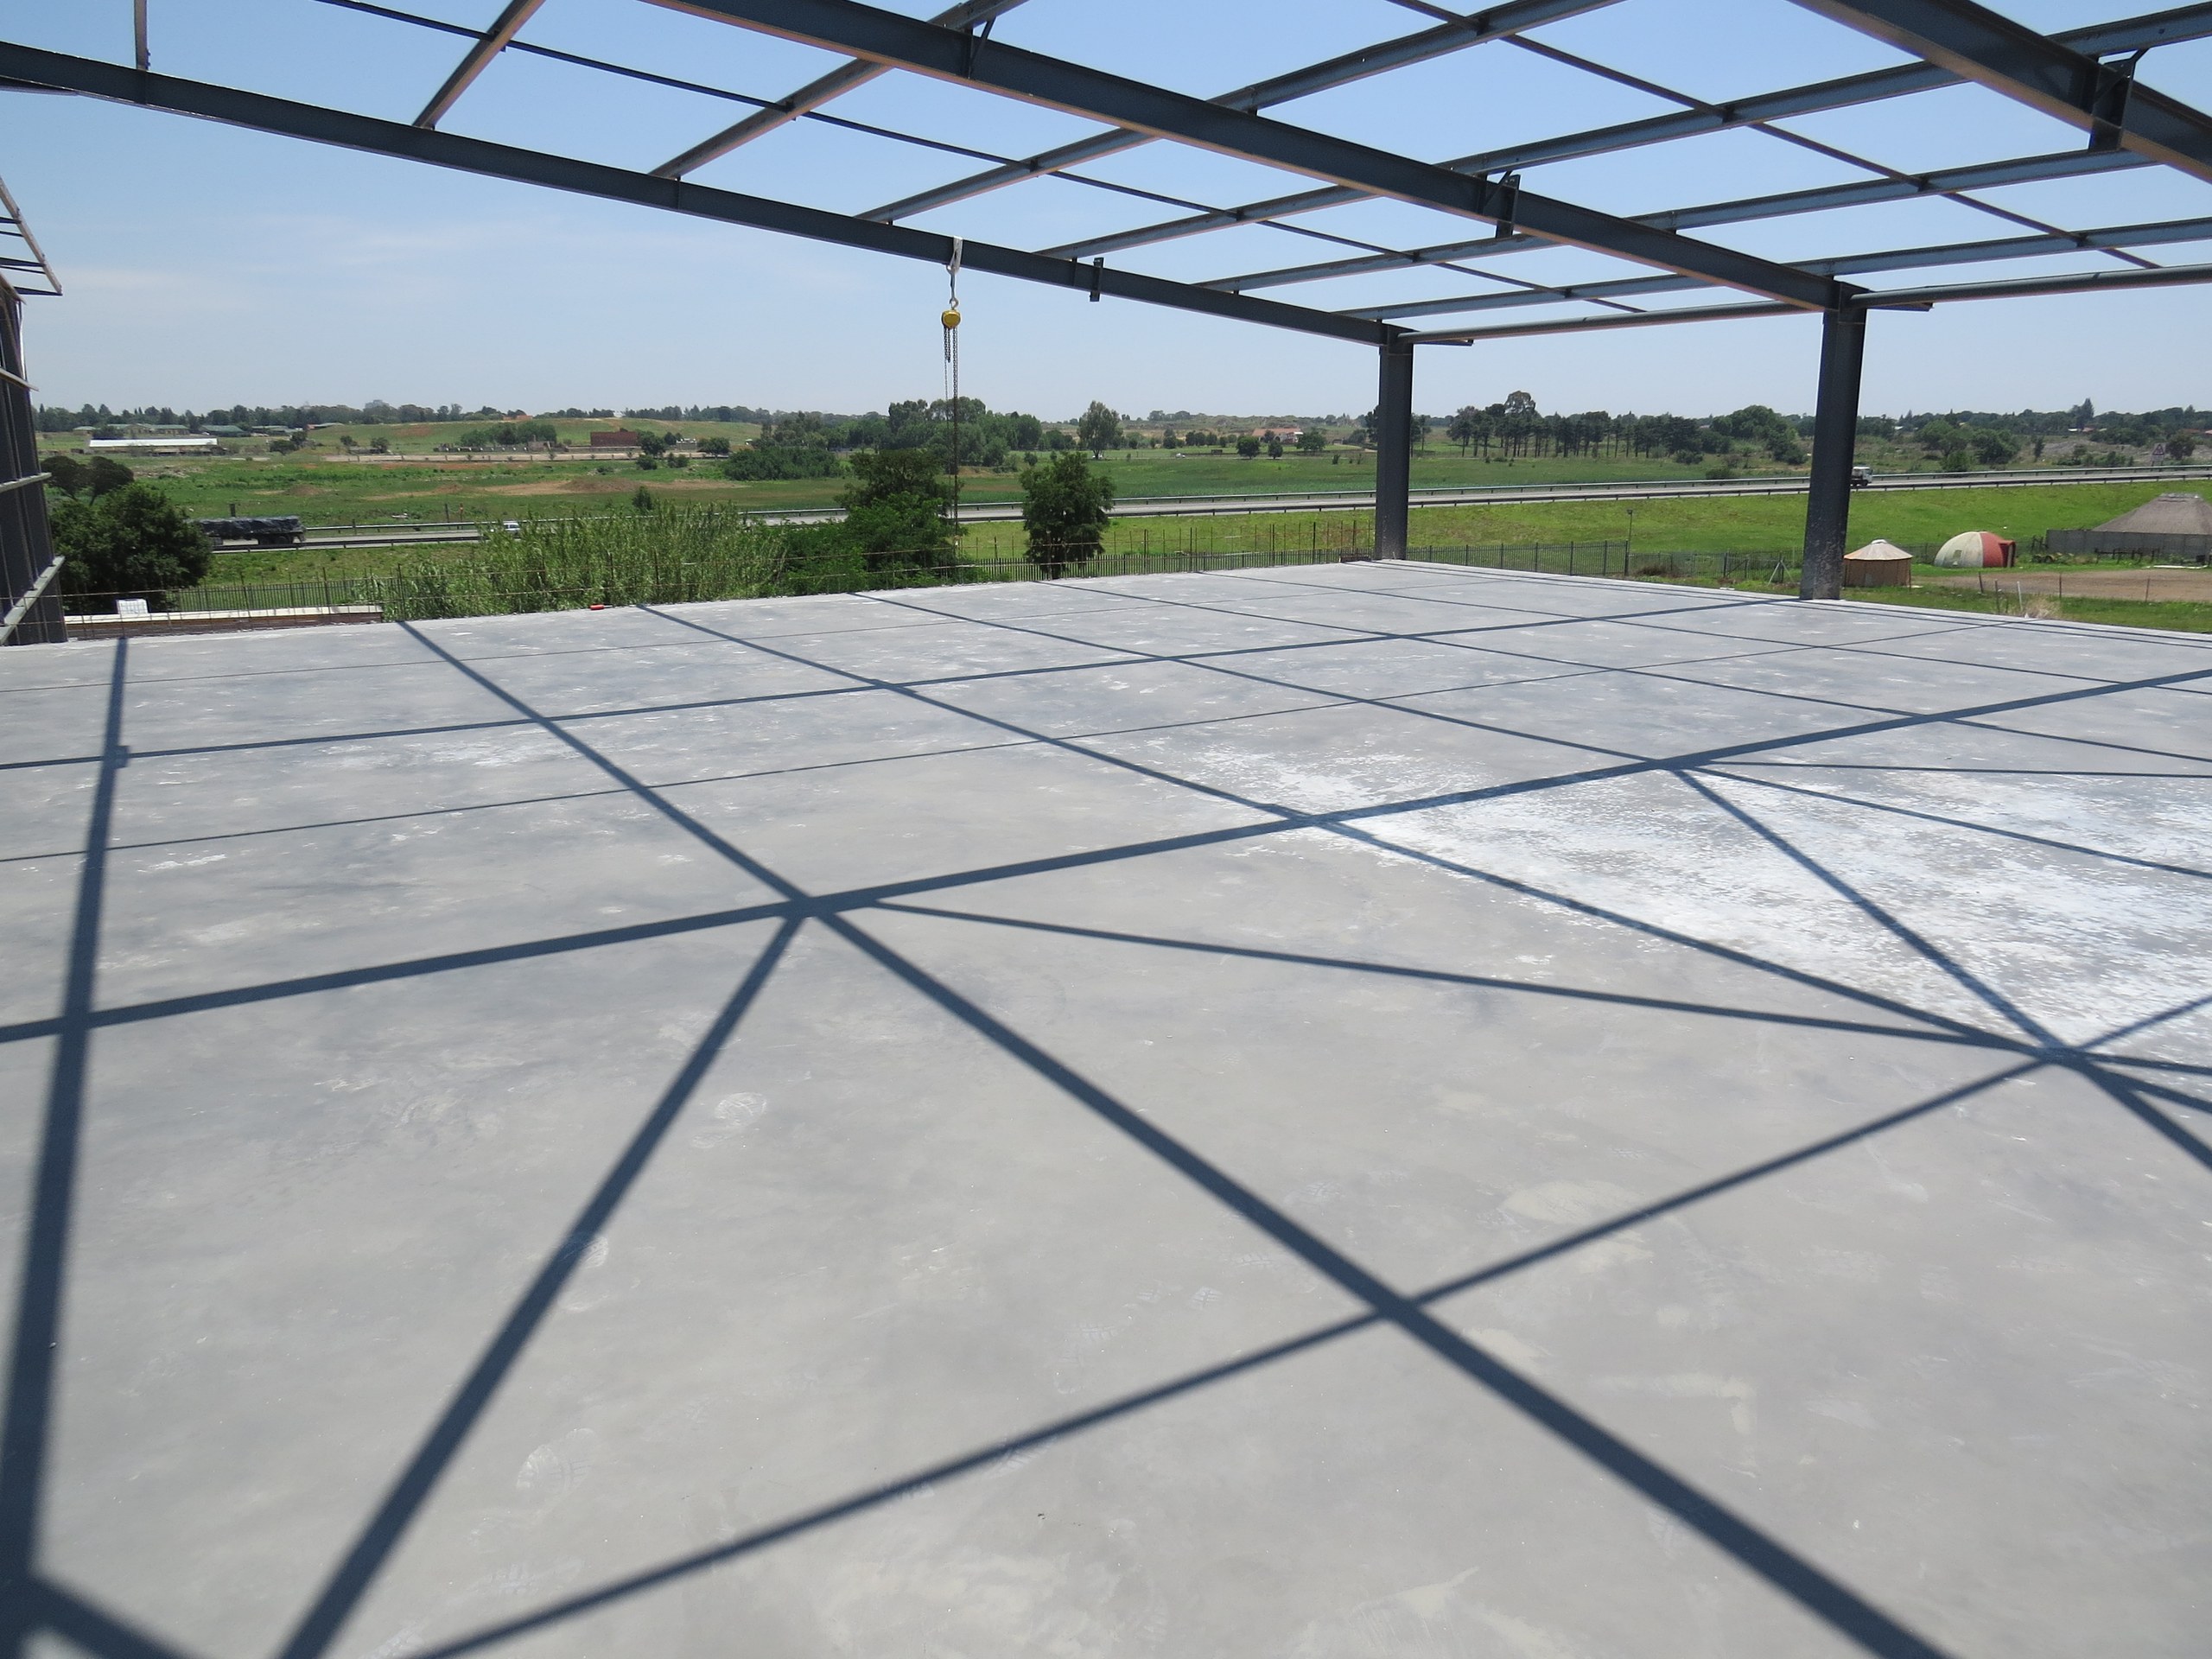
The finished suspended slab inside the steel portal frame, cast on the void formers and ready for the structure above.PHOTO
The finished suspended slab inside the steel portal frame, cast on the void formers and ready for the structure above.Technoblock Slab Blocks & Void Formers
Void formers laid out across a whole floor with the reinforcing mesh over them, ready for concrete. The blocks tile the full area; only the ribs between them and a thin topping take concrete.PHOTO
Void formers laid out across a whole floor with the reinforcing mesh over them, ready for concrete. The blocks tile the full area; only the ribs between them and a thin topping take concrete.Technoblock Slab Blocks & Void Formers
The same floor seen from underneath before the props come out: the white void formers span between the concrete ribs, which is what makes it a rib-and-block slab rather than a solid one.PHOTO
The same floor seen from underneath before the props come out: the white void formers span between the concrete ribs, which is what makes it a rib-and-block slab rather than a solid one.Technoblock Slab Blocks & Void Formers
Void-former soffit and props from inside the storey below. The blocks stay in place permanently - they are formwork that is never stripped.PHOTO
Void-former soffit and props from inside the storey below. The blocks stay in place permanently - they are formwork that is never stripped.Technoblock Slab Blocks & Void Formers
Placing and screeding the concrete over the void formers. The pour fills the ribs and the topping in one operation.PHOTO
Placing and screeding the concrete over the void formers. The pour fills the ribs and the topping in one operation.Technoblock Slab Blocks & Void Formers
The finished suspended floor, screeded flat and ready for the storey above.PHOTO
The finished suspended floor, screeded flat and ready for the storey above.Technoblock Slab Blocks & Void Formers
PHOTO
Technoblock Slab Blocks & Void Formers
PHOTO
Technoblock Slab Blocks & Void Formers
PHOTO
Technoblock Slab Blocks & Void Formers
PHOTO
Technoblock Slab Blocks & Void Formers
PHOTO
Technoblock Slab Blocks & Void Formers
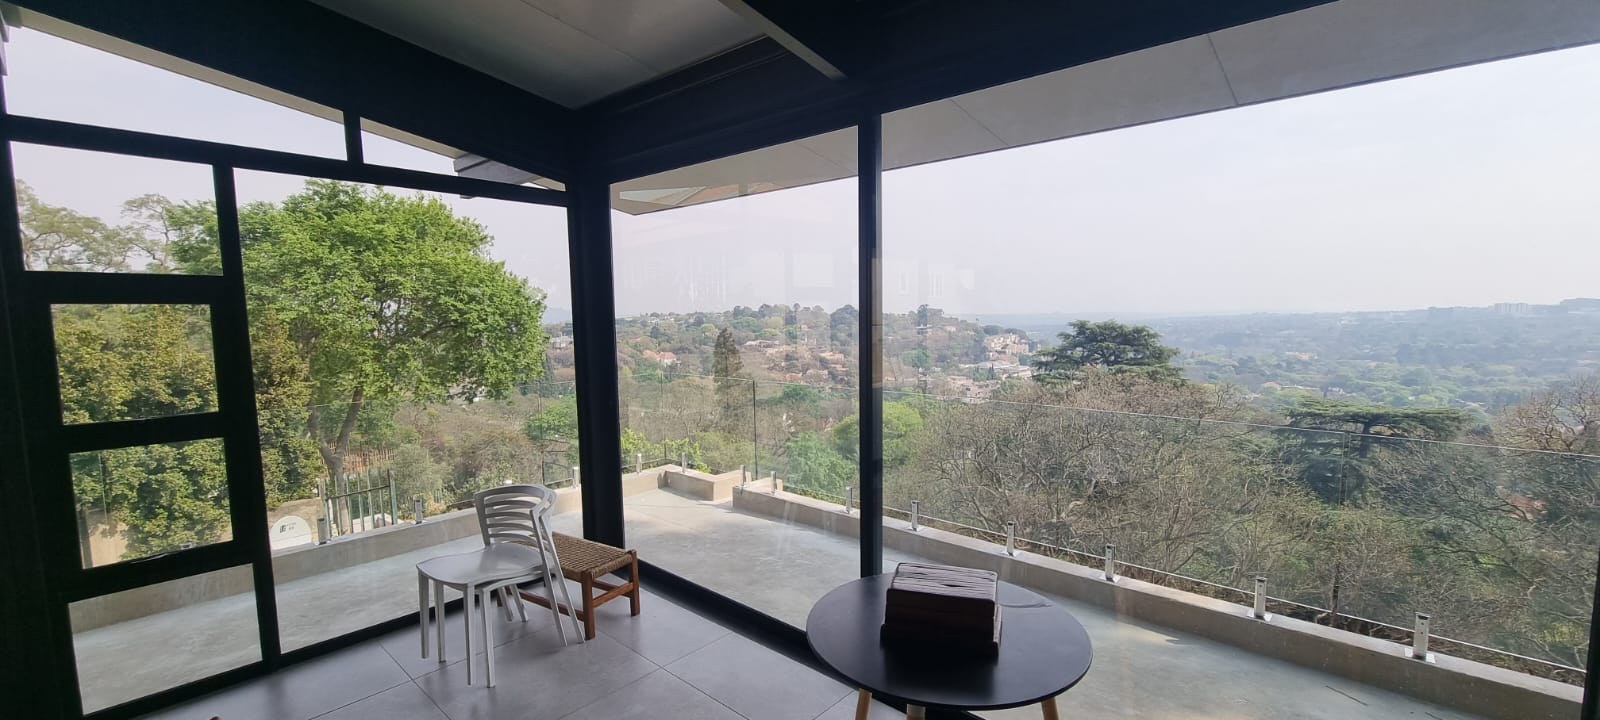
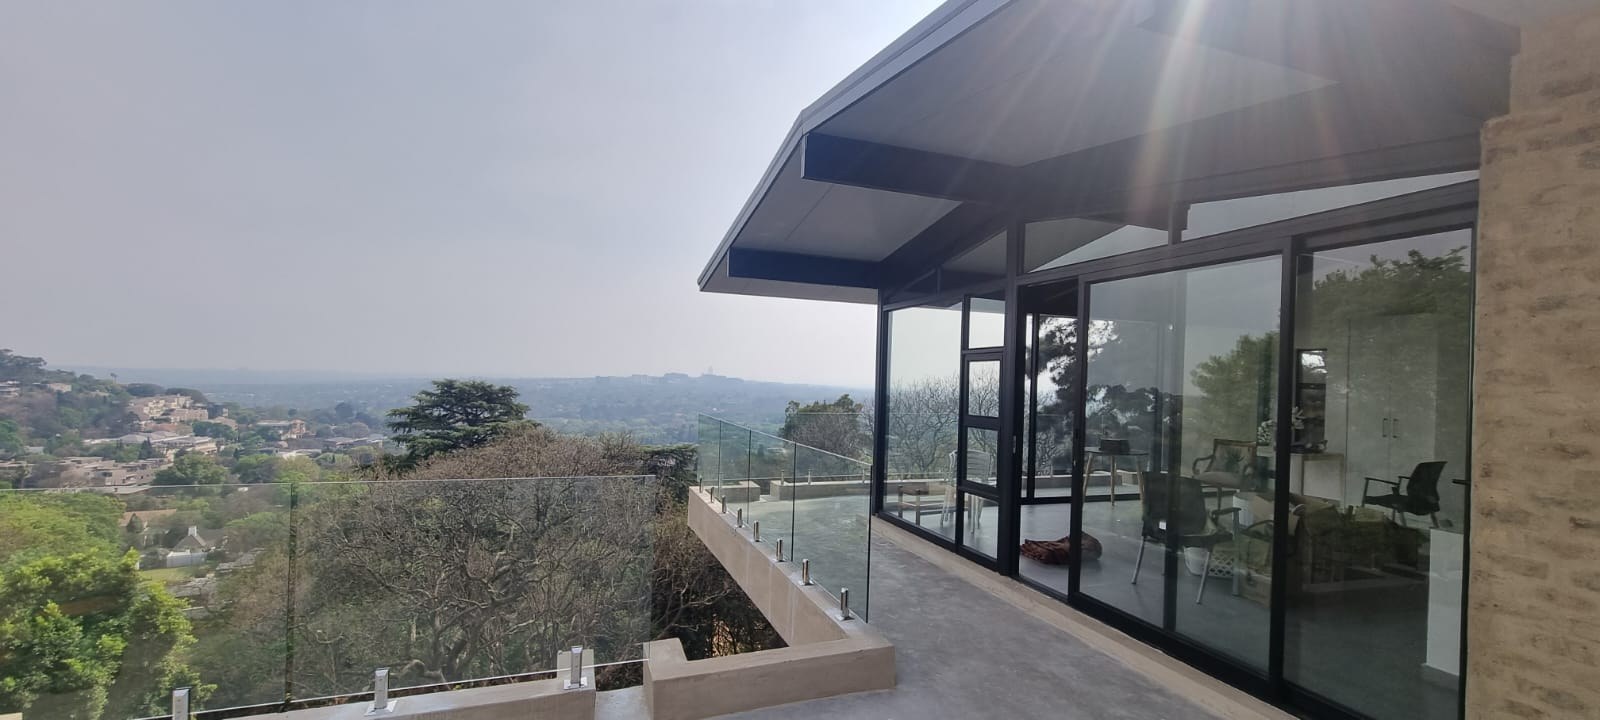
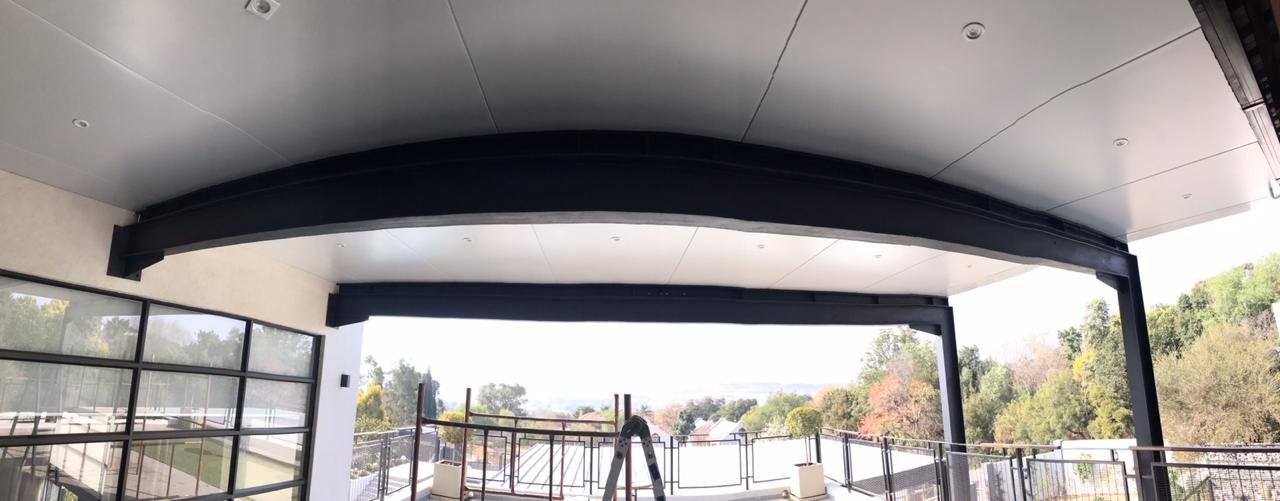
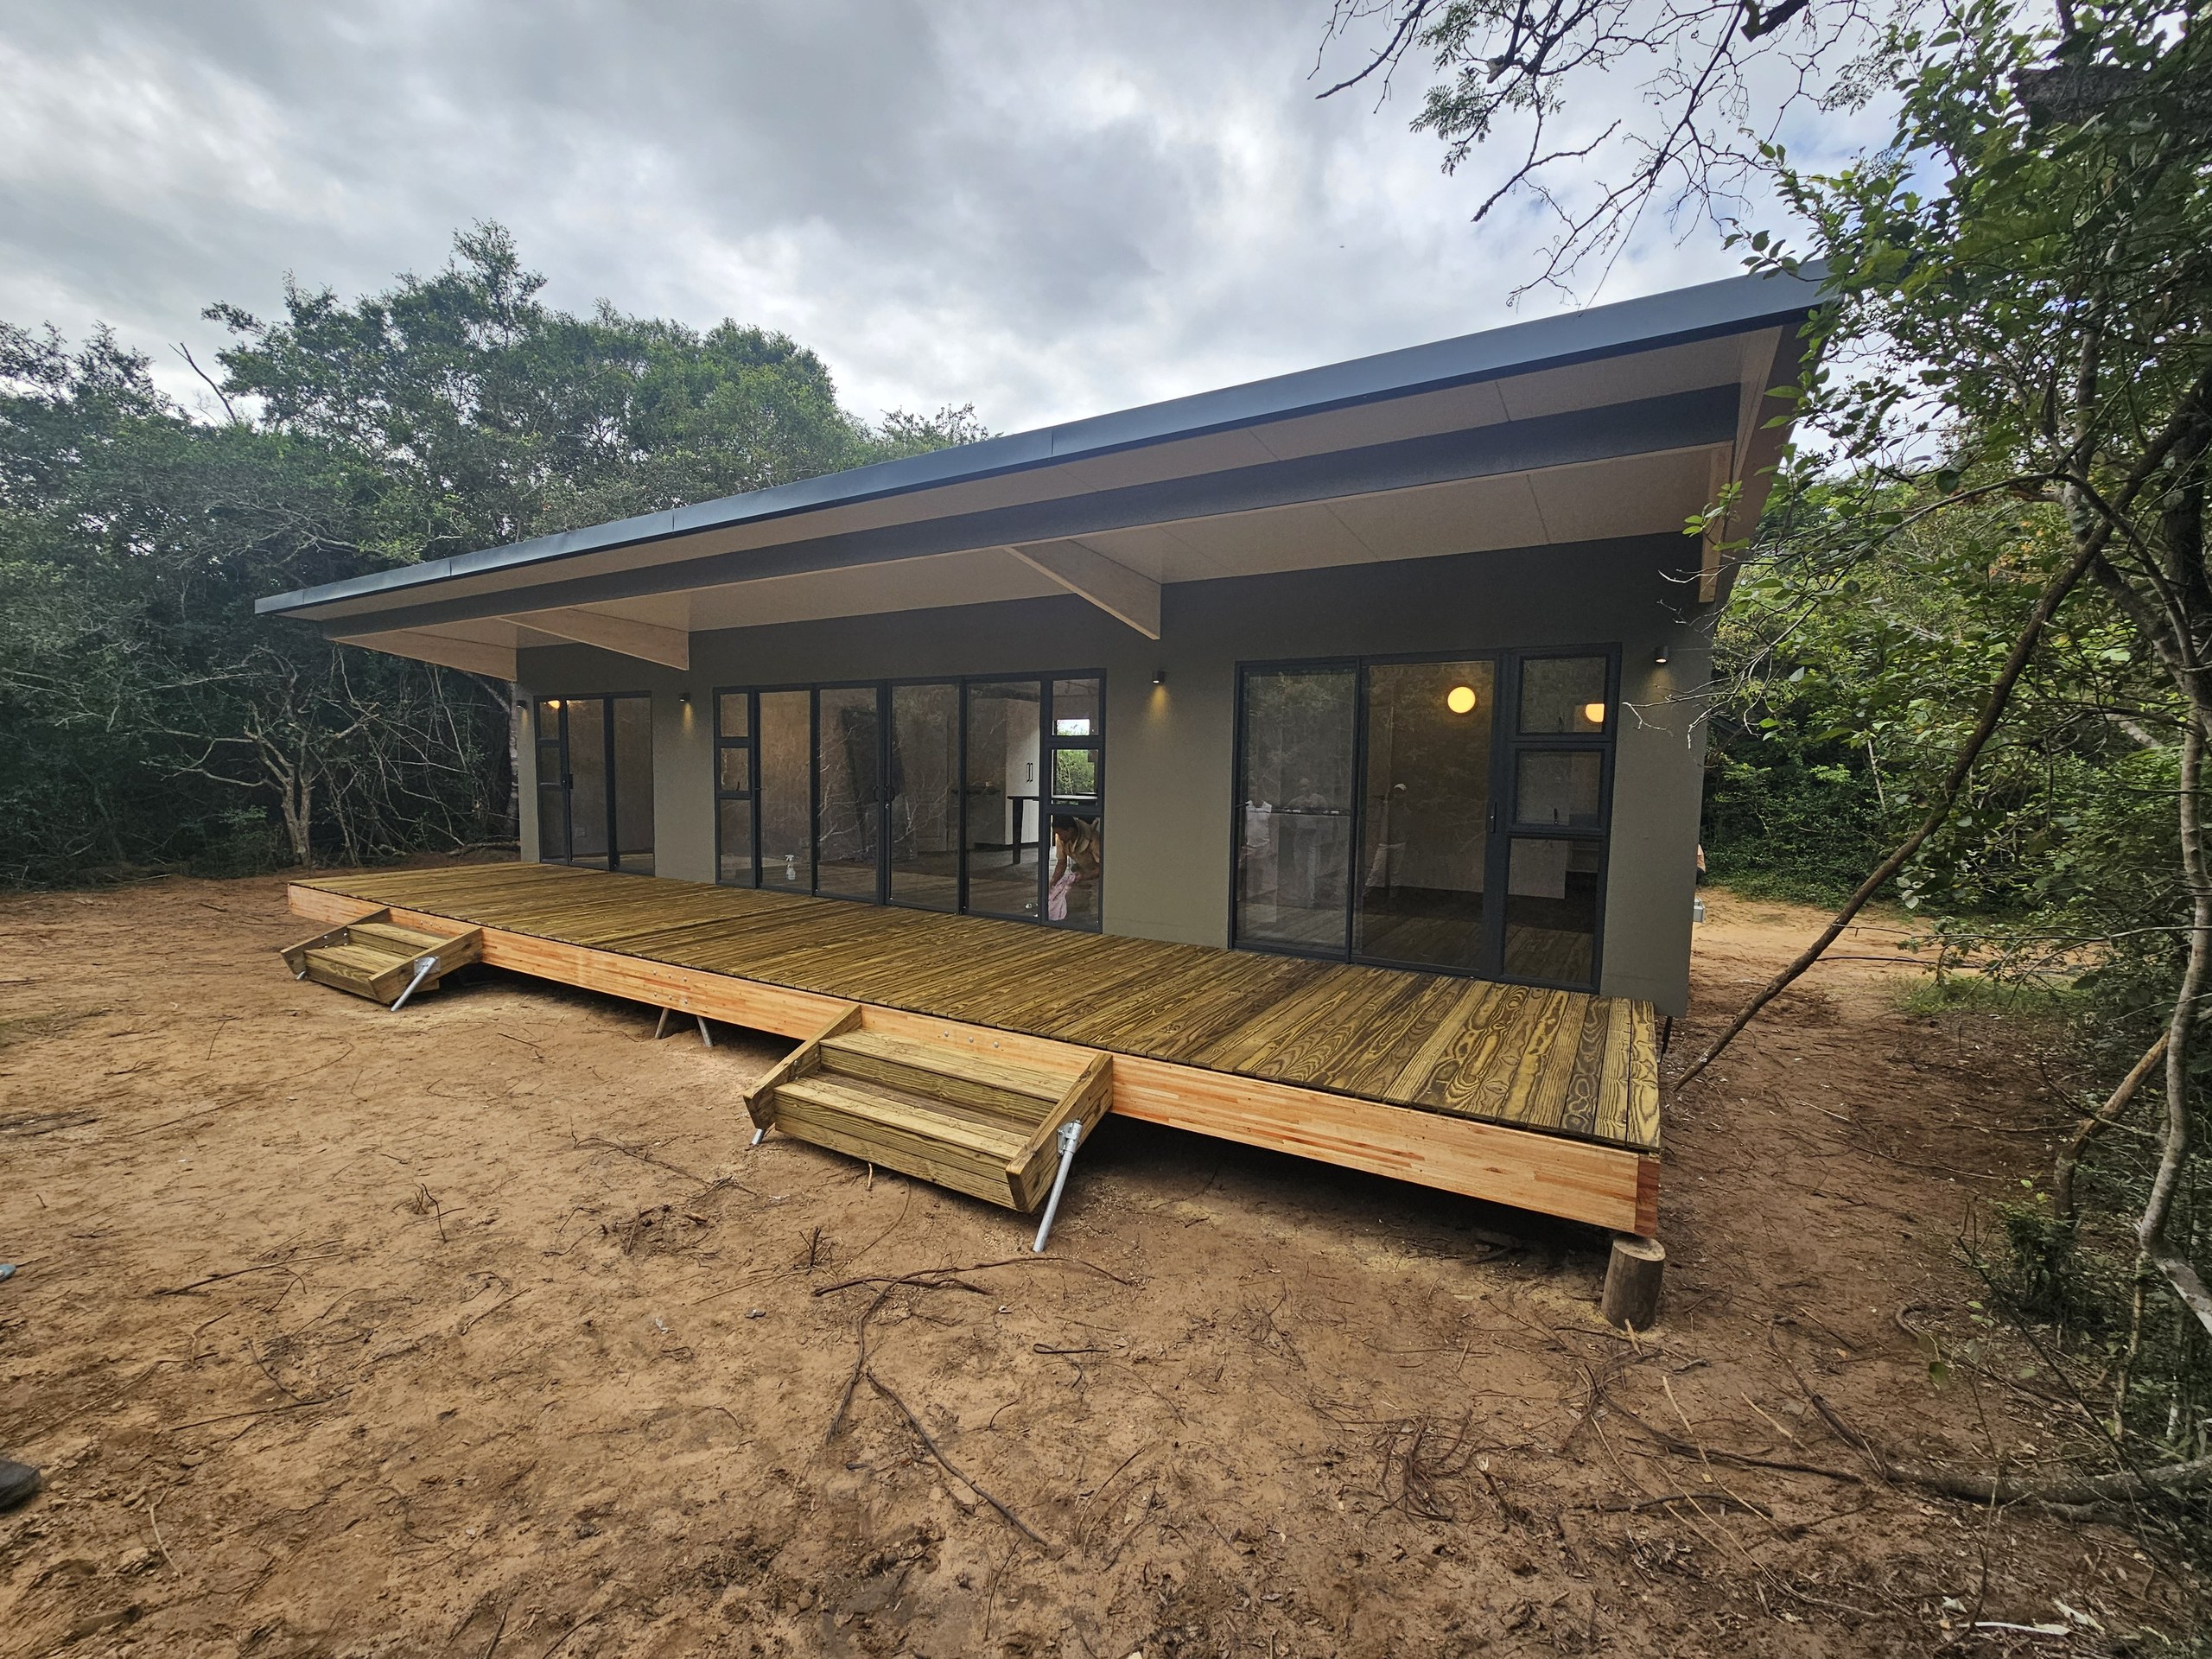
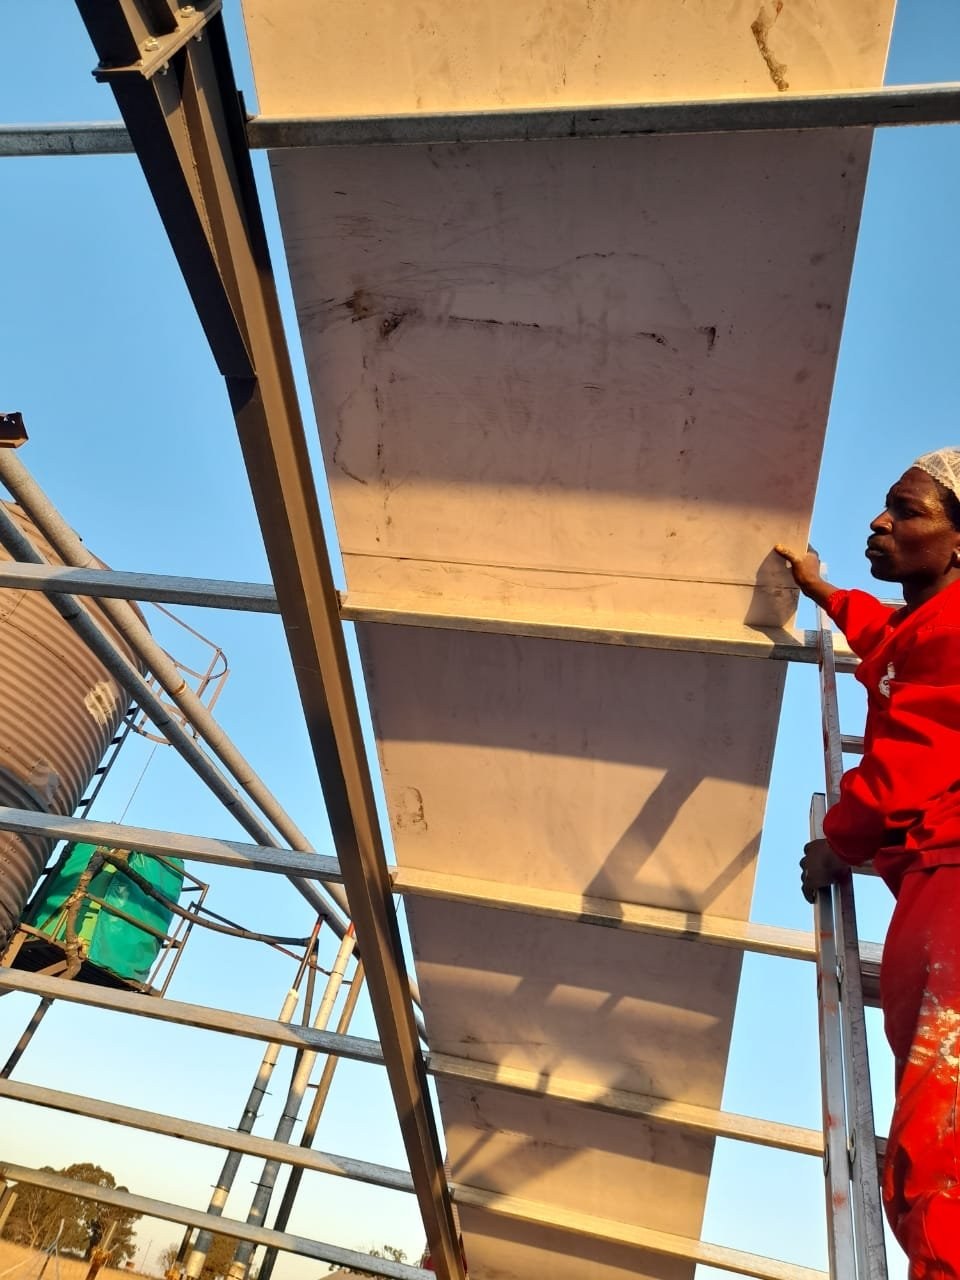
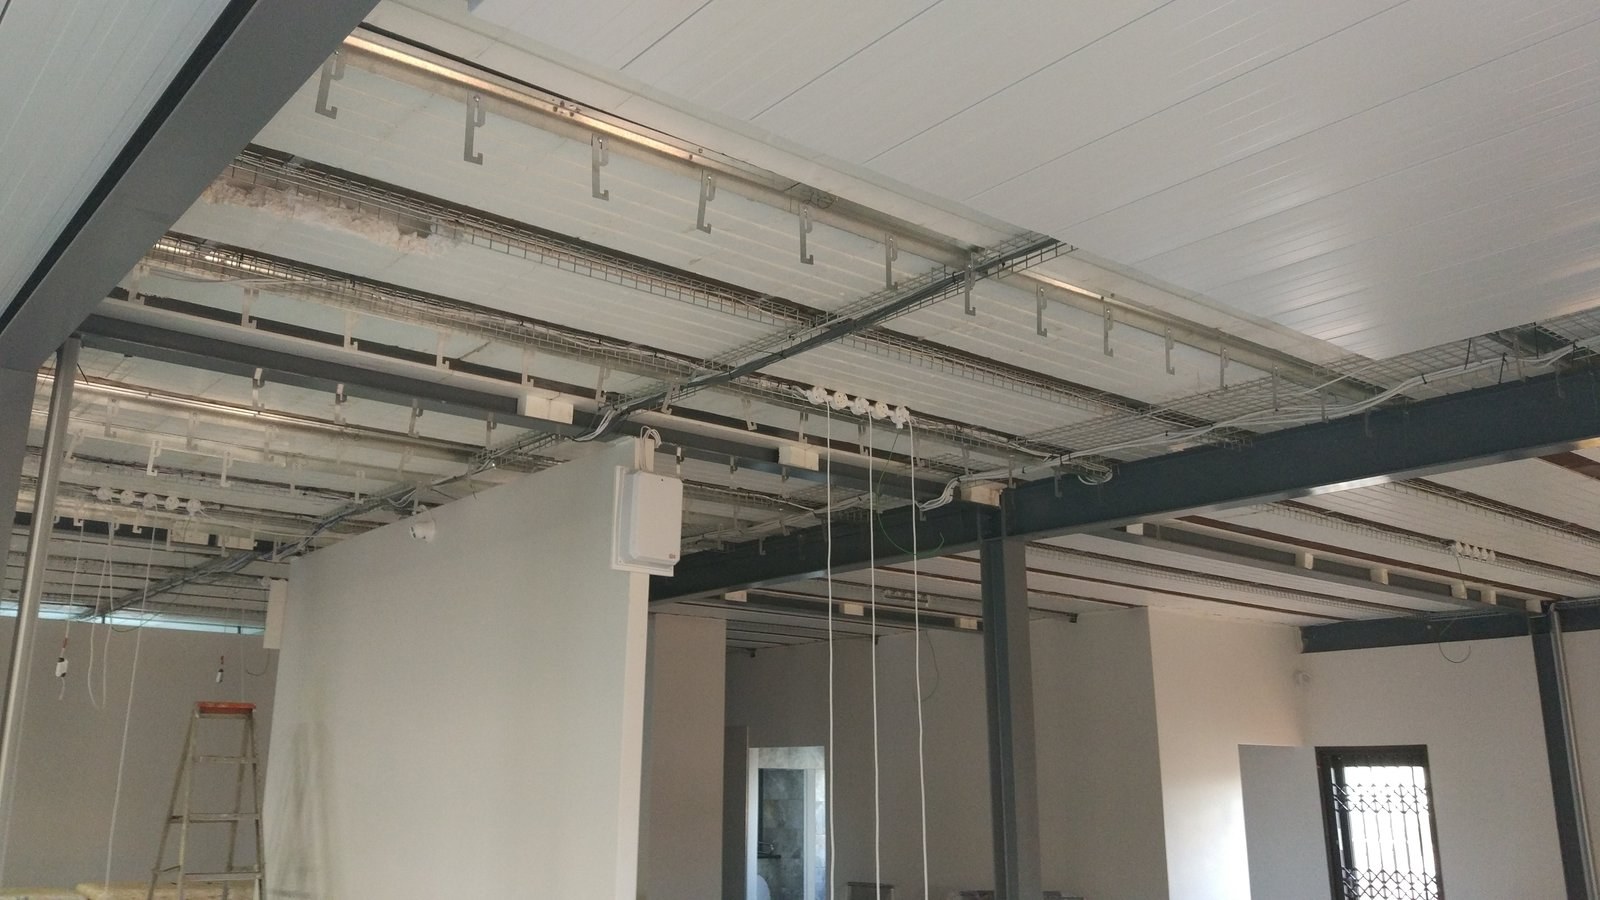
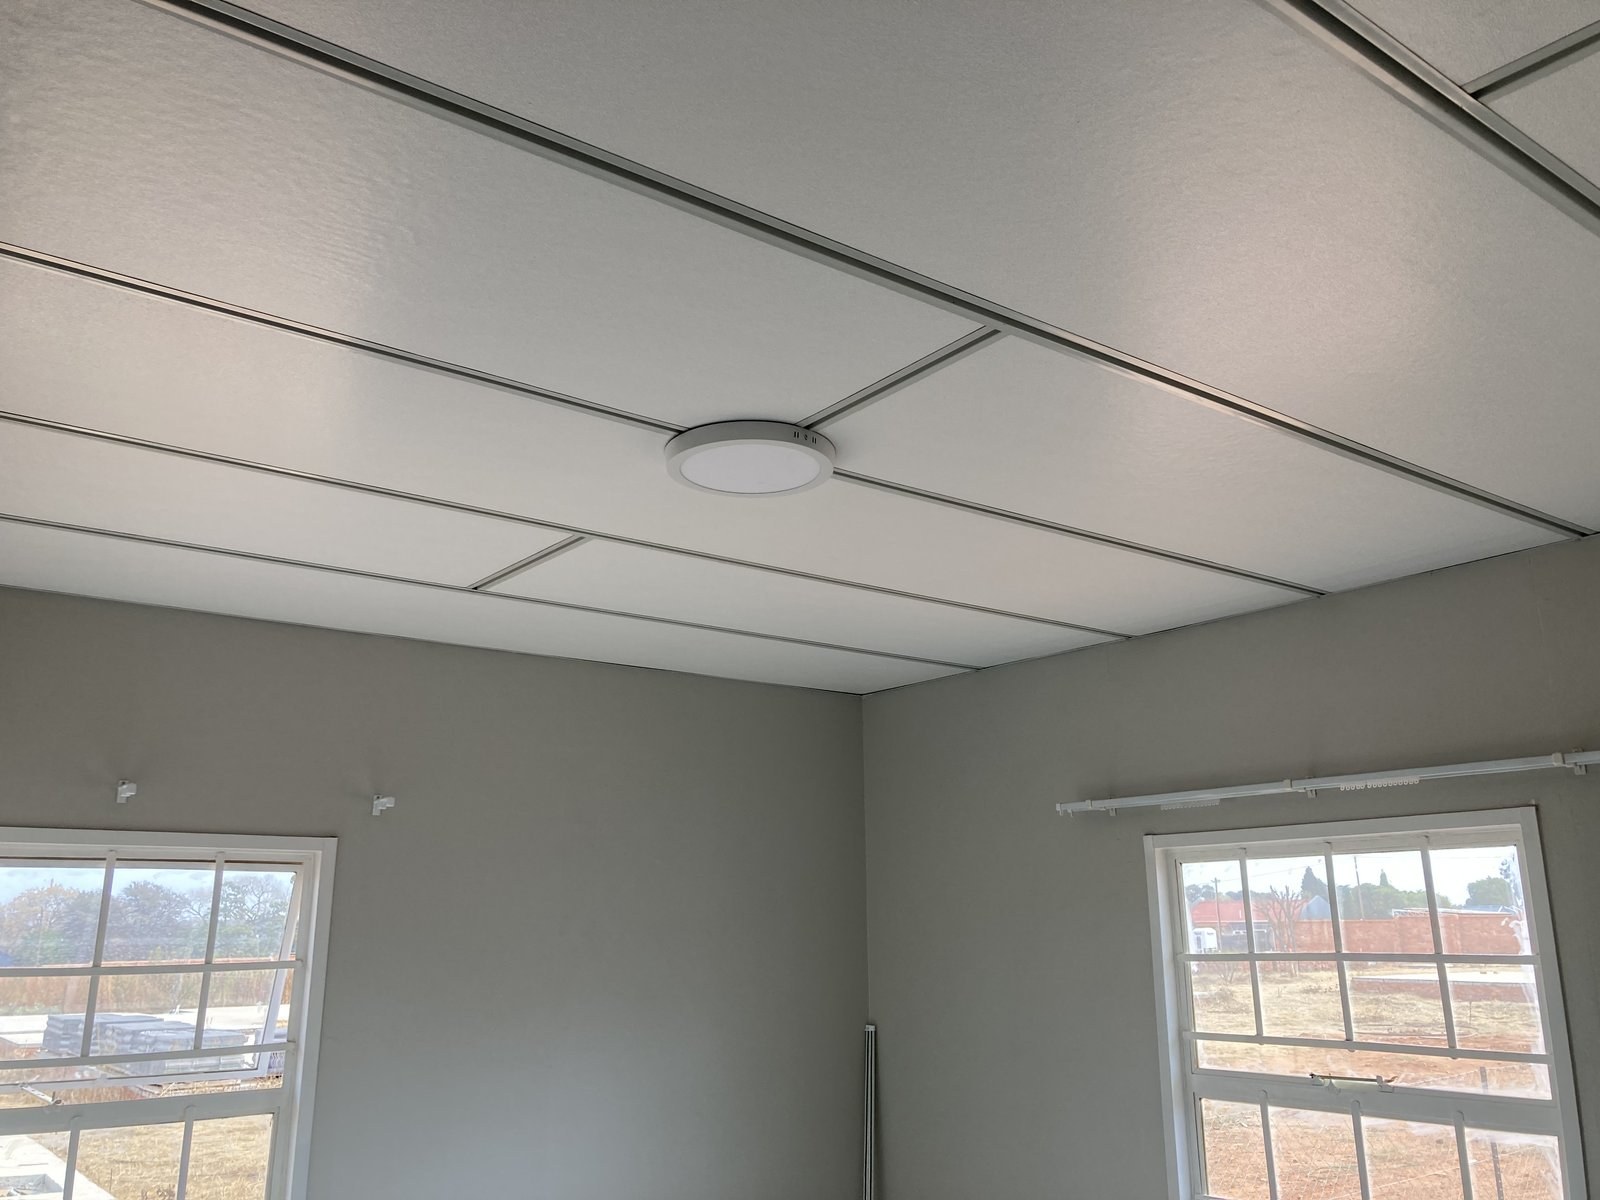
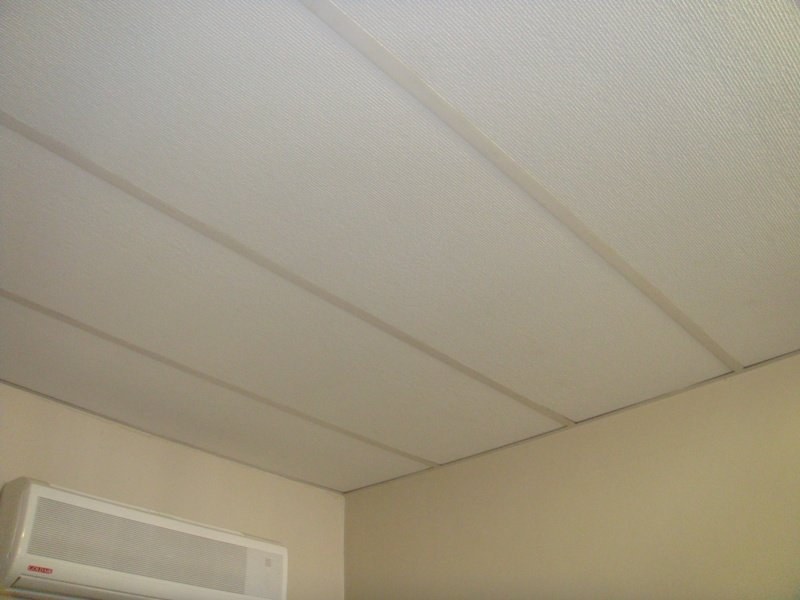
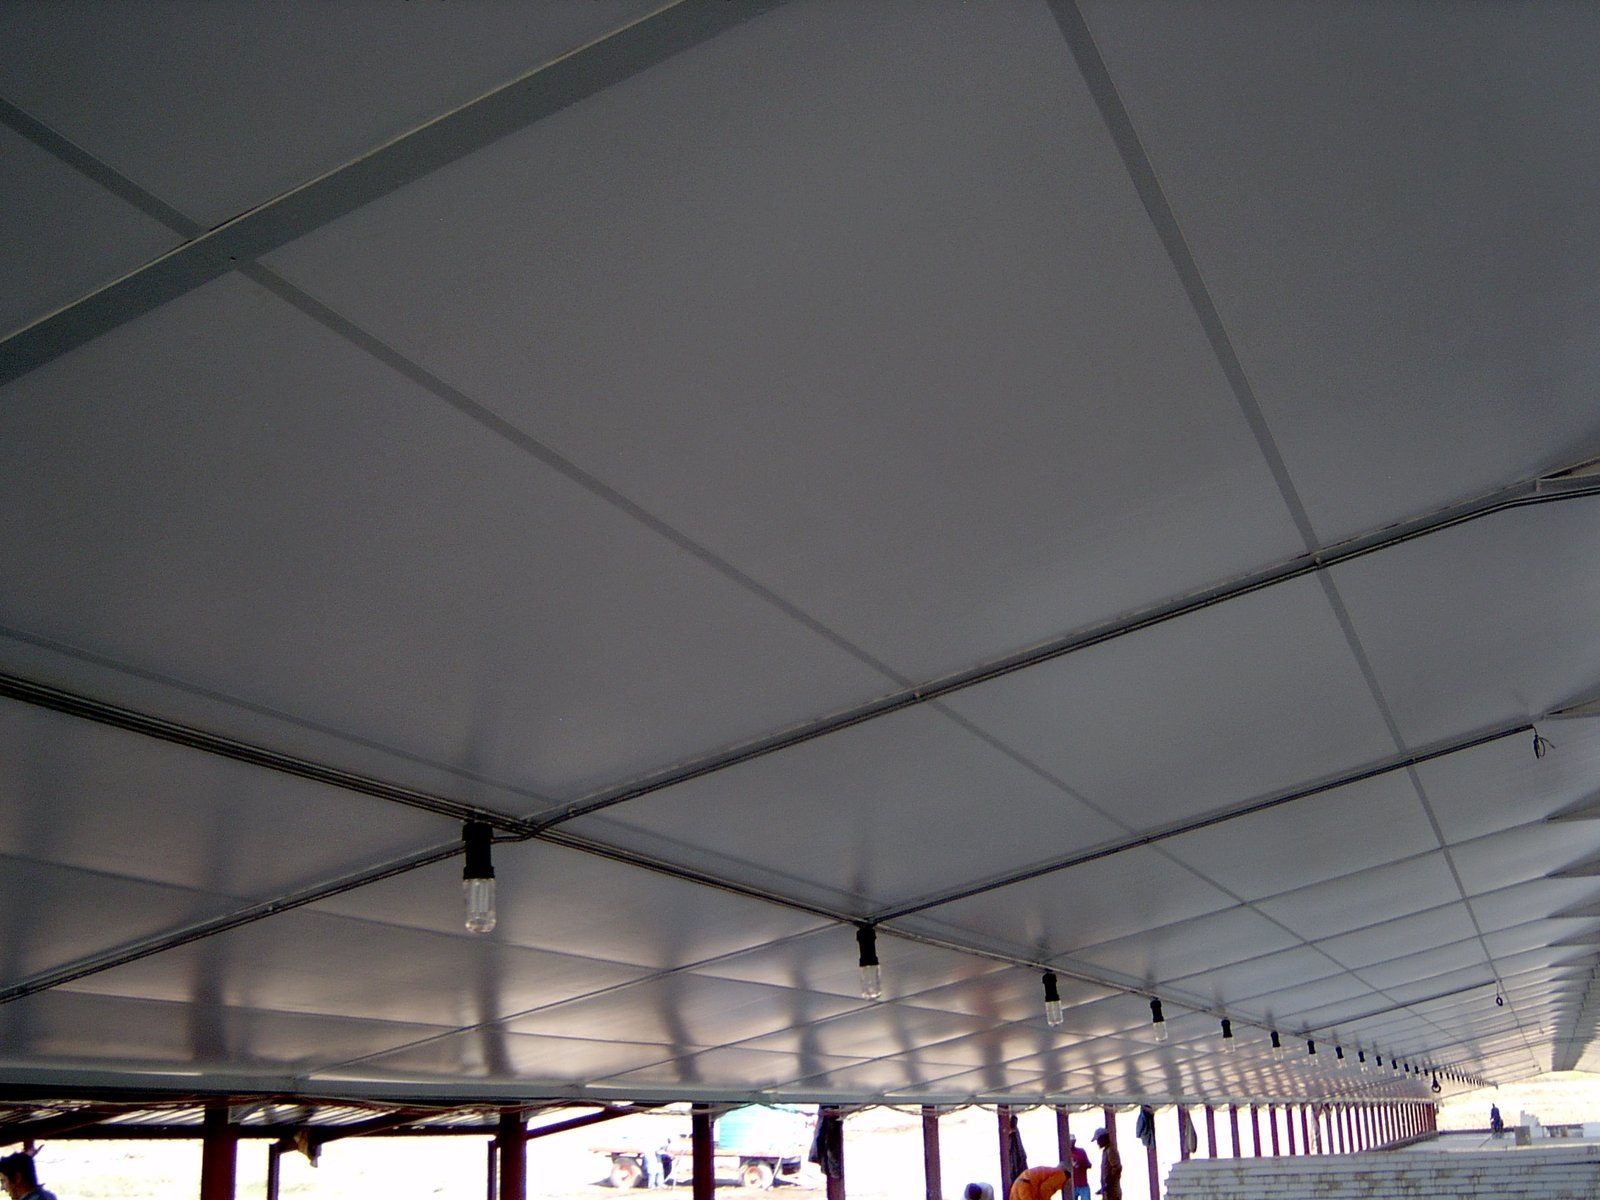
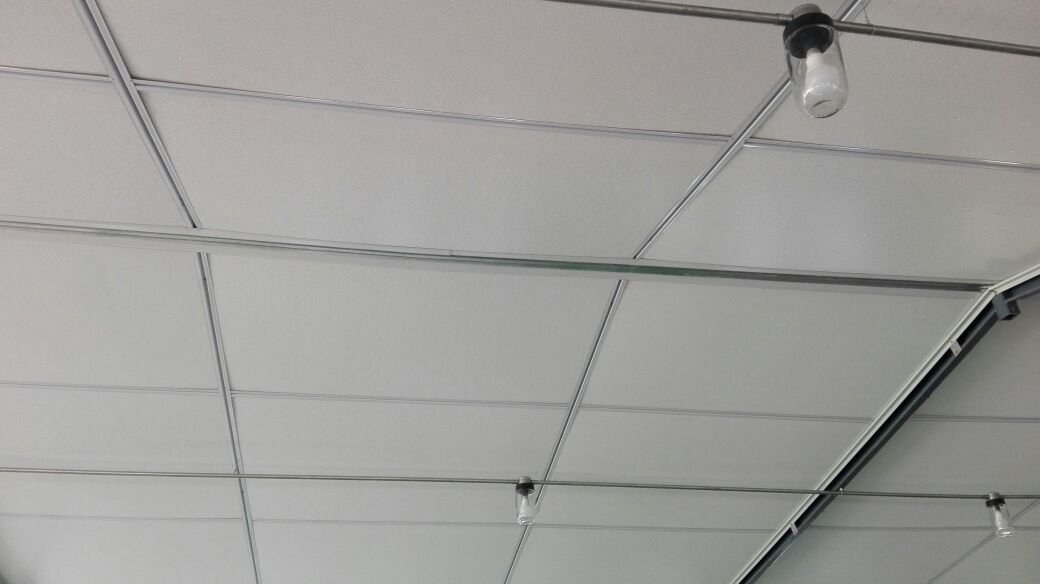
Installed roof panels seen from below in a glazed corner room. The ceiling is the underside of the roof itself - a pale flat steel-faced plane crossed by straight, evenly spaced panel joints running down the slope, with no ribs or fixings showing inside. The same plane carries on past the glass line to form the soffit over the terrace, finishing in a thin squared edge. Black steel columns and mullions, tiled floor, chairs and a low table below.PHOTO
Installed roof panels seen from below in a glazed corner room. The ceiling is the underside of the roof itself - a pale flat steel-faced plane crossed by straight, evenly spaced panel joints running down the slope, with no ribs or fixings showing inside. The same plane carries on past the glass line to form the soffit over the terrace, finishing in a thin squared edge. Black steel columns and mullions, tiled floor, chairs and a low table below.LiteSpan IBR & SS Roof Panels
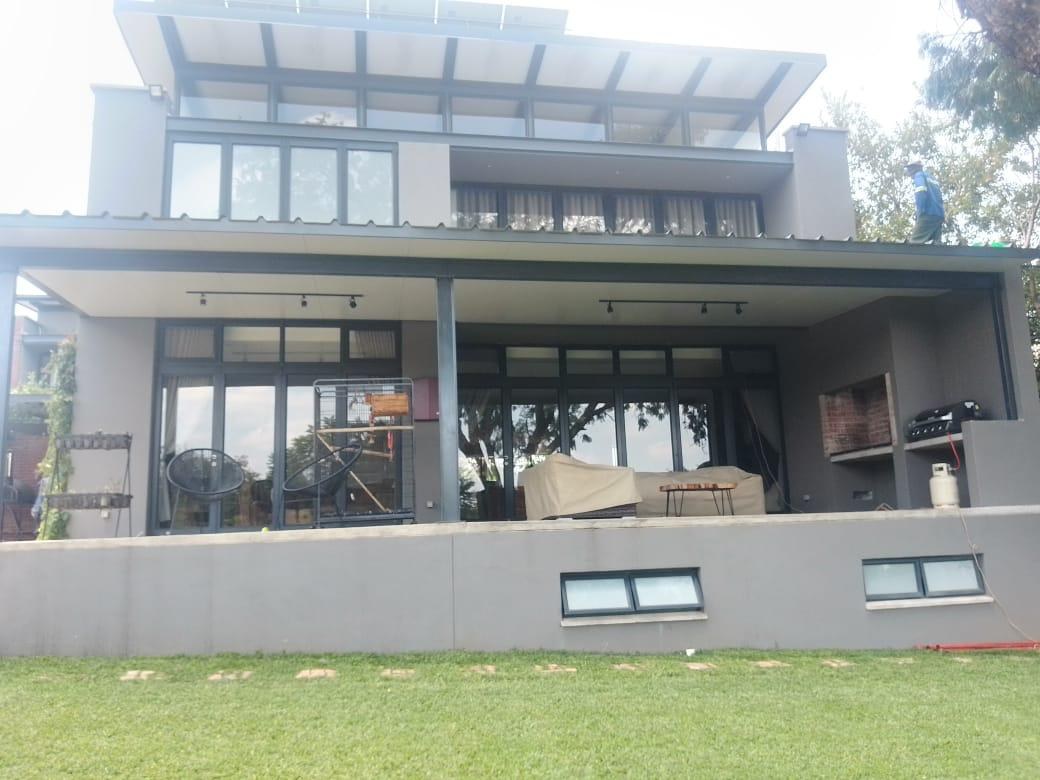
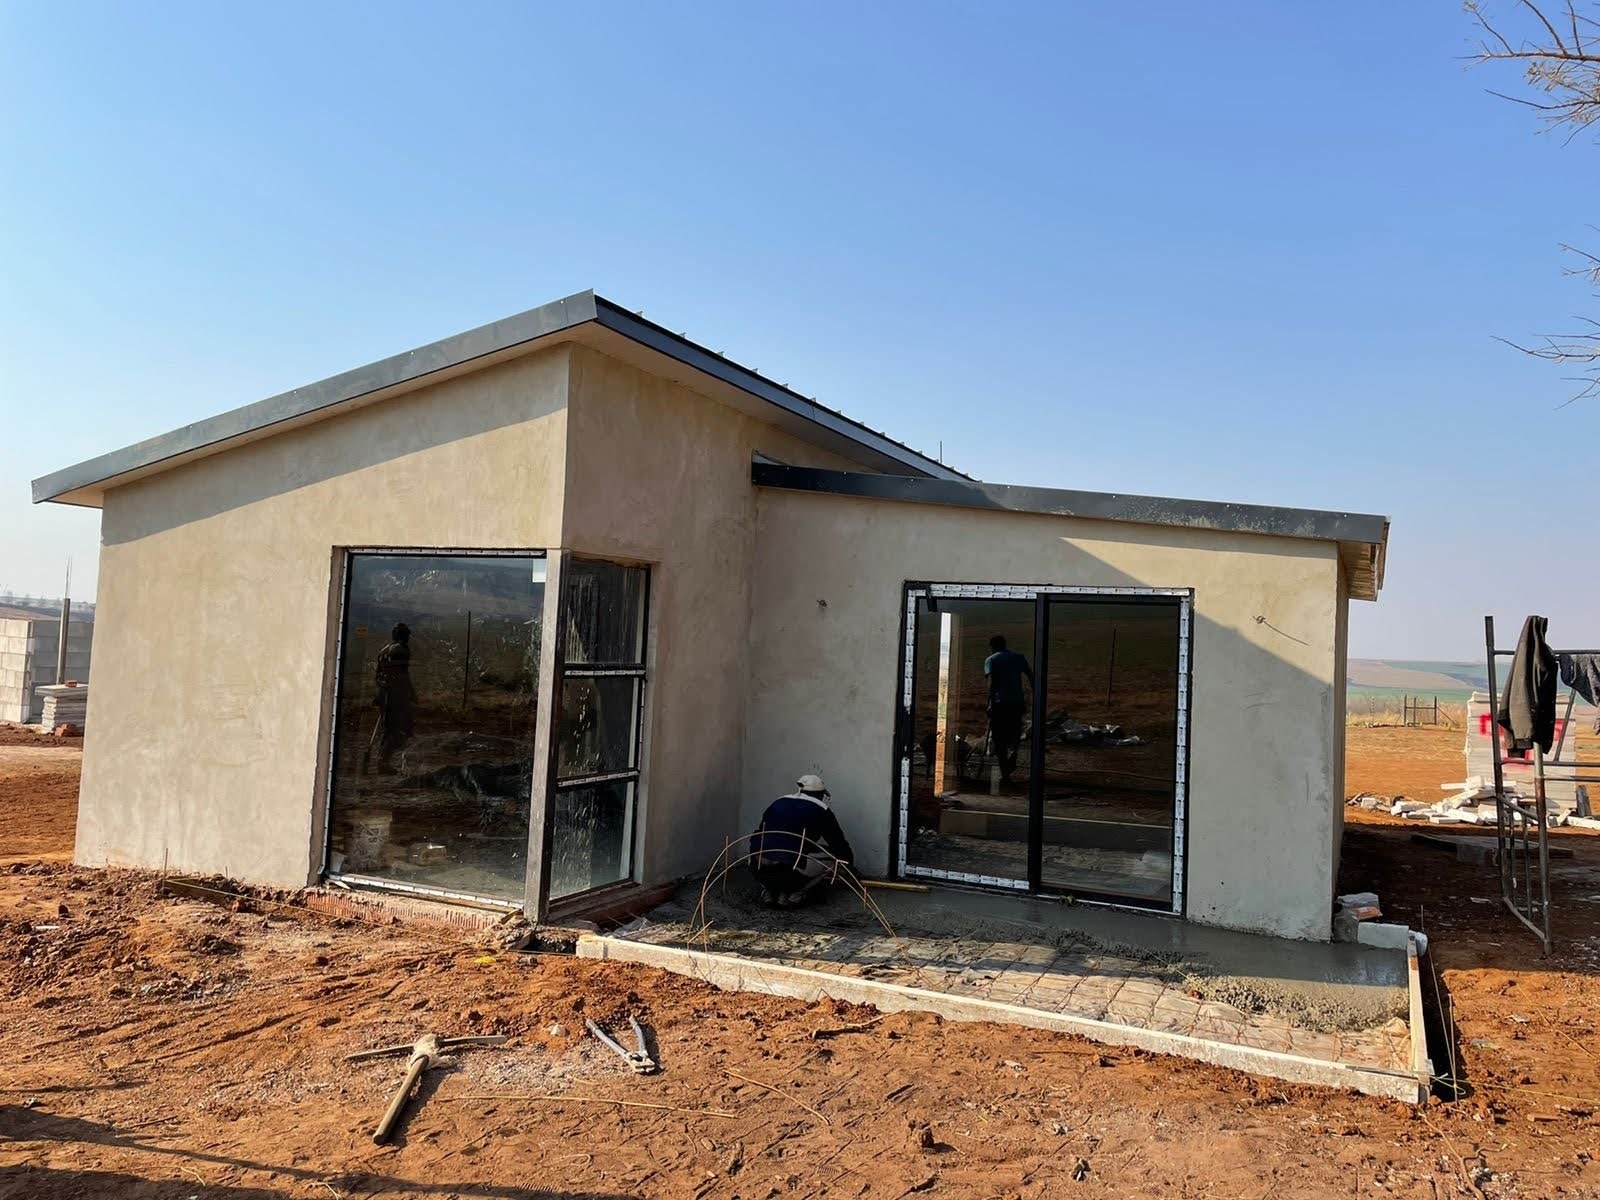
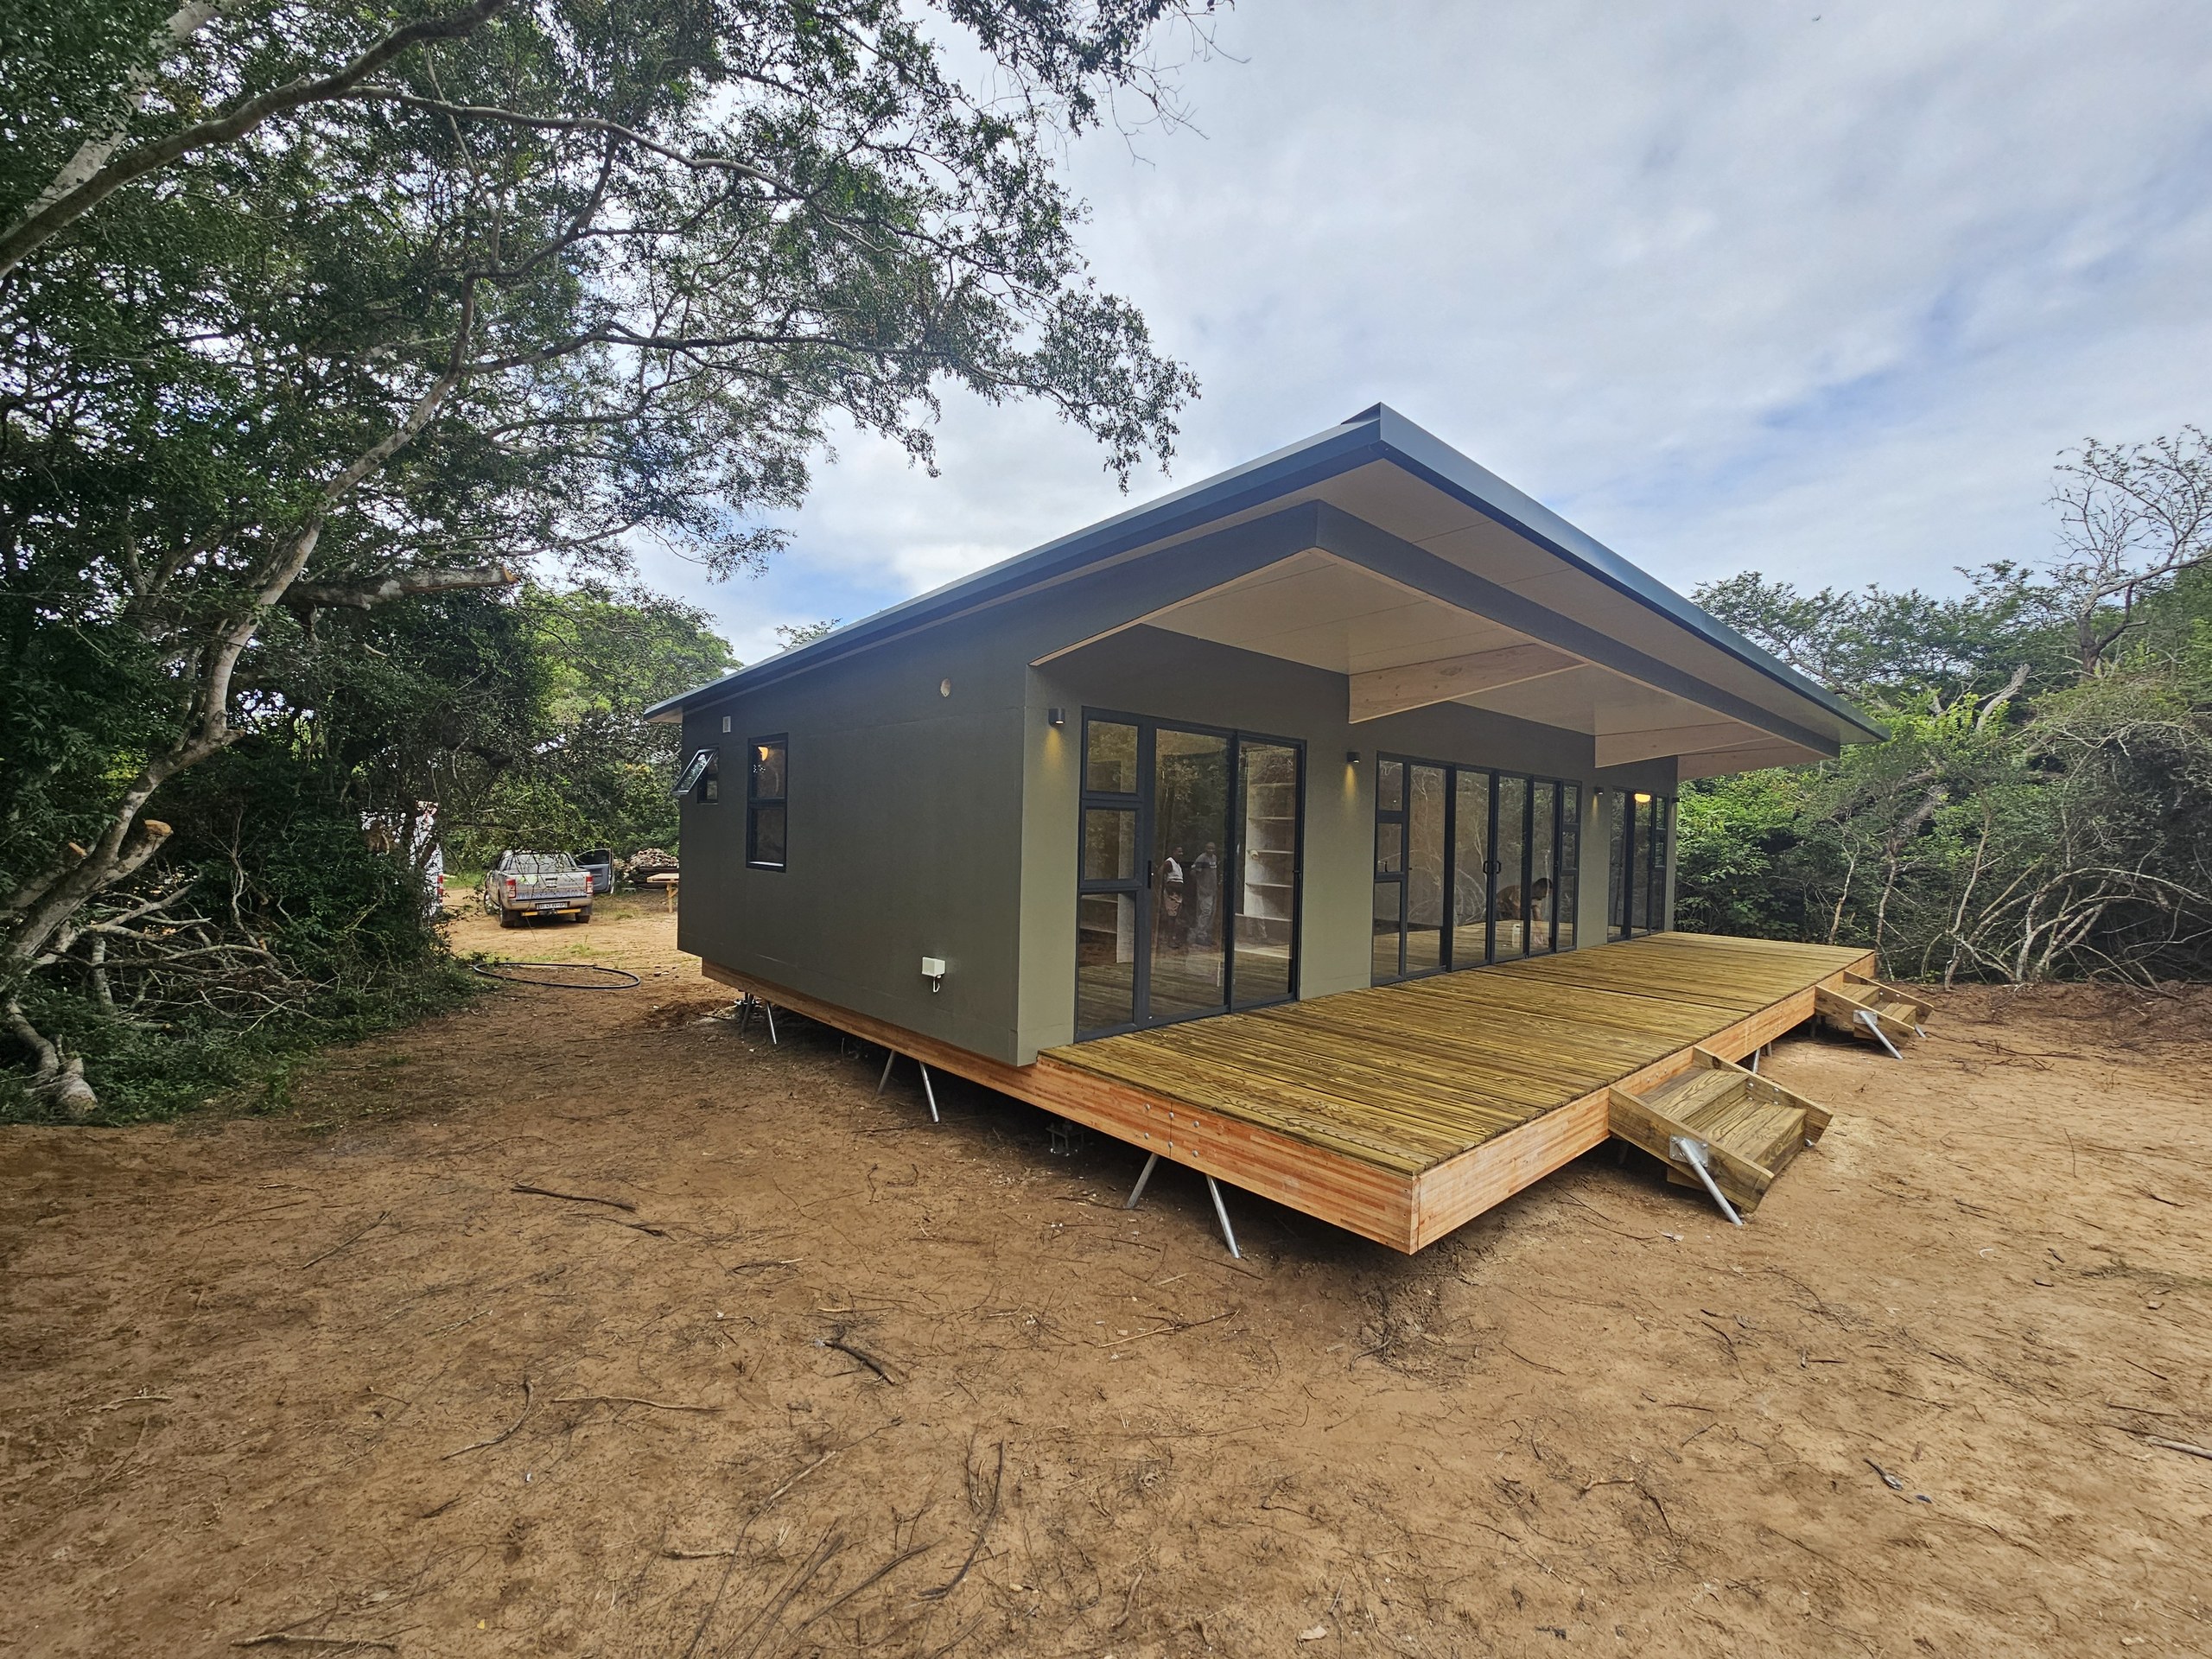
Completed house: the roof cantilevers past the black-framed sliding glass and finishes in a slim closed edge, its flat pale underside running on as the soffit - one lay doing roof and ceiling. No rib profile or panel joint is visible from this angle.PHOTO
Completed house: the roof cantilevers past the black-framed sliding glass and finishes in a slim closed edge, its flat pale underside running on as the soffit - one lay doing roof and ceiling. No rib profile or panel joint is visible from this angle.LiteSpan IBR & SS Roof Panels
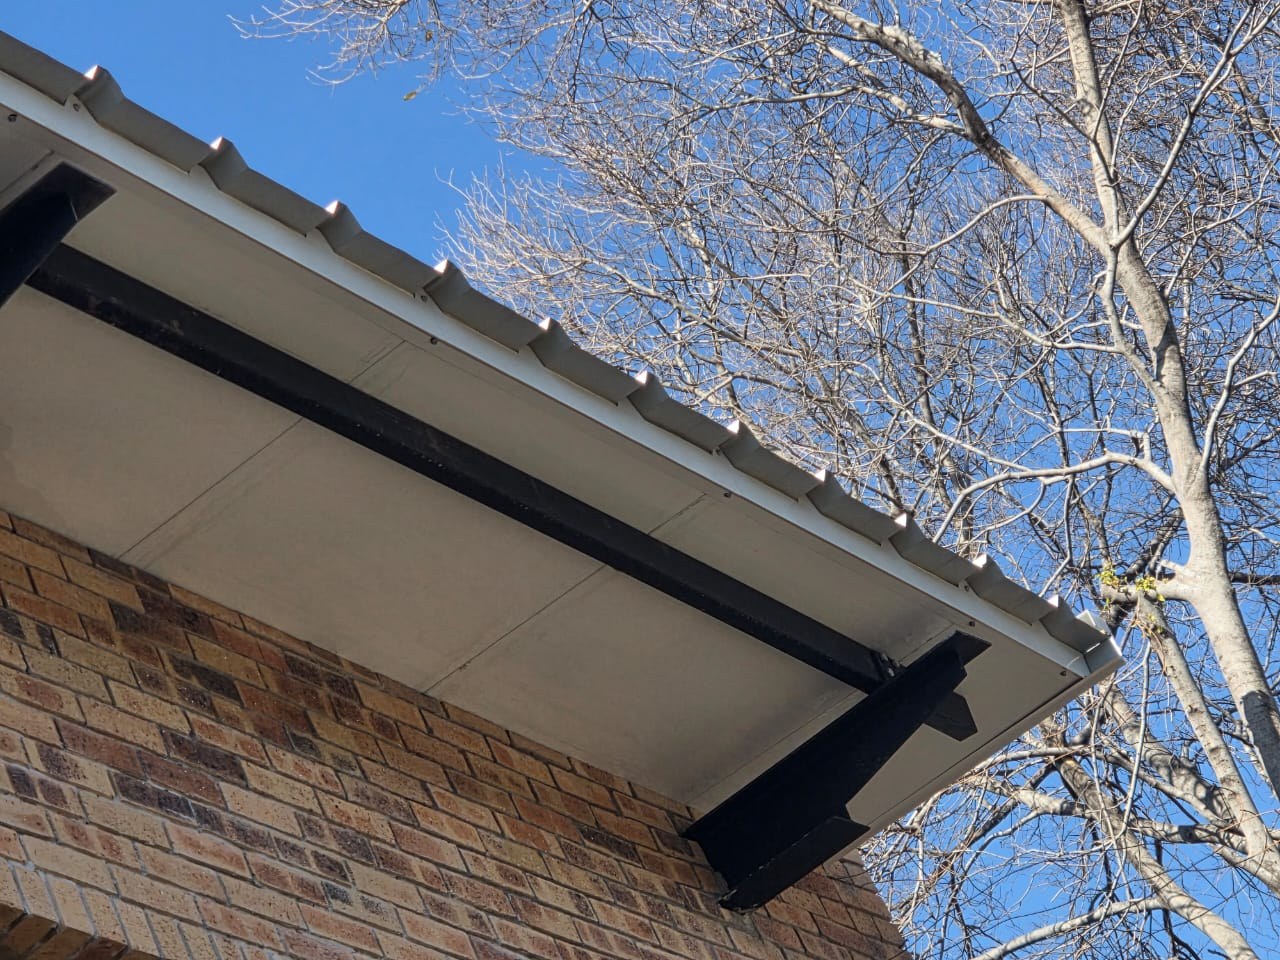
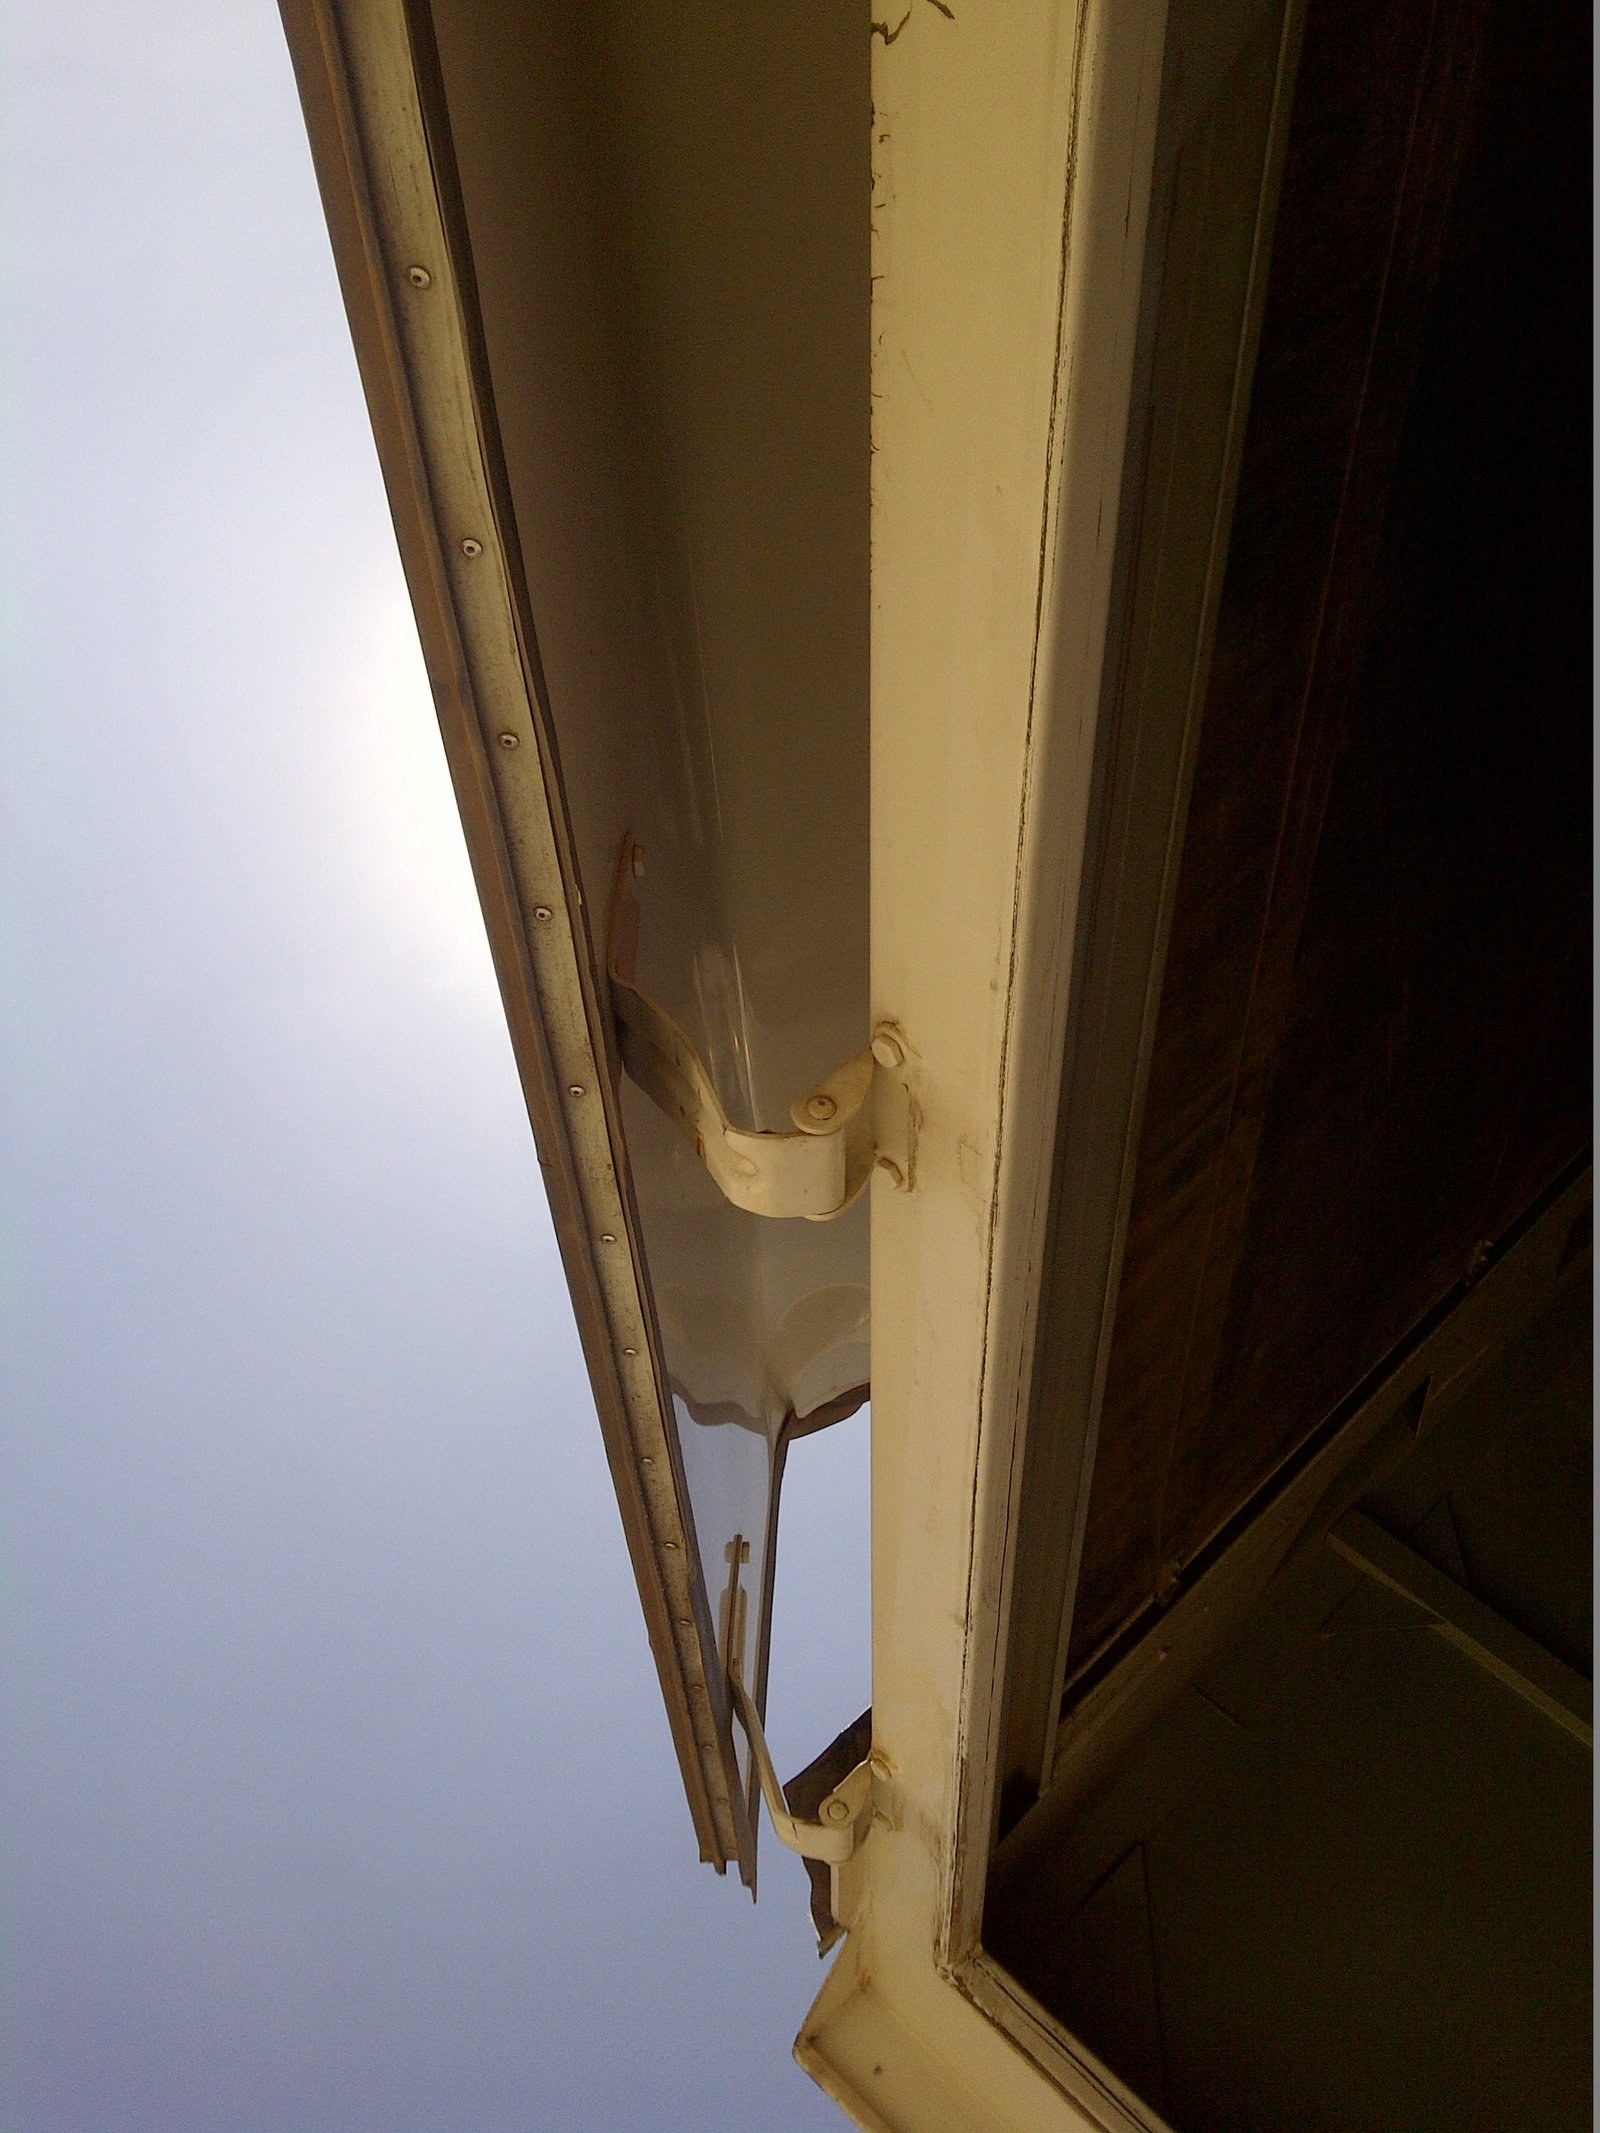
Roof overhang from below: the cut edge shows the ribbed steel top sheet, the core thickness and the flat off-white bottom sheet that becomes the finished ceiling. Carried on a black-painted steel beam and corner bracket.PHOTO
Roof overhang from below: the cut edge shows the ribbed steel top sheet, the core thickness and the flat off-white bottom sheet that becomes the finished ceiling. Carried on a black-painted steel beam and corner bracket.LiteSpan IBR & SS Roof Panels
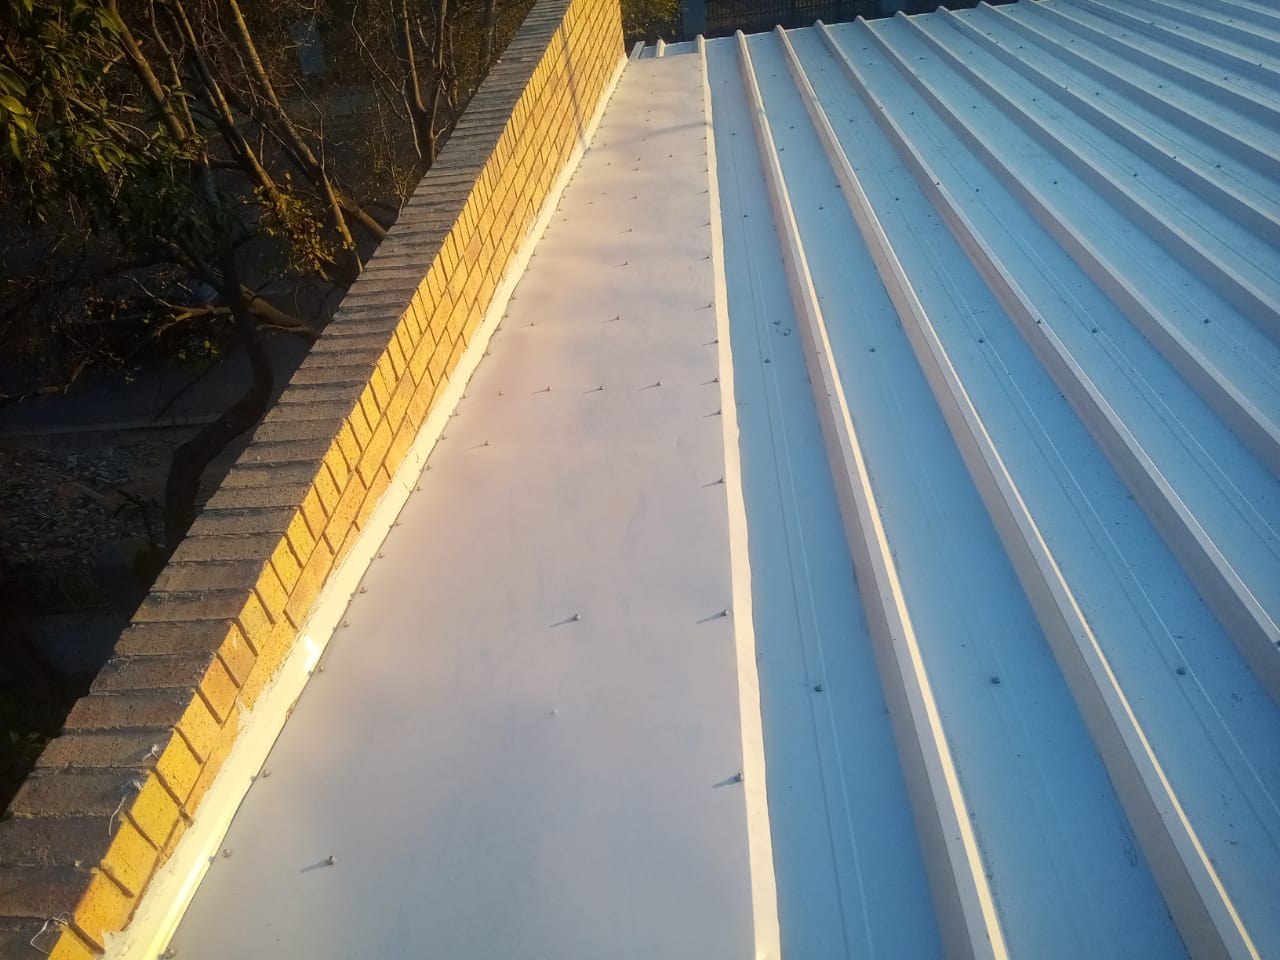
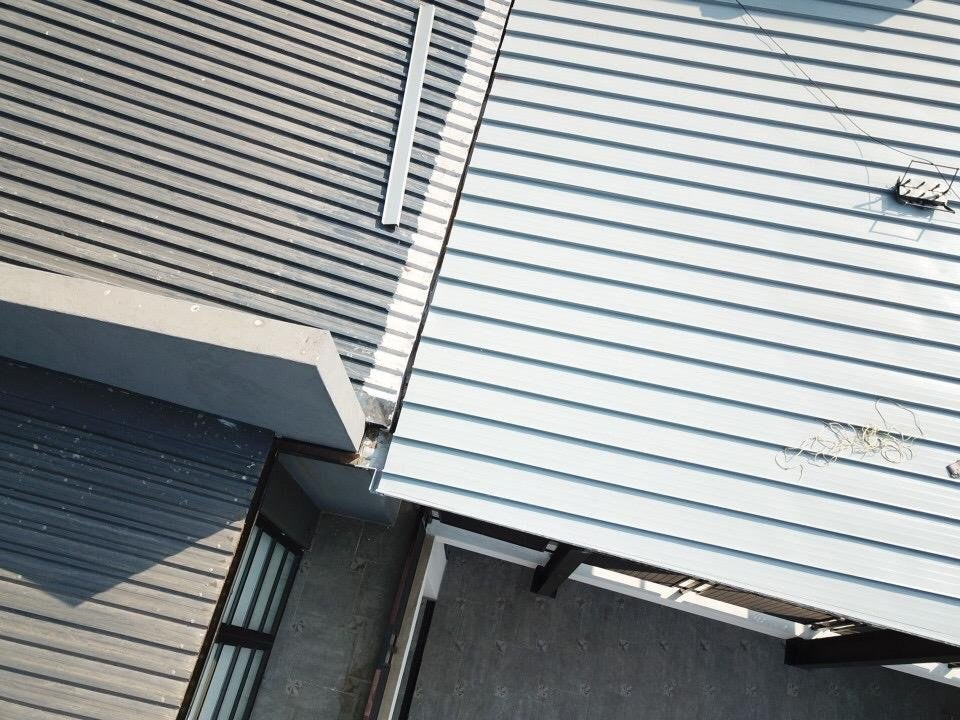
Installed roof at the parapet: ribbed steel sheeting fixed with screws through the flat pans, and a wide flashing turned up against the face-brick parapet wall.PHOTO
Installed roof at the parapet: ribbed steel sheeting fixed with screws through the flat pans, and a wide flashing turned up against the face-brick parapet wall.LiteSpan IBR & SS Roof Panels
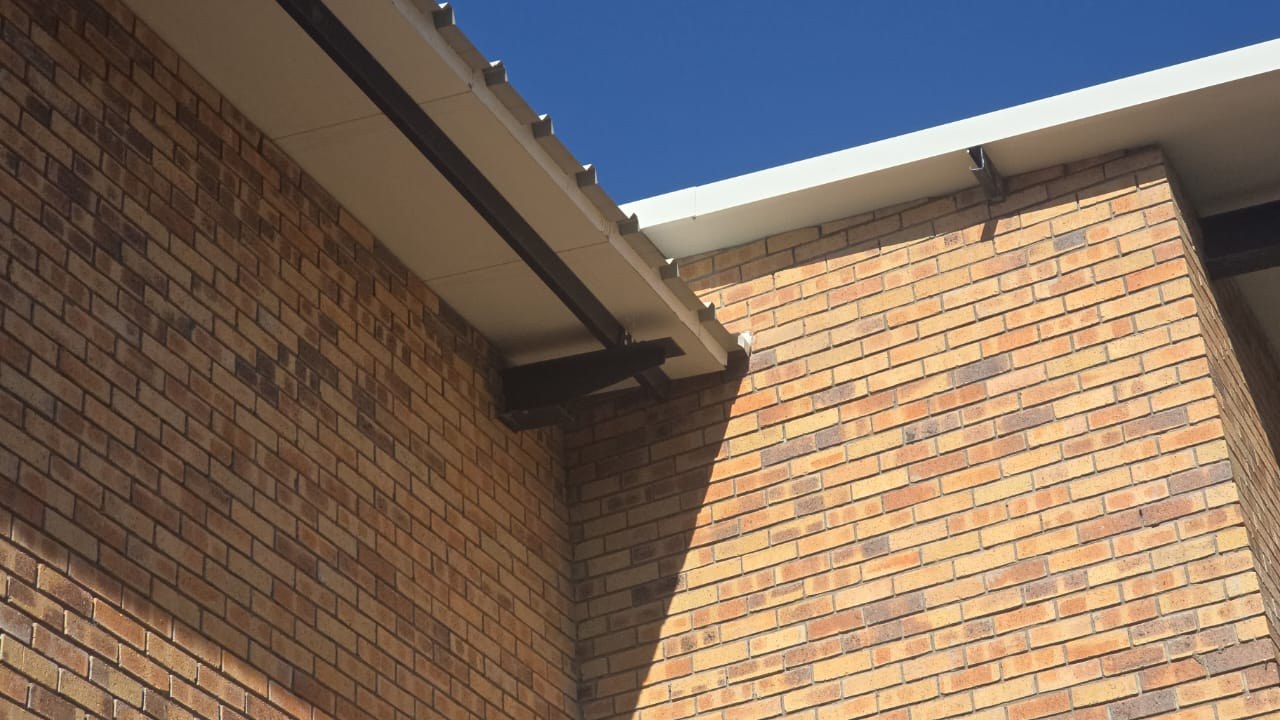
Roof edge over face brickwork: the eave shows the ribs of the steel top sheet in profile with a flat cream underside beneath, carried on a dark steel beam. Most of the frame is the brick wall.PHOTO
Roof edge over face brickwork: the eave shows the ribs of the steel top sheet in profile with a flat cream underside beneath, carried on a dark steel beam. Most of the frame is the brick wall.LiteSpan IBR & SS Roof Panels
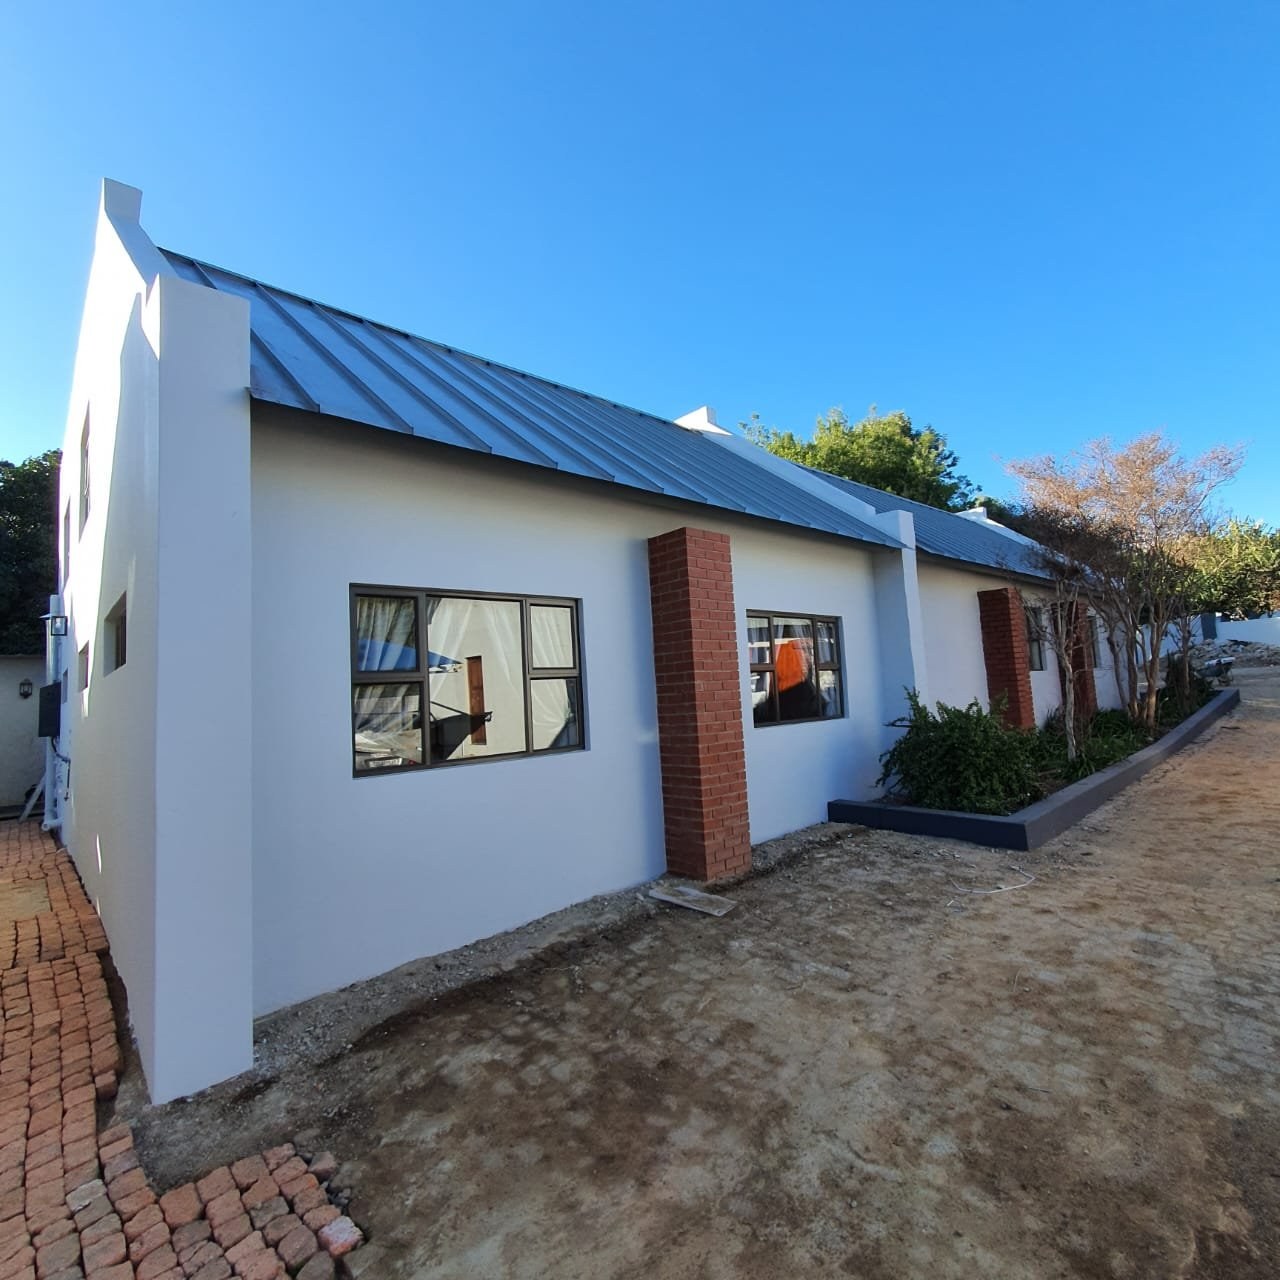
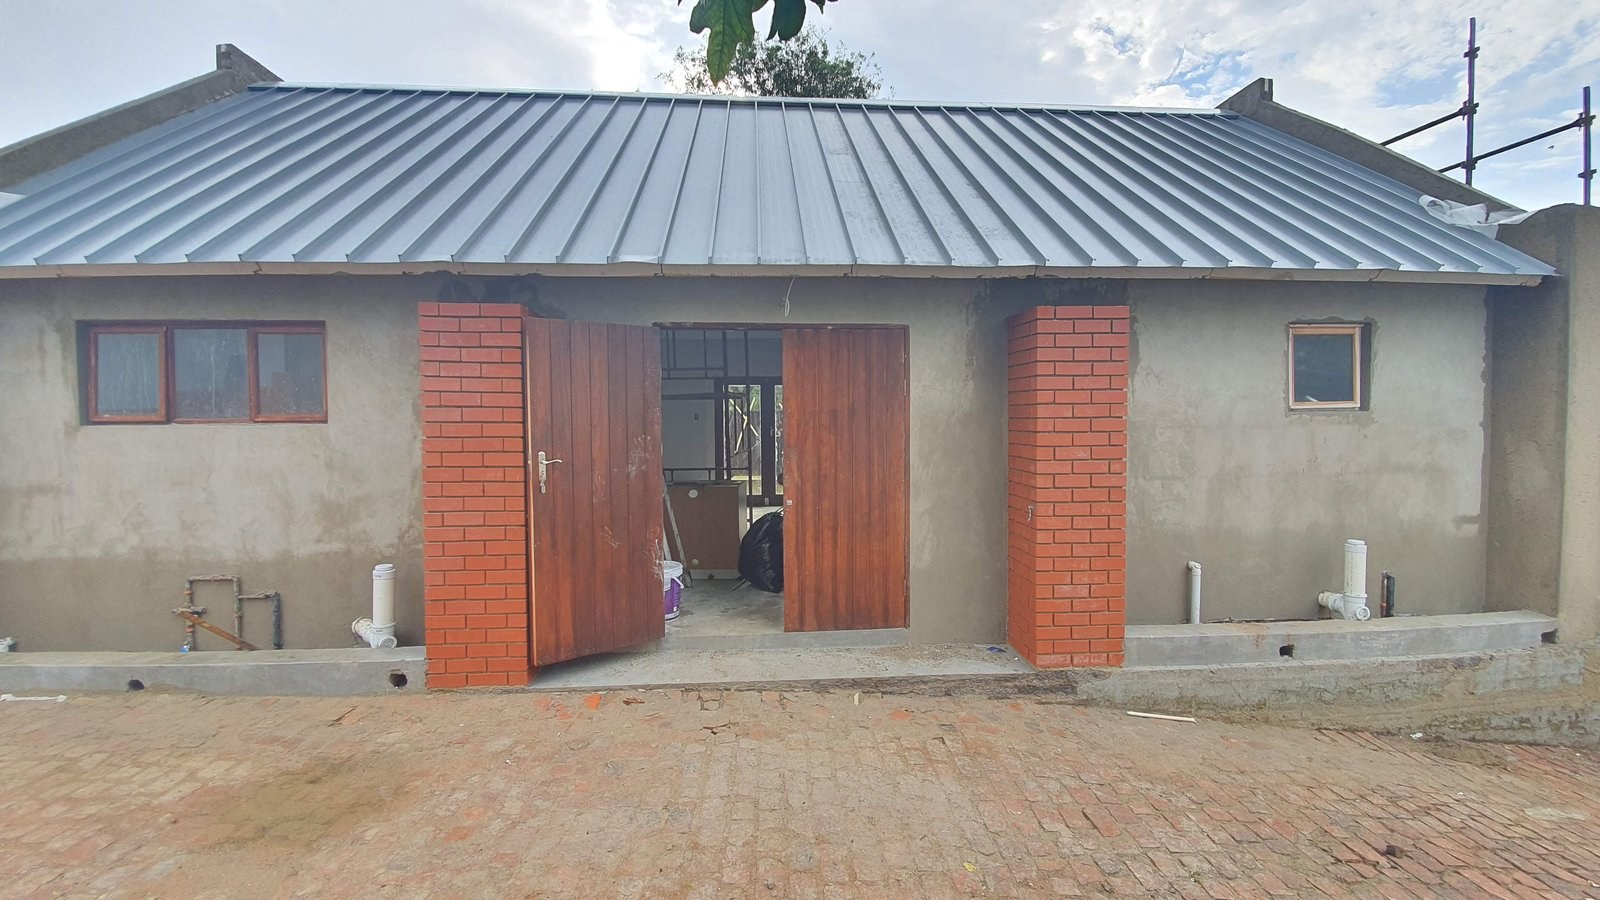
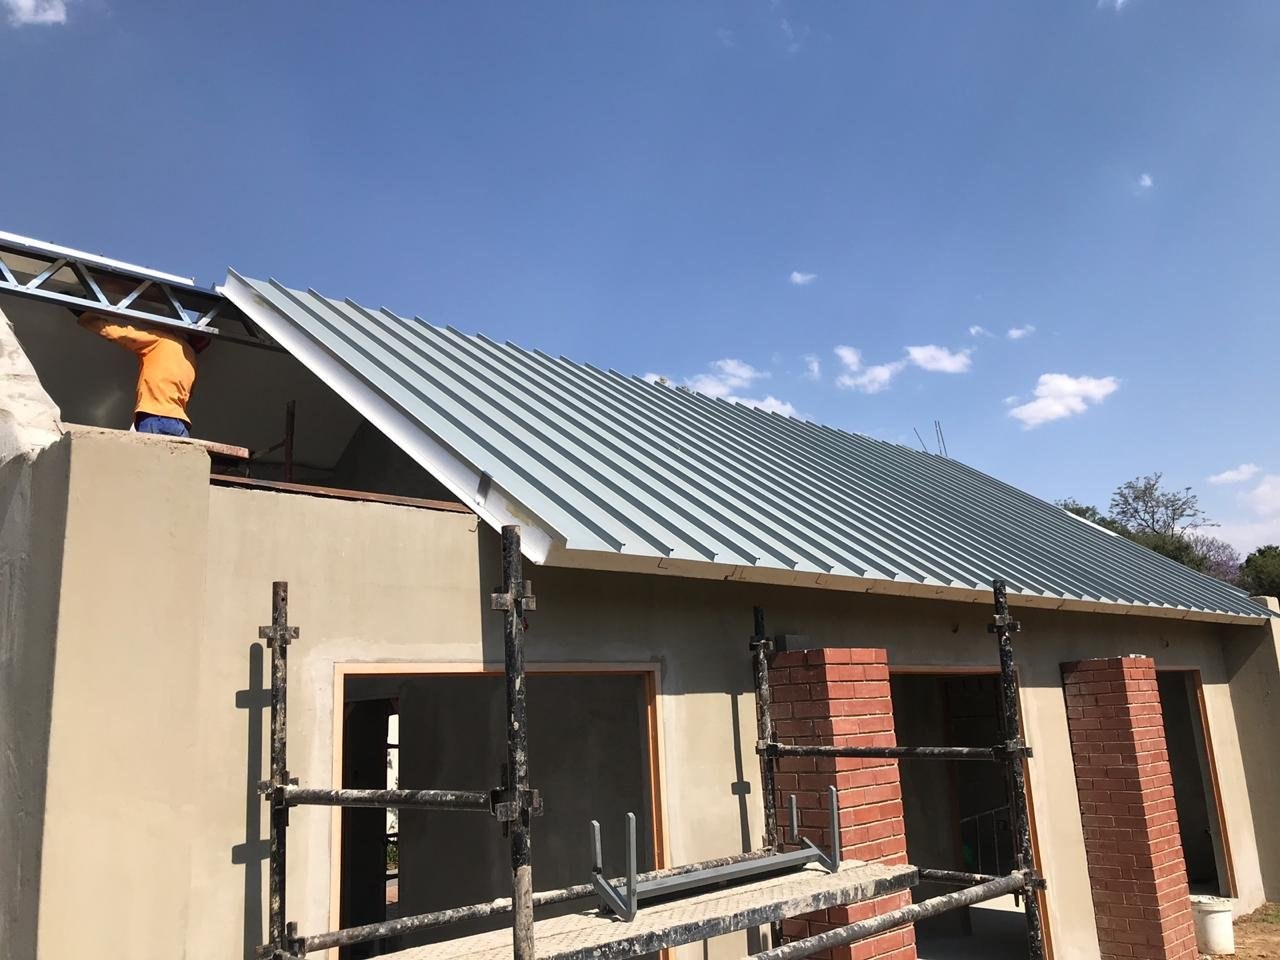
Completed house with a dark grey standing-seam LiteSpan roof over a gable-end wall and face-brick pillarsPHOTO
Completed house with a dark grey standing-seam LiteSpan roof over a gable-end wall and face-brick pillarsLiteSpan IBR & SS Roof Panels
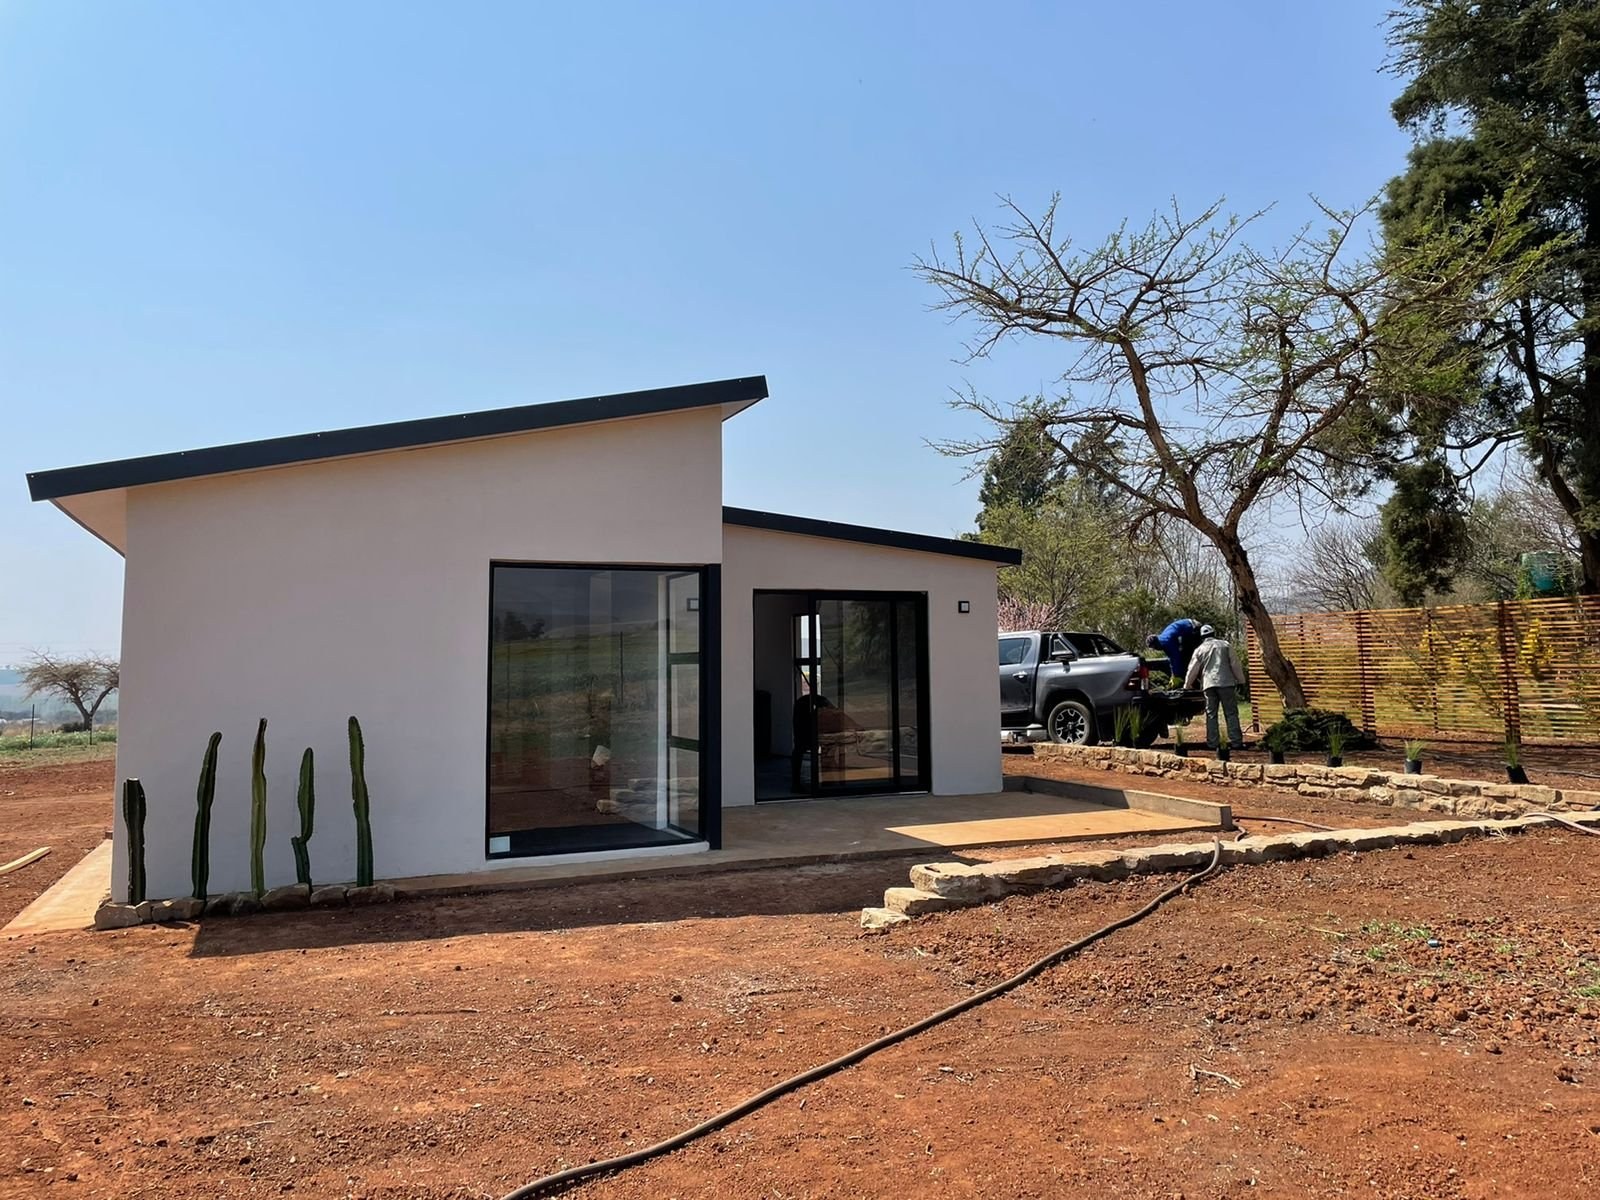
Completed skillion-roof house with standing-seam roof sheeting, dry landscaping and a cactus bed in frontPHOTO
Completed skillion-roof house with standing-seam roof sheeting, dry landscaping and a cactus bed in frontLiteSpan IBR & SS Roof Panels
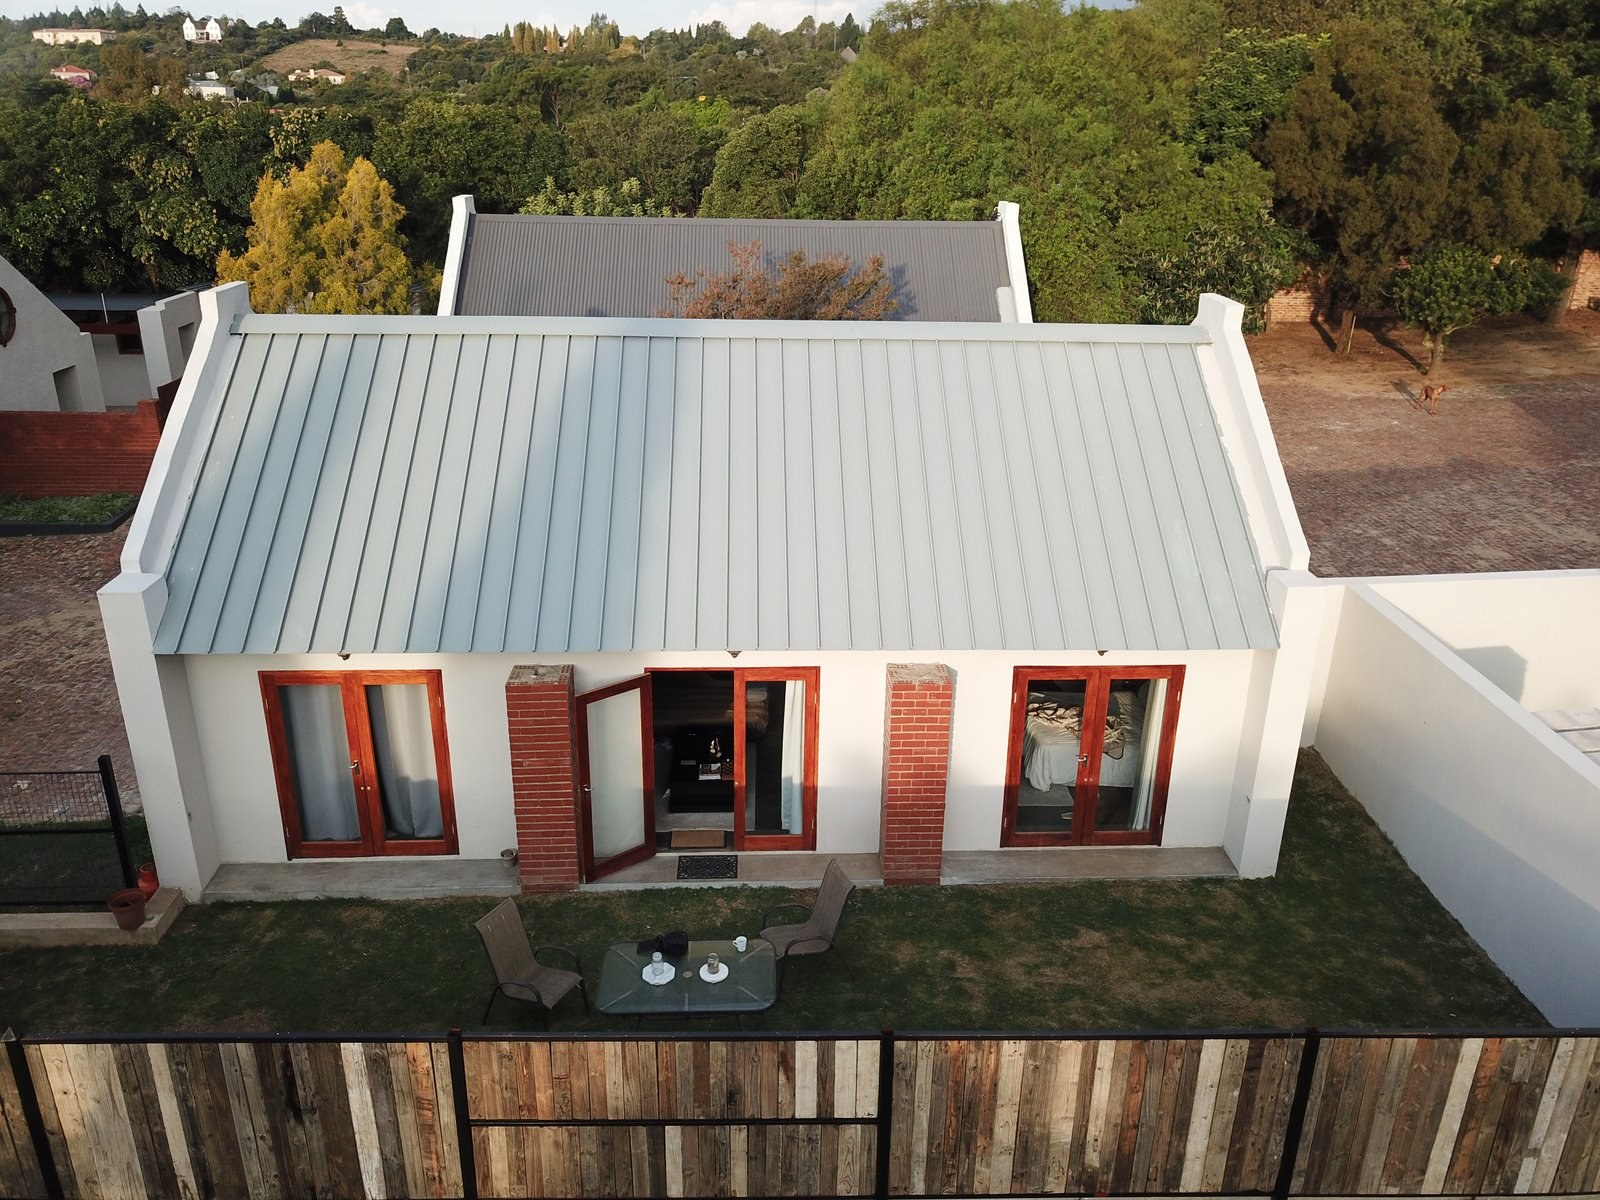
Aerial view of a Cape Dutch style cottage with a completed standing-seam roof and gabled parapetsPHOTO
Aerial view of a Cape Dutch style cottage with a completed standing-seam roof and gabled parapetsLiteSpan IBR & SS Roof Panels
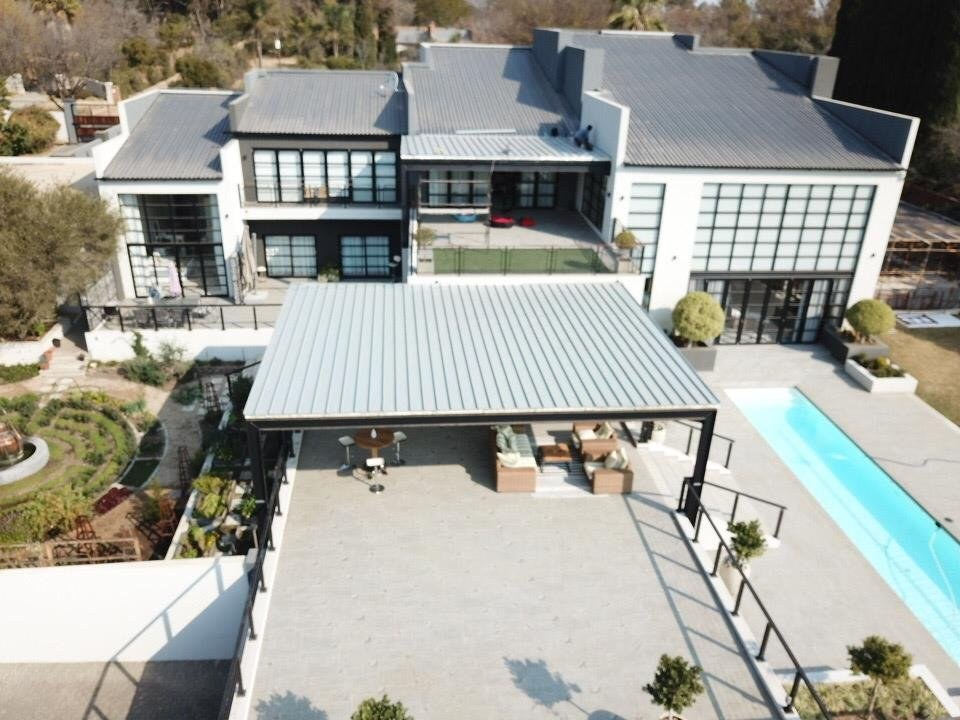
Aerial view of a large house with a completed standing-seam canopy roof over a pool-side patioPHOTO
Aerial view of a large house with a completed standing-seam canopy roof over a pool-side patioLiteSpan IBR & SS Roof Panels
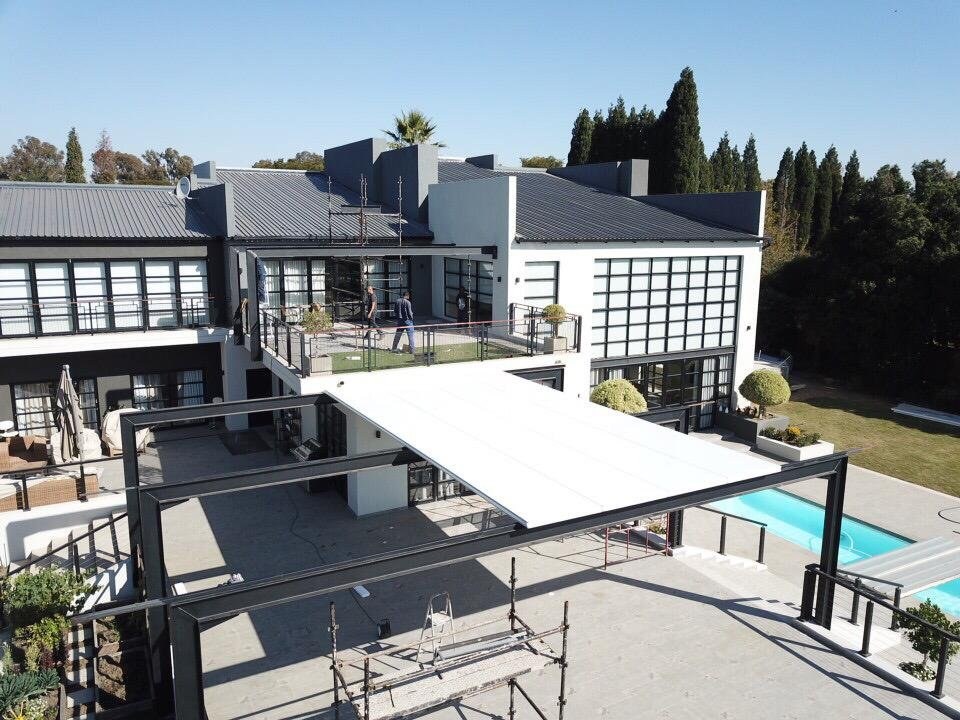
Aerial view of the same canopy structure mid-installation, roof sheeting fitted over the steel frame with scaffolding still in place belowPHOTO
Aerial view of the same canopy structure mid-installation, roof sheeting fitted over the steel frame with scaffolding still in place belowLiteSpan IBR & SS Roof Panels
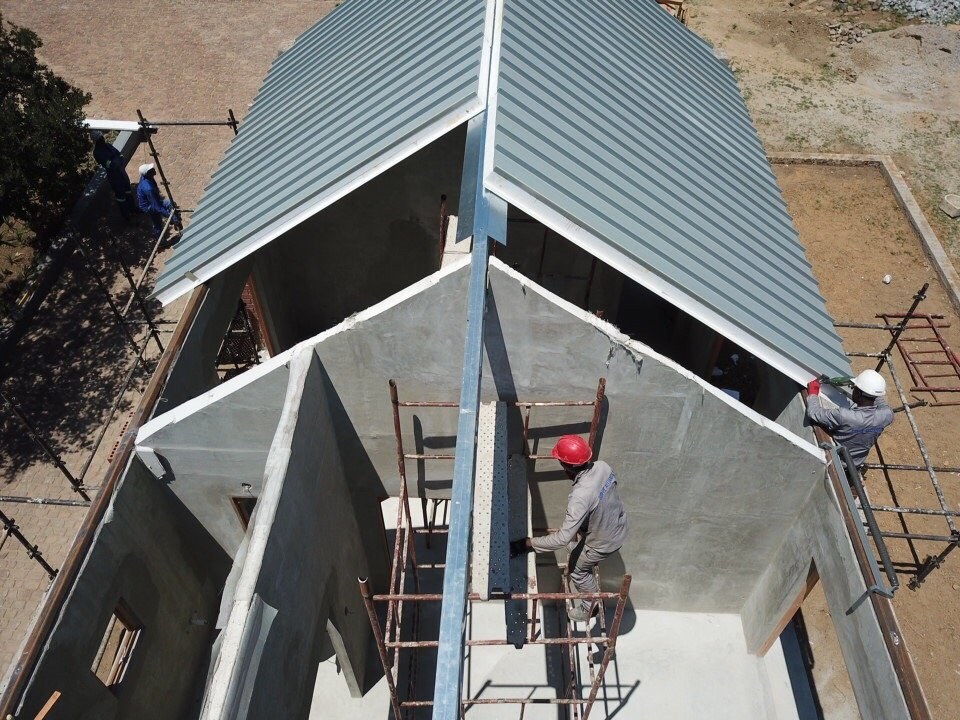
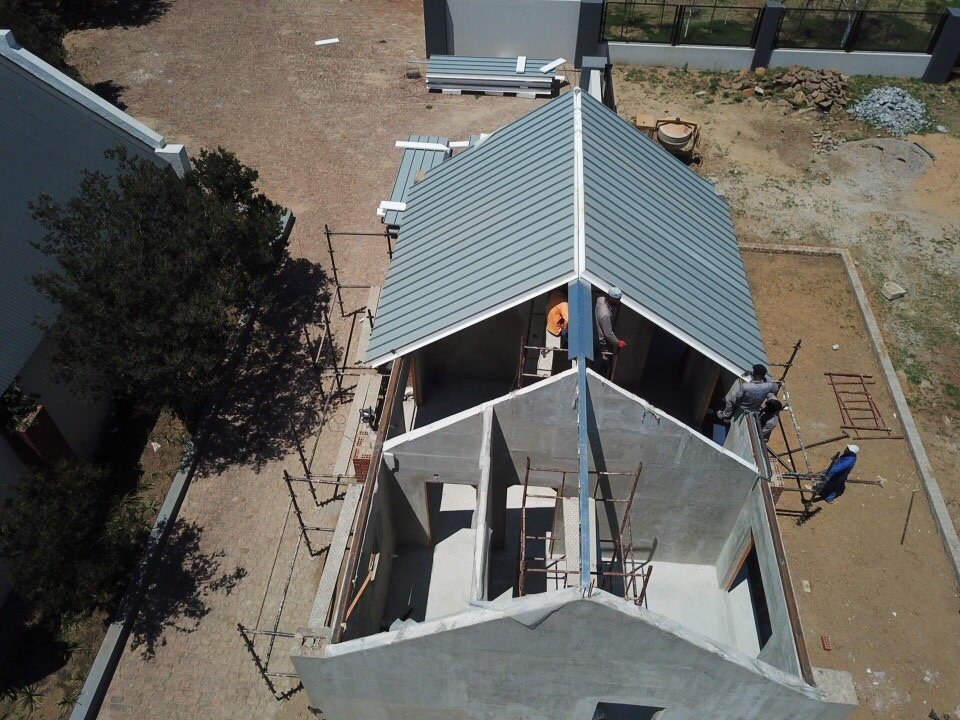
Aerial view of roofers fitting standing-seam sheeting at a hip roof apex, working off scaffoldingPHOTO
Aerial view of roofers fitting standing-seam sheeting at a hip roof apex, working off scaffoldingLiteSpan IBR & SS Roof Panels
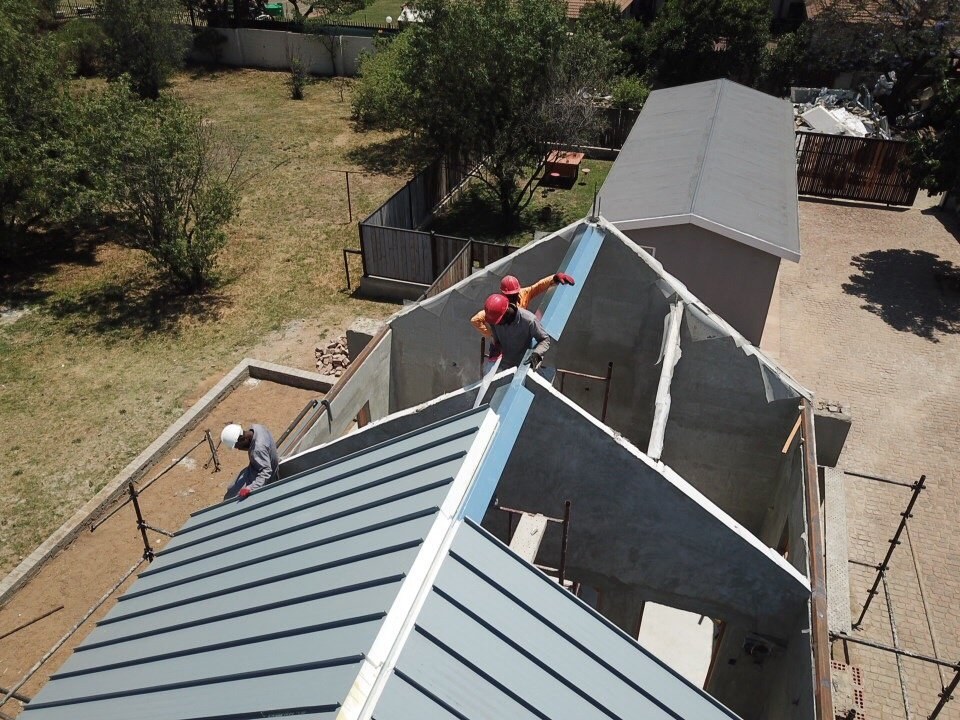
Aerial view of ridge flashing being fitted where two roof pitches meetPHOTO
Aerial view of ridge flashing being fitted where two roof pitches meetLiteSpan IBR & SS Roof Panels
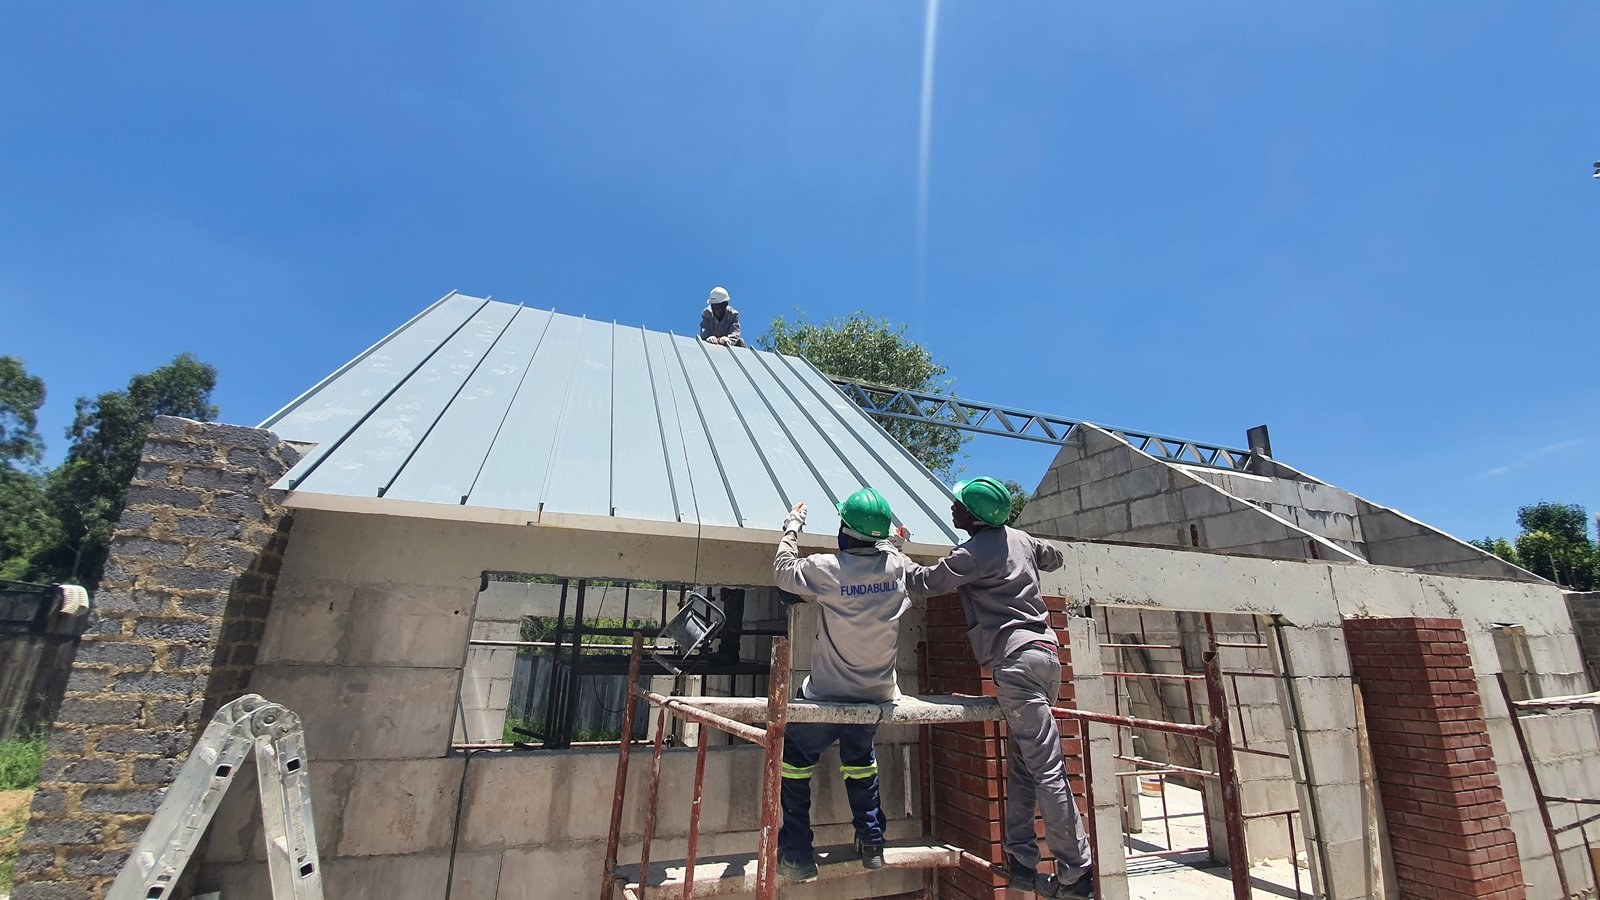
Roofer fitting standing-seam sheeting at the ridge while two more workers look on from scaffolding belowPHOTO
Roofer fitting standing-seam sheeting at the ridge while two more workers look on from scaffolding belowLiteSpan IBR & SS Roof Panels
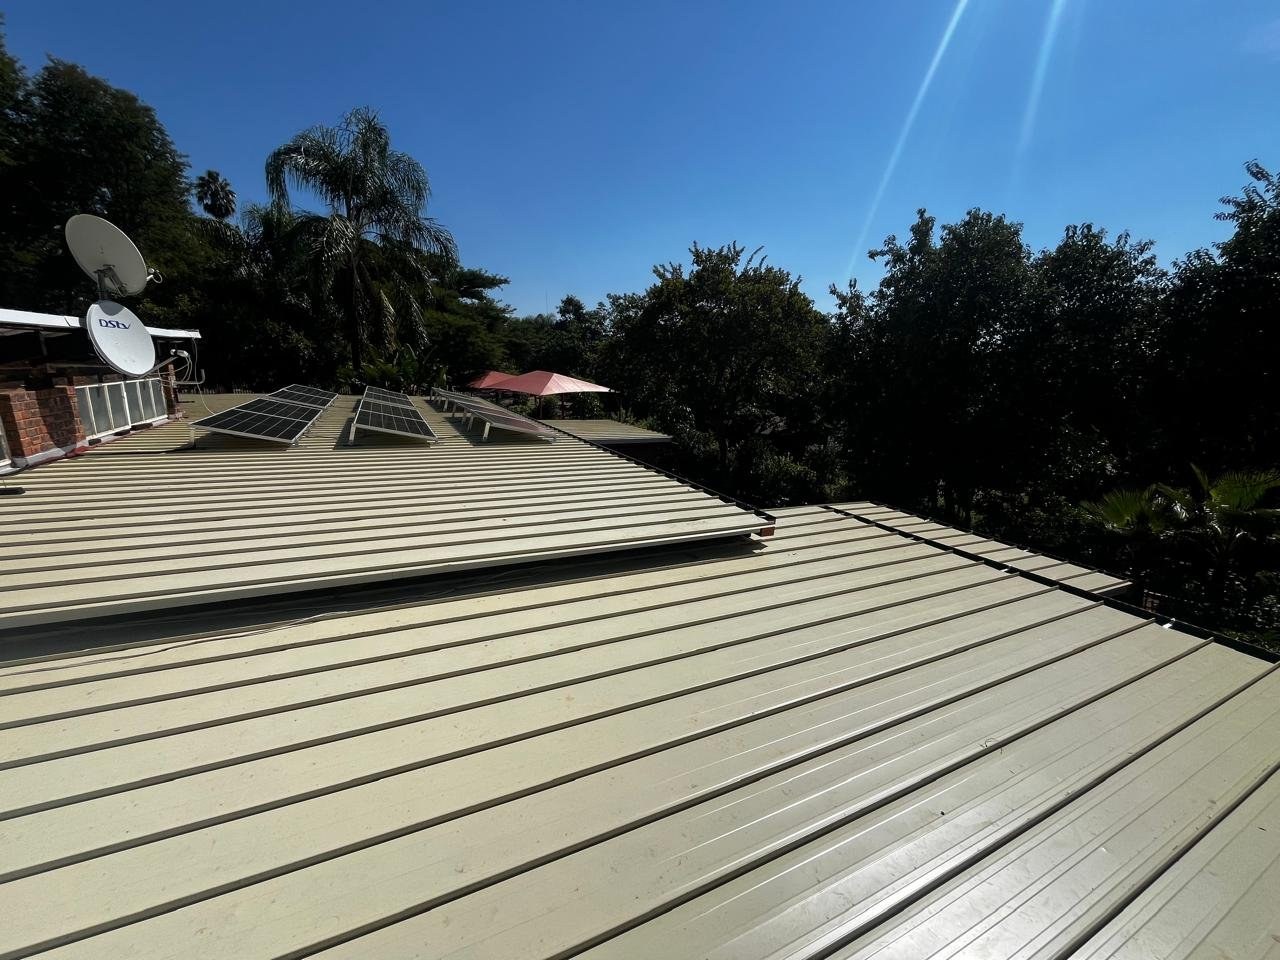
Solar panels mounted directly onto a standing-seam roofPHOTO
Solar panels mounted directly onto a standing-seam roofLiteSpan IBR & SS Roof Panels
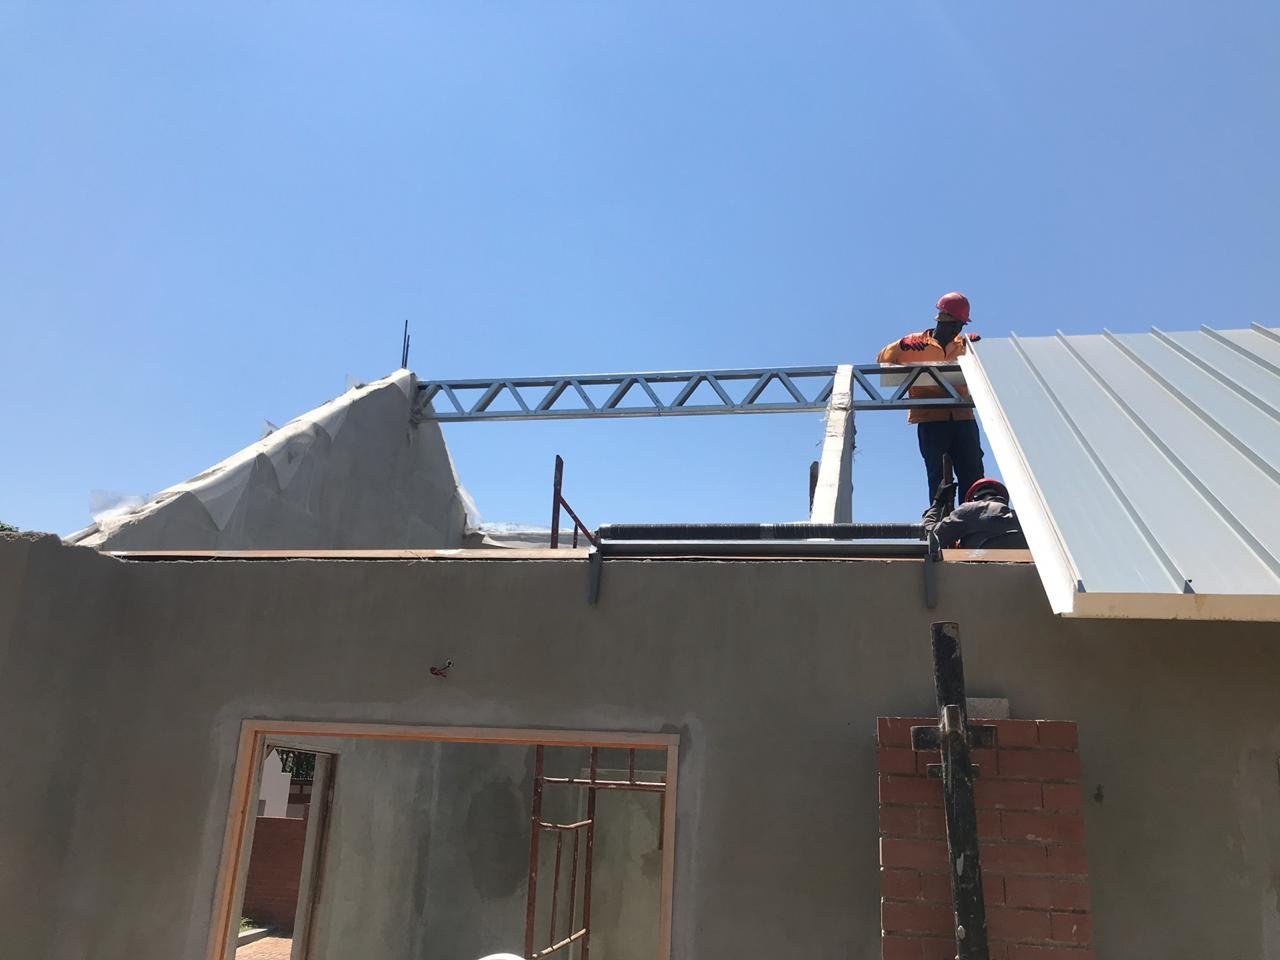
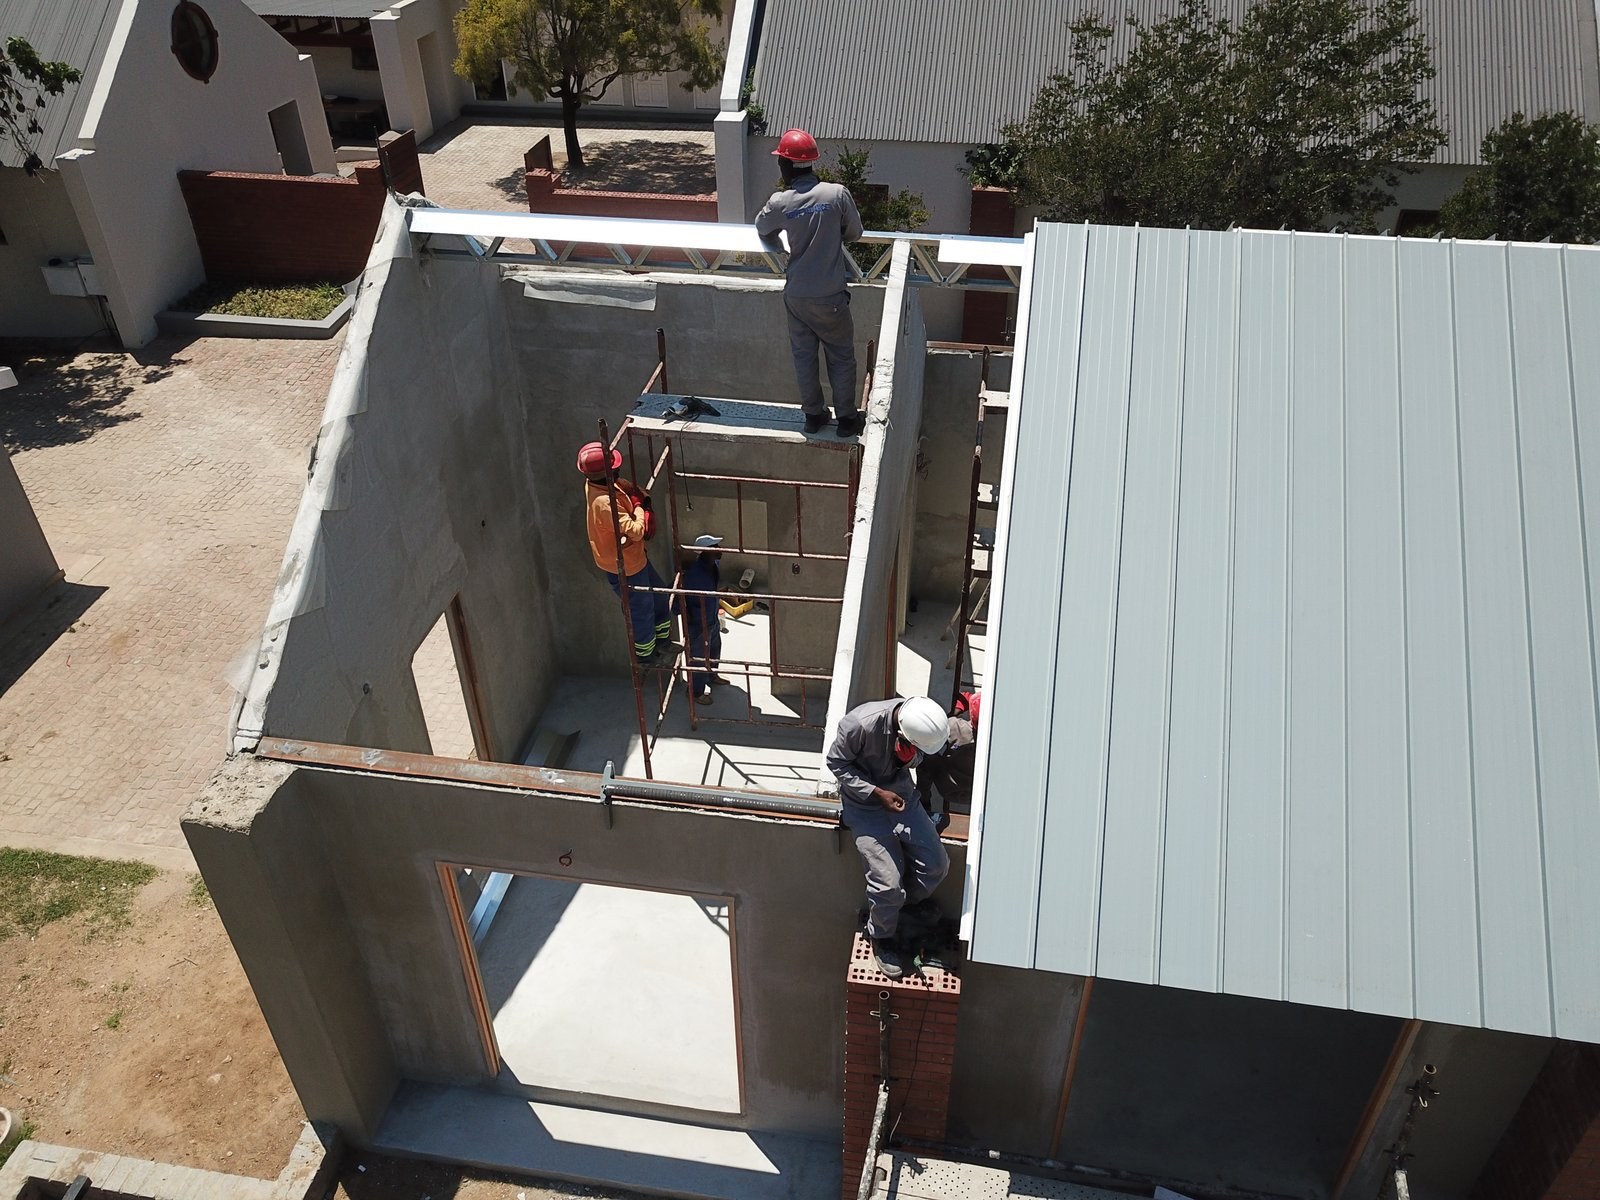
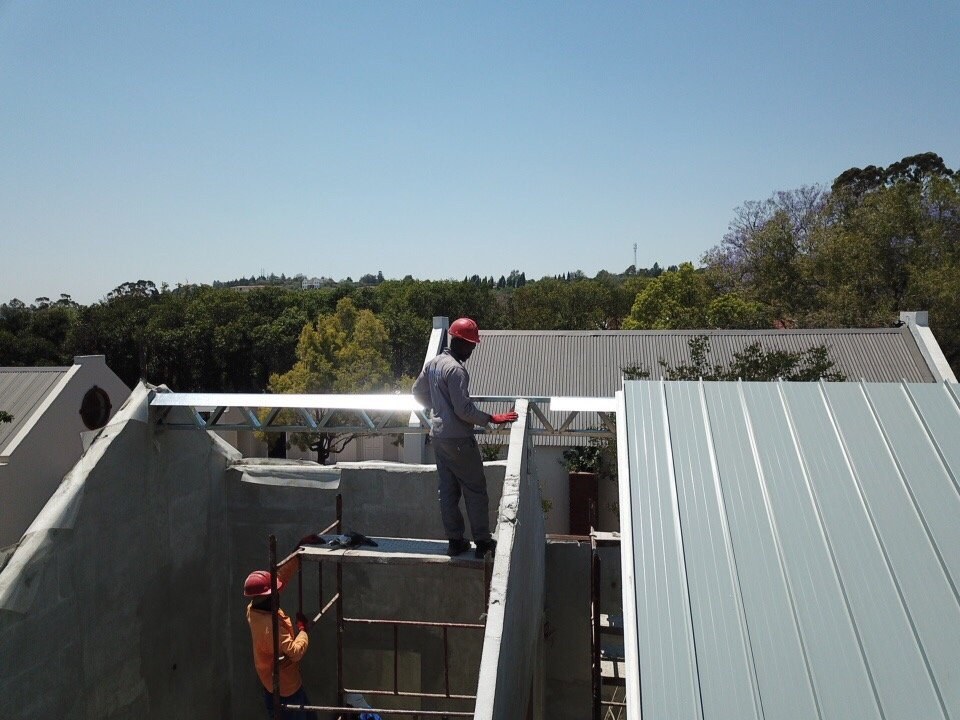
Steel purlin truss being fitted at a gable end before roof sheeting is completedPHOTO
Steel purlin truss being fitted at a gable end before roof sheeting is completedLiteSpan IBR & SS Roof Panels
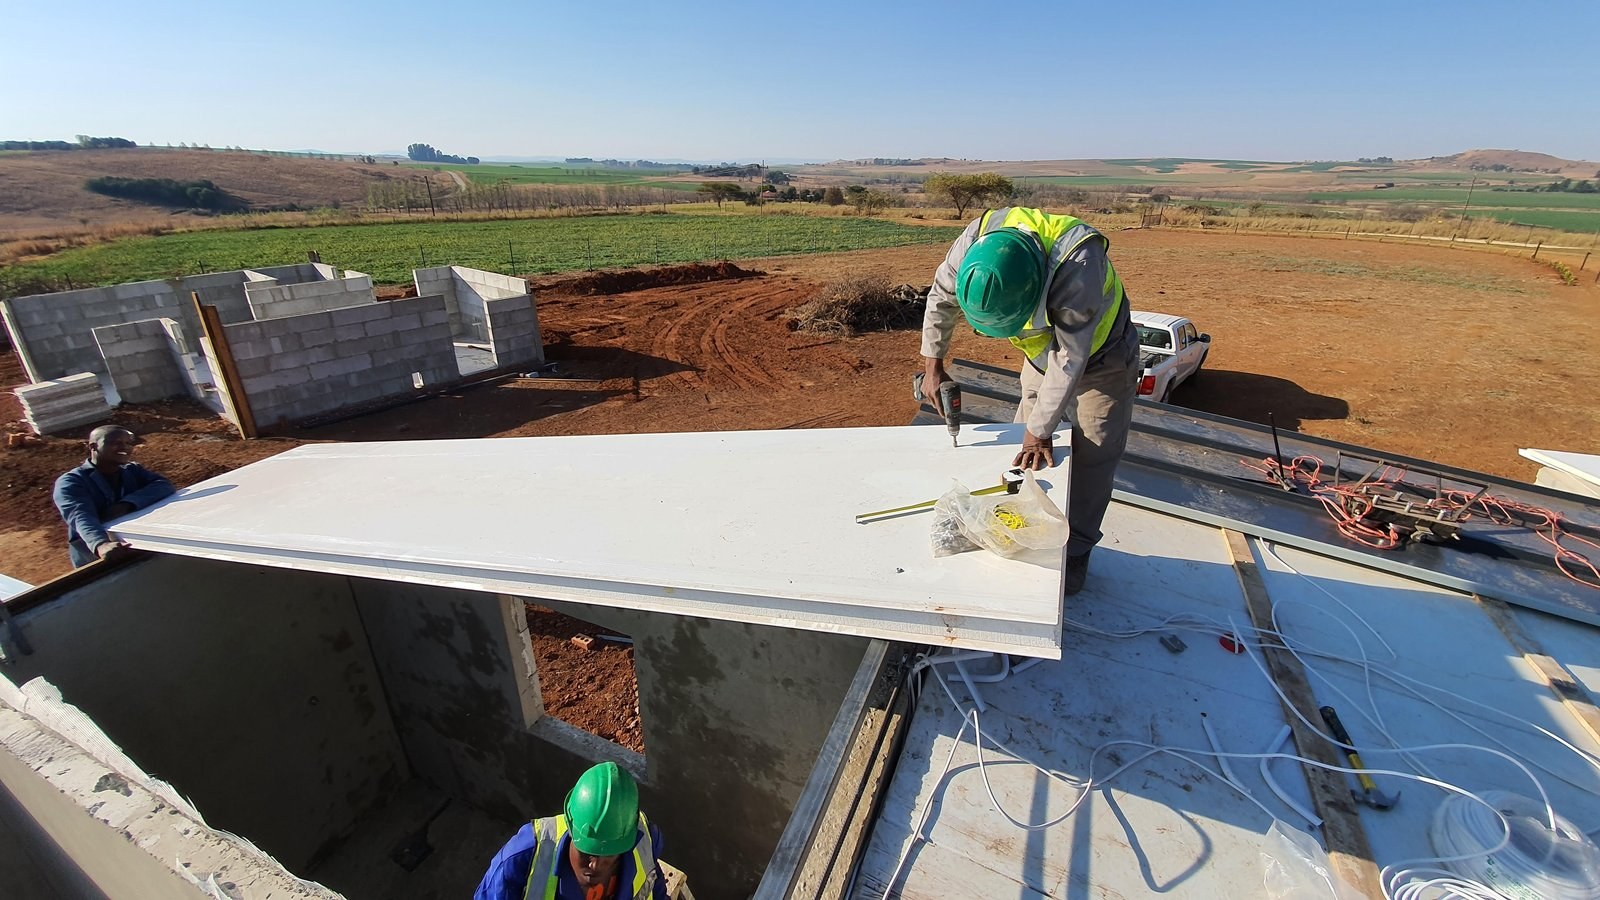
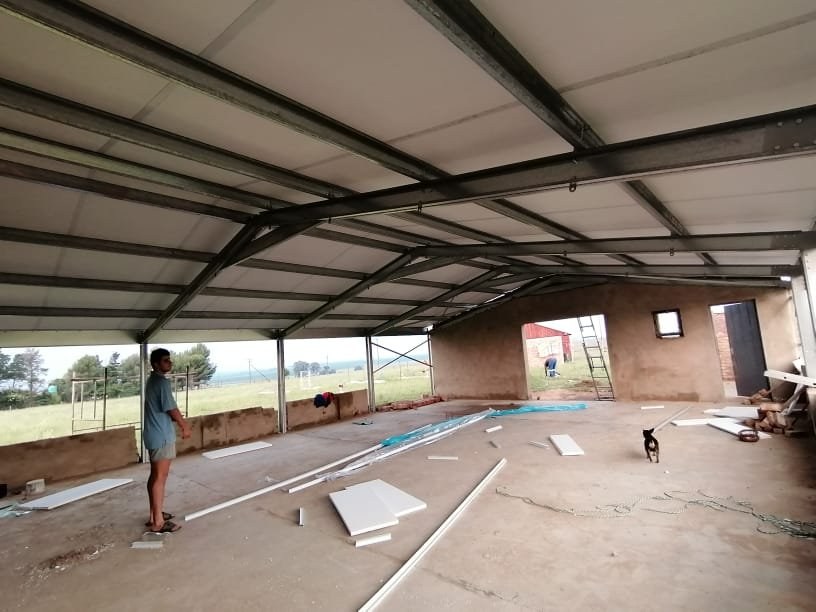
Roofer drilling an insulated roof panel into place on a farmhouse build, open farmland in the backgroundPHOTO
Roofer drilling an insulated roof panel into place on a farmhouse build, open farmland in the backgroundLiteSpan IBR & SS Roof Panels
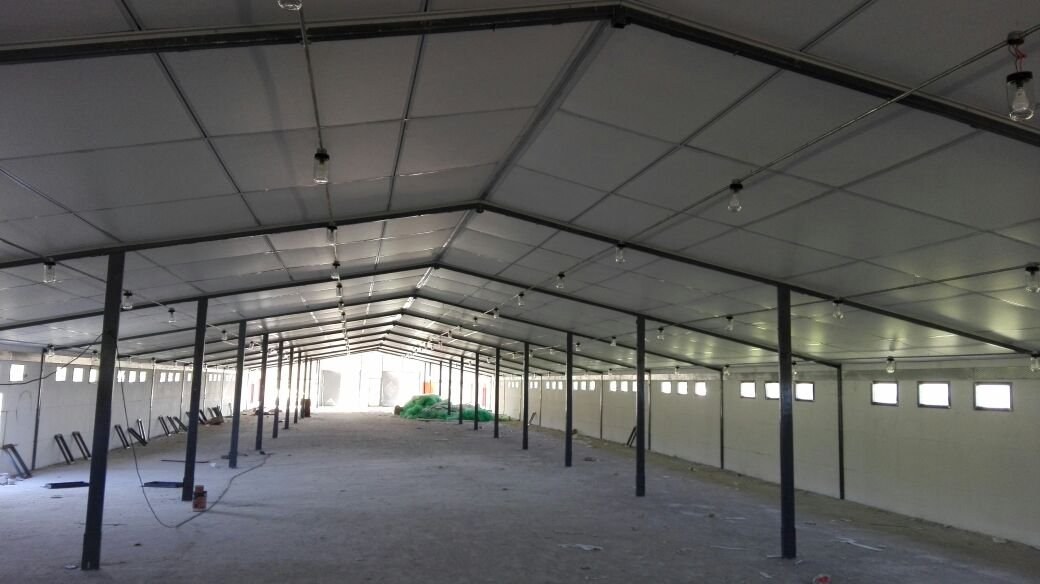
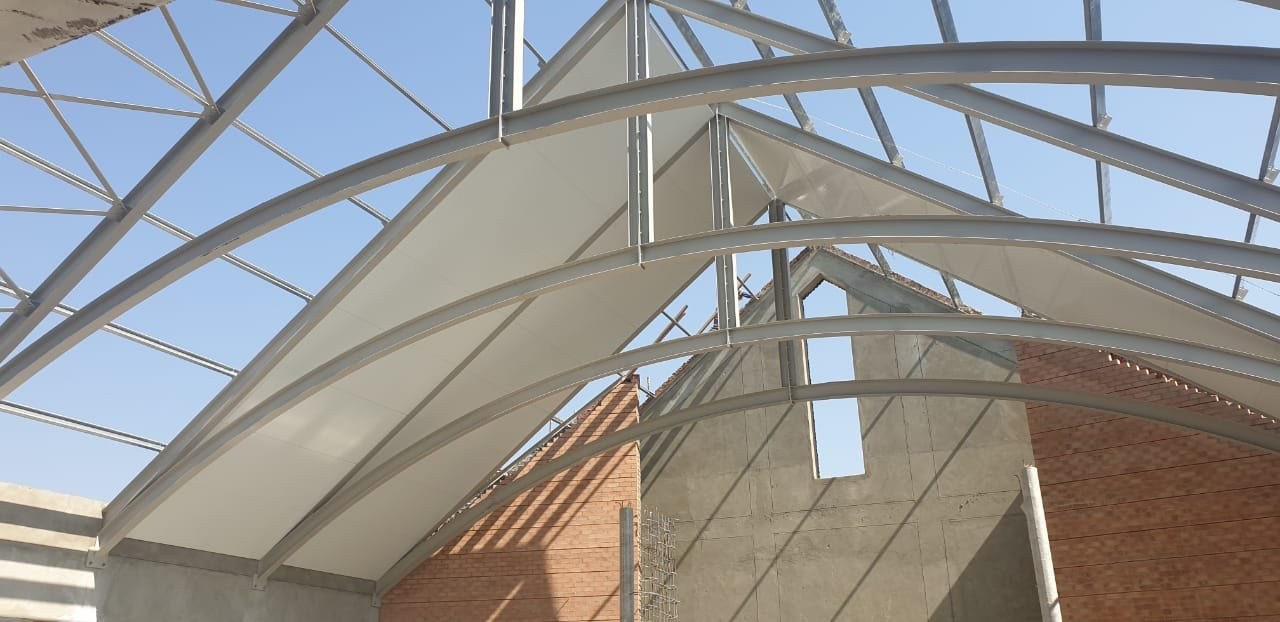
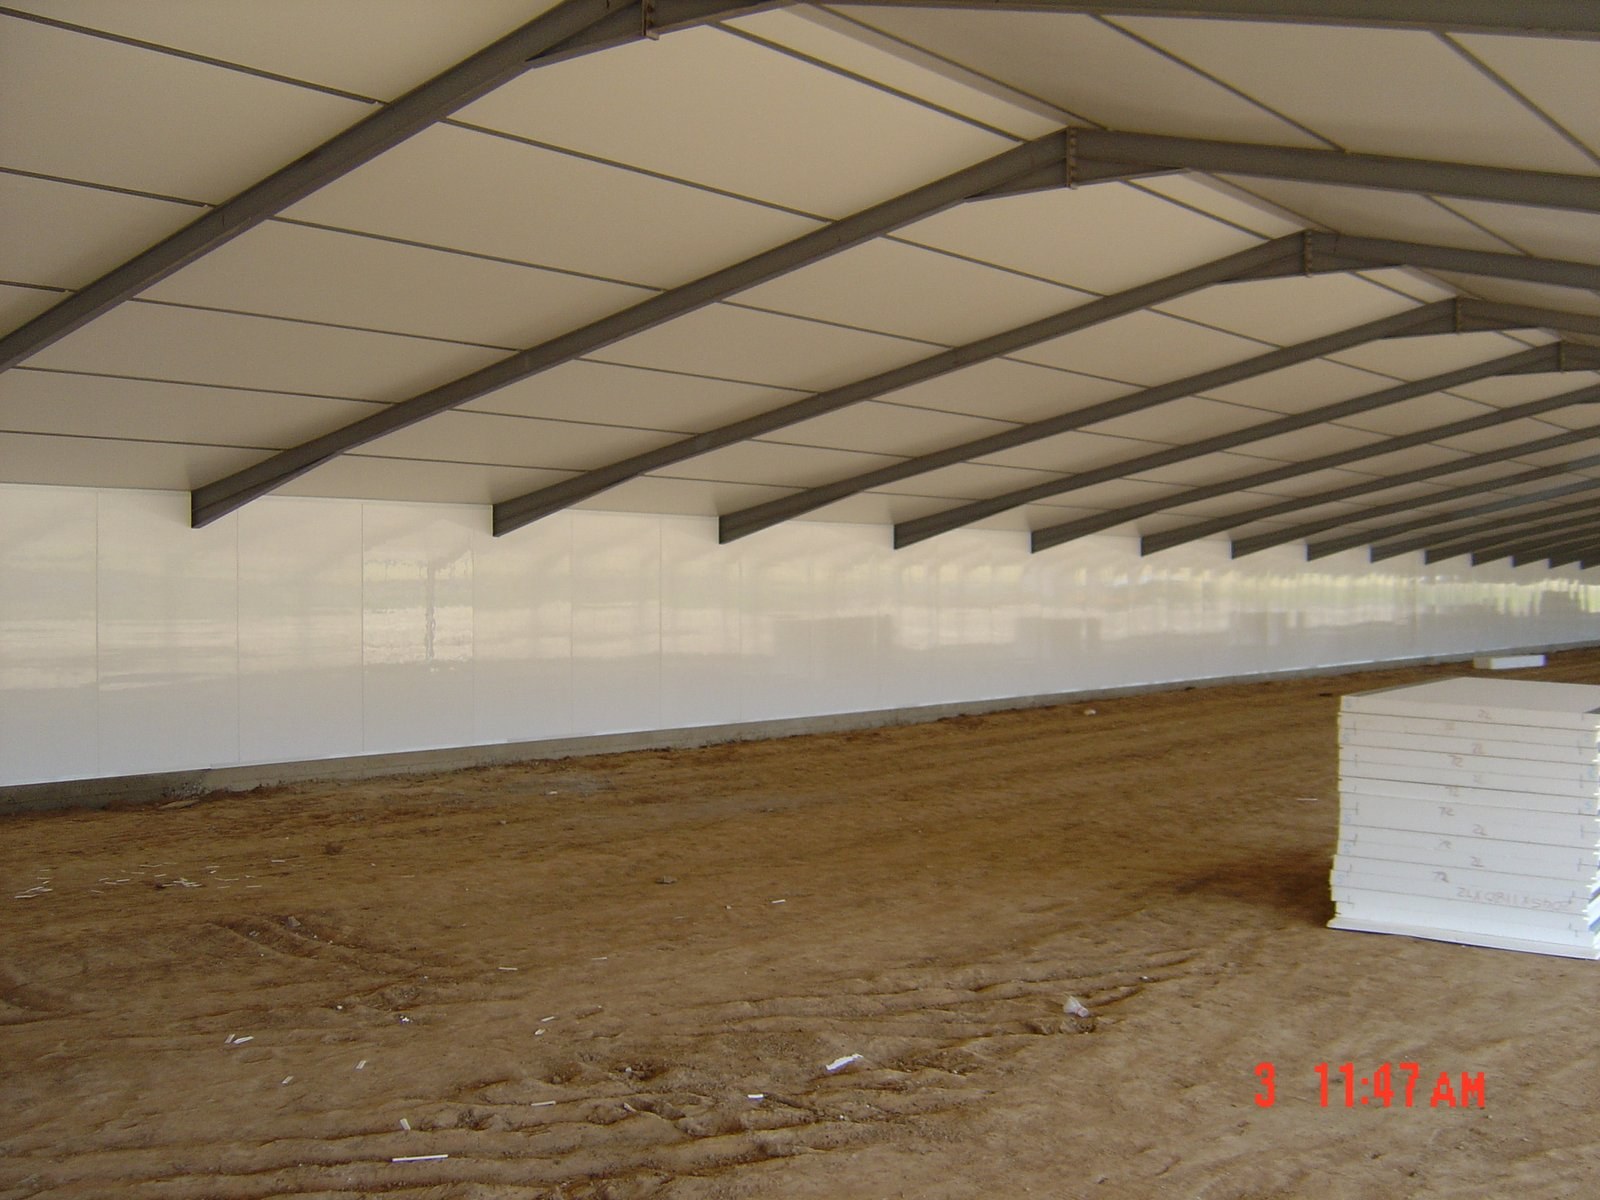
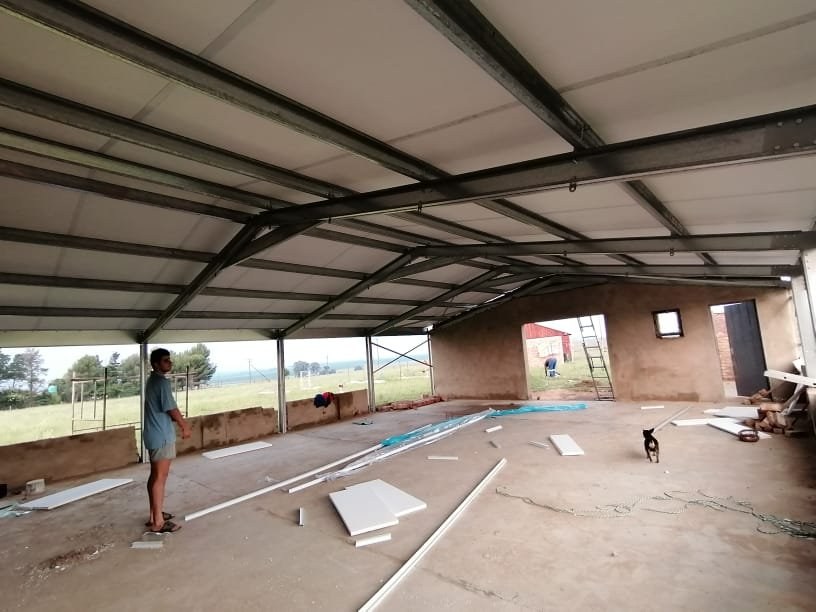
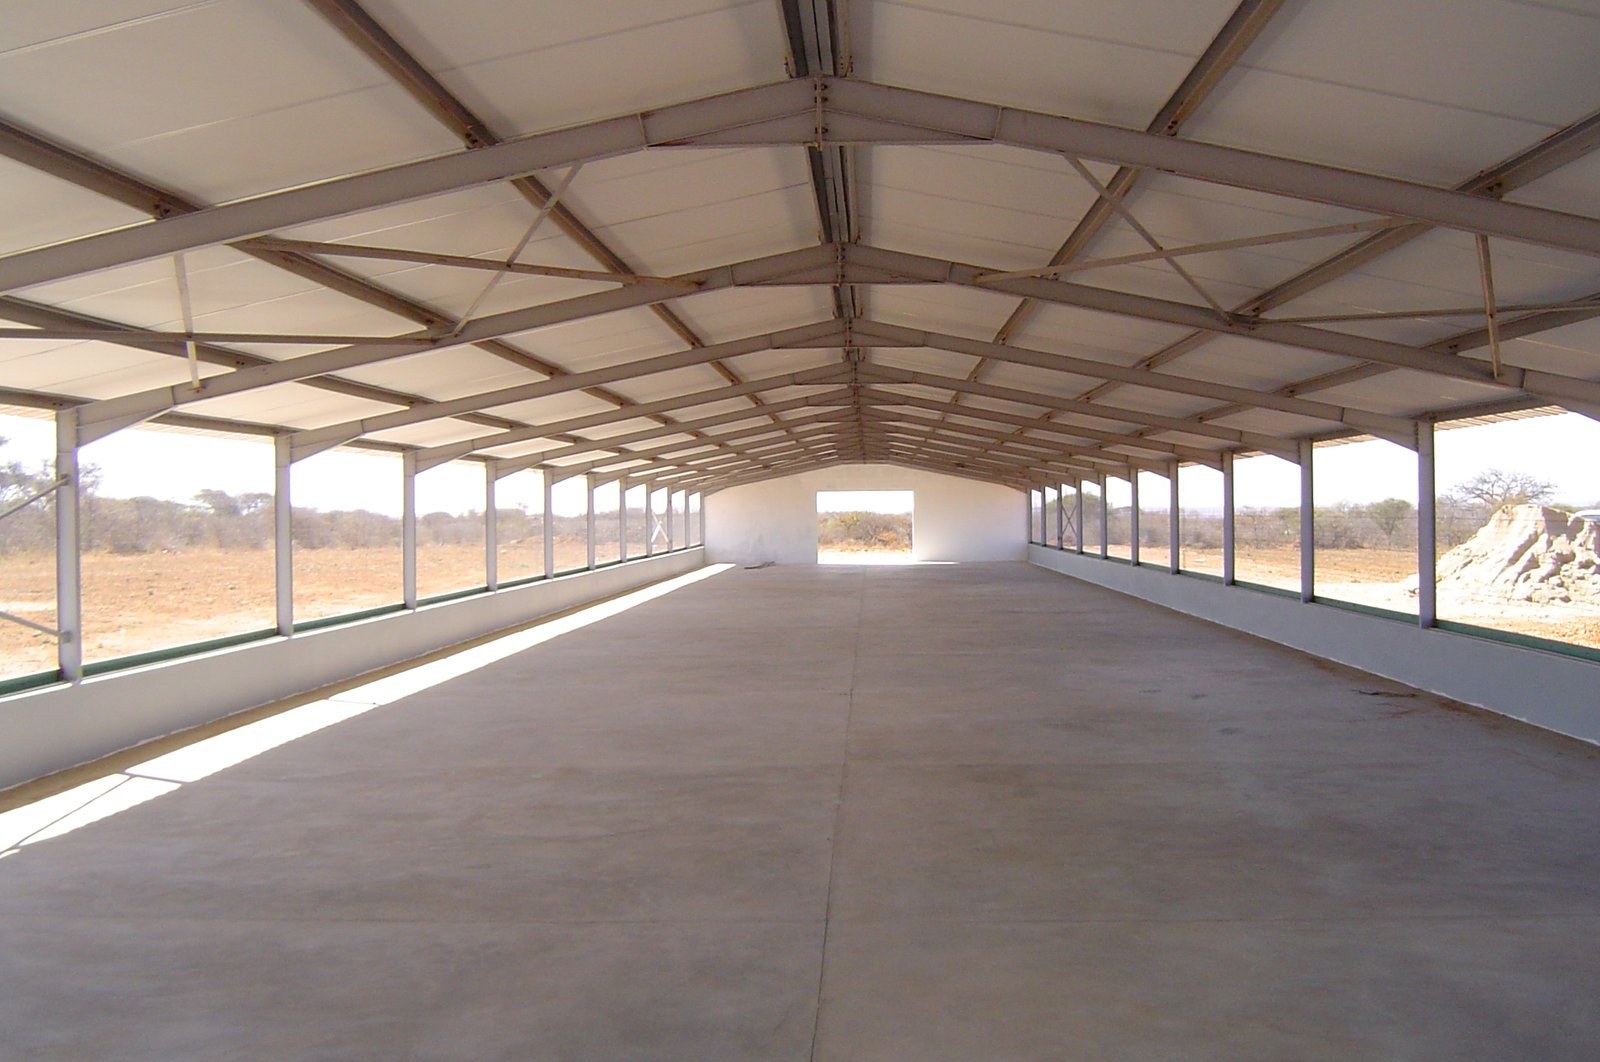
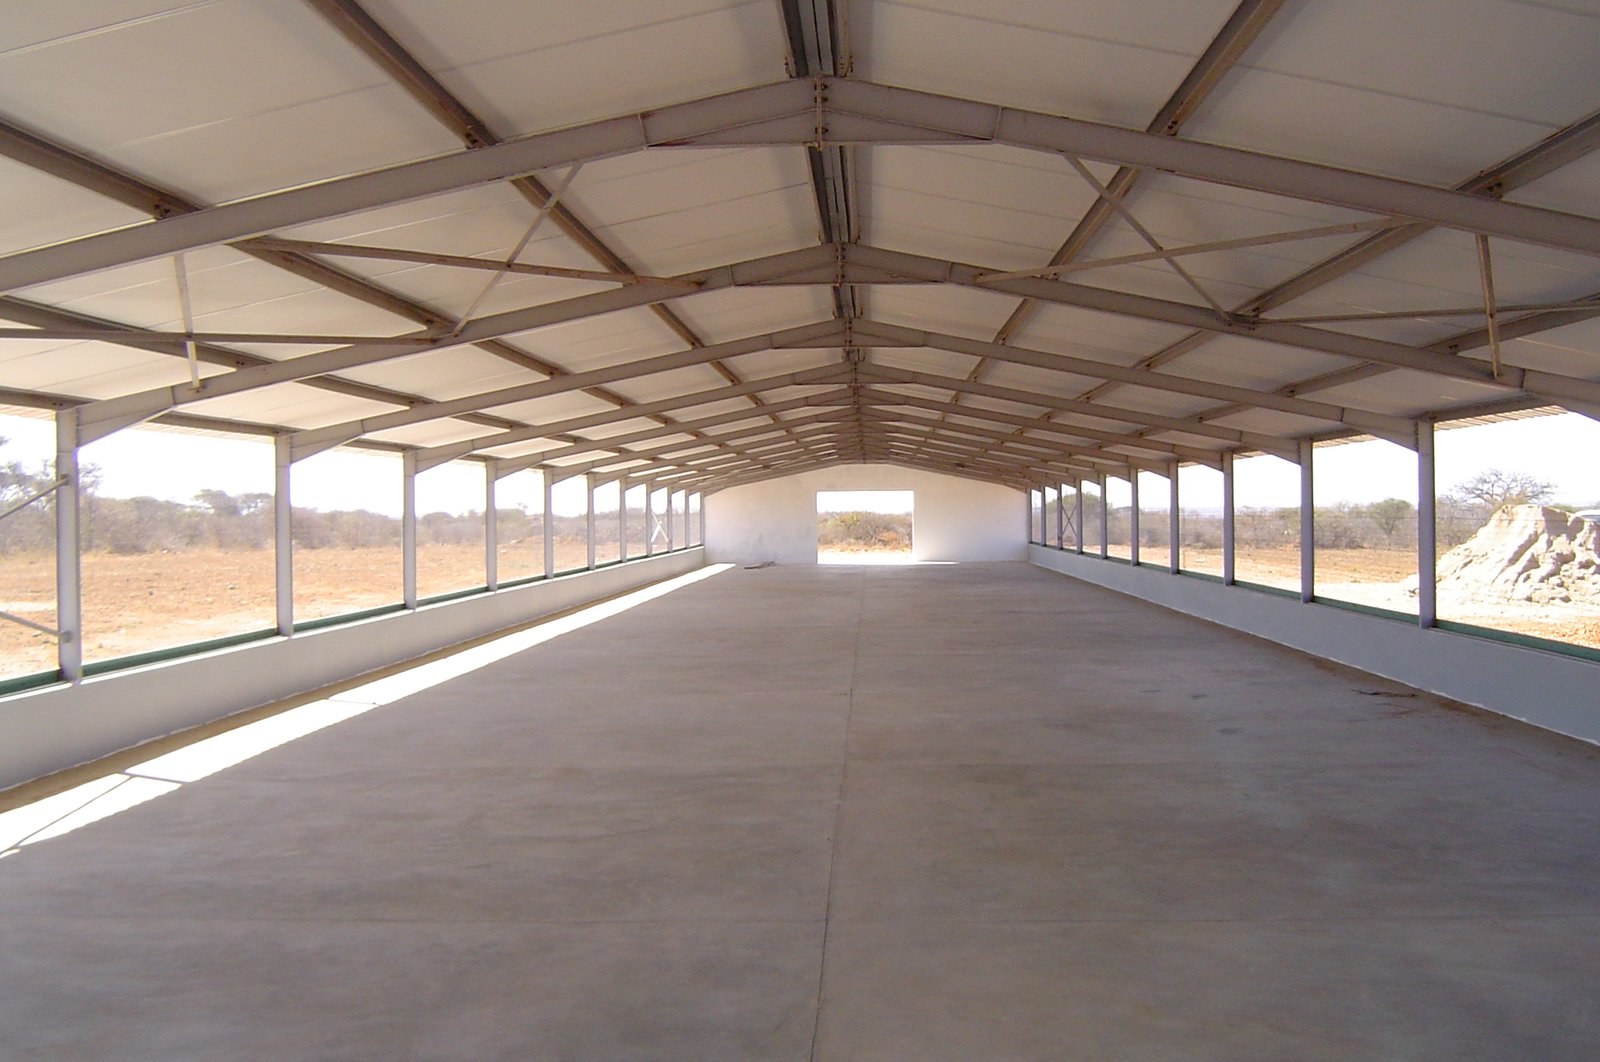
Interior of a large steel-framed shed showing the insulated apex roof panels and support columns from belowPHOTO
Interior of a large steel-framed shed showing the insulated apex roof panels and support columns from belowLiteSpan IBR & SS Roof Panels
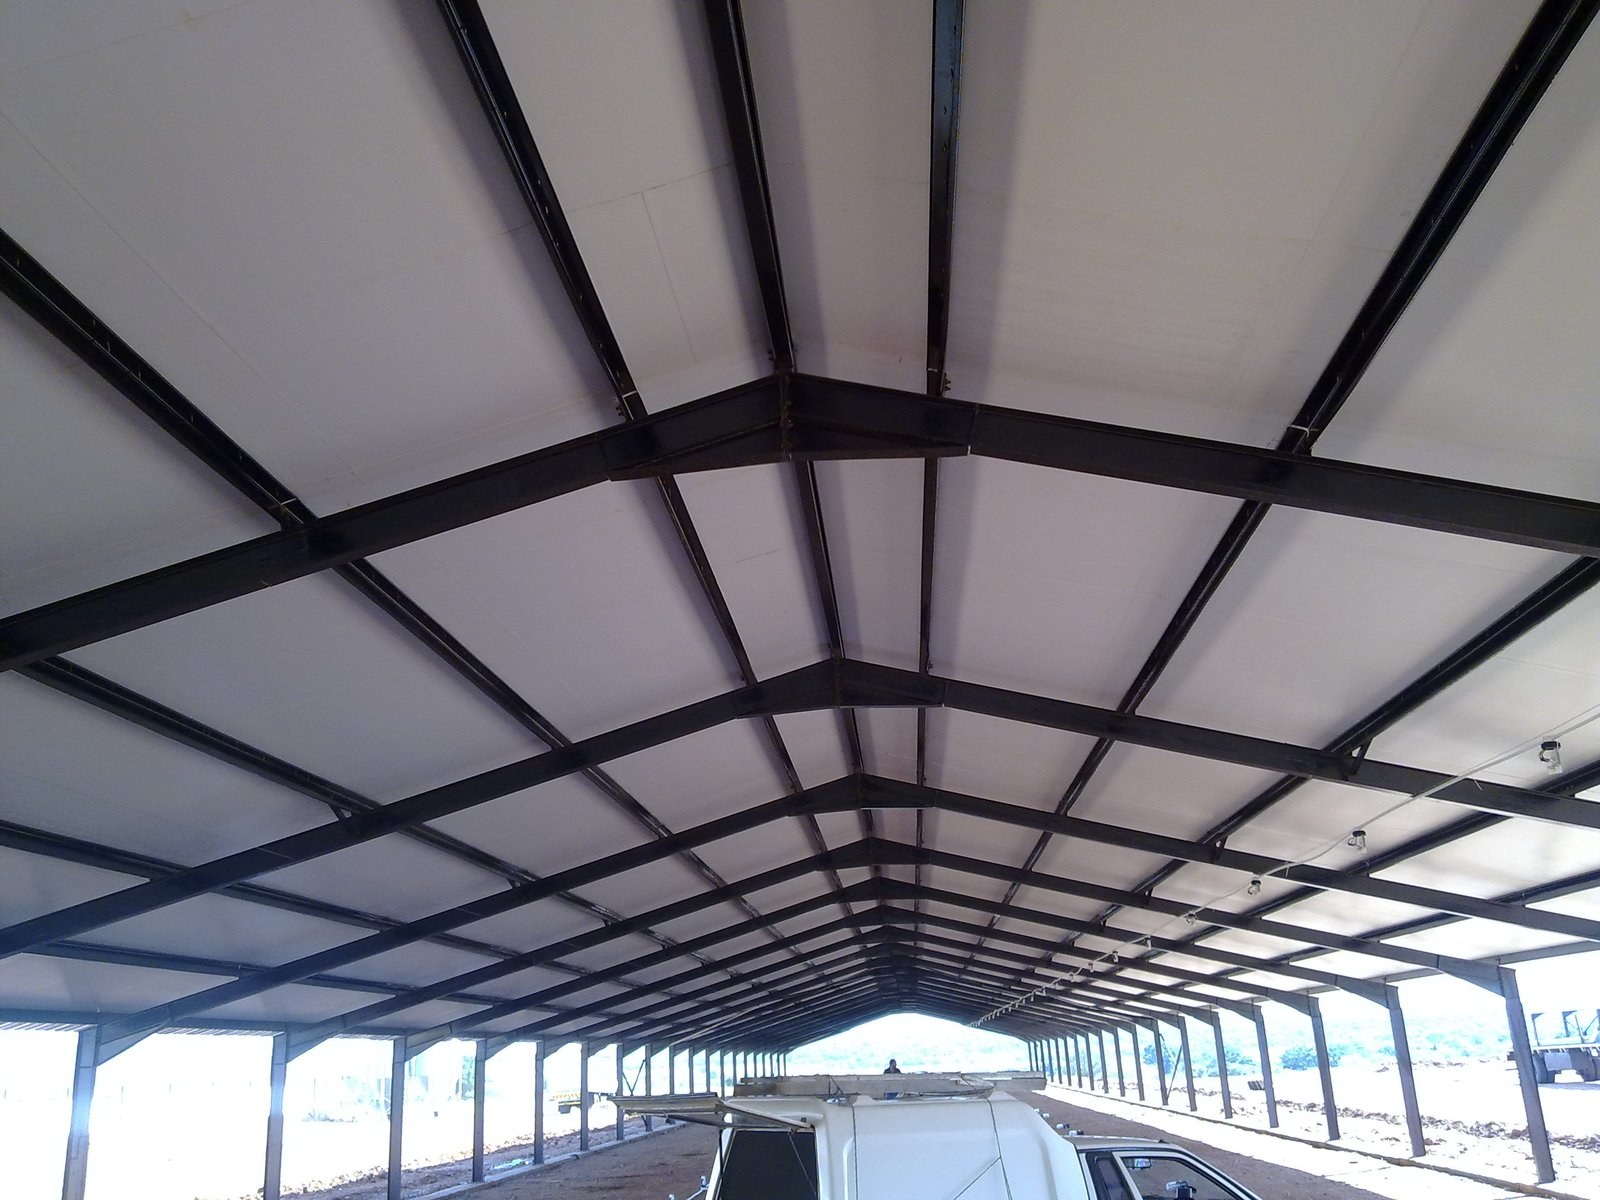
Underside view of insulated roof panels on steel purlins, with a bakkie parked beneathPHOTO
Underside view of insulated roof panels on steel purlins, with a bakkie parked beneathLiteSpan IBR & SS Roof Panels
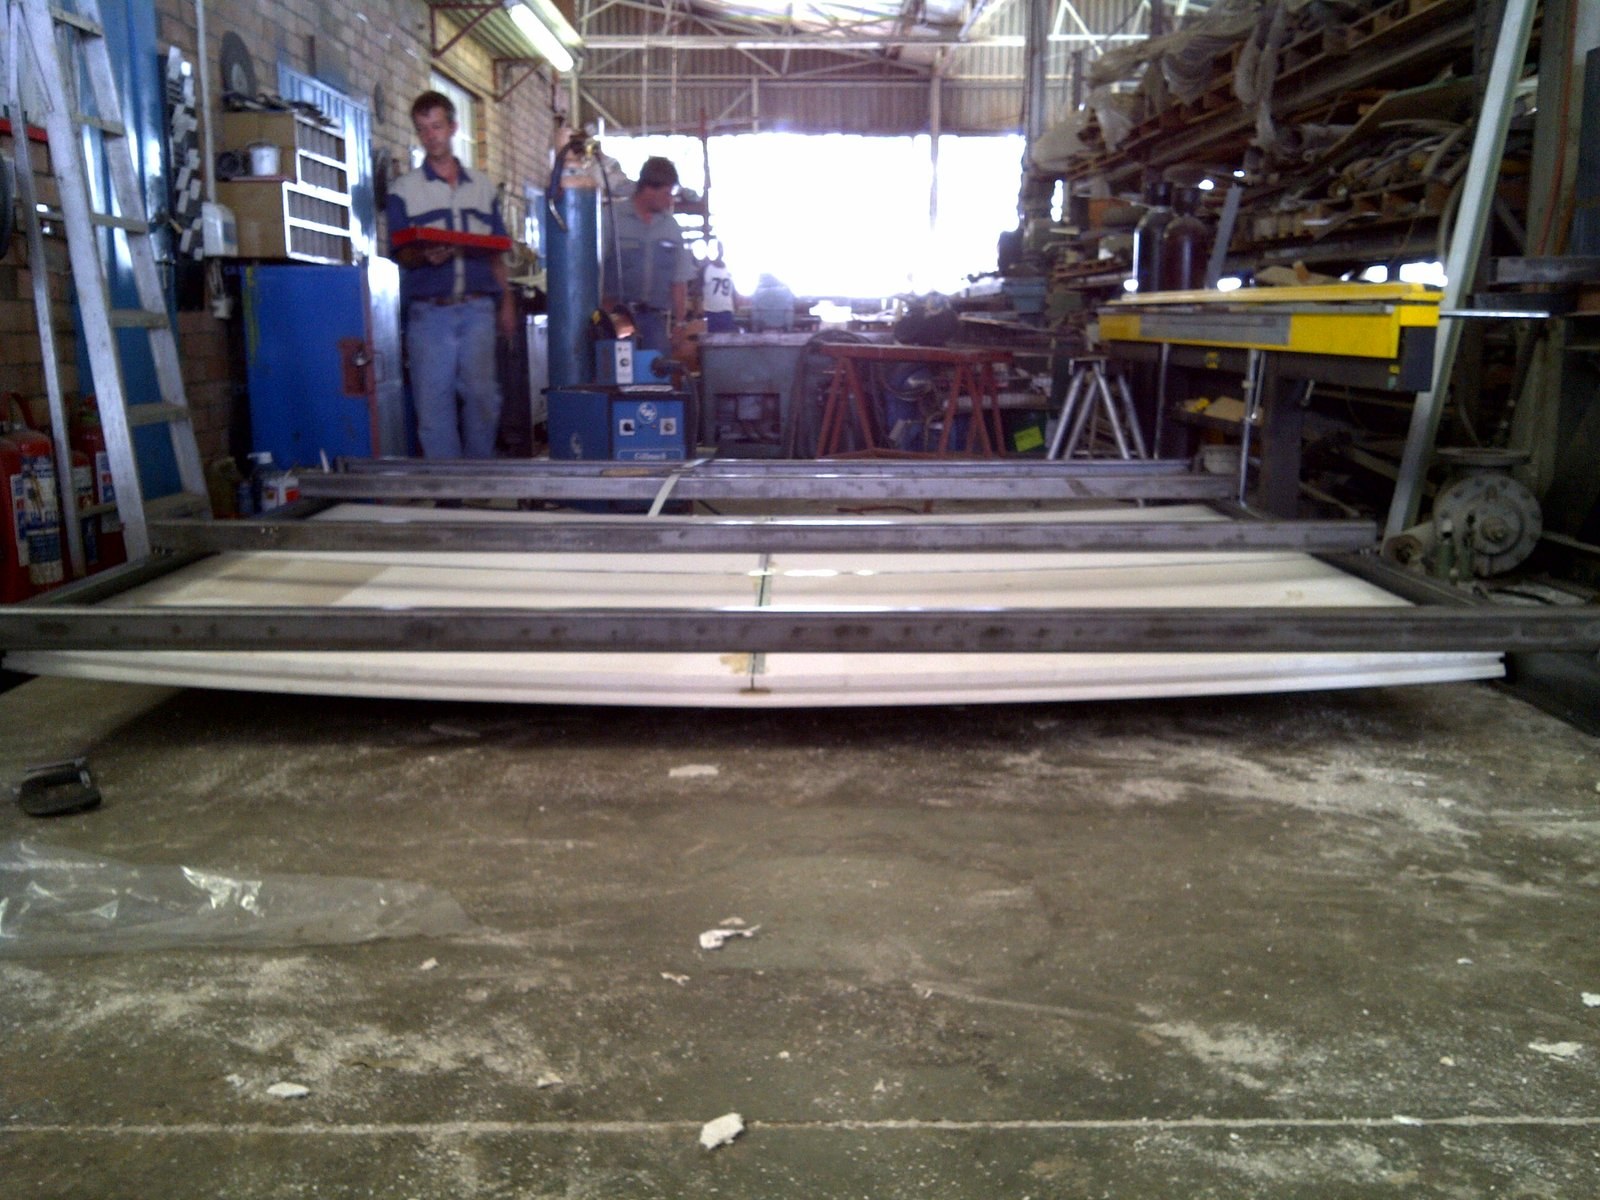
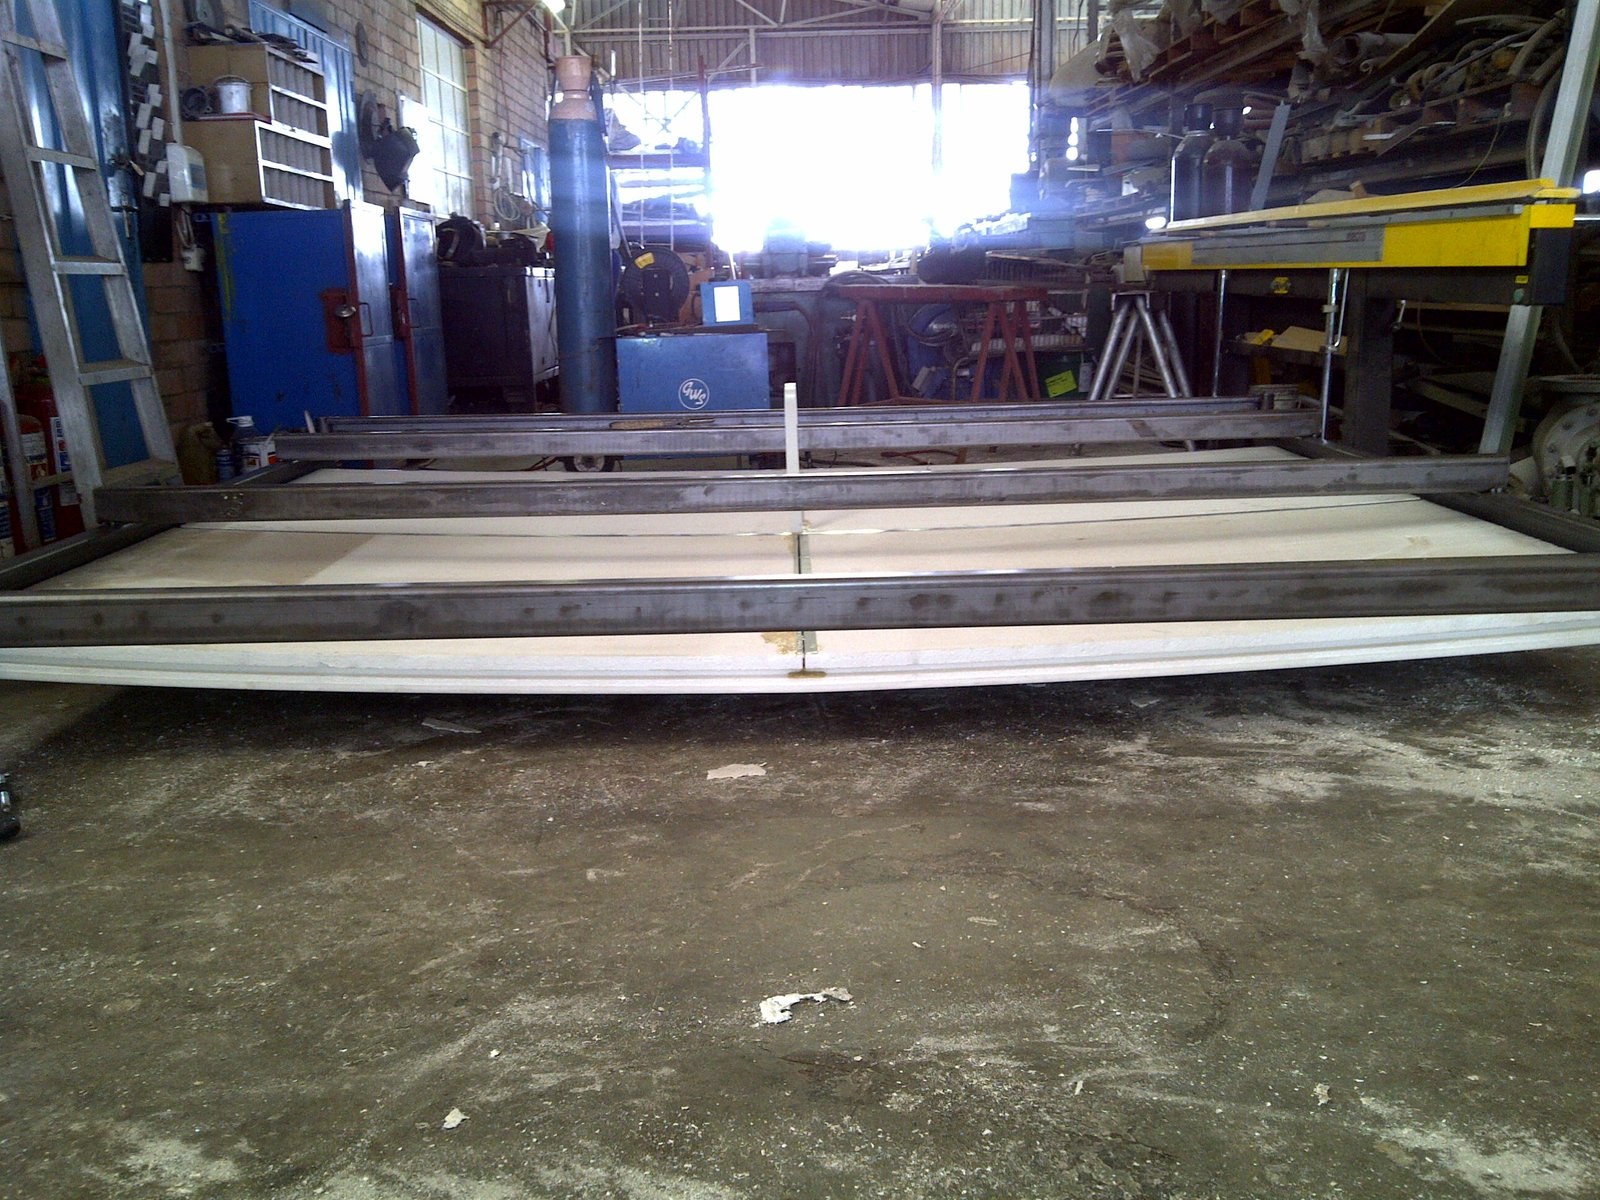
Curved roof panel being formed on a factory jig, workshop staff looking onPHOTO
Curved roof panel being formed on a factory jig, workshop staff looking onLiteSpan IBR & SS Roof Panels
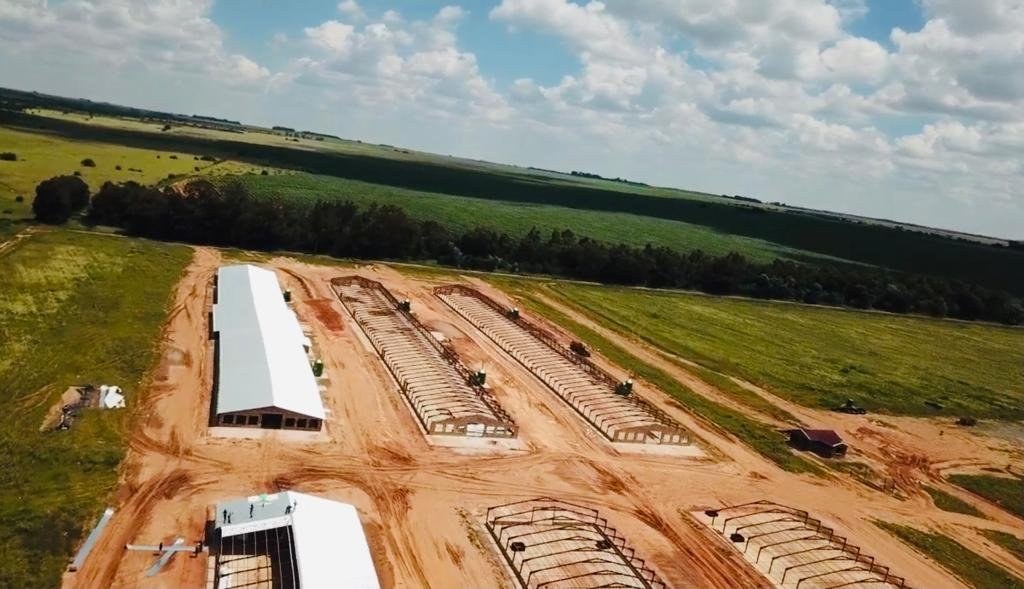
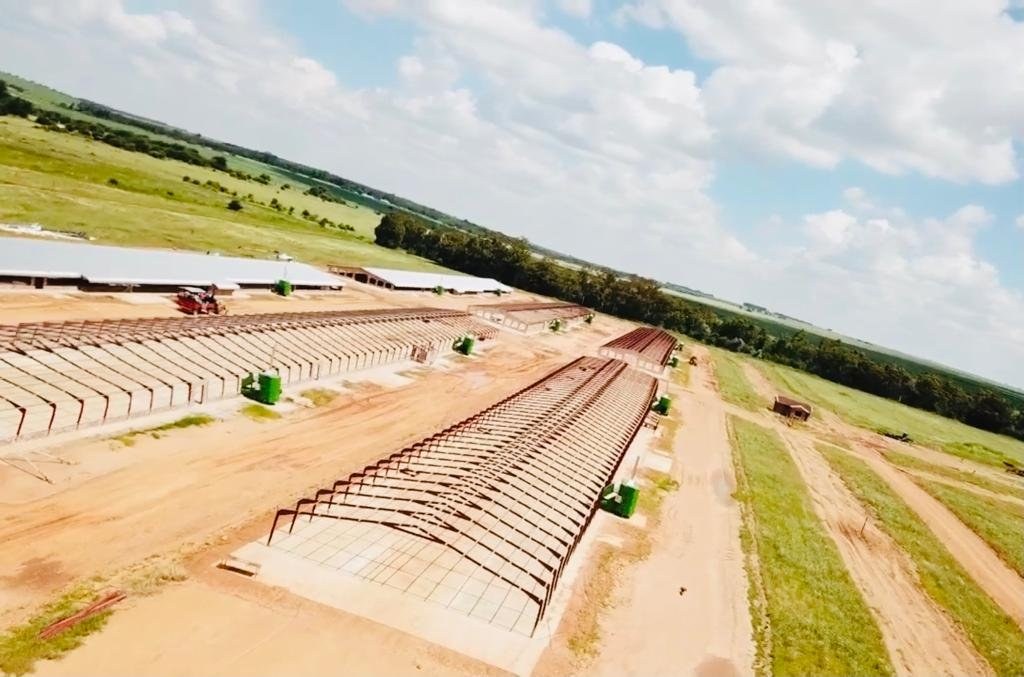
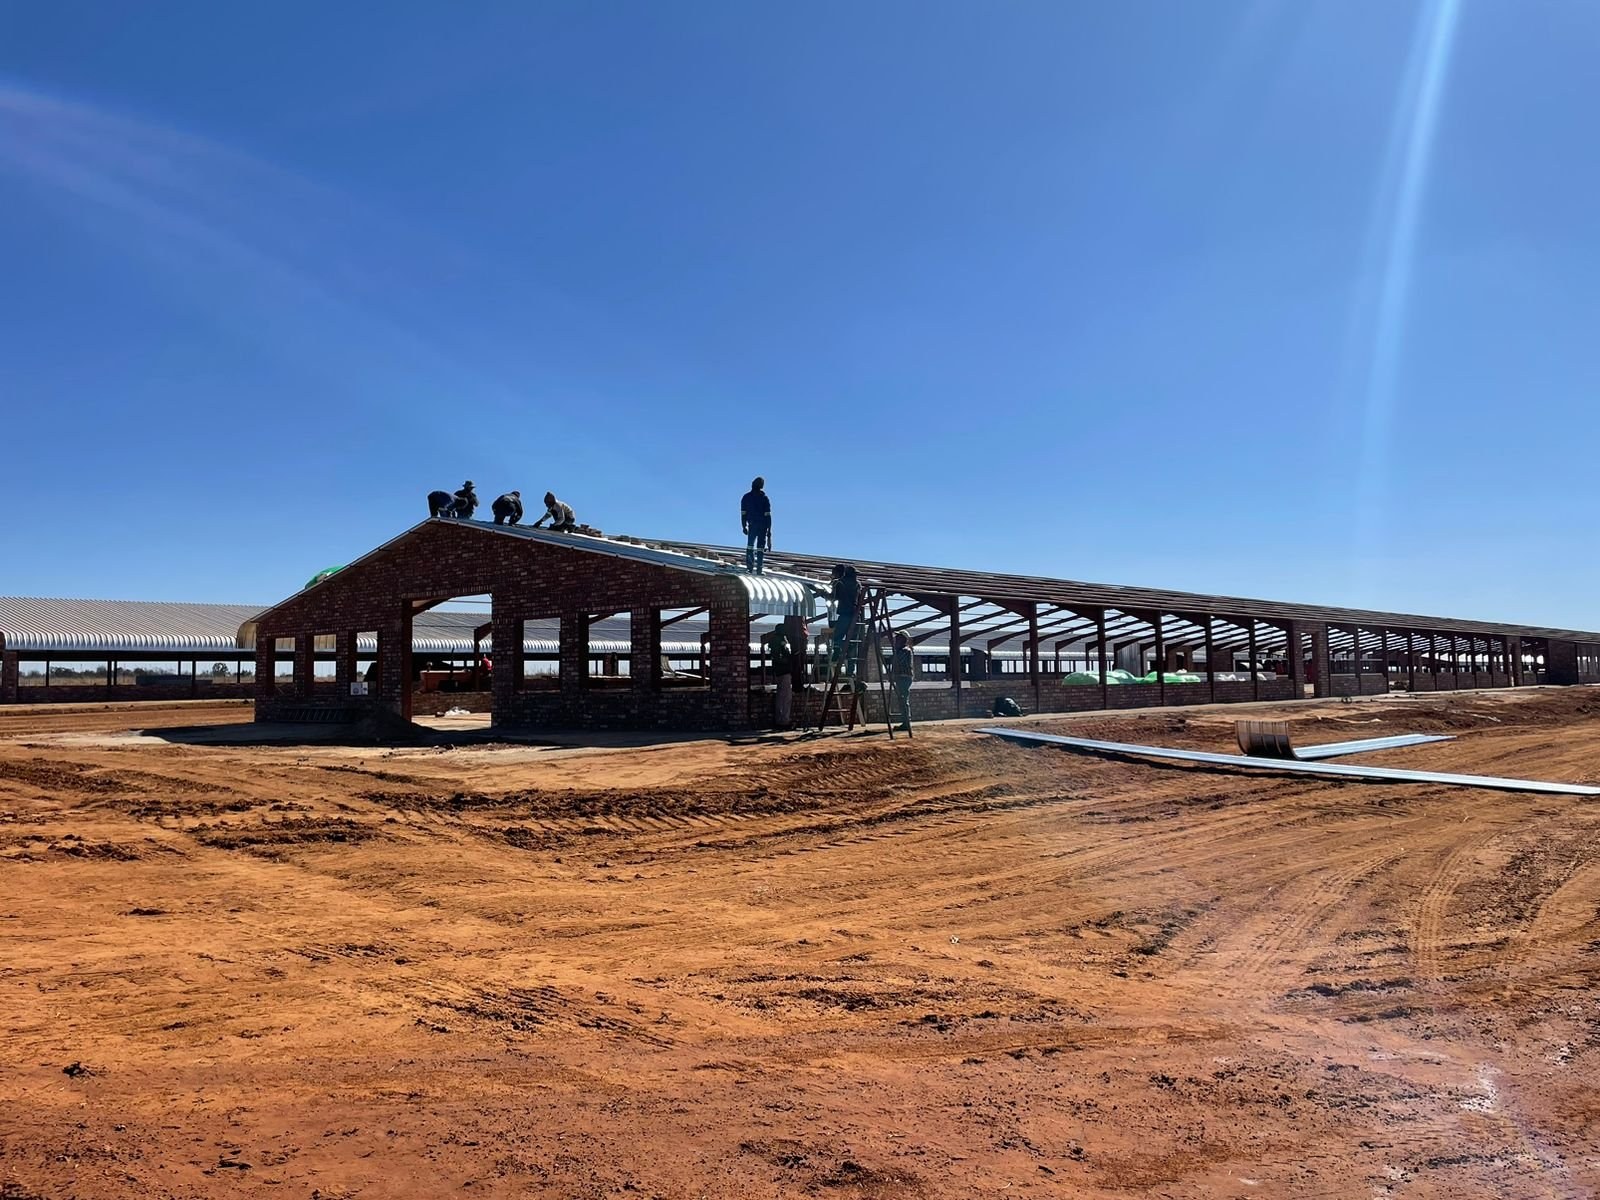
Aerial view of poultry houses under construction, steel roof frames alongside a completed buildingPHOTO
Aerial view of poultry houses under construction, steel roof frames alongside a completed buildingLiteSpan IBR & SS Roof Panels
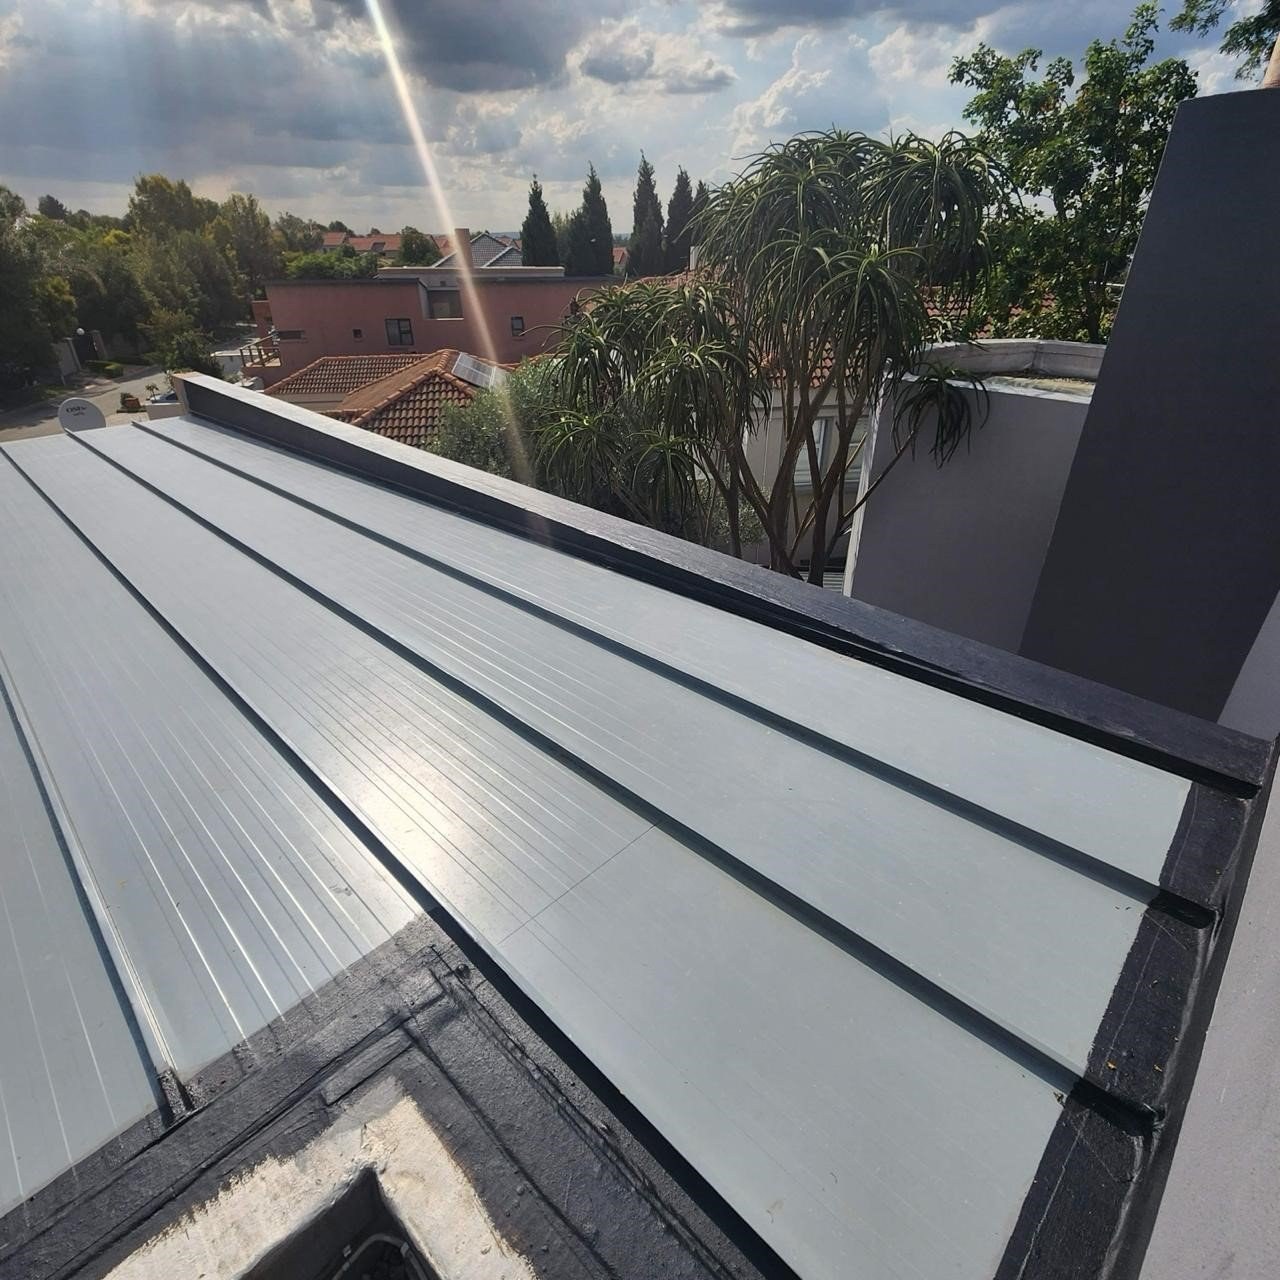
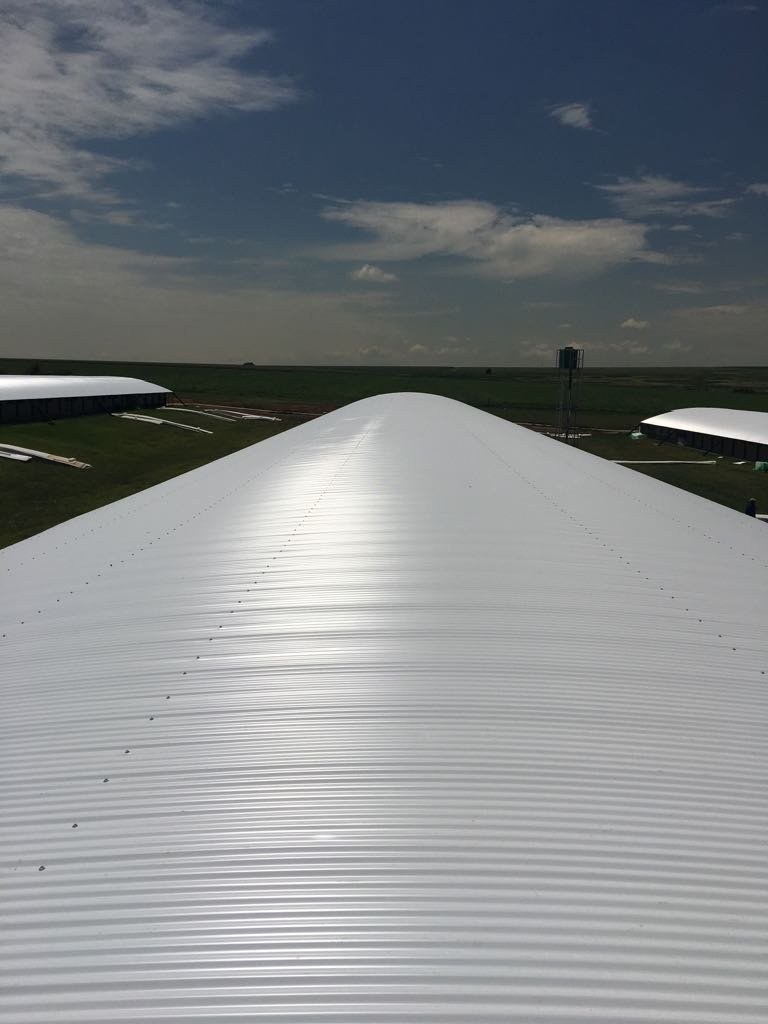
Completed IBR roof and flat-panel patio canopy on a residential installation, roof sheeting visible along the ridgePHOTO
Completed IBR roof and flat-panel patio canopy on a residential installation, roof sheeting visible along the ridgeLiteSpan IBR & SS Roof Panels
PHOTO
LiteSpan IBR & SS Roof Panels
PHOTO
LiteSpan IBR & SS Roof Panels
PHOTO
LiteSpan IBR & SS Roof Panels
PHOTO
LiteSpan IBR & SS Roof Panels
PHOTO
LiteSpan IBR & SS Roof Panels
PHOTO
LiteSpan IBR & SS Roof Panels
PHOTO
LiteSpan IBR & SS Roof Panels
PHOTO
LiteSpan IBR & SS Roof Panels
PHOTO
LiteSpan IBR & SS Roof Panels
PHOTO
LiteSpan IBR & SS Roof Panels
PHOTO
LiteSpan IBR & SS Roof Panels
PHOTO
LiteSpan IBR & SS Roof Panels
PHOTO
LiteSpan IBR & SS Roof Panels
PHOTO
LiteSpan IBR & SS Roof Panels
PHOTO
LiteSpan IBR & SS Roof Panels
PHOTO
LiteSpan IBR & SS Roof Panels
PHOTO
LiteSpan IBR & SS Roof Panels
PHOTO
LiteSpan IBR & SS Roof Panels
PHOTO
LiteSpan IBR & SS Roof Panels
PHOTO
LiteSpan IBR & SS Roof Panels
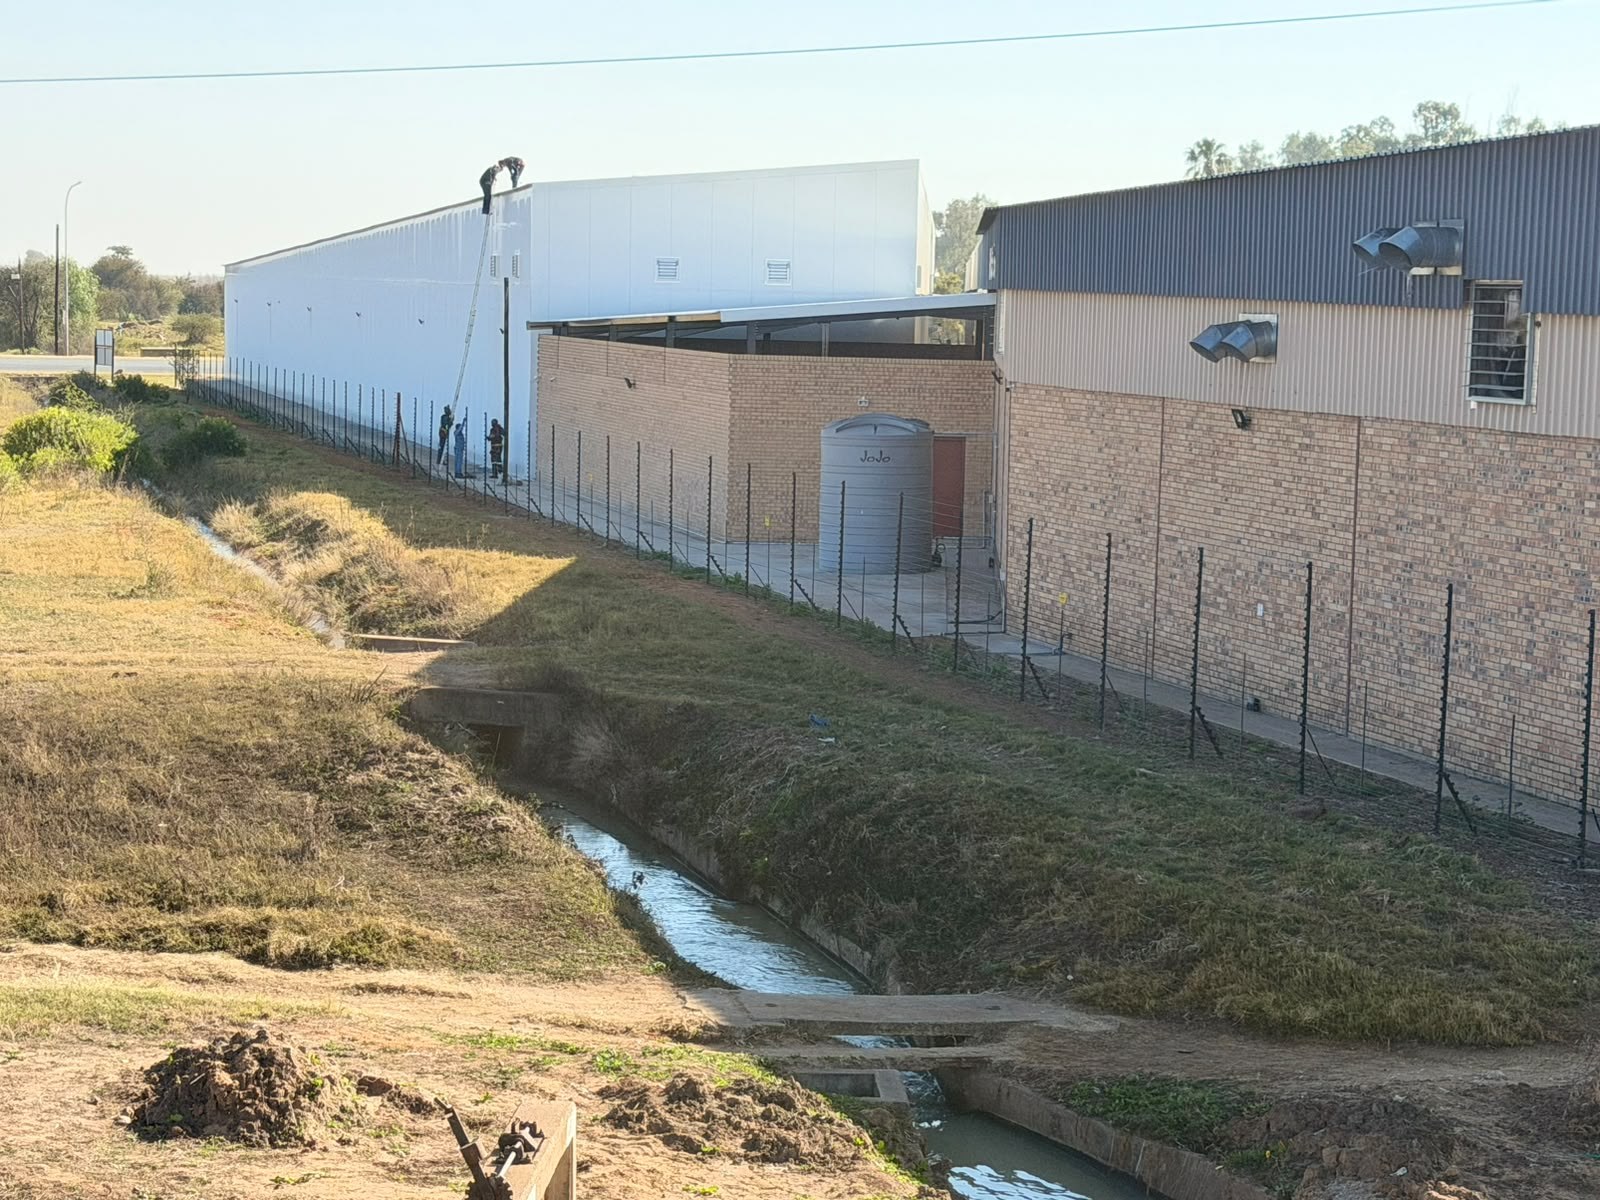
Site view of a long building clad in white micro-ribbed insulated wall panels, with the crew still working off ladders at the top of the elevation. The existing brick and corrugated-steel building stands alongside.PHOTO
Site view of a long building clad in white micro-ribbed insulated wall panels, with the crew still working off ladders at the top of the elevation. The existing brick and corrugated-steel building stands alongside.LiteSpan Ceiling & Wall Panels
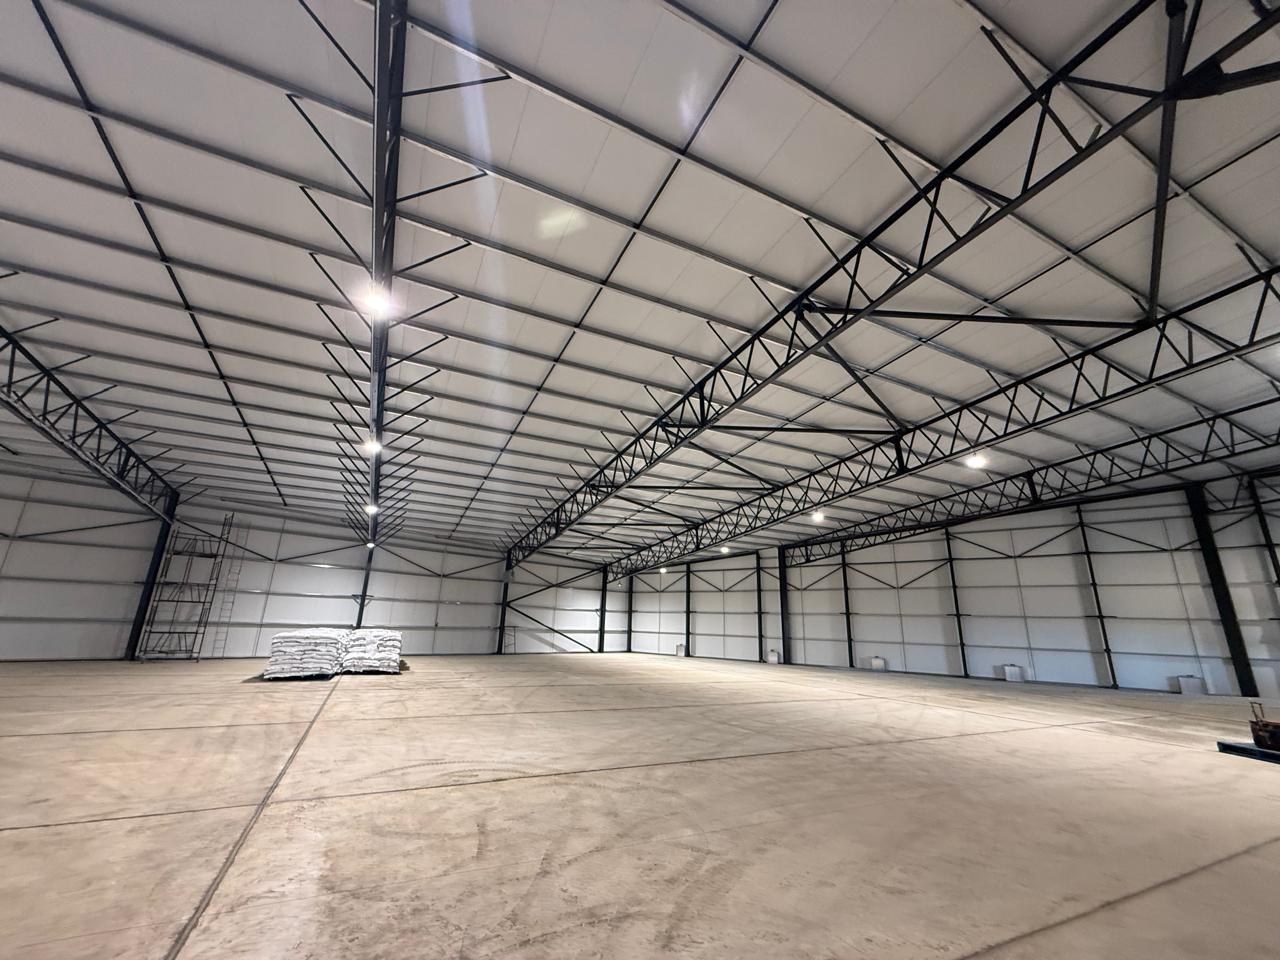
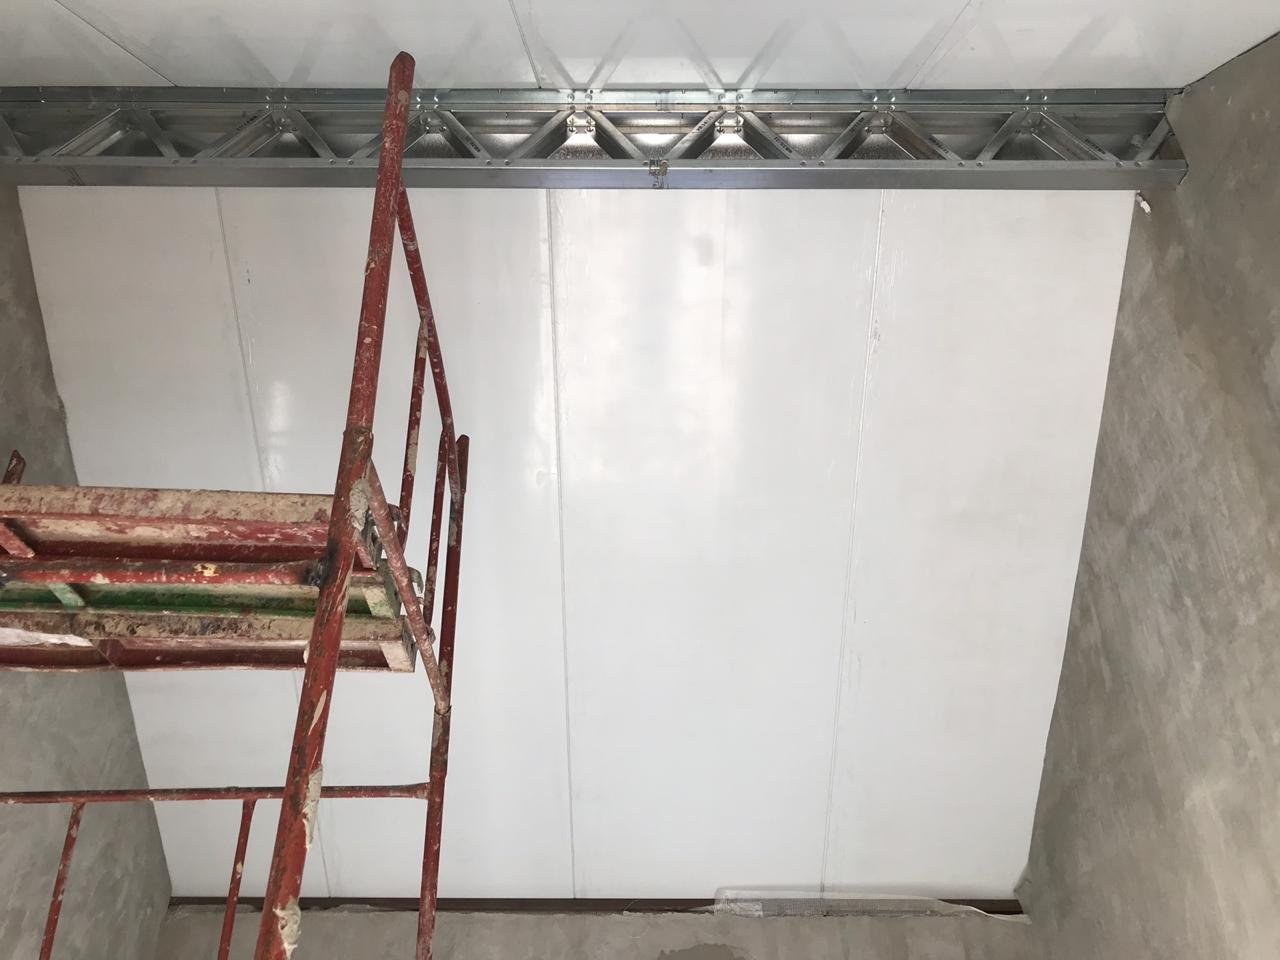
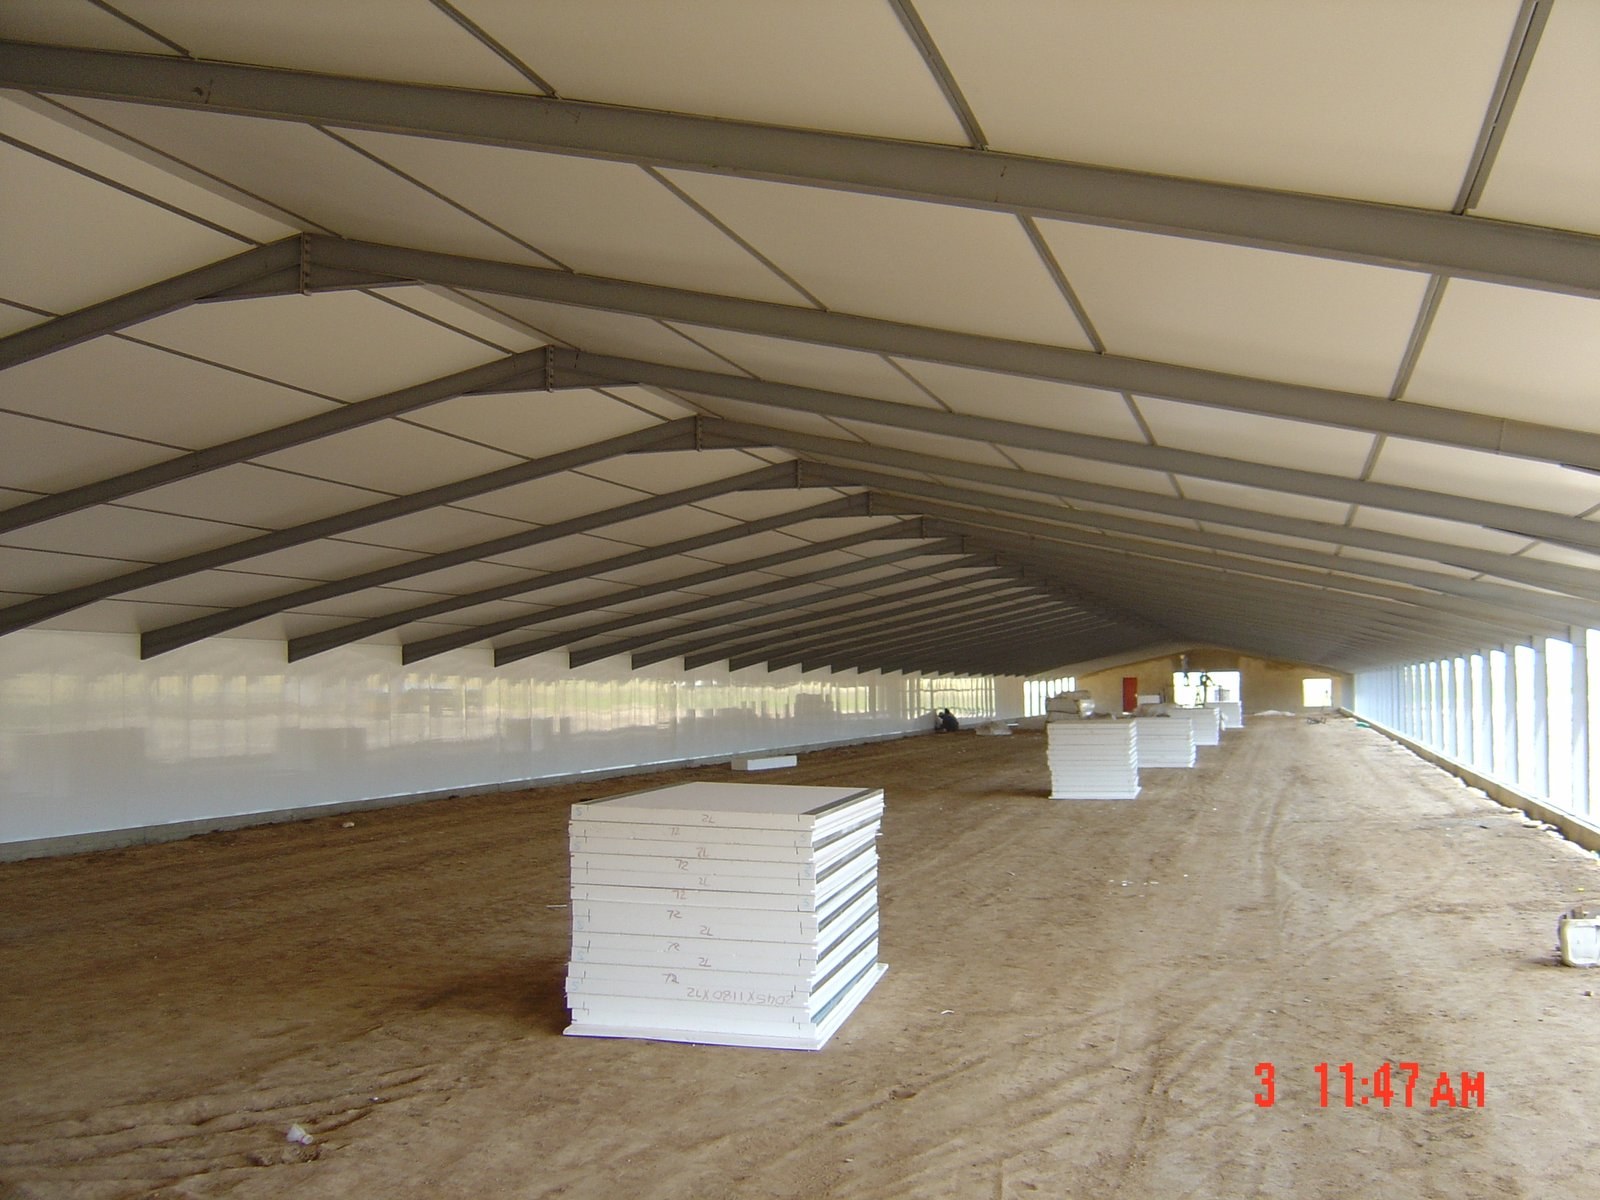
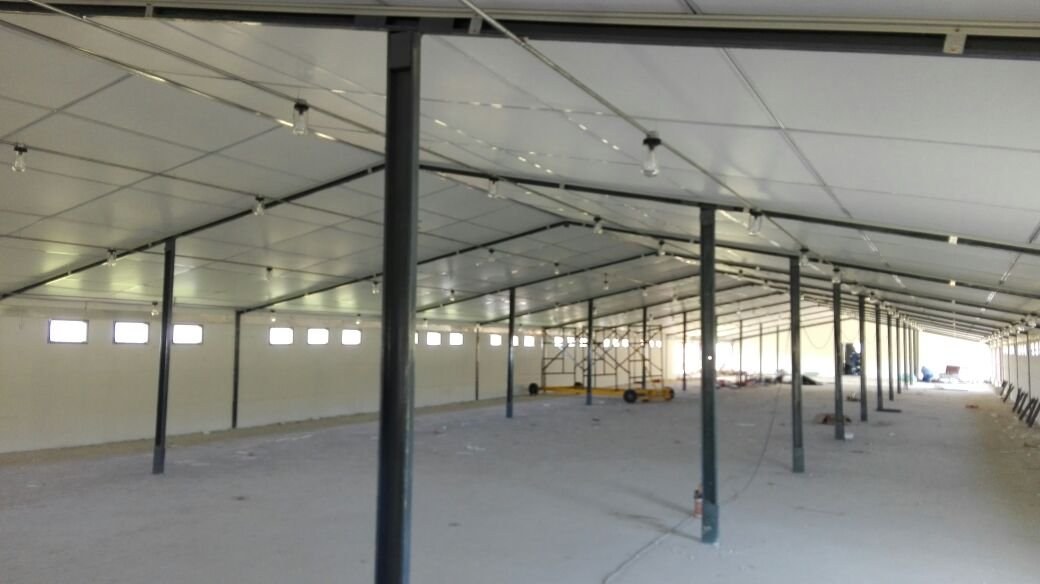
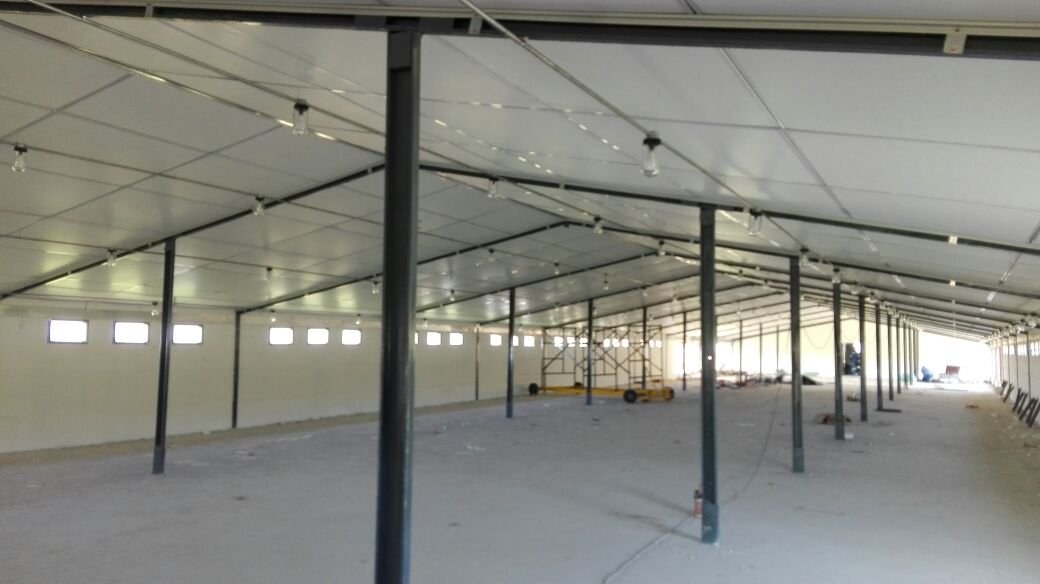
Inside a completed shed: off-white panels line both the walls and the roof soffit, spanning between the black steel trusses and portal frames. Floor is still bare, with a scaffold tower left in place.PHOTO
Inside a completed shed: off-white panels line both the walls and the roof soffit, spanning between the black steel trusses and portal frames. Floor is still bare, with a scaffold tower left in place.LiteSpan Ceiling & Wall Panels
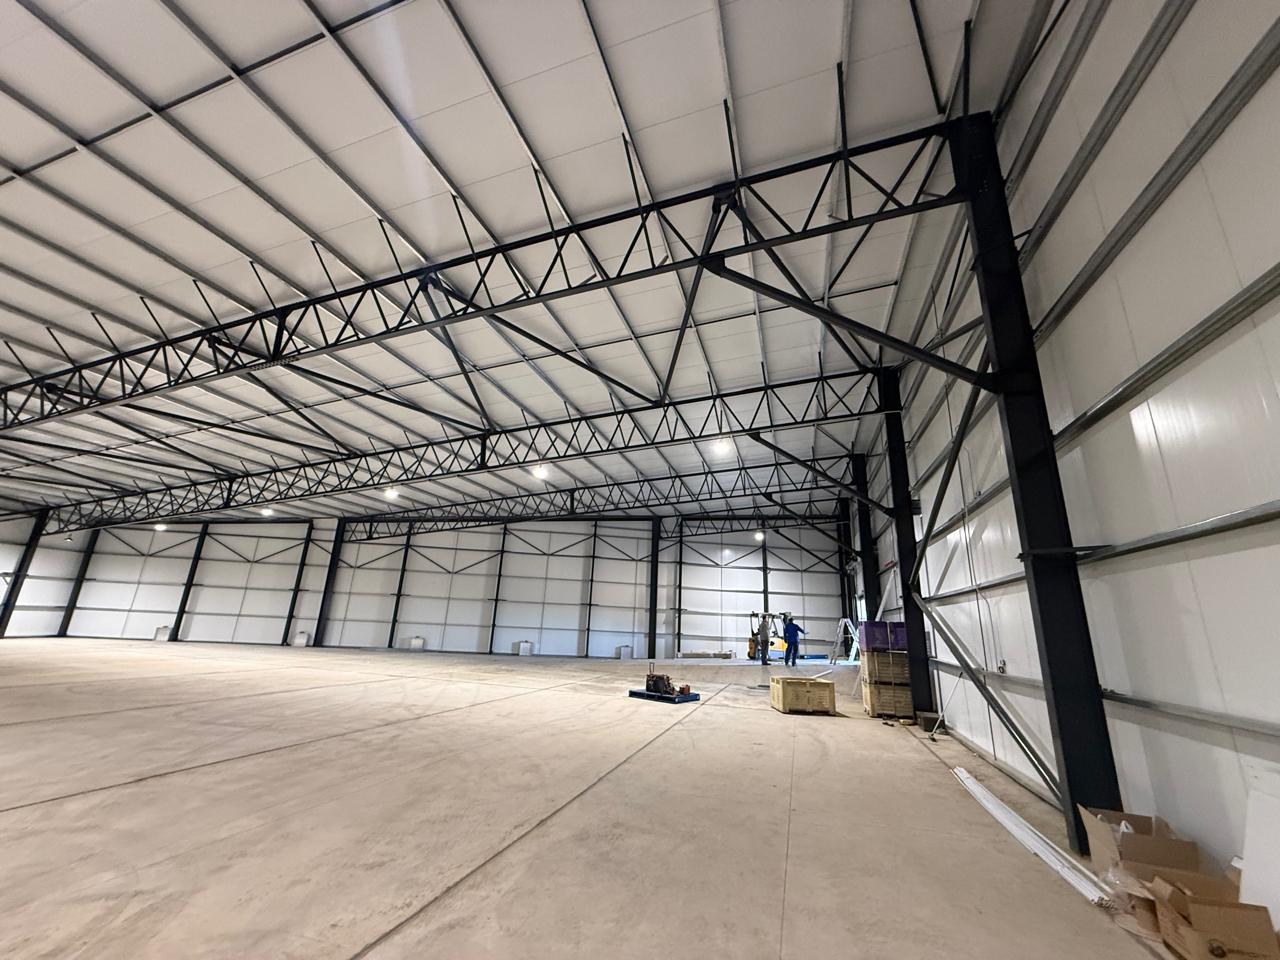
The same building from floor level, with the off-white panel lining running unbroken across the walls and roof soffit behind the steel frame. Two workers are still finishing off in the far bay.PHOTO
The same building from floor level, with the off-white panel lining running unbroken across the walls and roof soffit behind the steel frame. Two workers are still finishing off in the far bay.LiteSpan Ceiling & Wall Panels
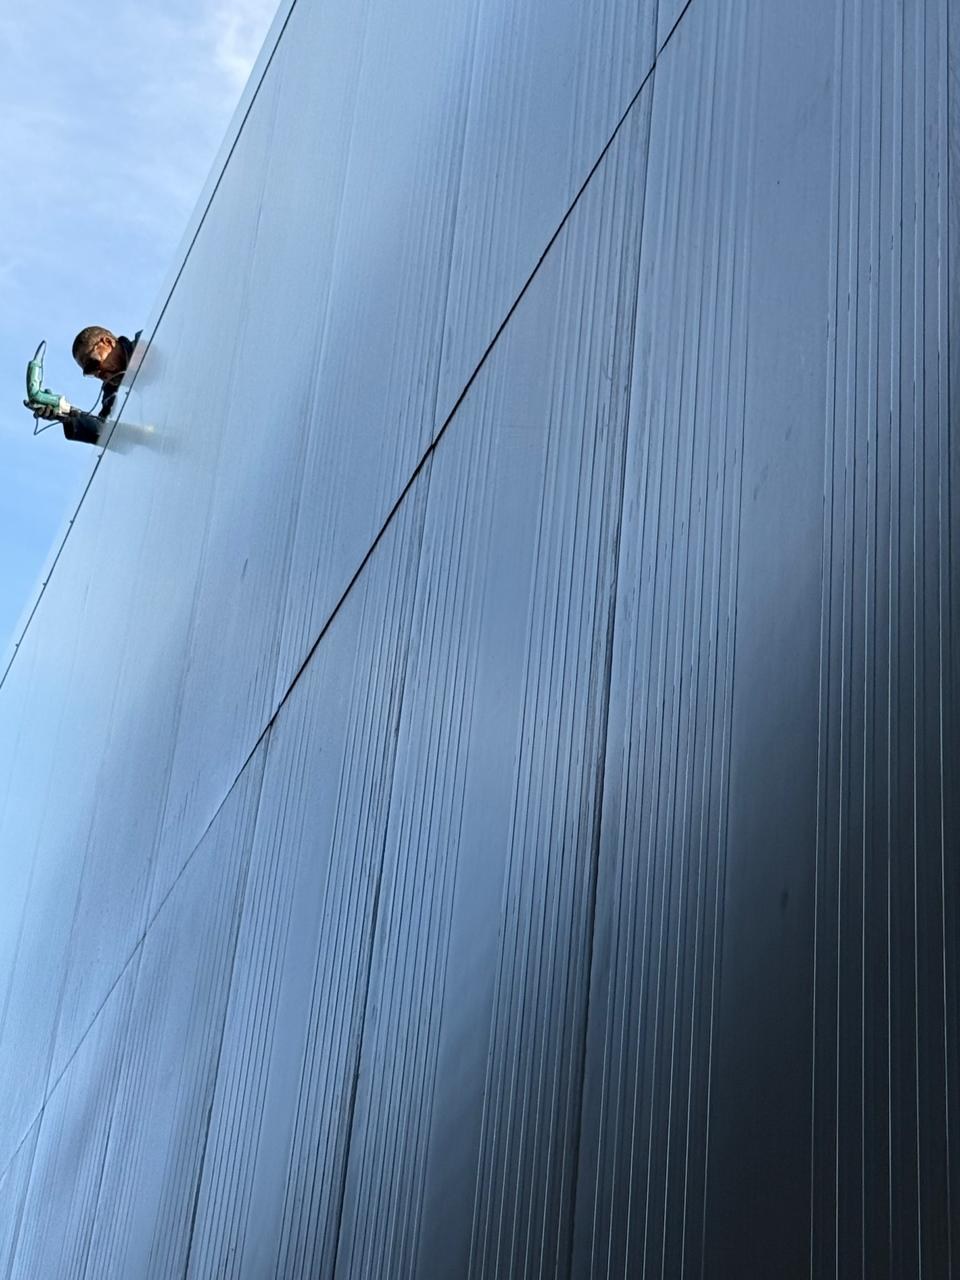
Looking up the finished panel elevation: the micro-ribbed face and the straight vertical panel joints, with an installer working the top edge with a cordless driver.PHOTO
Looking up the finished panel elevation: the micro-ribbed face and the straight vertical panel joints, with an installer working the top edge with a cordless driver.LiteSpan Ceiling & Wall Panels
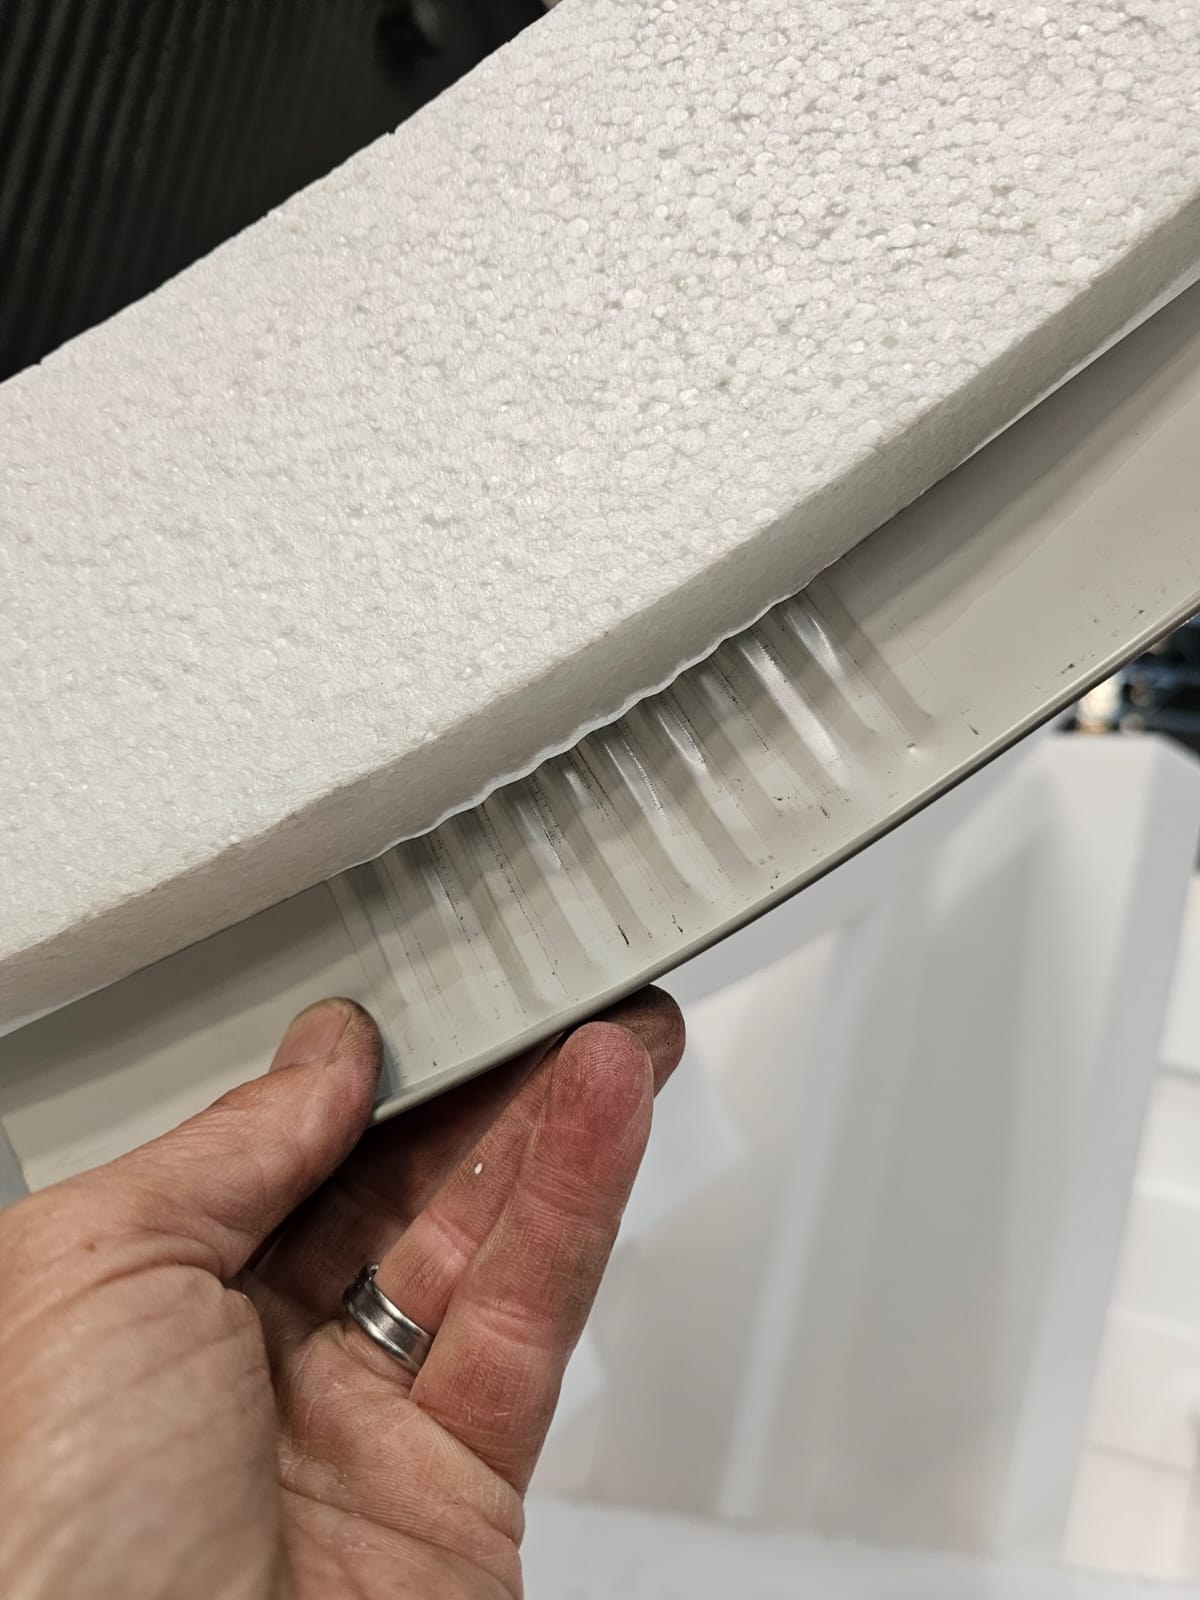
Panel corner held in the hand with the steel facing sheet lifted clear of the core, showing the white EPS bead foam behind the thin pressed-steel skin.PHOTO
Panel corner held in the hand with the steel facing sheet lifted clear of the core, showing the white EPS bead foam behind the thin pressed-steel skin.LiteSpan Ceiling & Wall Panels
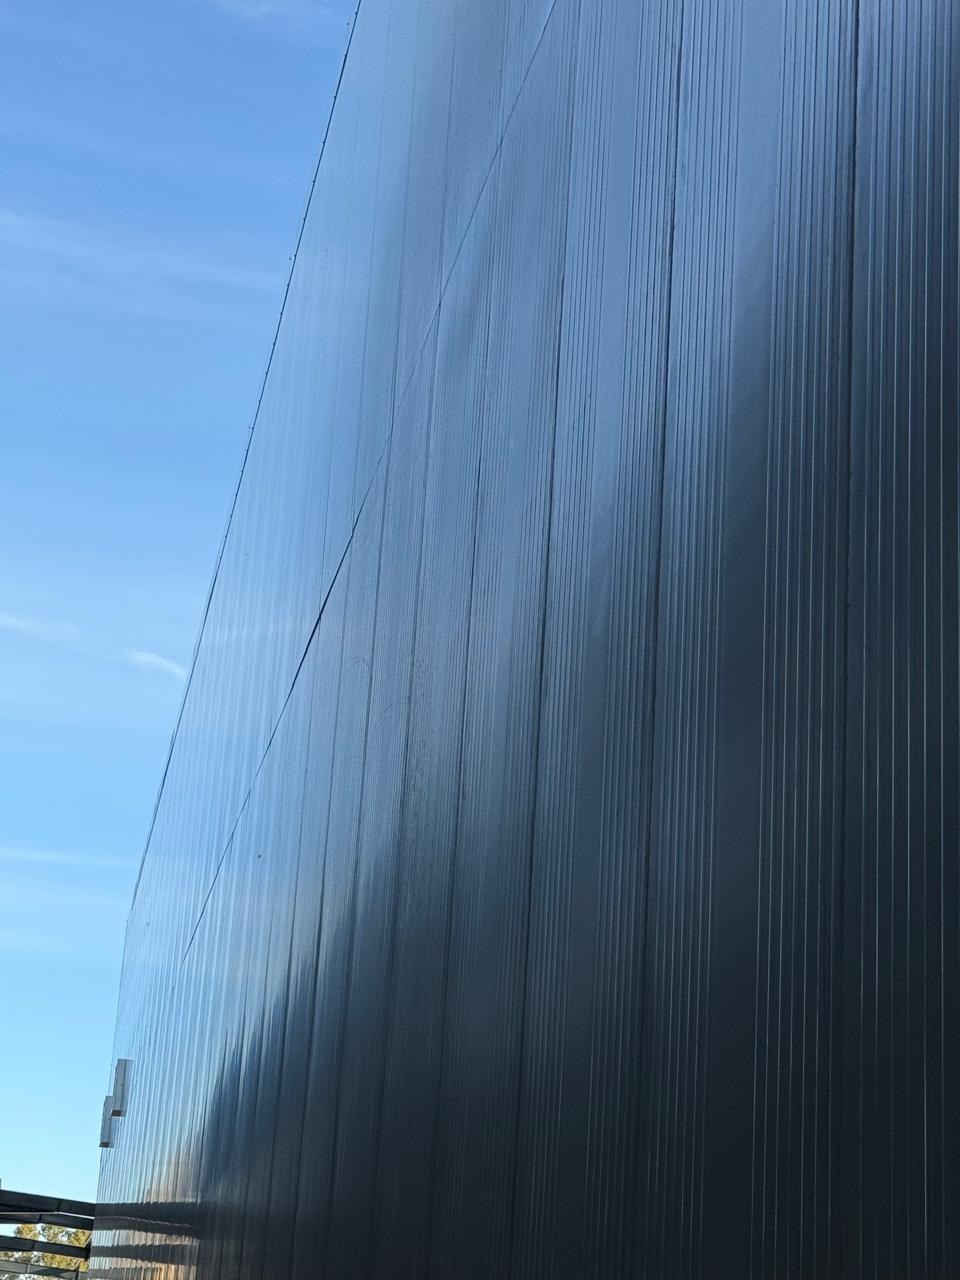
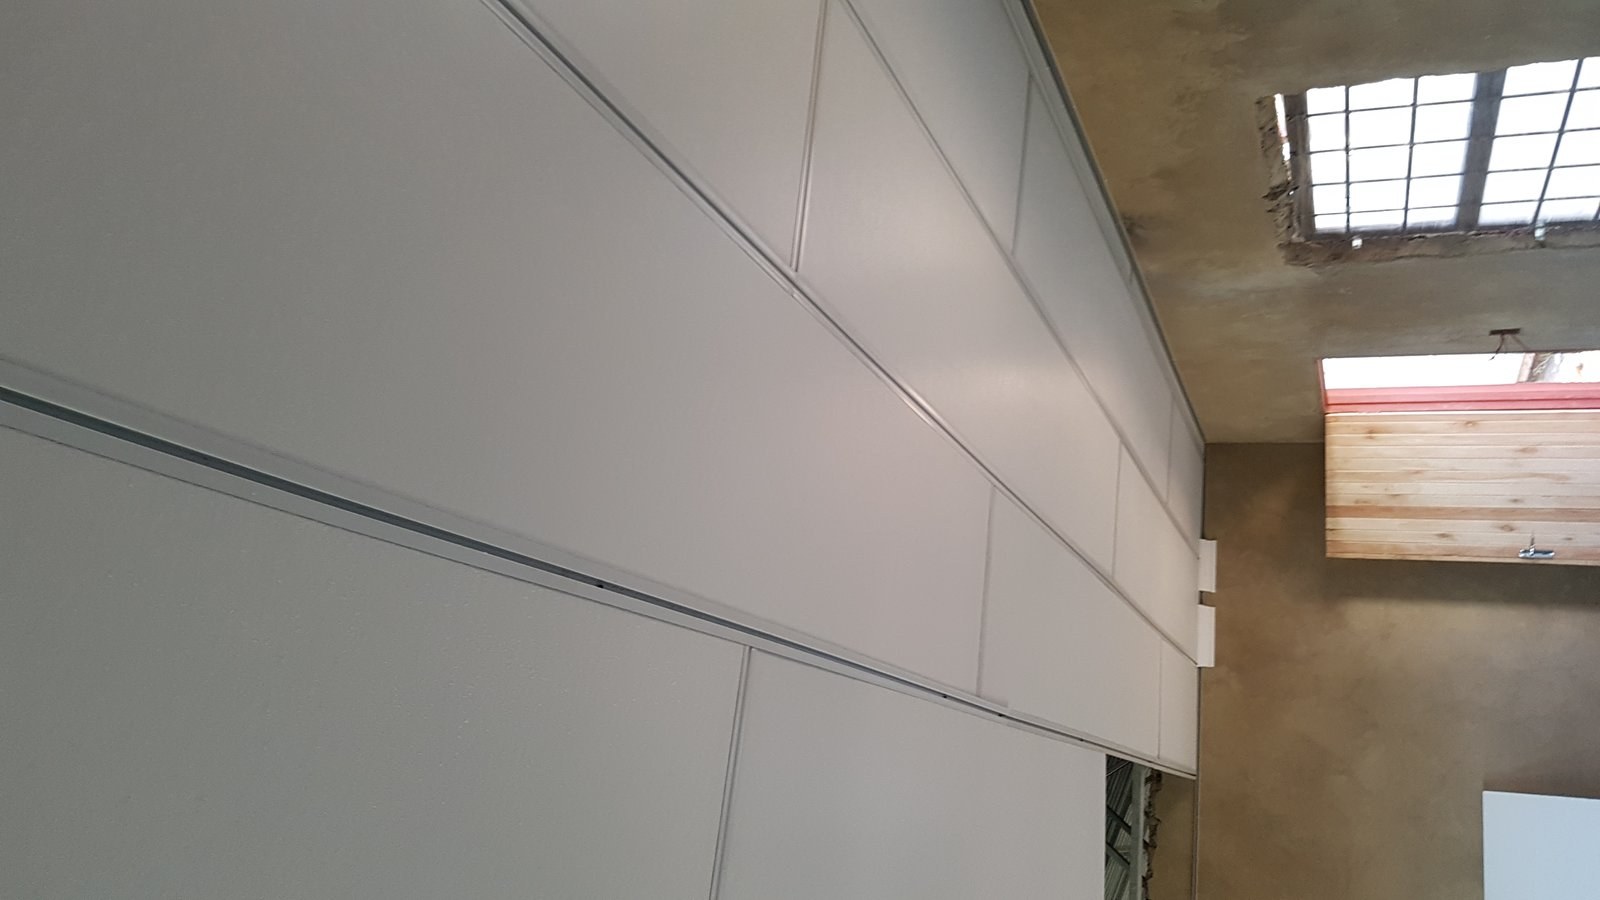
The completed panel wall raking away against the sky - continuous micro-ribbed faces with tight straight joints between adjoining panels.PHOTO
The completed panel wall raking away against the sky - continuous micro-ribbed faces with tight straight joints between adjoining panels.LiteSpan Ceiling & Wall Panels
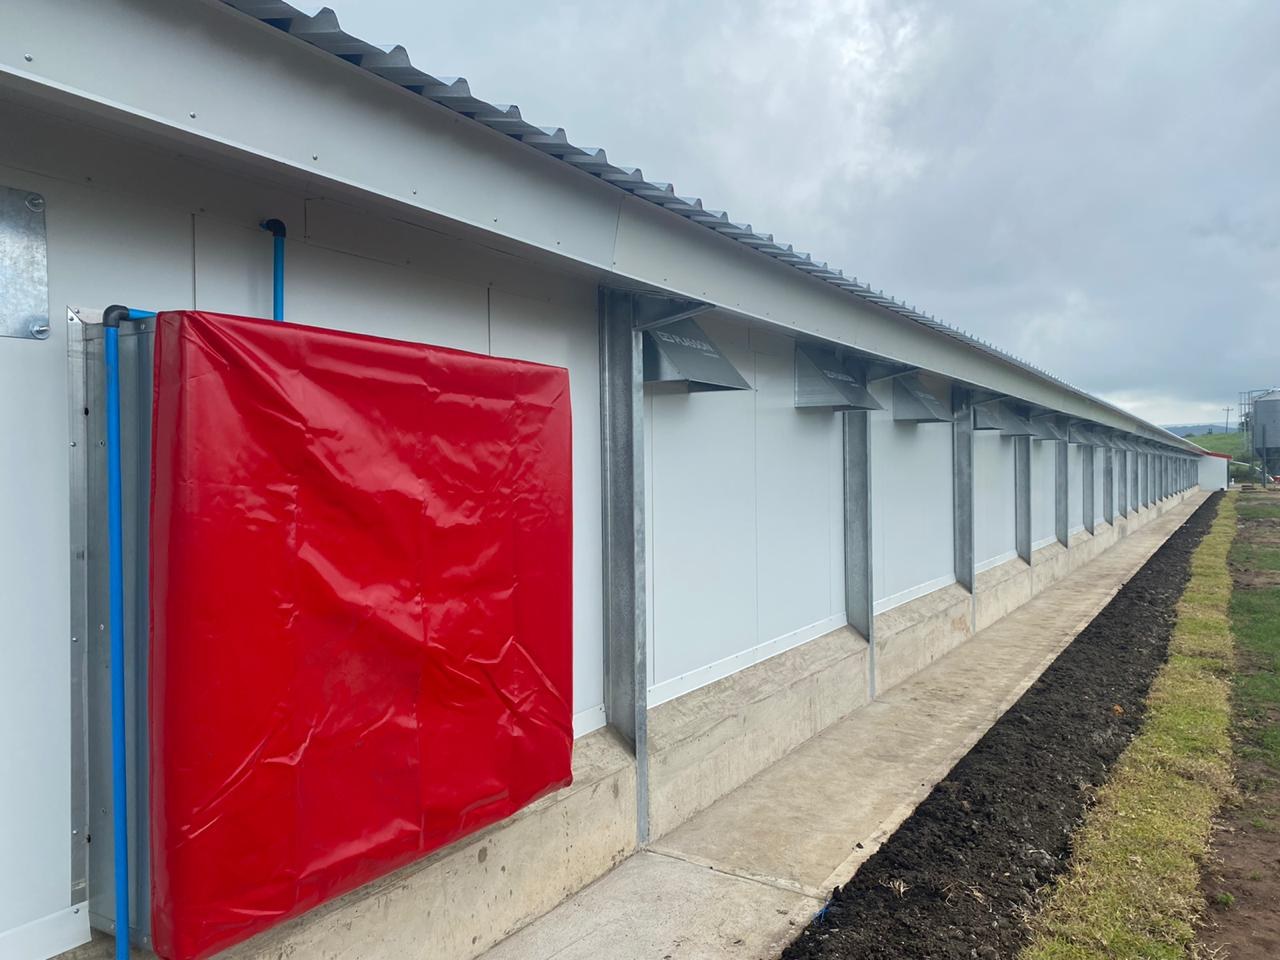
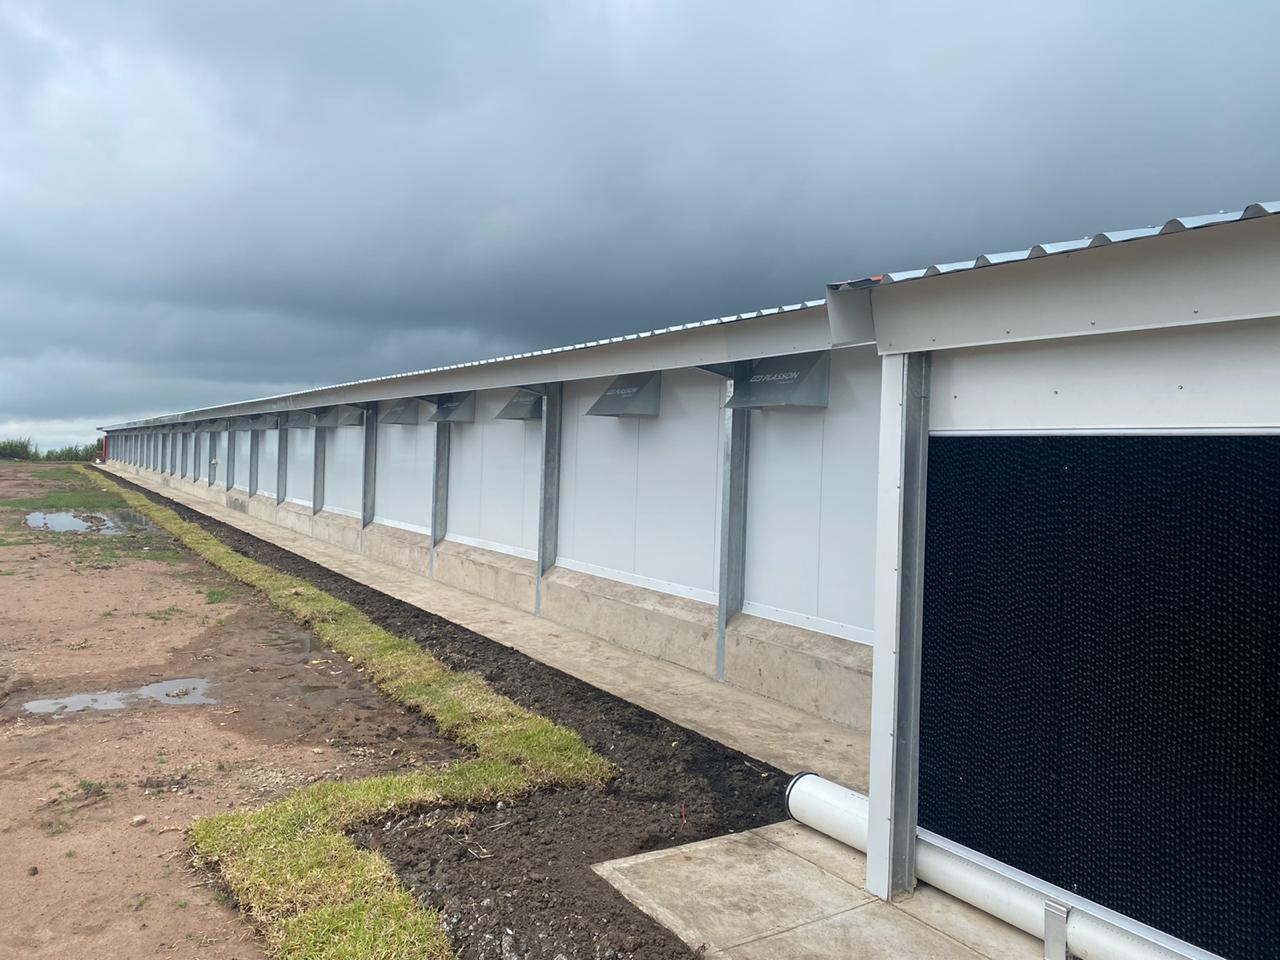
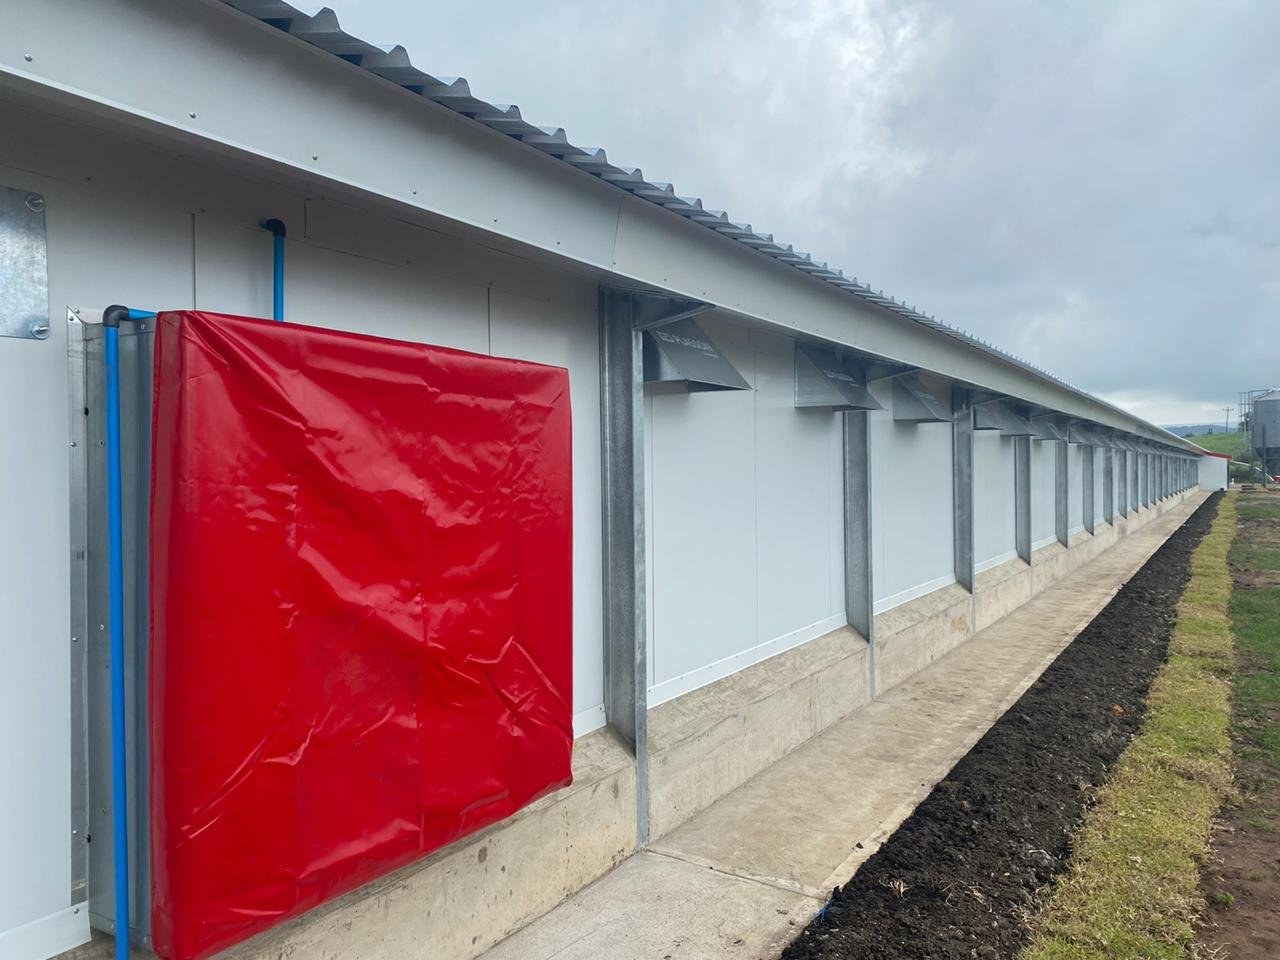
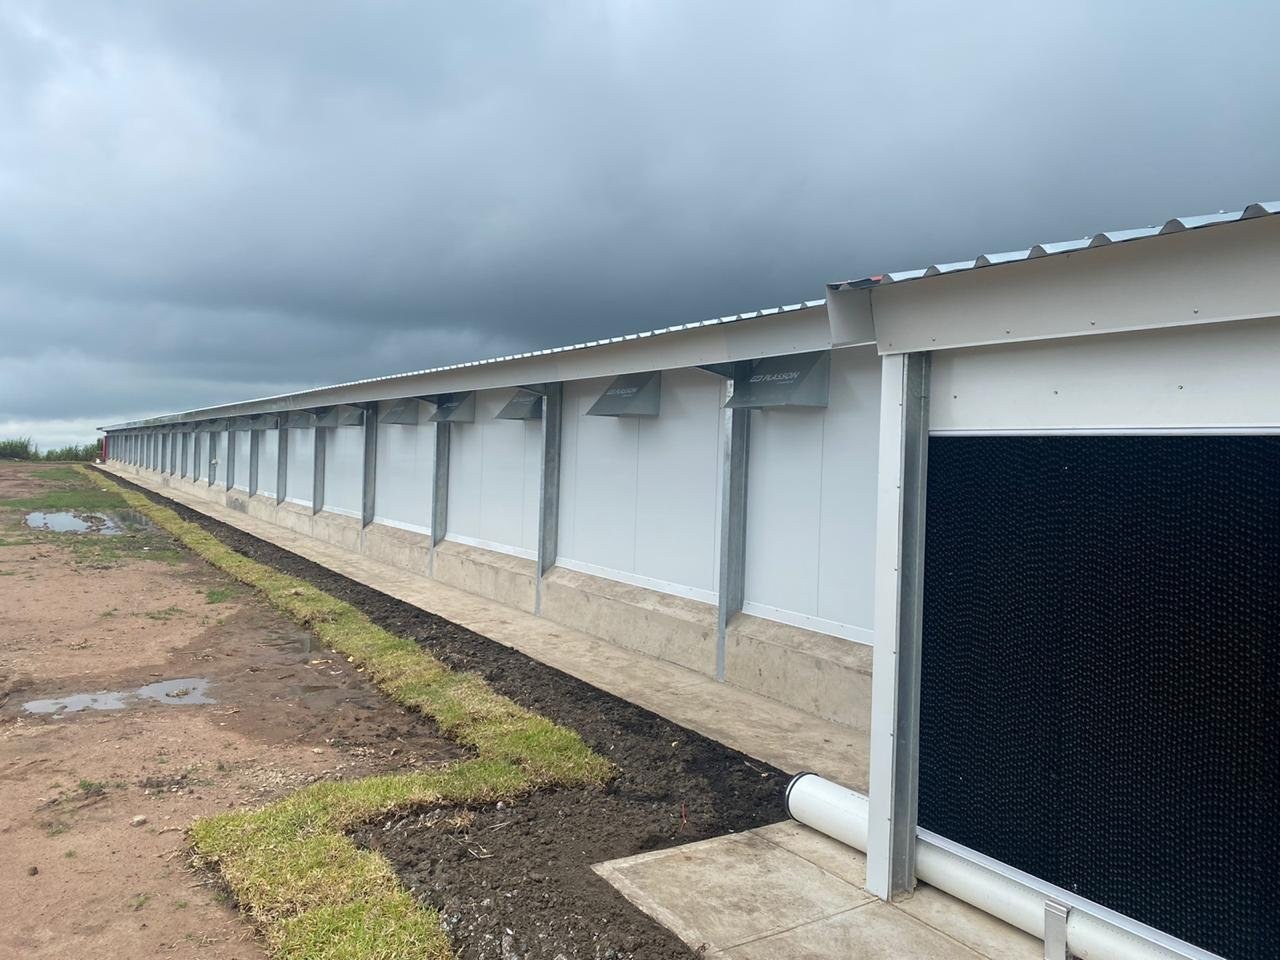
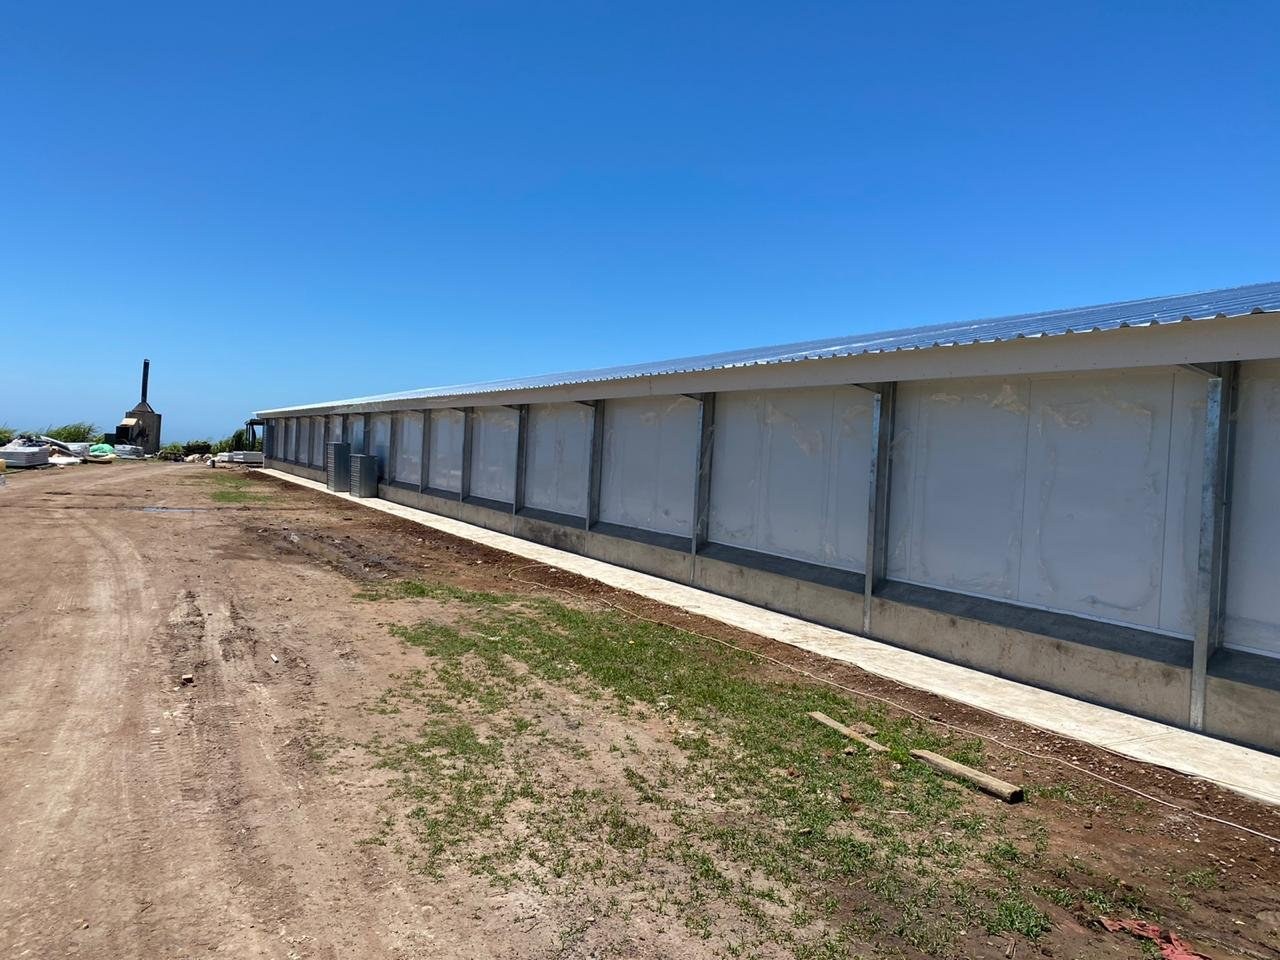
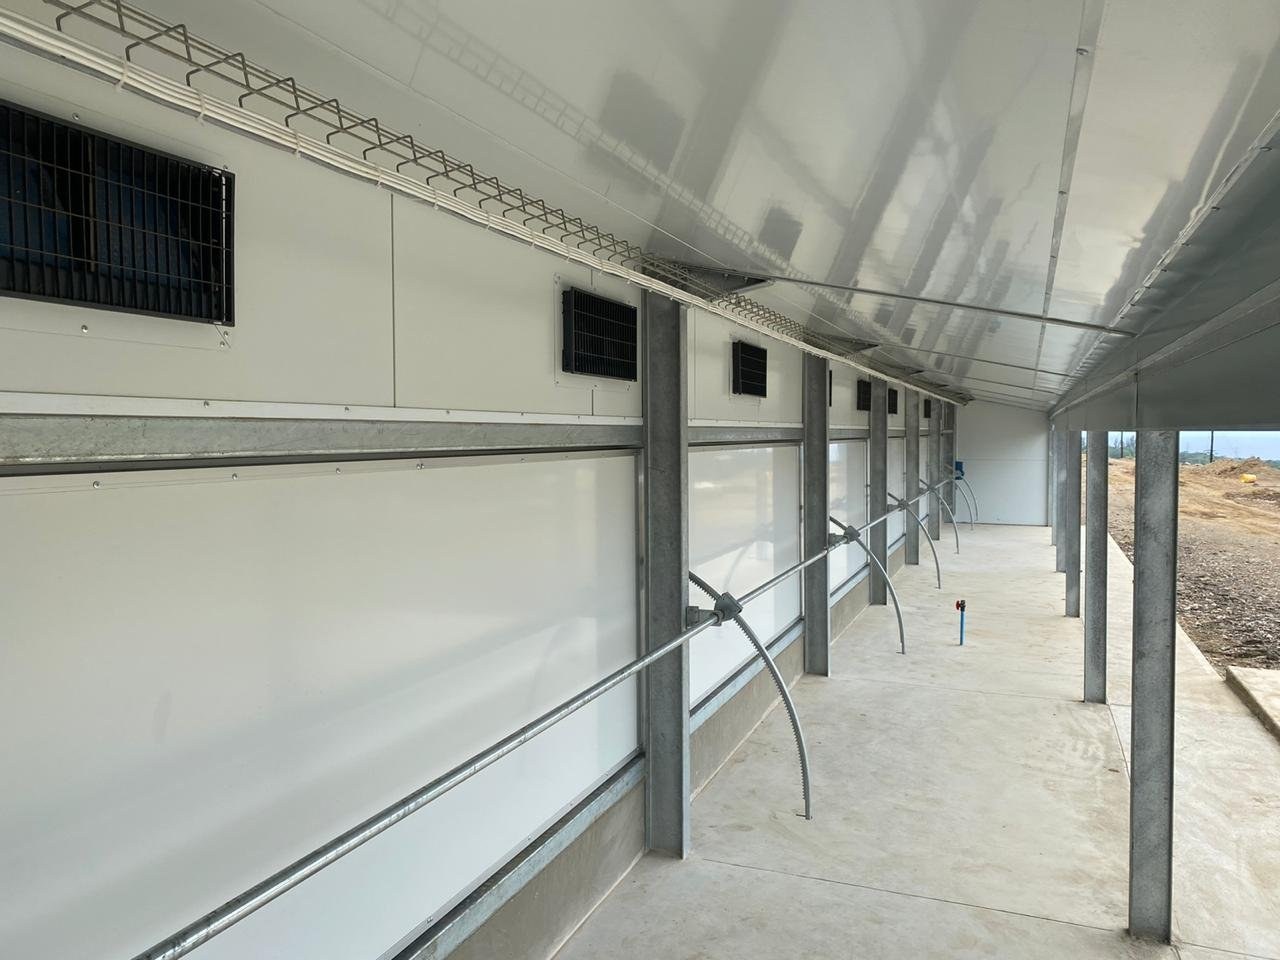
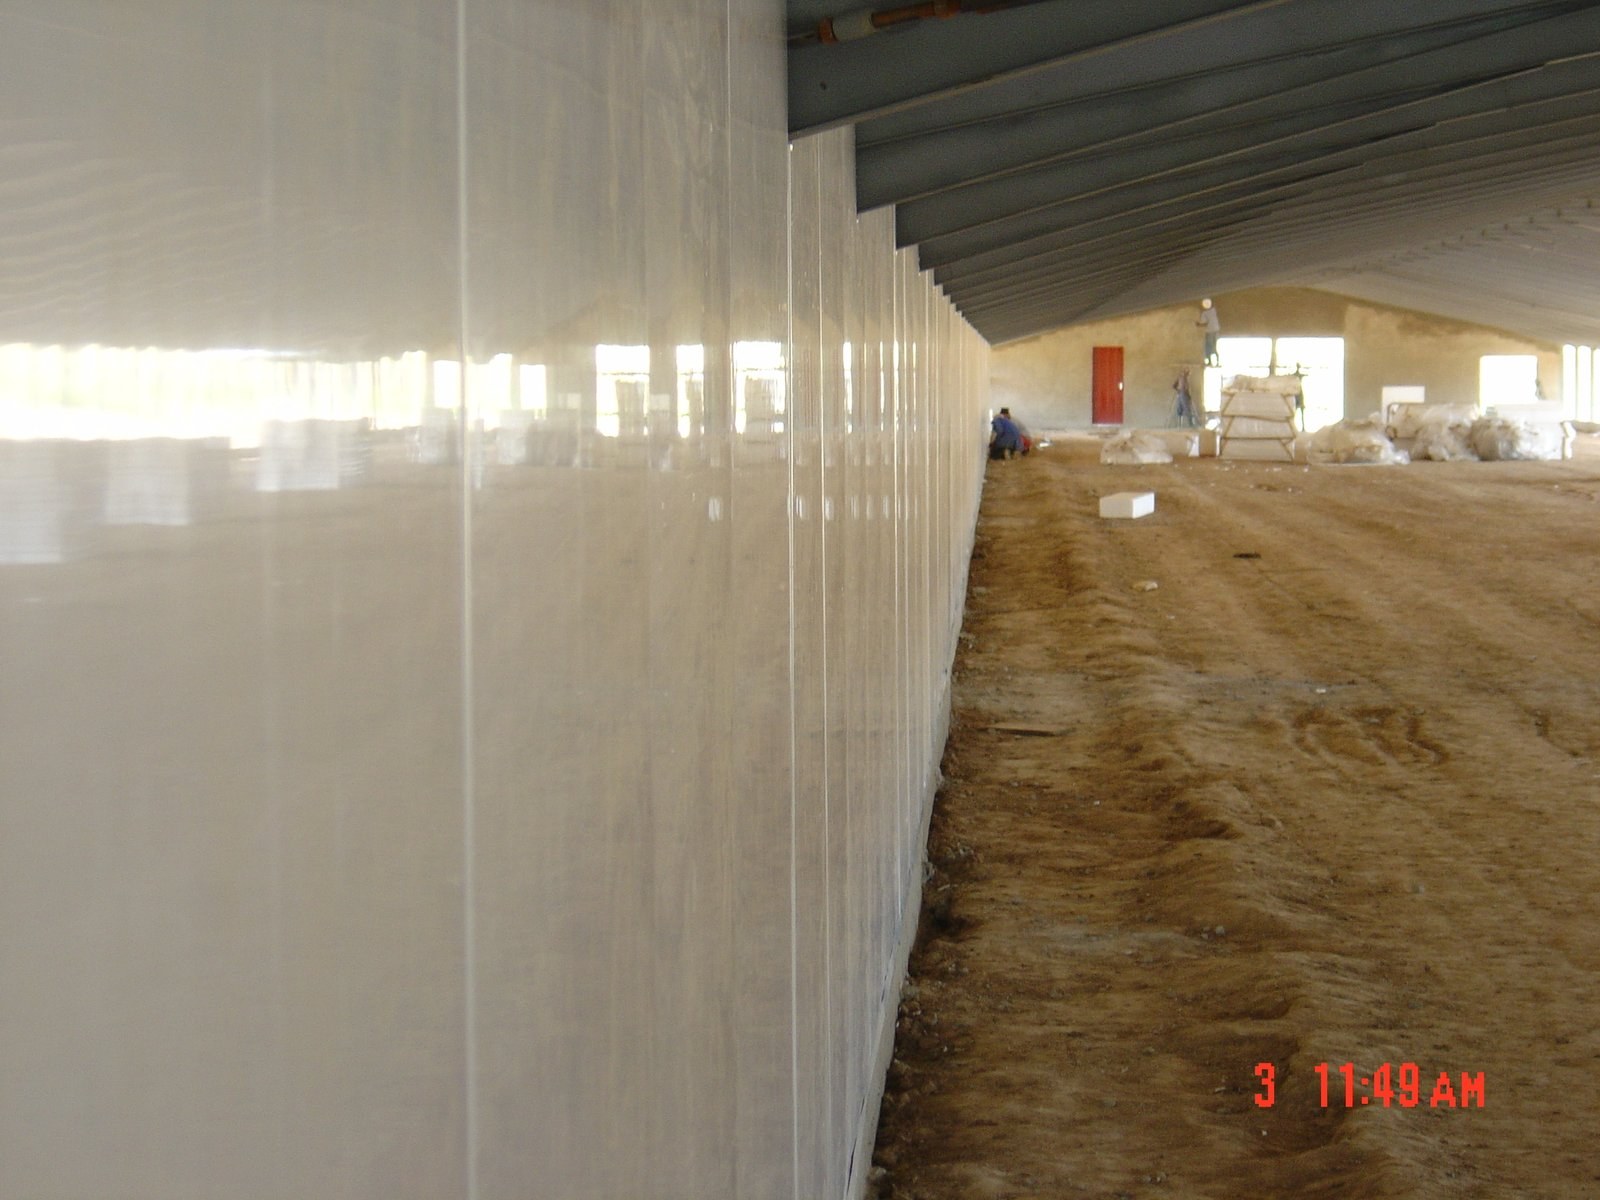
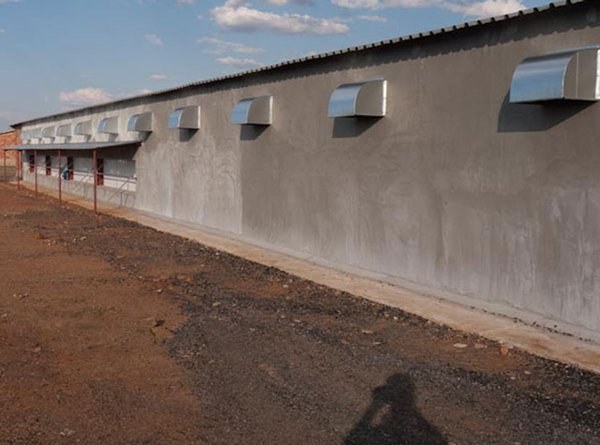
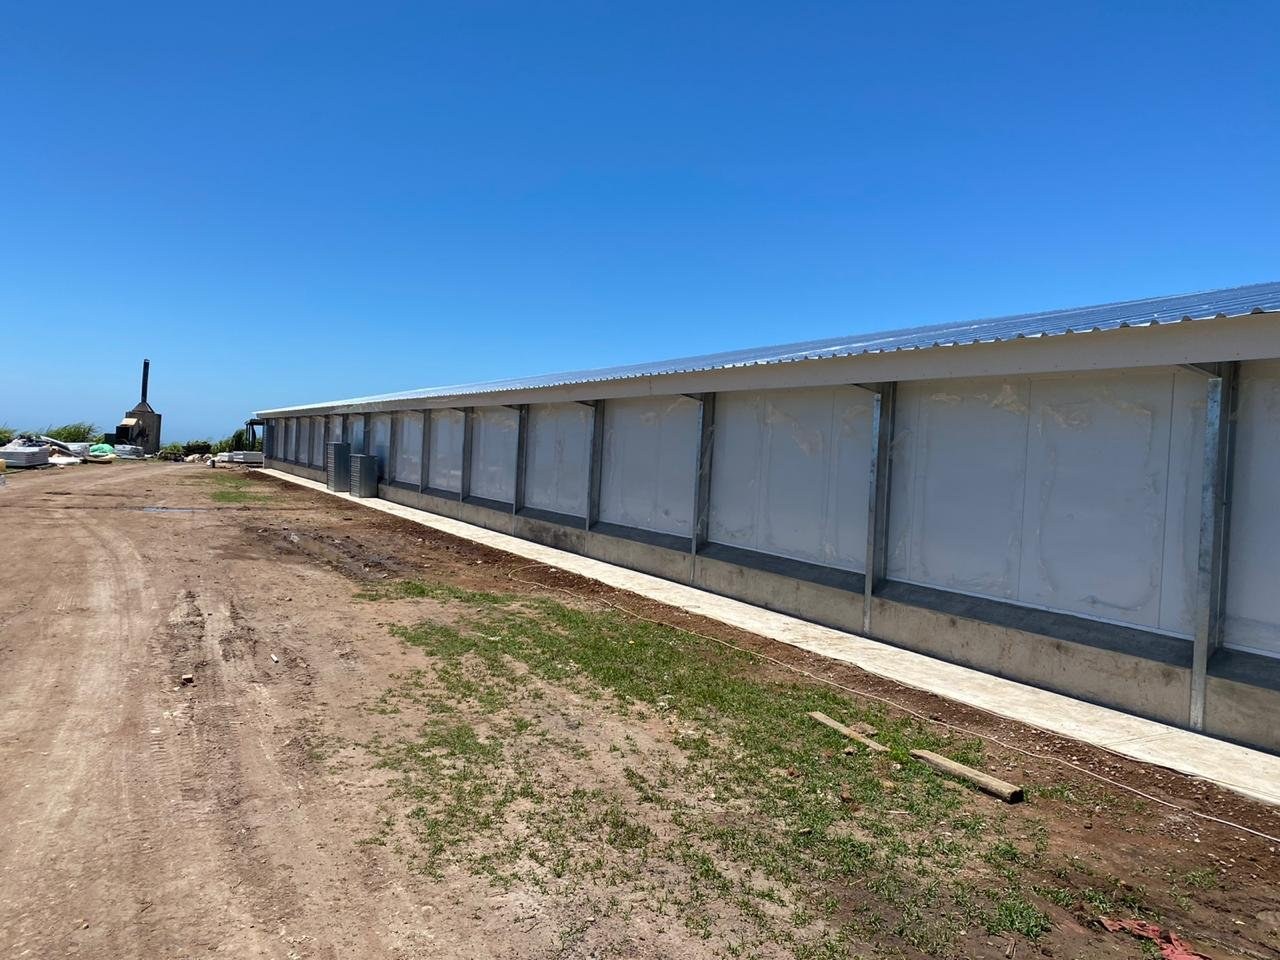
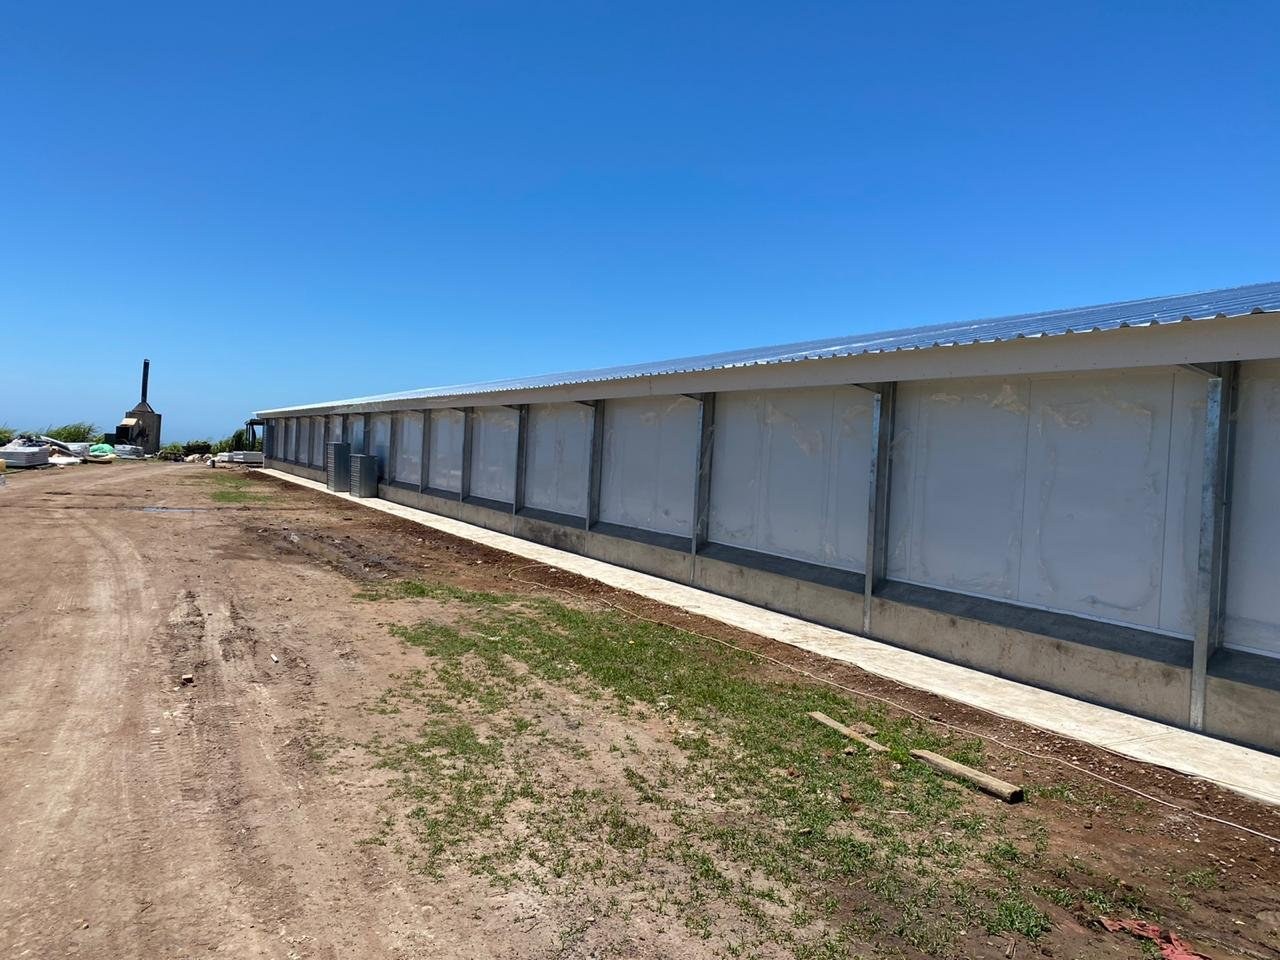
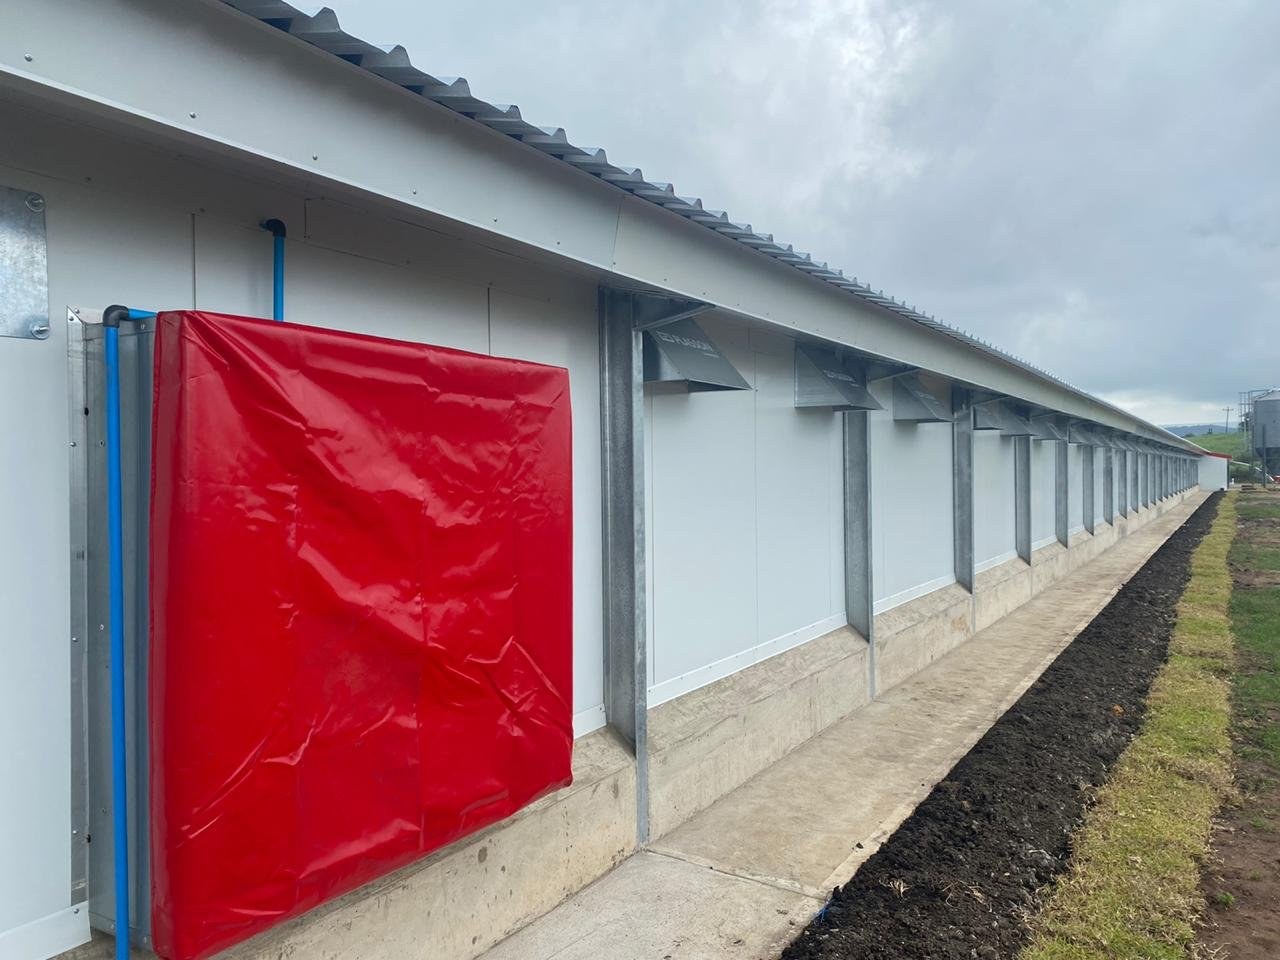
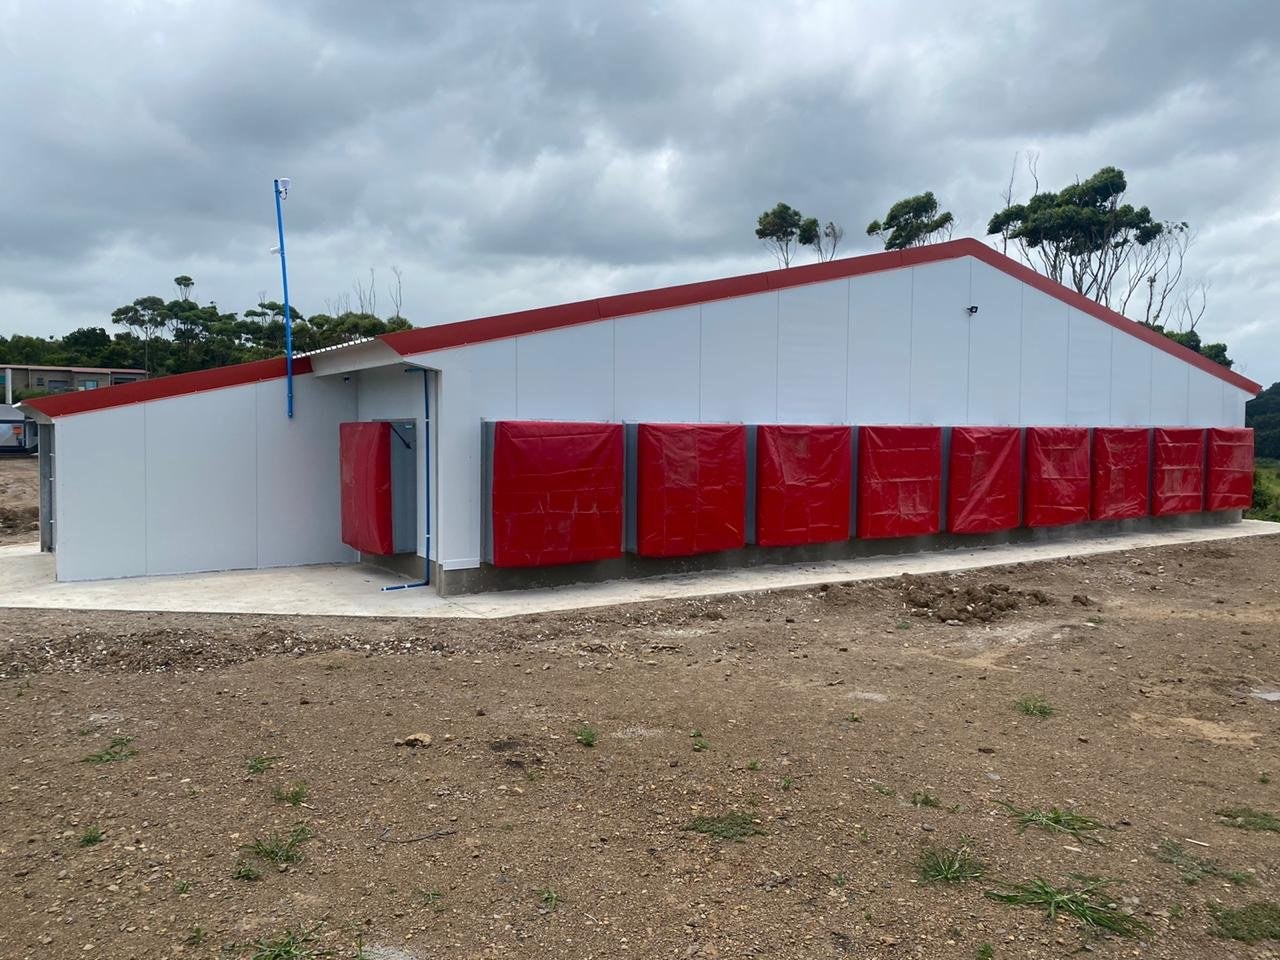
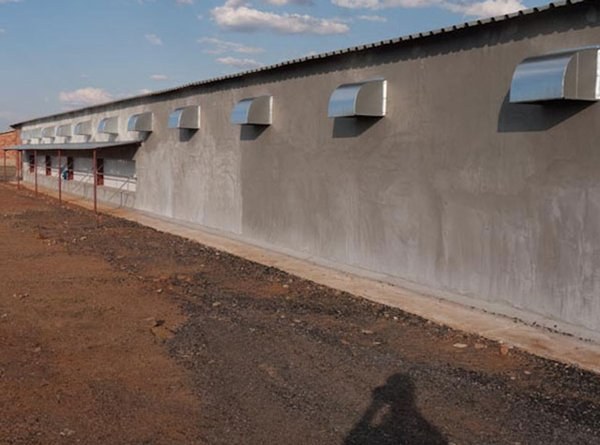
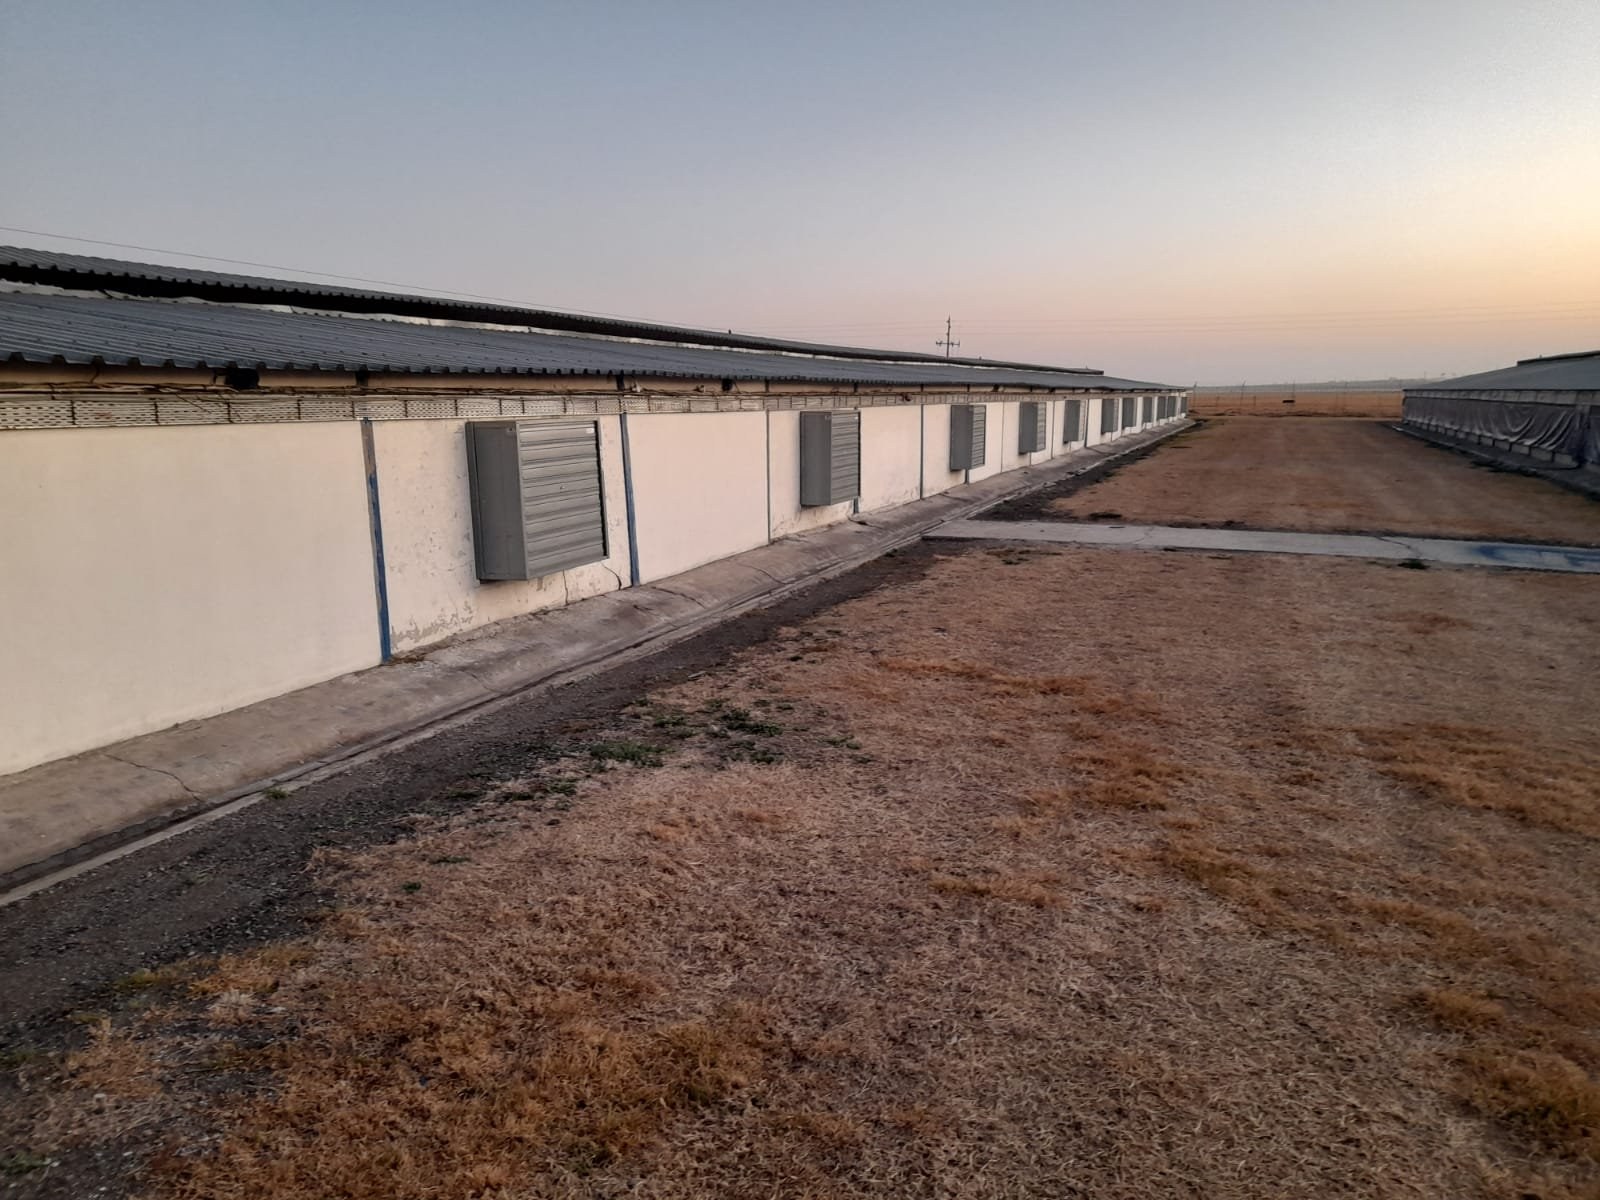
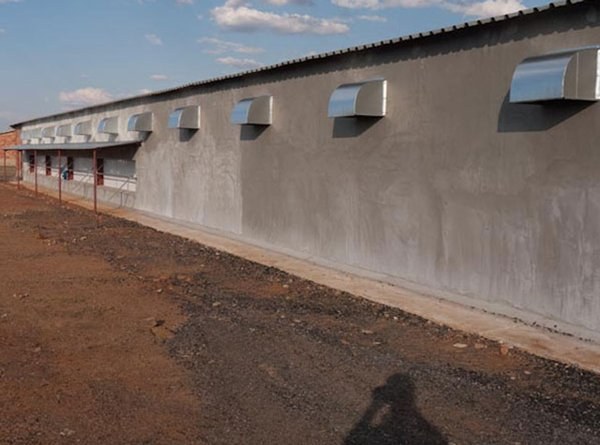
The finished sidewall. LiteSpan wall panels on a concrete plinth, with the base closure running the length of the wall, the eaves flashing above, and the Plasson air inlets set into the panel.PHOTO
The finished sidewall. LiteSpan wall panels on a concrete plinth, with the base closure running the length of the wall, the eaves flashing above, and the Plasson air inlets set into the panel.LiteSpan Ceiling & Wall Panels
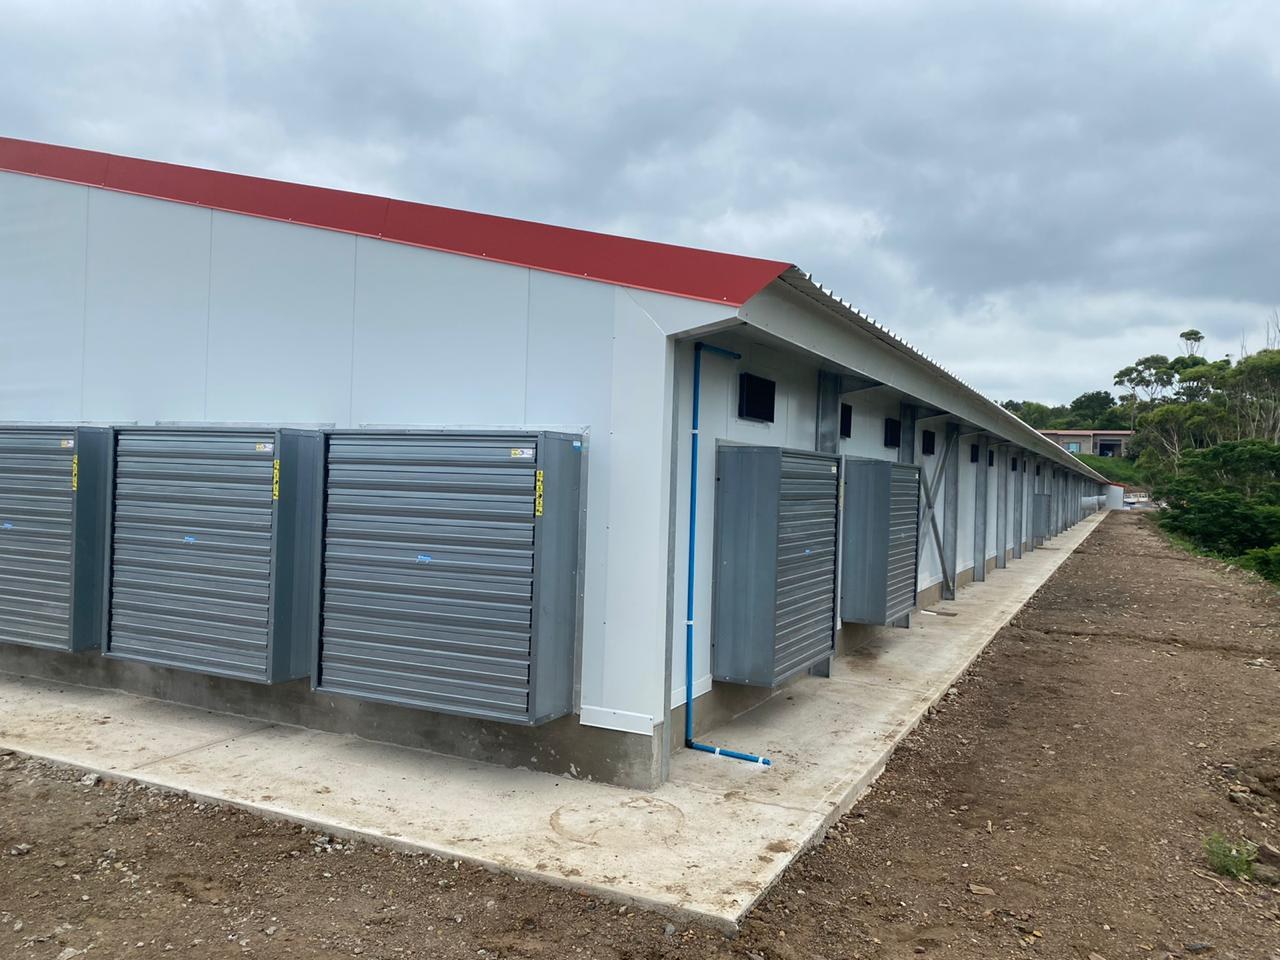
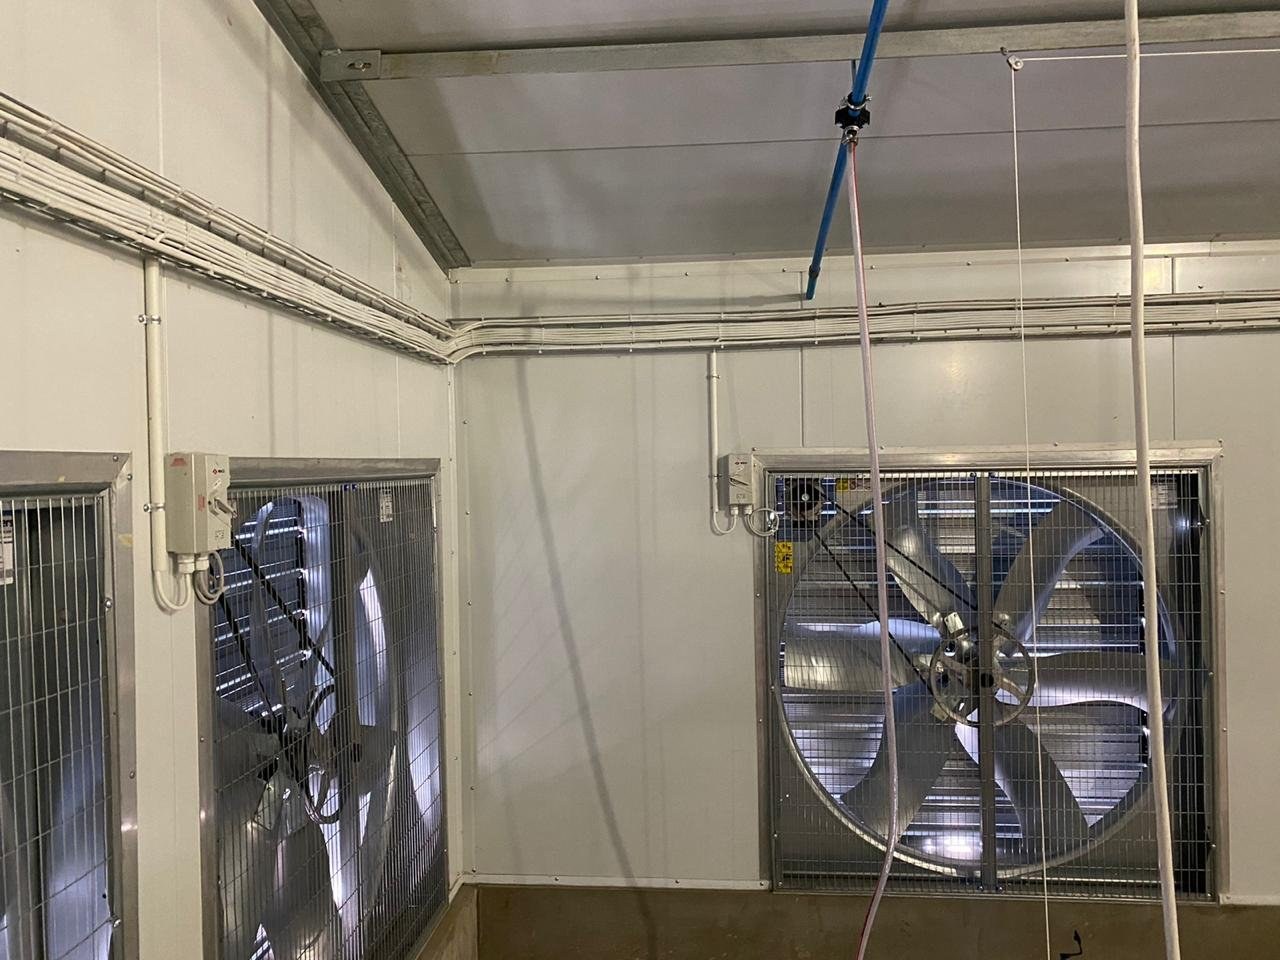
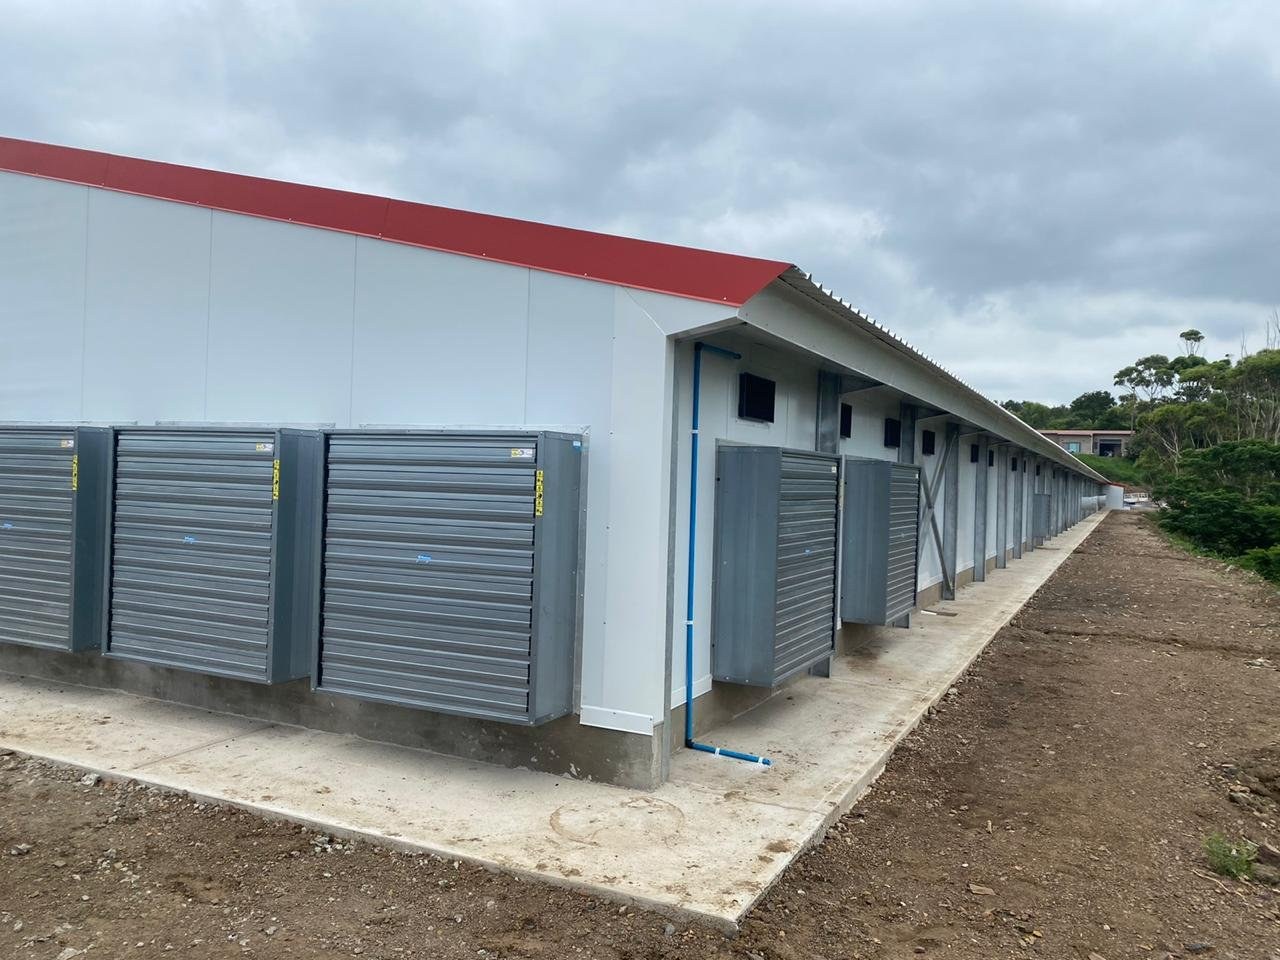
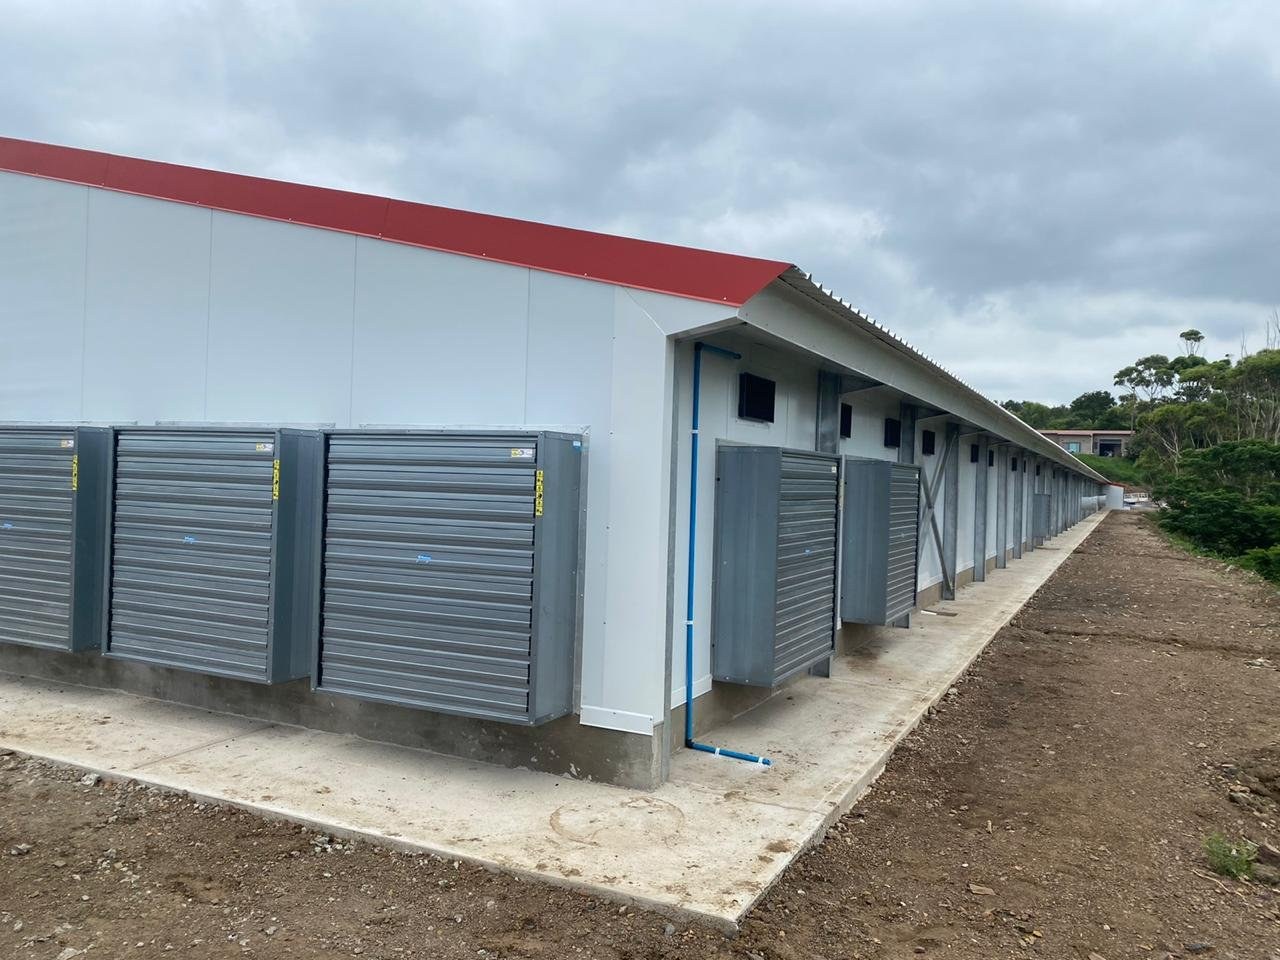
One frame, three closures: the red verge cap at the top, the corner flashing, and the base trim where the panel meets the plinth. The extract fans are set straight into the panel.PHOTO
One frame, three closures: the red verge cap at the top, the corner flashing, and the base trim where the panel meets the plinth. The extract fans are set straight into the panel.LiteSpan Ceiling & Wall Panels
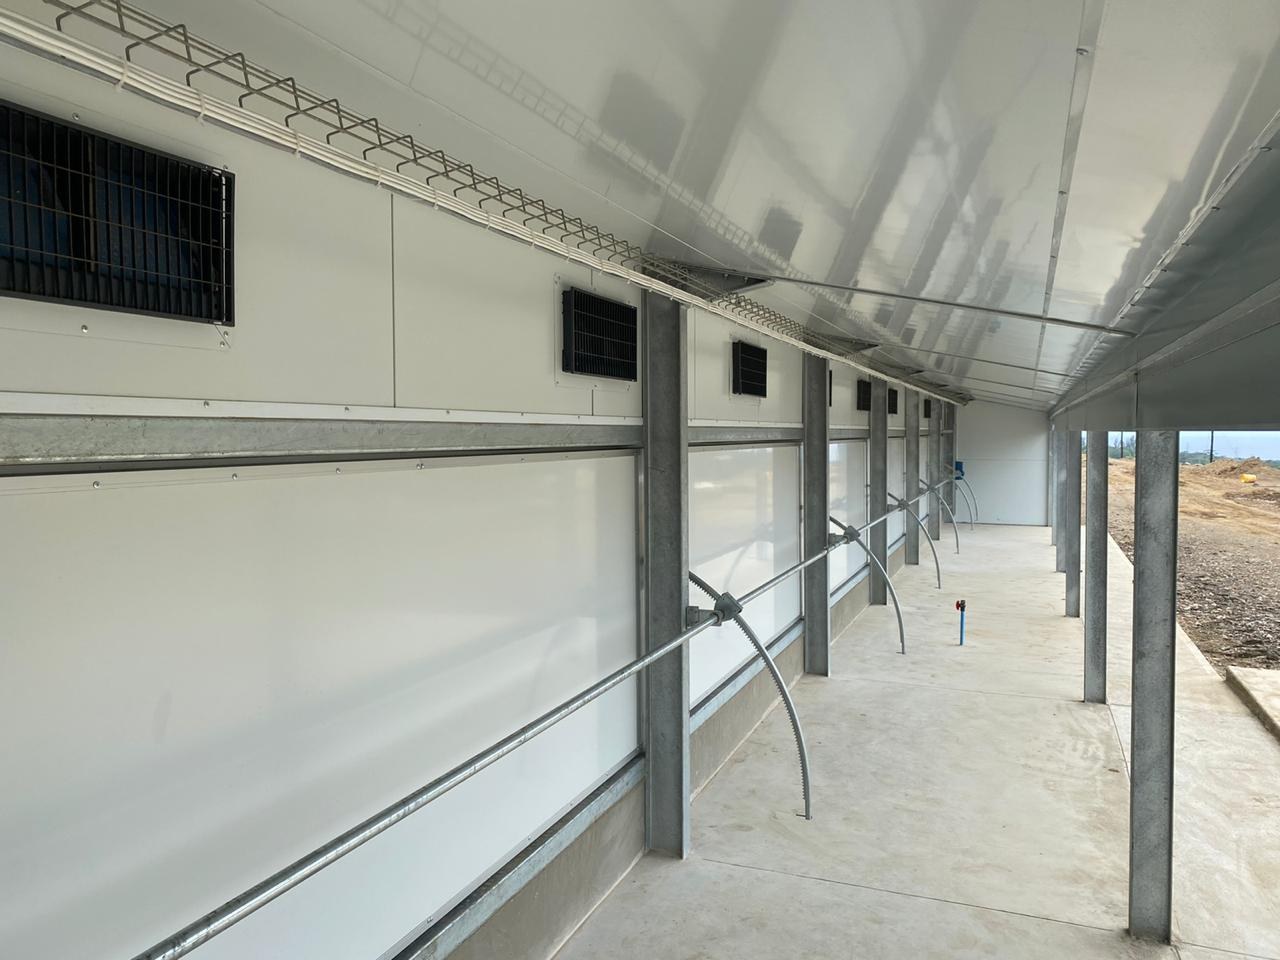
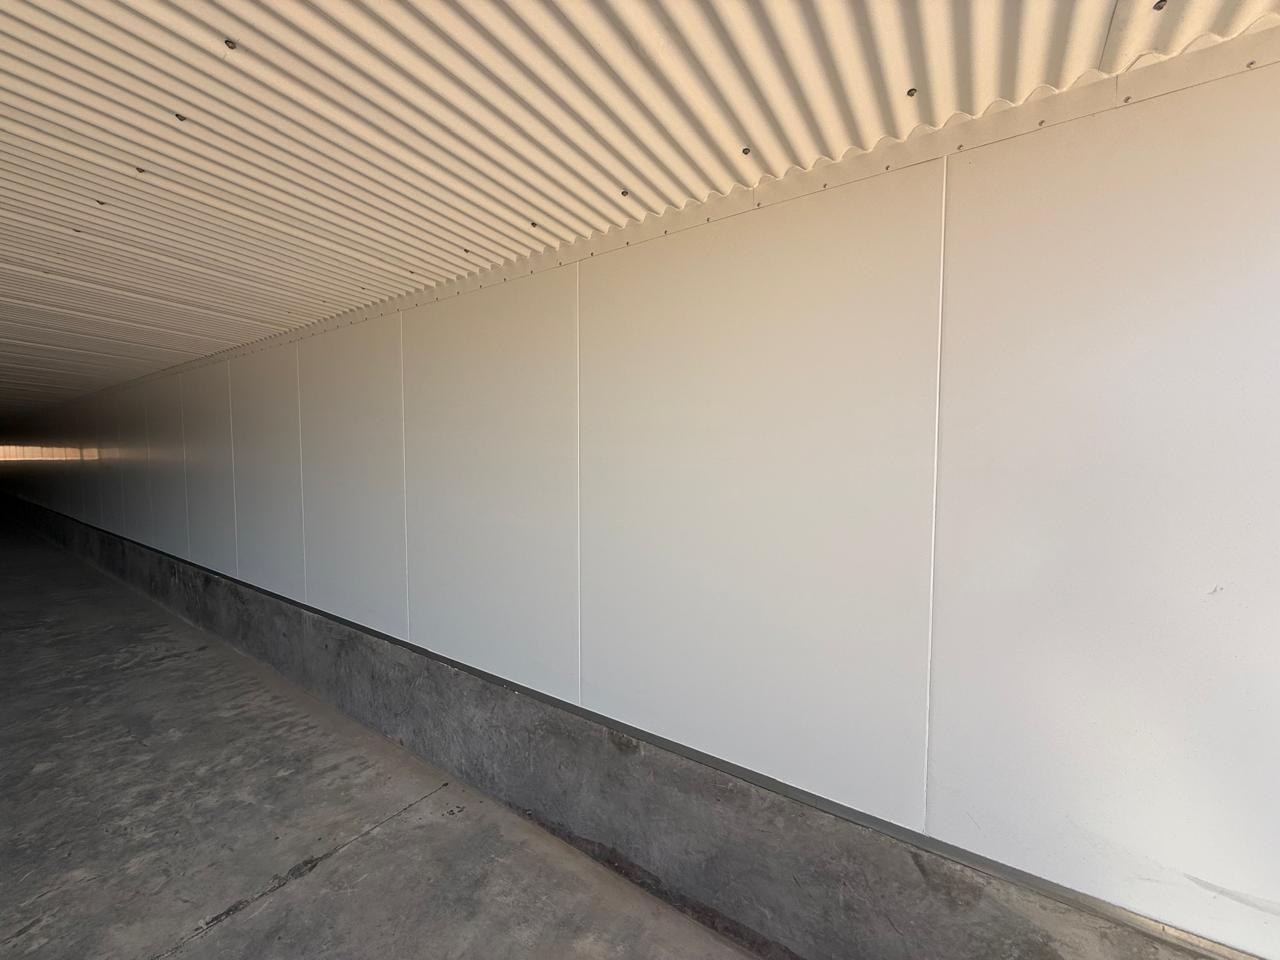
Inside the house, looking along the sidewall. The panel sits on the concrete plinth on a base channel; a horizontal capping runs between the panel courses.PHOTO
Inside the house, looking along the sidewall. The panel sits on the concrete plinth on a base channel; a horizontal capping runs between the panel courses.LiteSpan Ceiling & Wall Panels
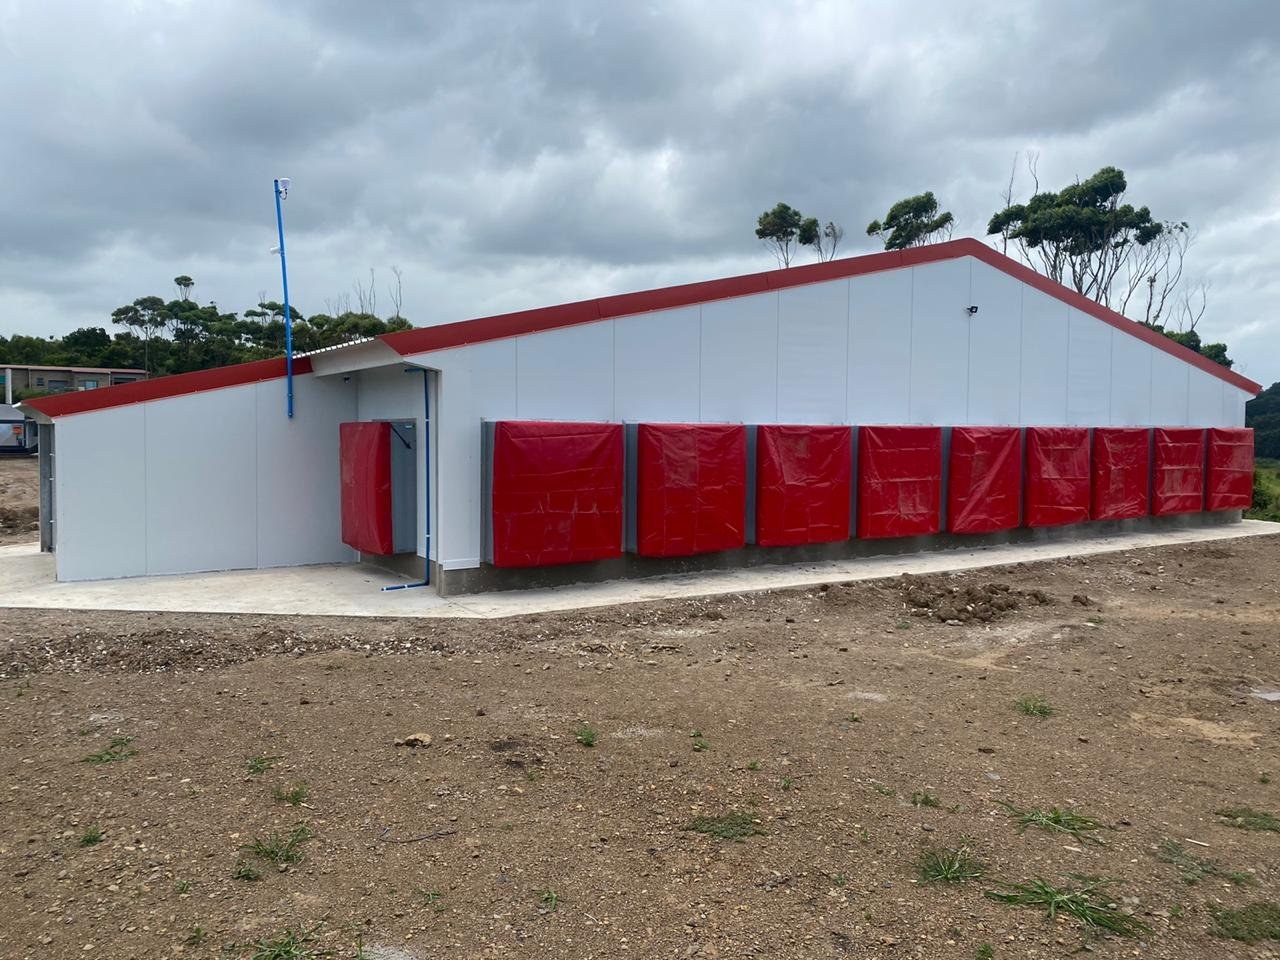
The completed poultry house. Every wall in this frame is LiteSpan panel - washable, non-absorbent, and self-supporting.PHOTO
The completed poultry house. Every wall in this frame is LiteSpan panel - washable, non-absorbent, and self-supporting.LiteSpan Ceiling & Wall Panels
Sidewall and gable. The panel is lifted clear of the floor on the plinth, which takes the wash-down and the litter.PHOTO
Sidewall and gable. The panel is lifted clear of the floor on the plinth, which takes the wash-down and the litter.LiteSpan Ceiling & Wall Panels
The long elevation. Panel joints run floor to eaves; the base closure is continuous past every column.PHOTO
The long elevation. Panel joints run floor to eaves; the base closure is continuous past every column.LiteSpan Ceiling & Wall Panels
Inside the house: LiteSpan wall panels lining the sidewall, seated on the concrete plinth that lifts the panel clear of the wash-down zone. The roof sheeting overhead is still bare.PHOTO
Inside the house: LiteSpan wall panels lining the sidewall, seated on the concrete plinth that lifts the panel clear of the wash-down zone. The roof sheeting overhead is still bare.LiteSpan Ceiling & Wall Panels
Close-up corner of a stacked panel showing the tongue-and-groove edge profile, factory warehousePHOTO
Close-up corner of a stacked panel showing the tongue-and-groove edge profile, factory warehouseLiteSpan Ceiling & Wall Panels
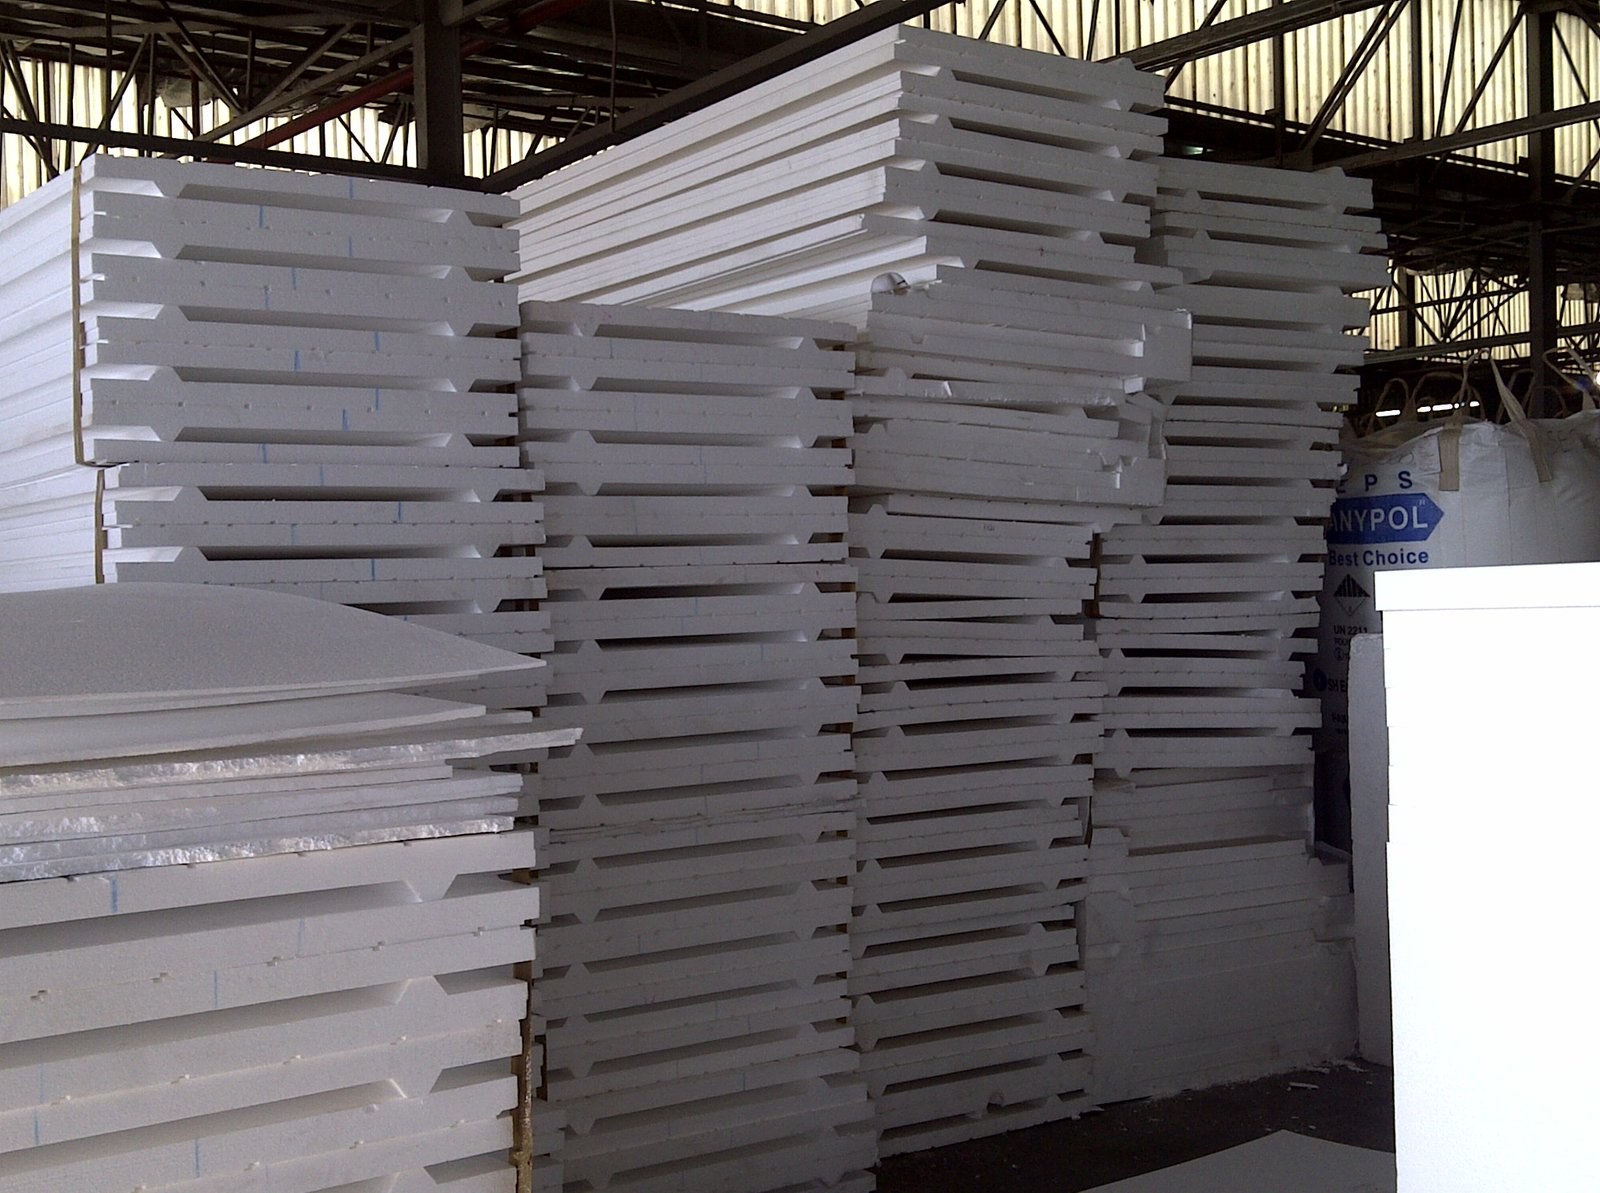
Panels stacked in the factory warehouse, with a raw EPS bead bag marked 'Anypol' in the backgroundPHOTO
Panels stacked in the factory warehouse, with a raw EPS bead bag marked 'Anypol' in the backgroundLiteSpan Ceiling & Wall Panels
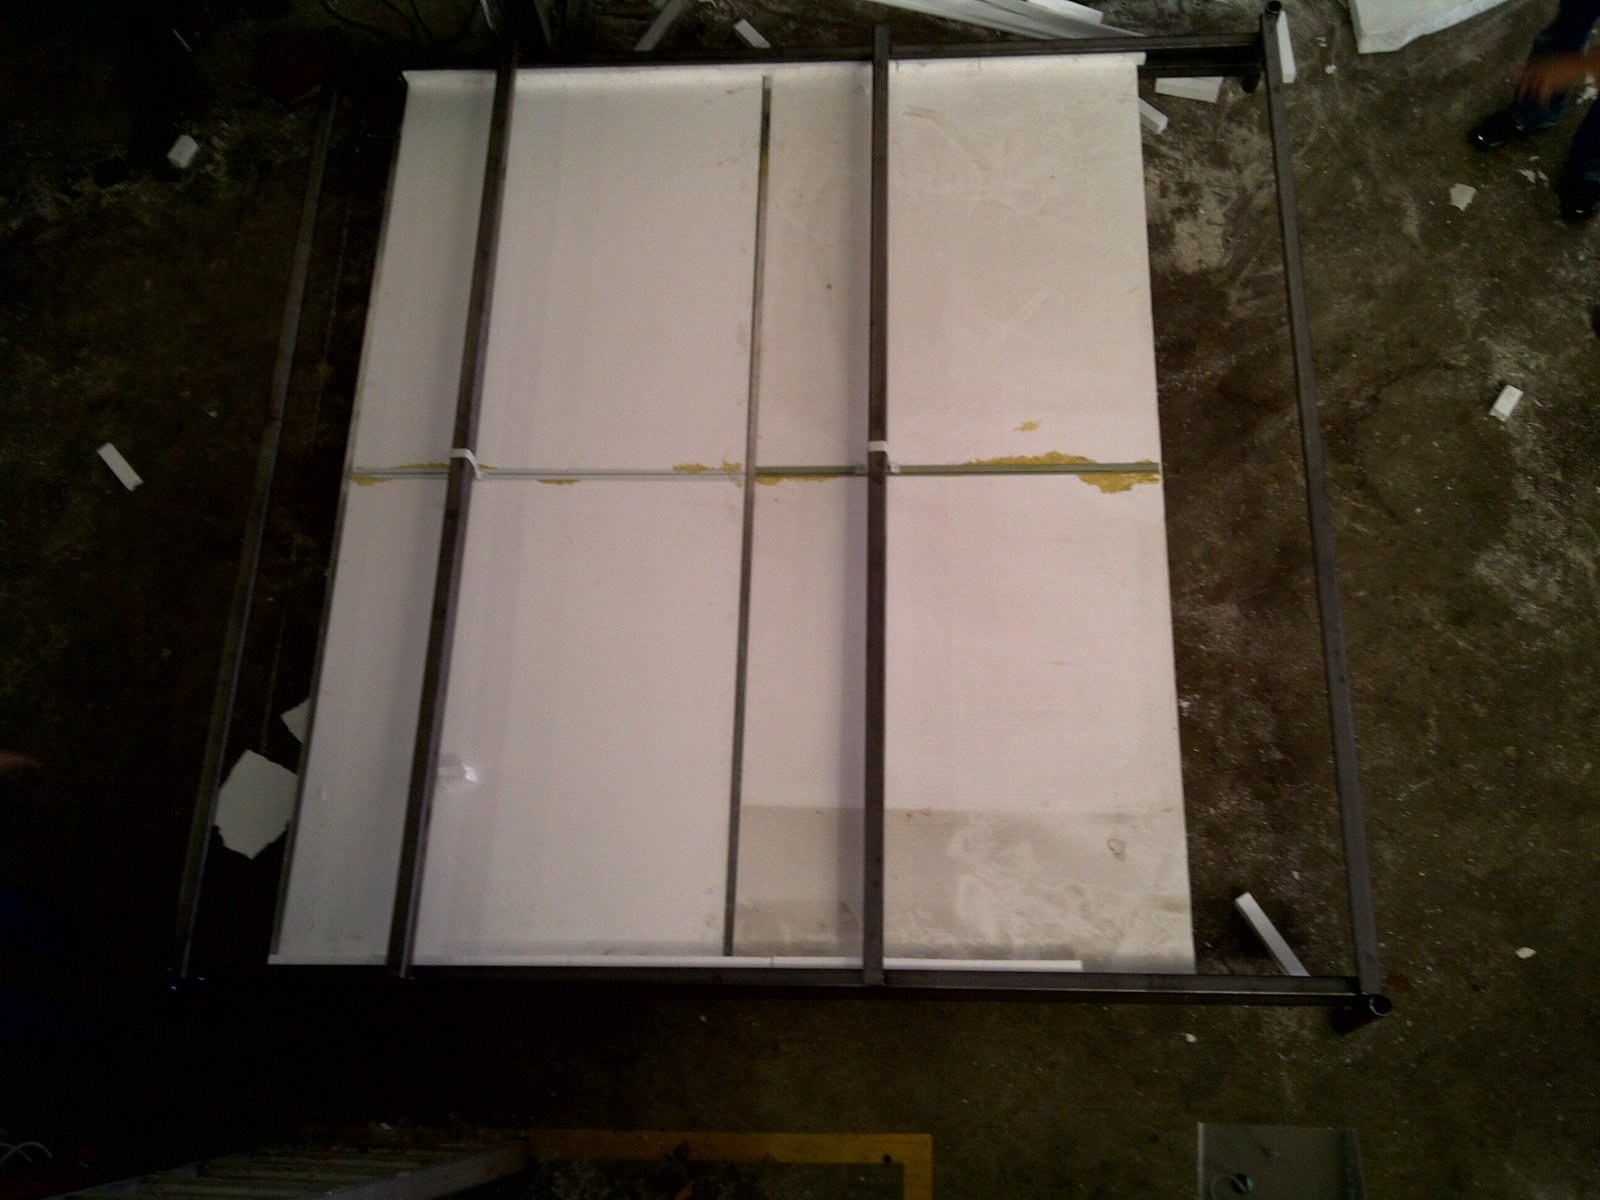
Panels laid out on a steel fabrication jig, viewed from abovePHOTO
Panels laid out on a steel fabrication jig, viewed from aboveLiteSpan Ceiling & Wall Panels
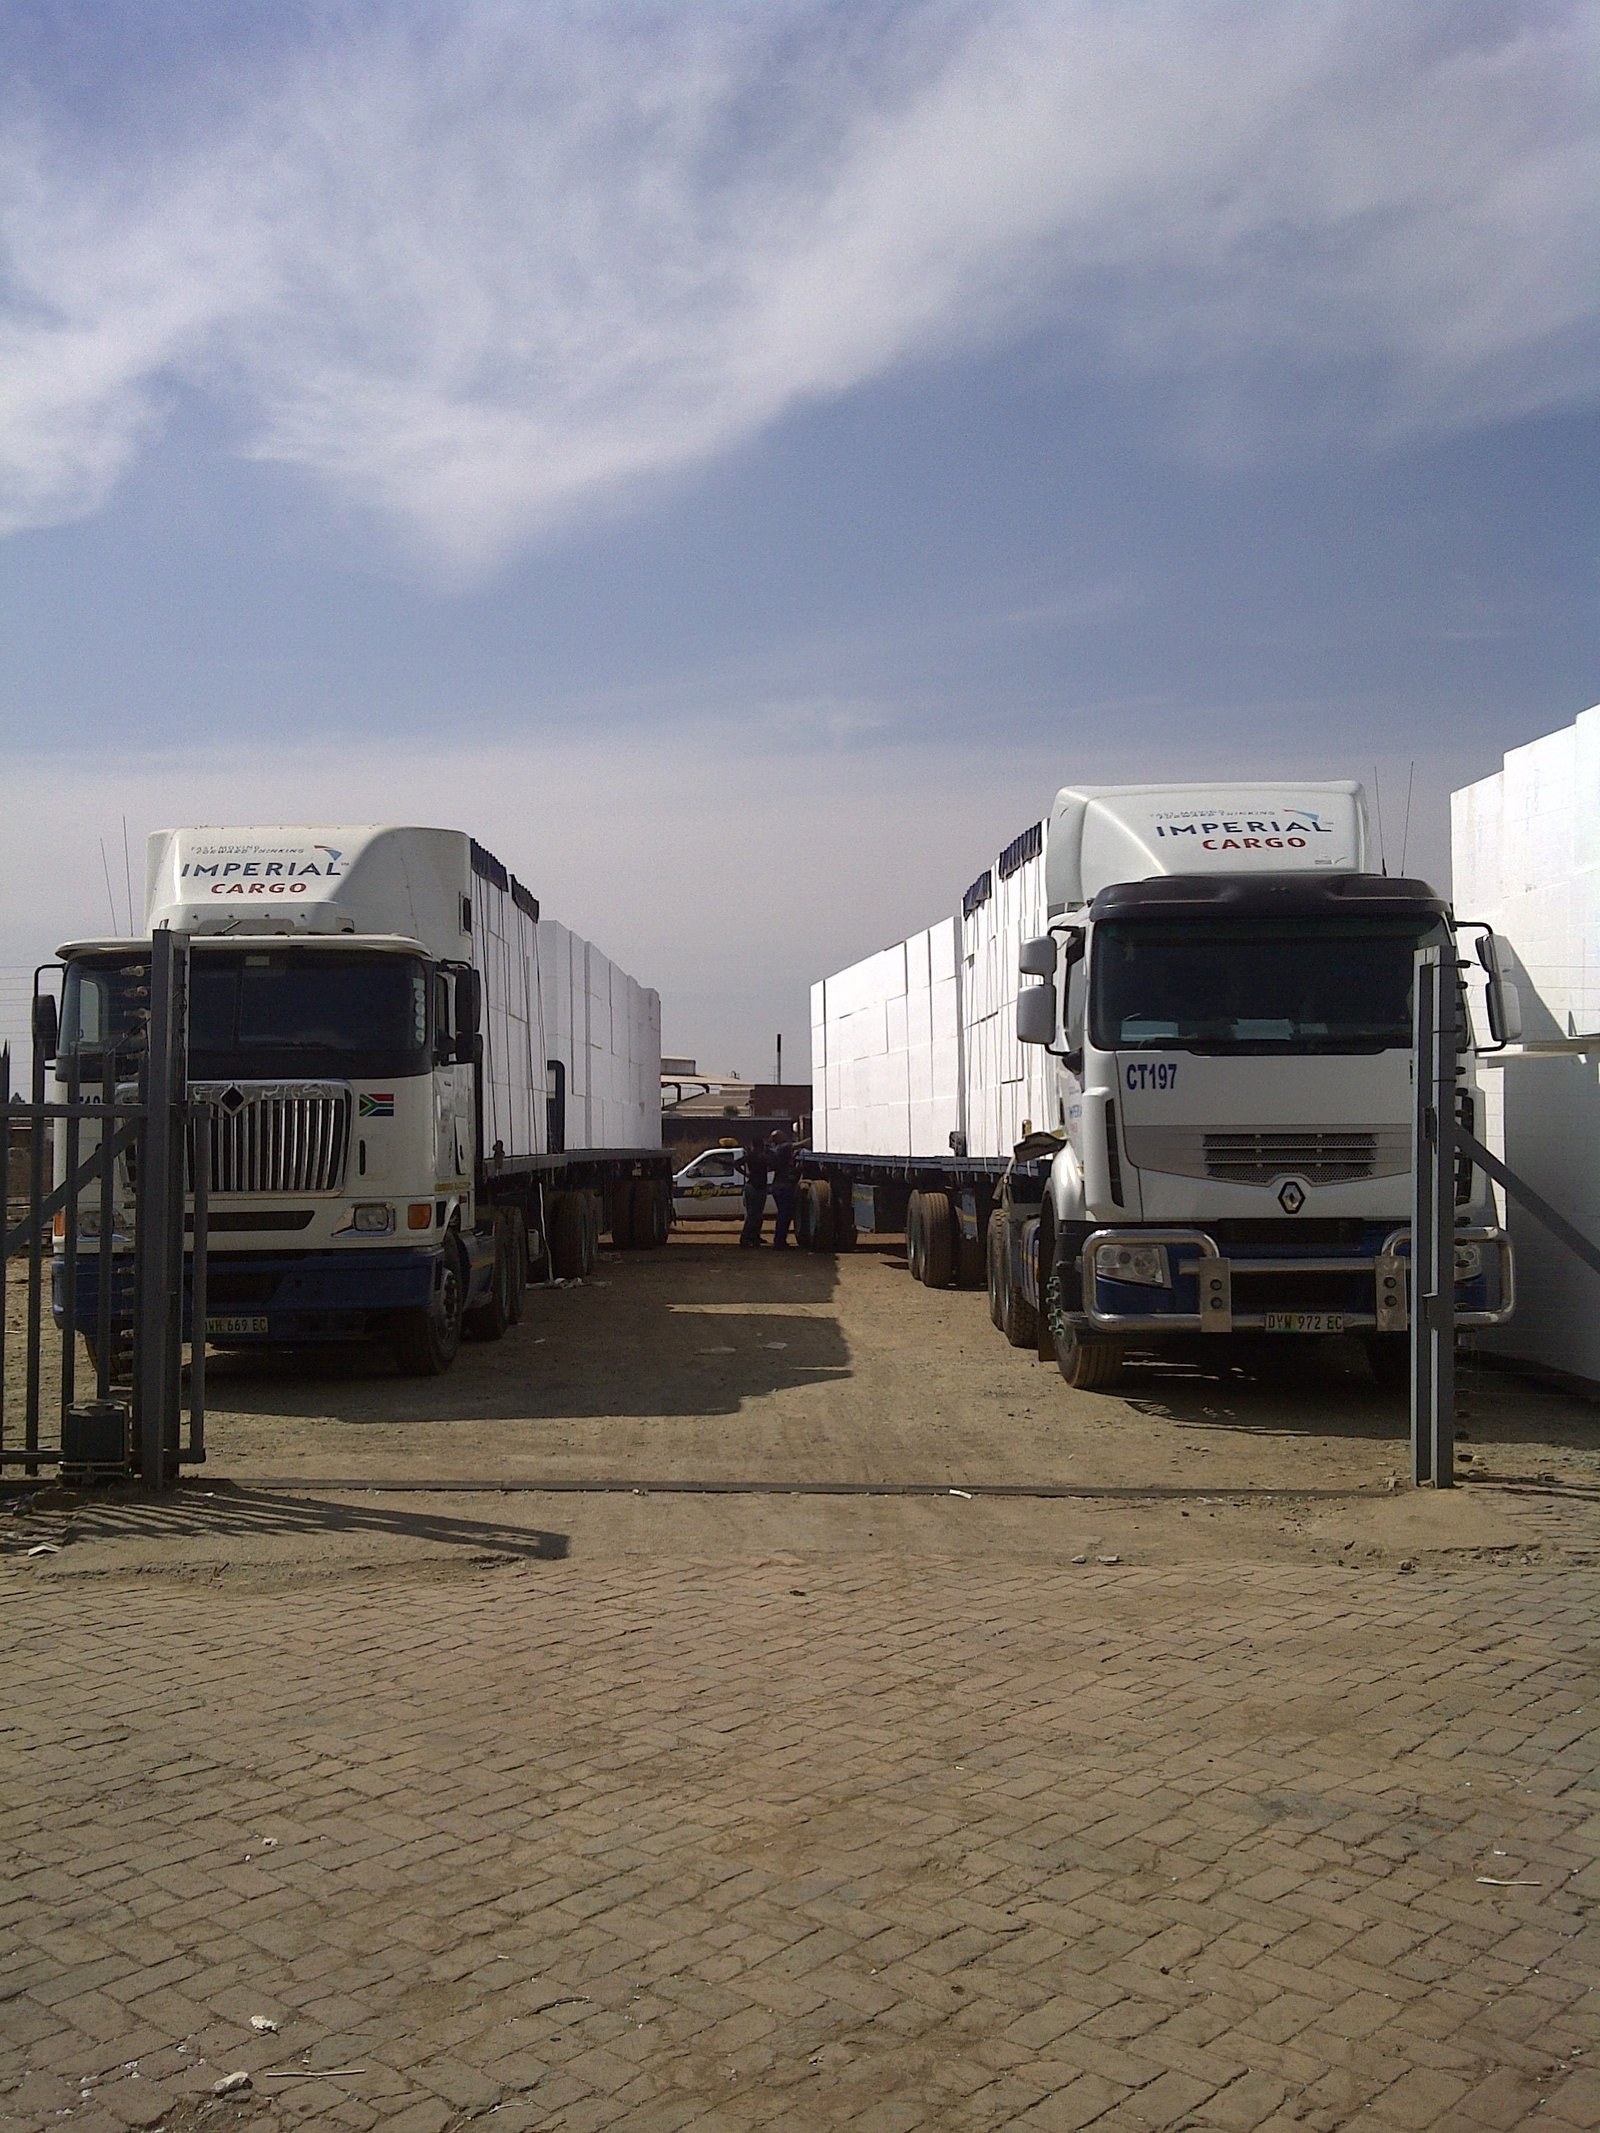
Two flatbed trucks loaded with panels for delivery to sitePHOTO
Two flatbed trucks loaded with panels for delivery to siteLiteSpan Ceiling & Wall Panels
Panel edges marked by hand with size and batch numbers in the warehousePHOTO
Panel edges marked by hand with size and batch numbers in the warehouseLiteSpan Ceiling & Wall Panels
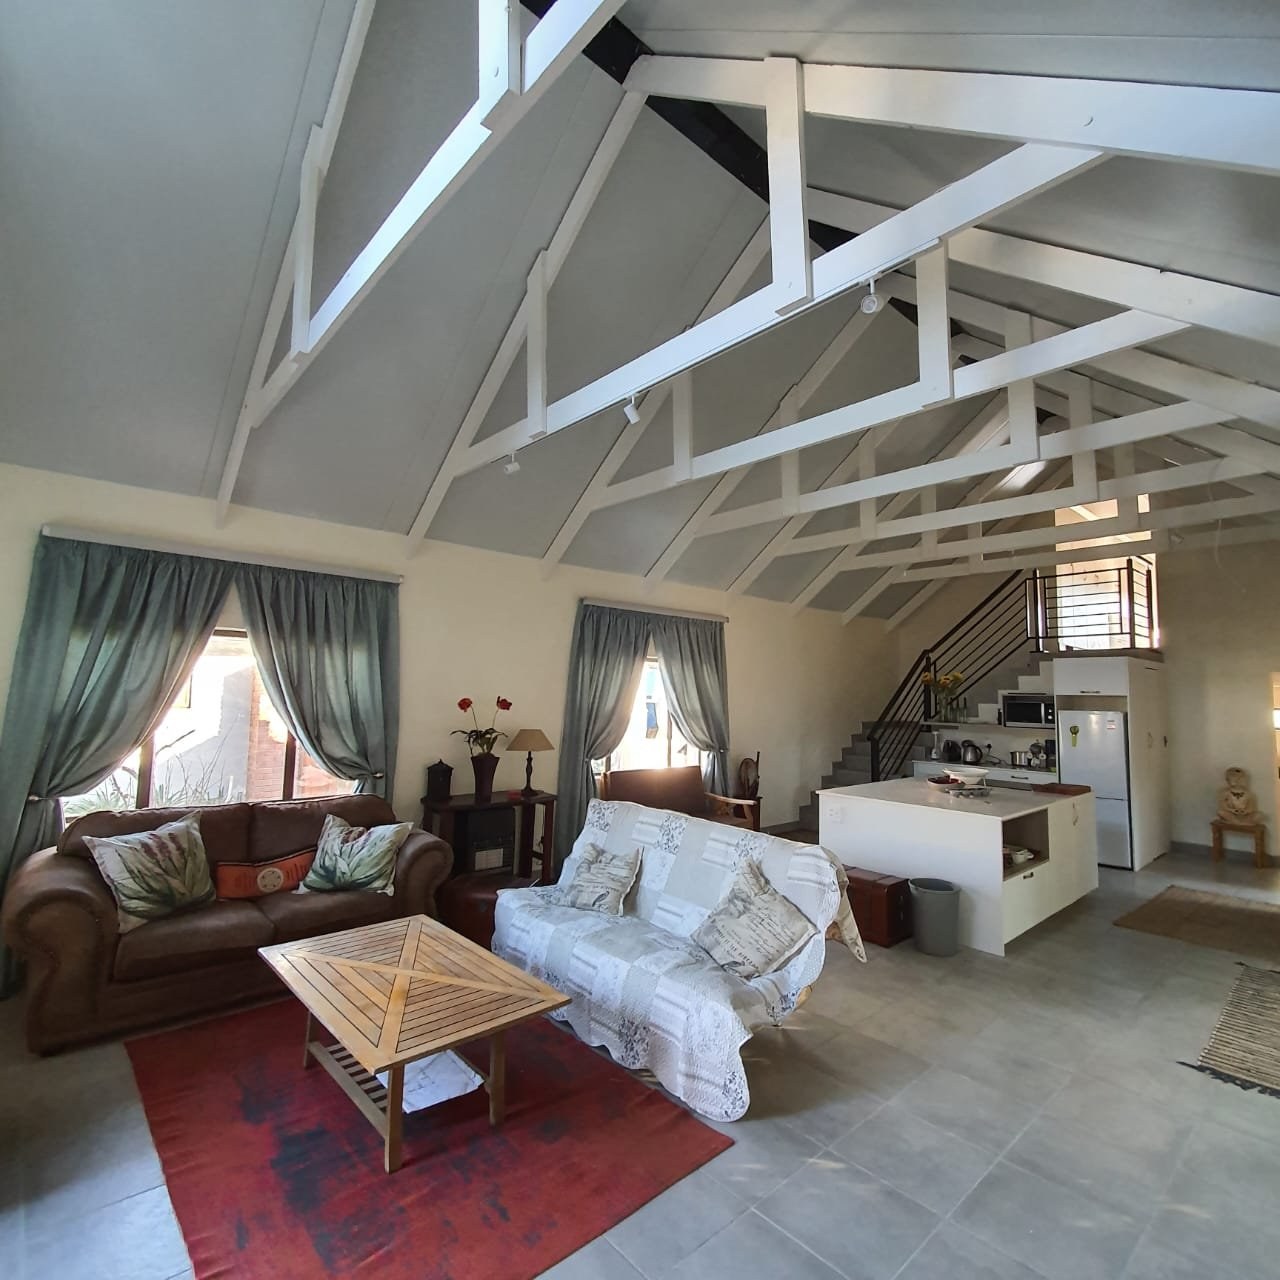
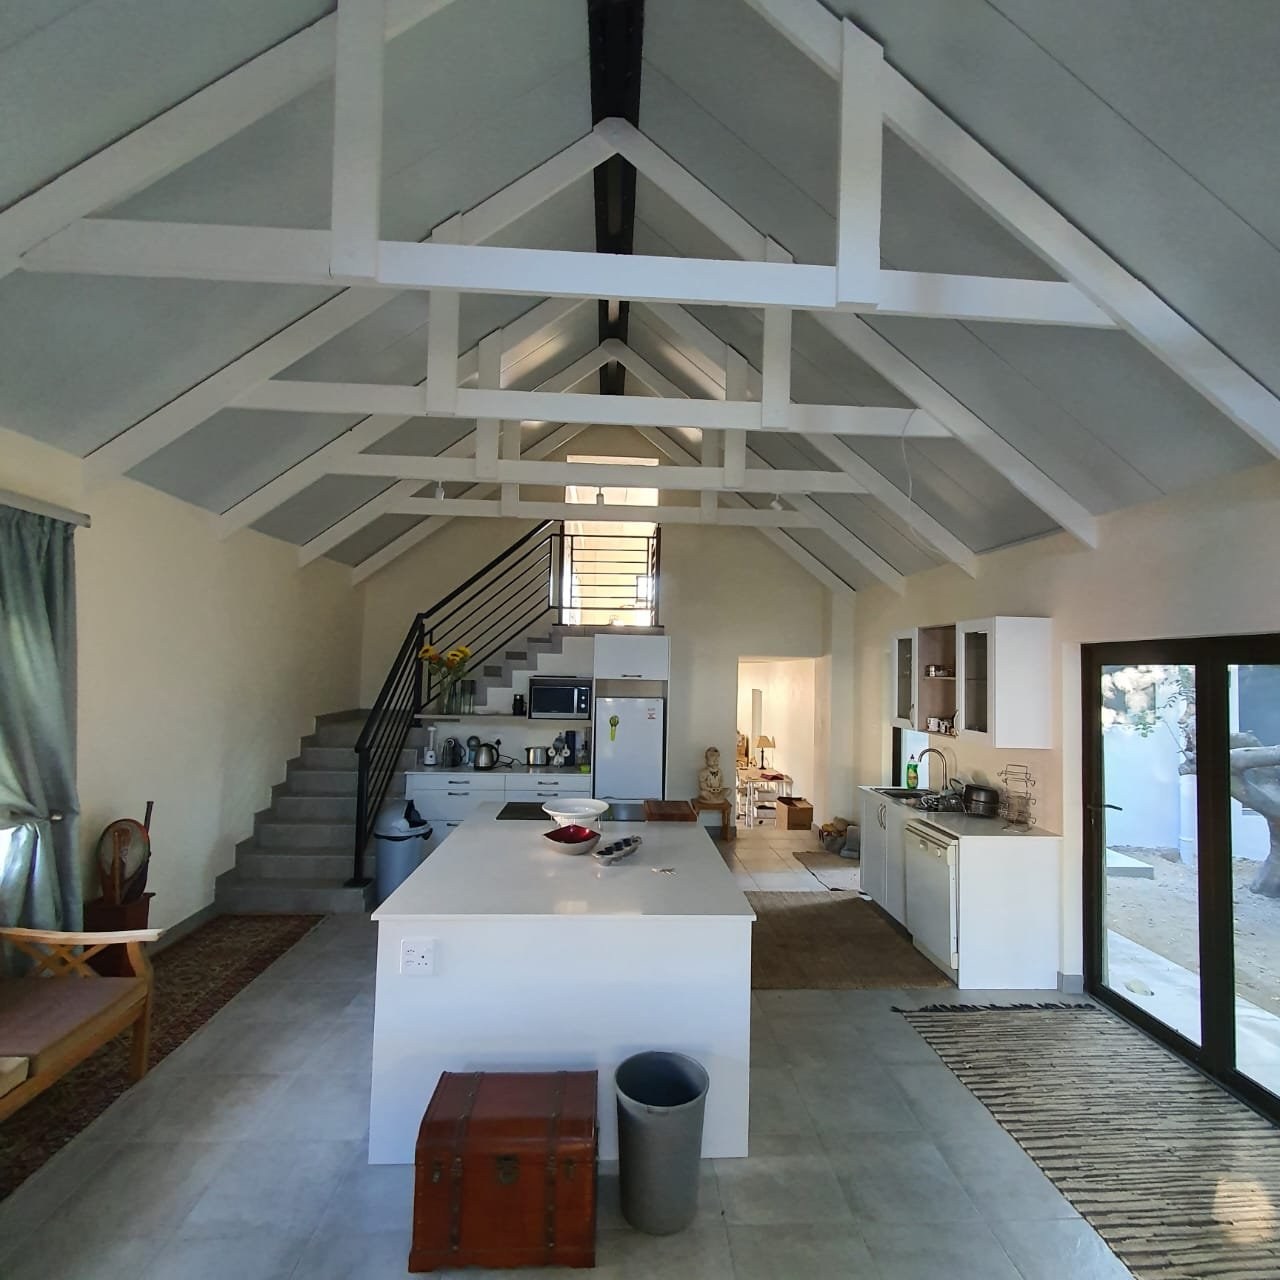
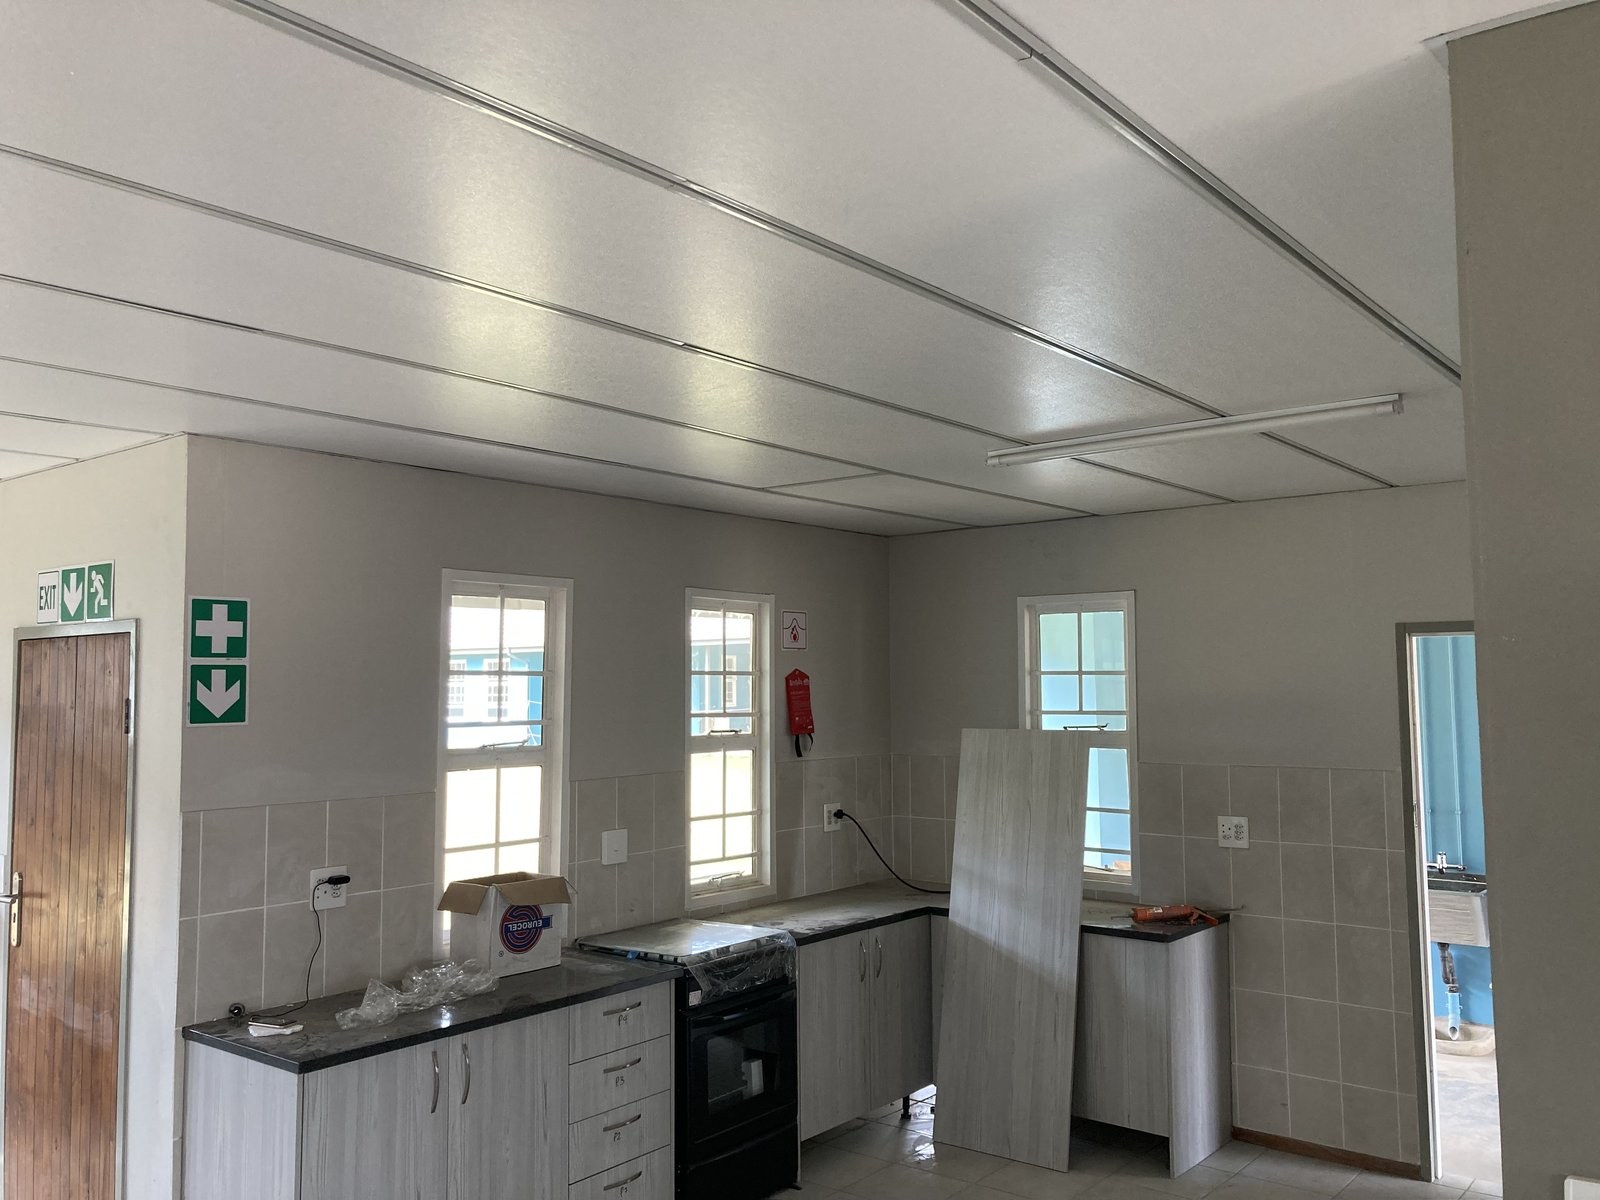
Panel ceiling in a vaulted open-plan living and kitchen area, with painted white roof trussesPHOTO
Panel ceiling in a vaulted open-plan living and kitchen area, with painted white roof trussesLiteSpan Ceiling & Wall Panels
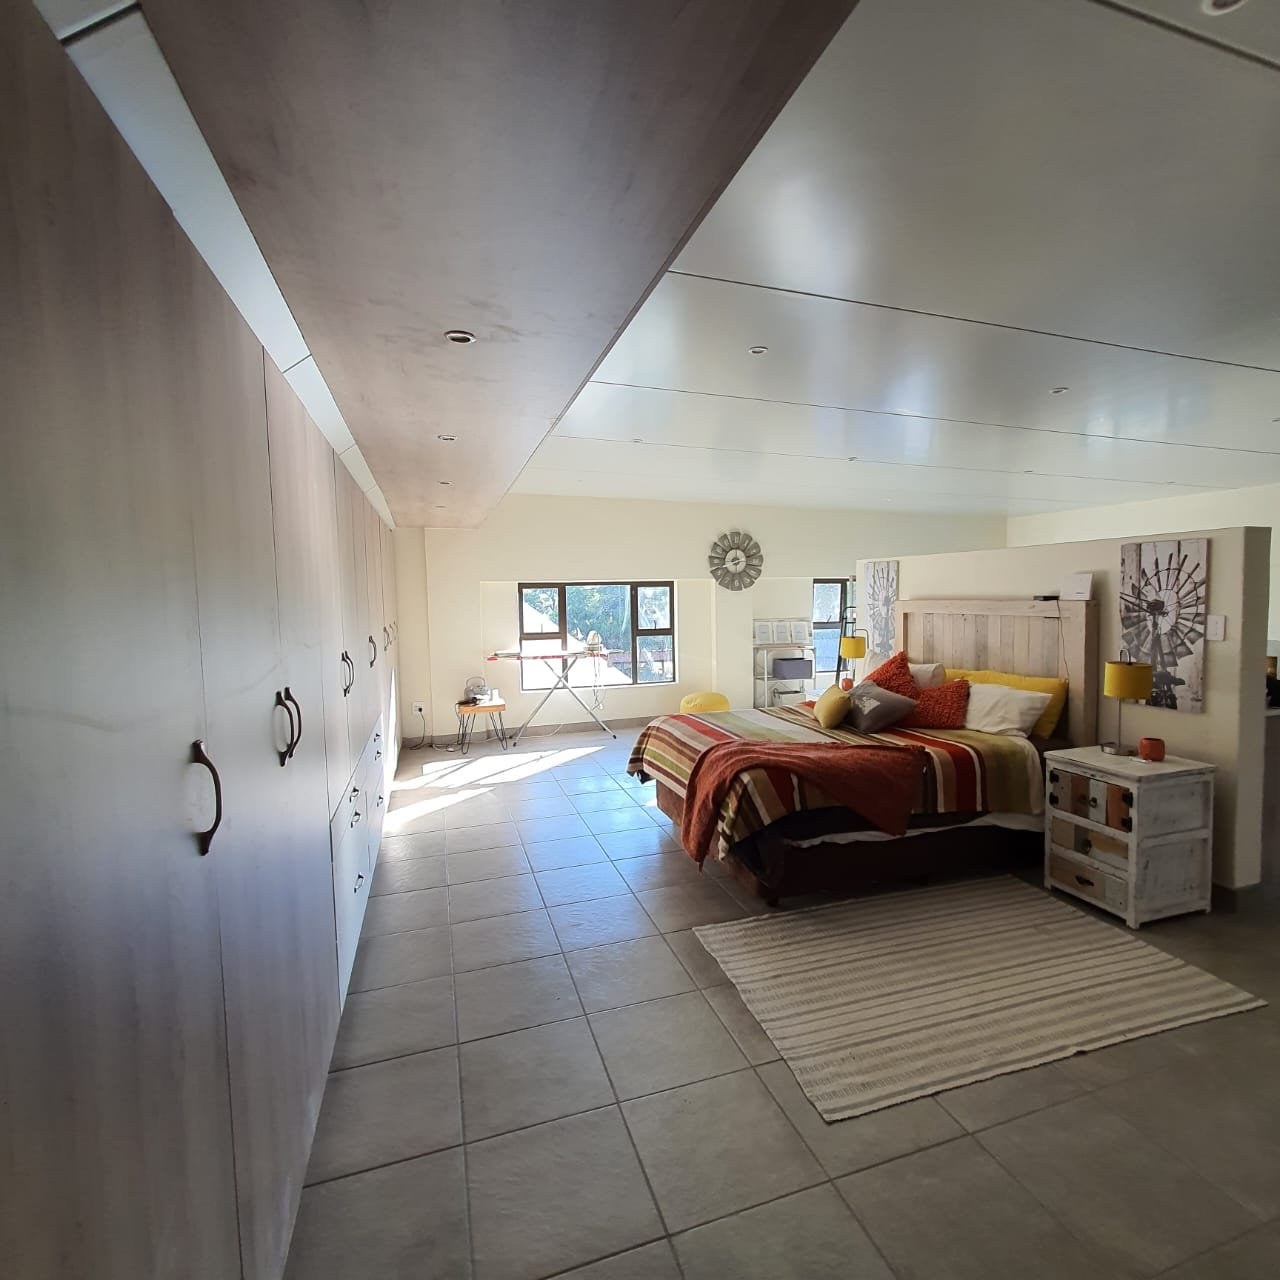
Panel ceiling with a bulkhead step above a fitted wardrobe wall in a bedroomPHOTO
Panel ceiling with a bulkhead step above a fitted wardrobe wall in a bedroomLiteSpan Ceiling & Wall Panels
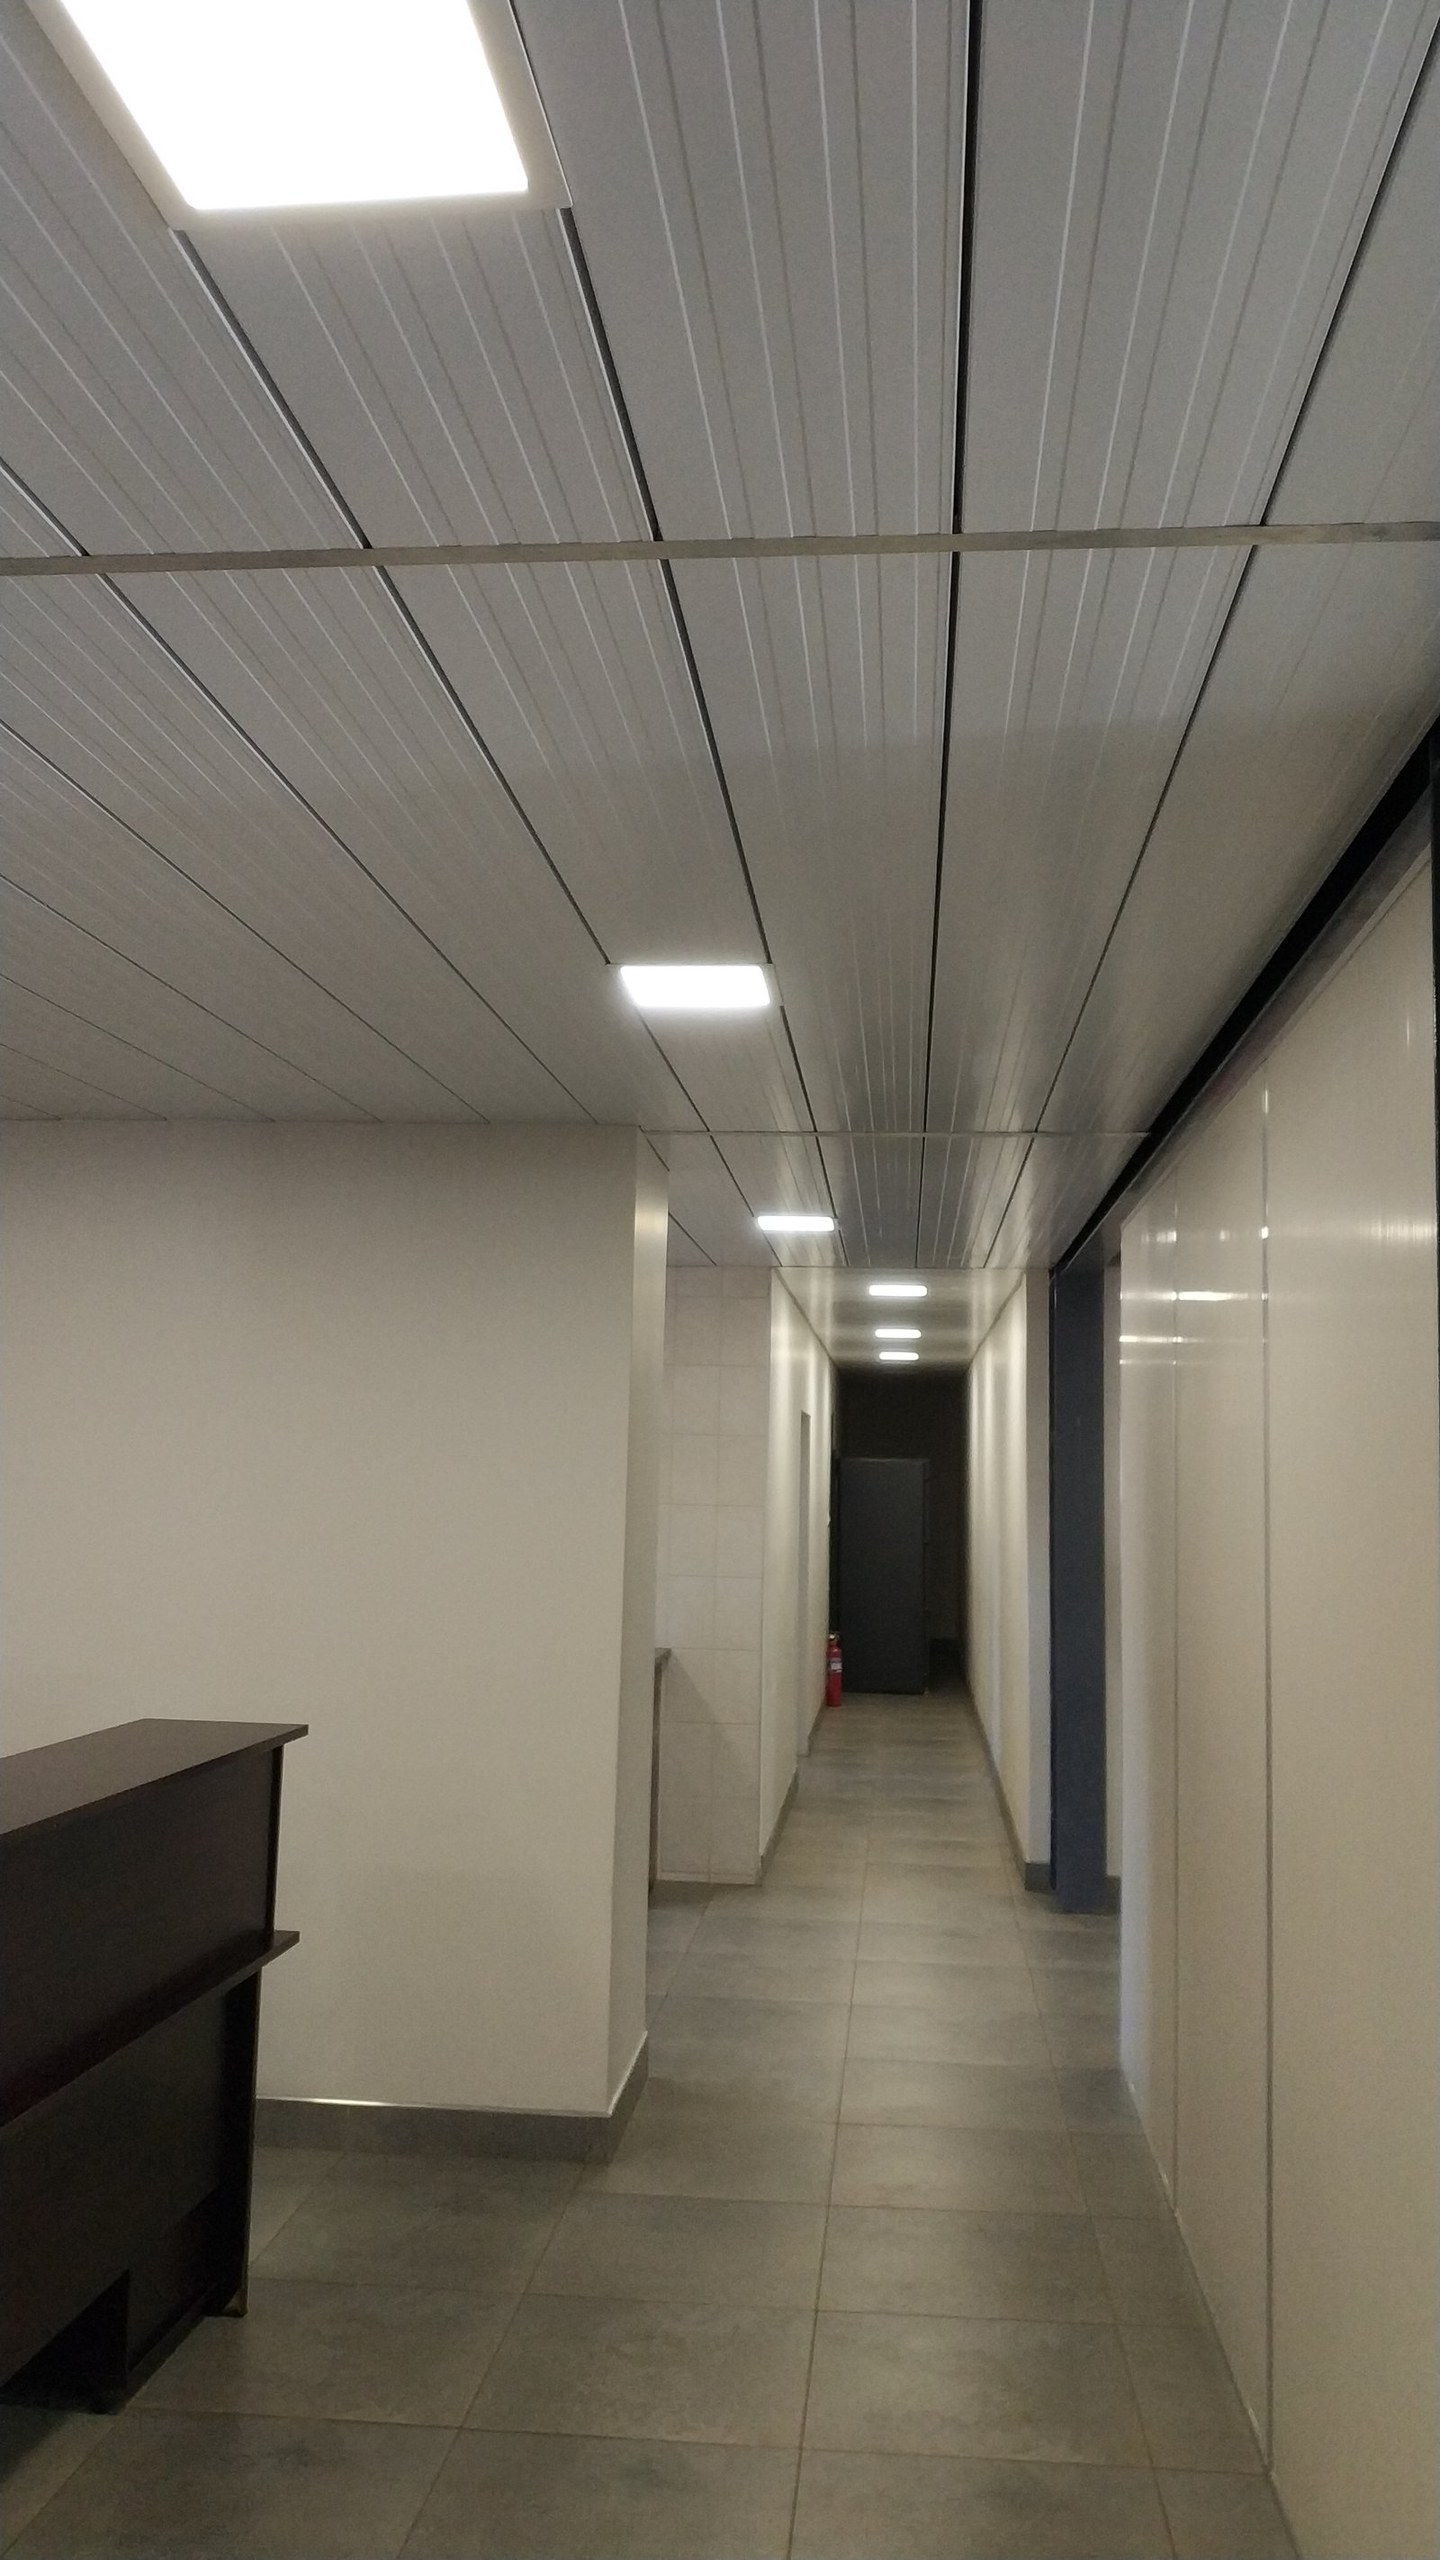
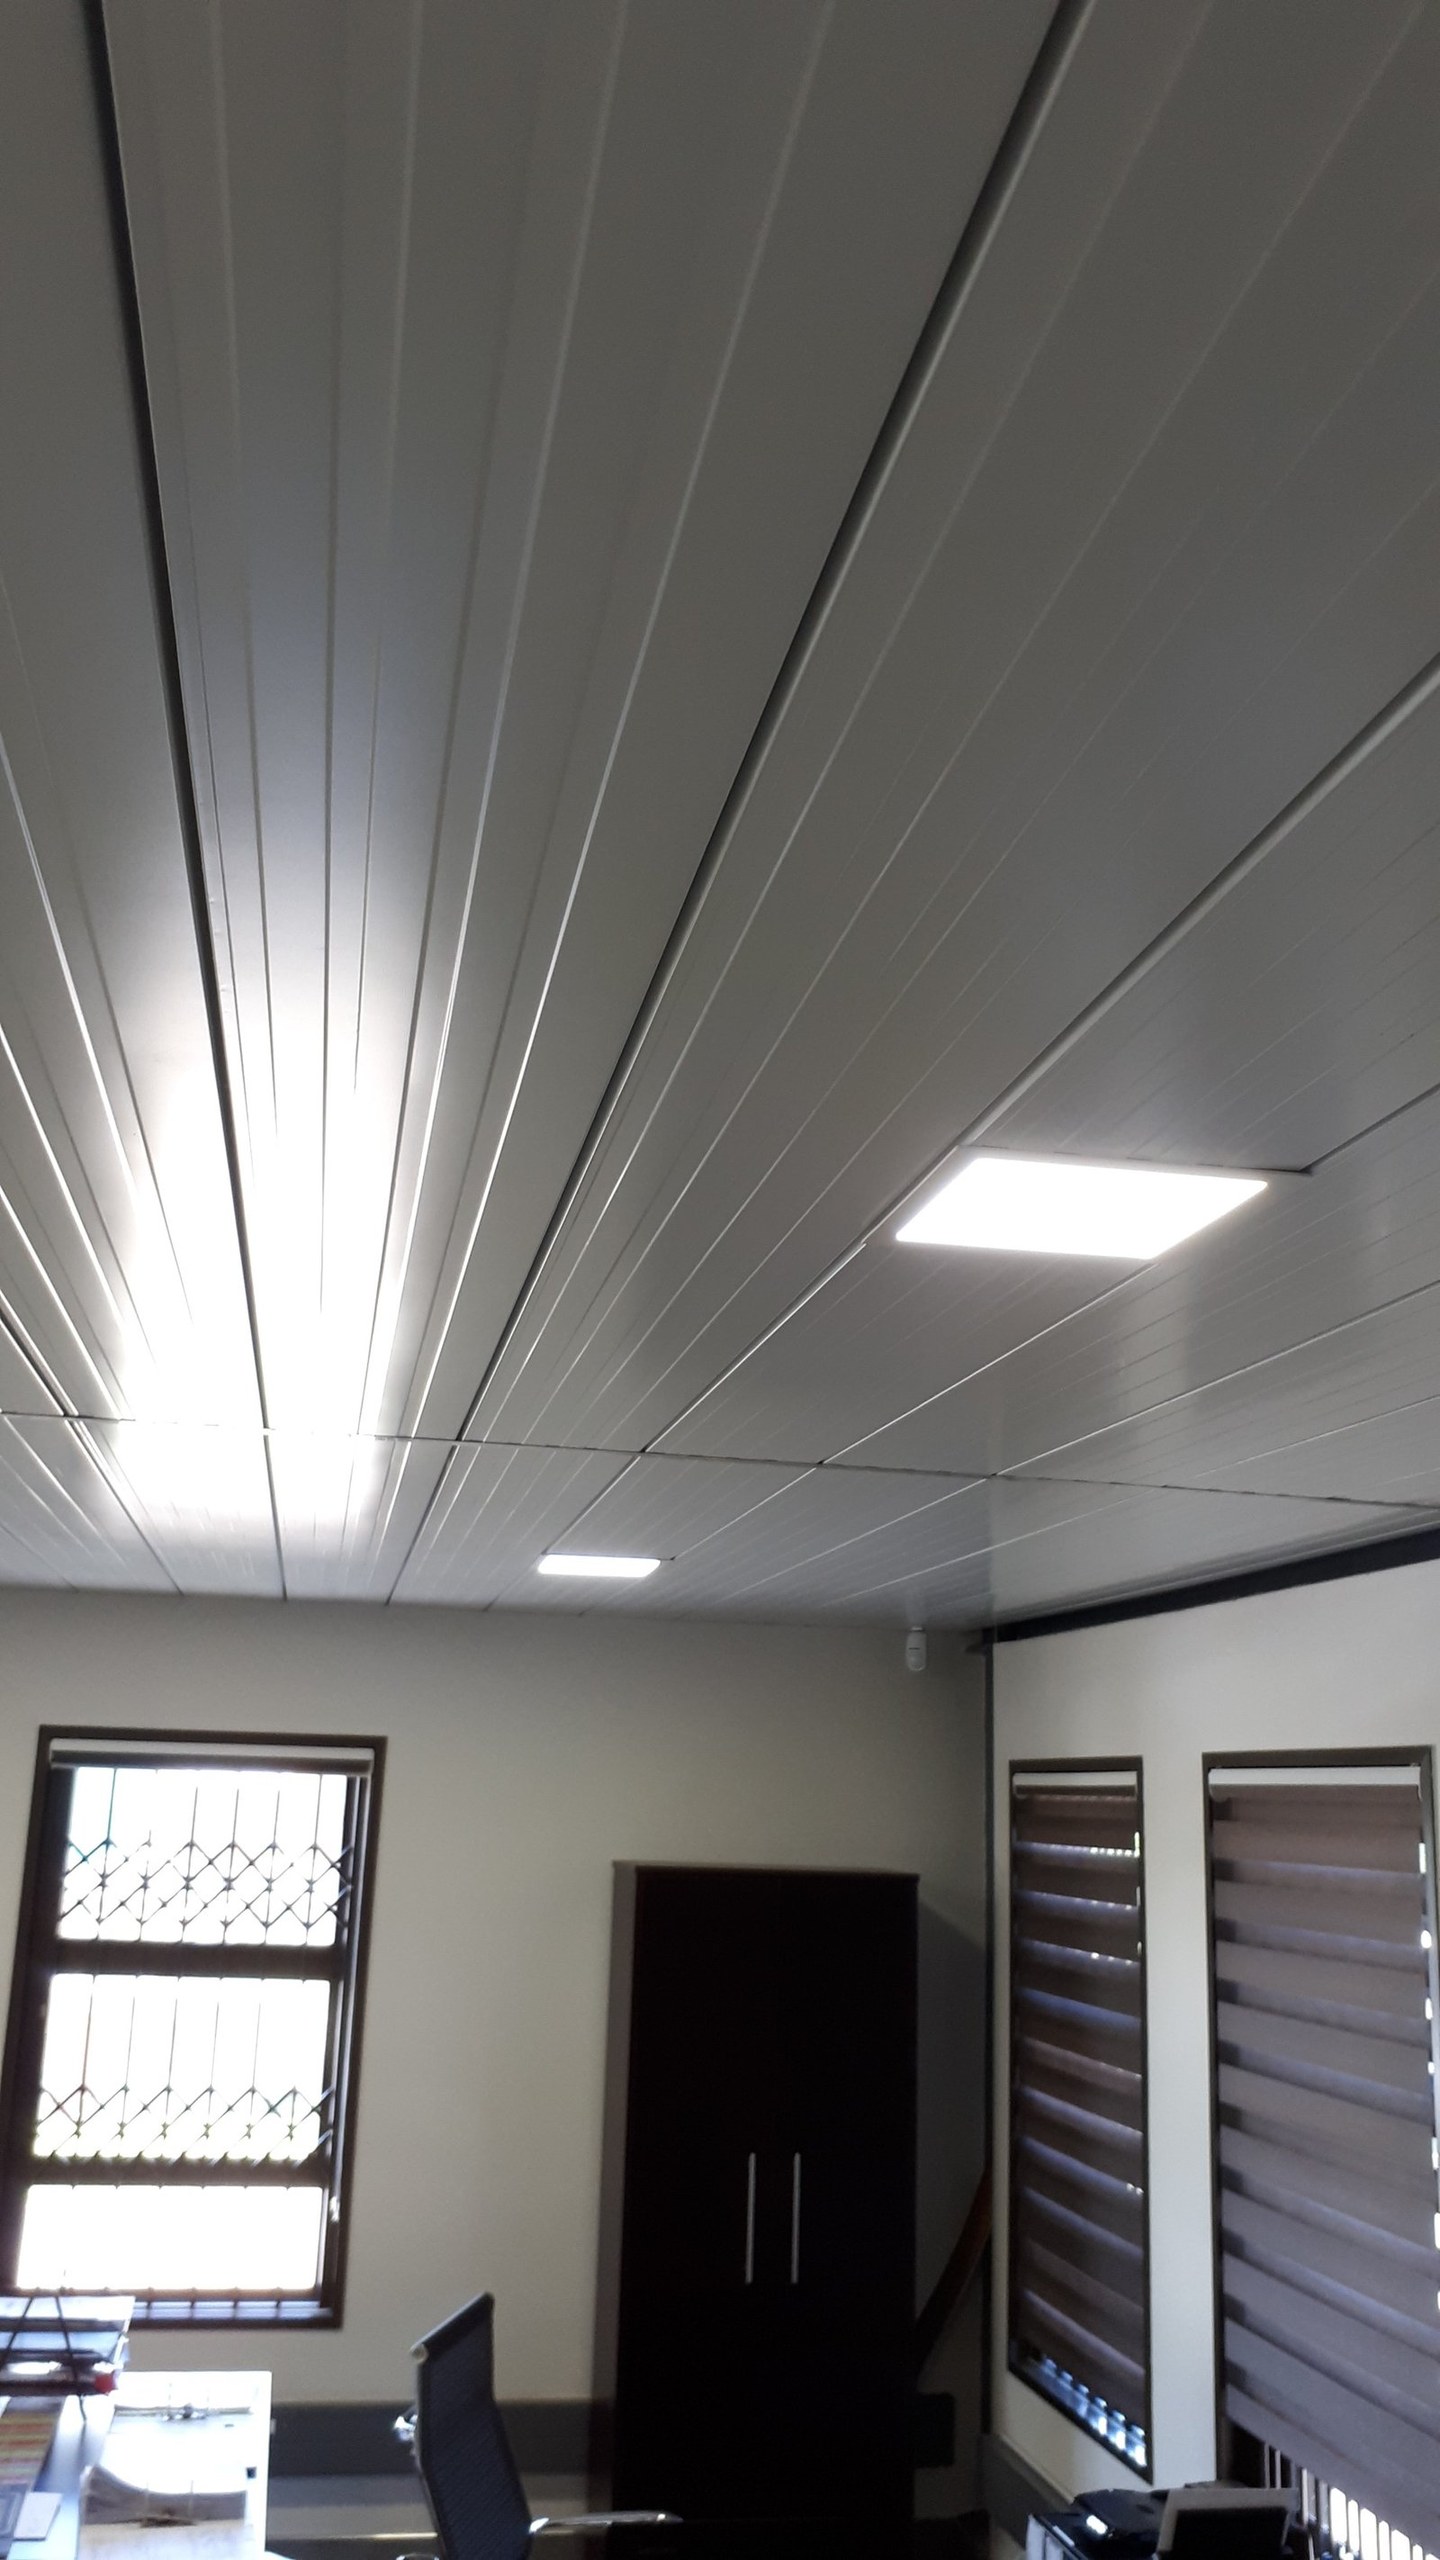
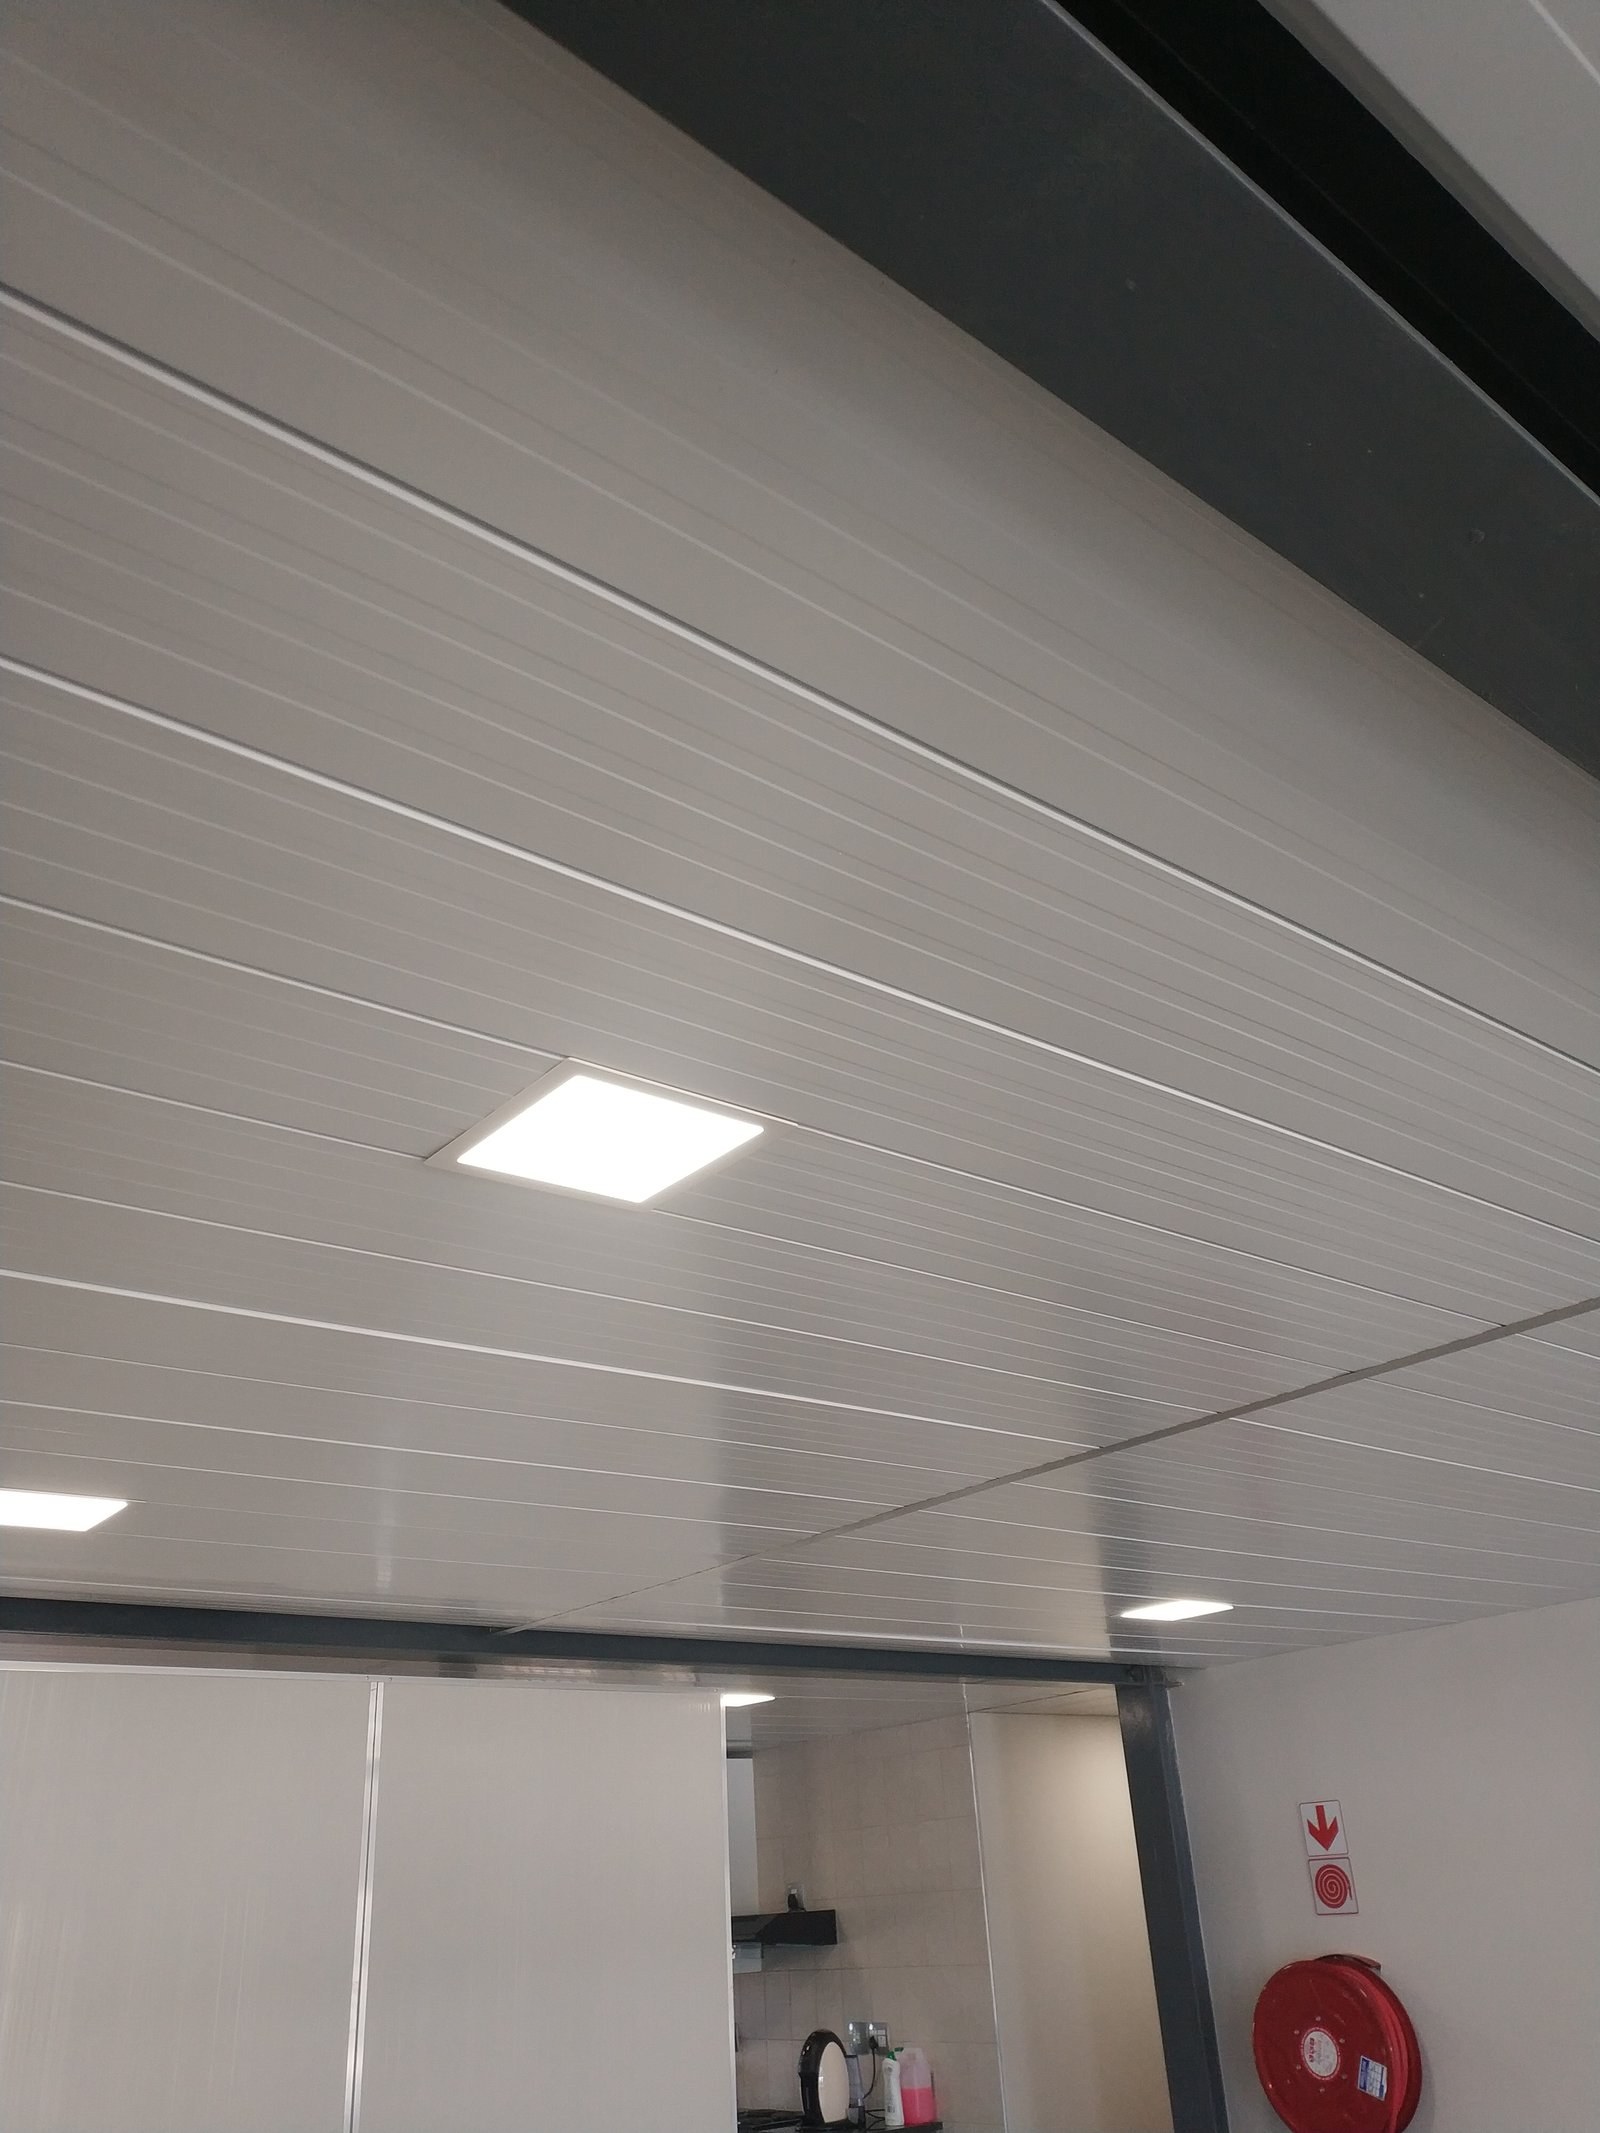
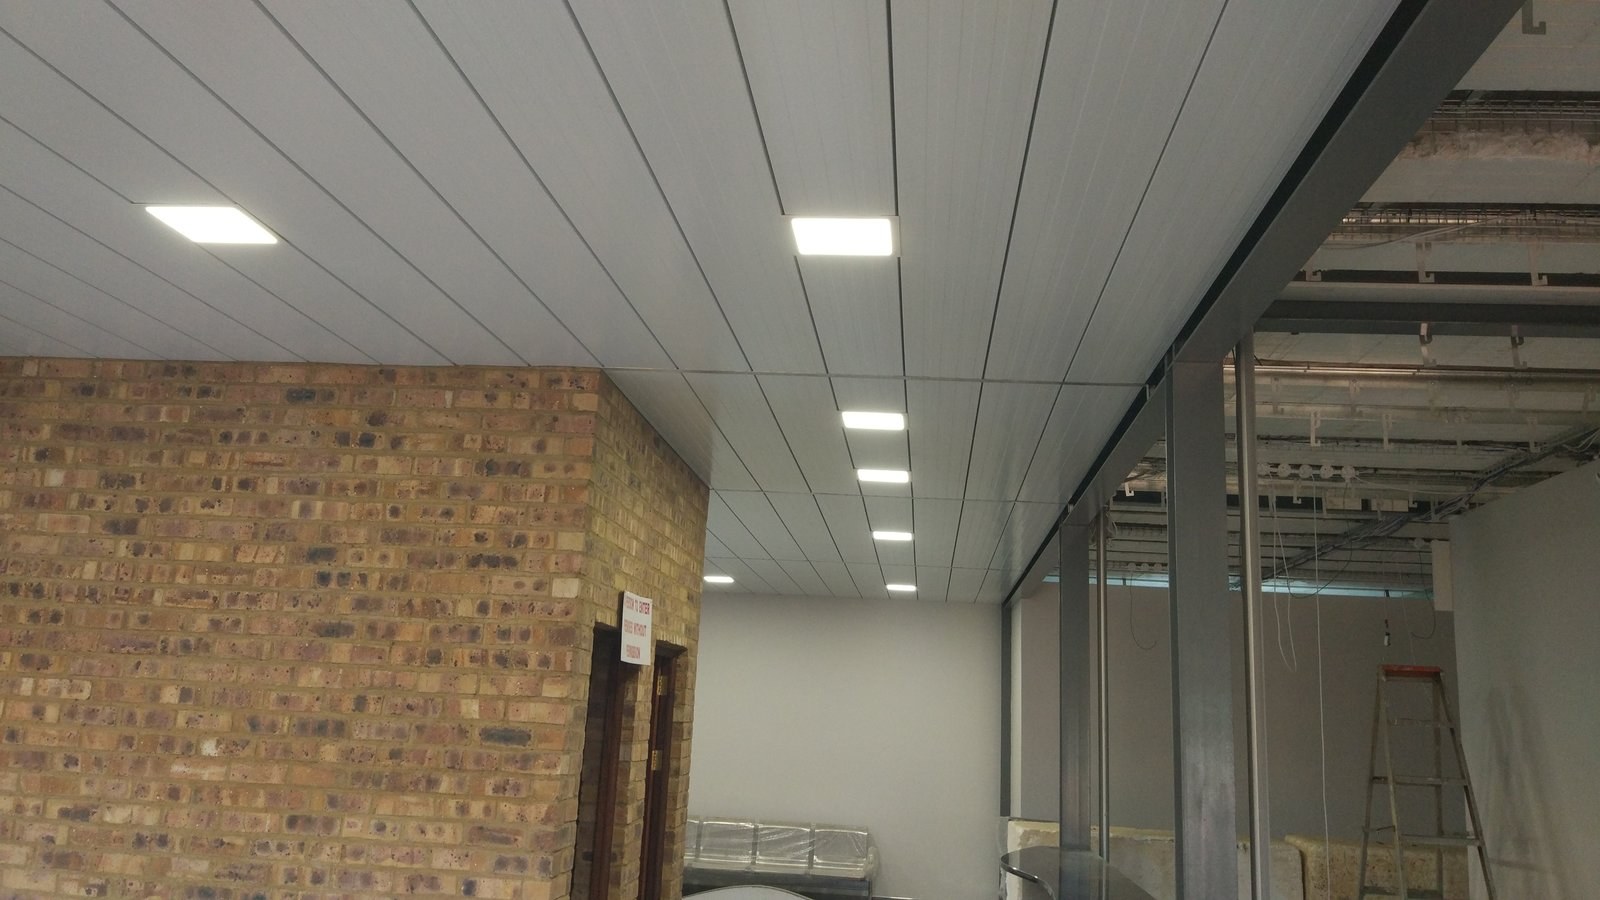
Panel ceiling with recessed downlights along an office corridorPHOTO
Panel ceiling with recessed downlights along an office corridorLiteSpan Ceiling & Wall Panels
Close-up of a ceiling panel joint finished with a cover trimPHOTO
Close-up of a ceiling panel joint finished with a cover trimLiteSpan Ceiling & Wall Panels
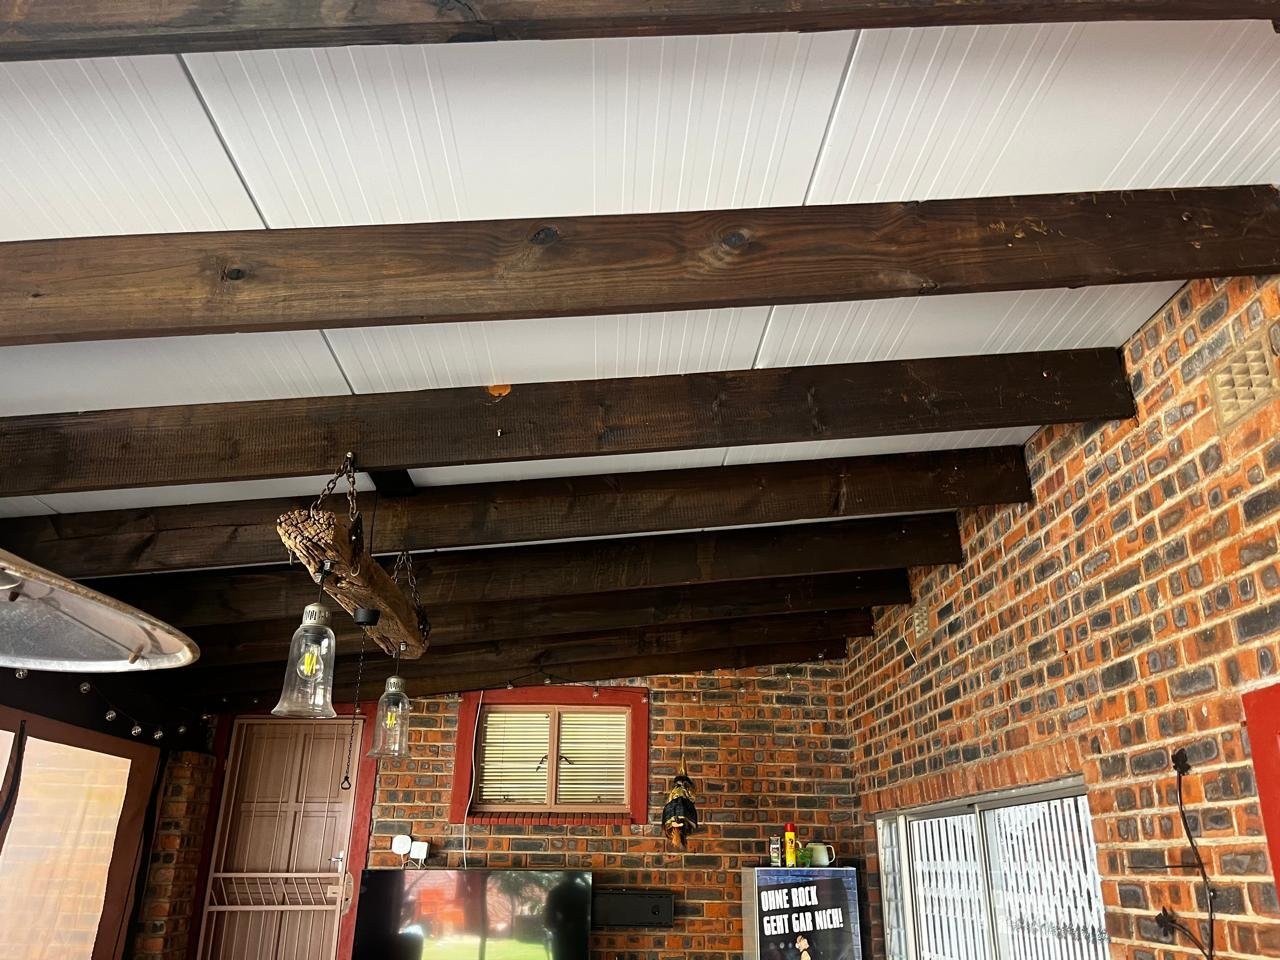
Panel ceiling installed under a patio roof alongside exposed wood beamsPHOTO
Panel ceiling installed under a patio roof alongside exposed wood beamsLiteSpan Ceiling & Wall Panels
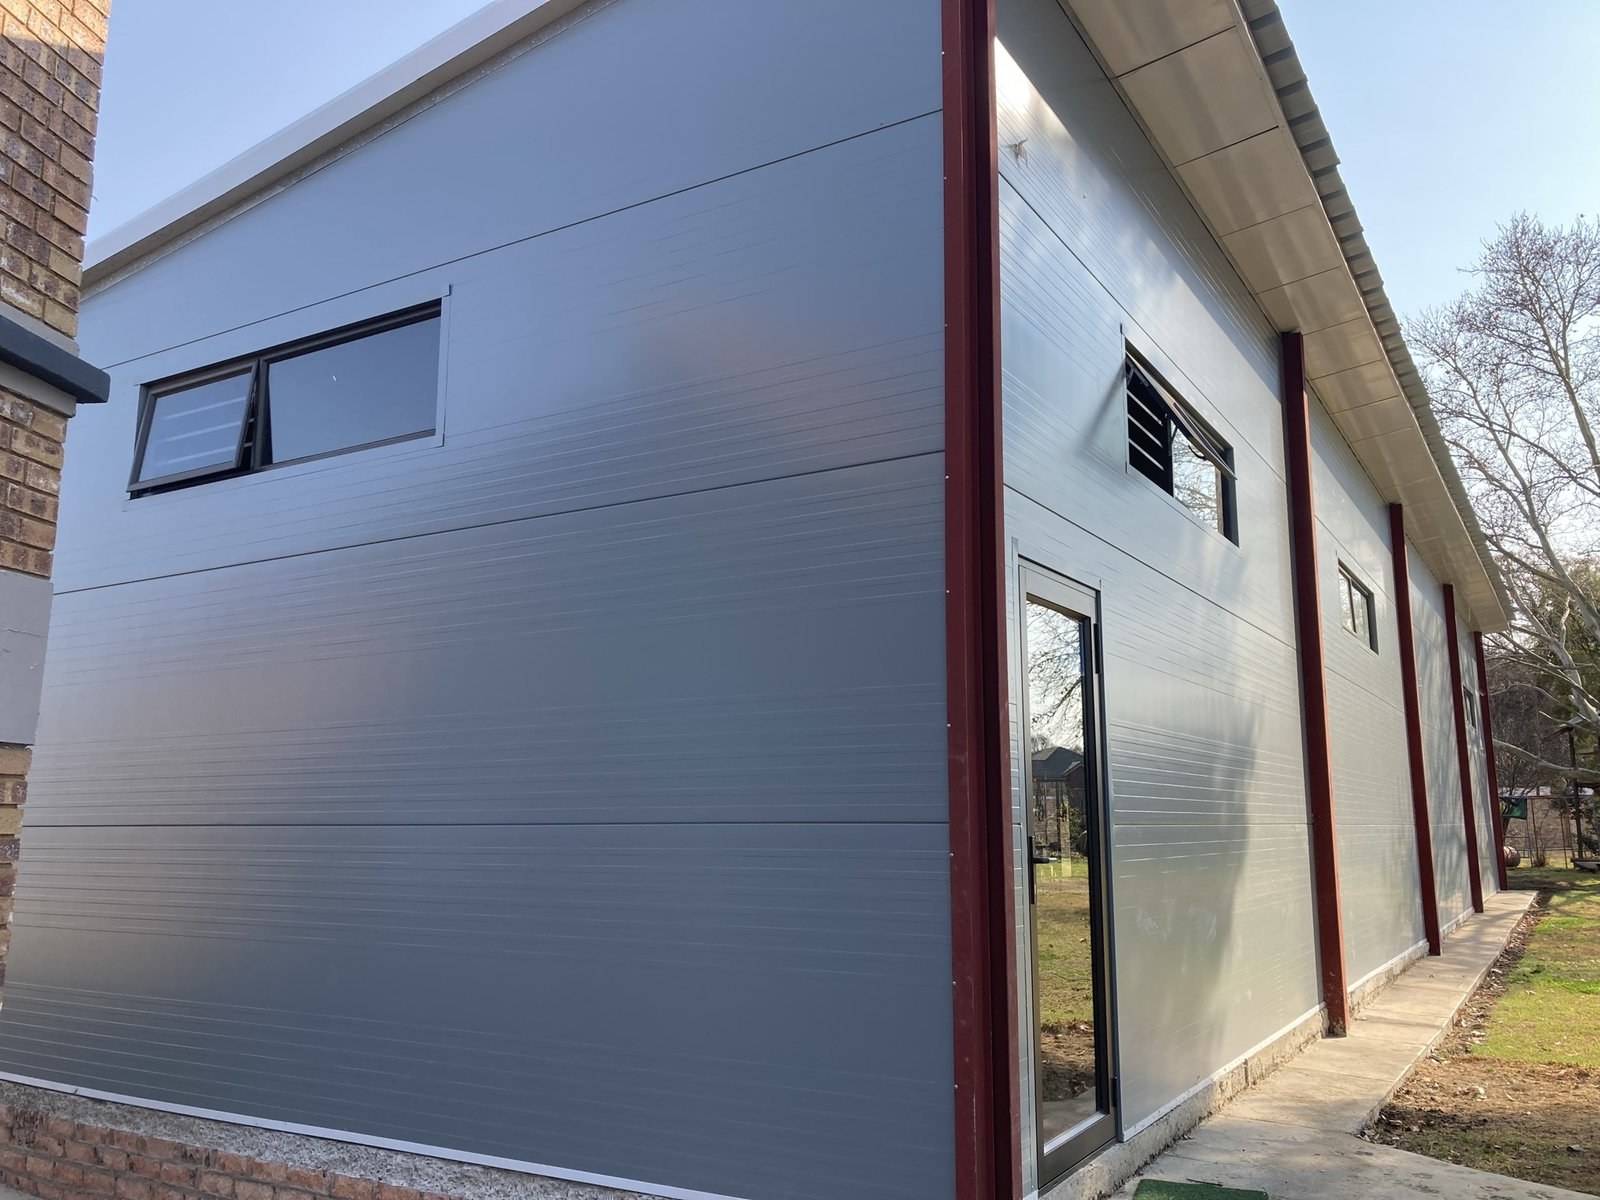
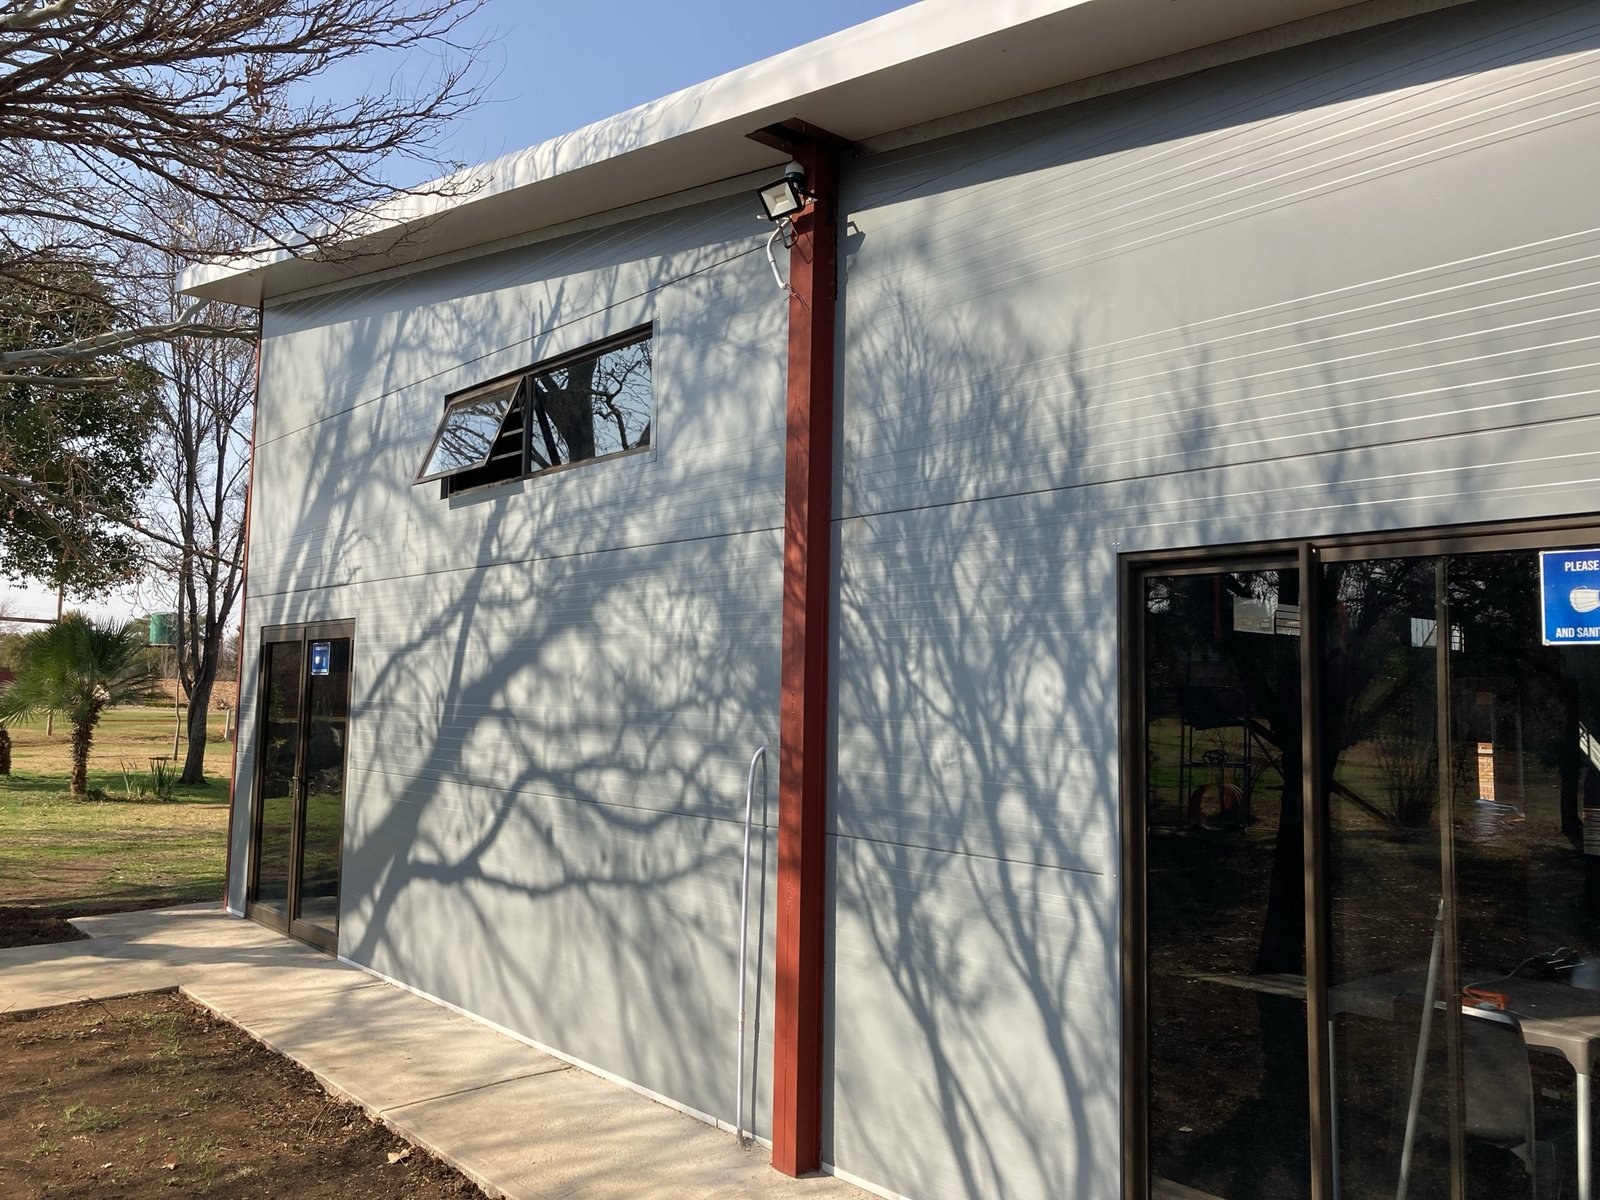
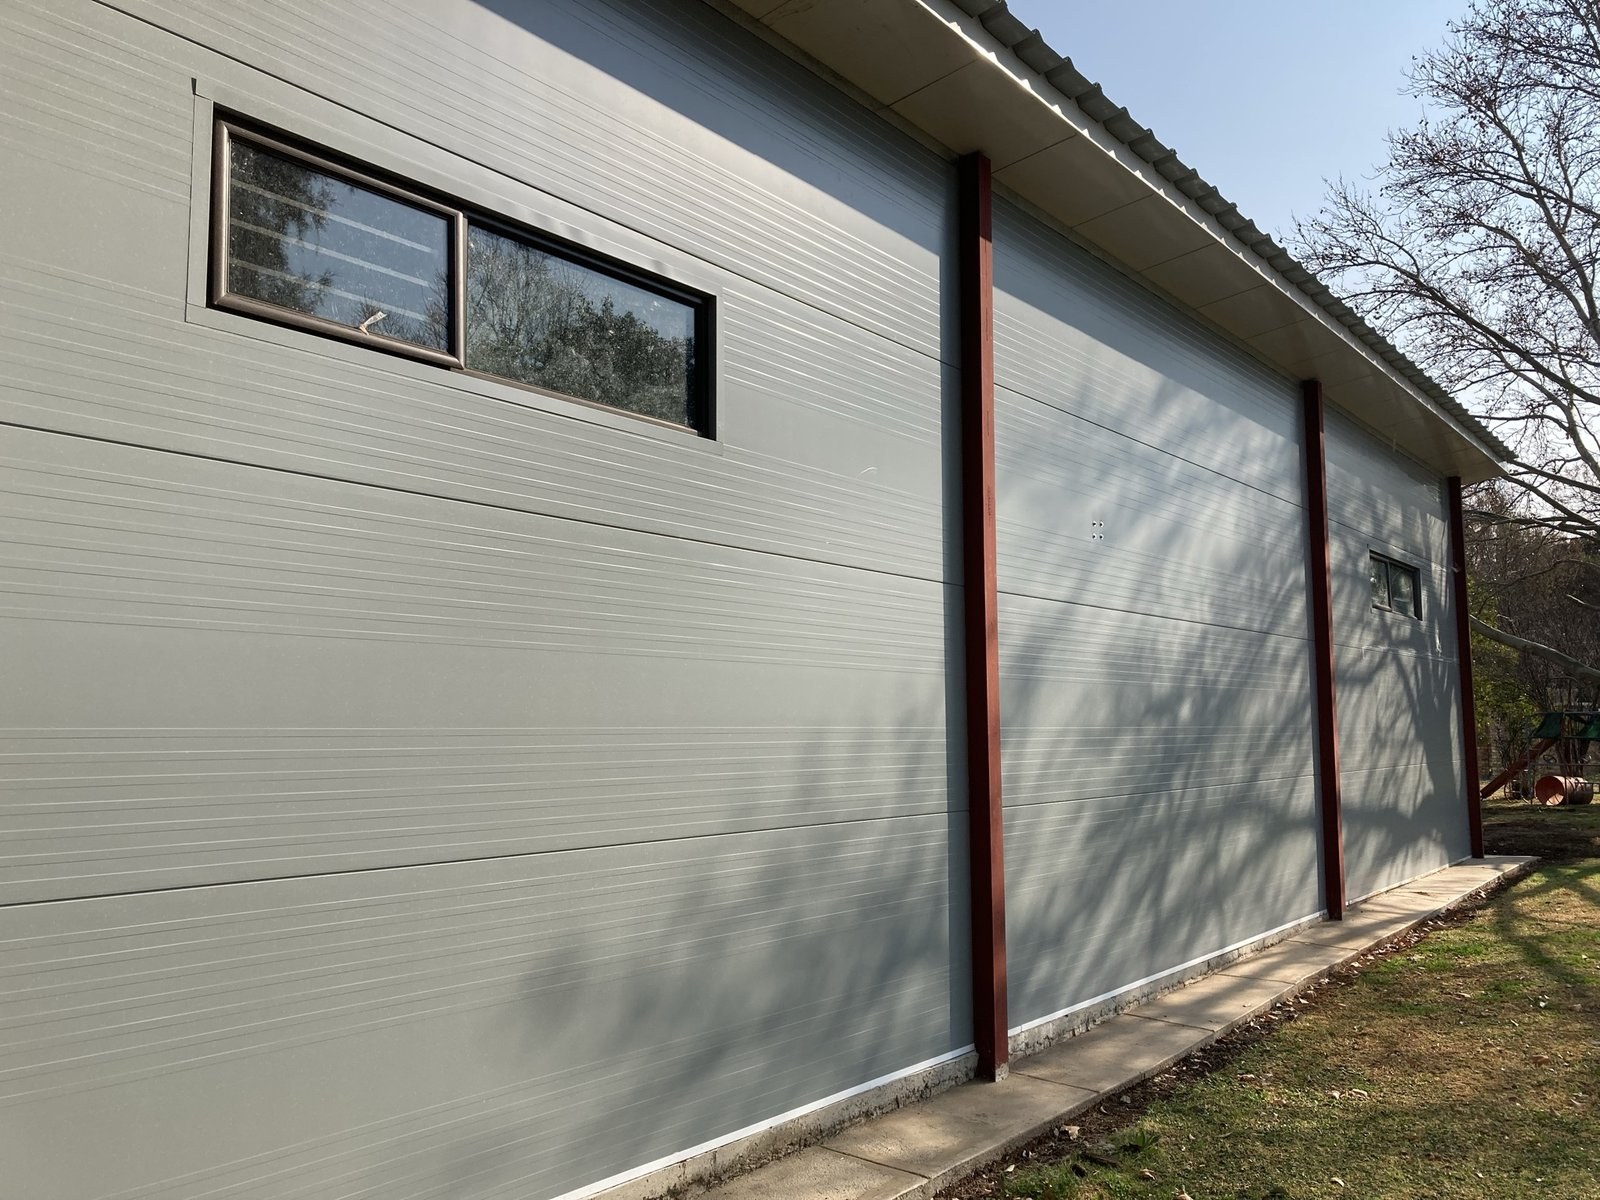
Long wall elevation of a building clad in wall panels, with columns and window openings along its lengthPHOTO
Long wall elevation of a building clad in wall panels, with columns and window openings along its lengthLiteSpan Ceiling & Wall Panels
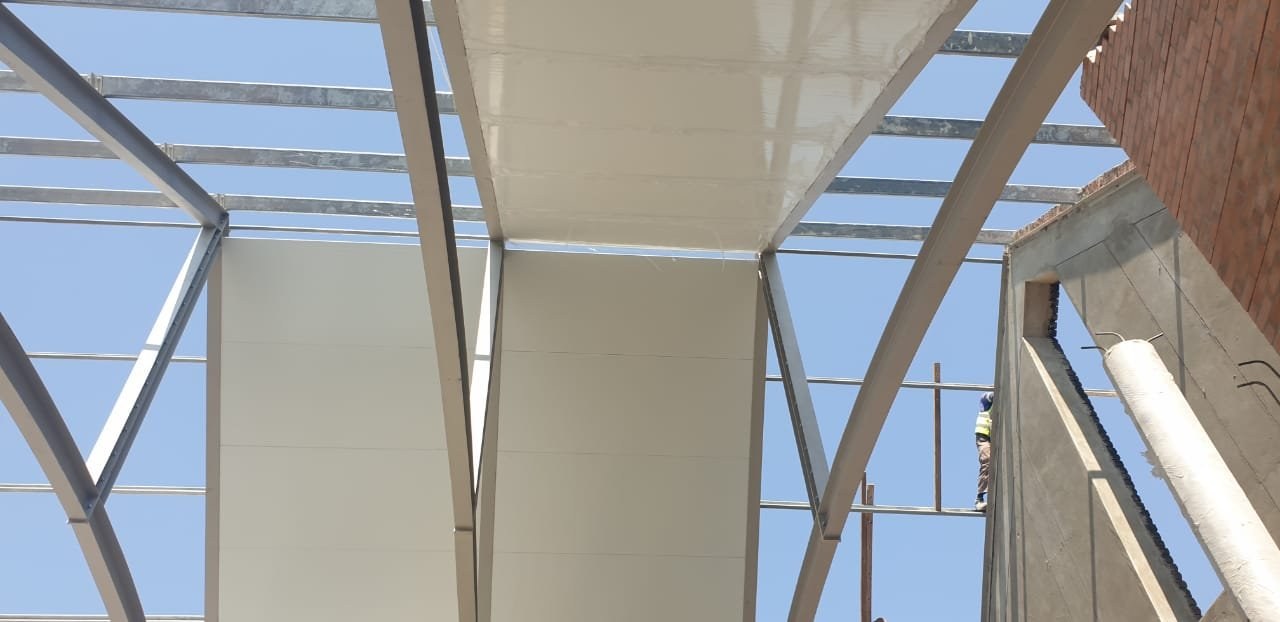
Worker on scaffolding beside a curved vaulted soffit panel installationPHOTO
Worker on scaffolding beside a curved vaulted soffit panel installationLiteSpan Ceiling & Wall Panels
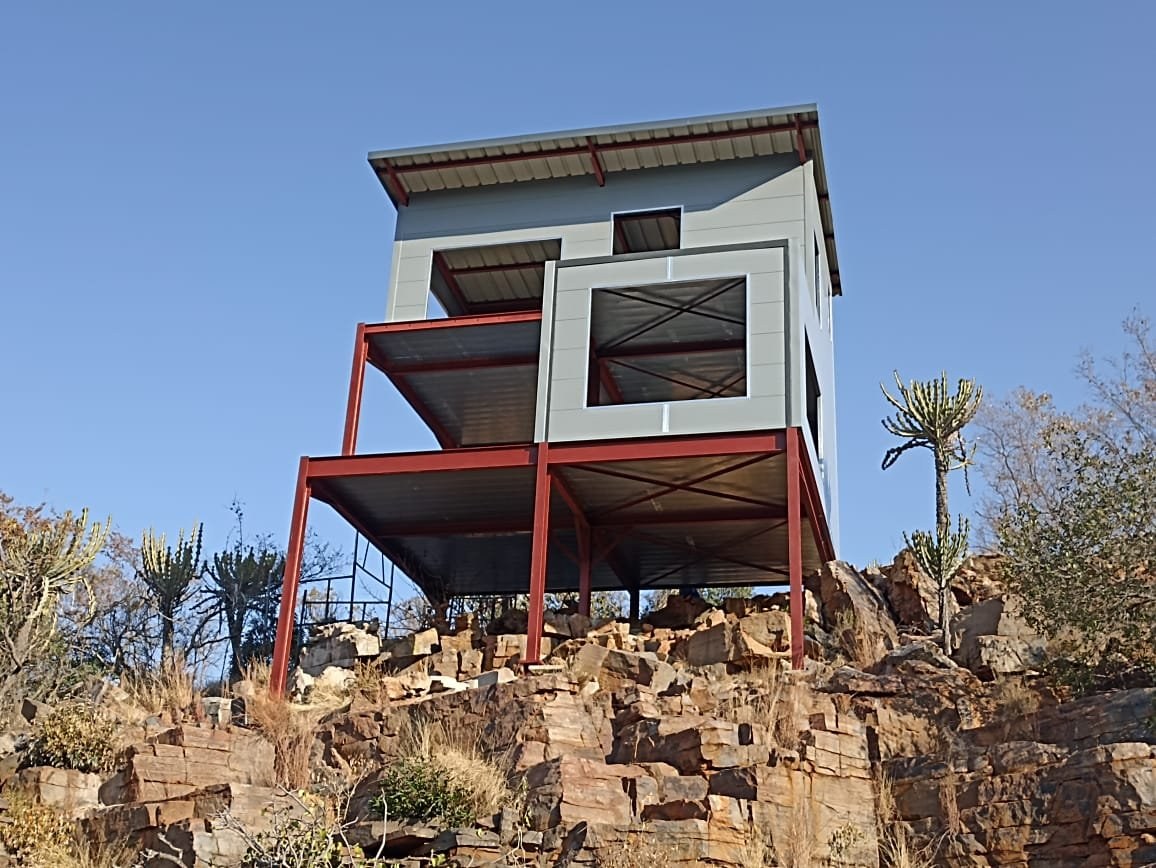
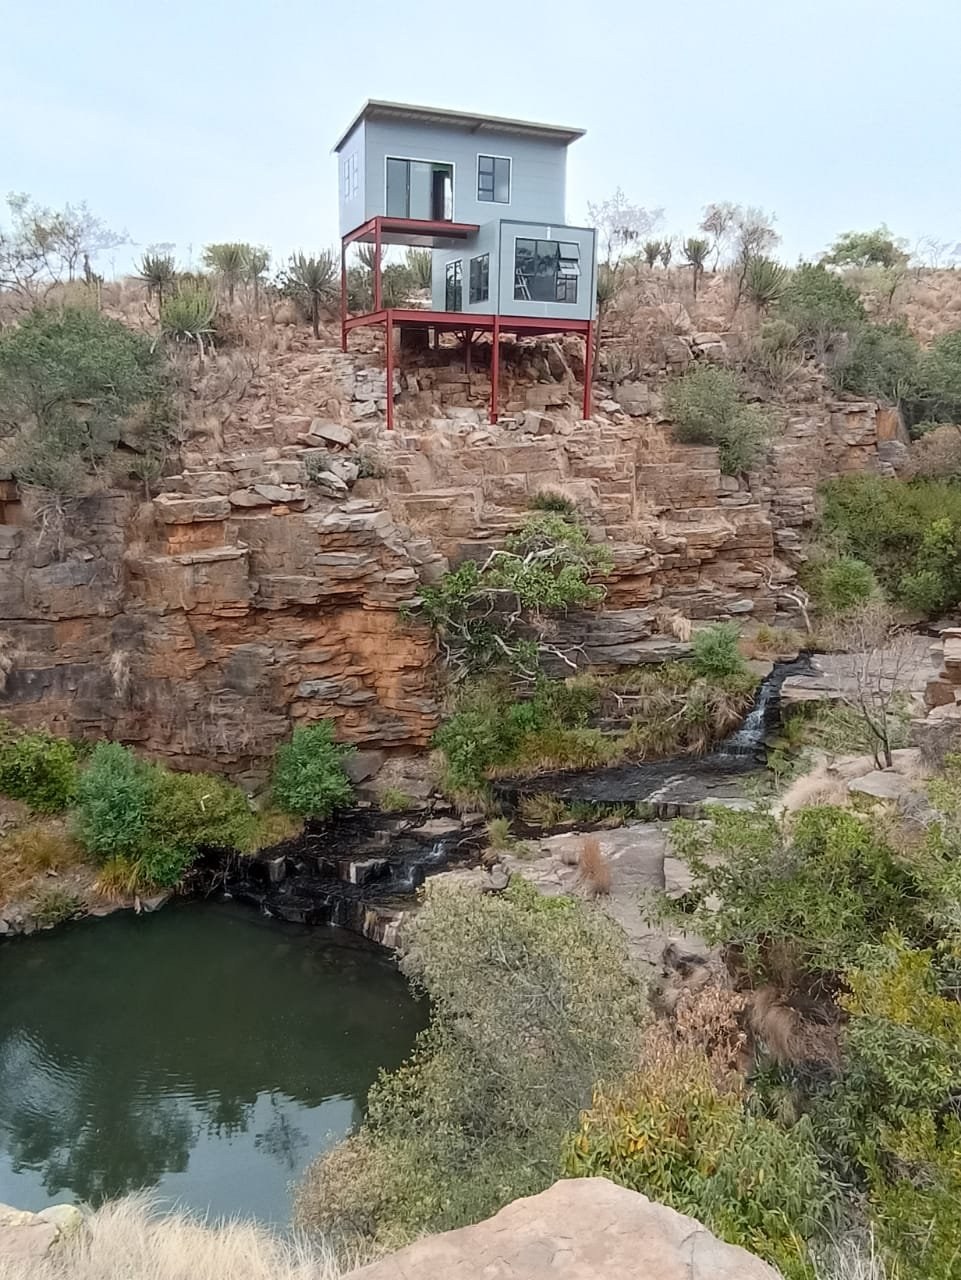
Small house on steel stilts with wall panels, built on a rocky outcropPHOTO
Small house on steel stilts with wall panels, built on a rocky outcropLiteSpan Ceiling & Wall Panels
Completed small panel cottage standing in a garden settingPHOTO
Completed small panel cottage standing in a garden settingLiteSpan Ceiling & Wall Panels
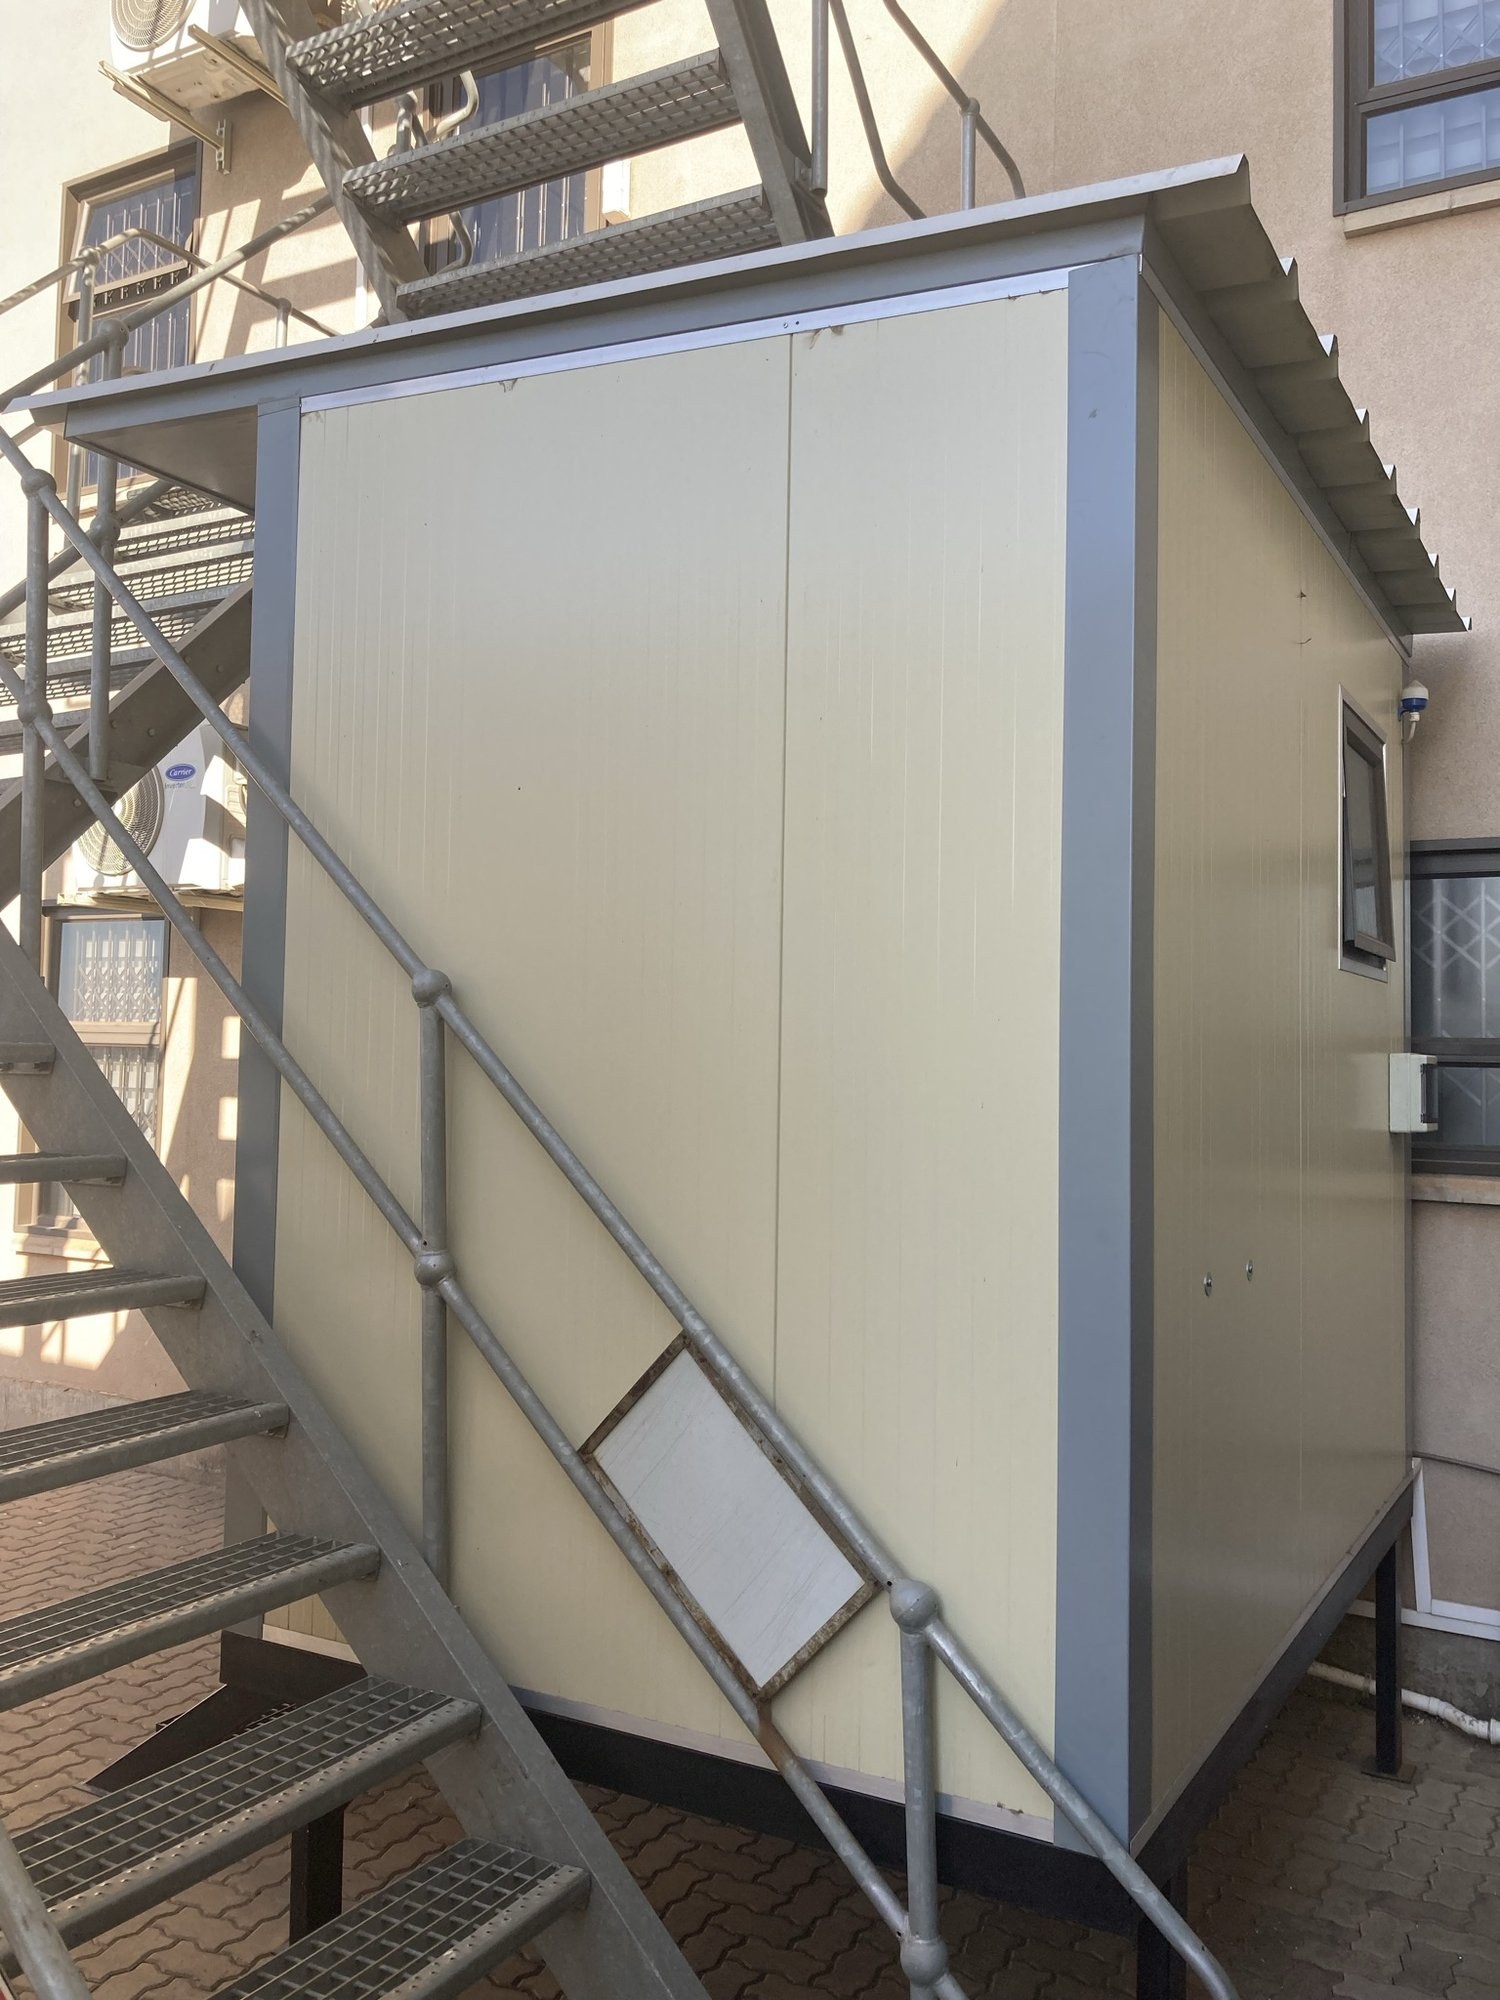
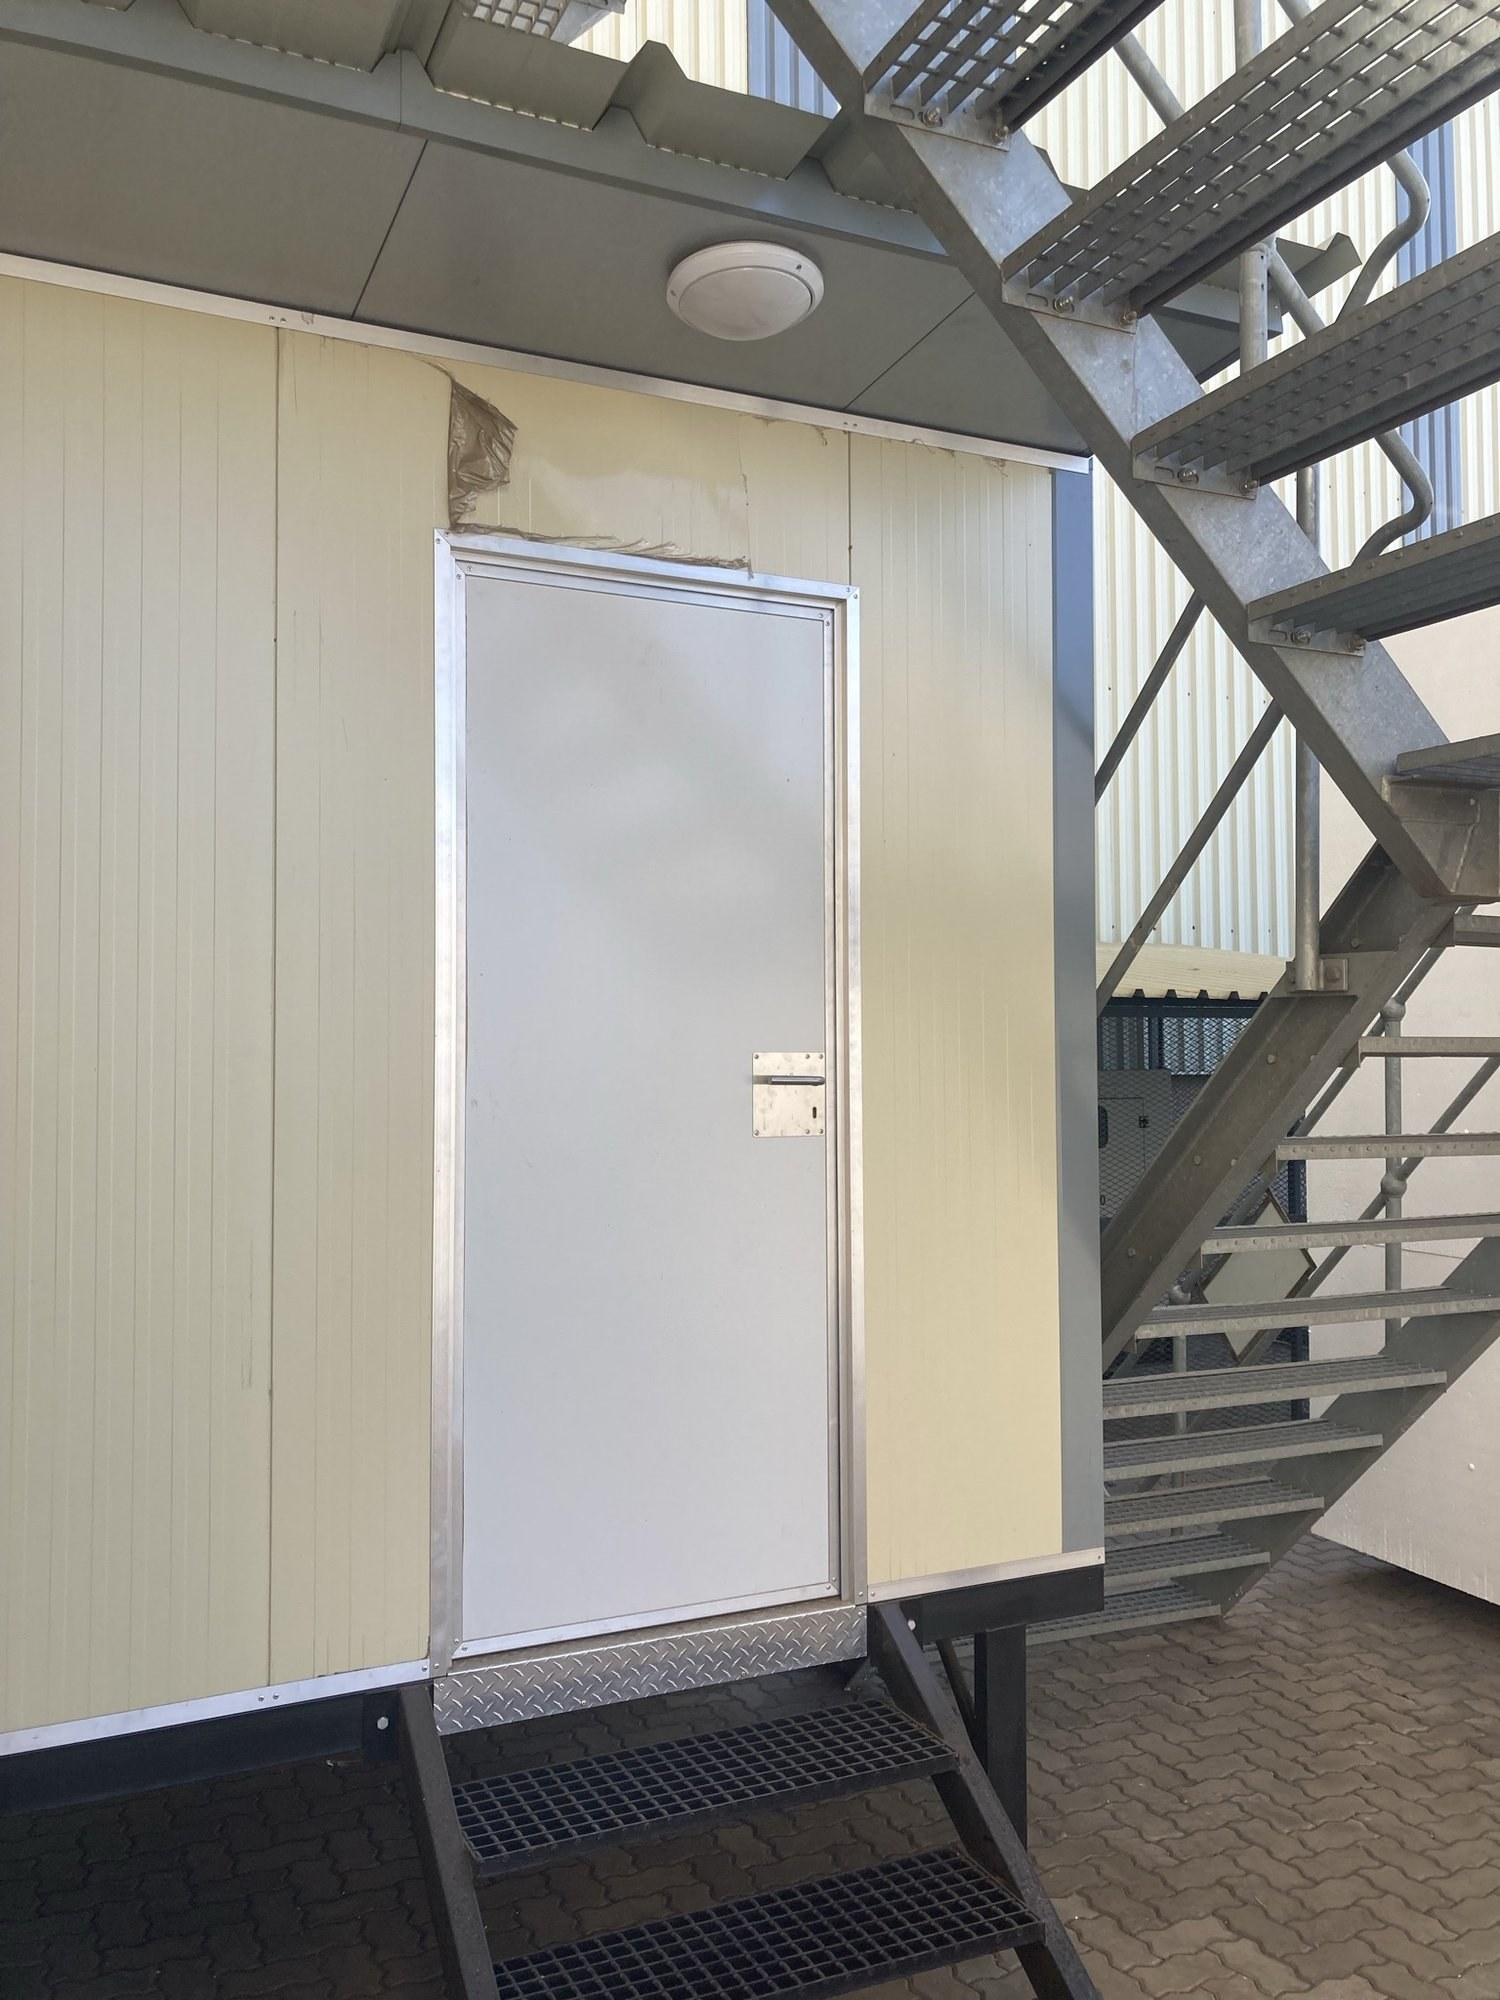
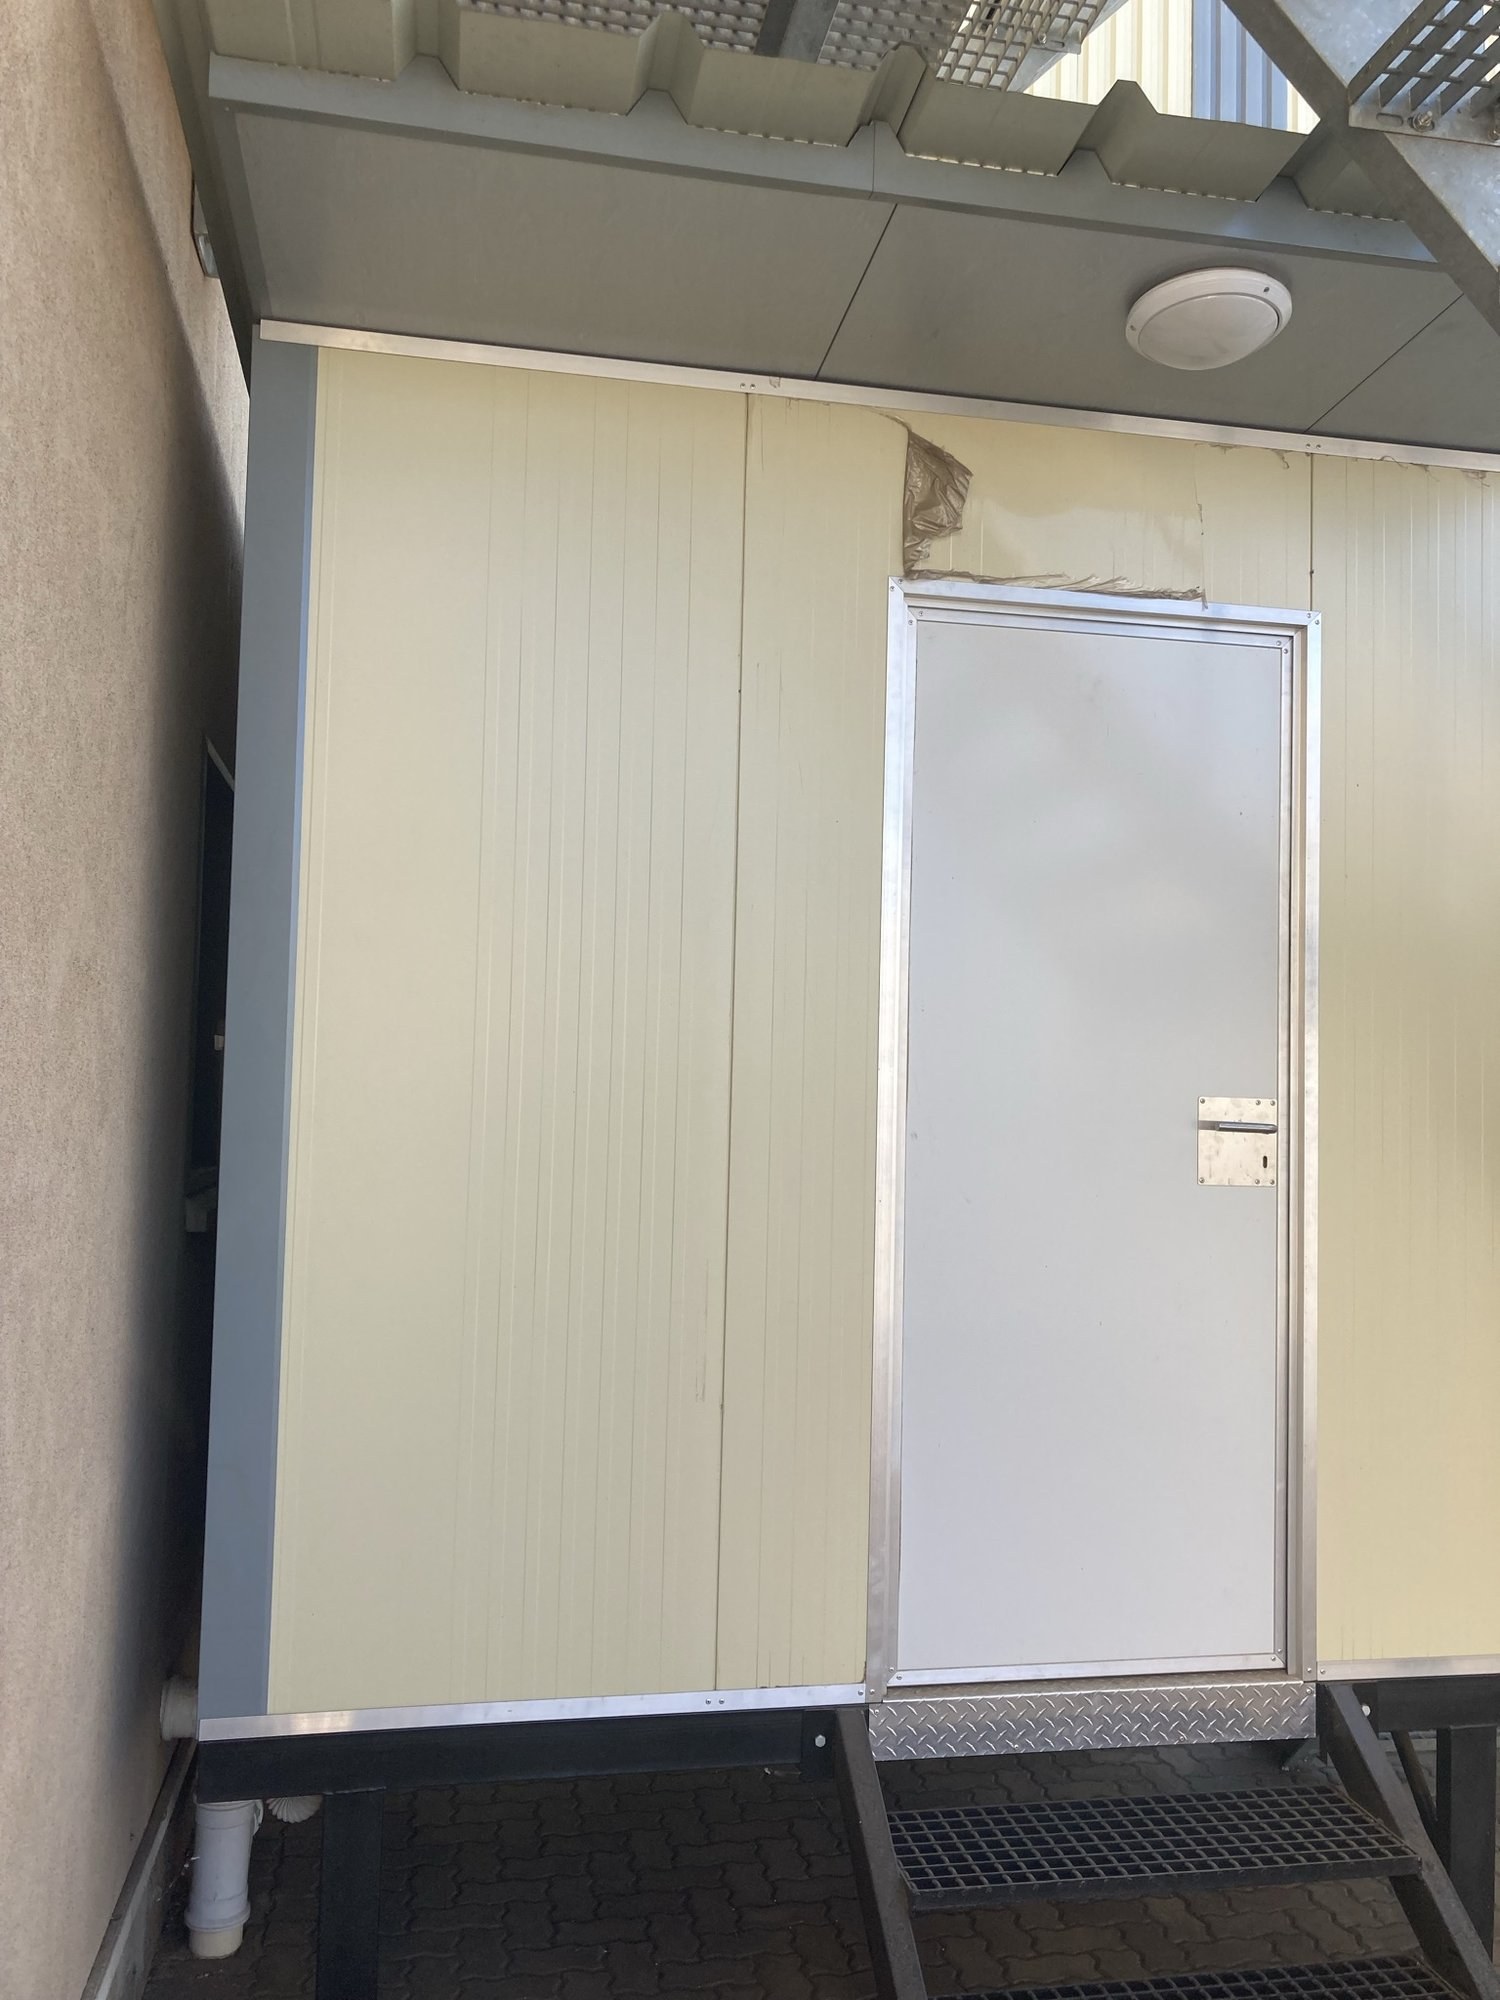
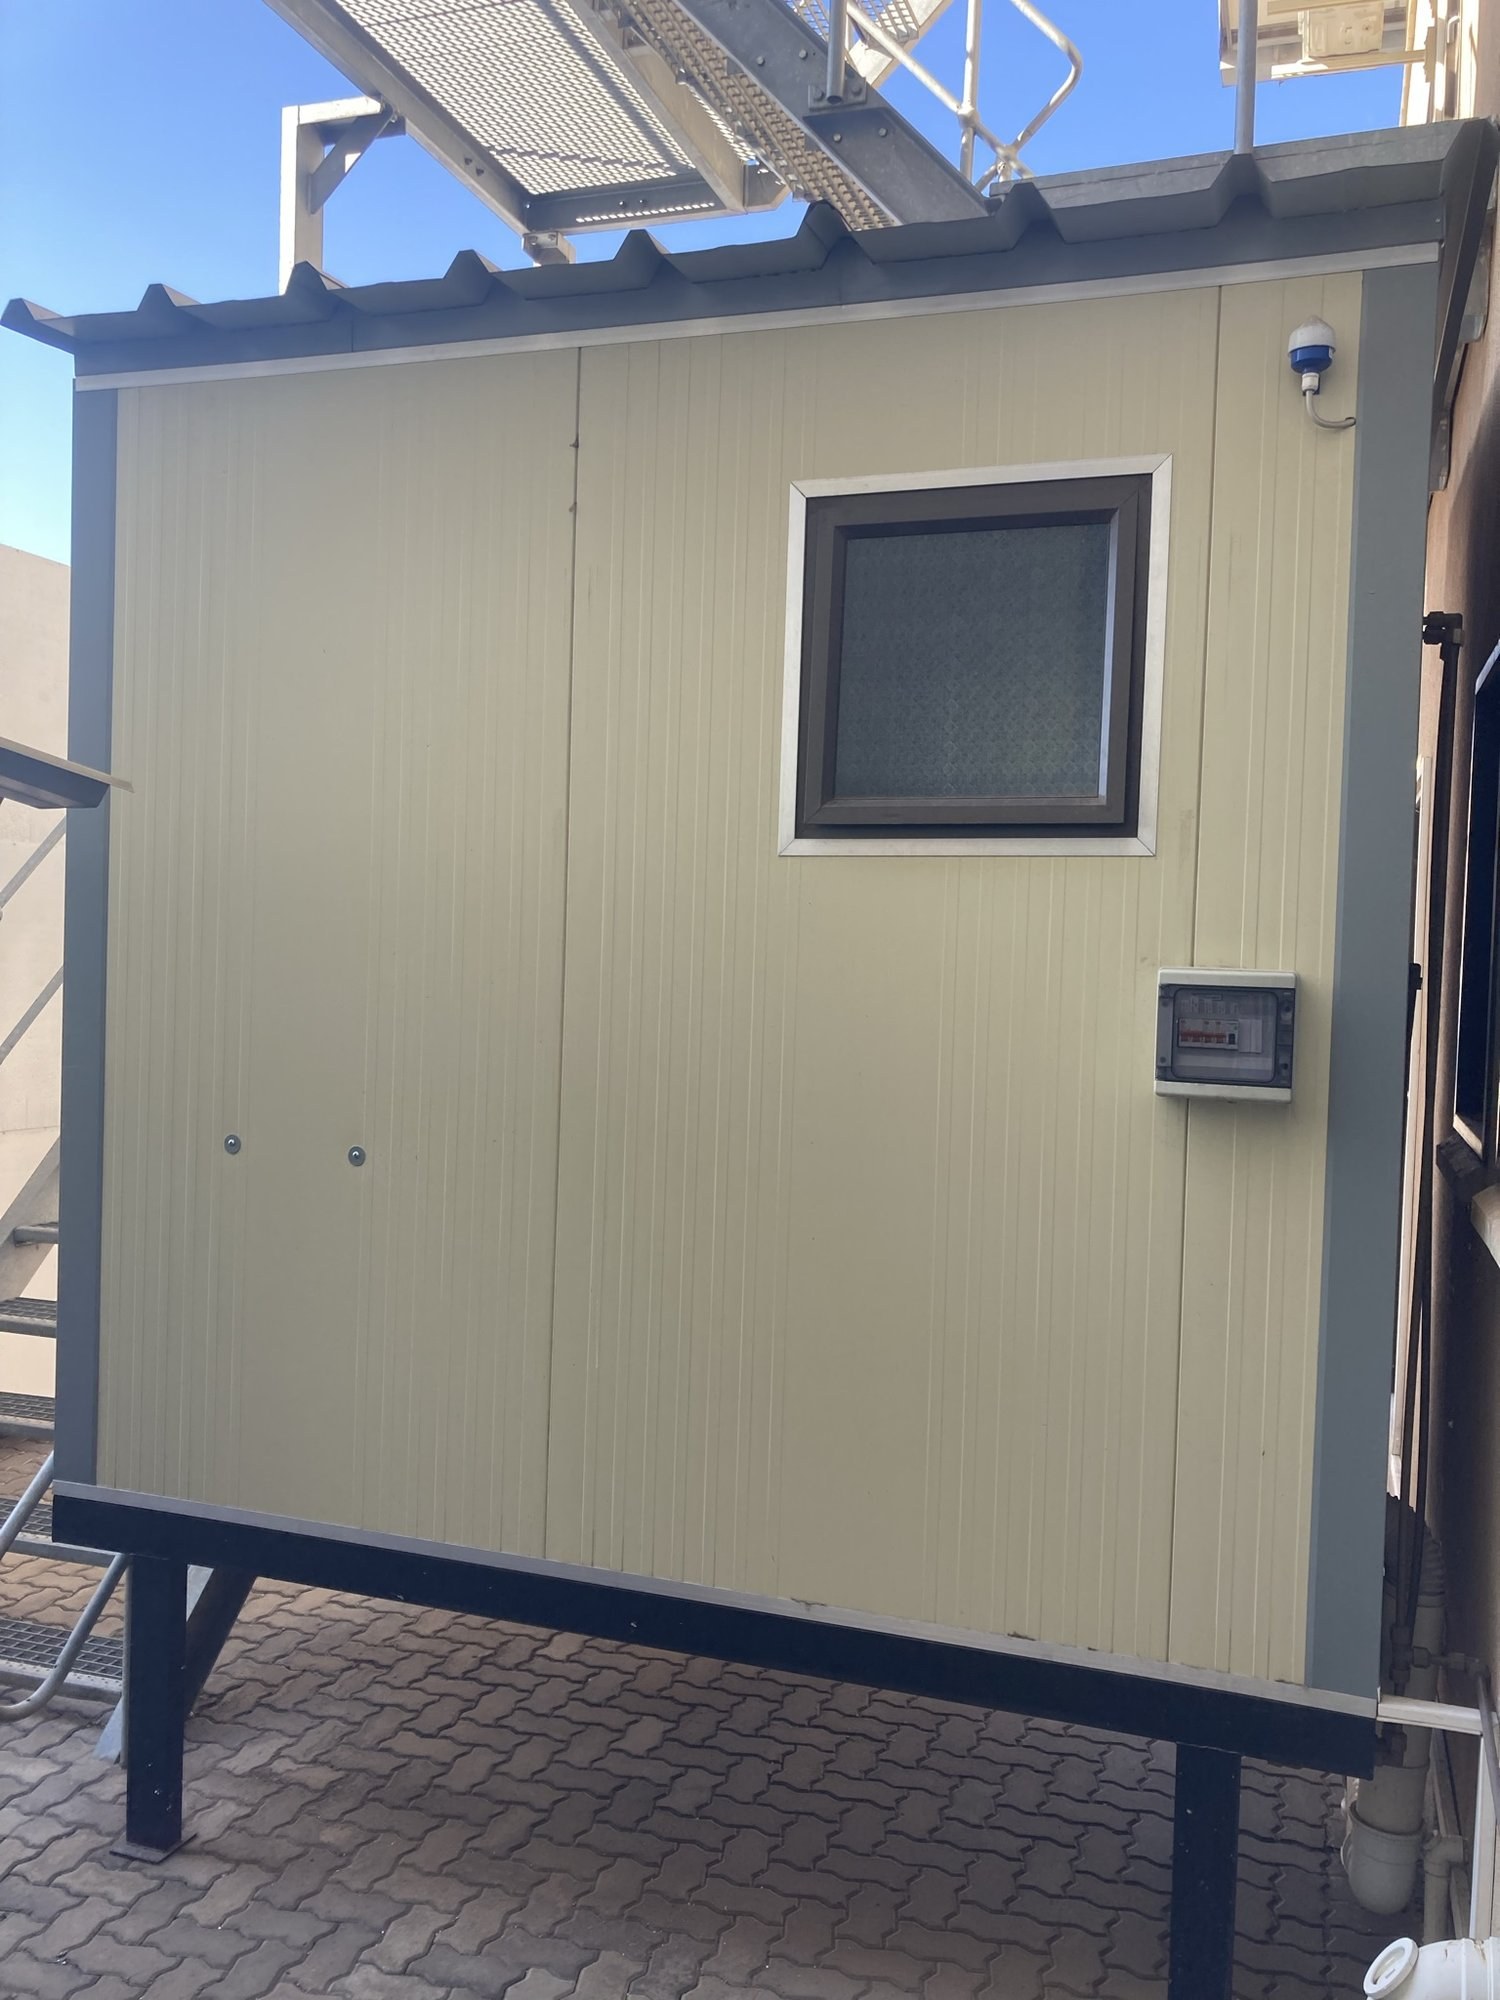
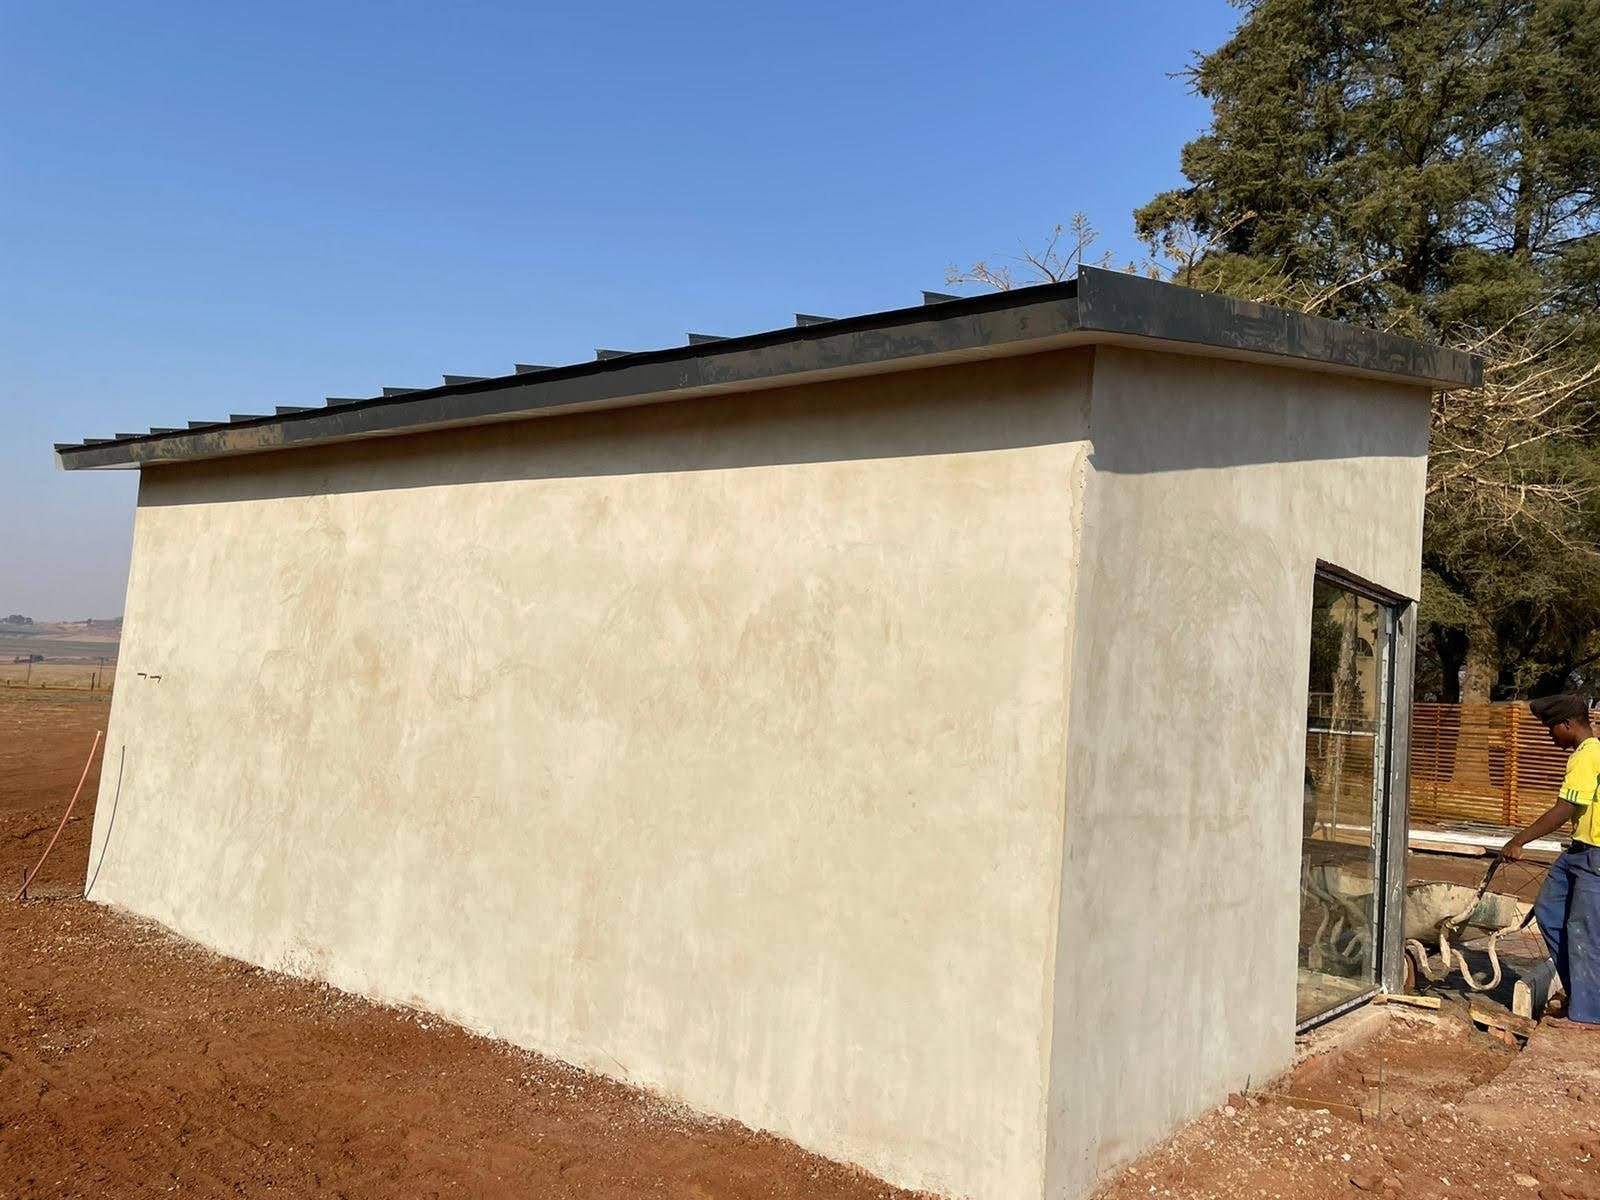
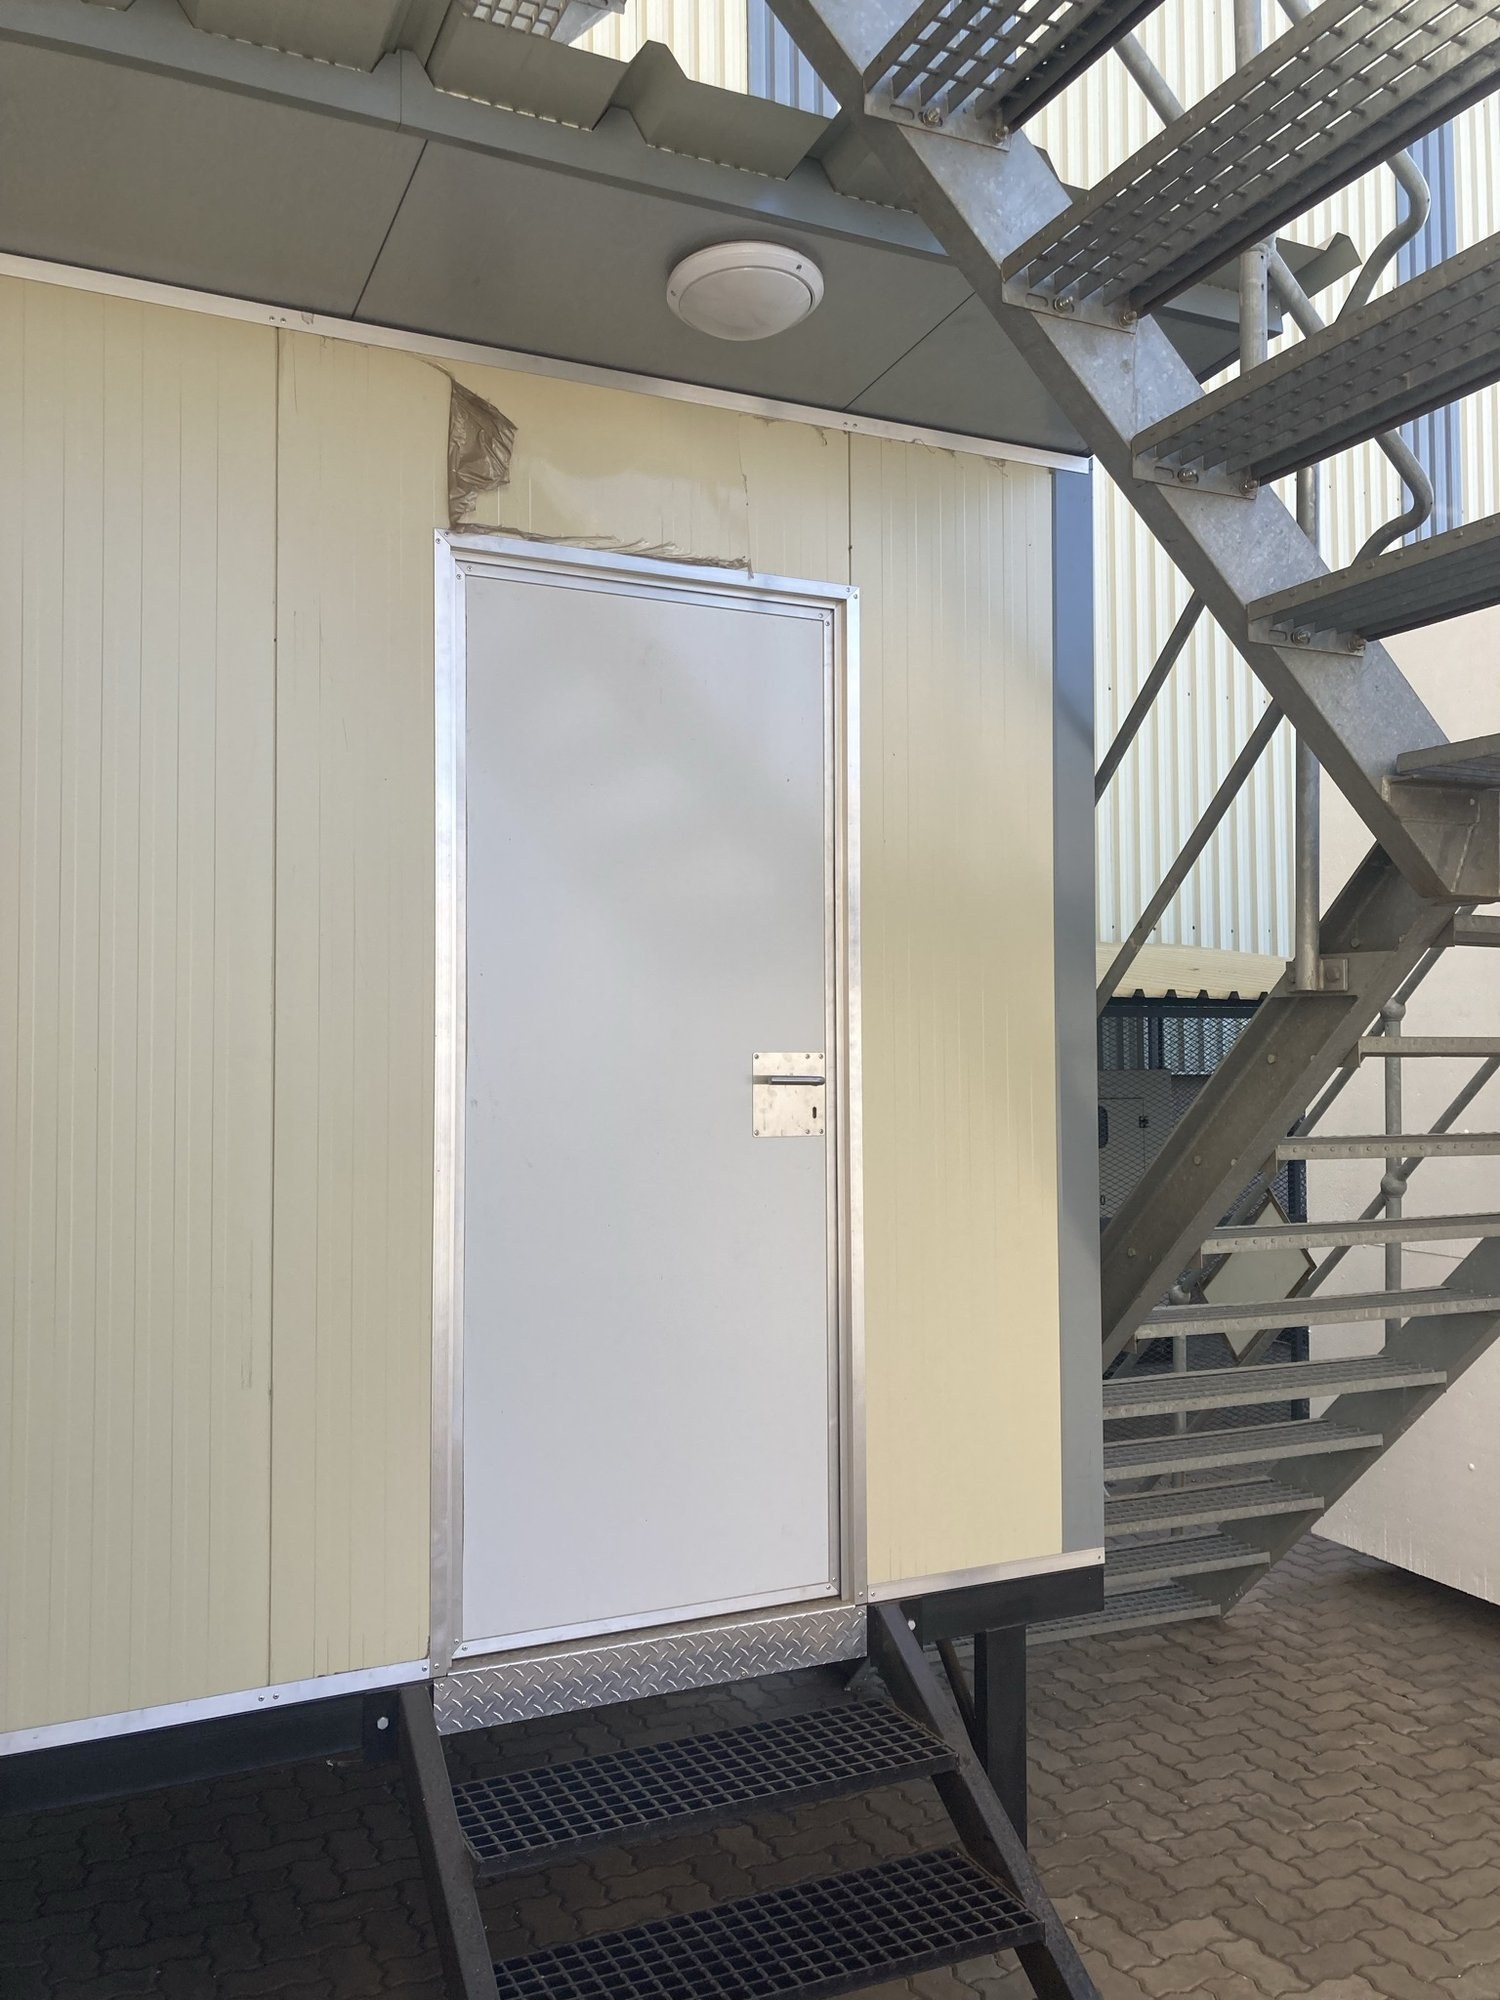
Small demountable cabin built from insulated wall panels, mounted on a raised platform beside a building's exterior stairsPHOTO
Small demountable cabin built from insulated wall panels, mounted on a raised platform beside a building's exterior stairsLiteSpan Ceiling & Wall Panels
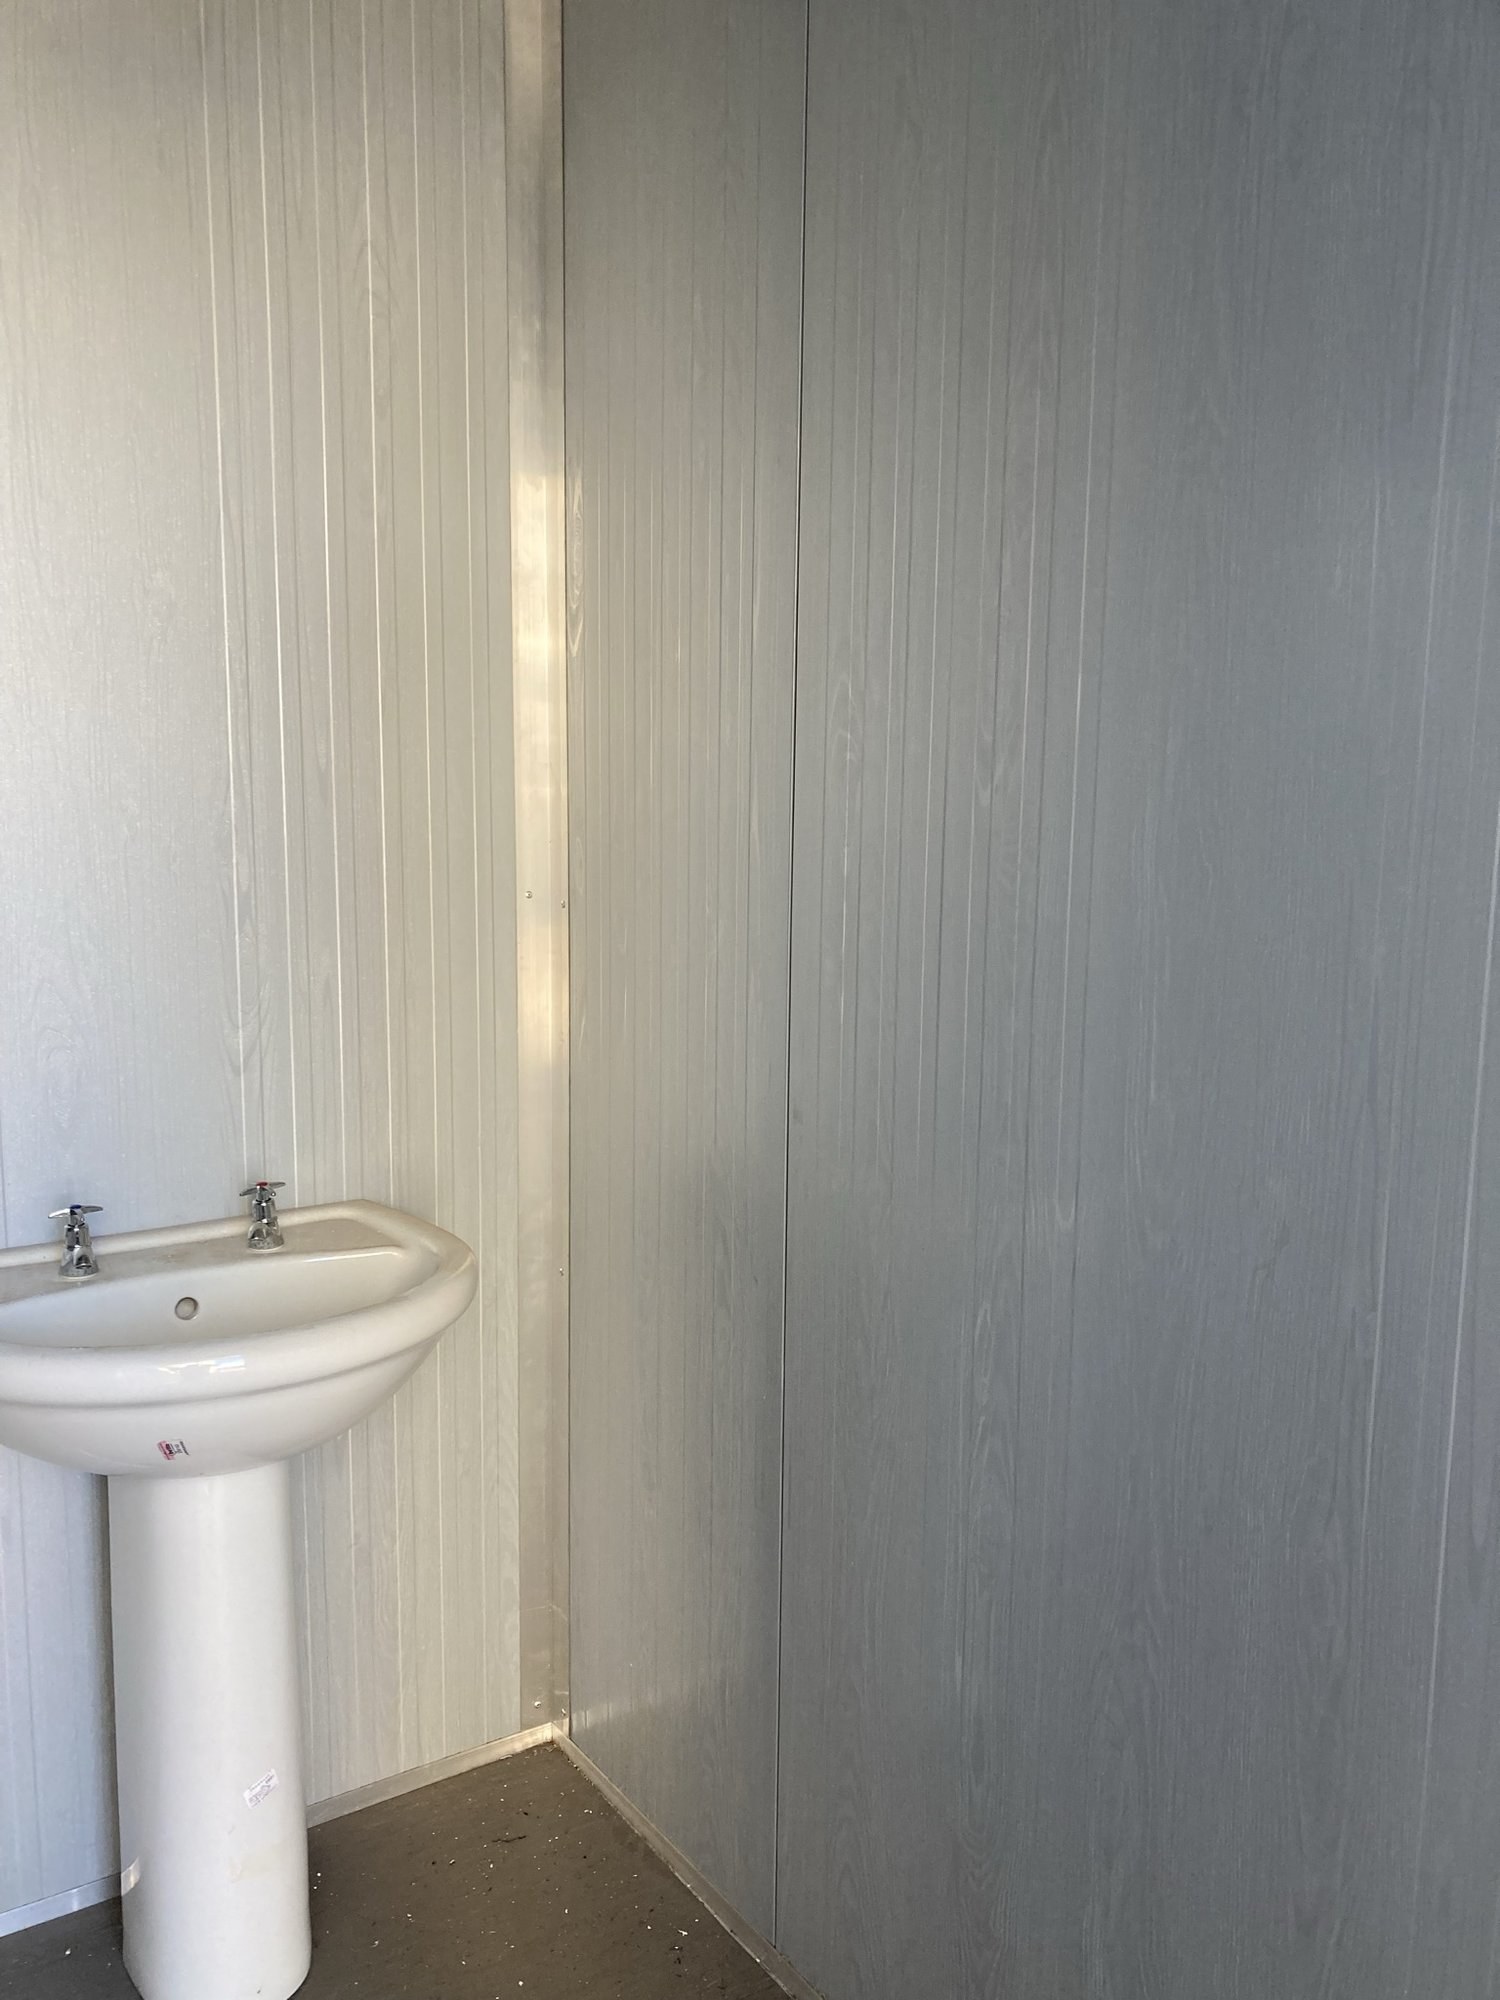
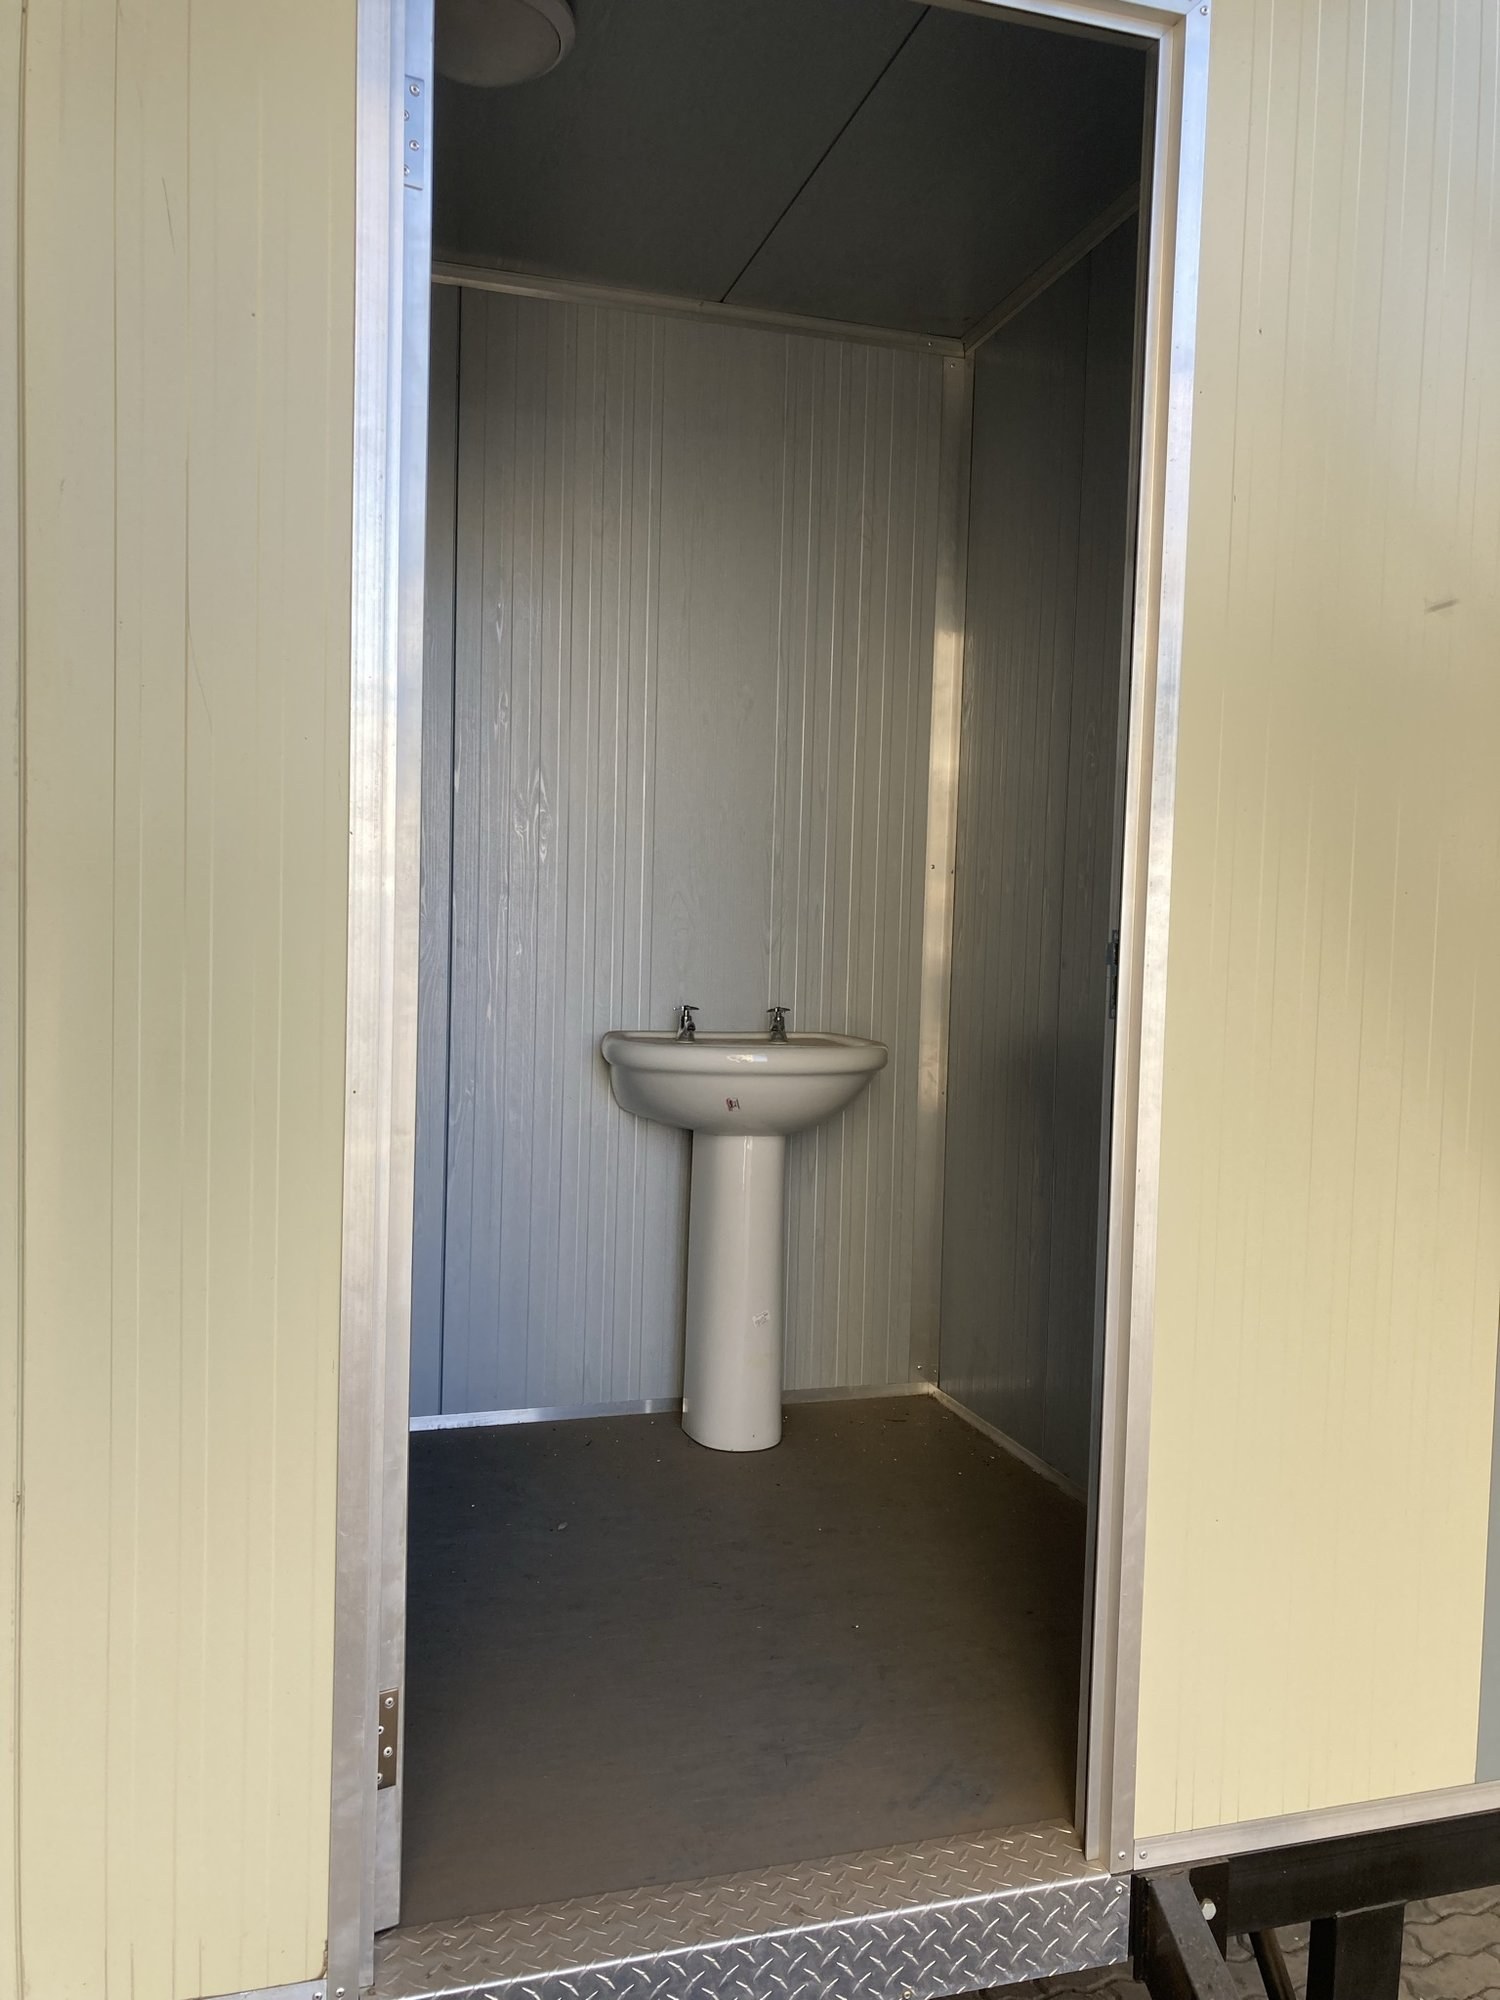
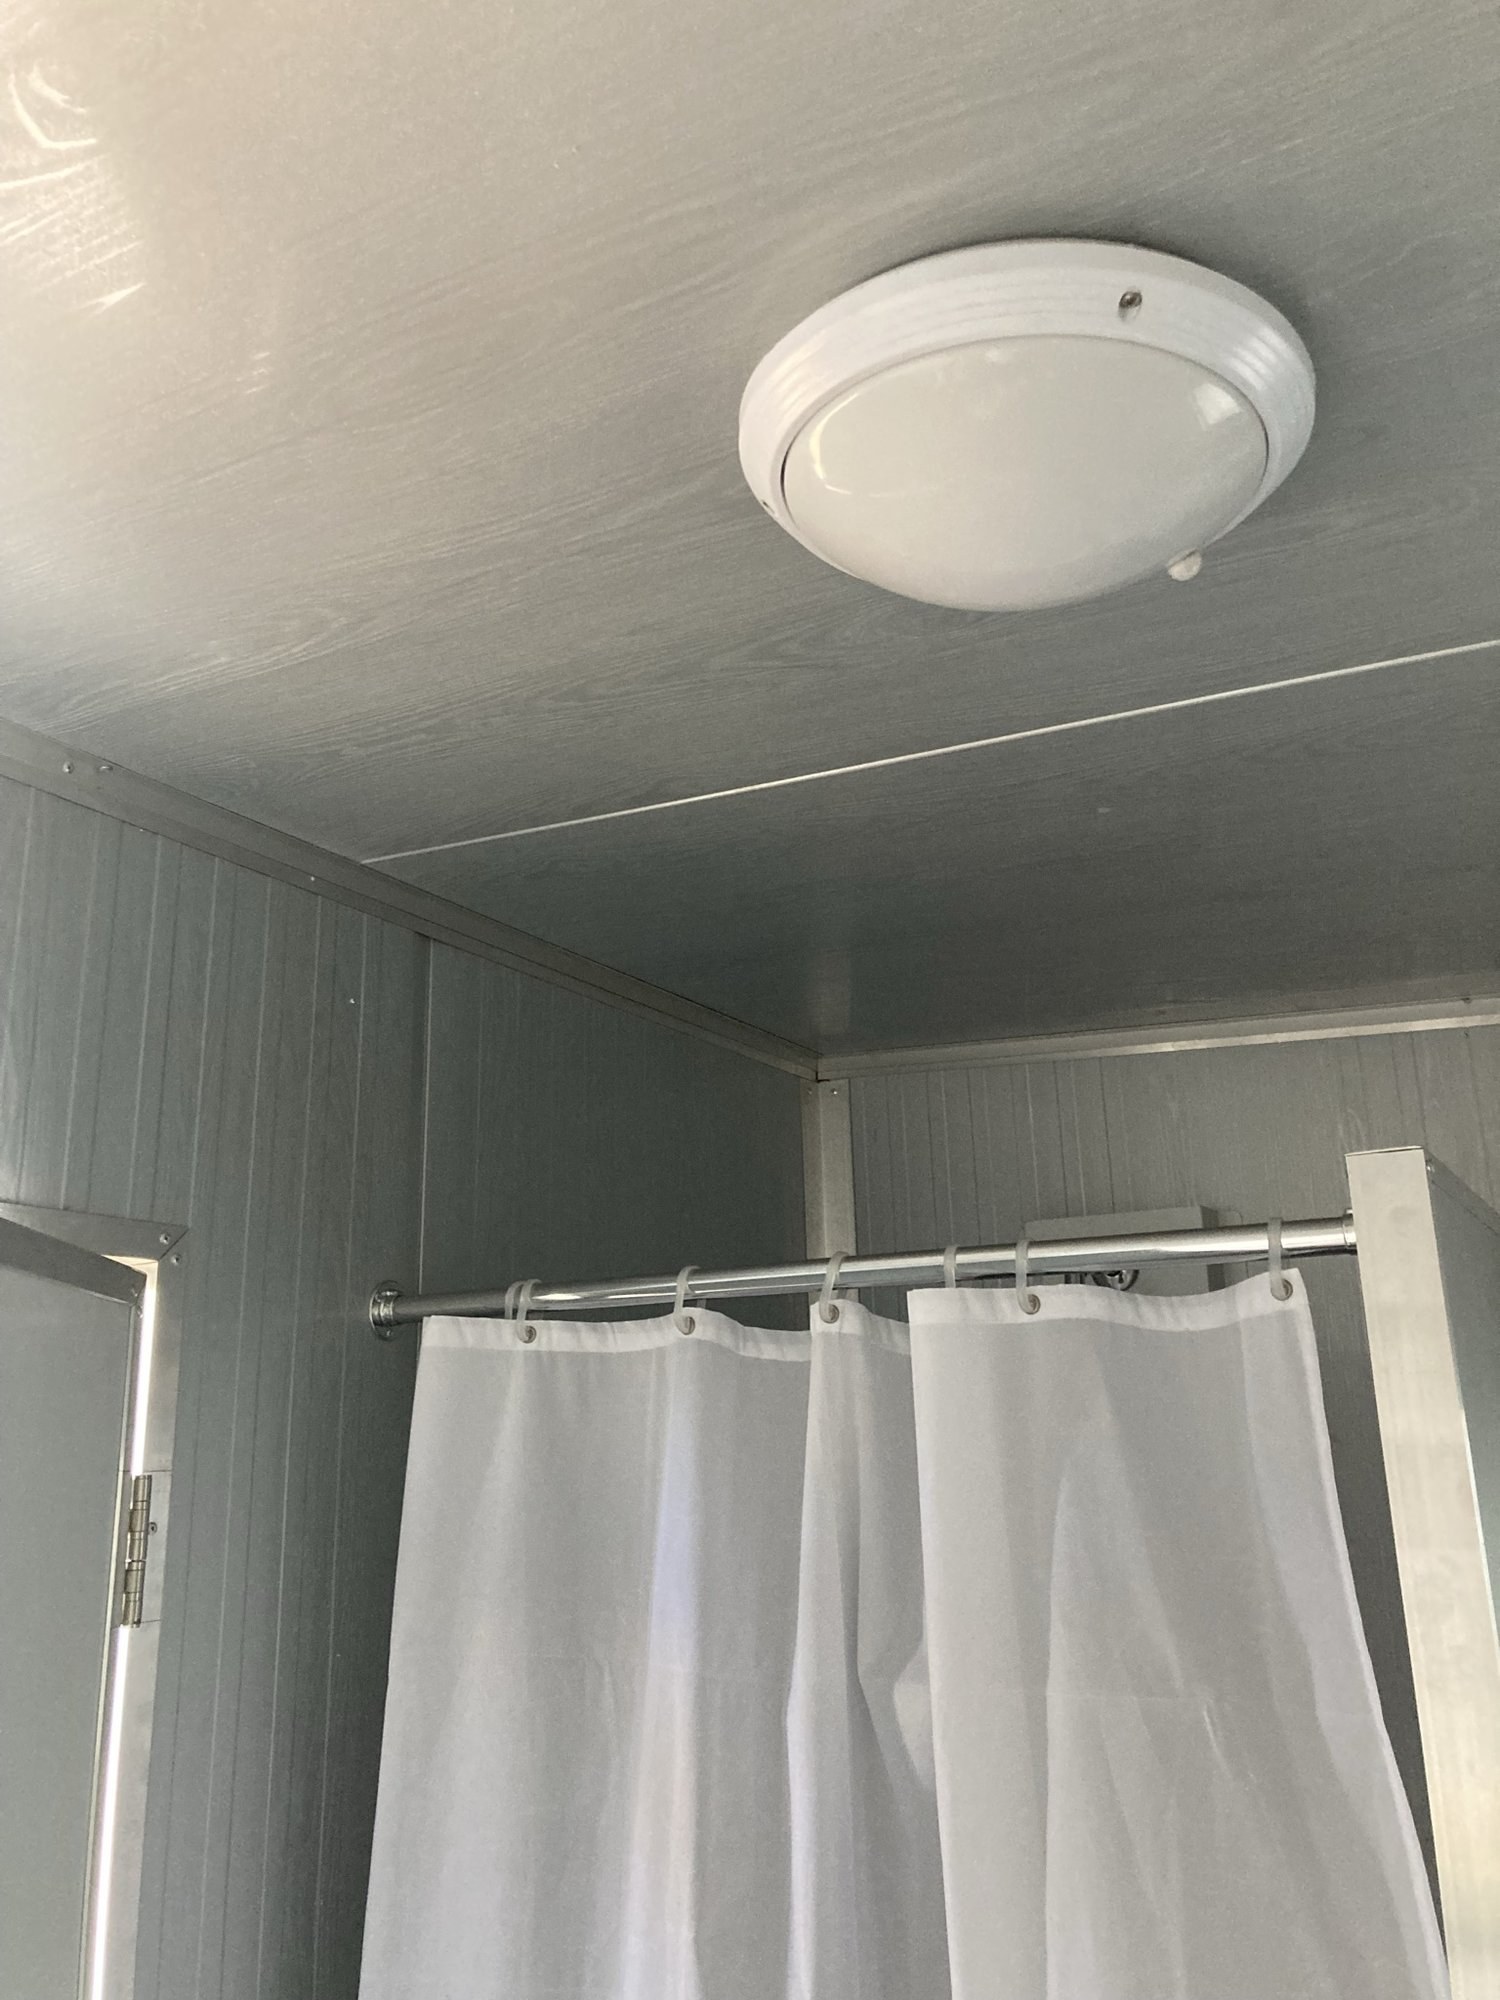
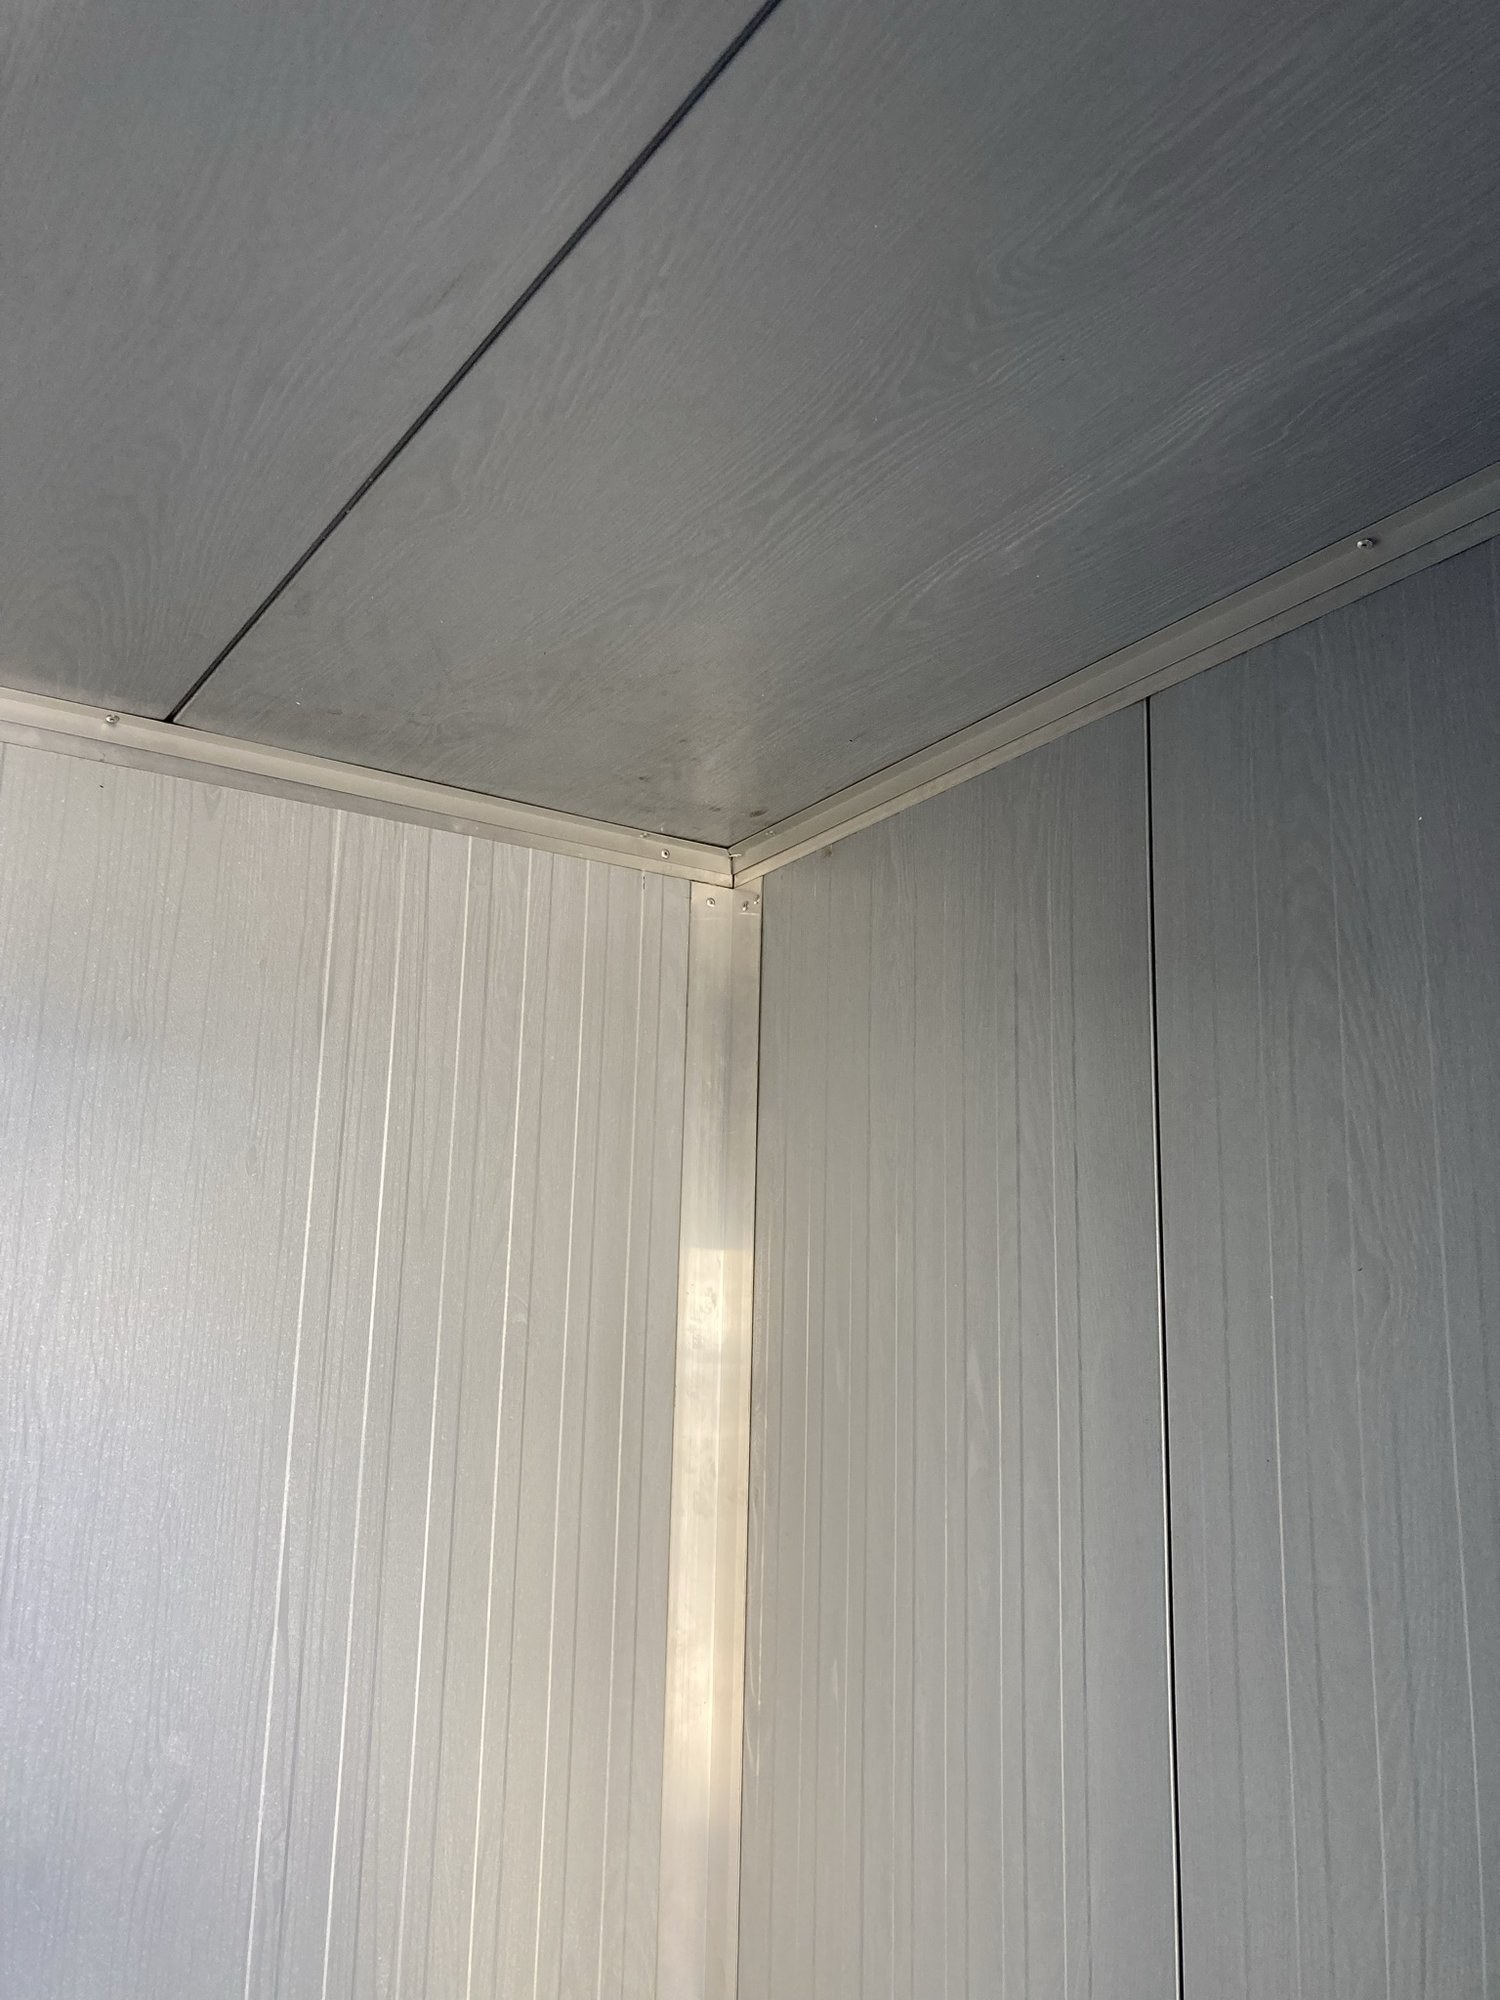
Interior corner of a panel-built cabin, wood-grain finish wall panels meeting above a pedestal basinPHOTO
Interior corner of a panel-built cabin, wood-grain finish wall panels meeting above a pedestal basinLiteSpan Ceiling & Wall Panels
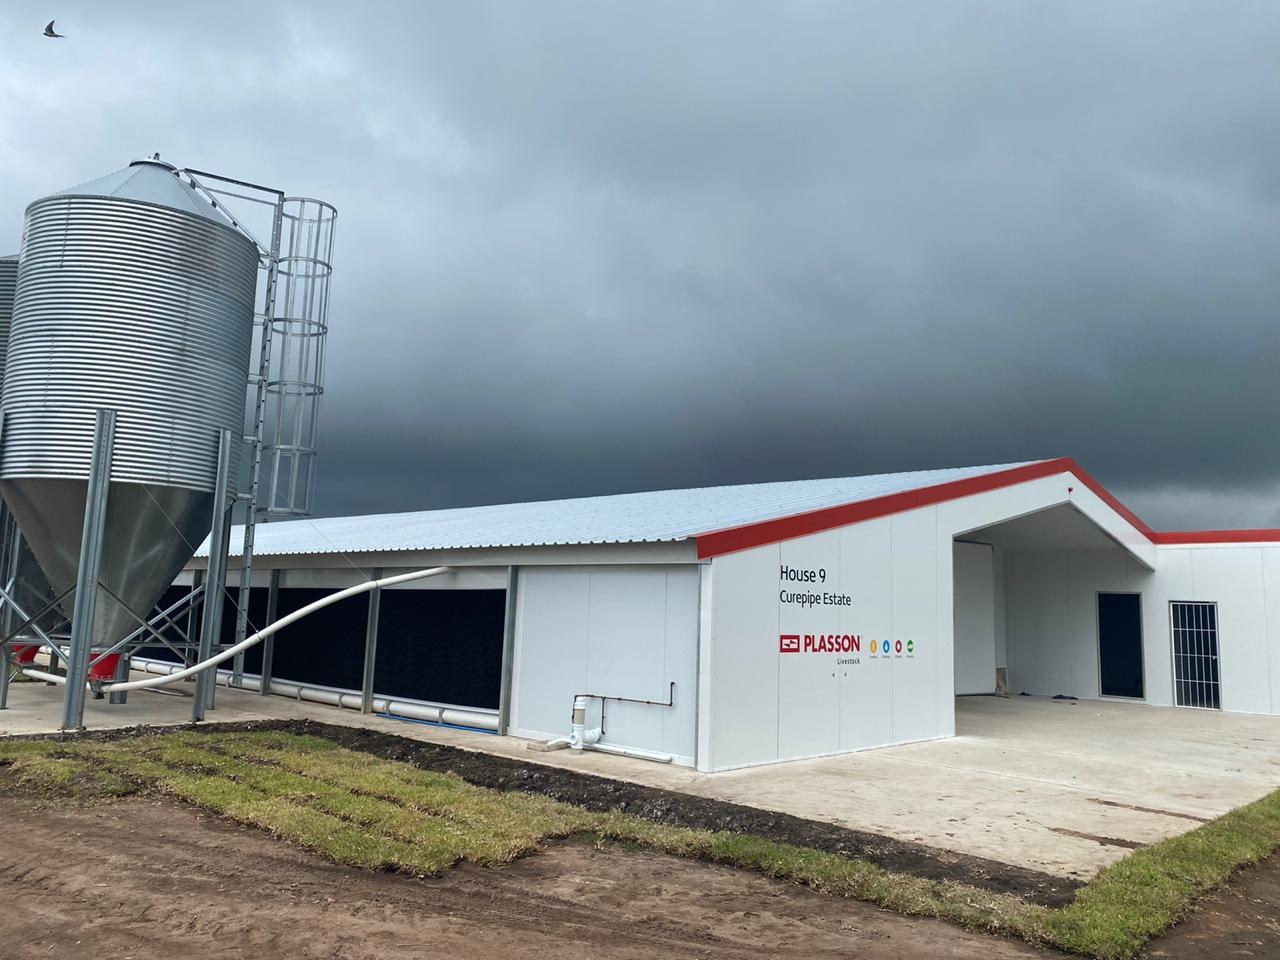
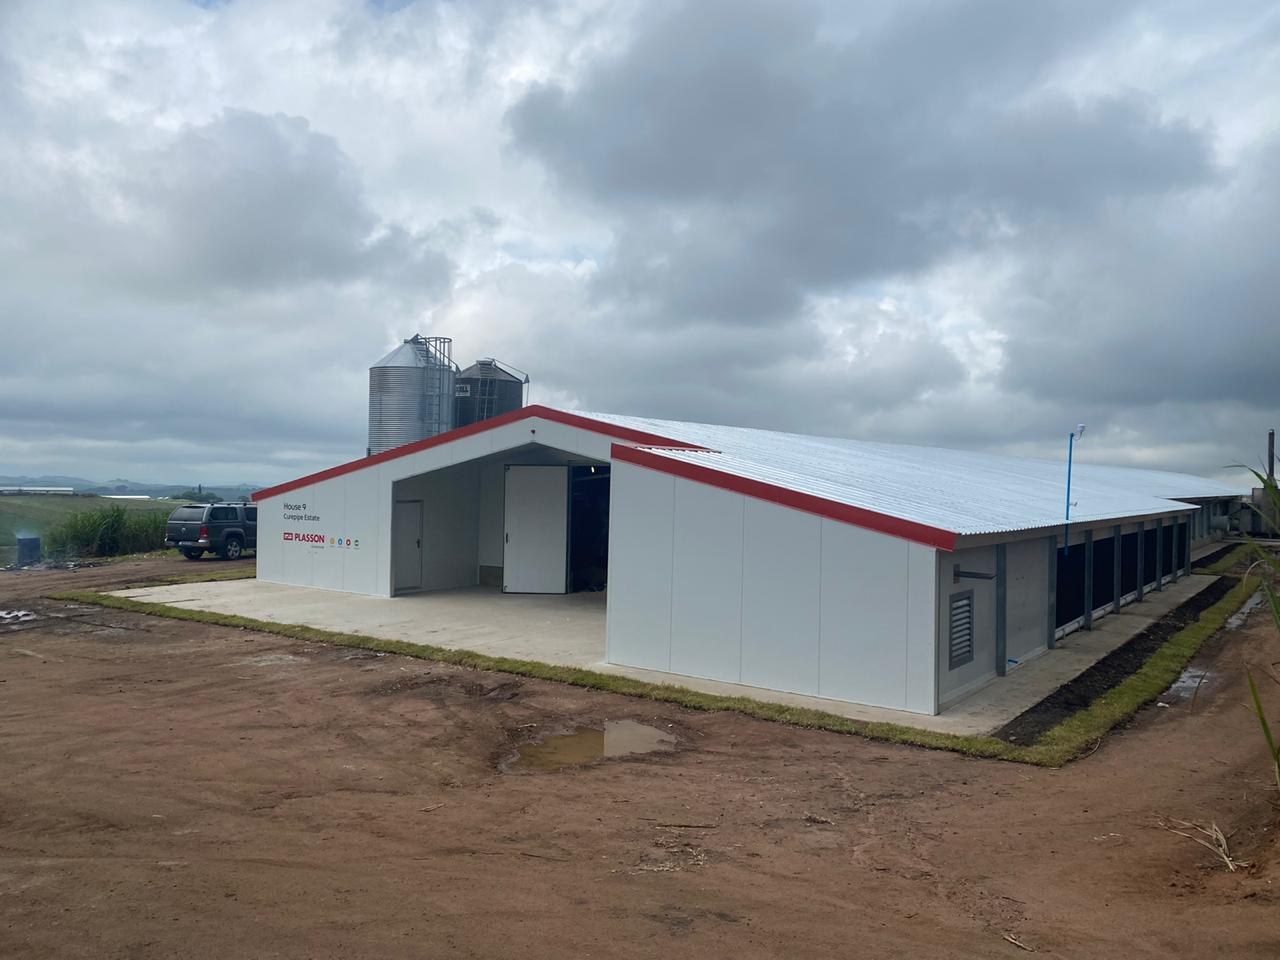
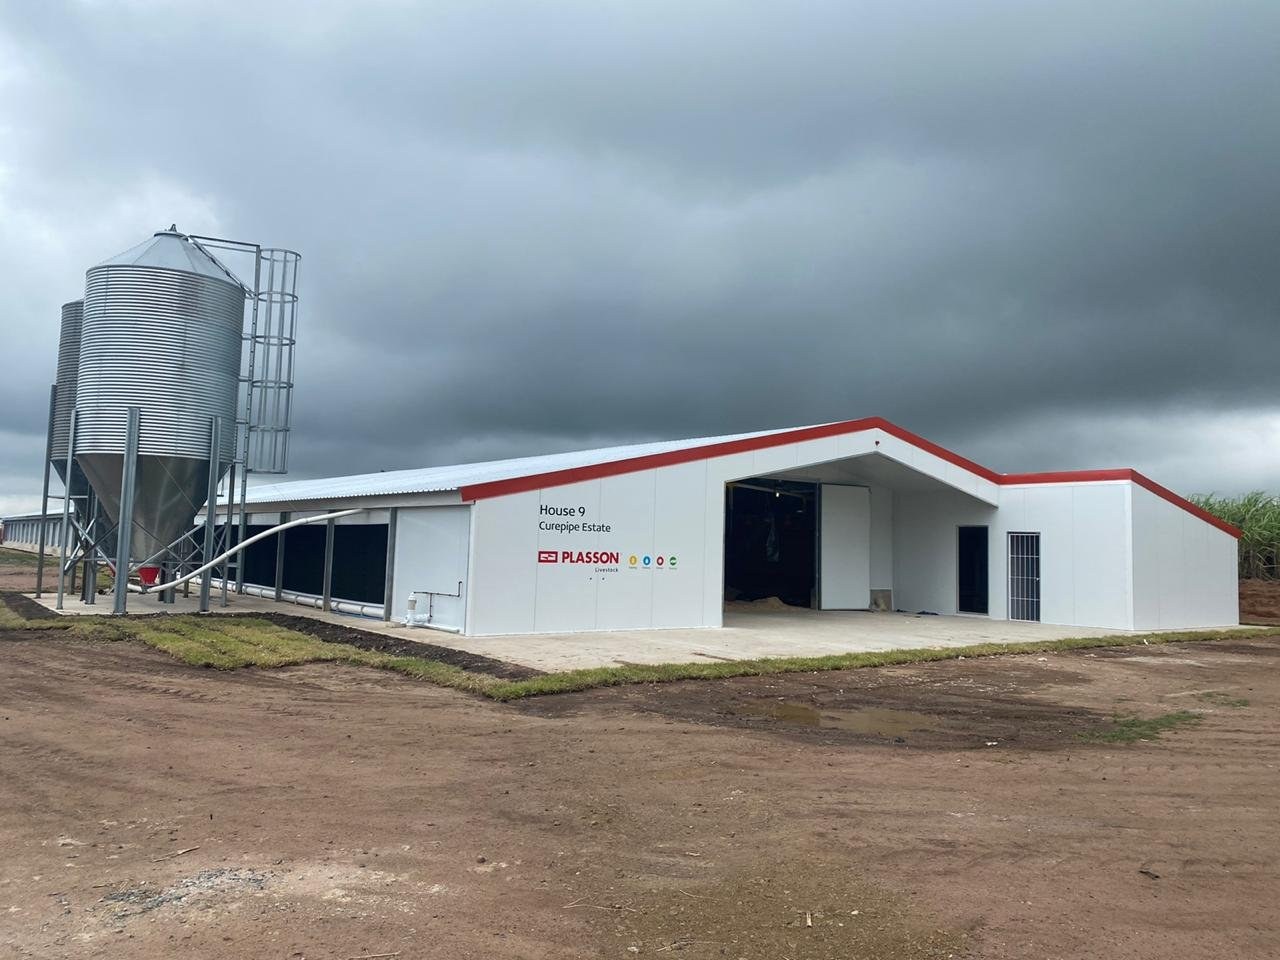
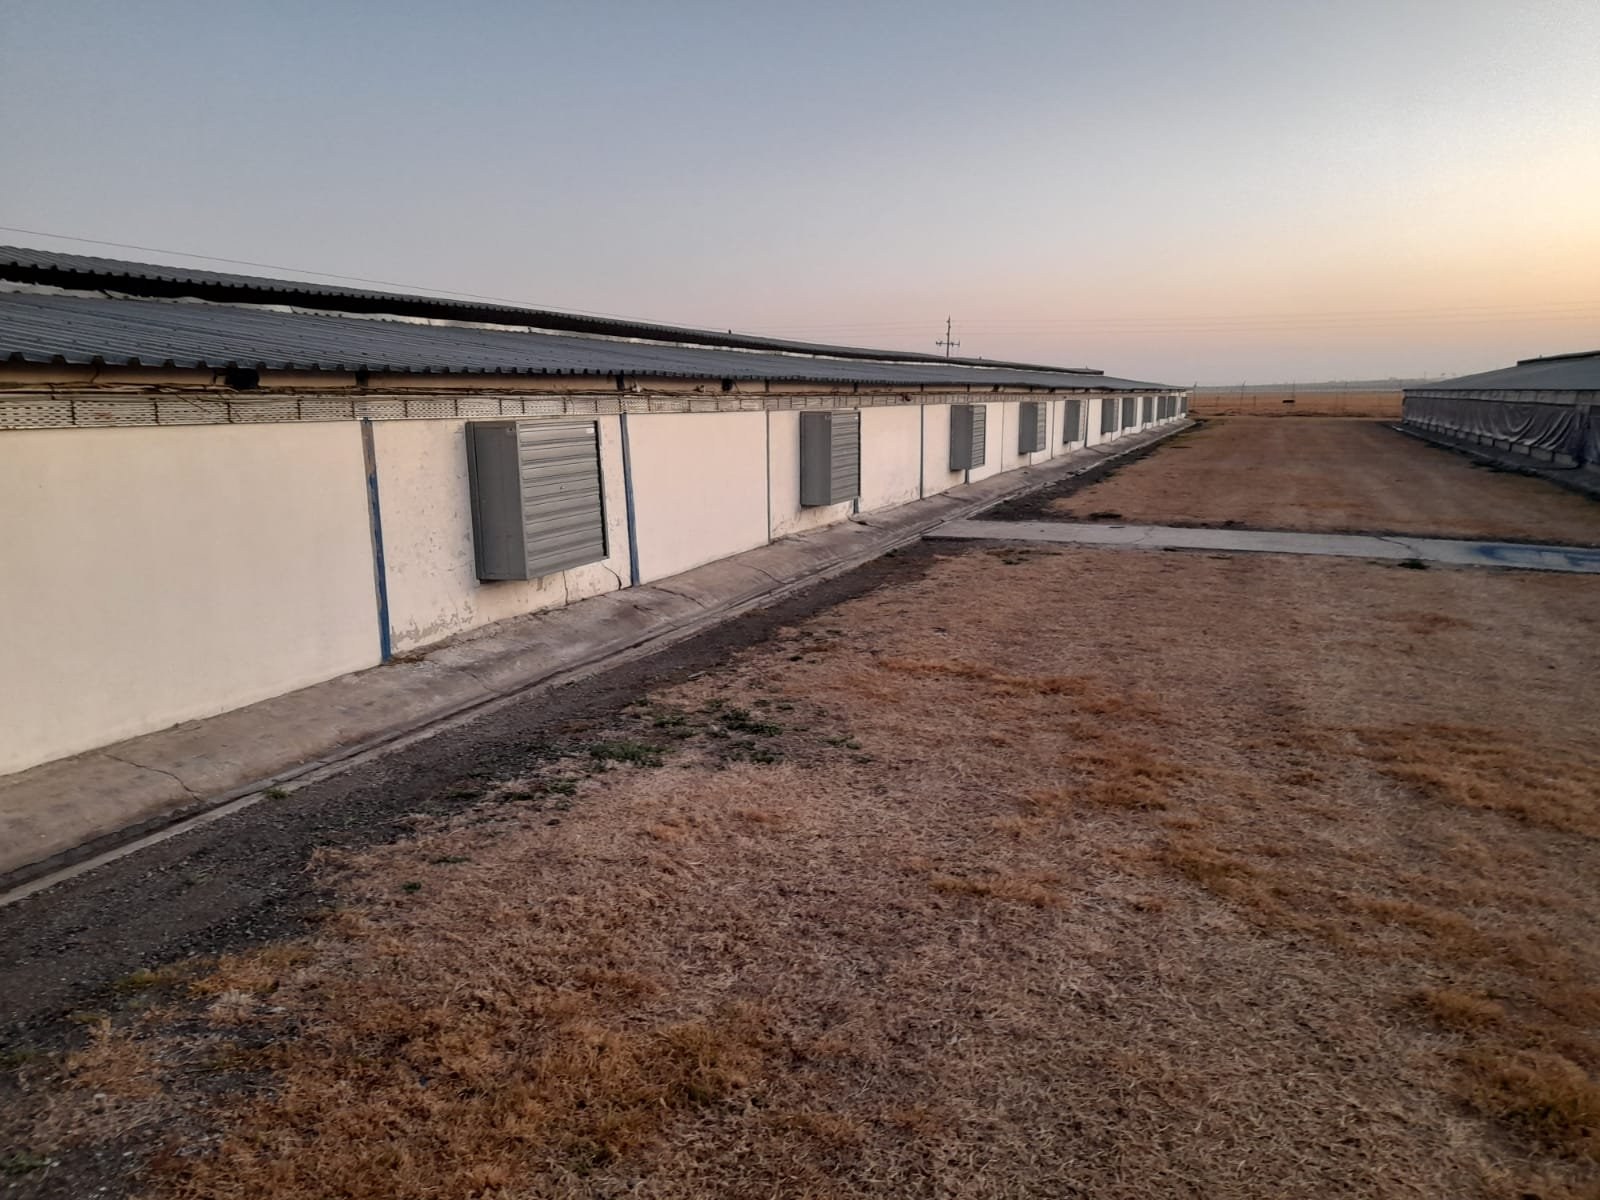
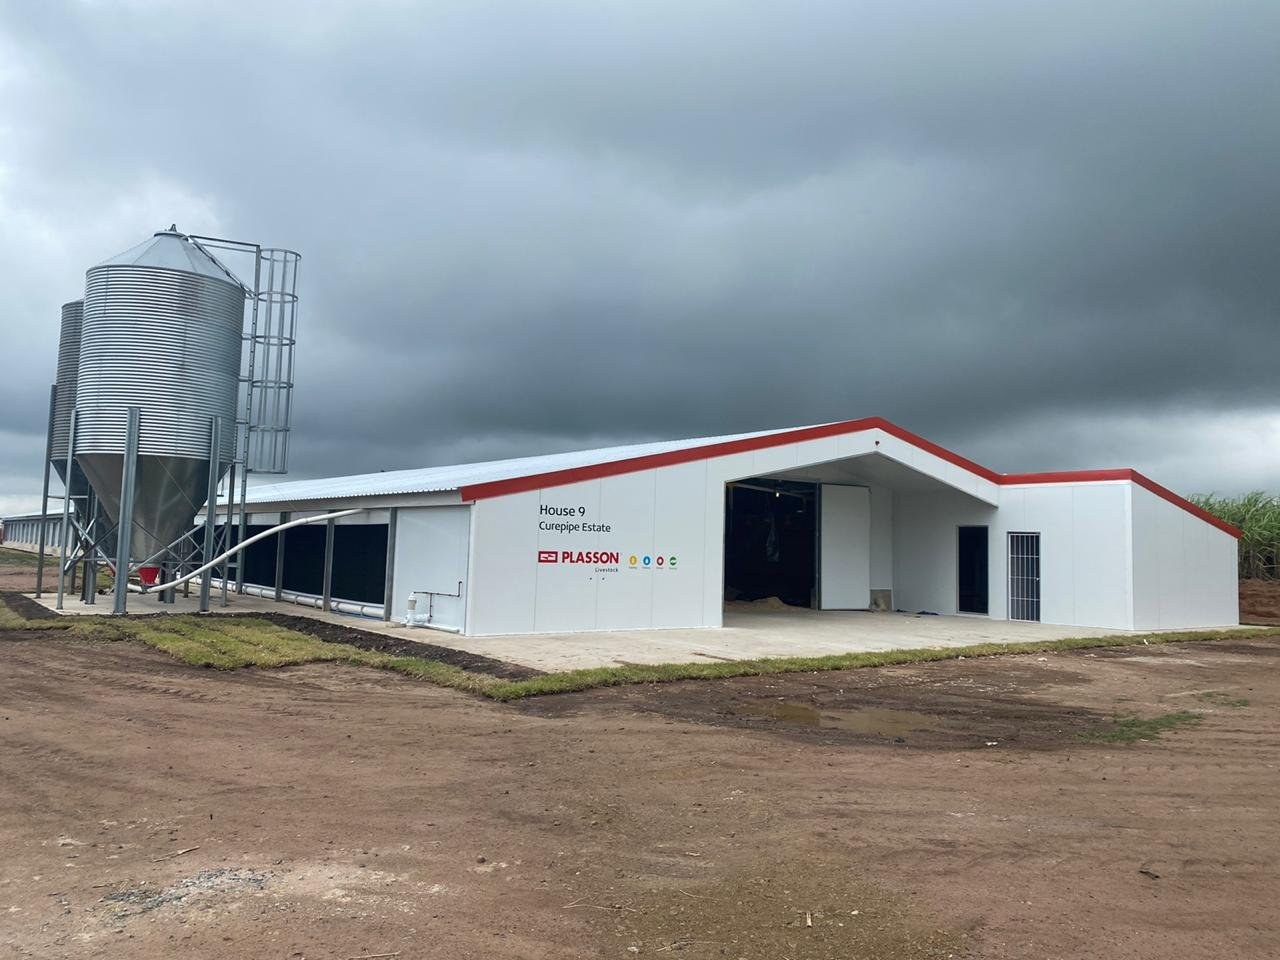
Poultry house exterior clad in wall panels, with feed silo and site signagePHOTO
Poultry house exterior clad in wall panels, with feed silo and site signageLiteSpan Ceiling & Wall Panels
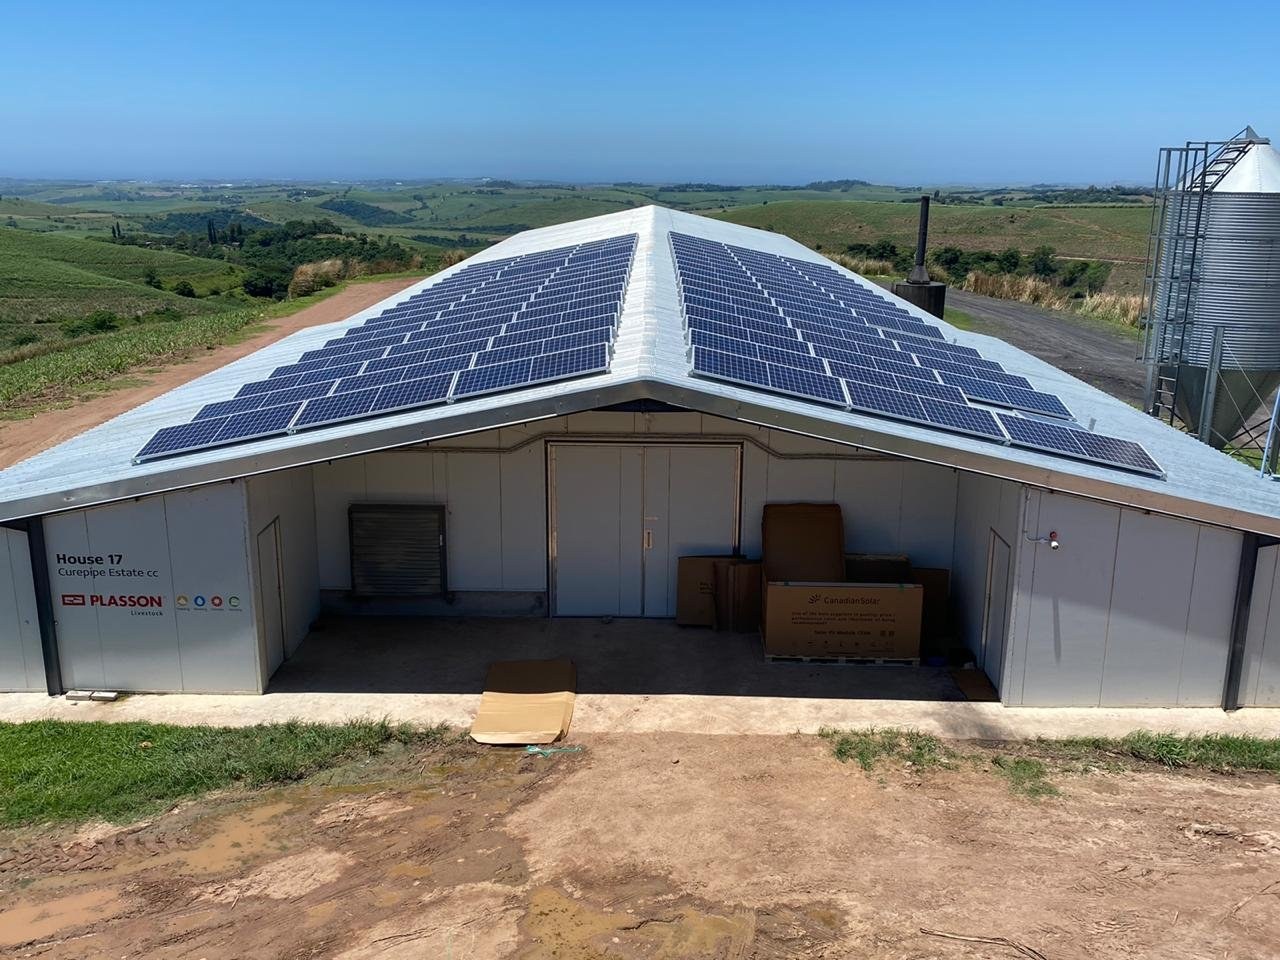
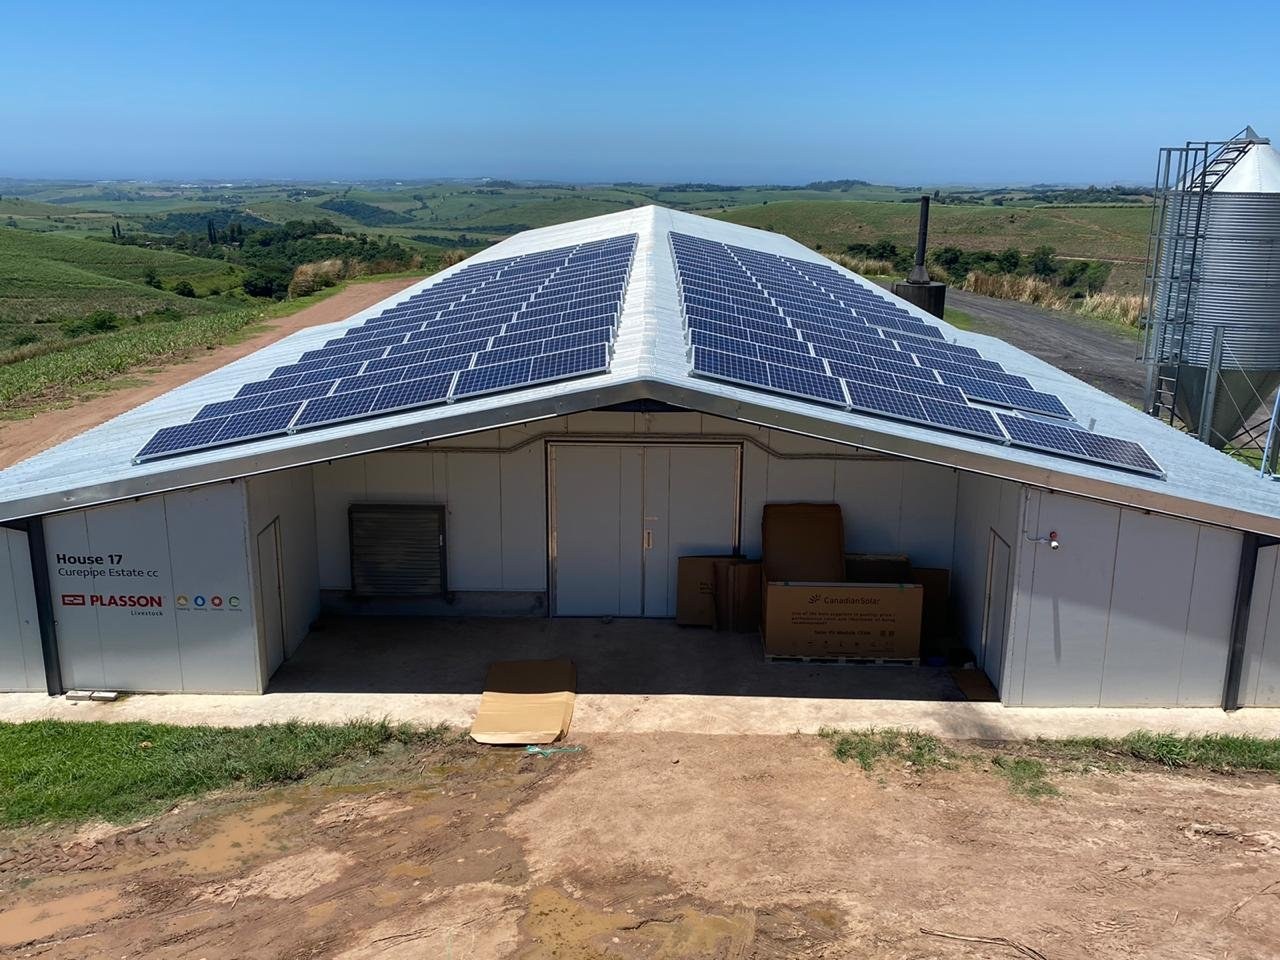
Poultry house gable end with wall panels and solar panels mounted on the roofPHOTO
Poultry house gable end with wall panels and solar panels mounted on the roofLiteSpan Ceiling & Wall Panels
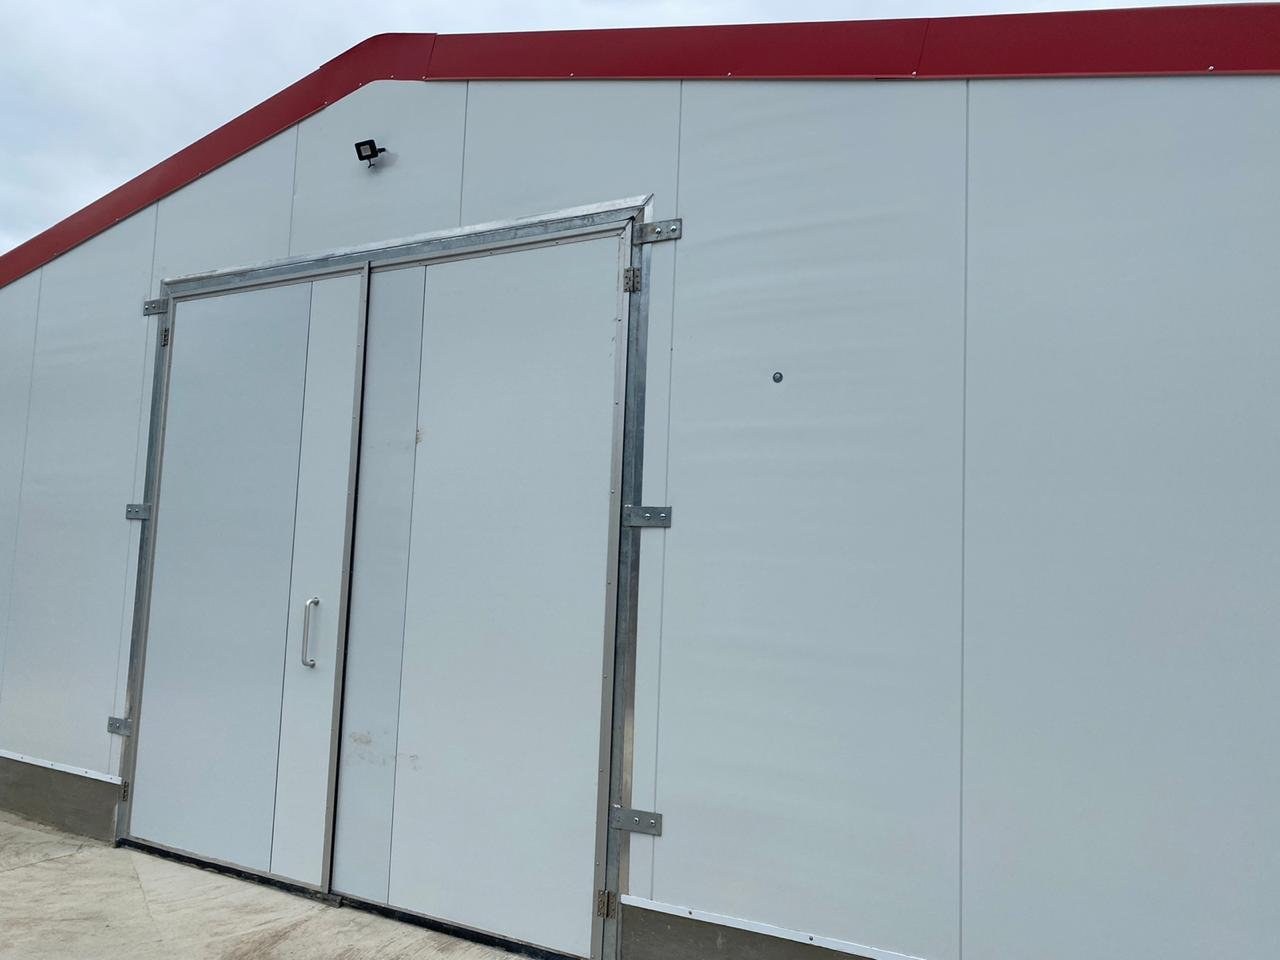
Double door set into an insulated wall panel, roof edge trim abovePHOTO
Double door set into an insulated wall panel, roof edge trim aboveLiteSpan Ceiling & Wall Panels
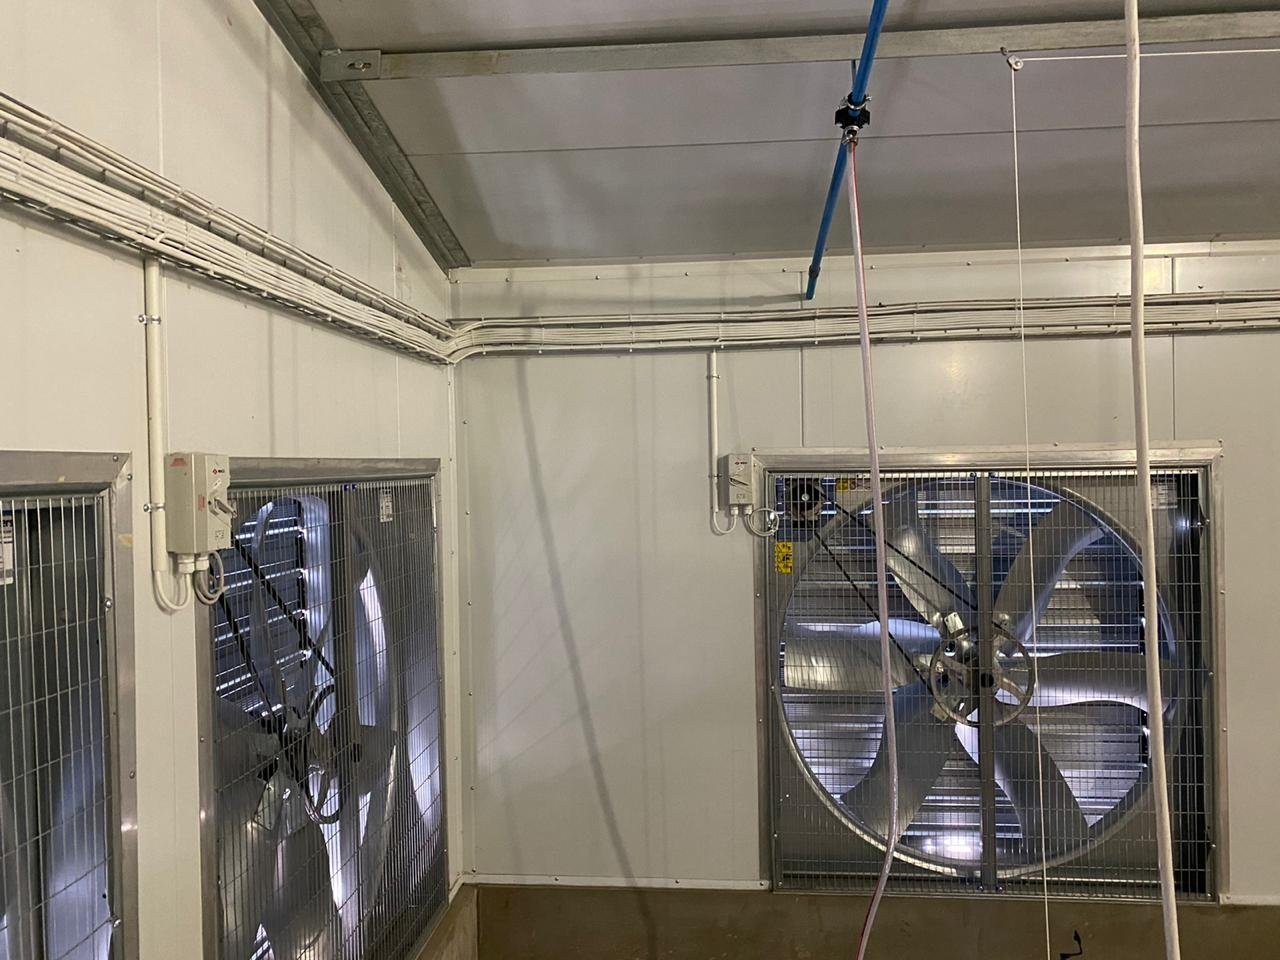
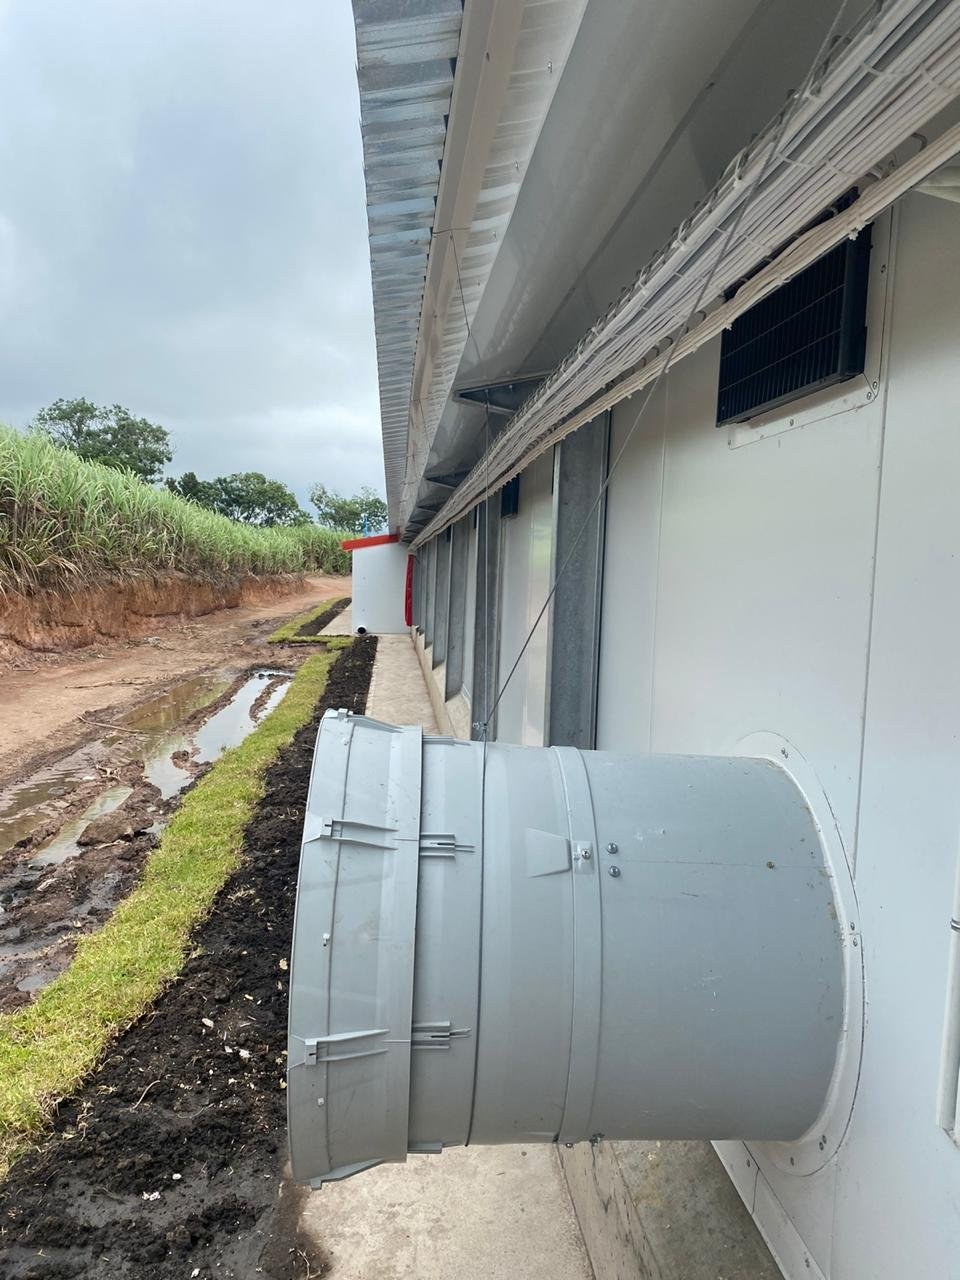
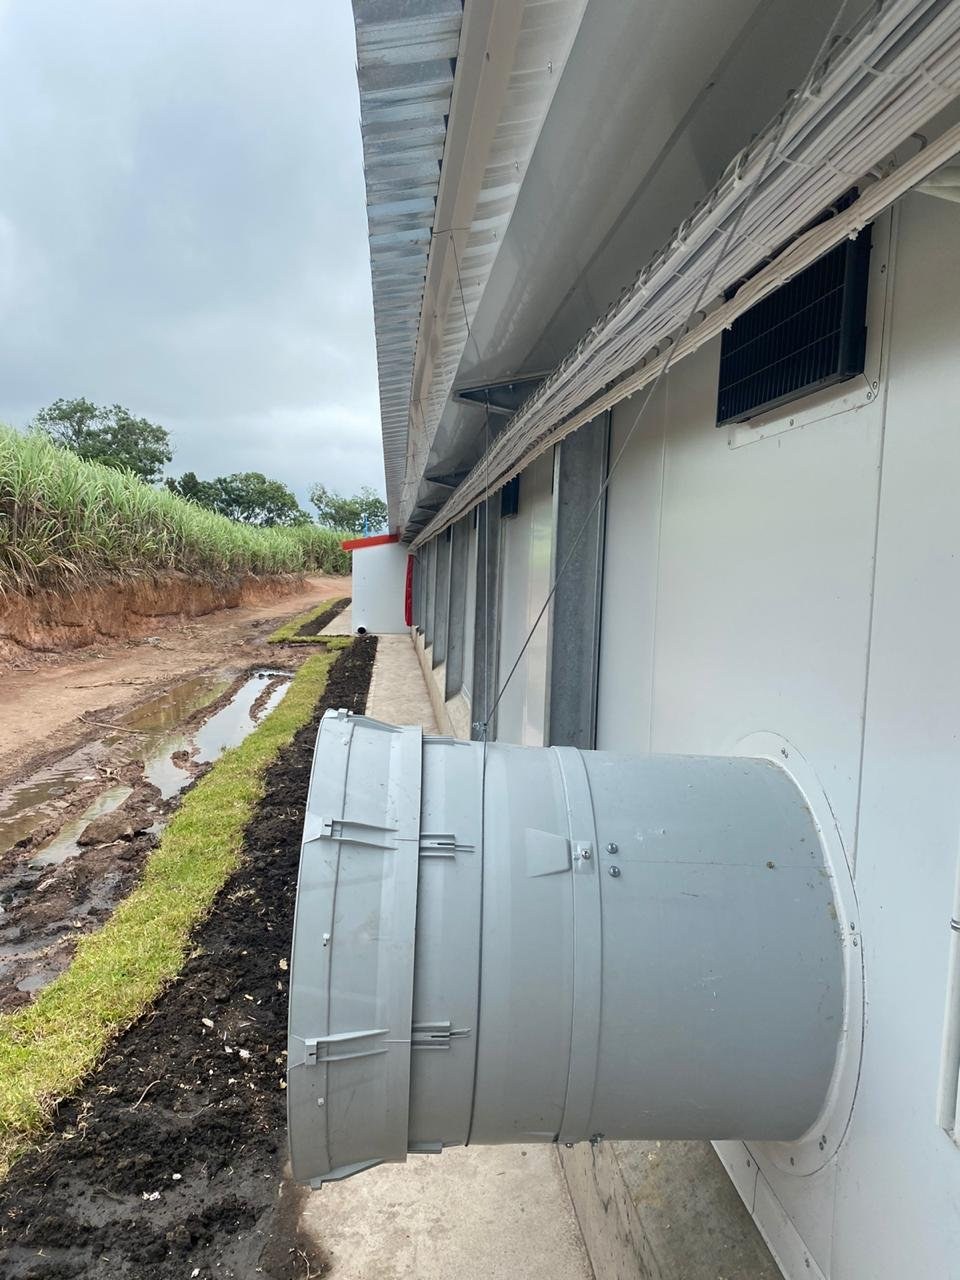
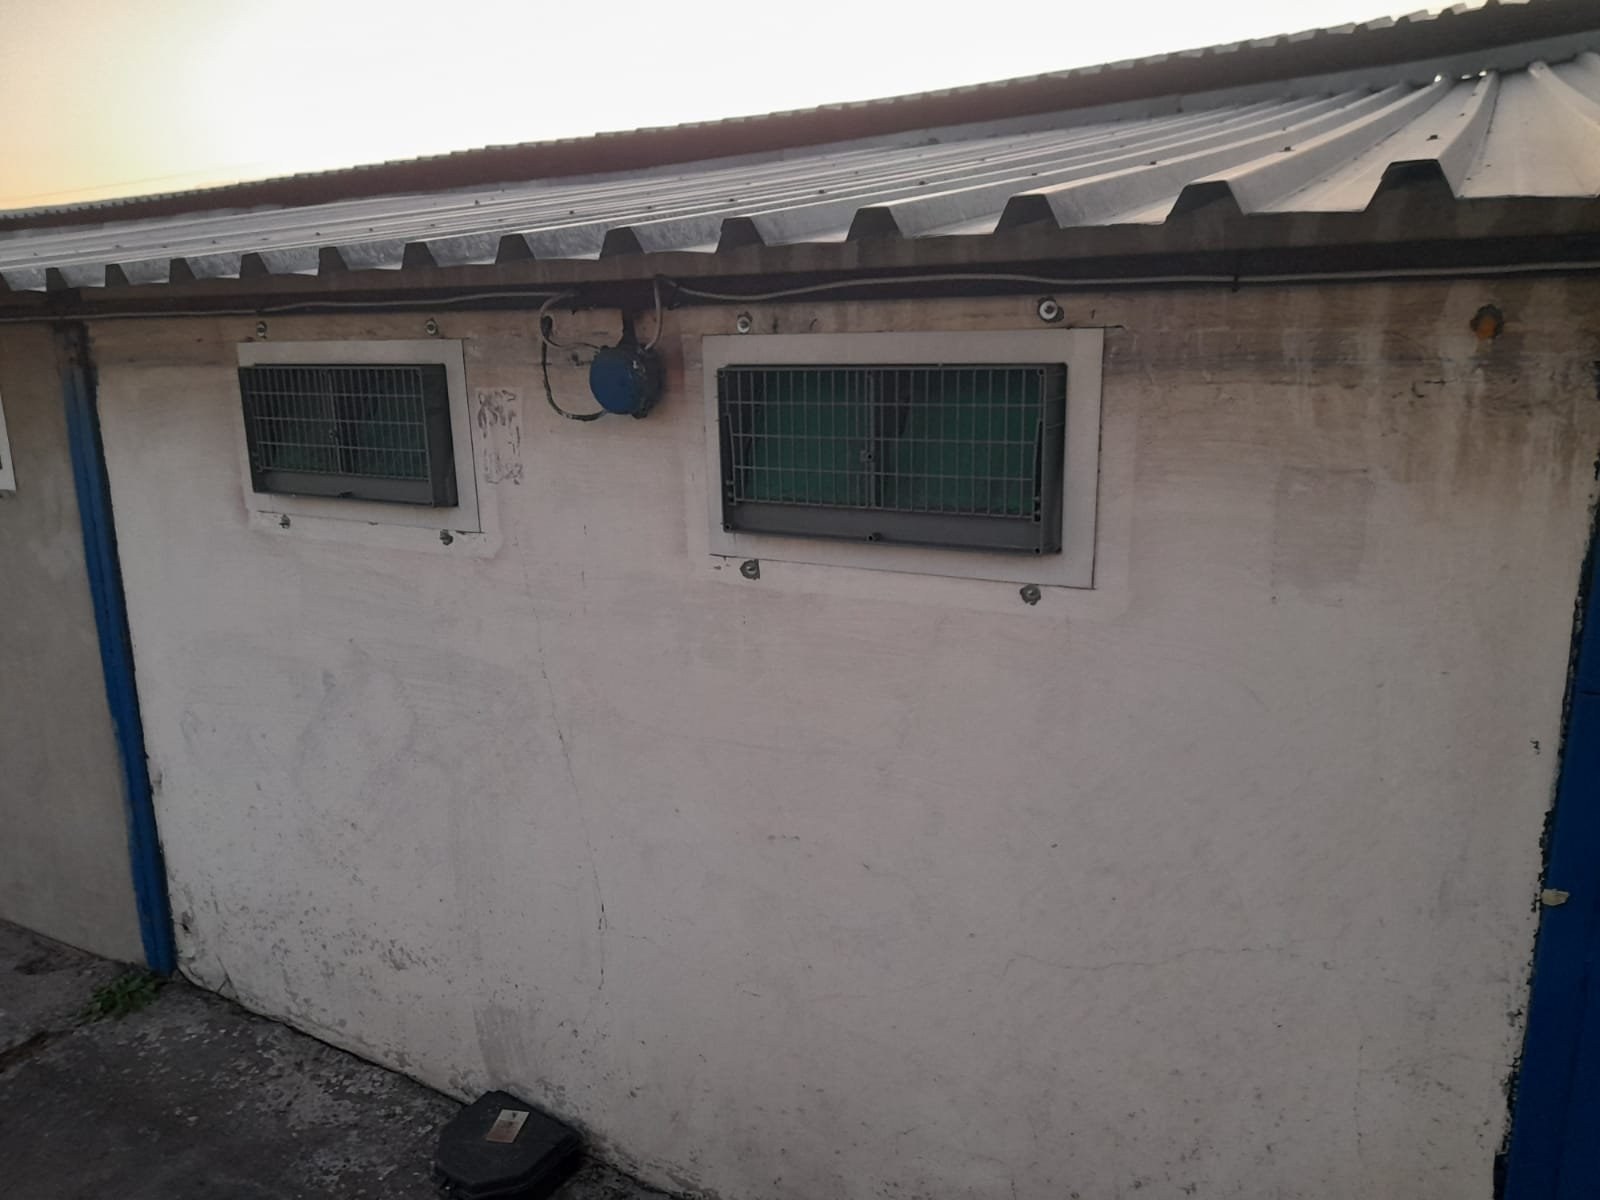
Extraction fan housing mounted through an exterior wall panel, farmland in the backgroundPHOTO
Extraction fan housing mounted through an exterior wall panel, farmland in the backgroundLiteSpan Ceiling & Wall Panels
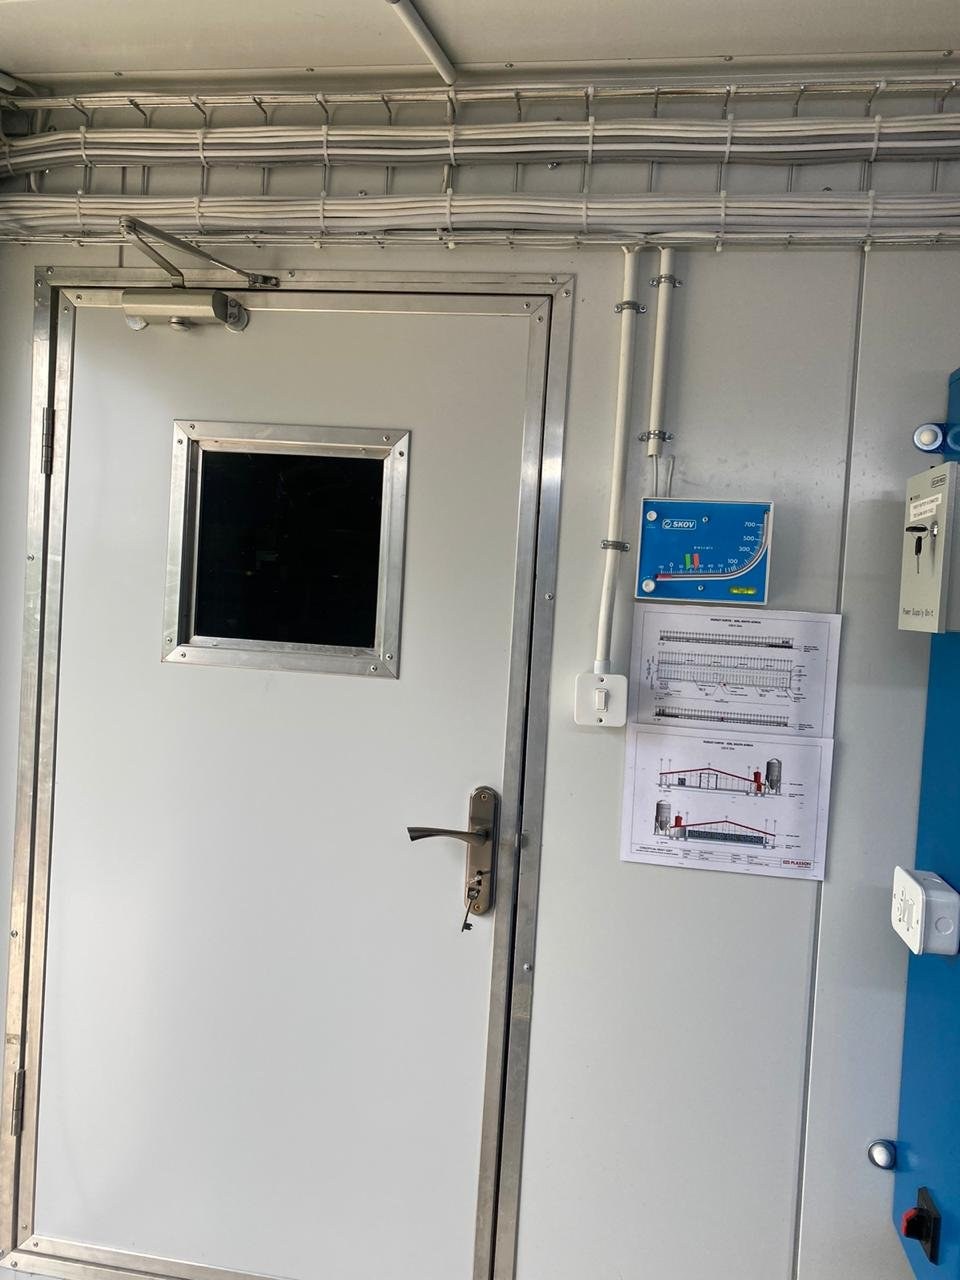
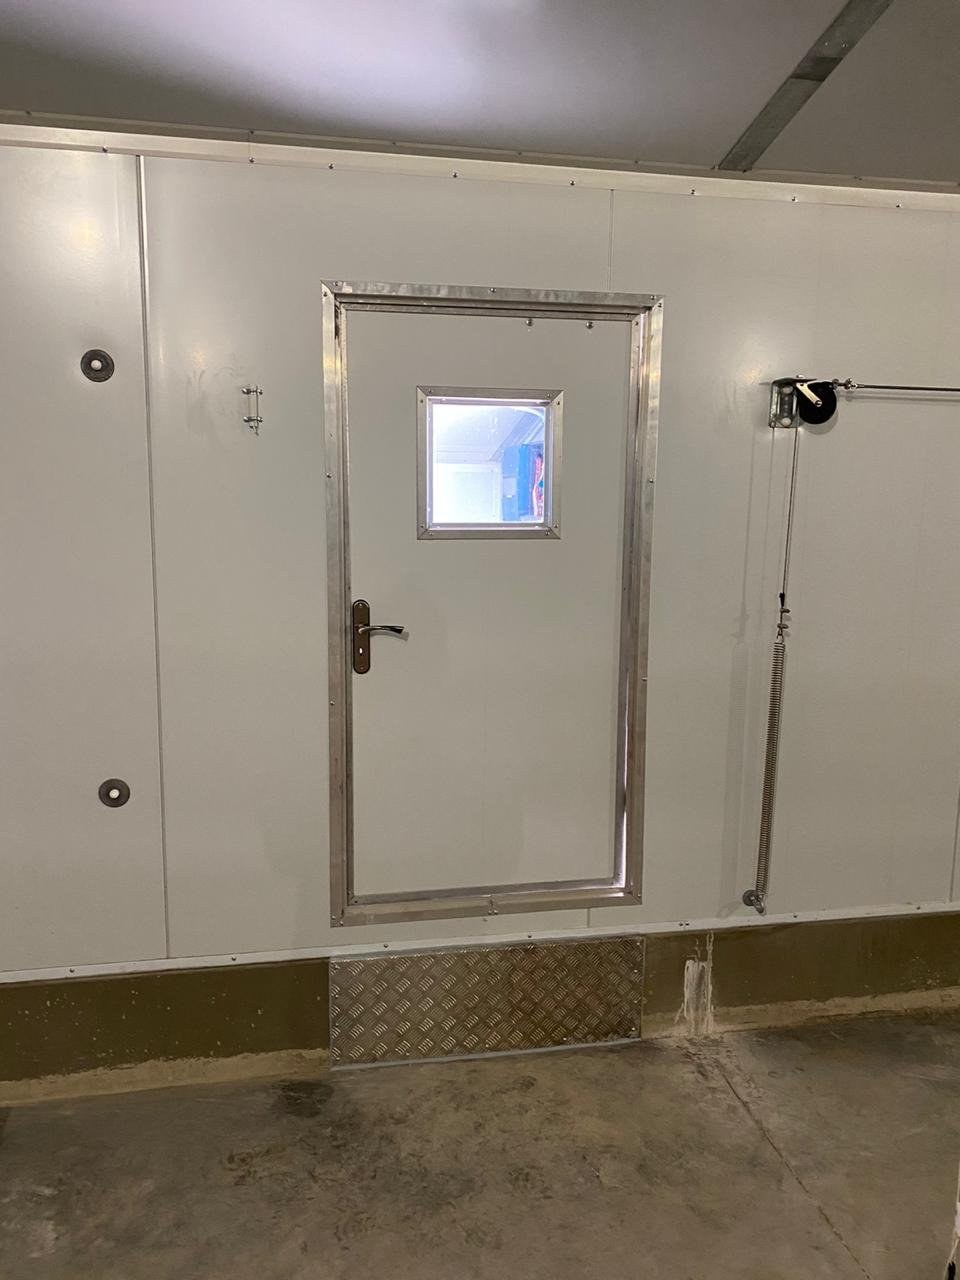
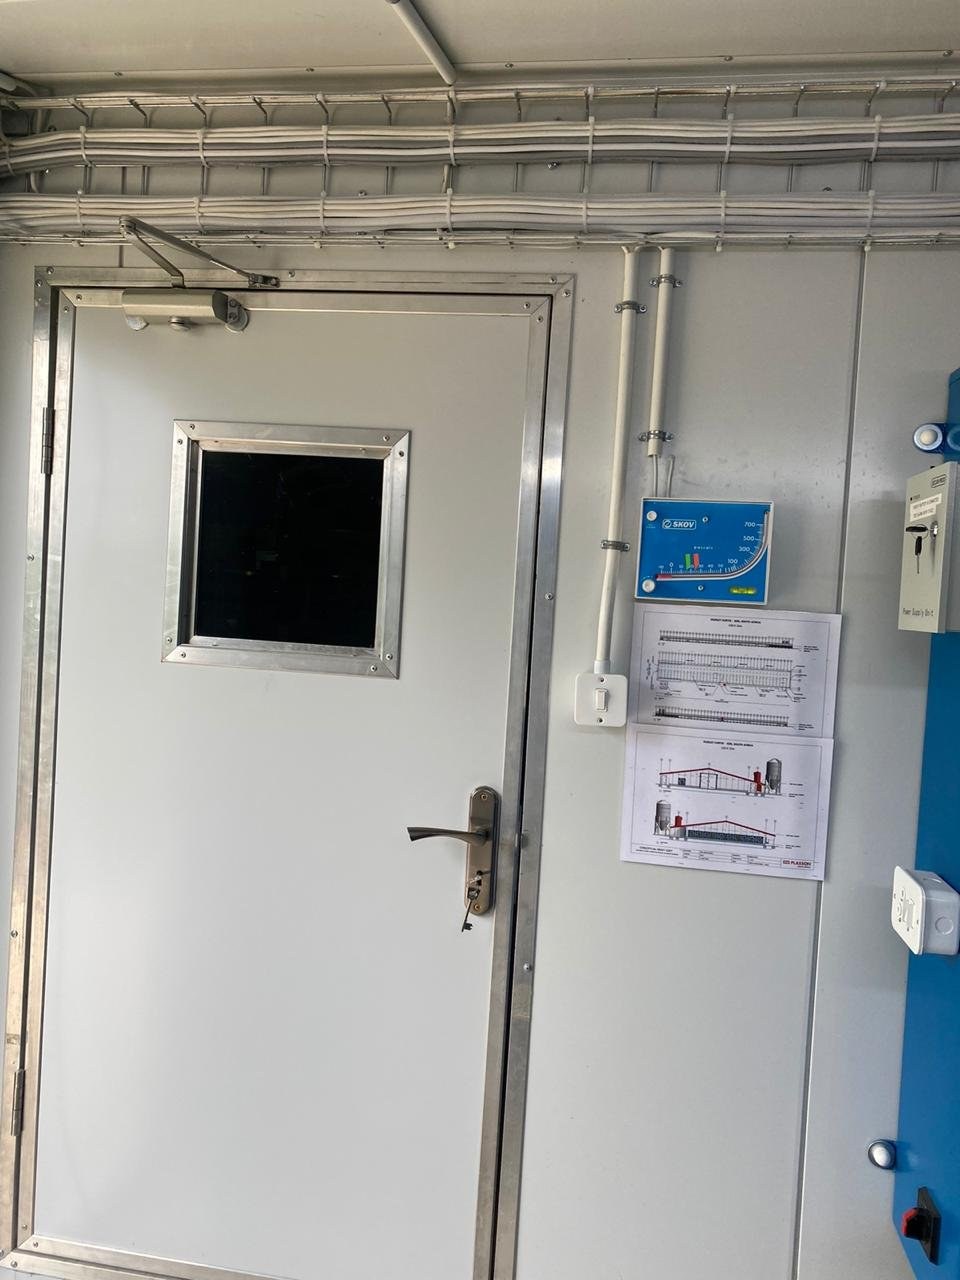
Interior door in a panel wall with cable tray and climate controller mounted alongsidePHOTO
Interior door in a panel wall with cable tray and climate controller mounted alongsideLiteSpan Ceiling & Wall Panels
Installer fitting a wall panel on scaffolding beside a feed siloPHOTO
Installer fitting a wall panel on scaffolding beside a feed siloLiteSpan Ceiling & Wall Panels
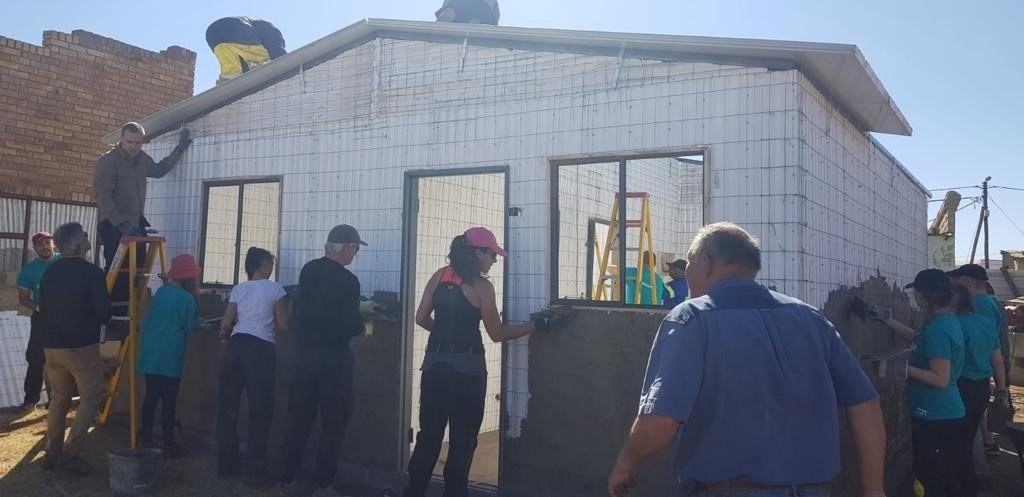
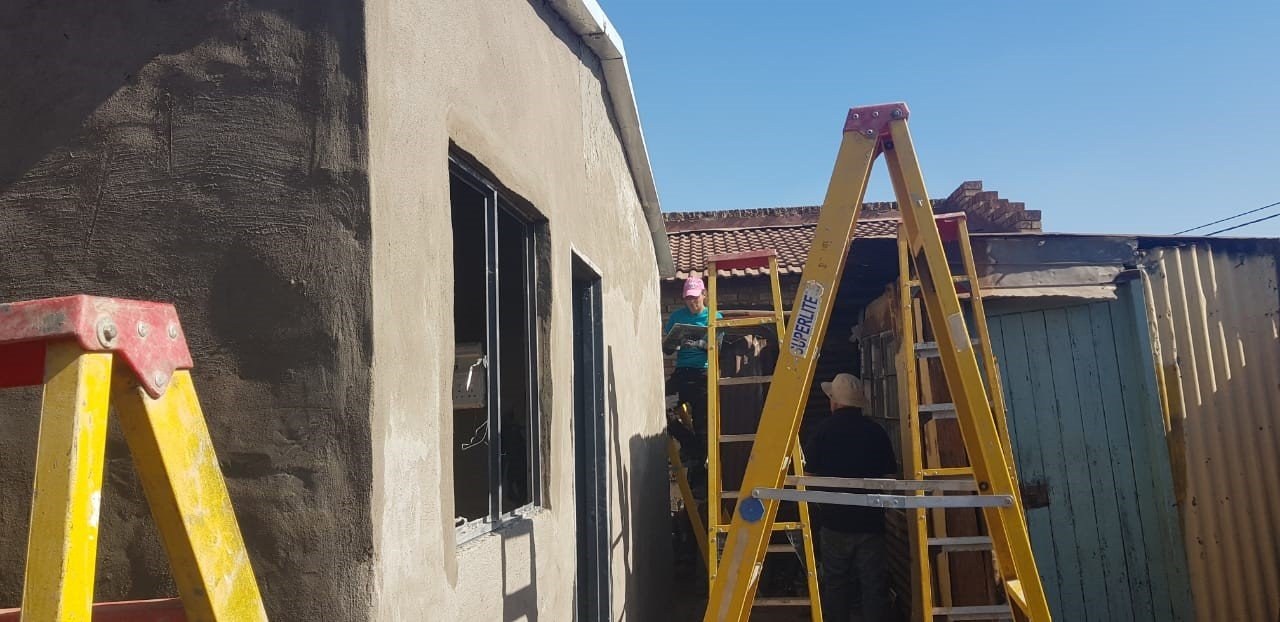
Team plastering the exterior of a panel-built house during a community buildPHOTO
Team plastering the exterior of a panel-built house during a community buildLiteSpan Ceiling & Wall Panels
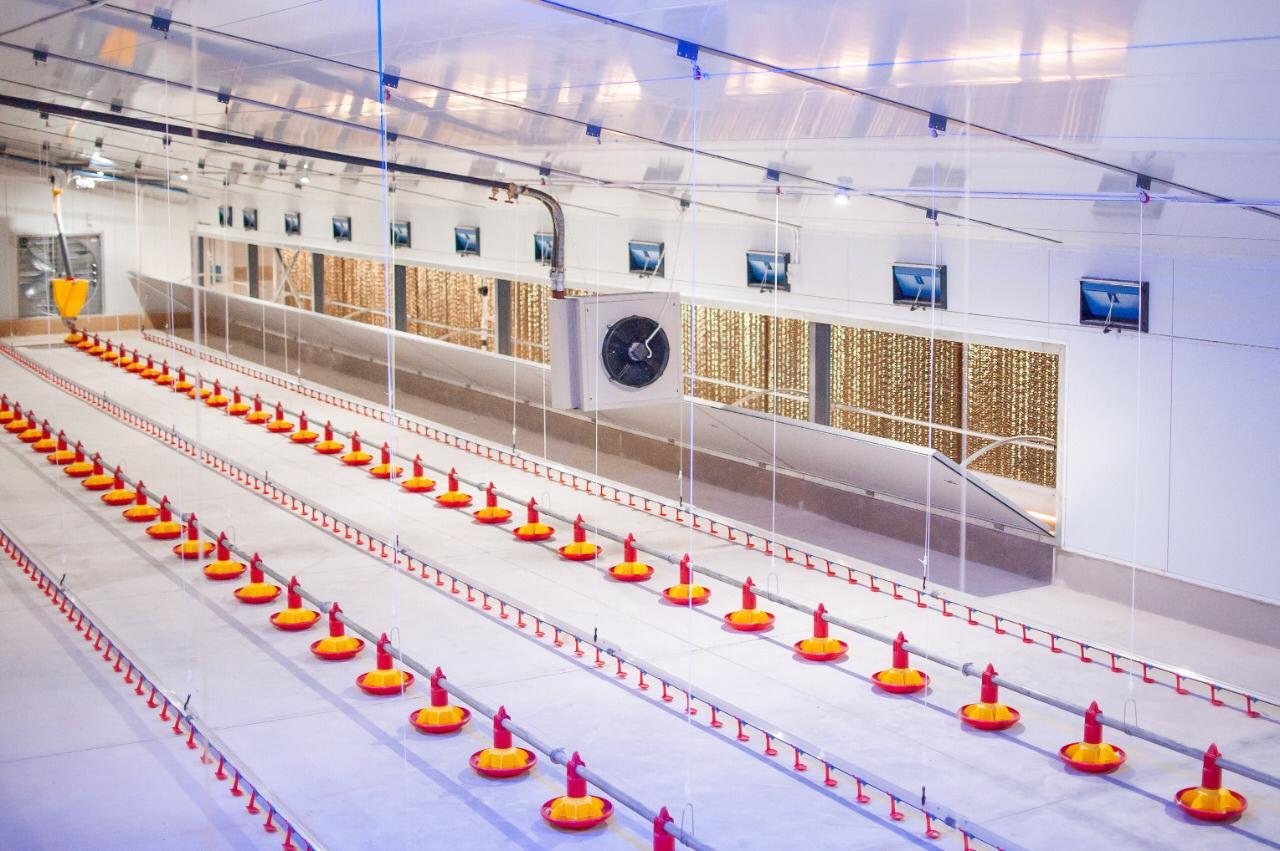
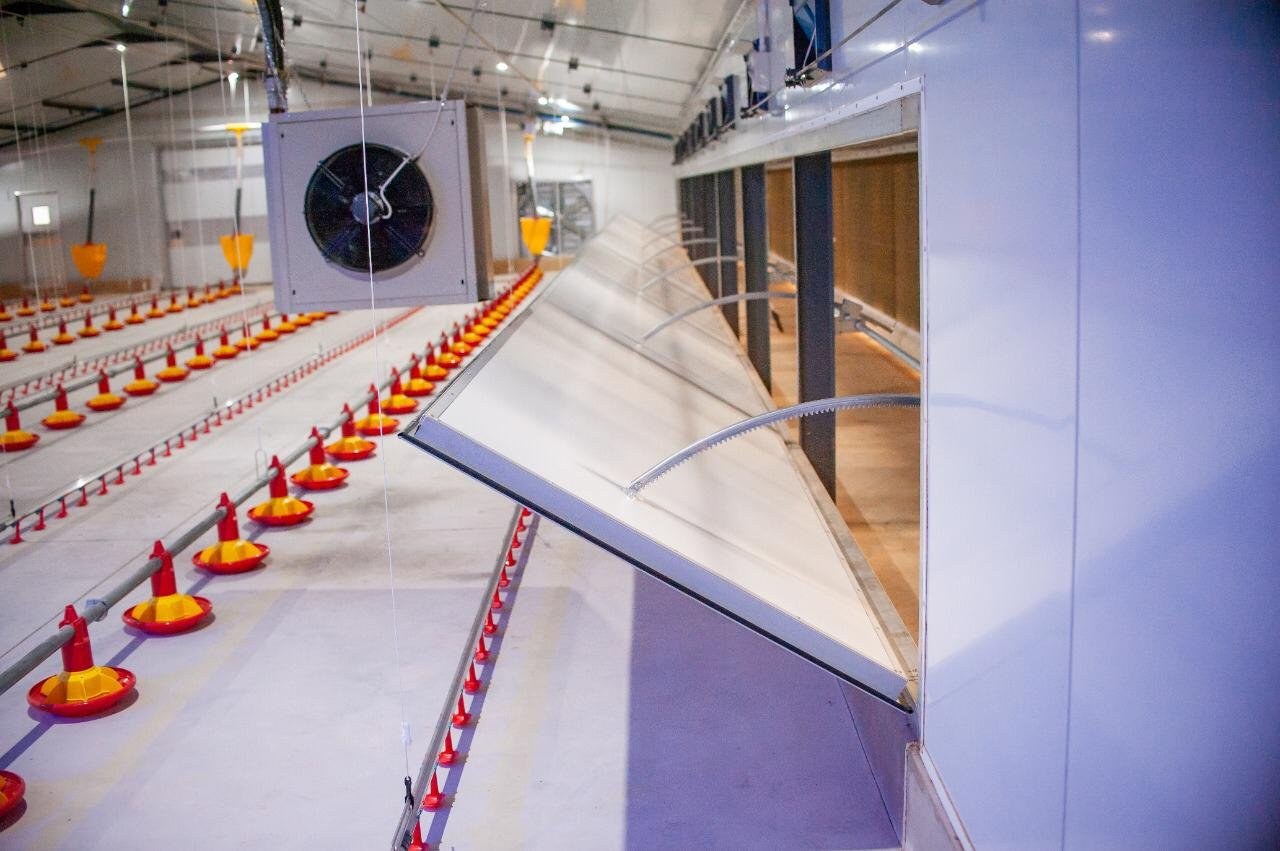
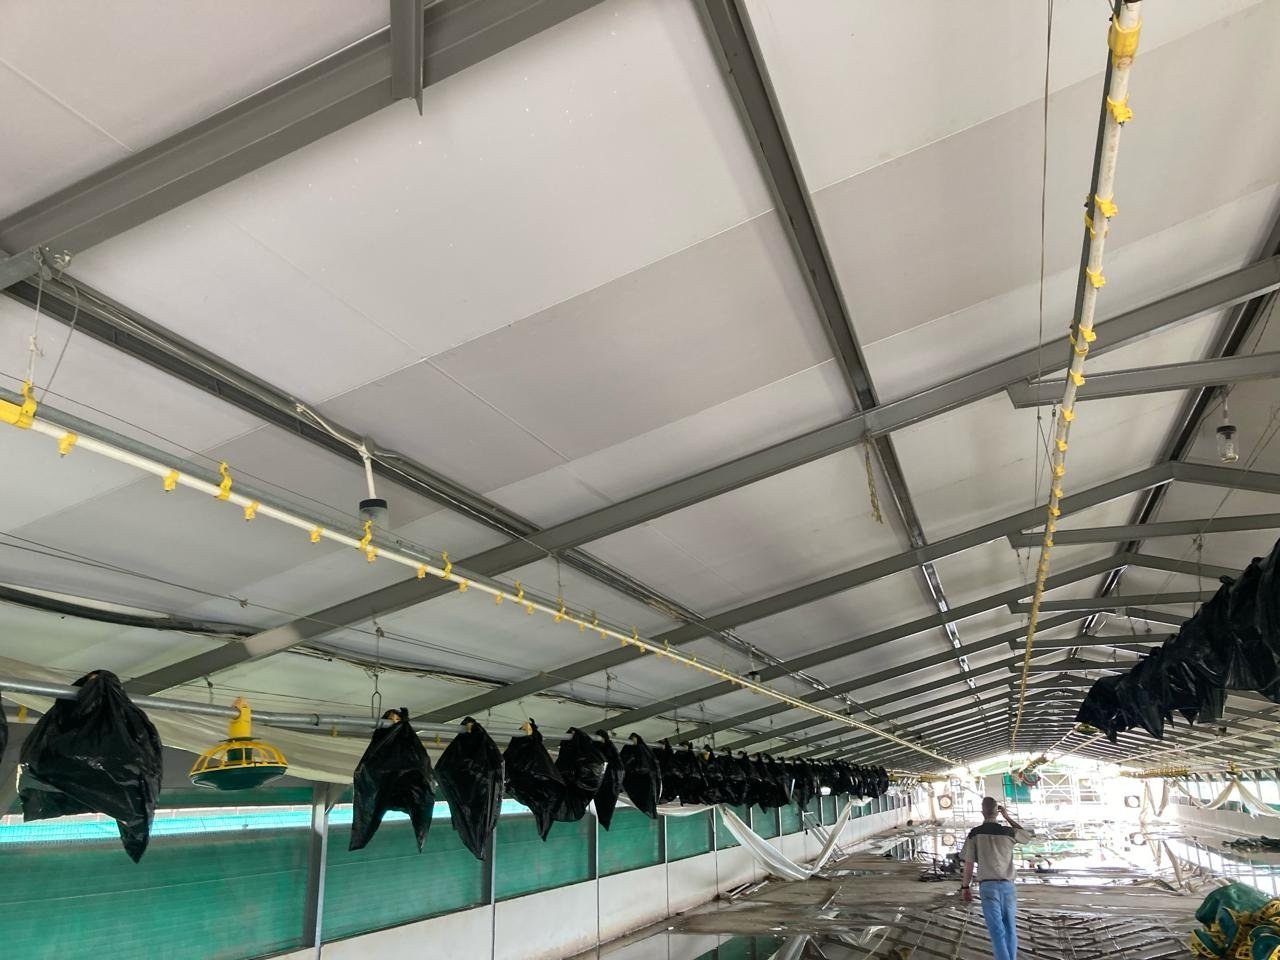
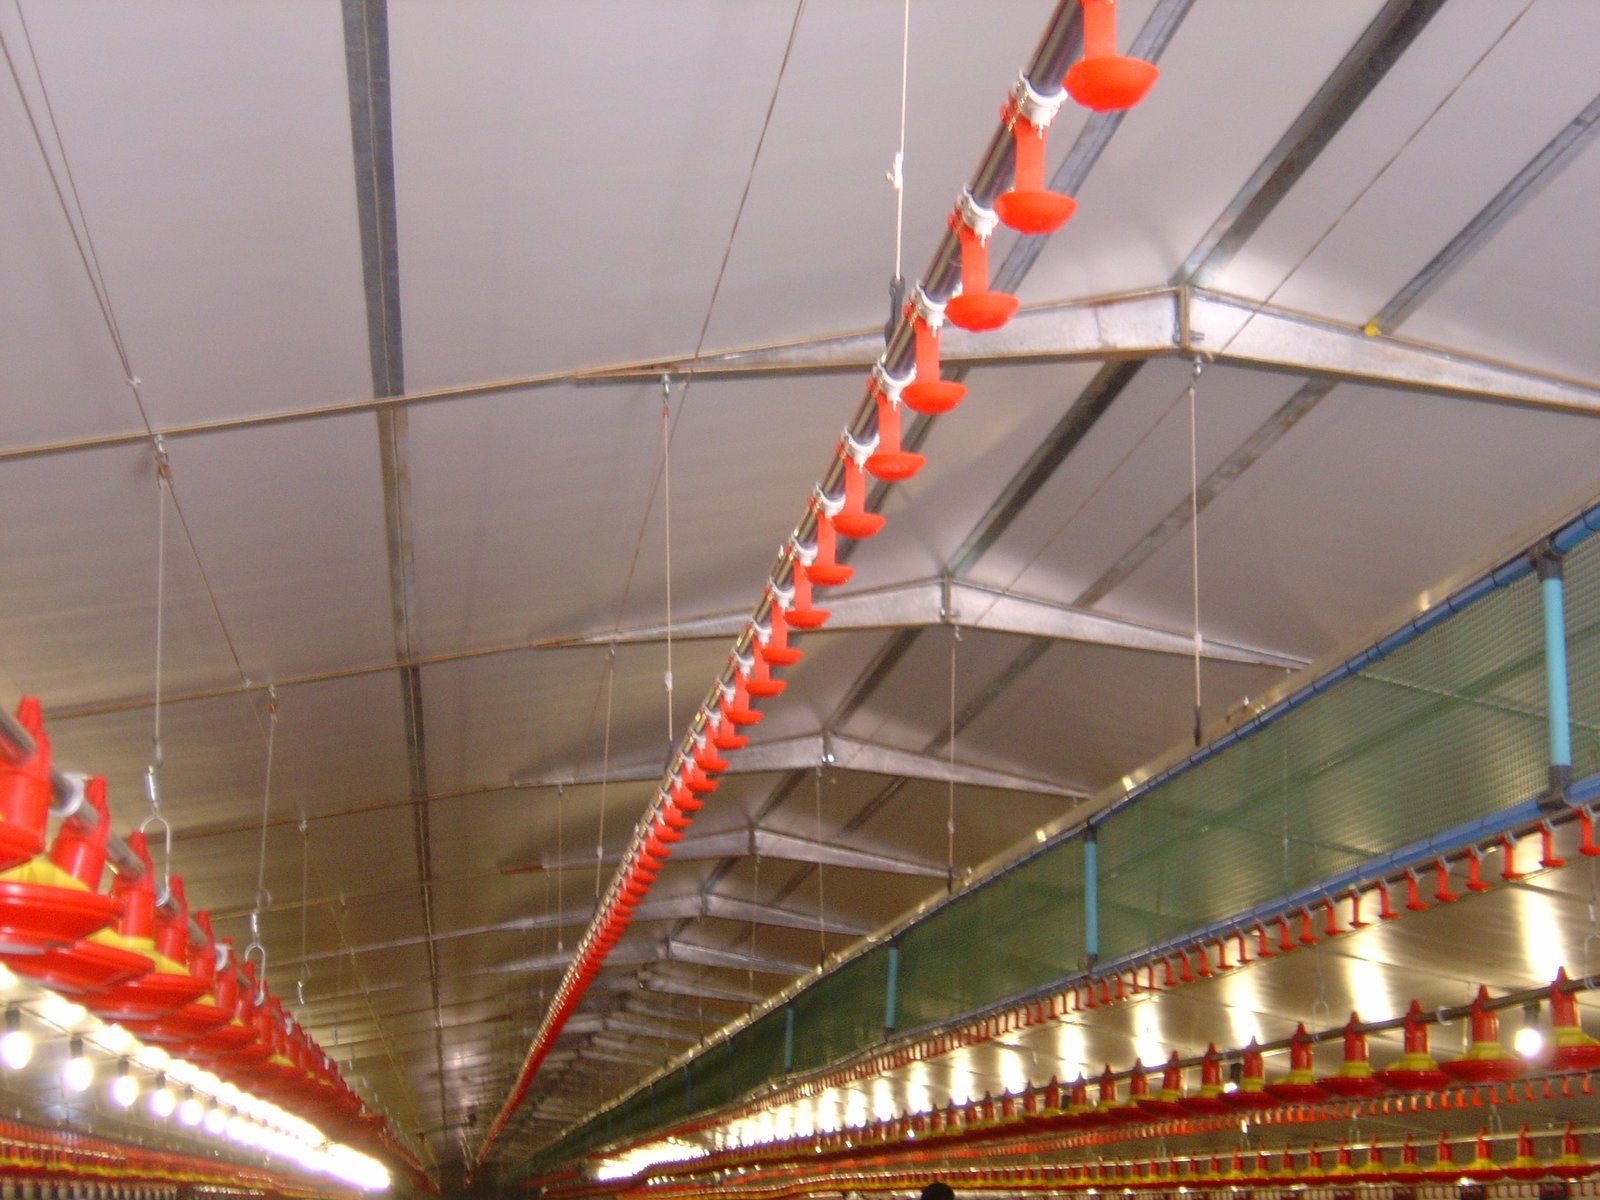
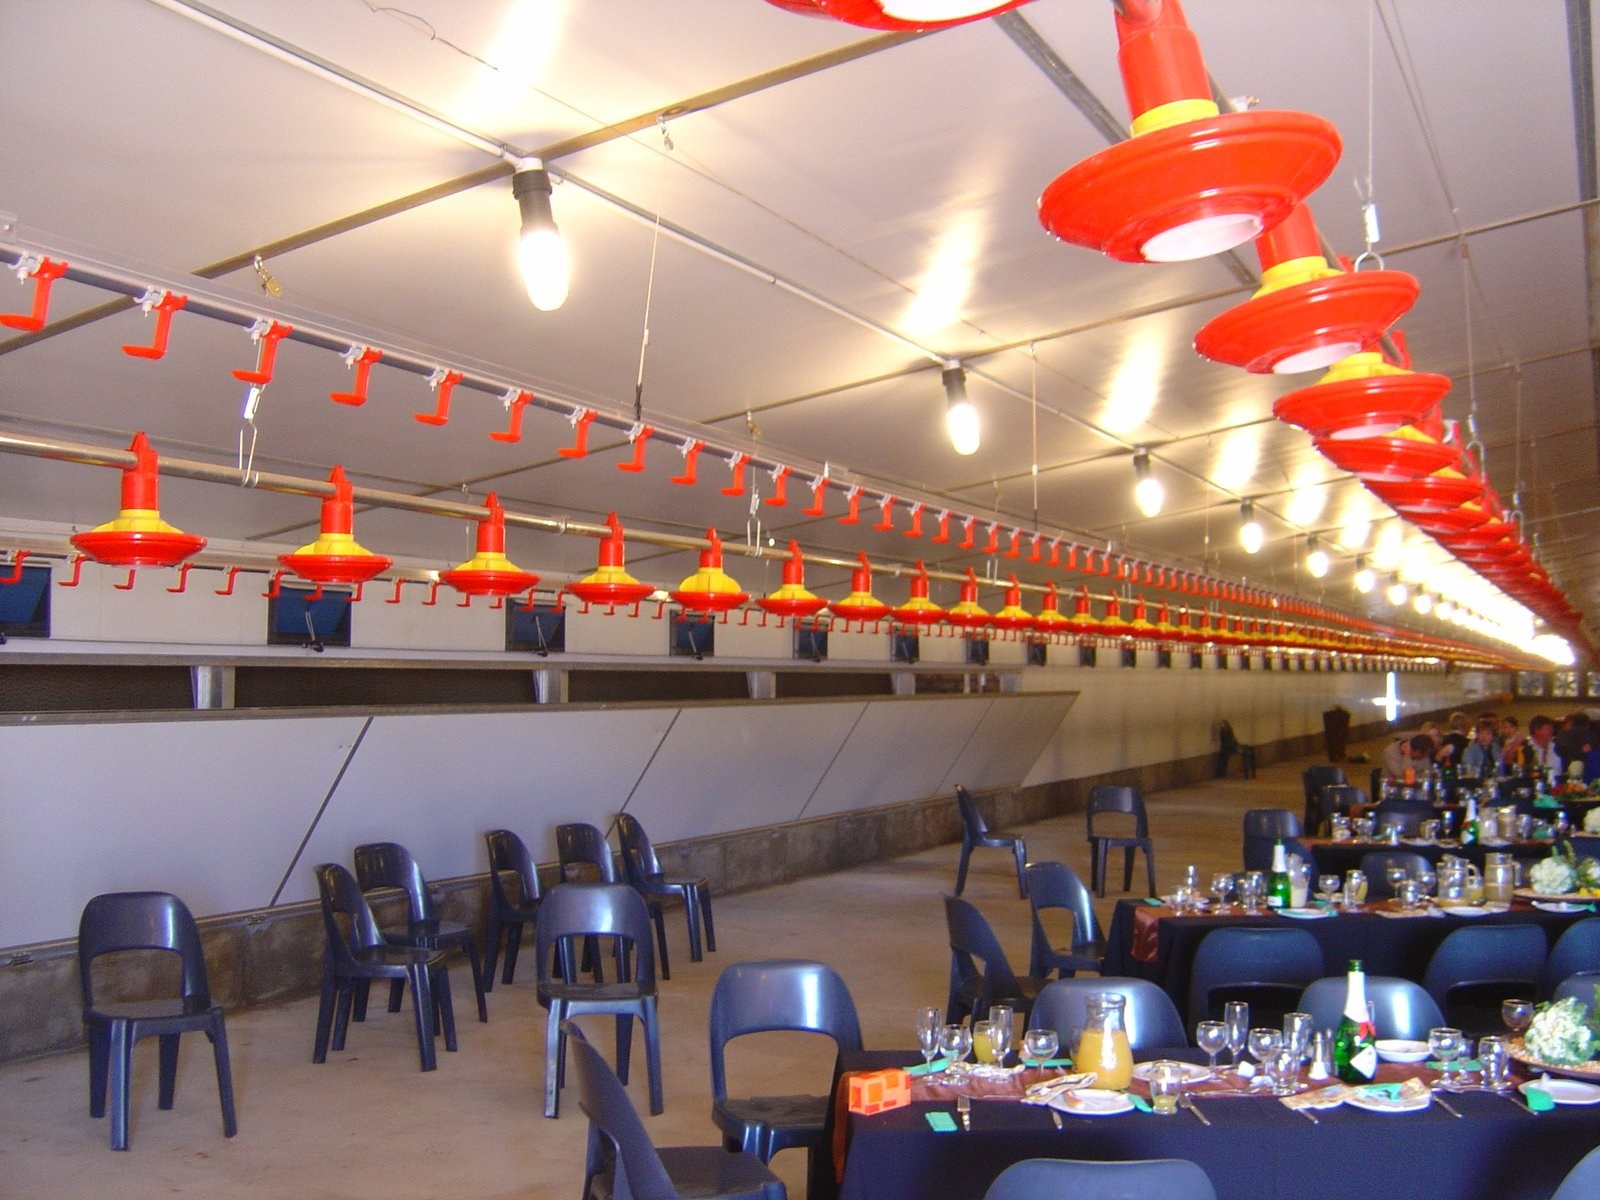
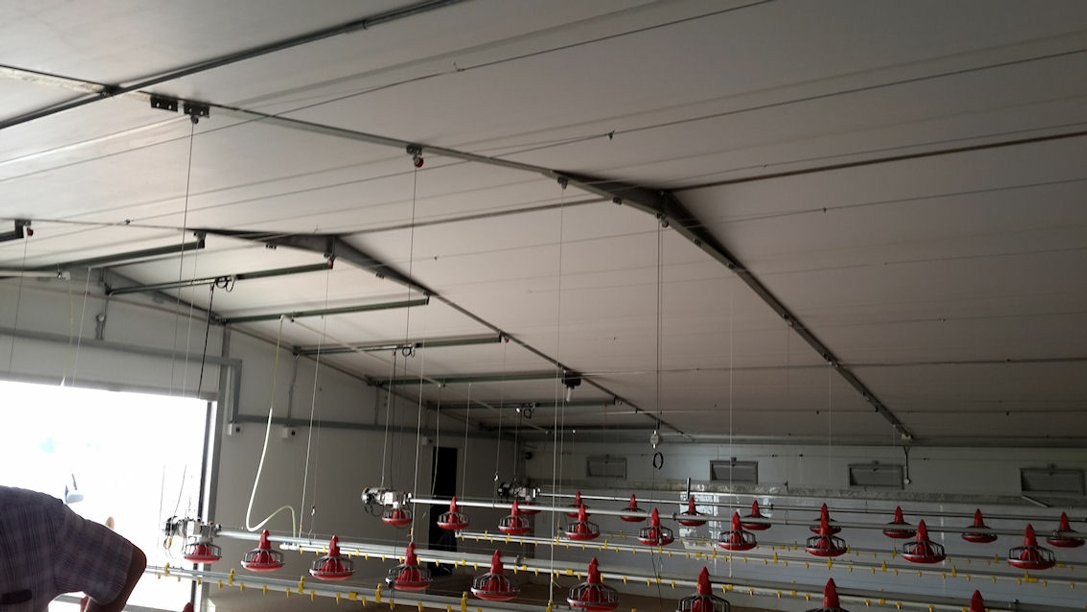
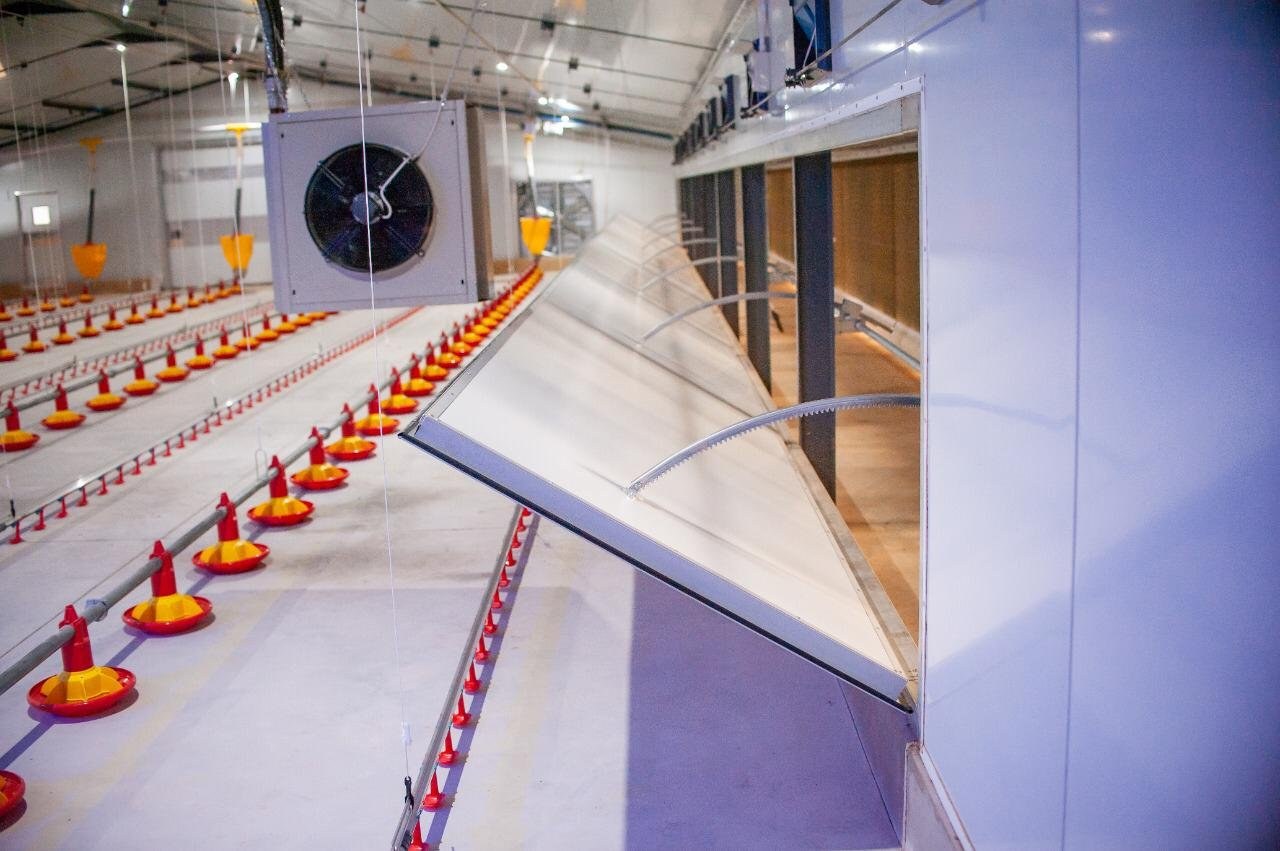
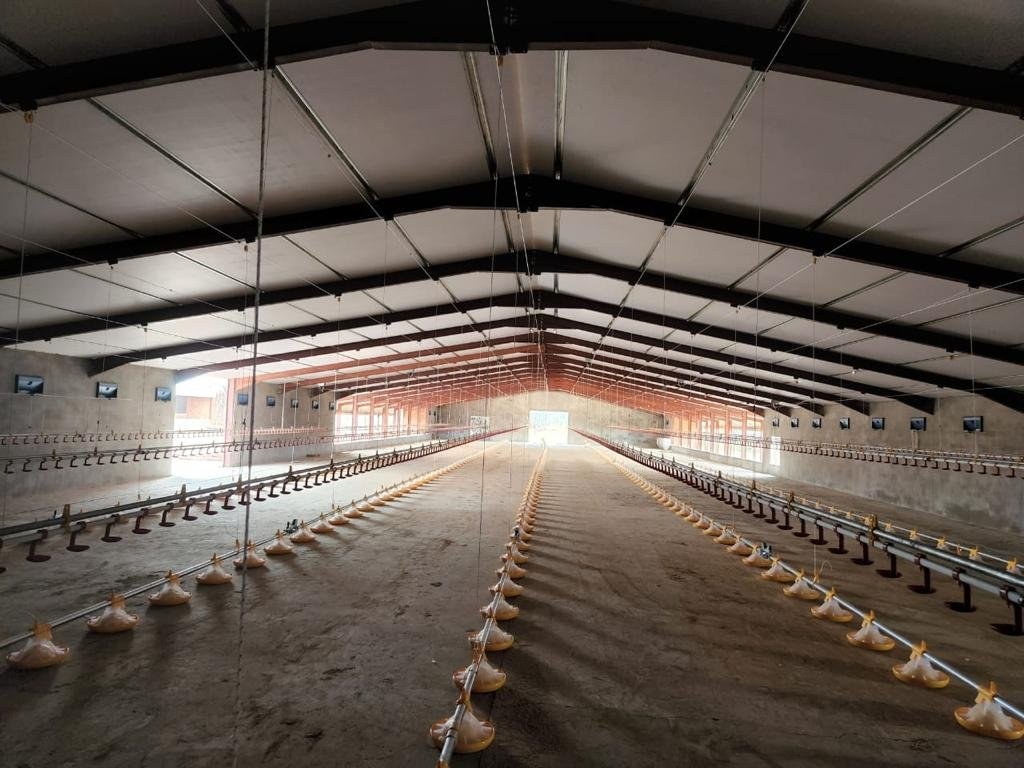
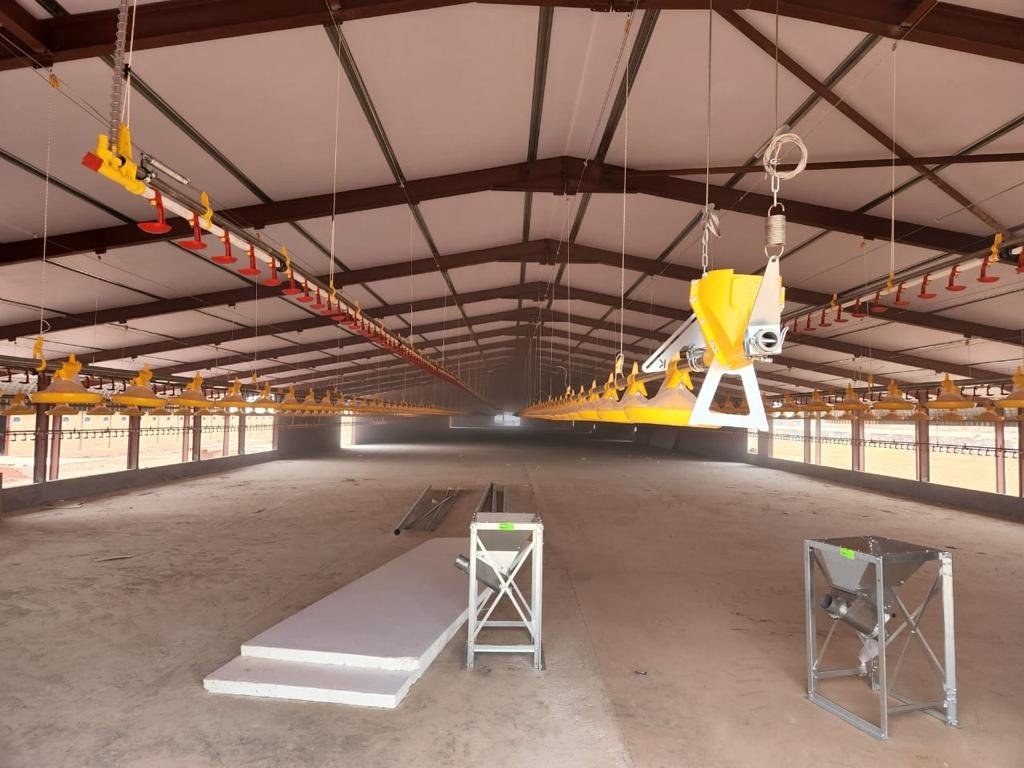
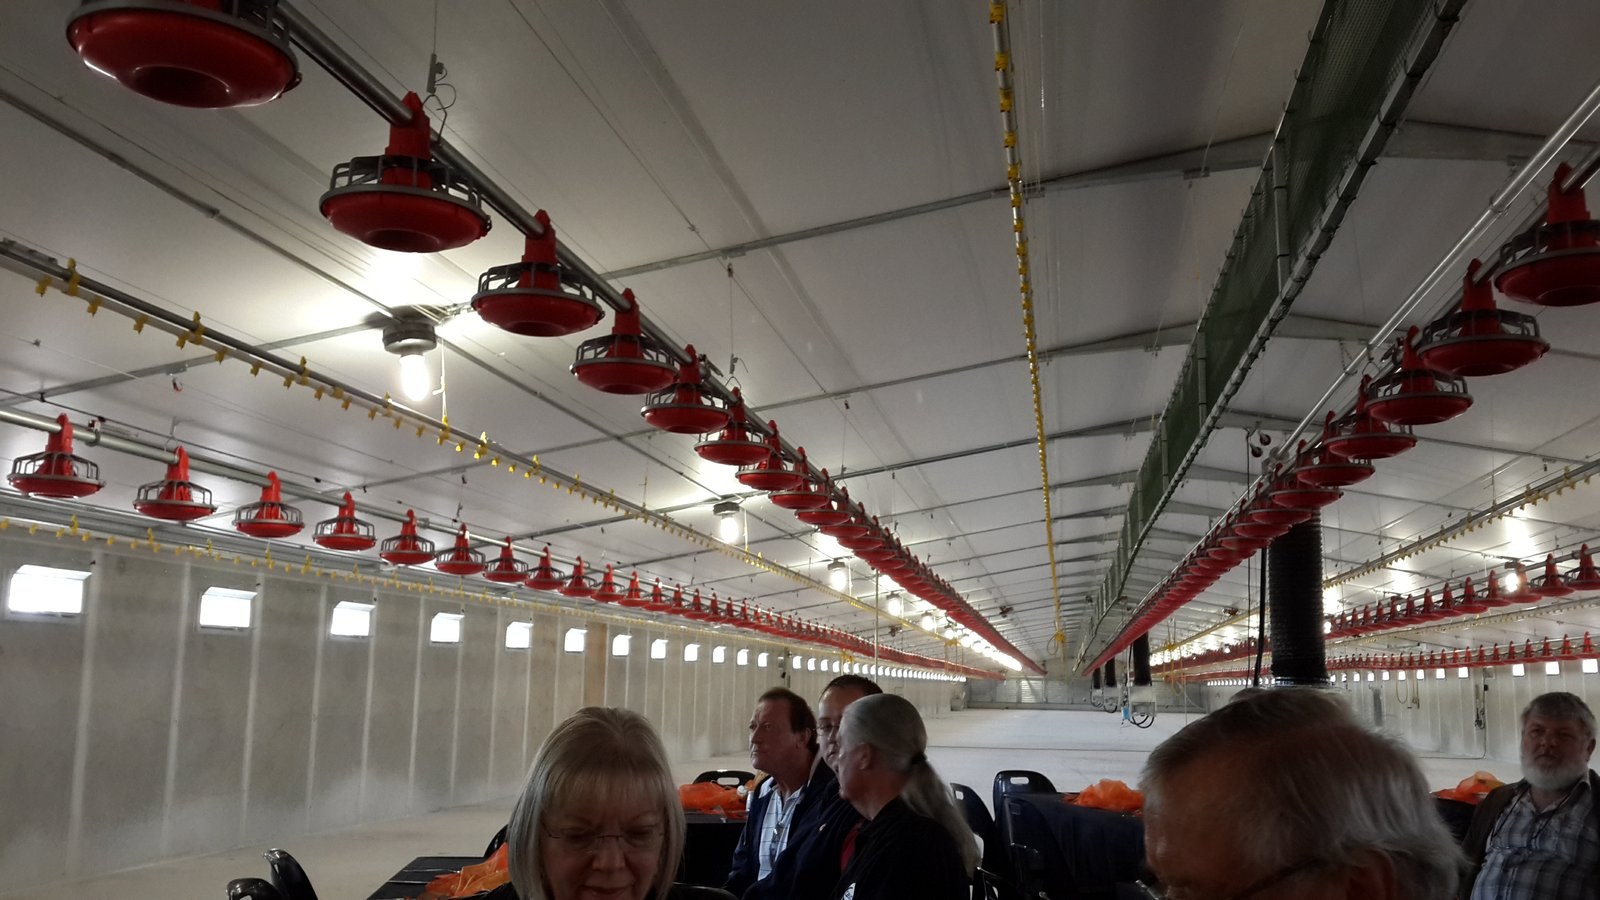
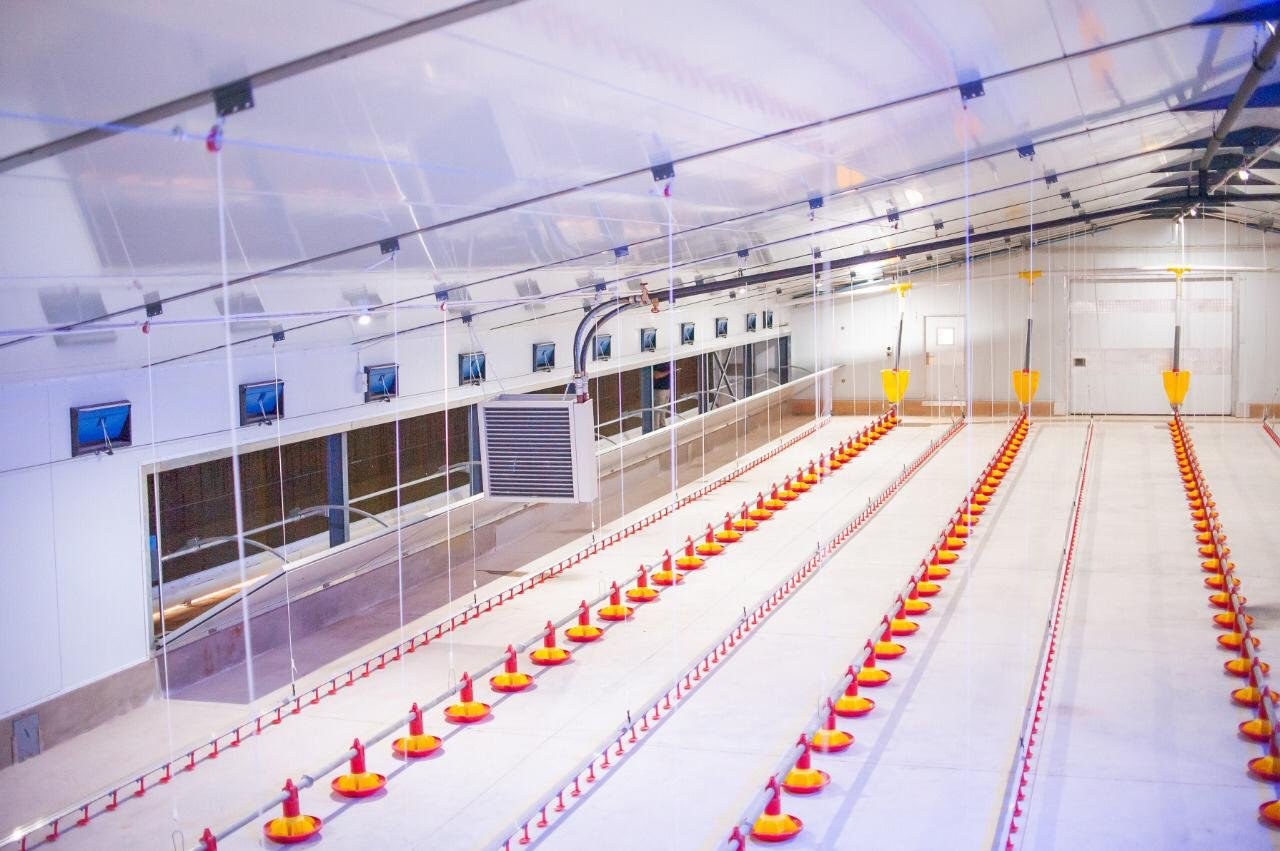
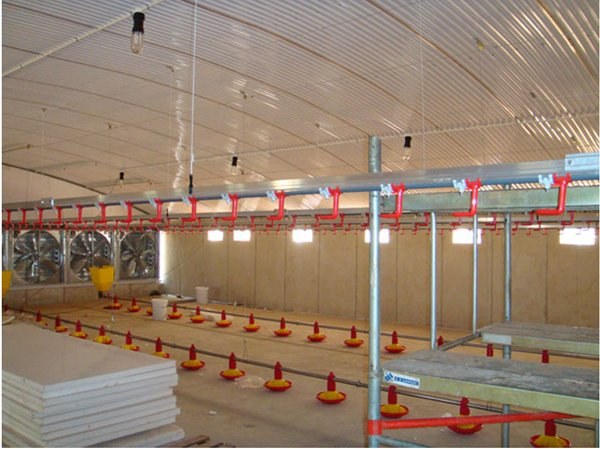
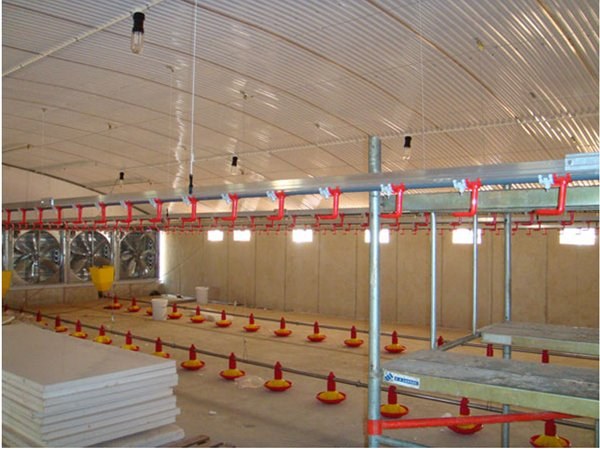
Interior of a broiler house showing panel ceiling, feeder and drinker lines, and a cooling pad wallPHOTO
Interior of a broiler house showing panel ceiling, feeder and drinker lines, and a cooling pad wallLiteSpan Ceiling & Wall Panels
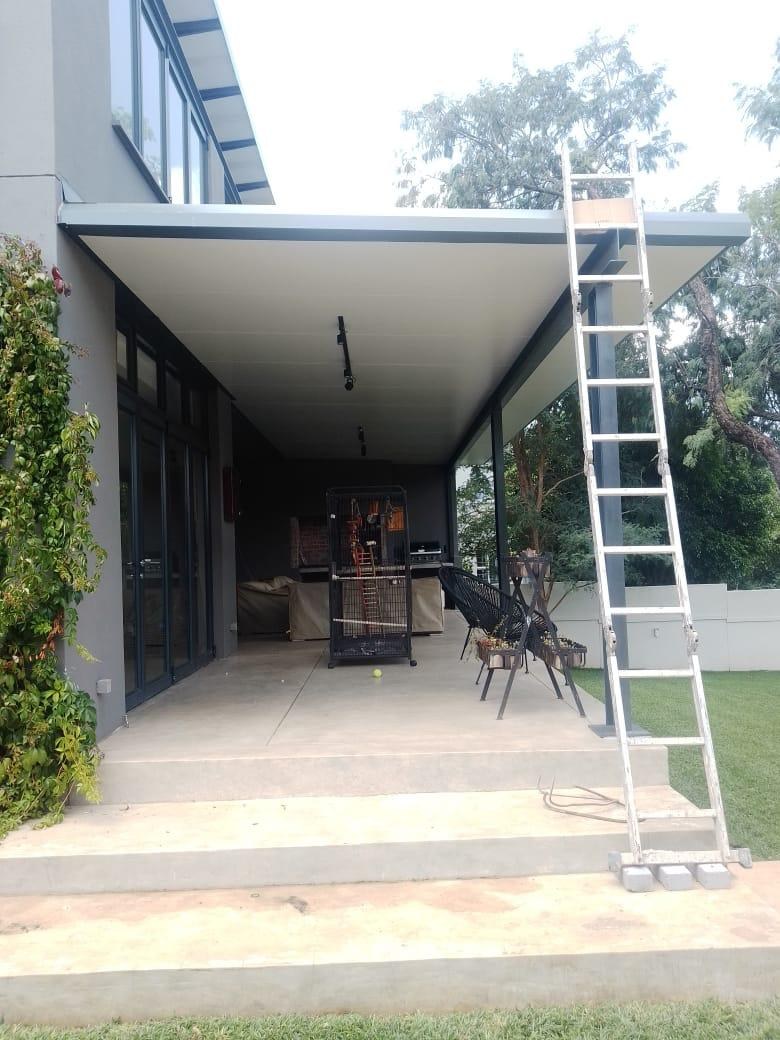
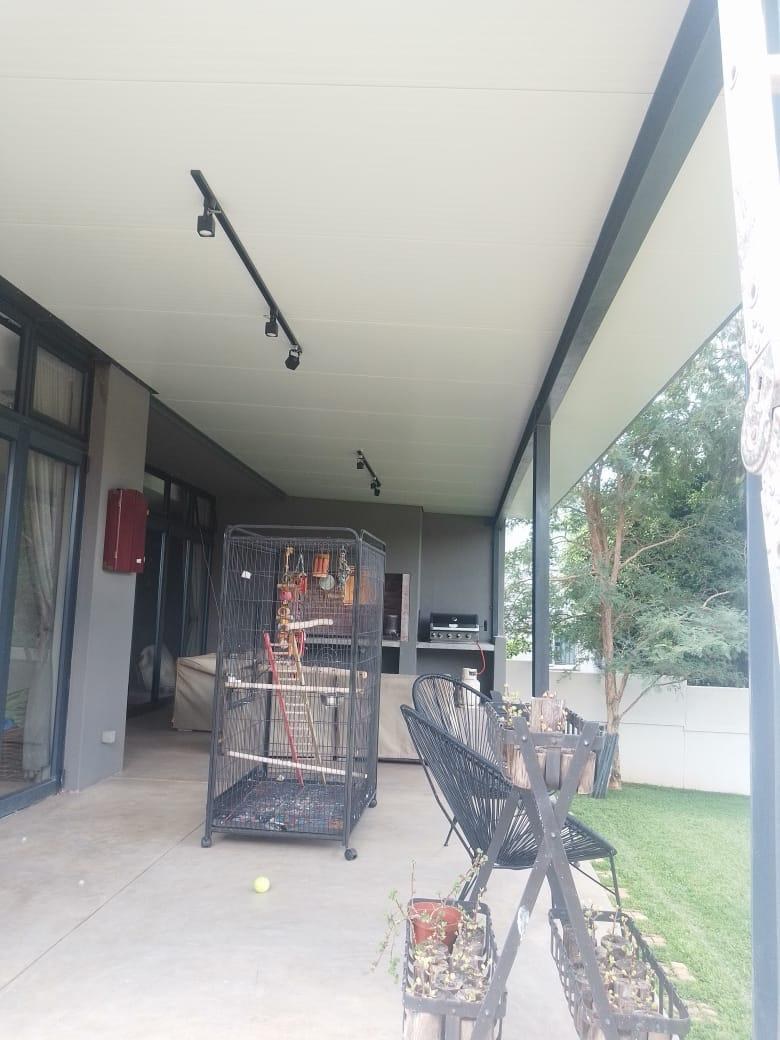
Underside of a flat LiteSpan panel patio canopy, finished ceiling visible from below with the access ladder still in placePHOTO
Underside of a flat LiteSpan panel patio canopy, finished ceiling visible from below with the access ladder still in placeLiteSpan Ceiling & Wall Panels
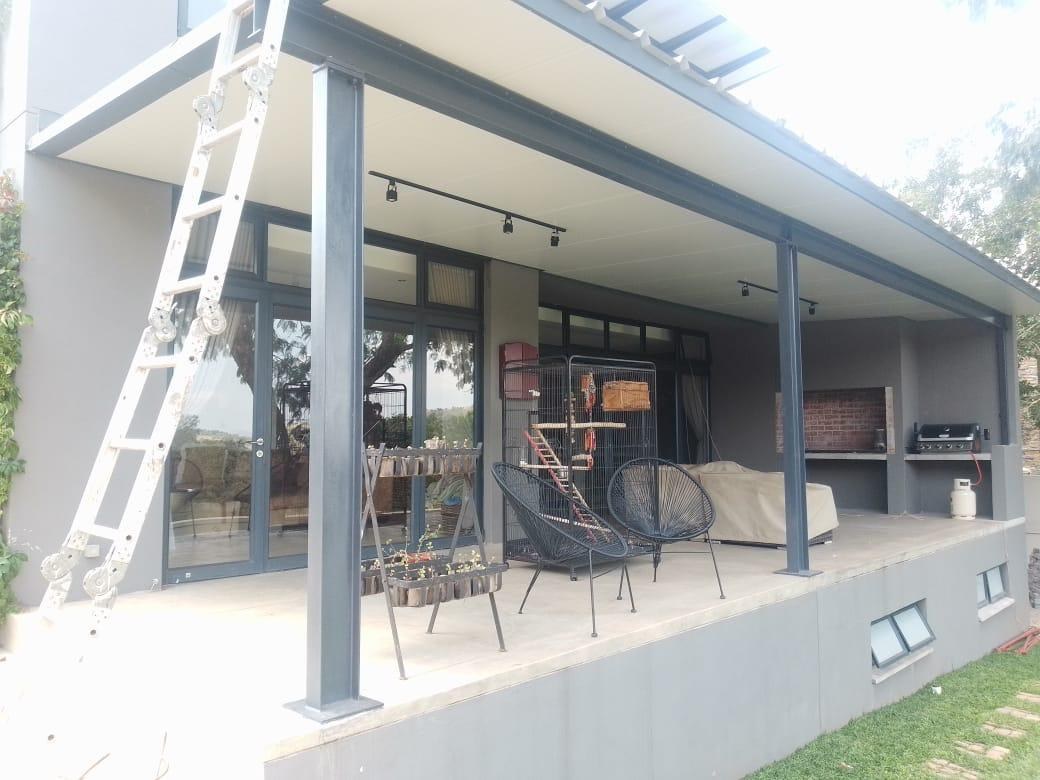
Flat LiteSpan panel patio canopy on steel posts, finished white underside spanning the full porchPHOTO
Flat LiteSpan panel patio canopy on steel posts, finished white underside spanning the full porchLiteSpan Ceiling & Wall Panels
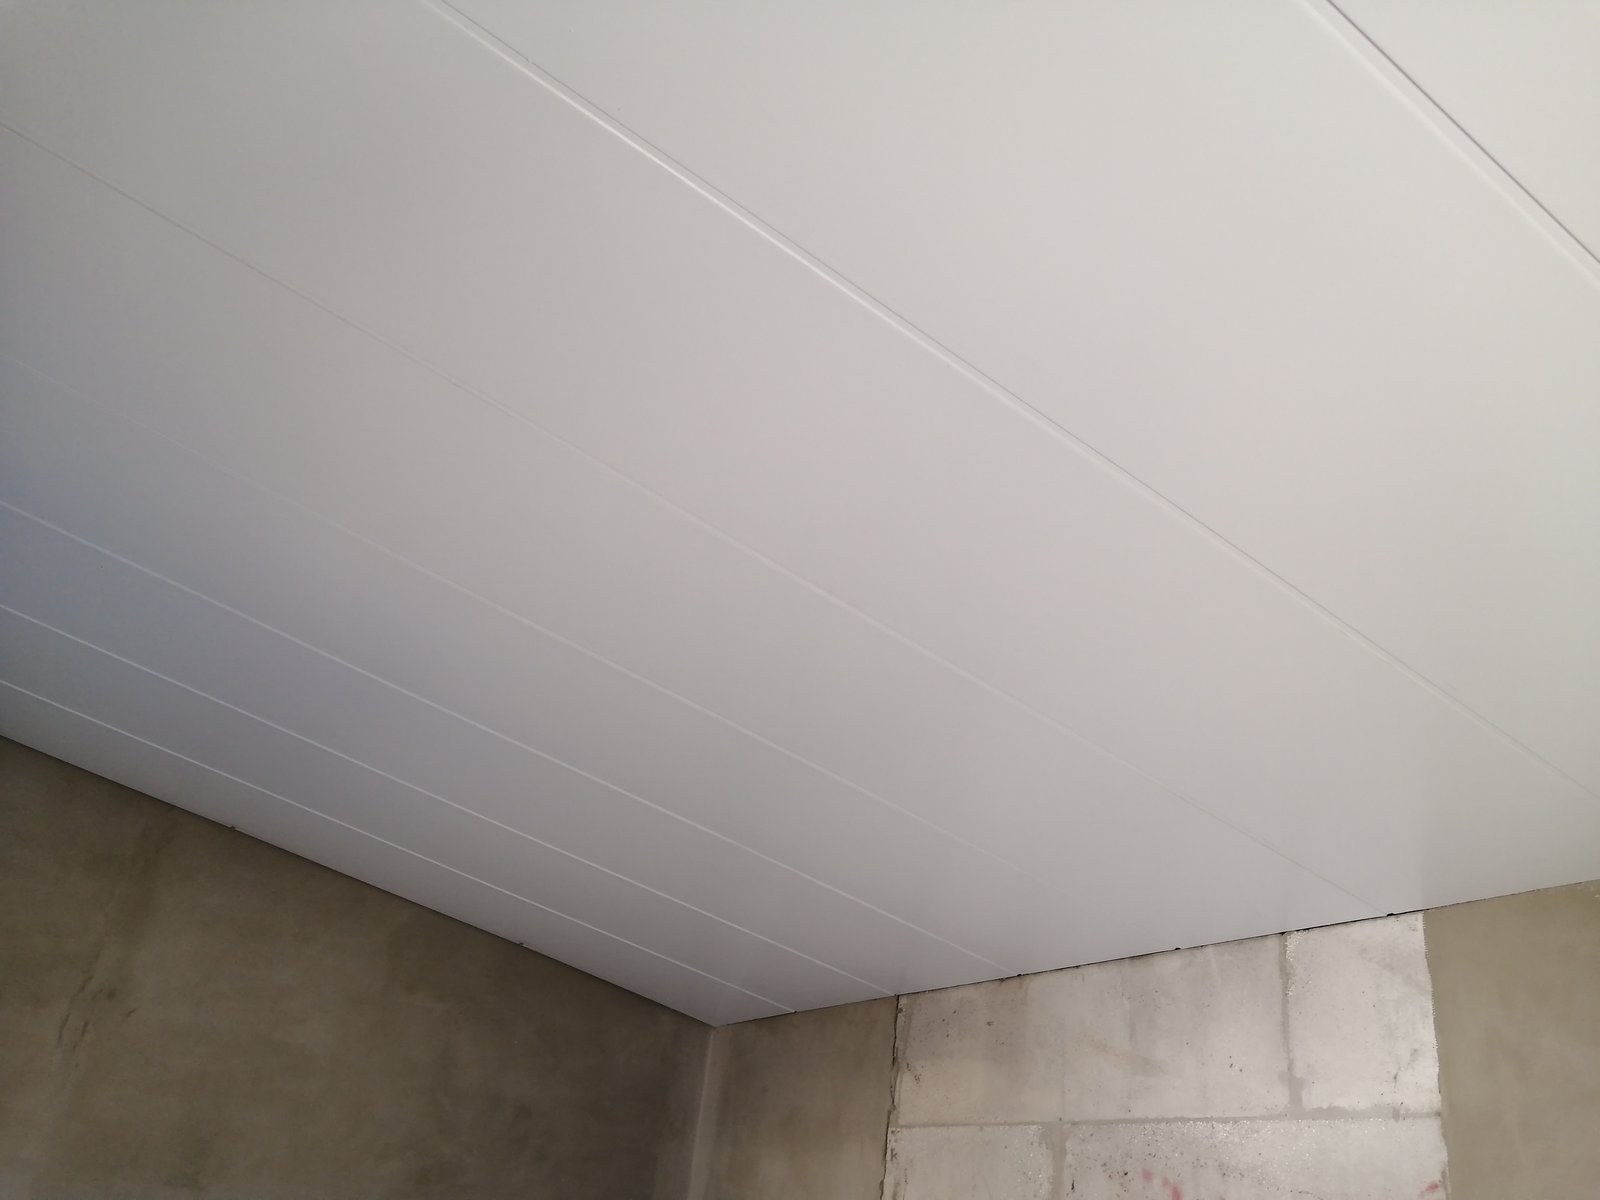
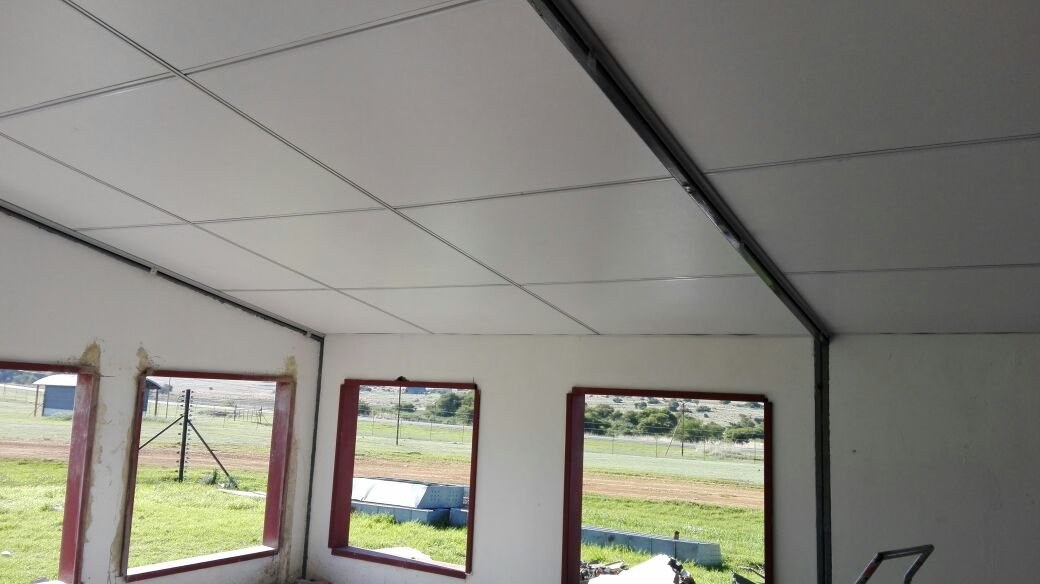
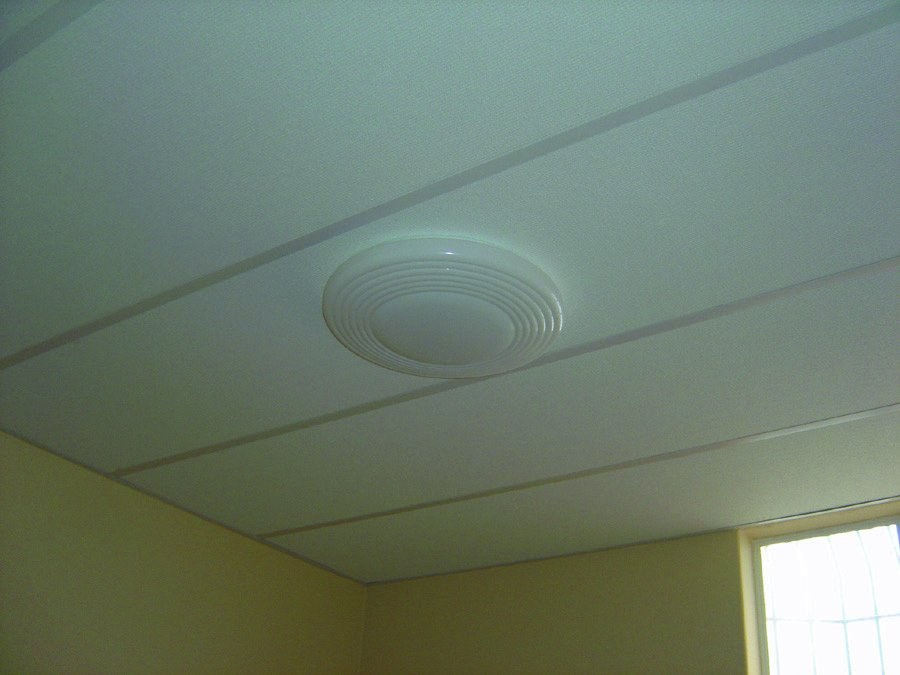
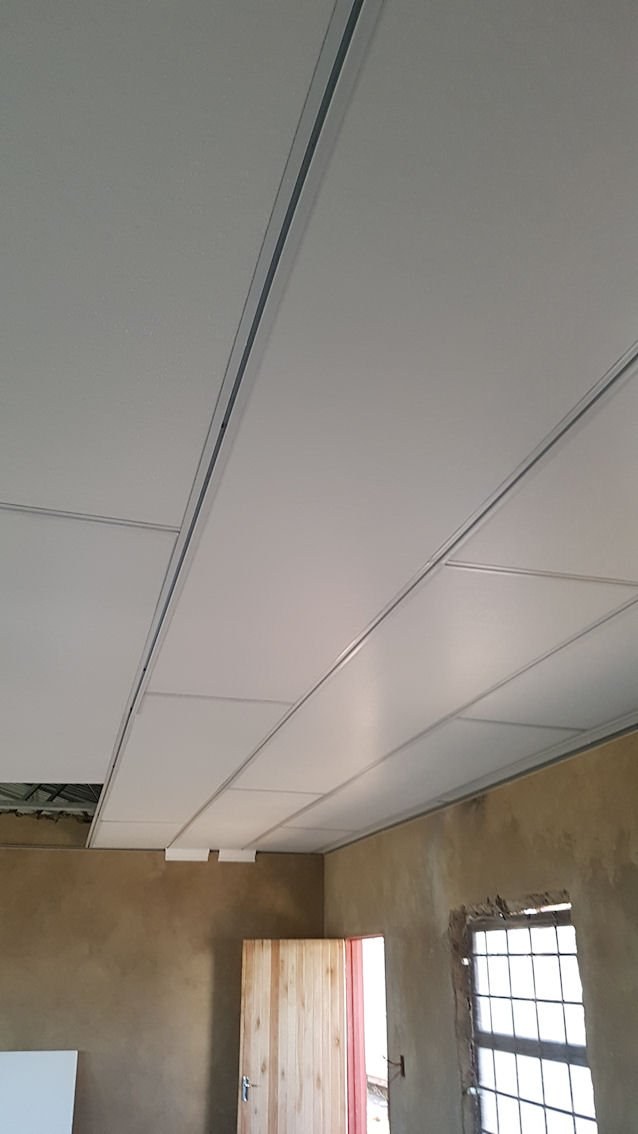
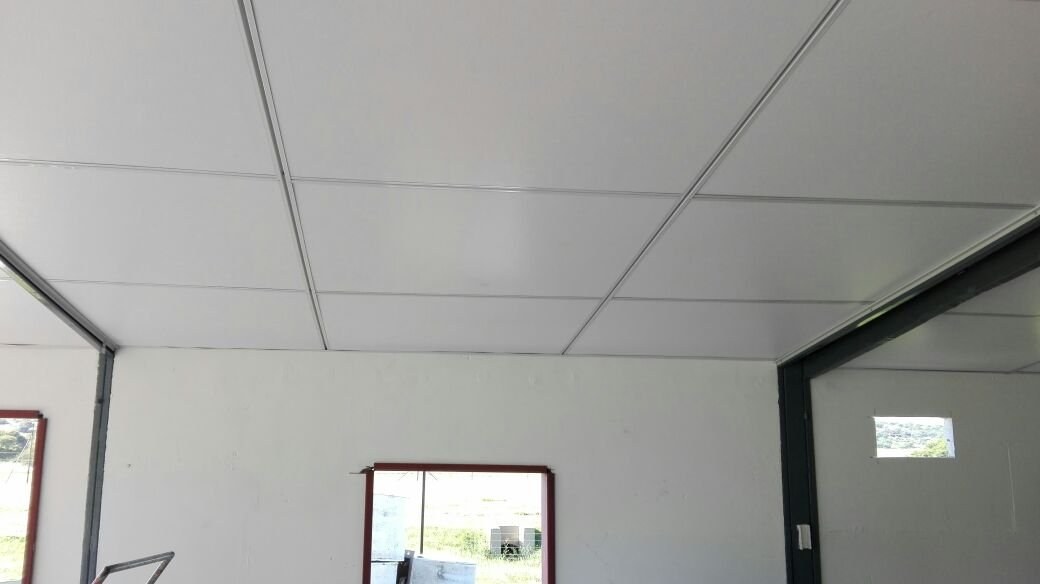
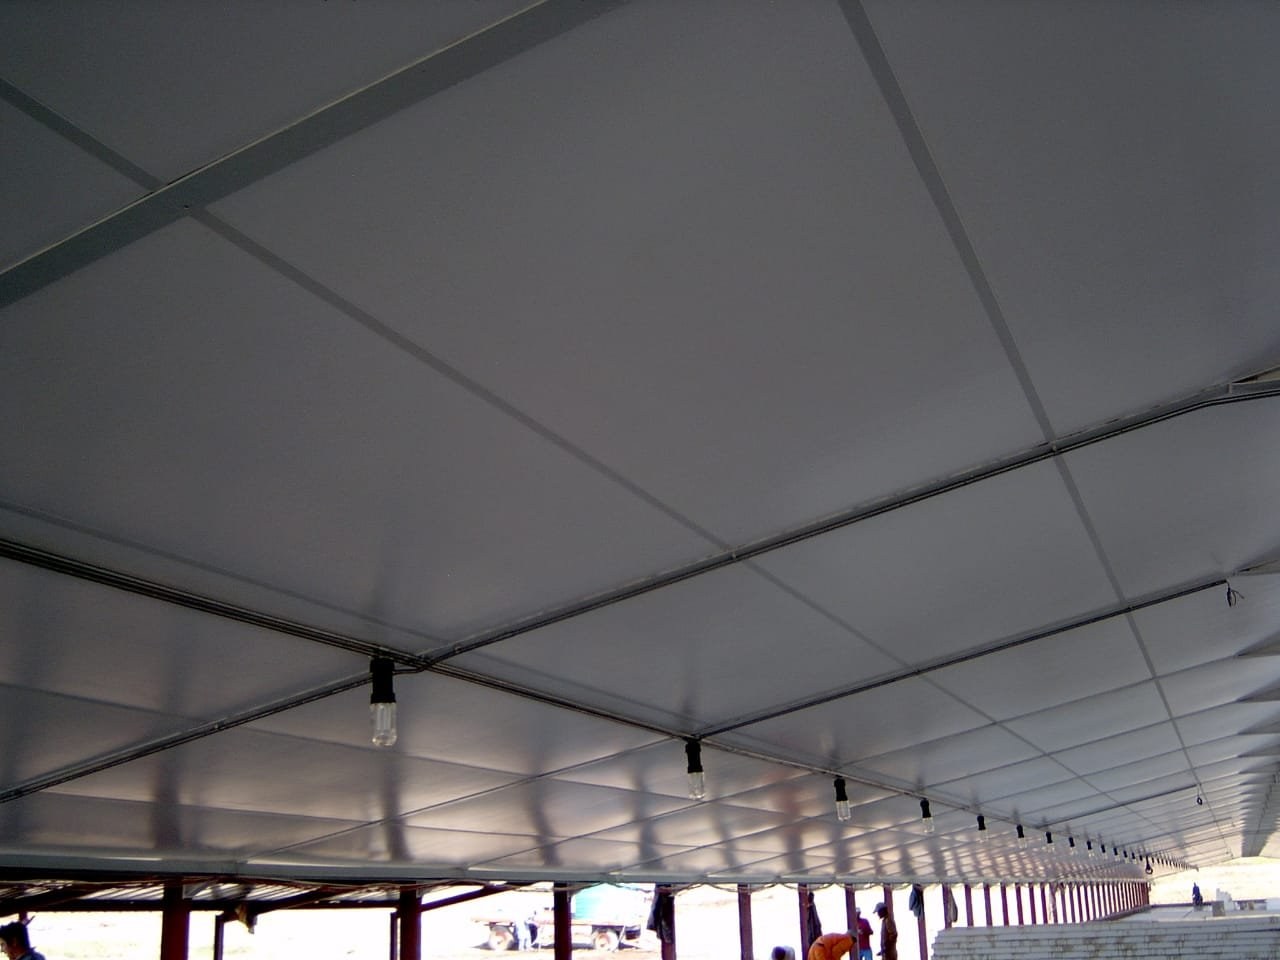
Close-up of the finished LiteSpan panel ceiling underside, showing the panel joint linesPHOTO
Close-up of the finished LiteSpan panel ceiling underside, showing the panel joint linesLiteSpan Ceiling & Wall Panels
PHOTO
LiteSpan Ceiling & Wall Panels
PHOTO
LiteSpan Ceiling & Wall Panels
PHOTO
LiteSpan Ceiling & Wall Panels
PHOTO
LiteSpan Ceiling & Wall Panels
PHOTO
LiteSpan Ceiling & Wall Panels
PHOTO
LiteSpan Ceiling & Wall Panels
PHOTO
LiteSpan Ceiling & Wall Panels
PHOTO
LiteSpan Ceiling & Wall Panels
PHOTO
LiteSpan Ceiling & Wall Panels
PHOTO
LiteSpan Ceiling & Wall Panels
PHOTO
LiteSpan Ceiling & Wall Panels
PHOTO
LiteSpan Ceiling & Wall Panels
PHOTO
LiteSpan Ceiling & Wall Panels
PHOTO
LiteSpan Ceiling & Wall Panels
PHOTO
LiteSpan Ceiling & Wall Panels
PHOTO
LiteSpan Ceiling & Wall Panels
PHOTO
LiteSpan Ceiling & Wall Panels
PHOTO
LiteSpan Ceiling & Wall Panels
PHOTO
LiteSpan Ceiling & Wall Panels
PHOTO
LiteSpan Ceiling & Wall Panels
PHOTO
LiteSpan Ceiling & Wall Panels
PHOTO
LiteSpan Ceiling & Wall Panels
PHOTO
LiteSpan Ceiling & Wall Panels
PHOTO
LiteSpan Ceiling & Wall Panels
PHOTO
LiteSpan Ceiling & Wall Panels
PHOTO
LiteSpan Ceiling & Wall Panels
PHOTO
LiteSpan Ceiling & Wall Panels
PHOTO
LiteSpan Ceiling & Wall Panels
PHOTO
LiteSpan Ceiling & Wall Panels
PHOTO
LiteSpan Ceiling & Wall Panels
PHOTO
LiteSpan Ceiling & Wall Panels
PHOTO
LiteSpan Ceiling & Wall Panels
PHOTO
LiteSpan Ceiling & Wall Panels
PHOTO
LiteSpan Ceiling & Wall Panels
PHOTO
LiteSpan Ceiling & Wall Panels
PHOTO
LiteSpan Ceiling & Wall Panels
PHOTO
LiteSpan Ceiling & Wall Panels
PHOTO
LiteSpan Ceiling & Wall Panels
PHOTO
LiteSpan Ceiling & Wall Panels
PHOTO
LiteSpan Ceiling & Wall Panels
PHOTO
LiteSpan Ceiling & Wall Panels
PHOTO
LiteSpan Ceiling & Wall Panels
PHOTO
LiteSpan Ceiling & Wall Panels
PHOTO
LiteSpan Ceiling & Wall Panels
PHOTO
LiteSpan Ceiling & Wall Panels
PHOTO
LiteSpan Ceiling & Wall Panels
PHOTO
LiteSpan Ceiling & Wall Panels
PHOTO
LiteSpan Ceiling & Wall Panels
PHOTO
LiteSpan Ceiling & Wall Panels
PHOTO
LiteSpan Ceiling & Wall Panels
PHOTO
LiteSpan Ceiling & Wall Panels
PHOTO
LiteSpan Ceiling & Wall Panels
PHOTO
LiteSpan Ceiling & Wall Panels
PHOTO
LiteSpan Ceiling & Wall Panels
PHOTO
LiteSpan Ceiling & Wall Panels
PHOTO
LiteSpan Ceiling & Wall Panels
PHOTO
LiteSpan Ceiling & Wall Panels
PHOTO
LiteSpan Ceiling & Wall Panels
PHOTO
LiteSpan Ceiling & Wall Panels
PHOTO
LiteSpan Ceiling & Wall Panels
PHOTO
LiteSpan Ceiling & Wall Panels
PHOTO
LiteSpan Ceiling & Wall Panels
PHOTO
LiteSpan Ceiling & Wall Panels
PHOTO
LiteSpan Ceiling & Wall Panels
PHOTO
LiteSpan Ceiling & Wall Panels
PHOTO
LiteSpan Ceiling & Wall Panels
PHOTO
LiteSpan Ceiling & Wall Panels
PHOTO
LiteSpan Ceiling & Wall Panels
PHOTO
LiteSpan Ceiling & Wall Panels
PHOTO
LiteSpan Ceiling & Wall Panels
PHOTO
LiteSpan Ceiling & Wall Panels
PHOTO
LiteSpan Ceiling & Wall Panels
PHOTO
LiteSpan Ceiling & Wall Panels
PHOTO
LiteSpan Ceiling & Wall Panels
PHOTO
LiteSpan Ceiling & Wall Panels
PHOTO
LiteSpan Ceiling & Wall Panels
PHOTO
LiteSpan Ceiling & Wall Panels
PHOTO
LiteSpan Ceiling & Wall Panels
PHOTO
LiteSpan Ceiling & Wall Panels
PHOTO
LiteSpan Ceiling & Wall Panels
PHOTO
LiteSpan Ceiling & Wall Panels
PHOTO
LiteSpan Ceiling & Wall Panels
PHOTO
LiteSpan Ceiling & Wall Panels
PHOTO
LiteSpan Ceiling & Wall Panels
PHOTO
LiteSpan Ceiling & Wall Panels
PHOTO
LiteSpan Ceiling & Wall Panels
PHOTO
LiteSpan Ceiling & Wall Panels
PHOTO
LiteSpan Ceiling & Wall Panels
PHOTO
LiteSpan Ceiling & Wall Panels
PHOTO
LiteSpan Ceiling & Wall Panels
PHOTO
LiteSpan Ceiling & Wall Panels
PHOTO
LiteSpan Ceiling & Wall Panels
PHOTO
LiteSpan Ceiling & Wall Panels
PHOTO
LiteSpan Ceiling & Wall Panels
PHOTO
LiteSpan Ceiling & Wall Panels
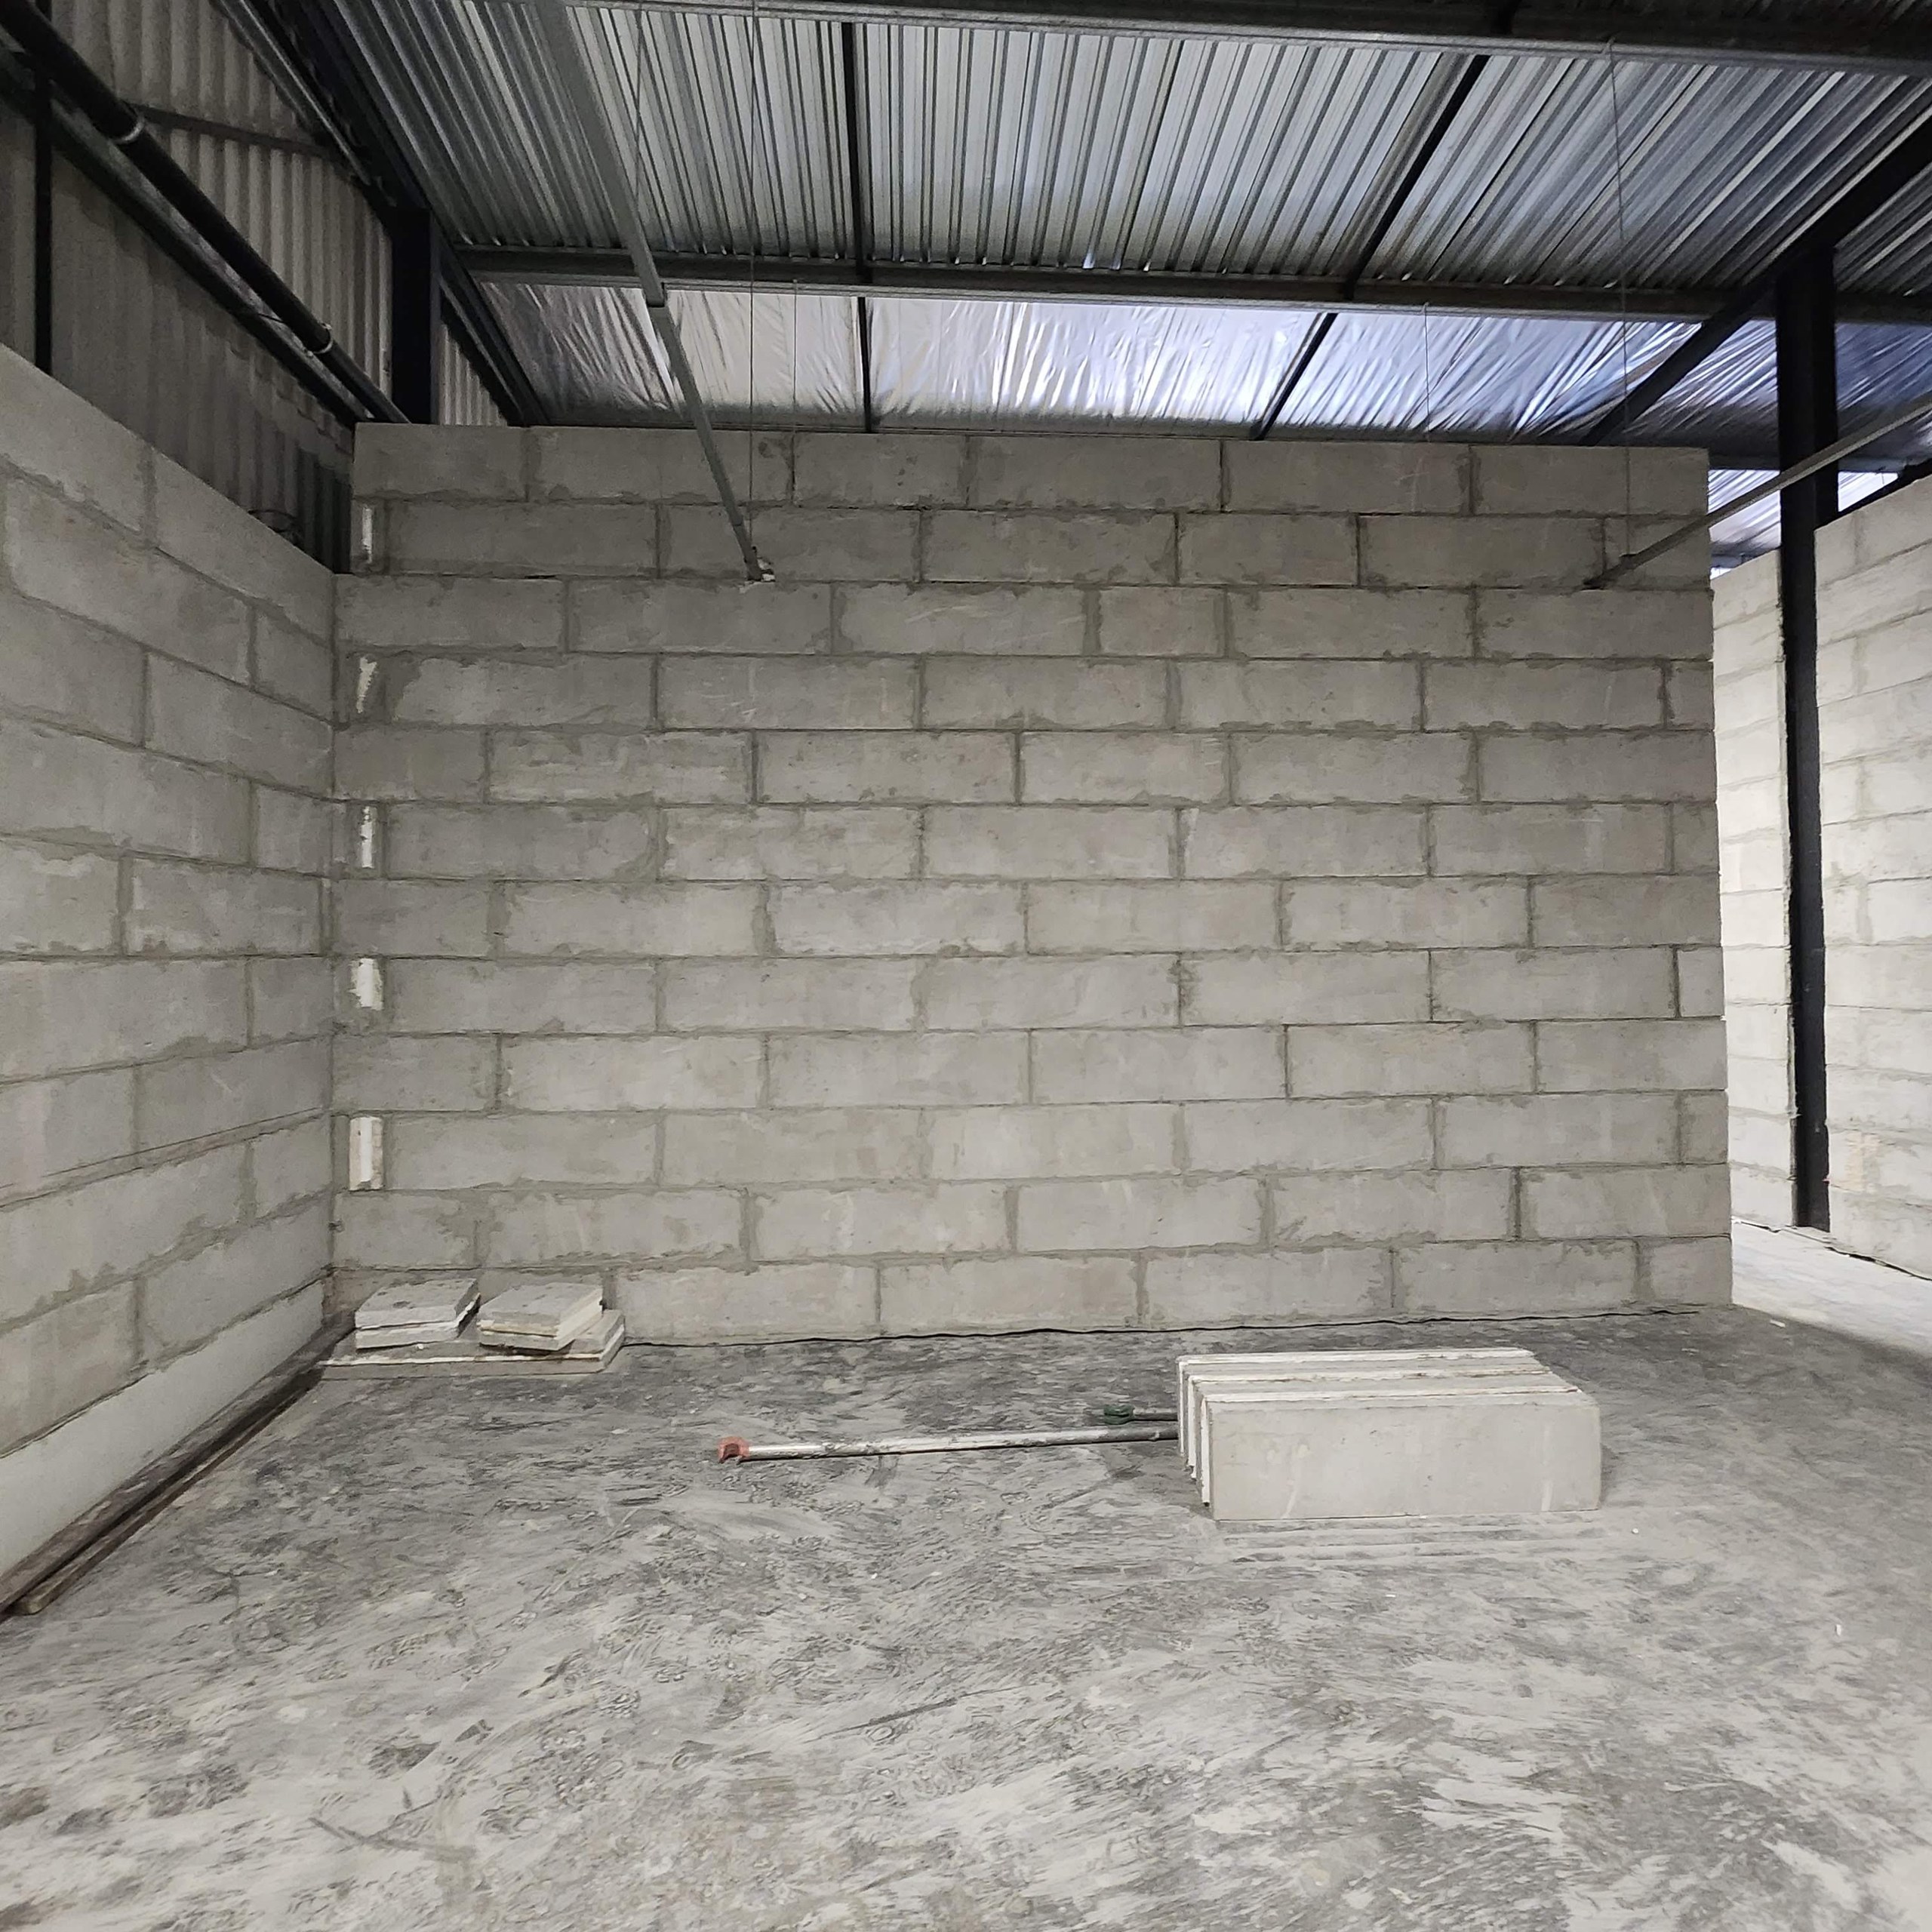
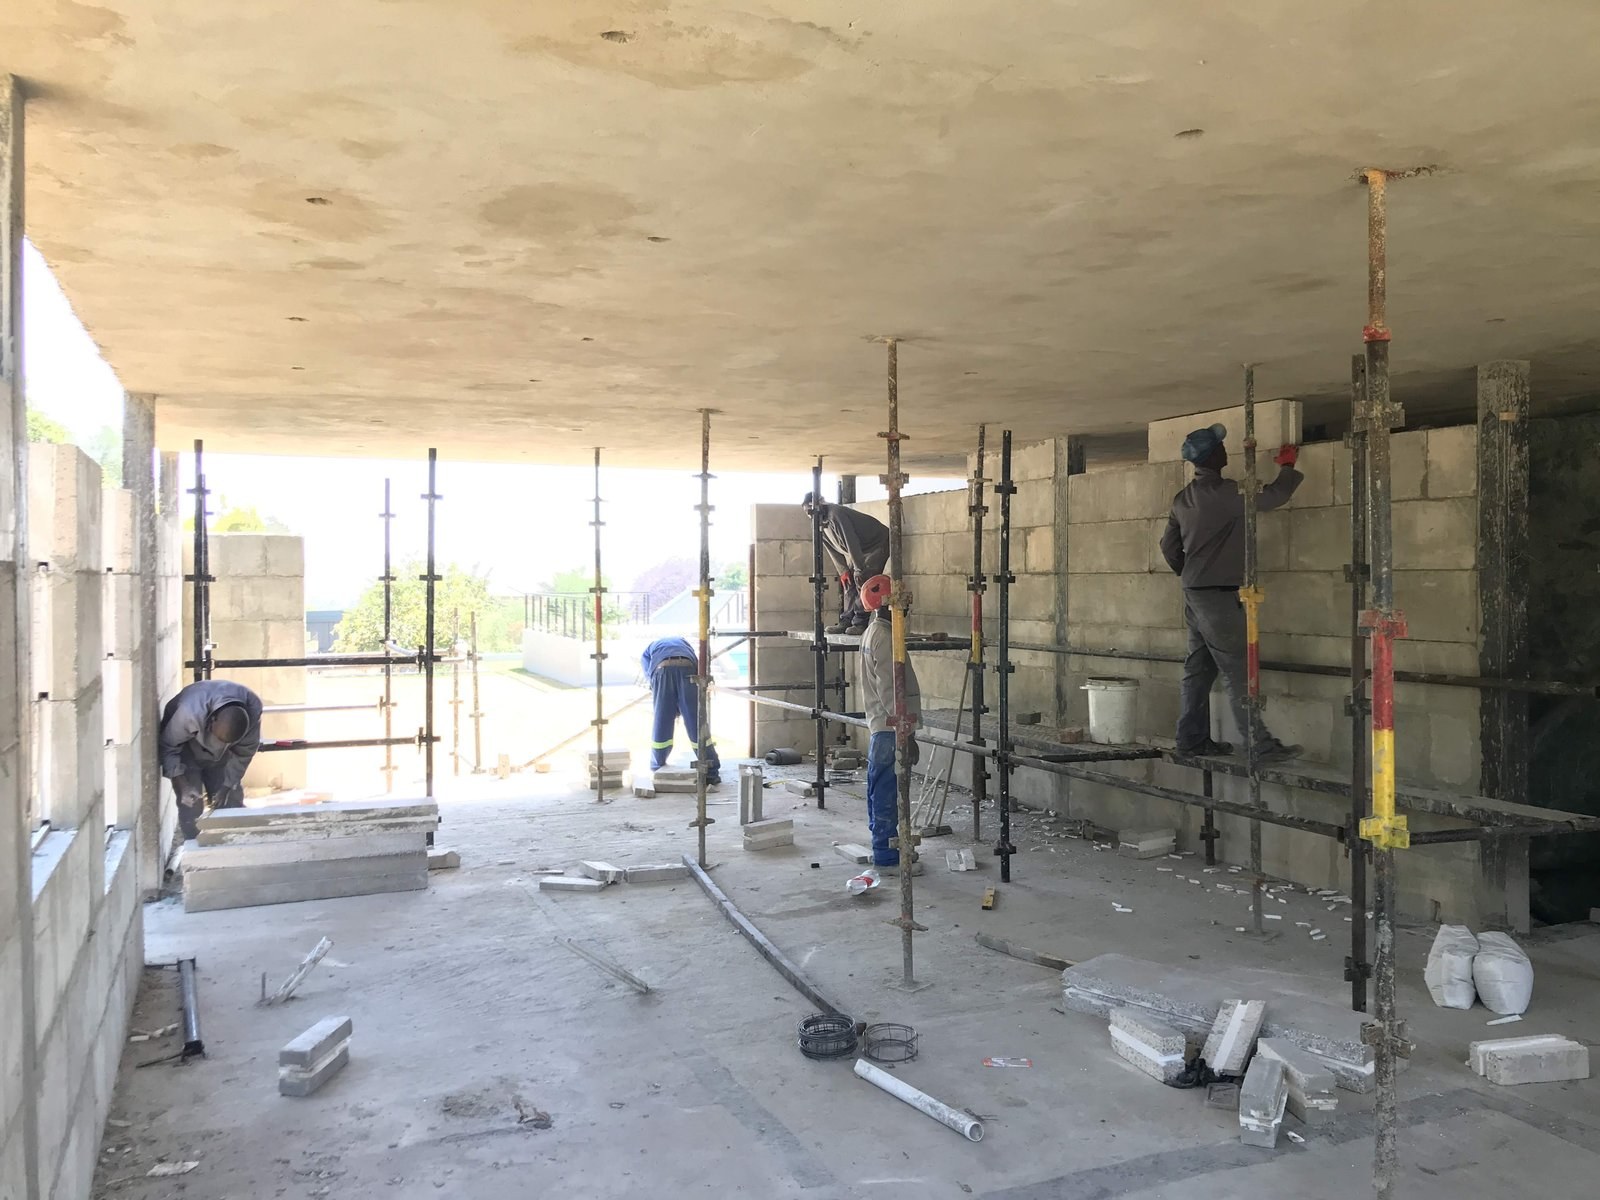
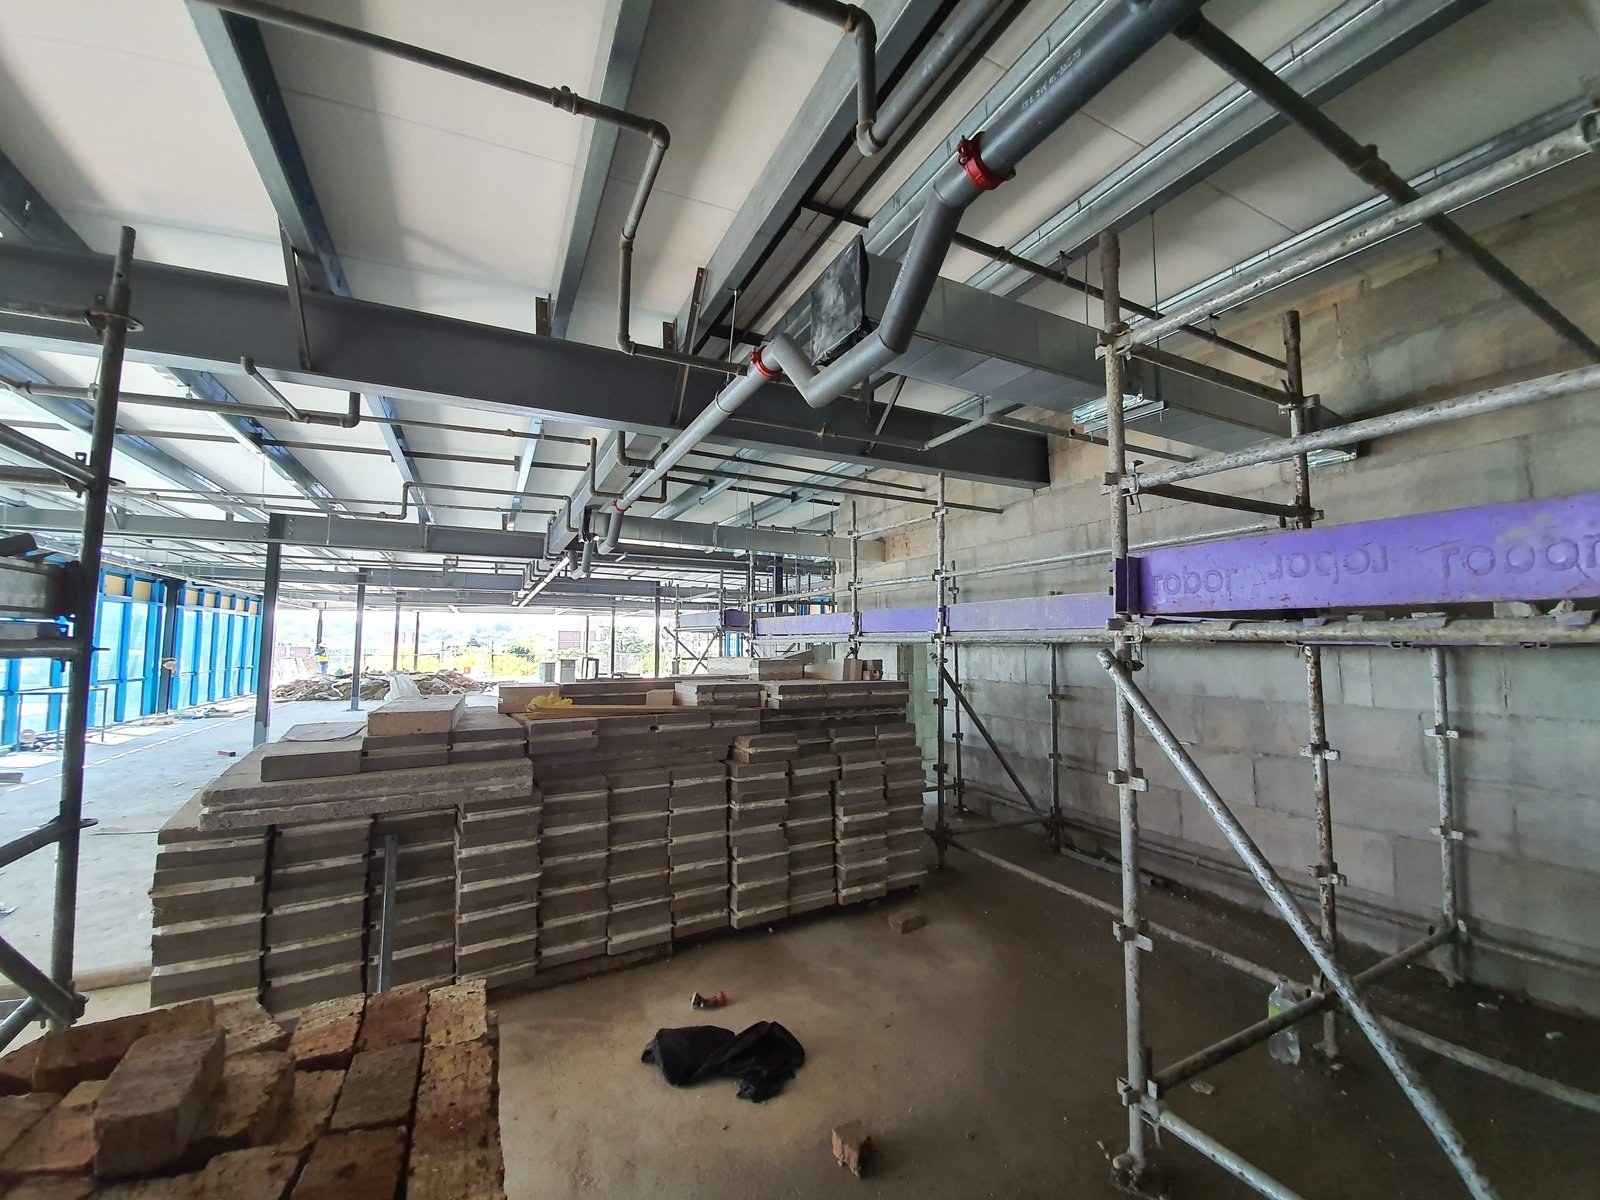
Internal walls laid course by course in stretcher bond from large lightweight blocks inside a steel-framed building, with spare units stacked on the floor and the mortar joints still exposed before plaster.PHOTO
Internal walls laid course by course in stretcher bond from large lightweight blocks inside a steel-framed building, with spare units stacked on the floor and the mortar joints still exposed before plaster.LiteCore Bricks
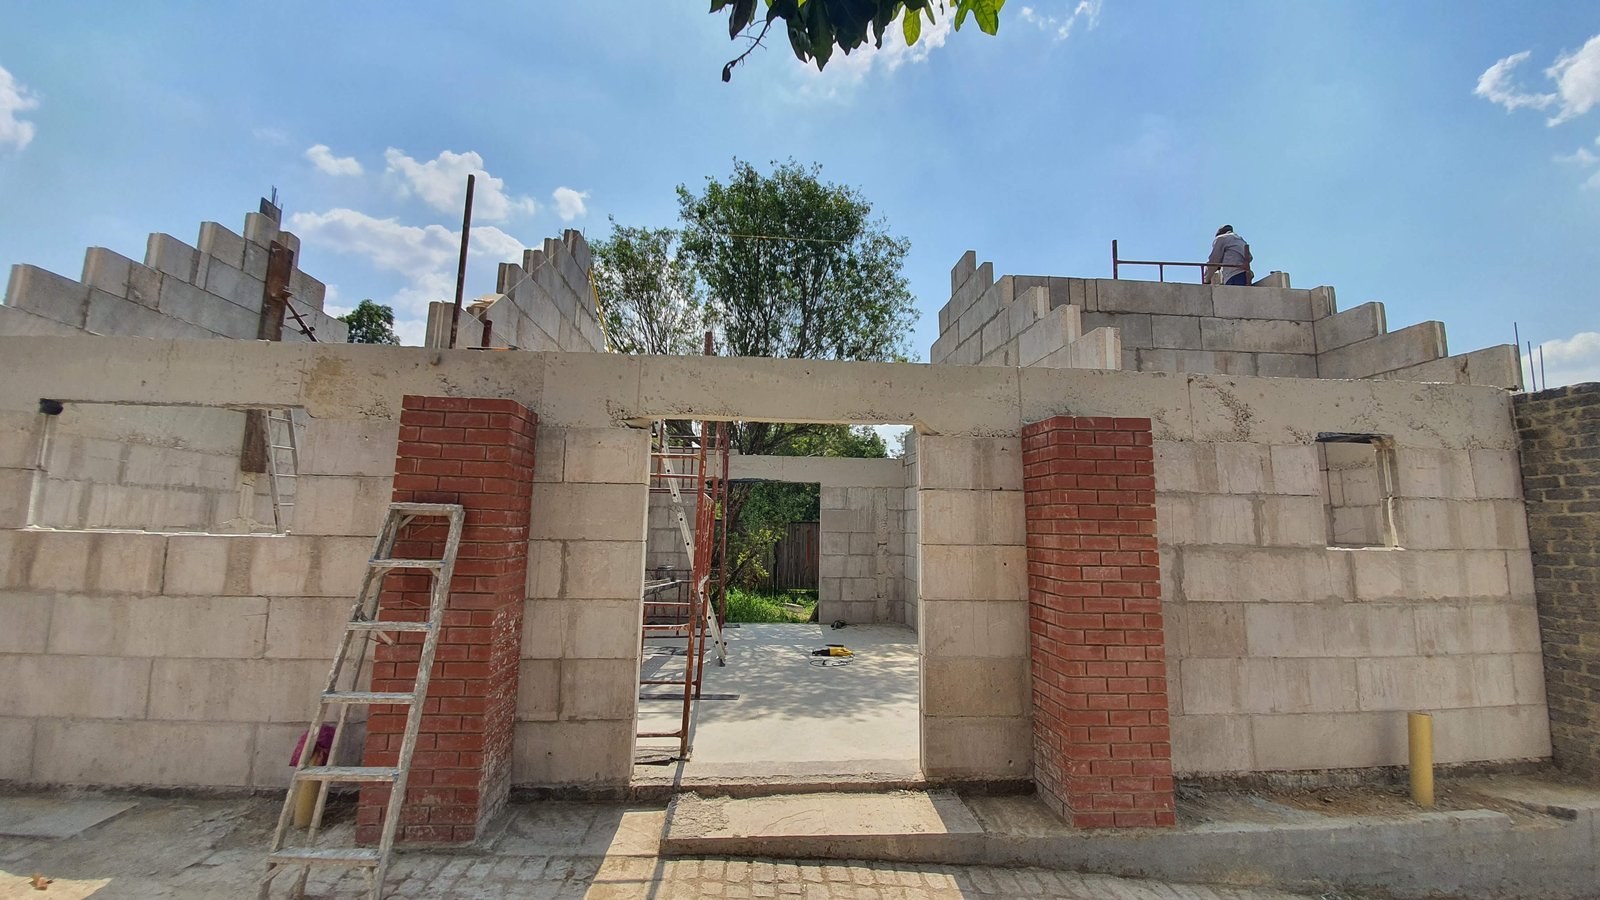
Walls going up in stretcher bond from large lightweight blocks, with a concrete lintel over the opening and clay face-brick piers alongside. Shown before plastering.PHOTO
Walls going up in stretcher bond from large lightweight blocks, with a concrete lintel over the opening and clay face-brick piers alongside. Shown before plastering.LiteCore Bricks
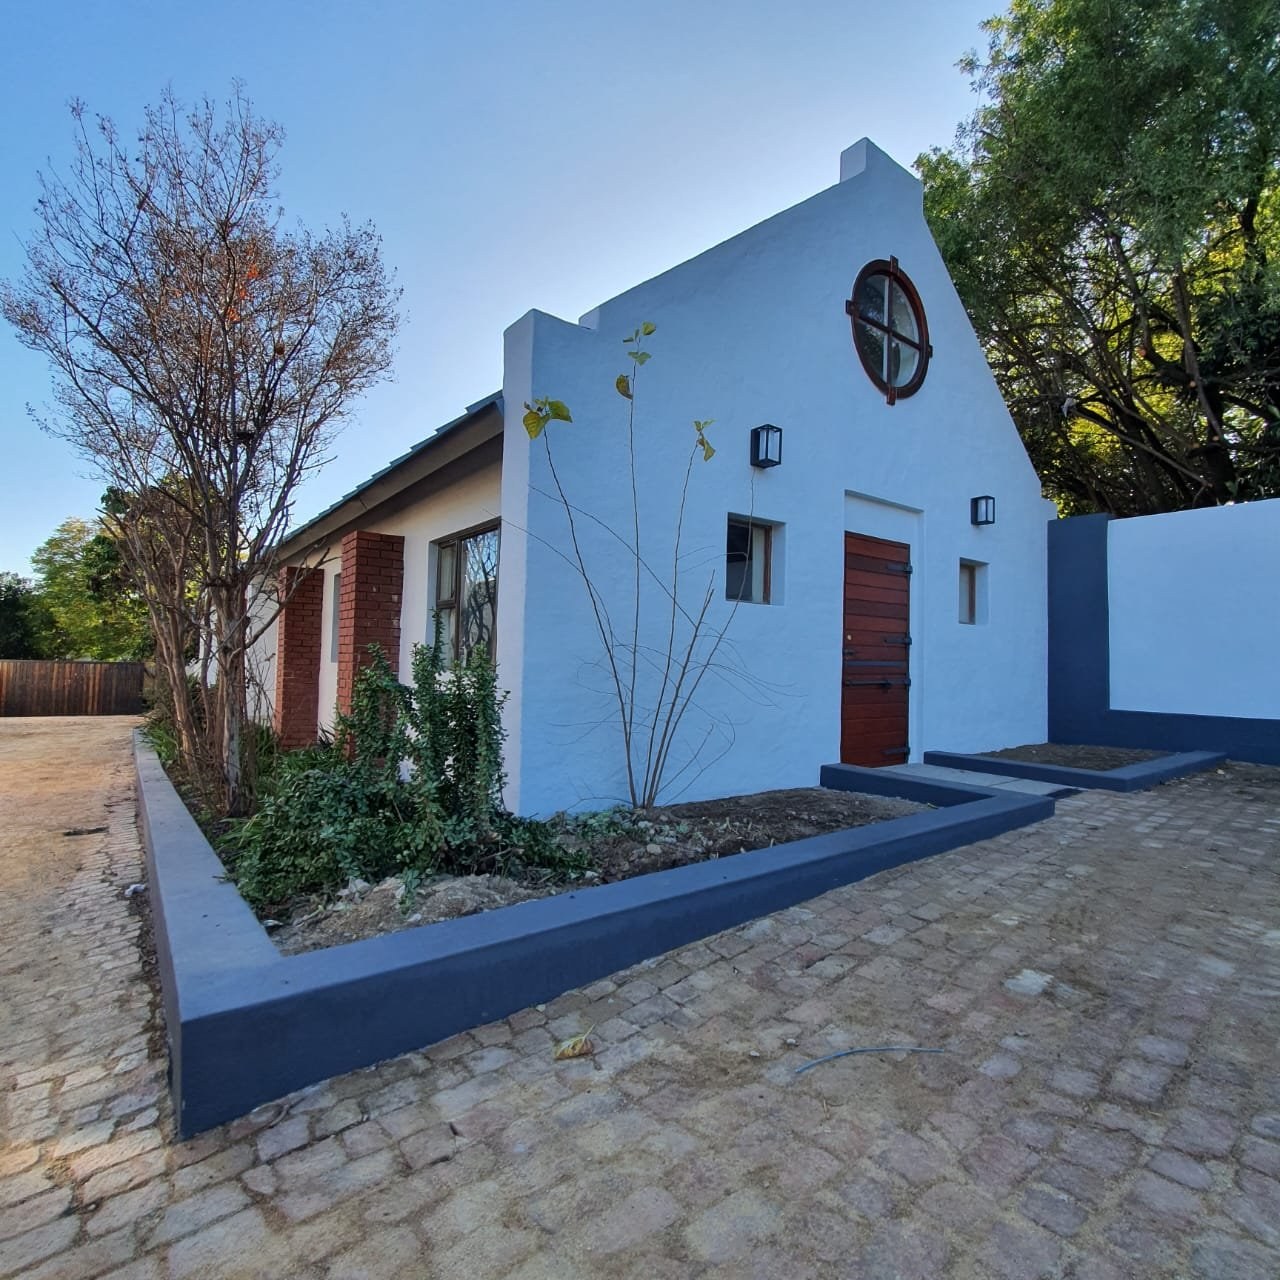
Completed home exterior at dusk, plastered gable end with round window and face-brick piers.PHOTO
Completed home exterior at dusk, plastered gable end with round window and face-brick piers.LiteCore Bricks
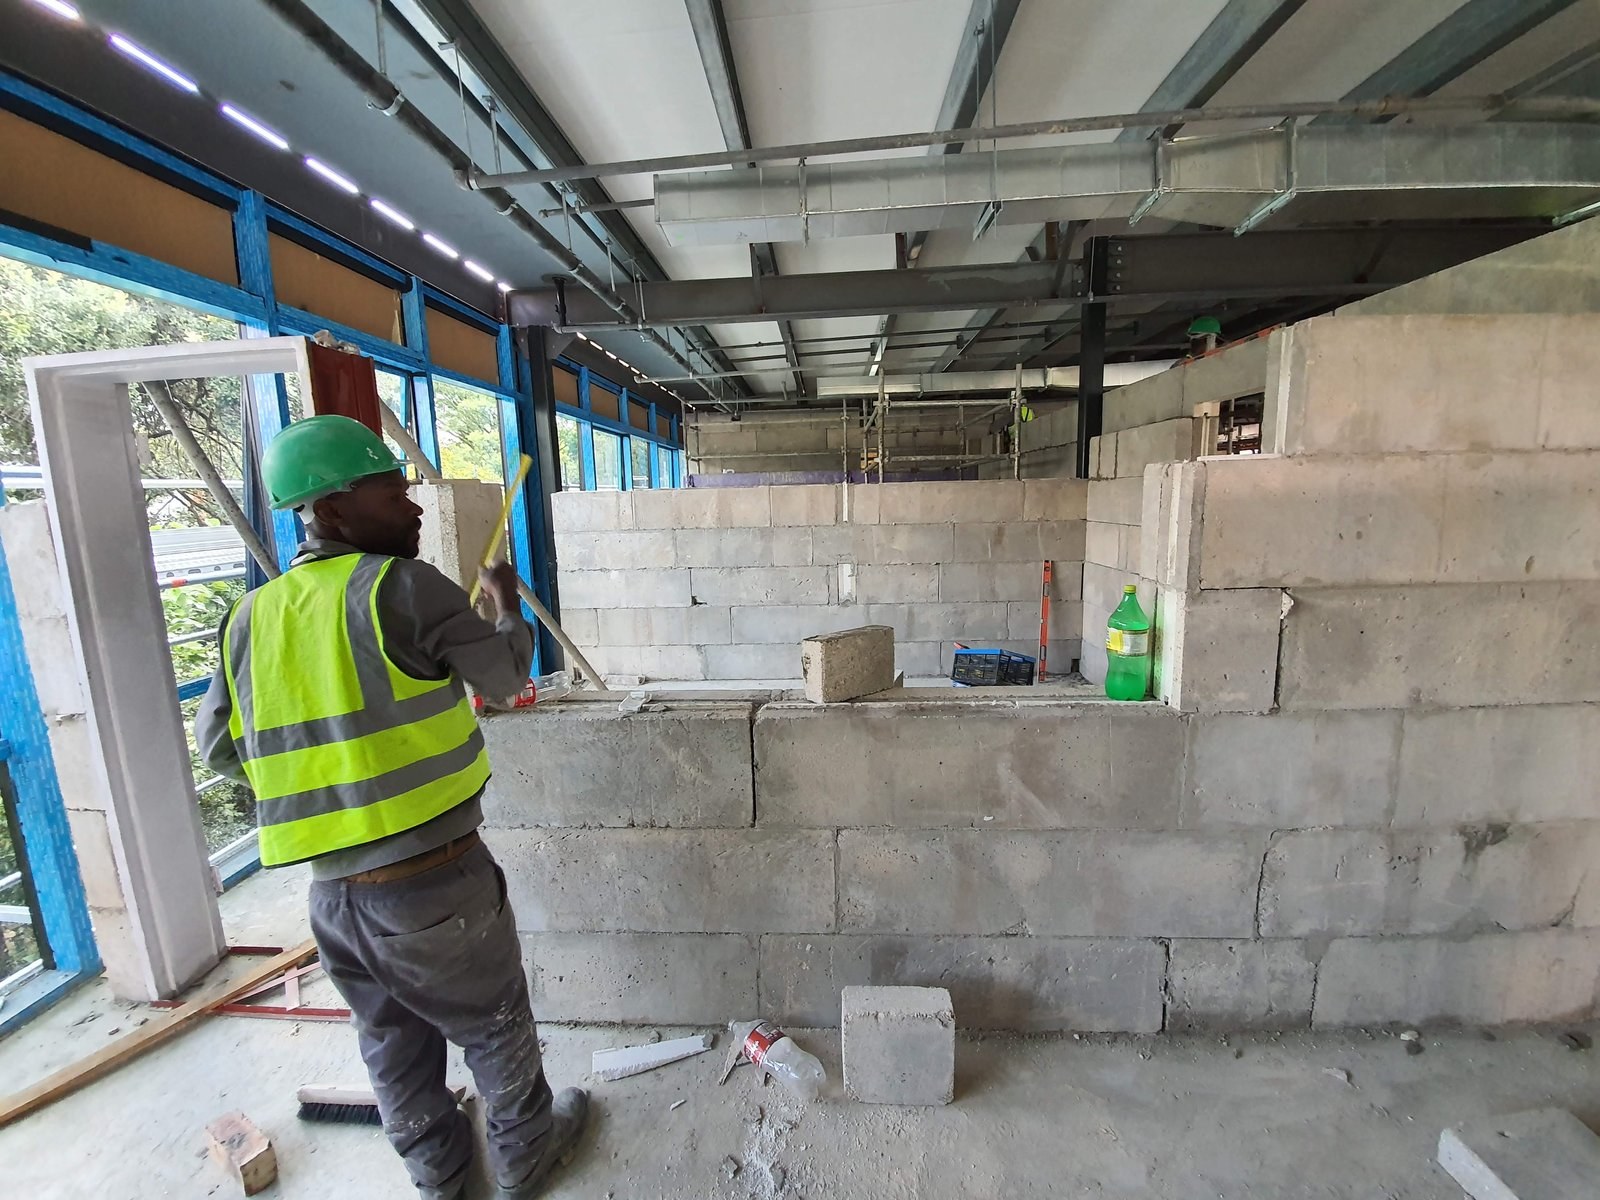
Worker checks level on a block wall being built inside a steel-frame commercial building shell.PHOTO
Worker checks level on a block wall being built inside a steel-frame commercial building shell.LiteCore Bricks
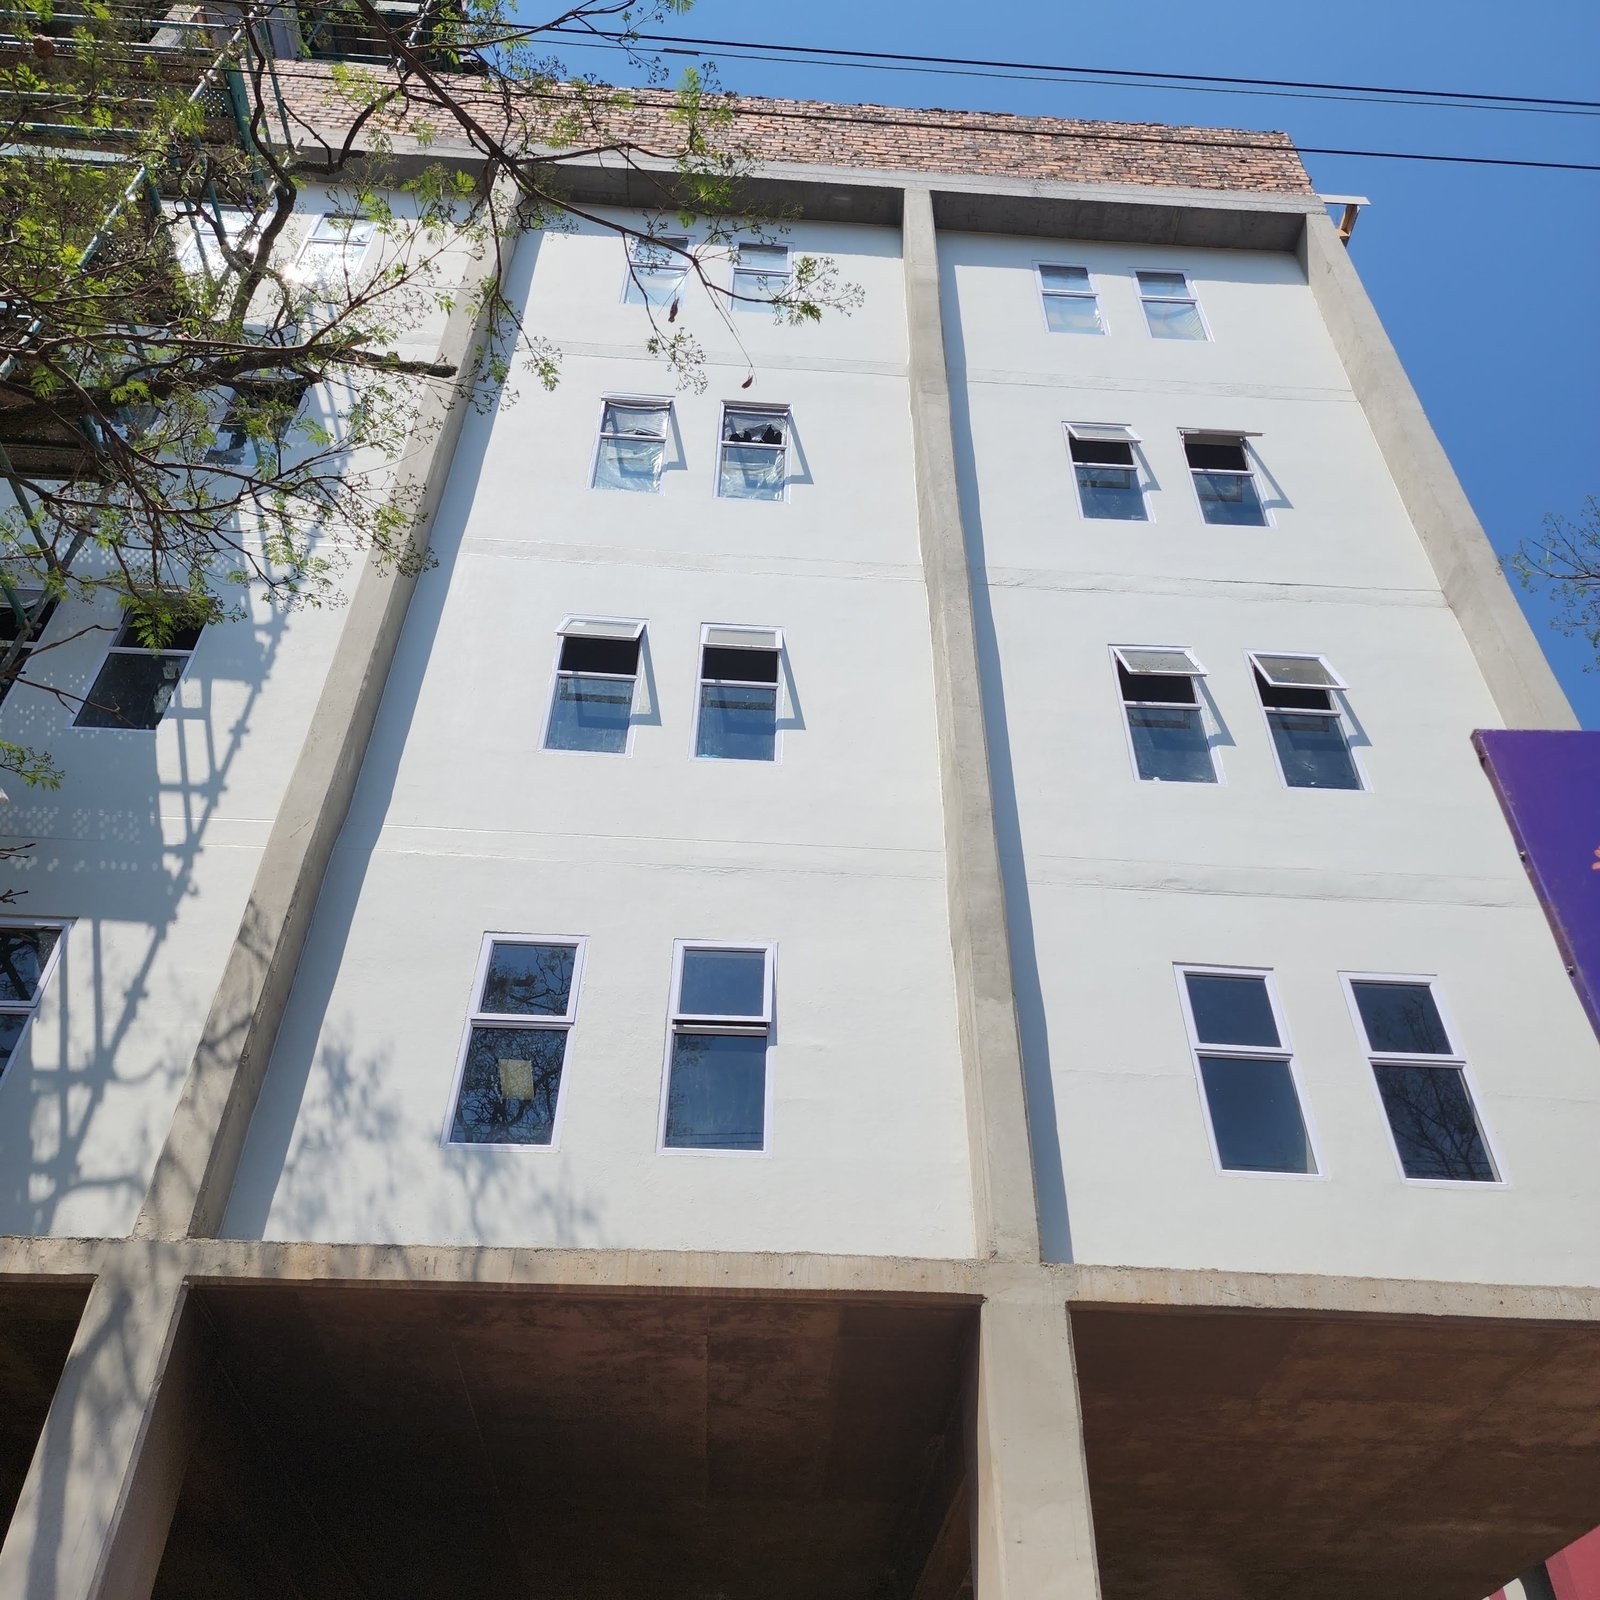
Completed multi-storey building with painted block facade and window units installed.PHOTO
Completed multi-storey building with painted block facade and window units installed.LiteCore Bricks
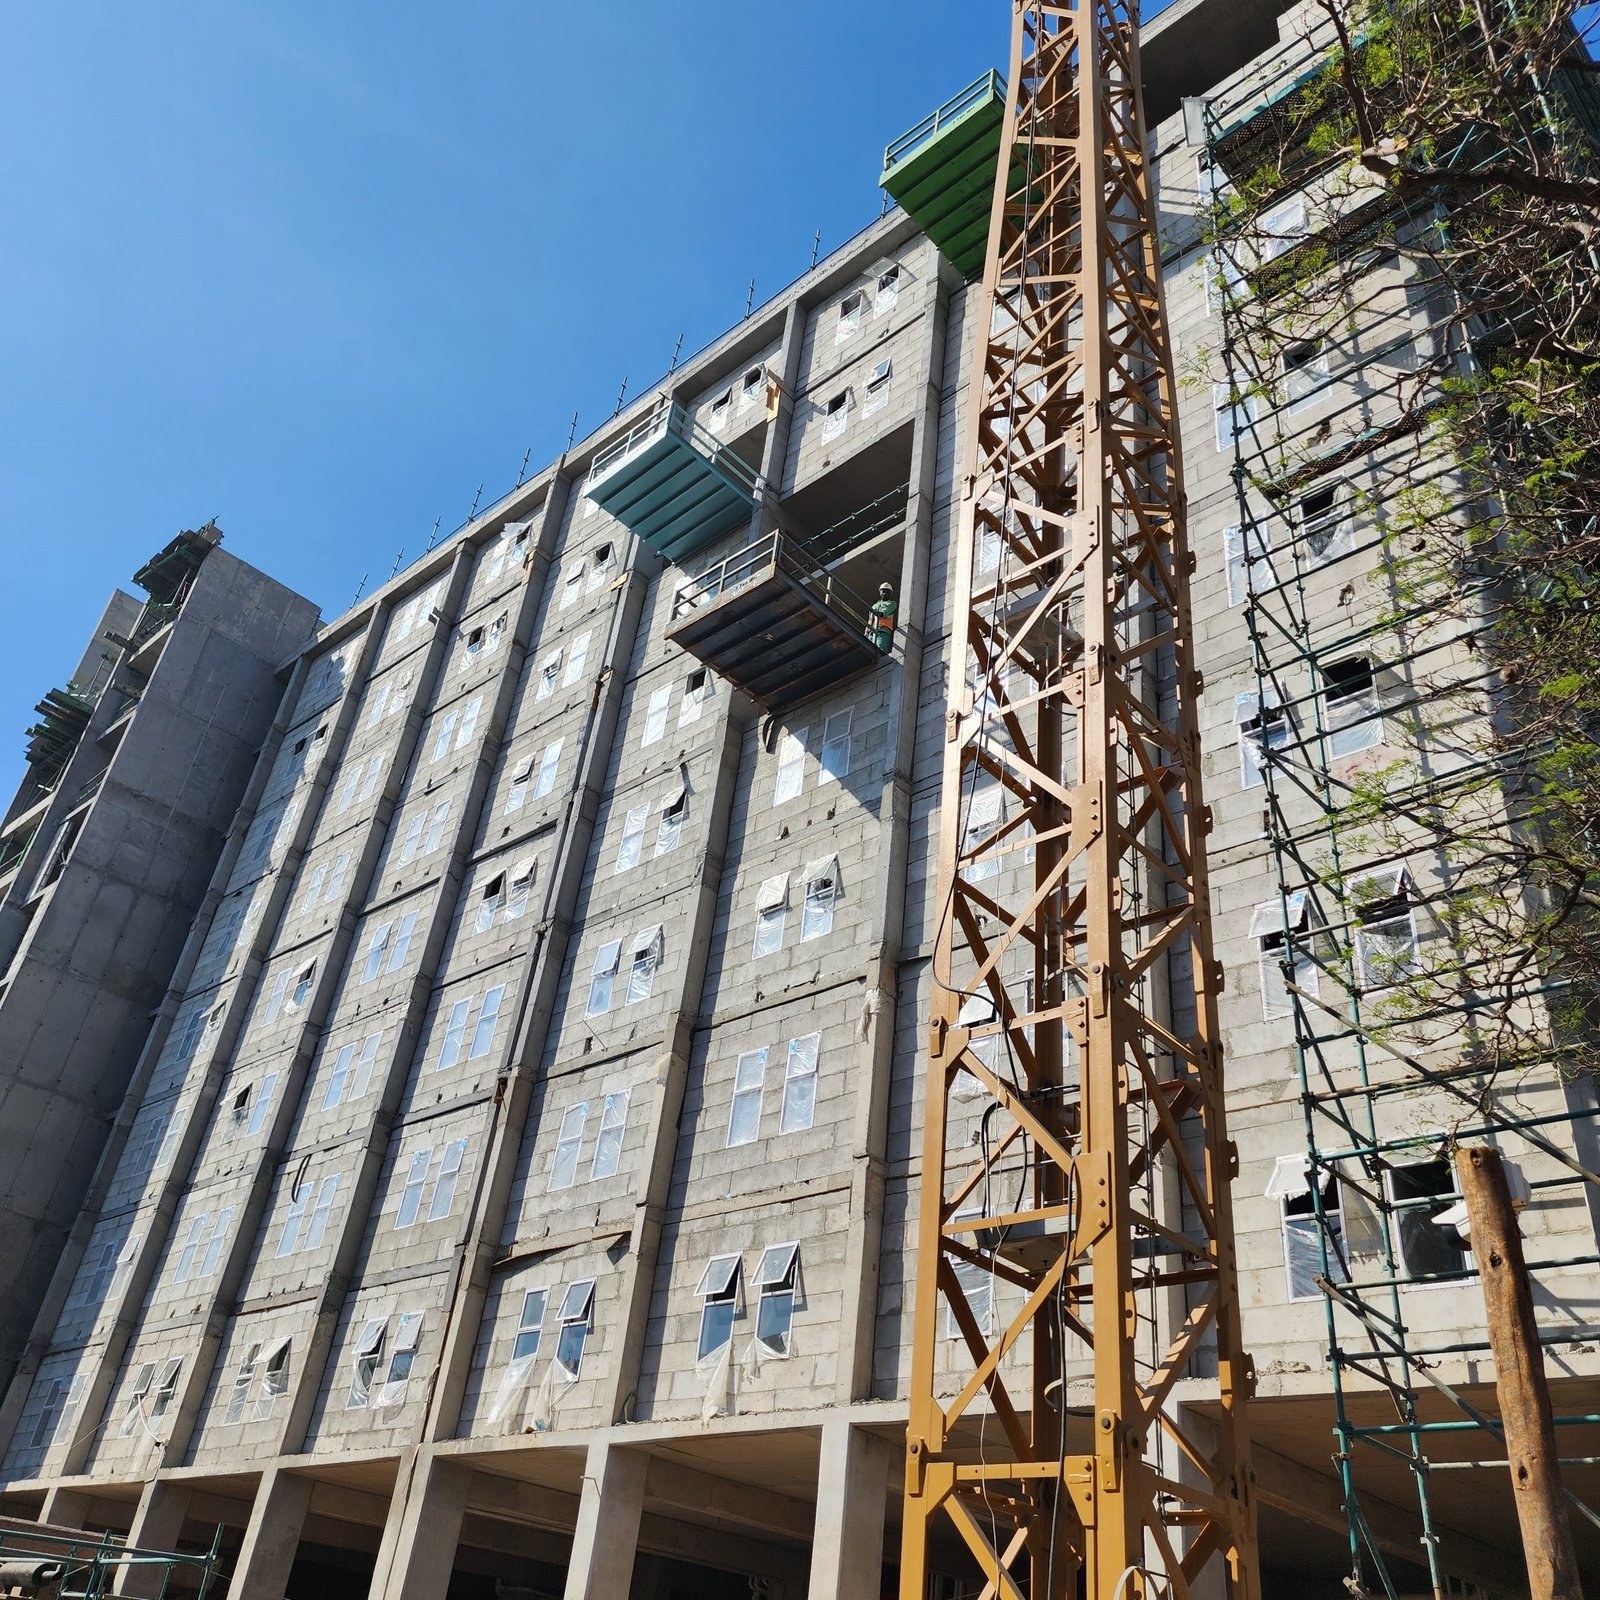
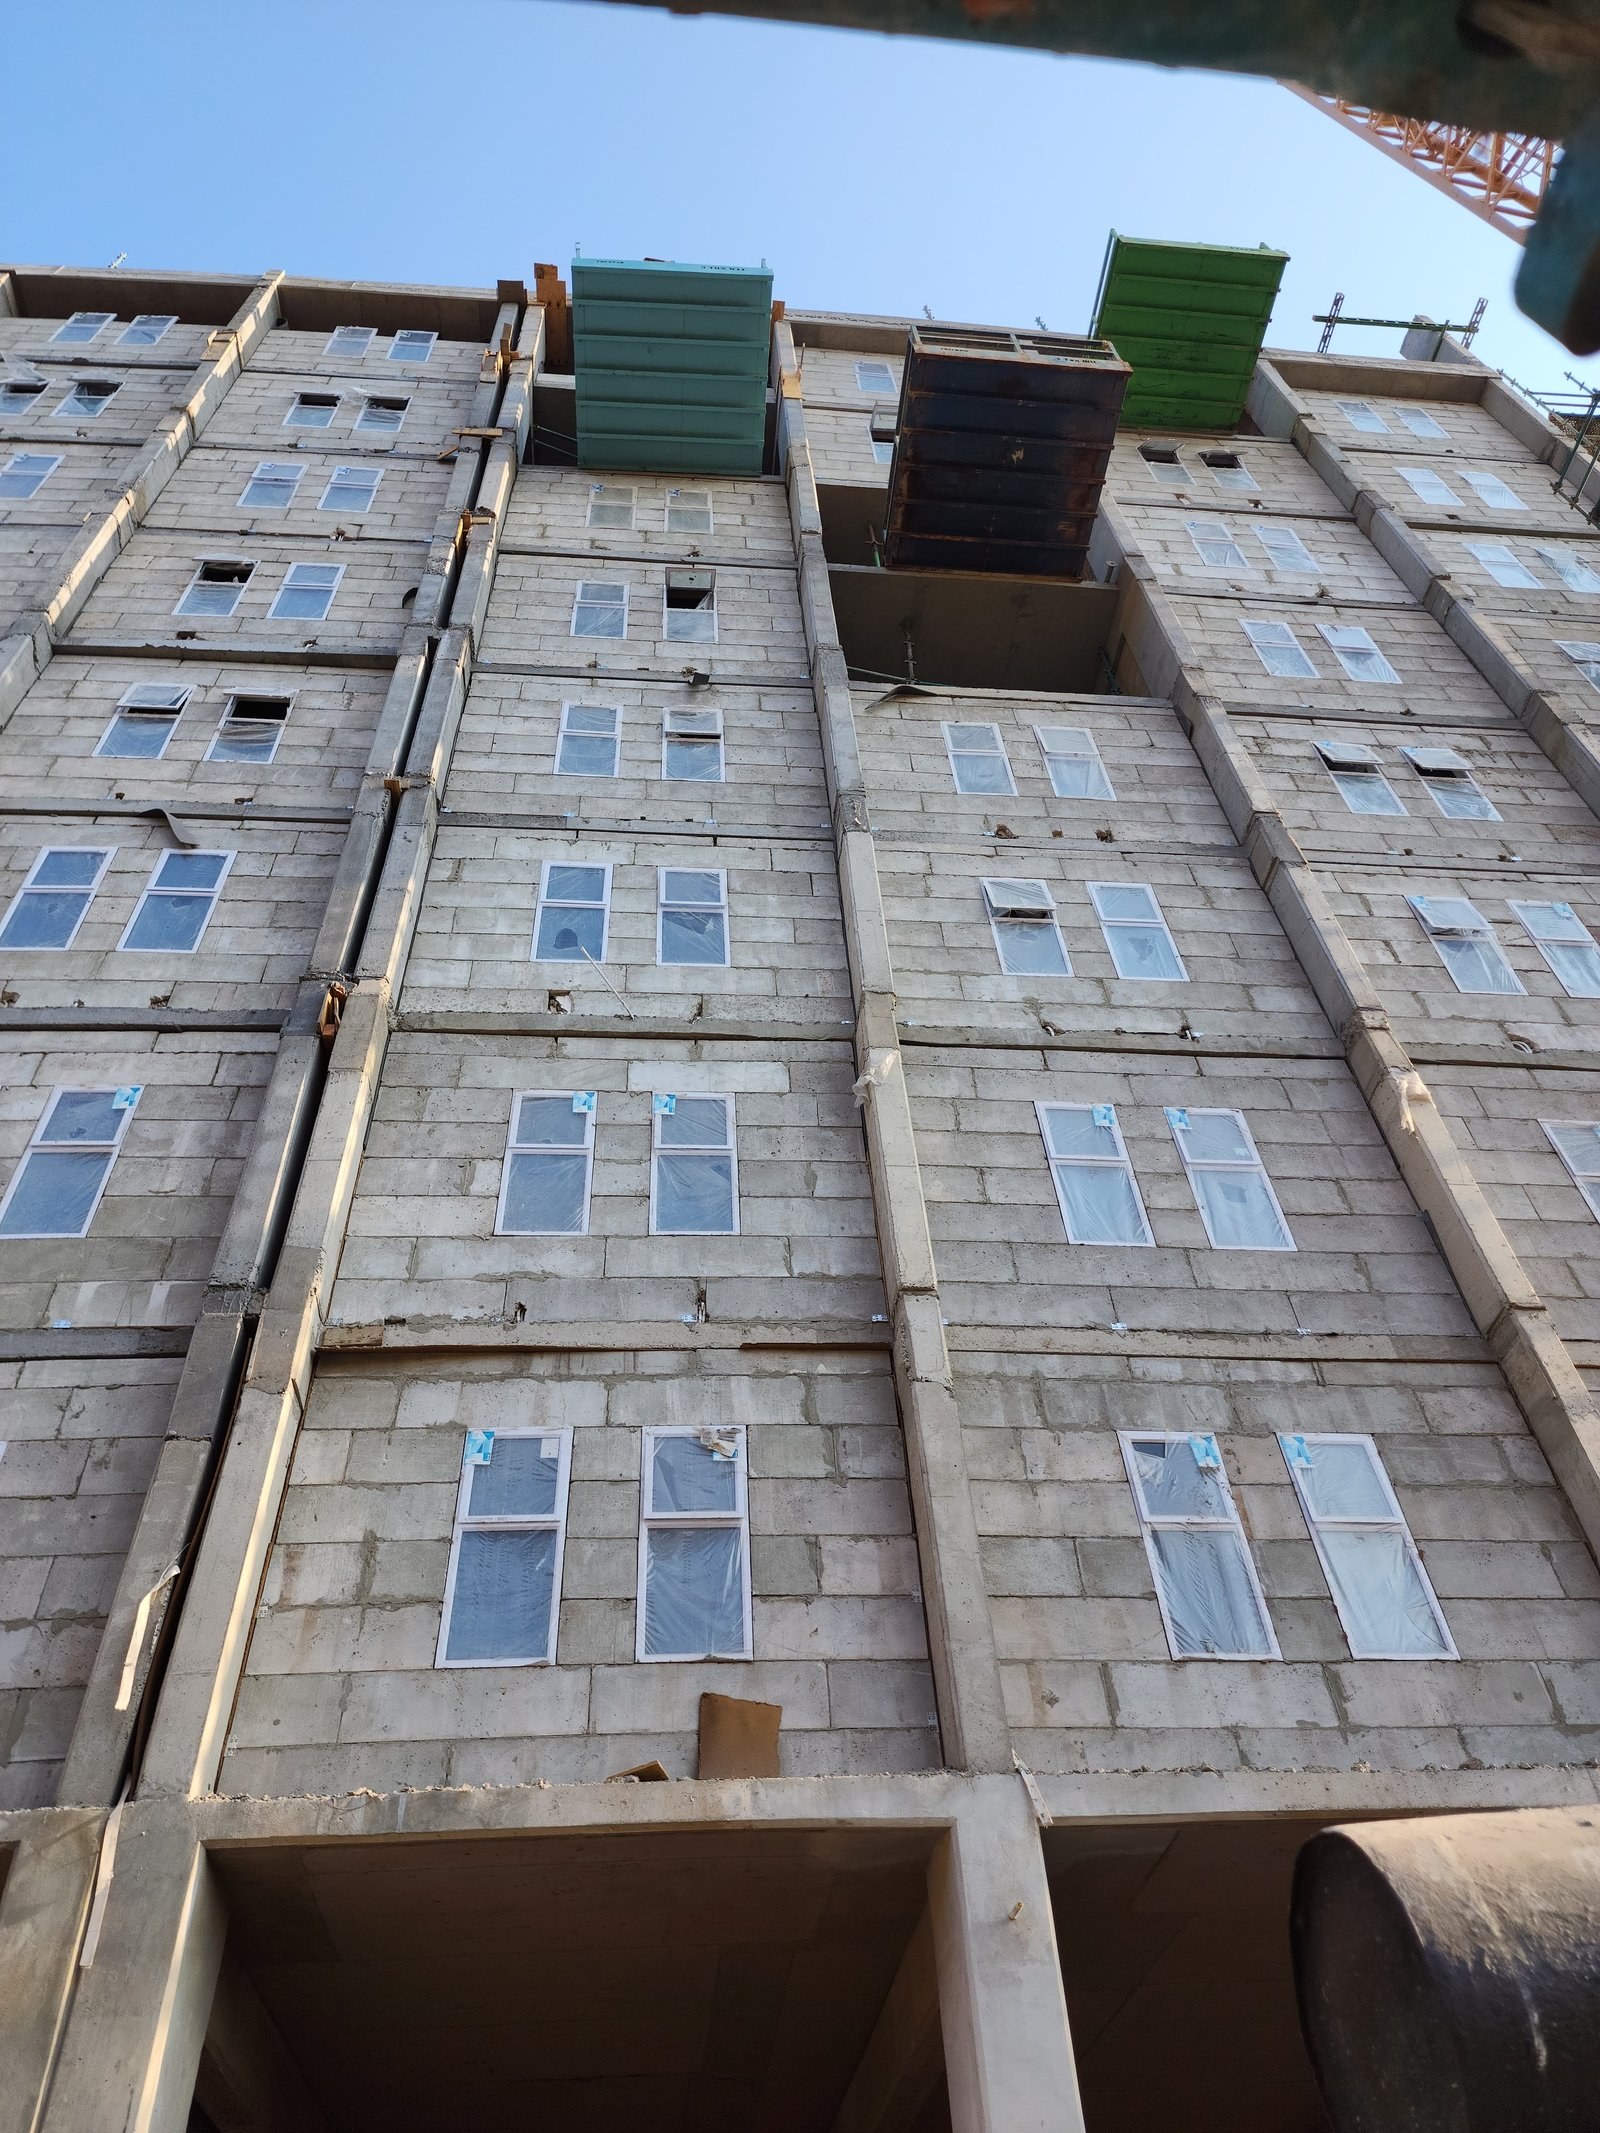
Multi-storey block building under construction, tower crane and hoist platform against the facade.PHOTO
Multi-storey block building under construction, tower crane and hoist platform against the facade.LiteCore Bricks
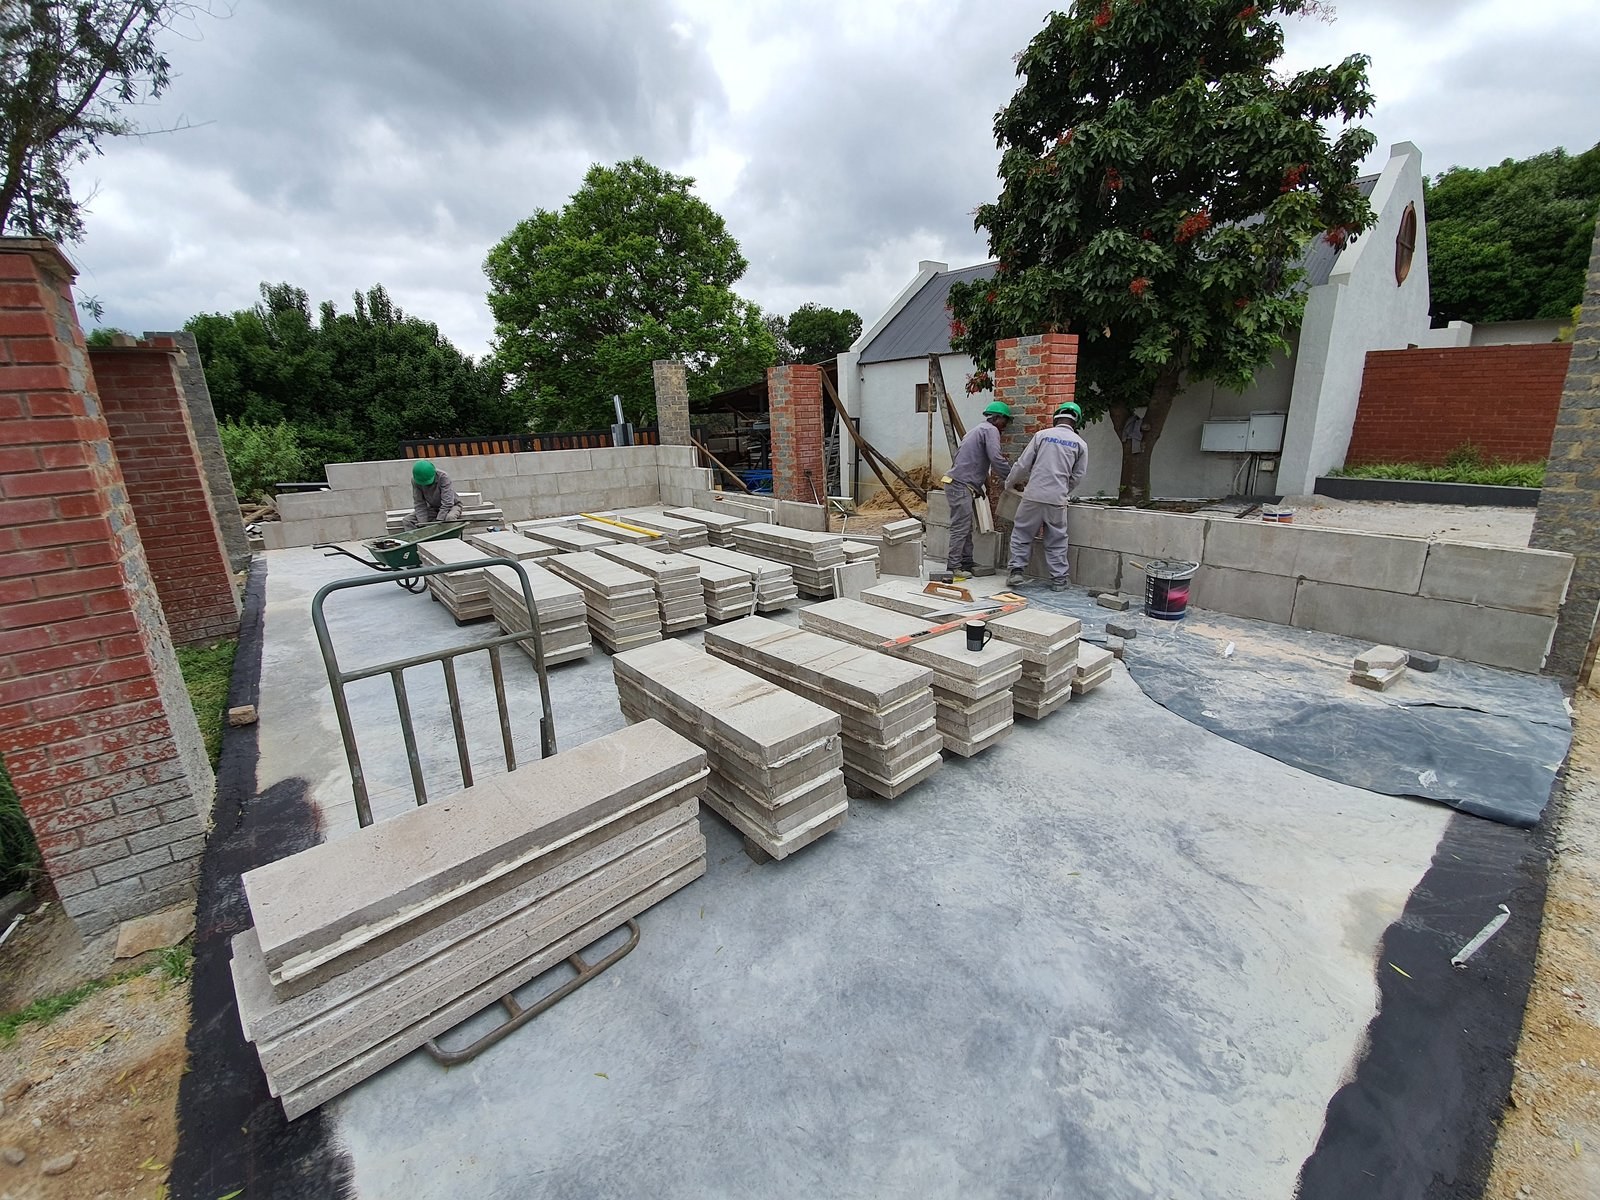
Stacked panels and brick piers on a garden-wall site, with workers building a low wall.PHOTO
Stacked panels and brick piers on a garden-wall site, with workers building a low wall.LiteCore Bricks
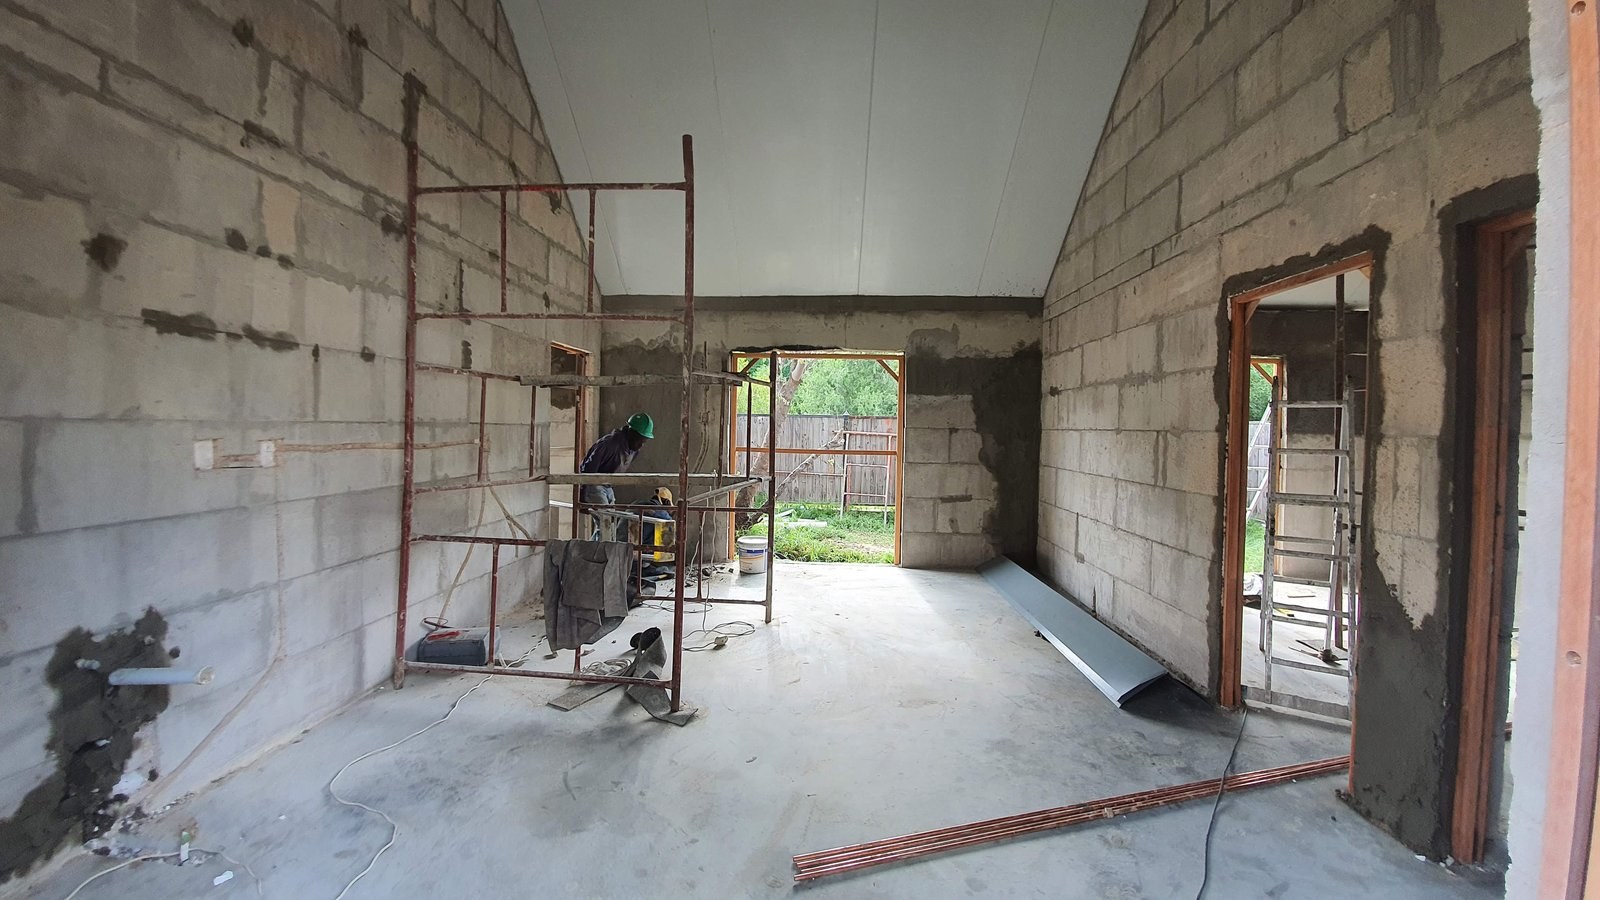
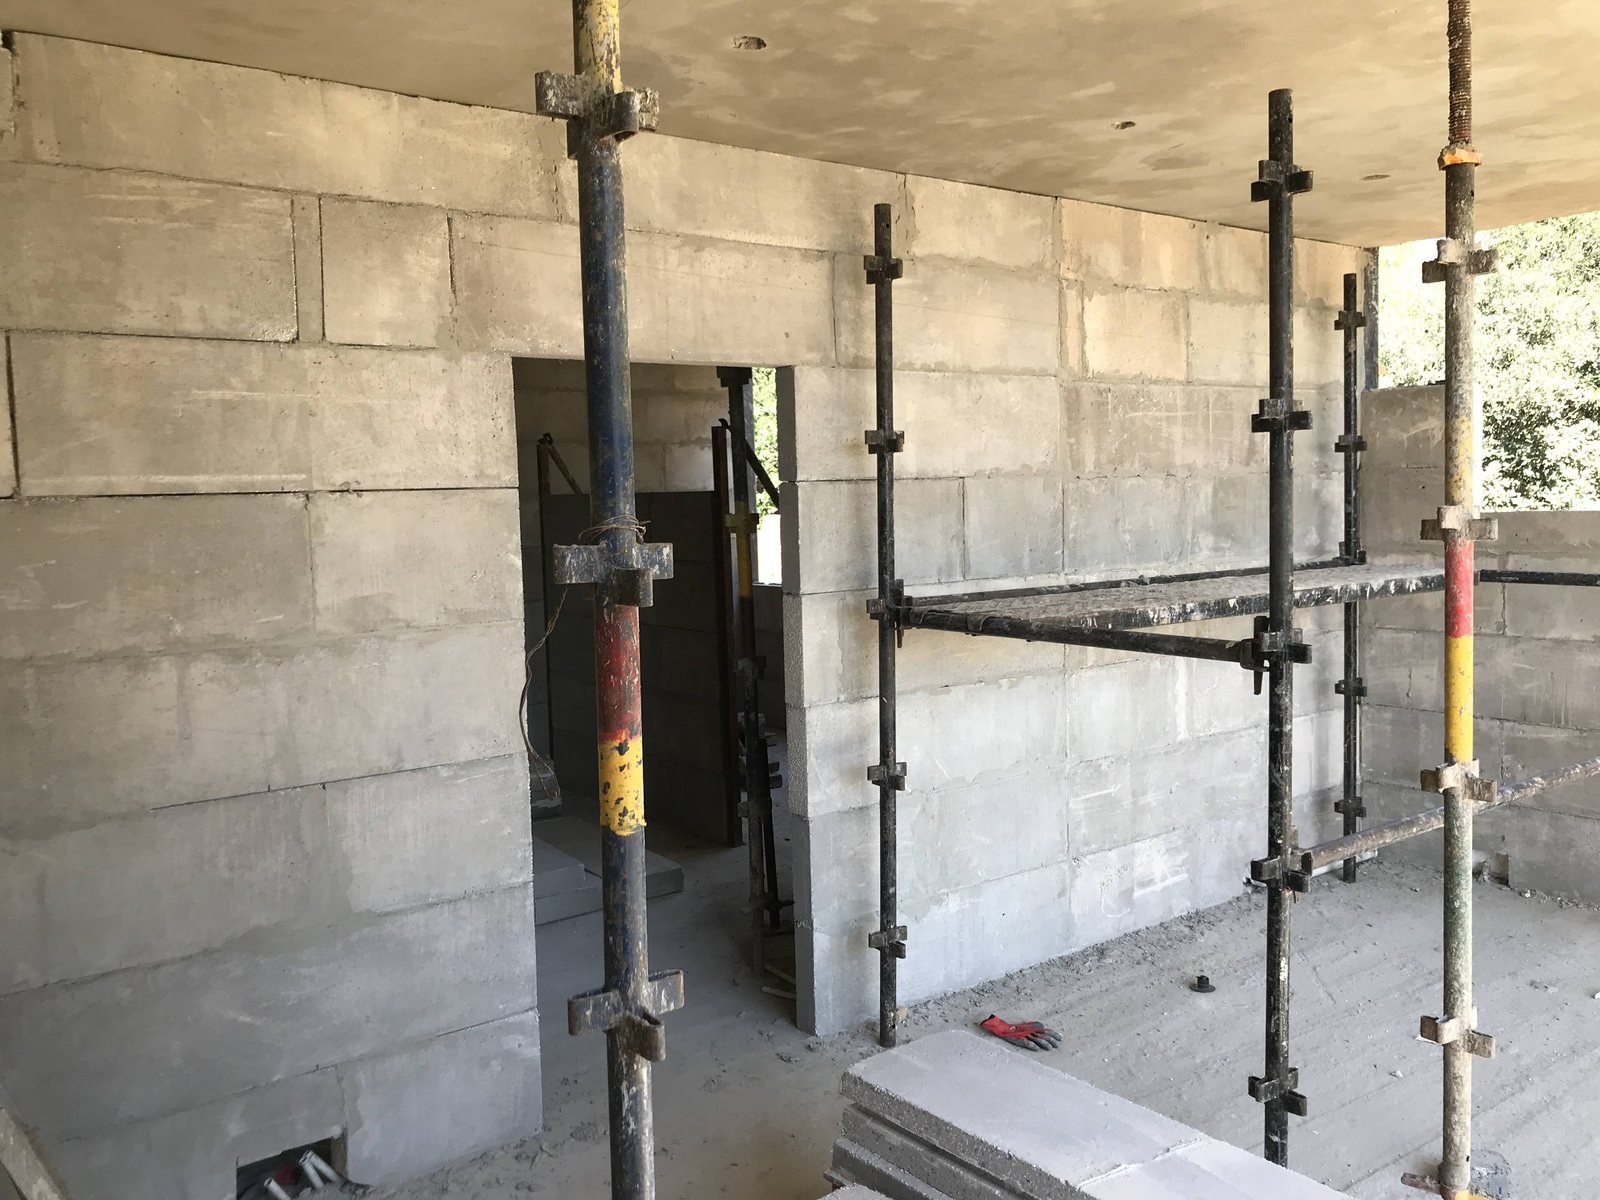
Interior of a vaulted-roof room with bare block walls, before plastering.PHOTO
Interior of a vaulted-roof room with bare block walls, before plastering.LiteCore Bricks
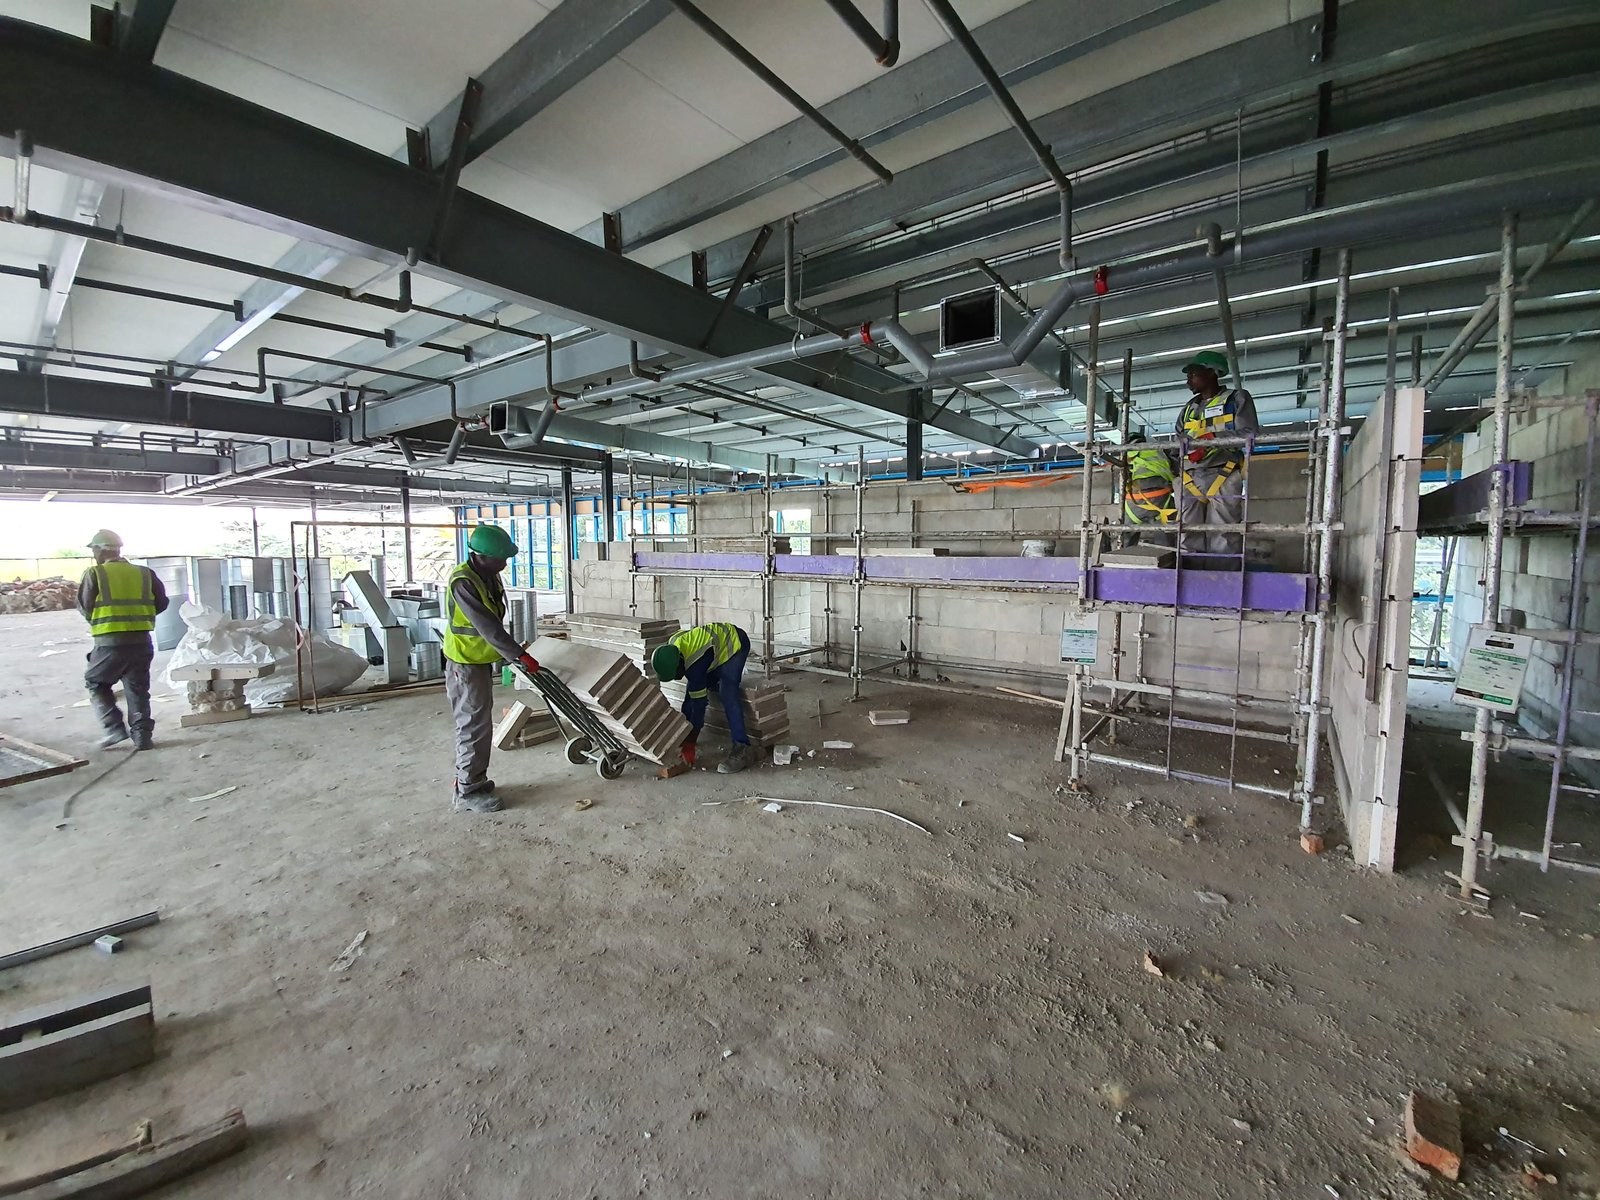
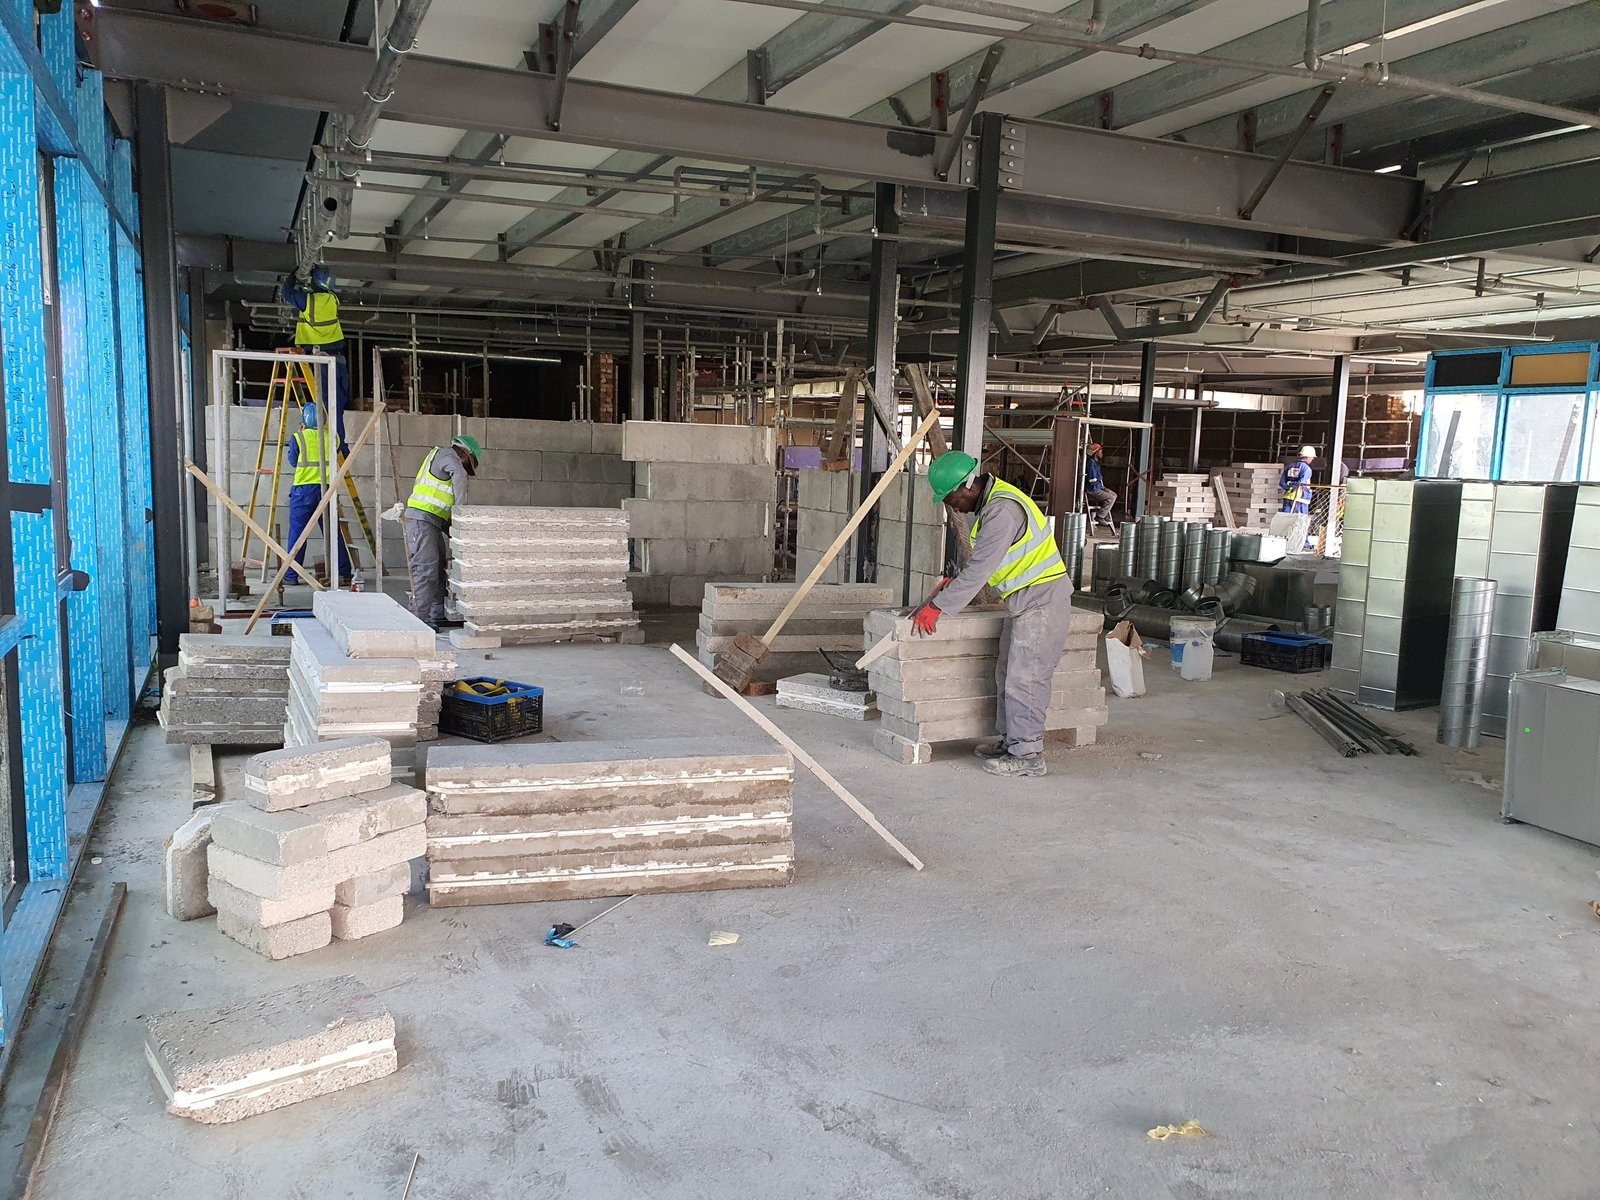
Workers moving panels on a trolley and laying blocks from scaffold inside a steel-frame building.PHOTO
Workers moving panels on a trolley and laying blocks from scaffold inside a steel-frame building.LiteCore Bricks
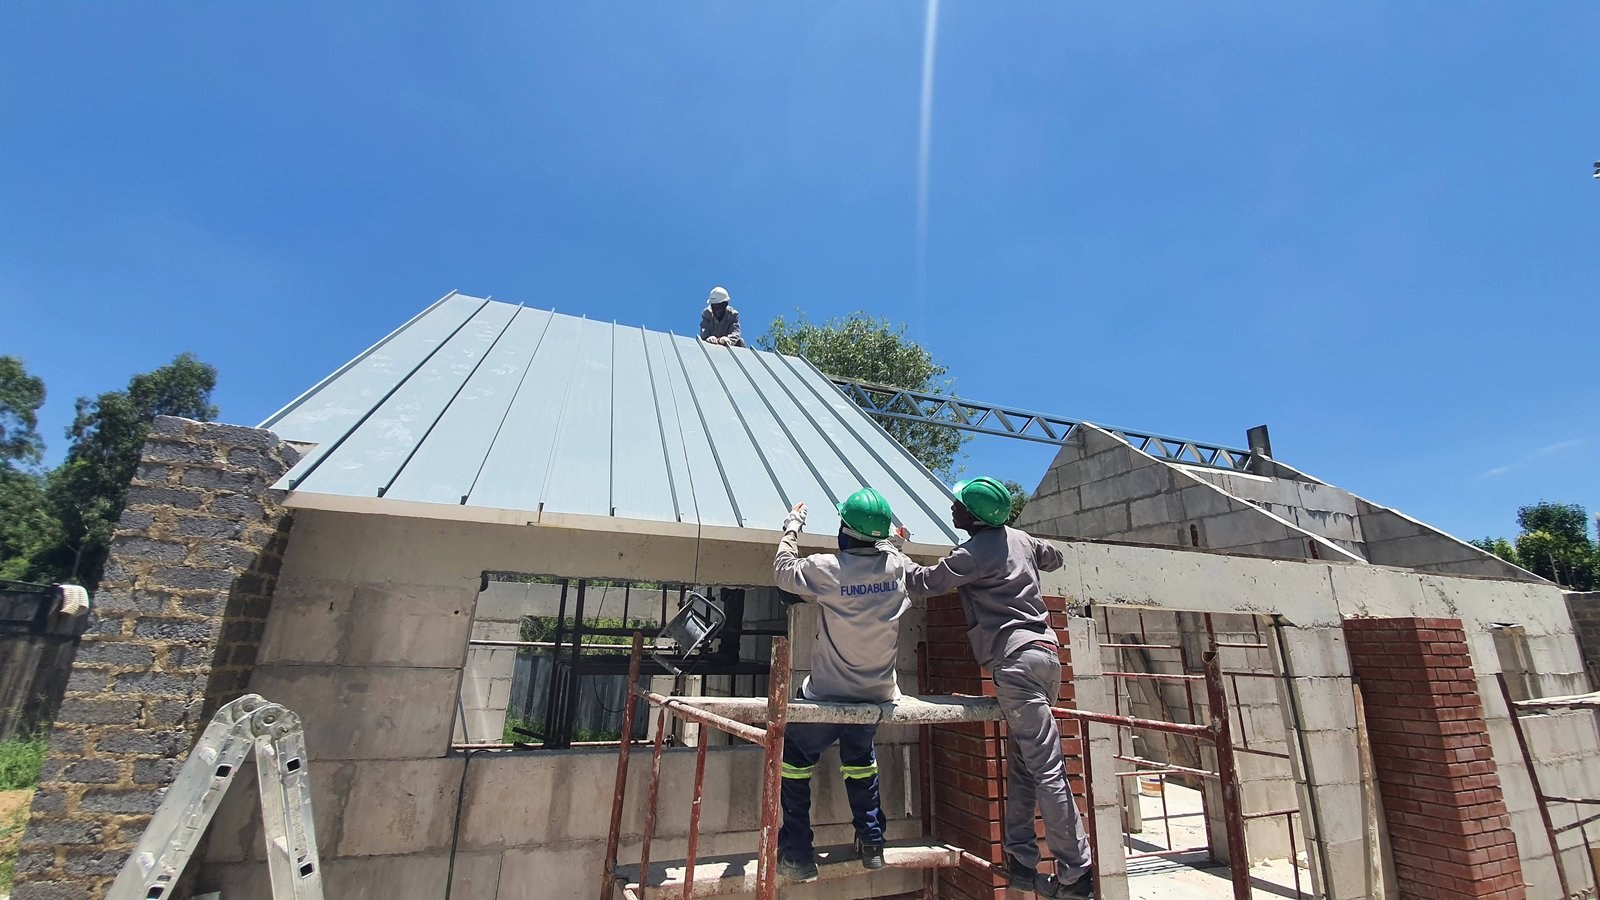
Timber roof trusses being fitted over block gable walls, house shell exterior.PHOTO
Timber roof trusses being fitted over block gable walls, house shell exterior.LiteCore Bricks
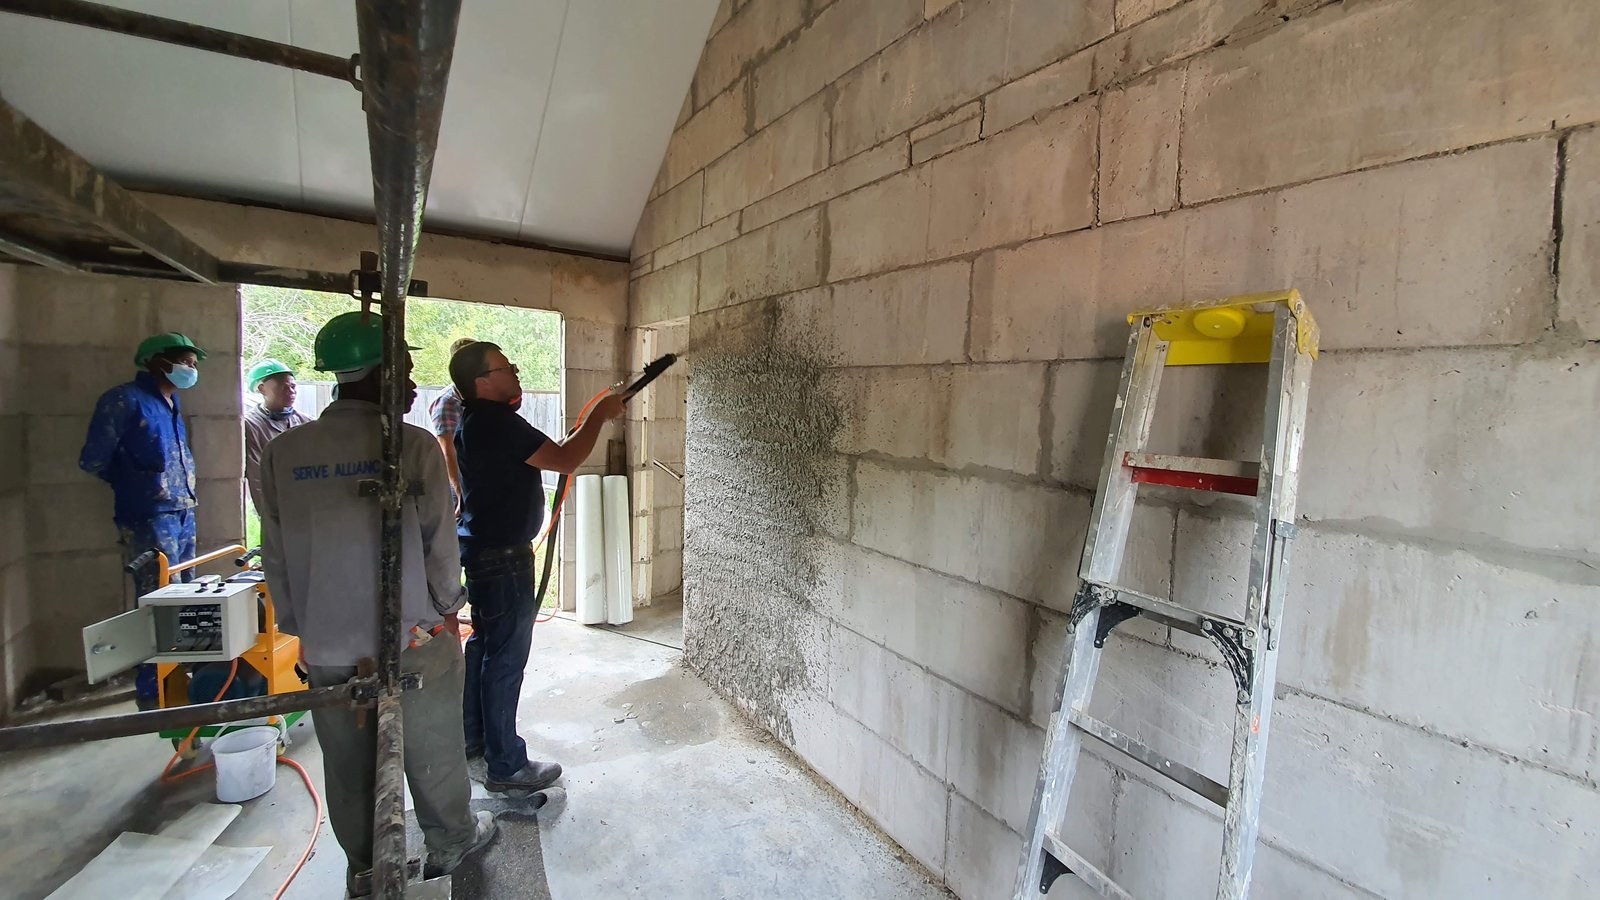
Machine-sprayed plaster being applied to a bare block wall inside a vaulted room.PHOTO
Machine-sprayed plaster being applied to a bare block wall inside a vaulted room.LiteCore Bricks
Workers building block walls on adjustable steel props inside an open house shell.PHOTO
Workers building block walls on adjustable steel props inside an open house shell.LiteCore Bricks
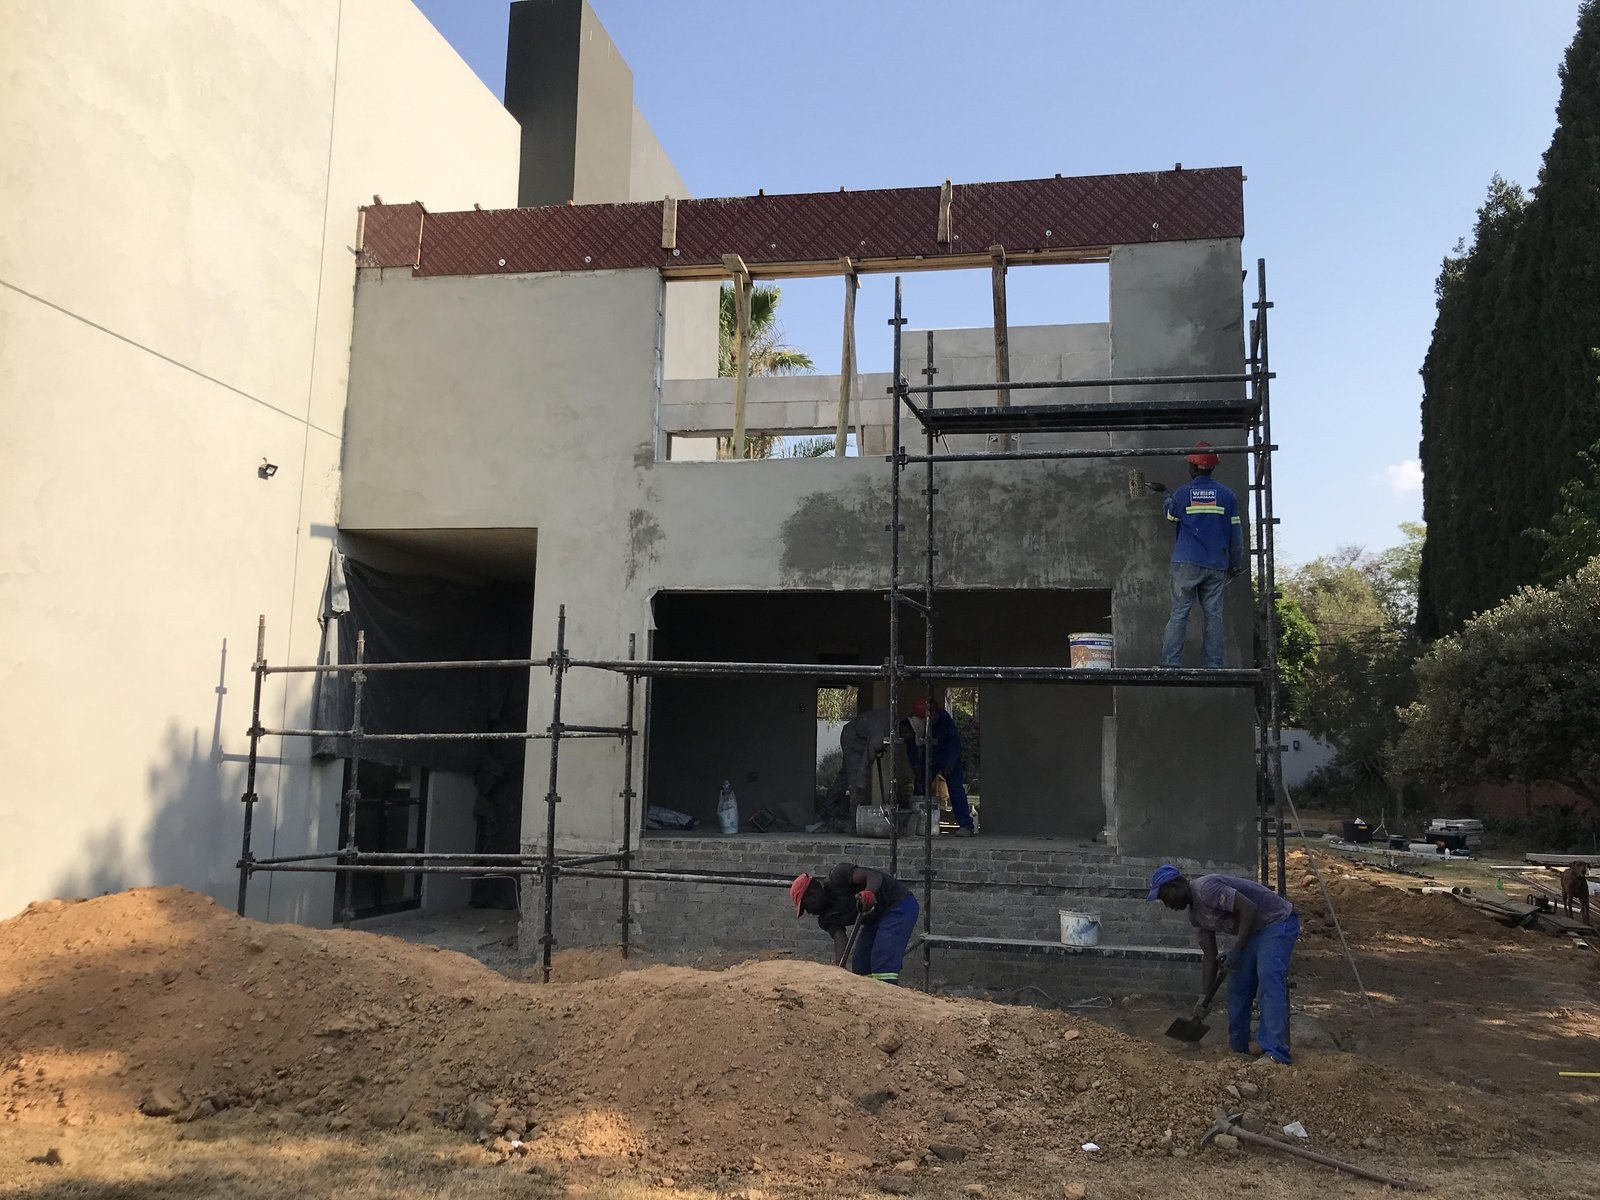
Two-storey house exterior partly rendered, workers plastering from scaffold over block walls.PHOTO
Two-storey house exterior partly rendered, workers plastering from scaffold over block walls.LiteCore Bricks
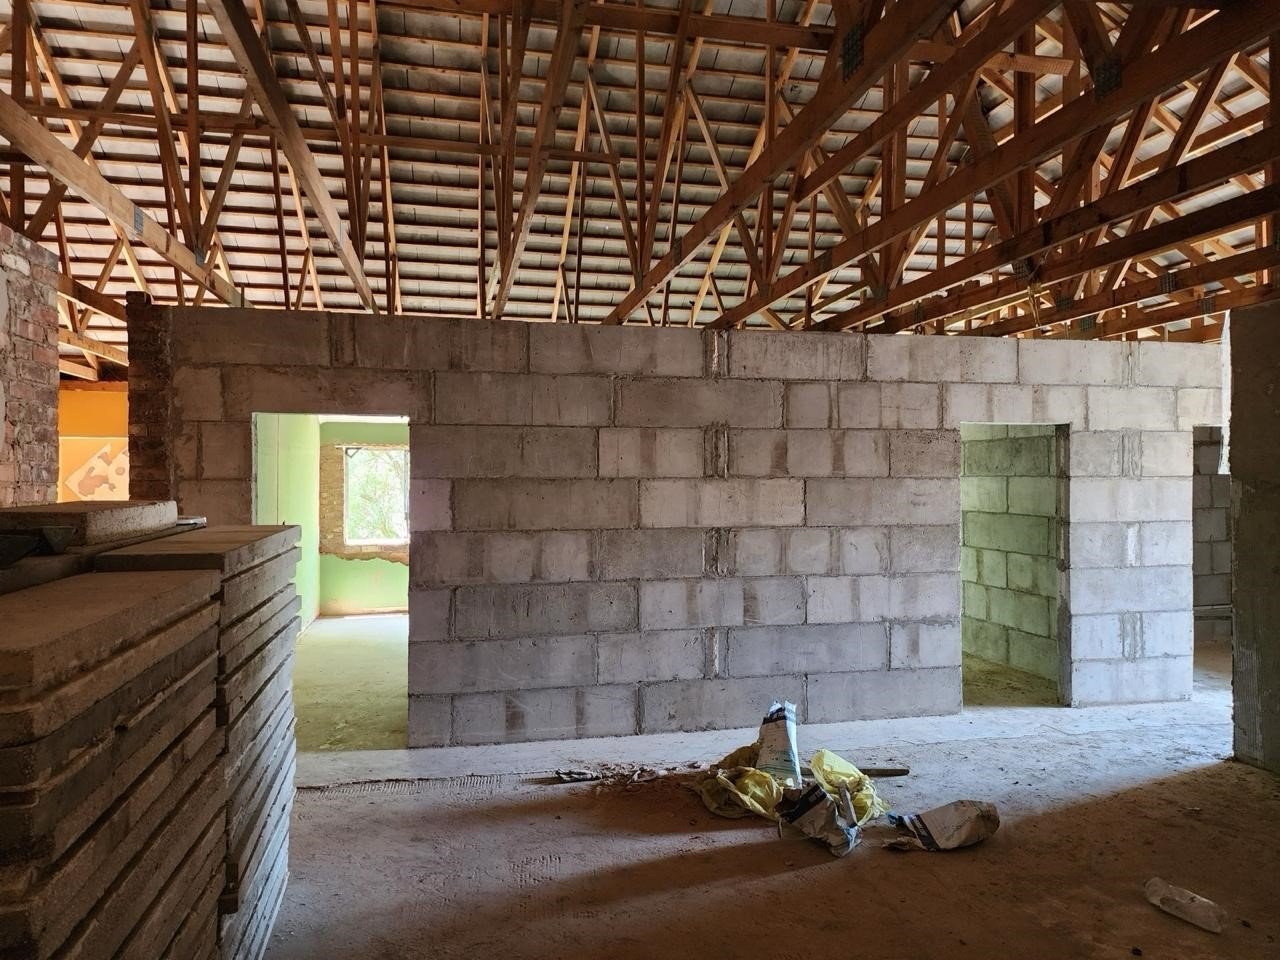
Interior under timber roof trusses, with block partition walls and stacked brick piers.PHOTO
Interior under timber roof trusses, with block partition walls and stacked brick piers.LiteCore Bricks
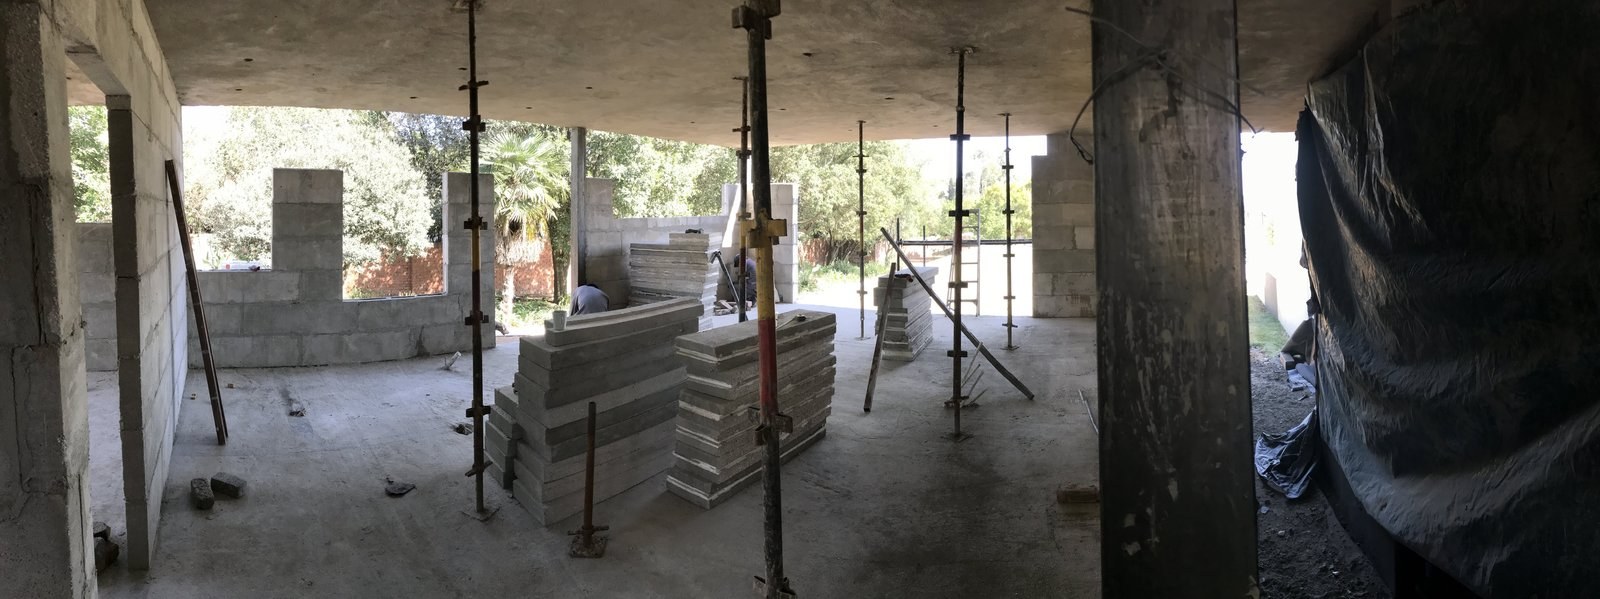
Panels stacked on site under a concrete slab soffit, supported by adjustable steel props.PHOTO
Panels stacked on site under a concrete slab soffit, supported by adjustable steel props.LiteCore Bricks
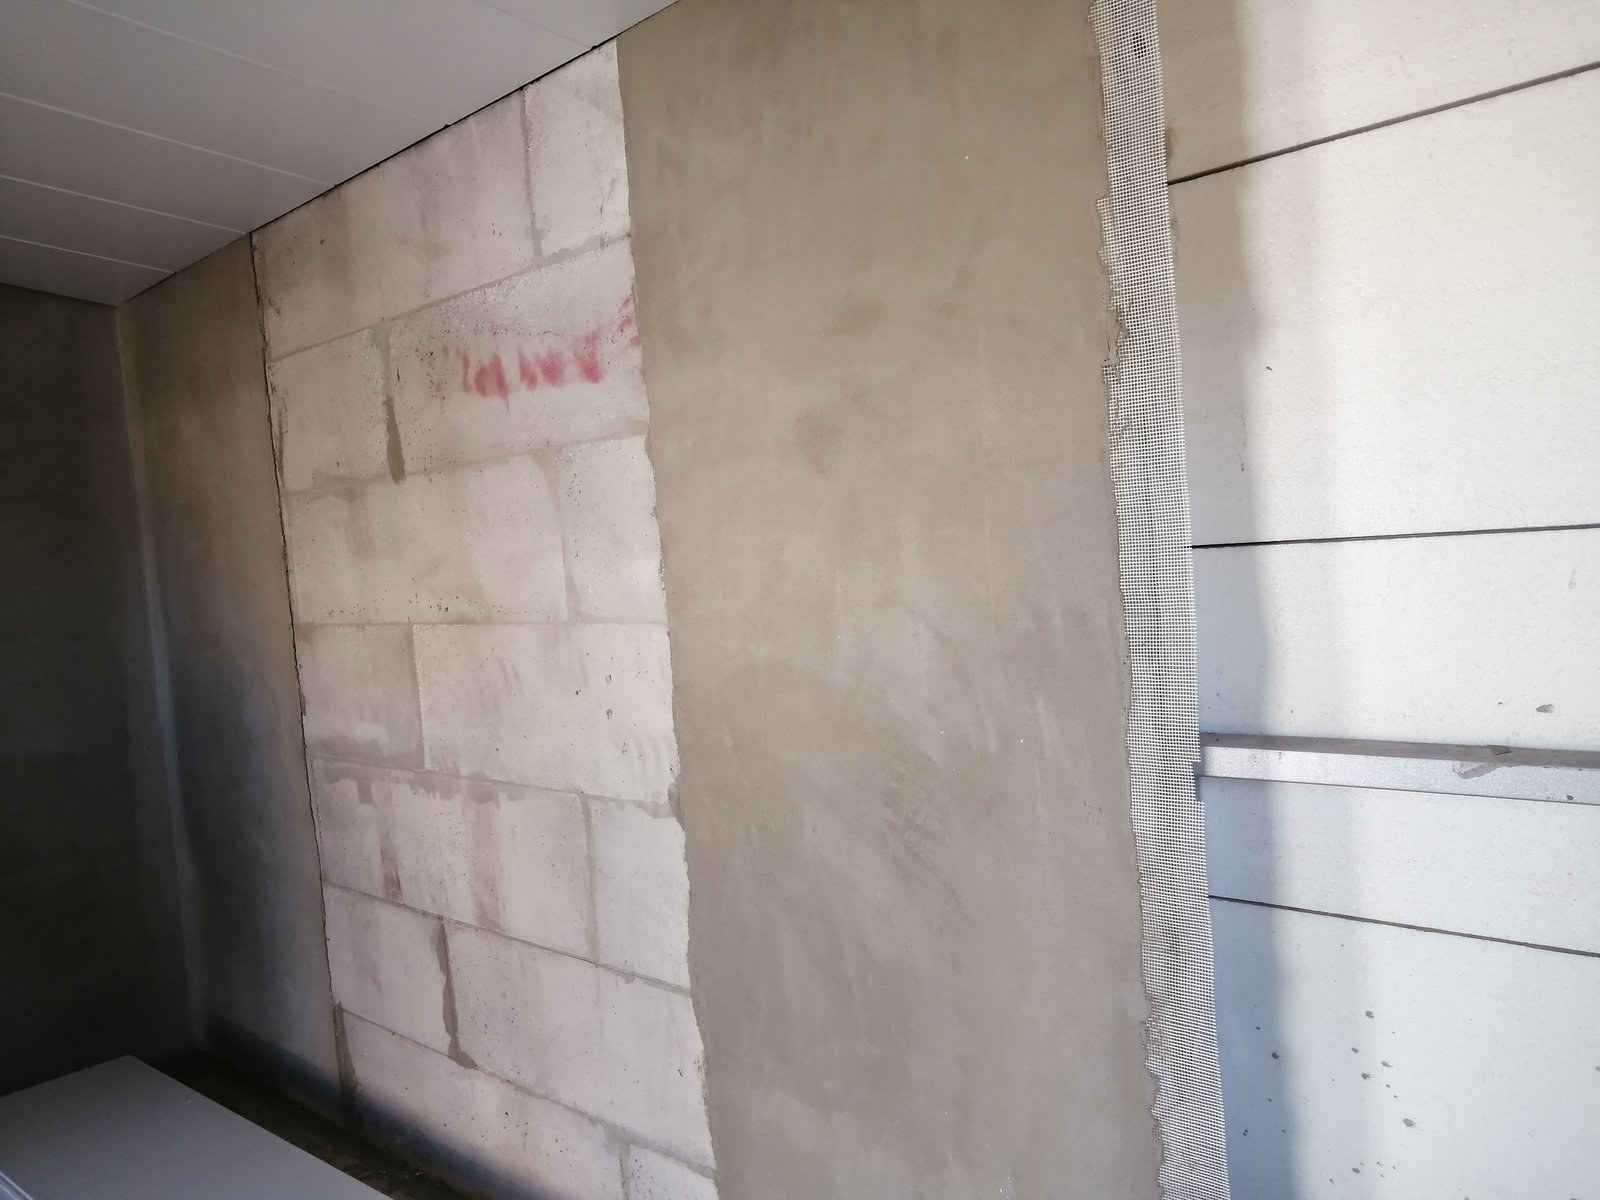
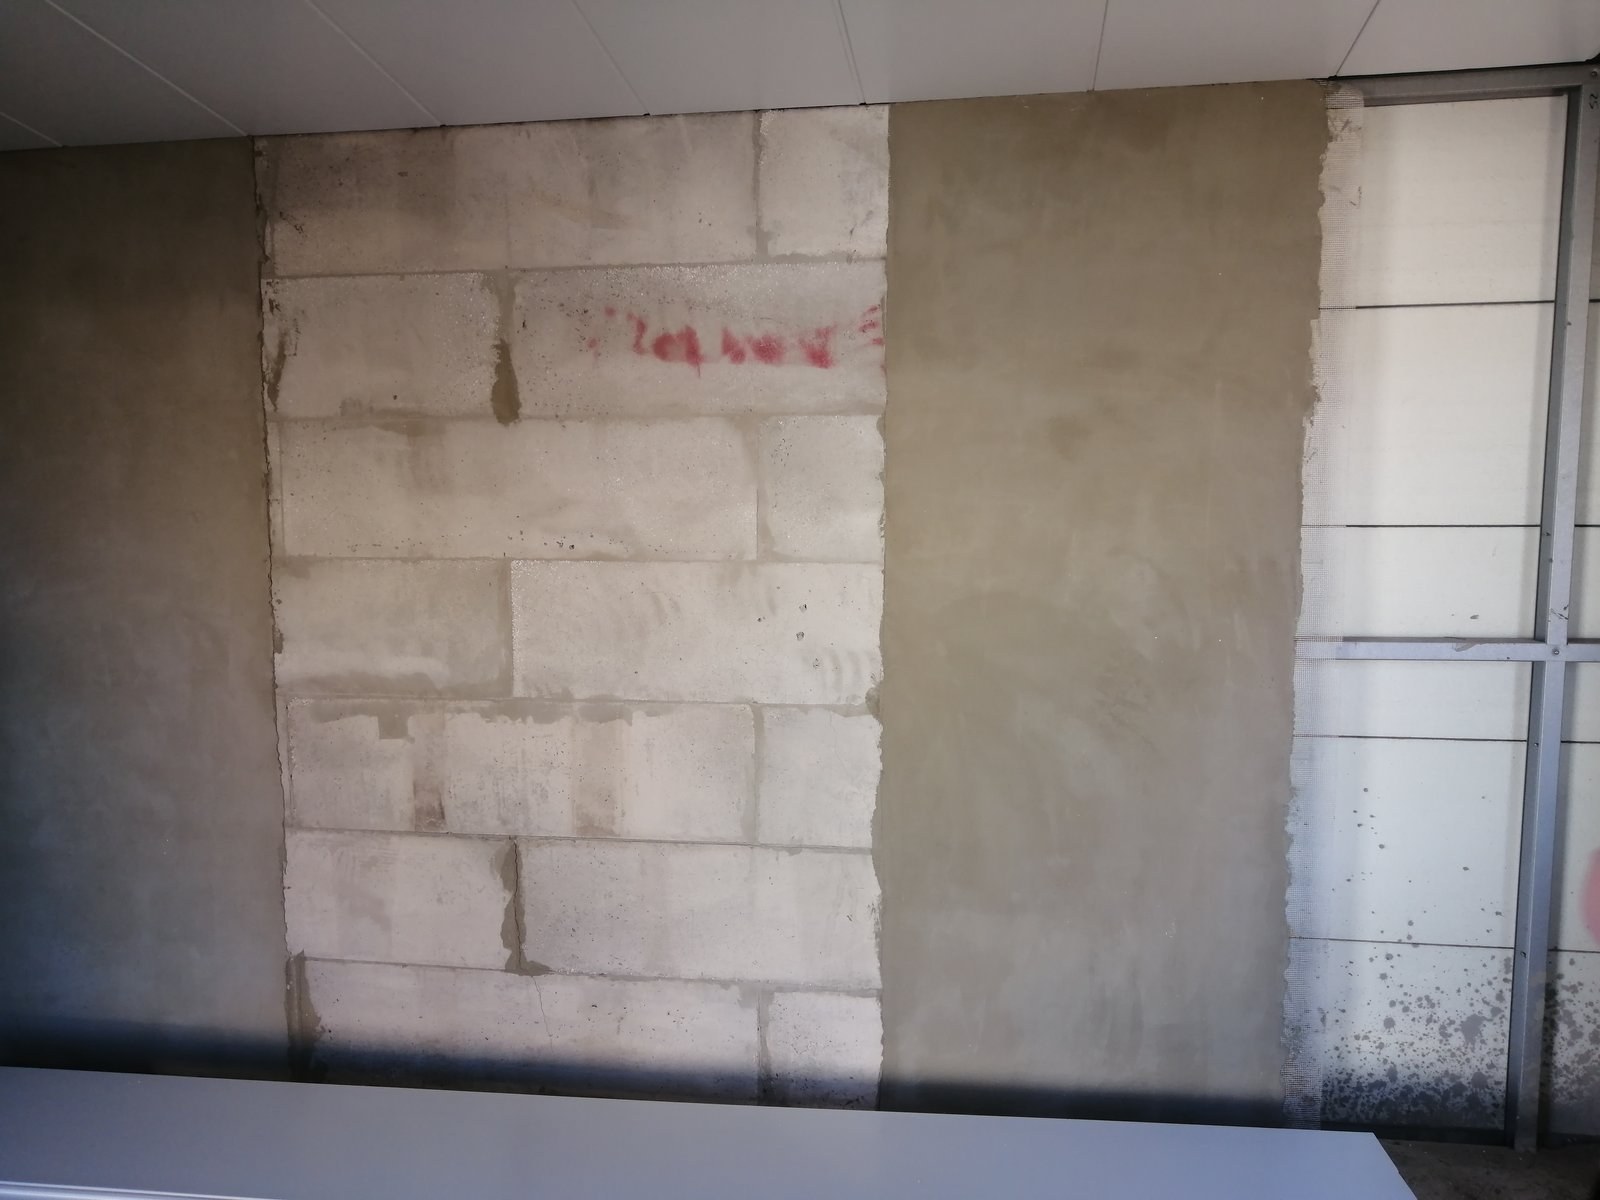
Block wall corner mid-render, reinforcing mesh strip visible next to an adjoining insulated panel.PHOTO
Block wall corner mid-render, reinforcing mesh strip visible next to an adjoining insulated panel.LiteCore Bricks
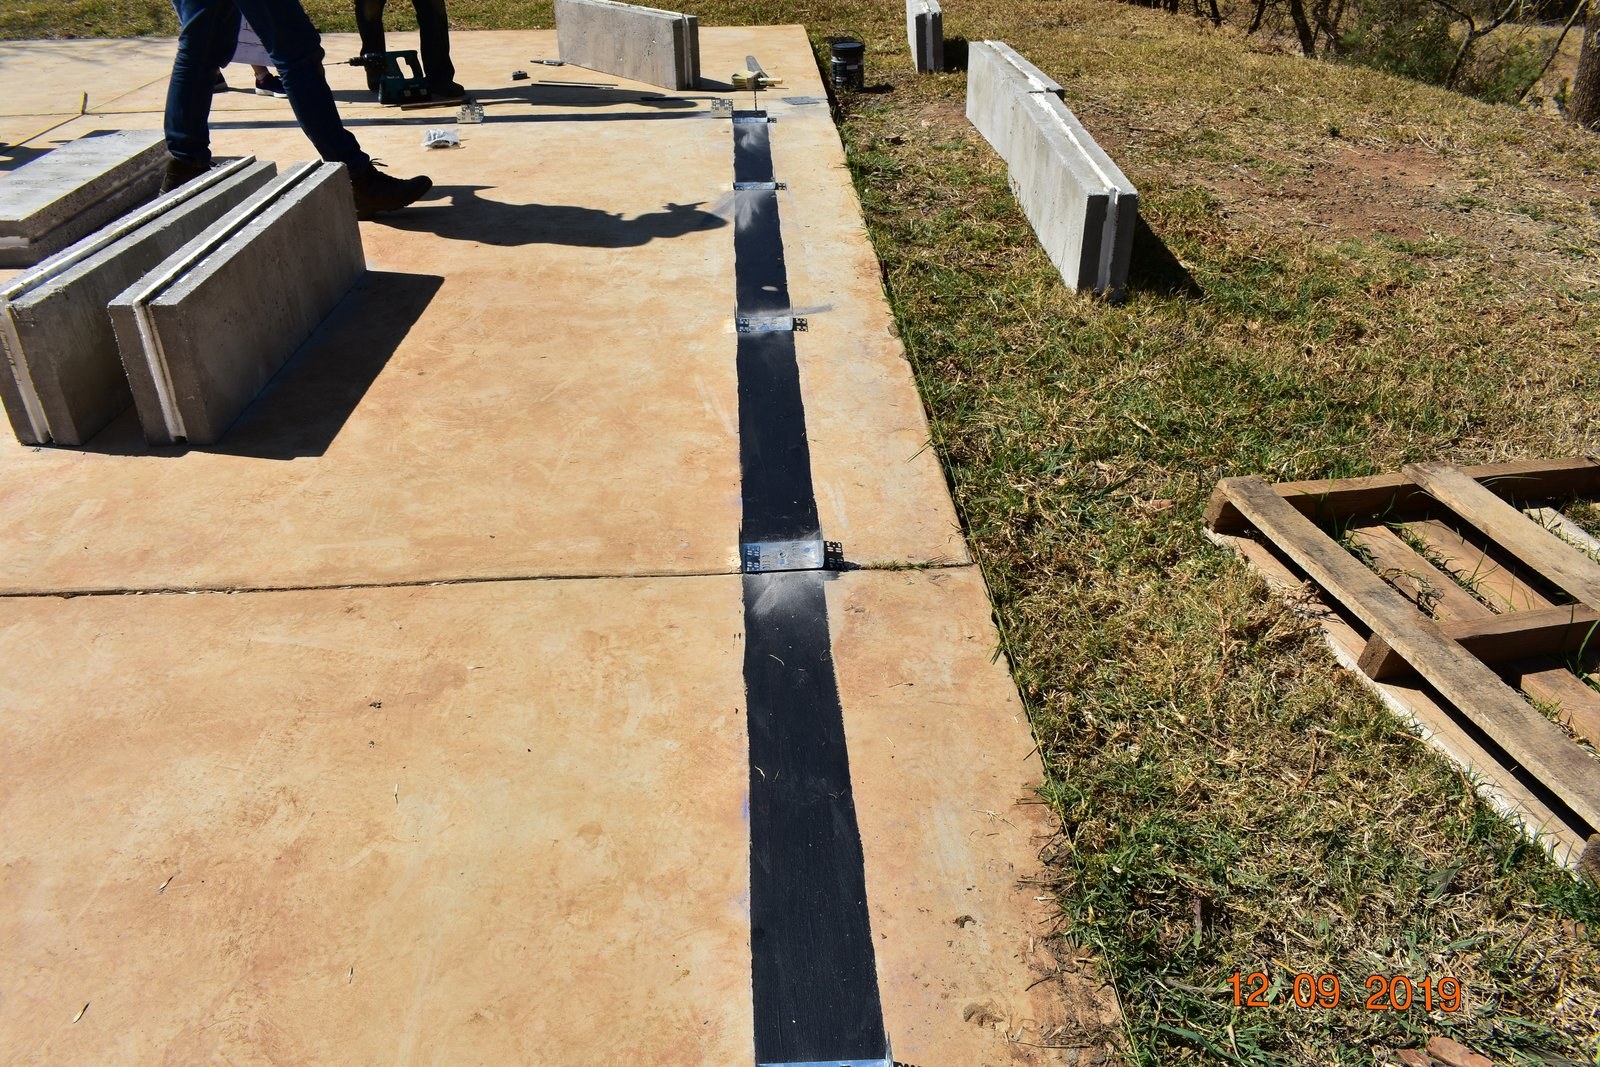
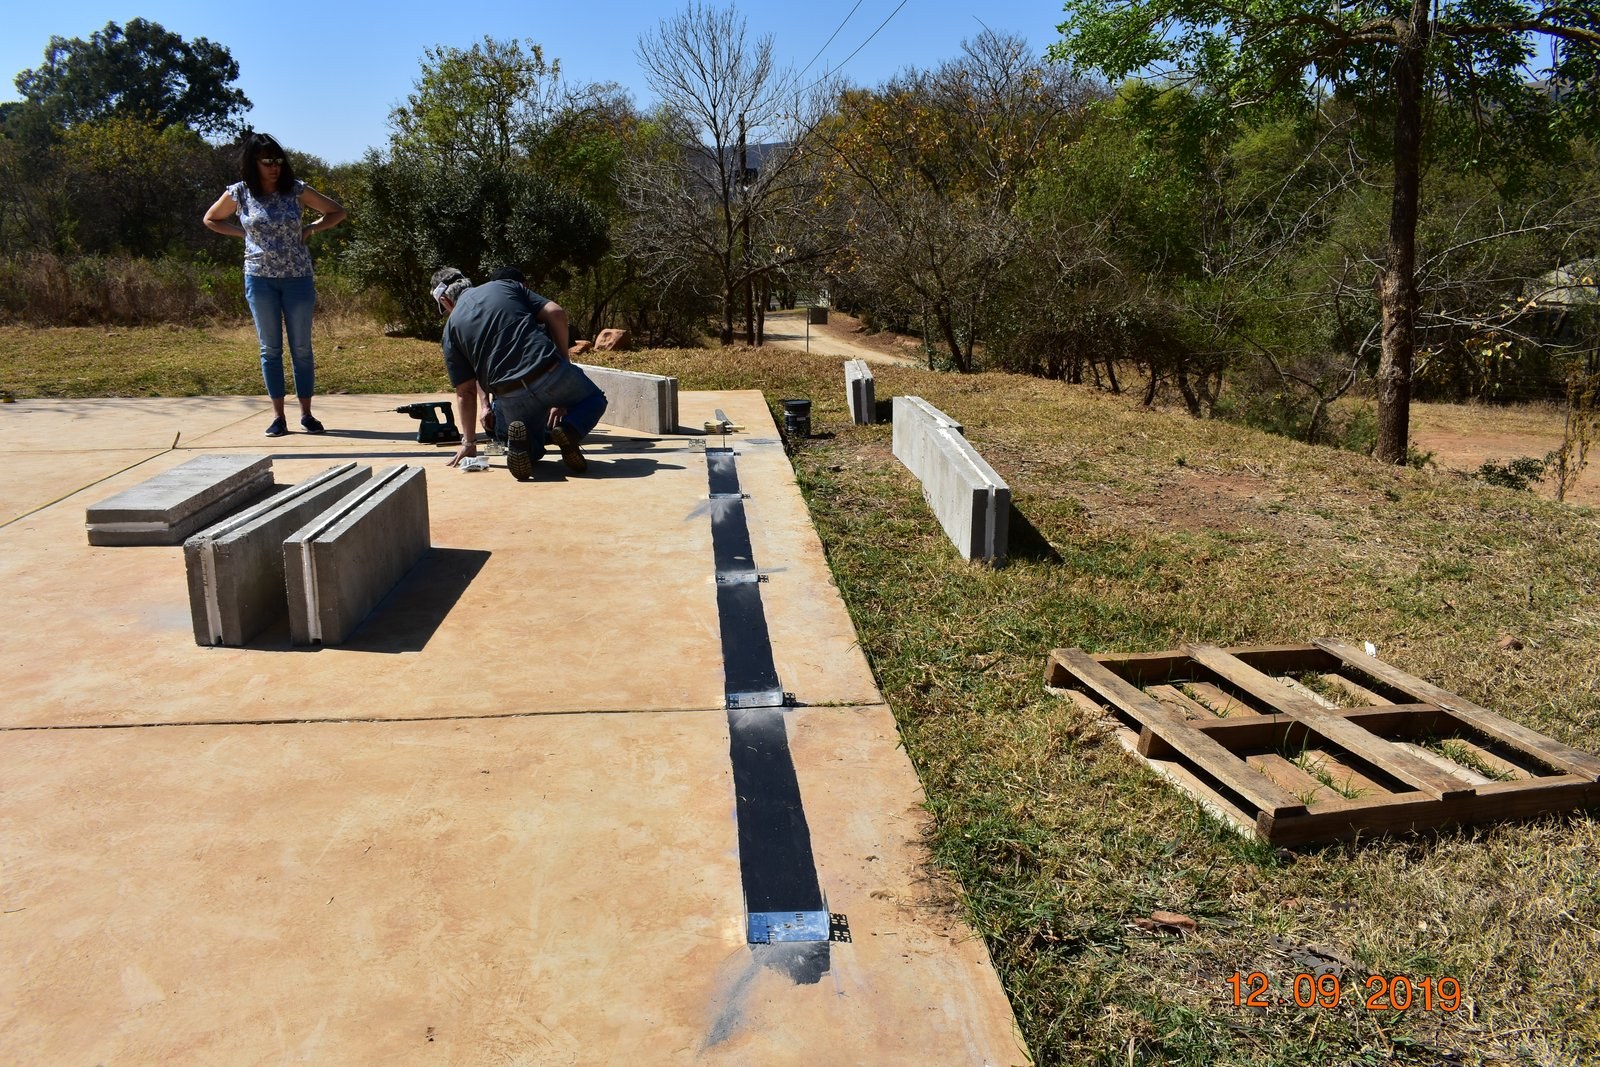
Close-up of a black insulation strip embedded along a slab edge with steel angle brackets fixed at intervals.PHOTO
Close-up of a black insulation strip embedded along a slab edge with steel angle brackets fixed at intervals.LiteCore Bricks
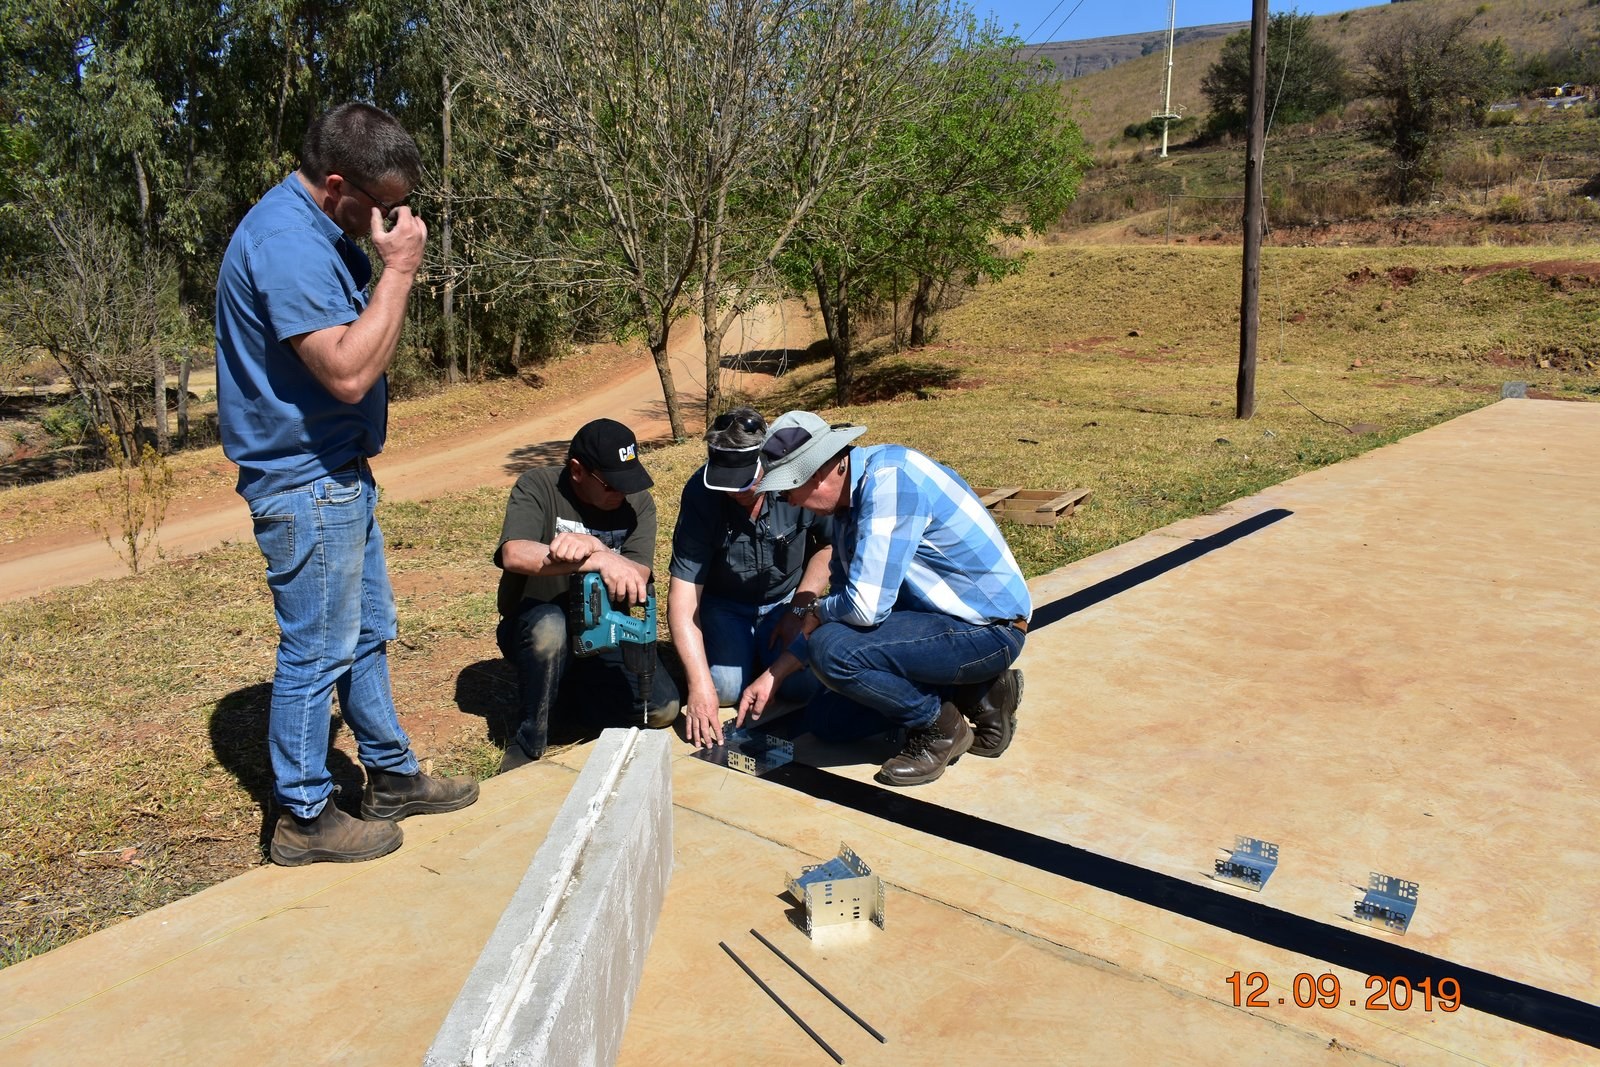
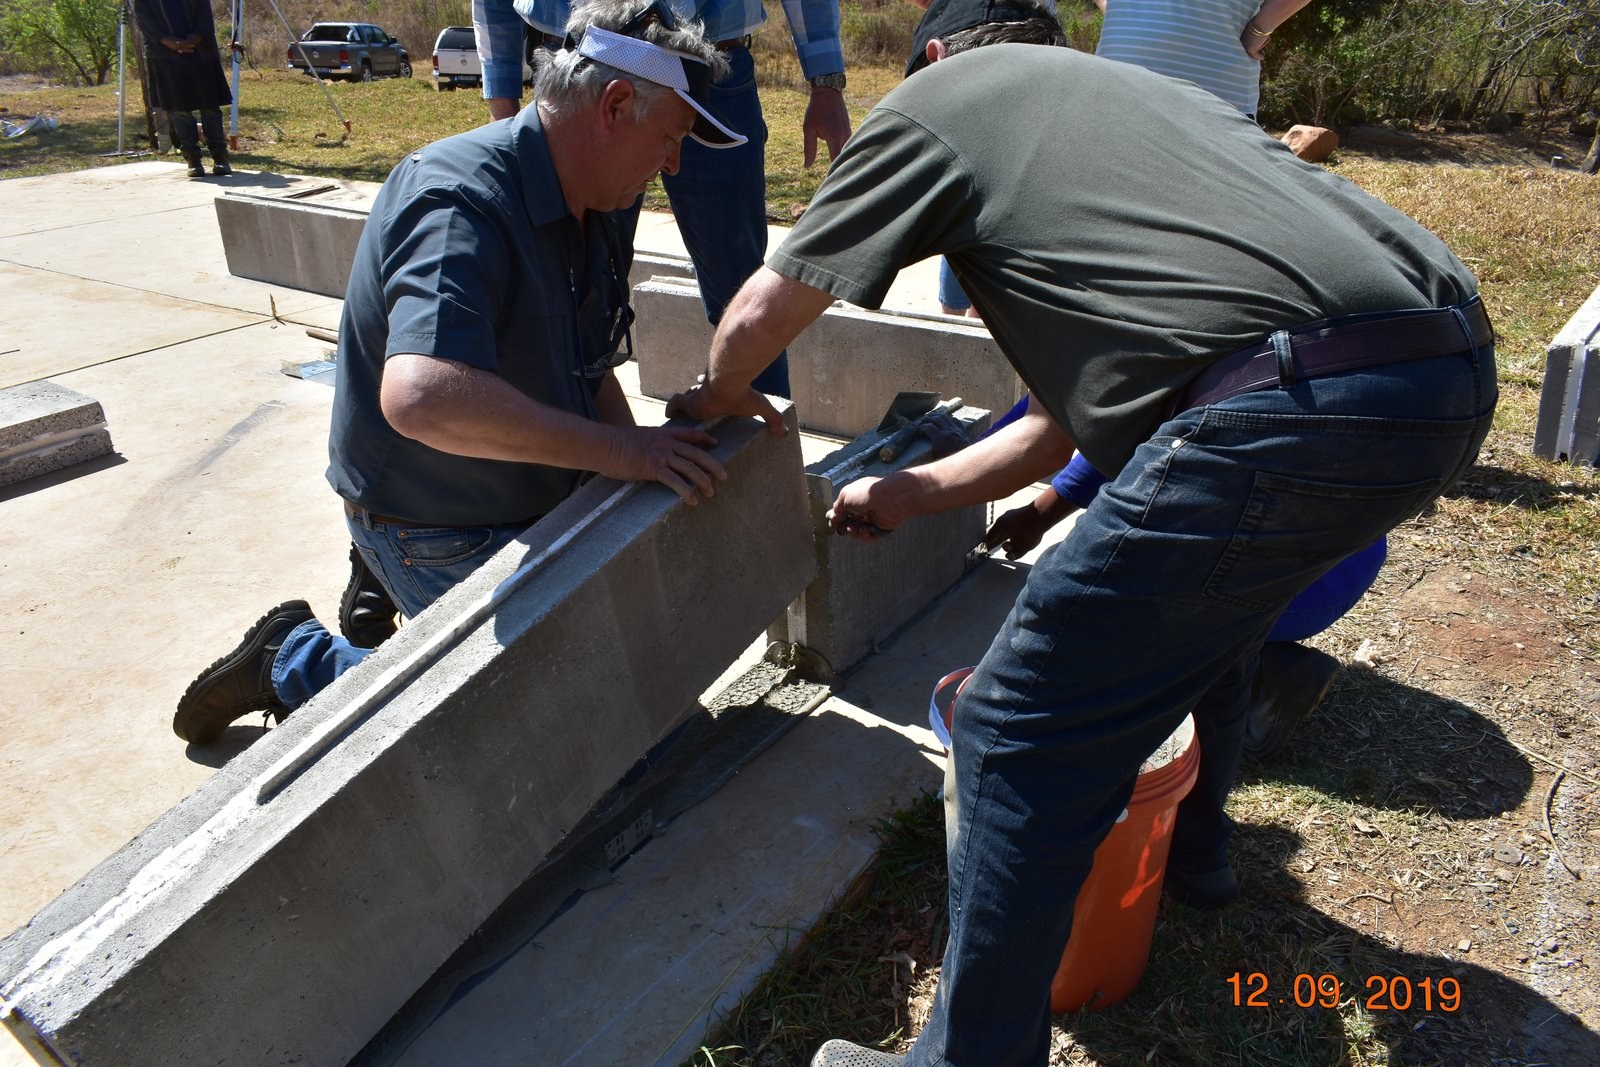
Crew drilling fixing brackets into a slab edge alongside a precast panel and embedded insulation strip.PHOTO
Crew drilling fixing brackets into a slab edge alongside a precast panel and embedded insulation strip.LiteCore Bricks
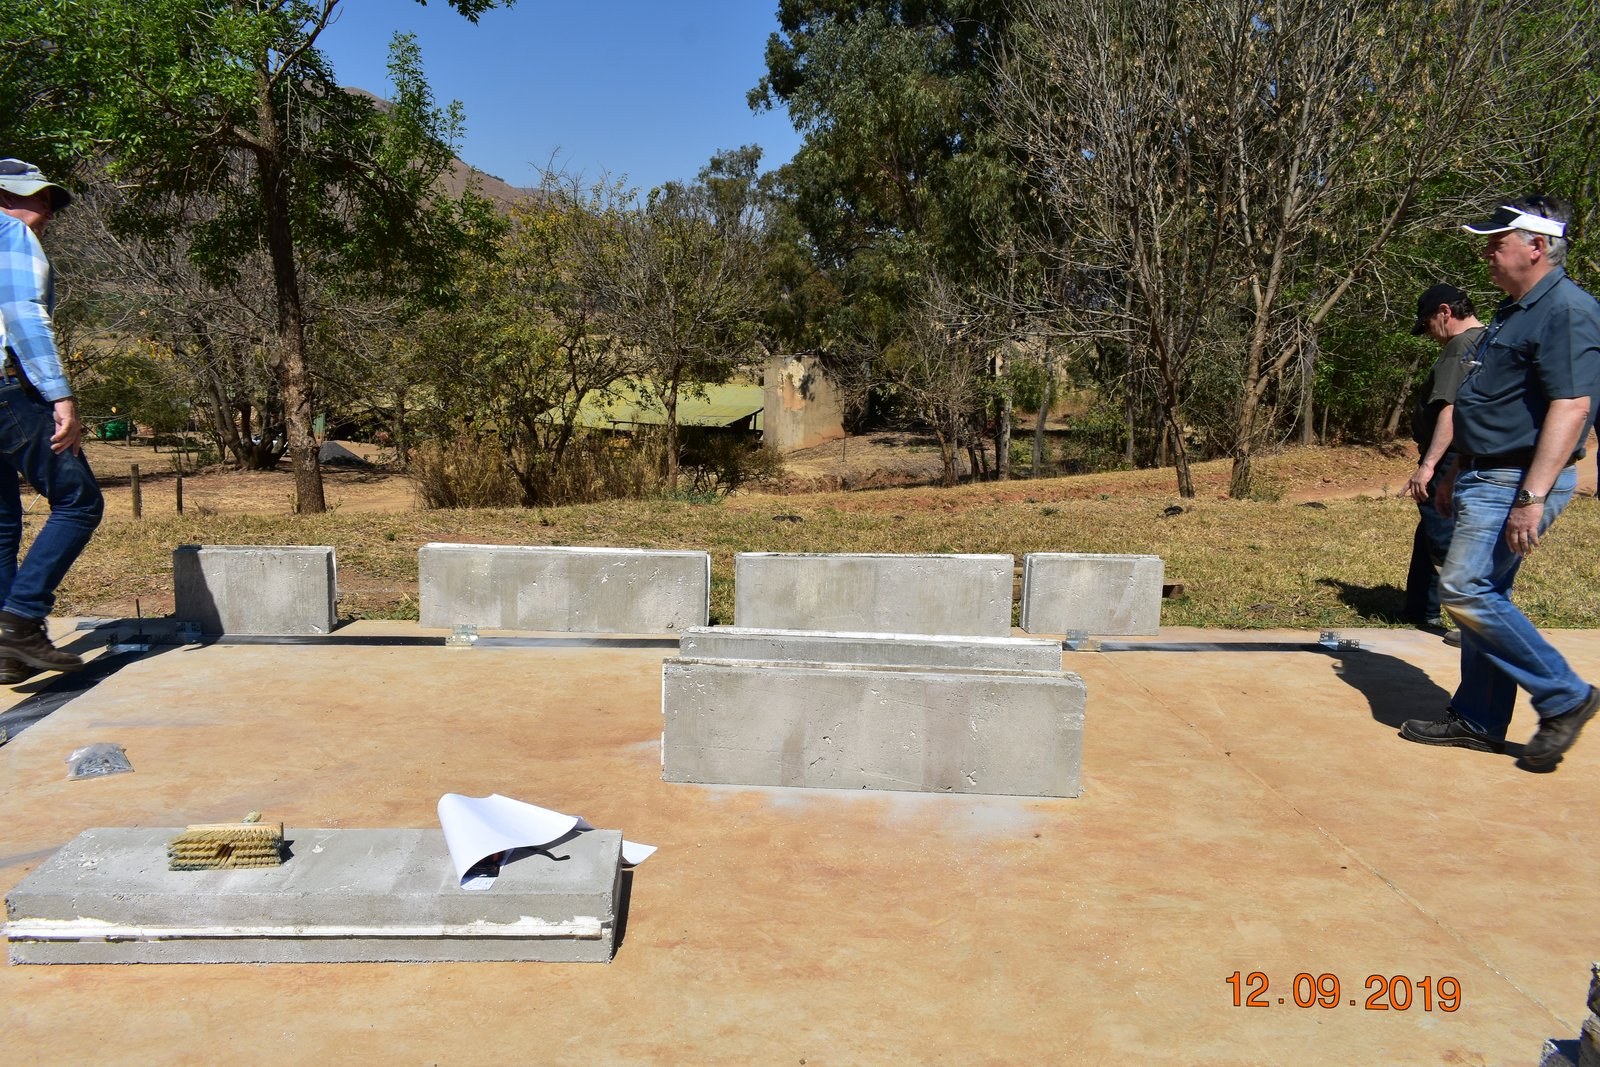
Precast edge panels stood along a slab perimeter, dated site photo from September 2019.PHOTO
Precast edge panels stood along a slab perimeter, dated site photo from September 2019.LiteCore Bricks
PHOTO
LiteCore Bricks
PHOTO
LiteCore Bricks
PHOTO
LiteCore Bricks
PHOTO
LiteCore Bricks
PHOTO
LiteCore Bricks
PHOTO
LiteCore Bricks
PHOTO
LiteCore Bricks
PHOTO
LiteCore Bricks
PHOTO
LiteCore Bricks
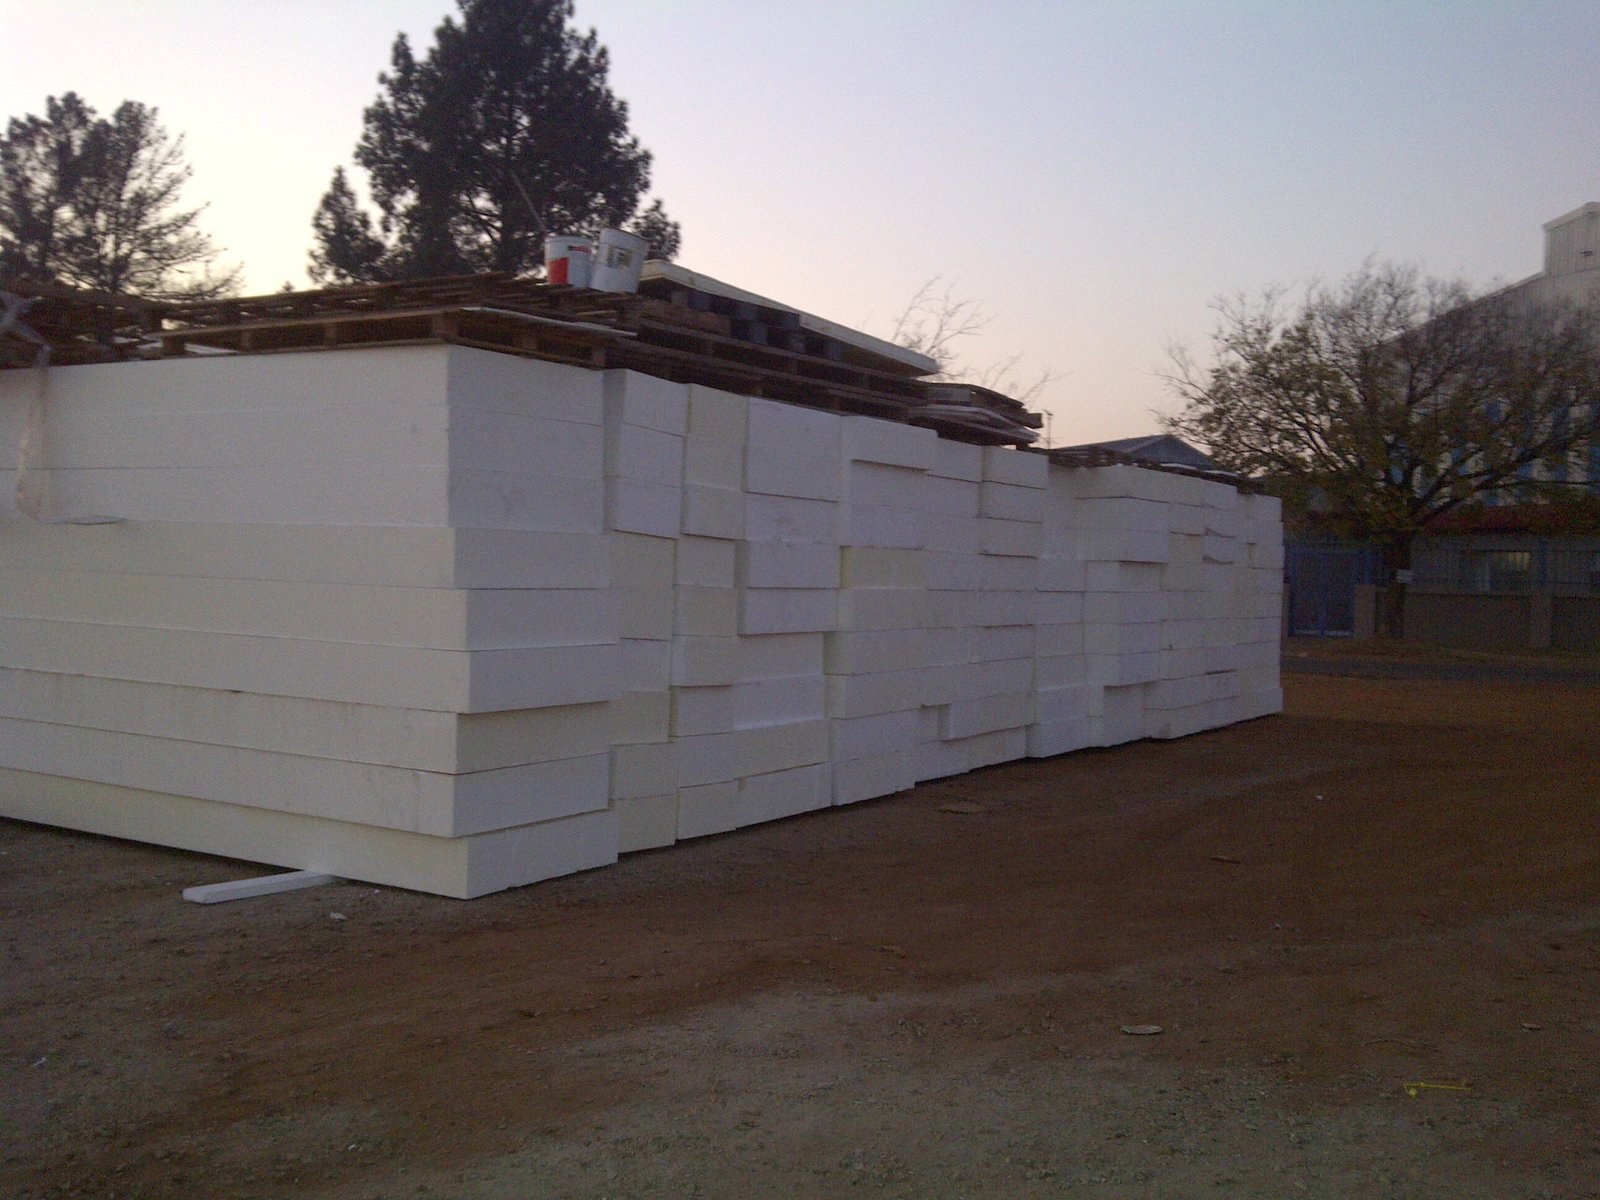
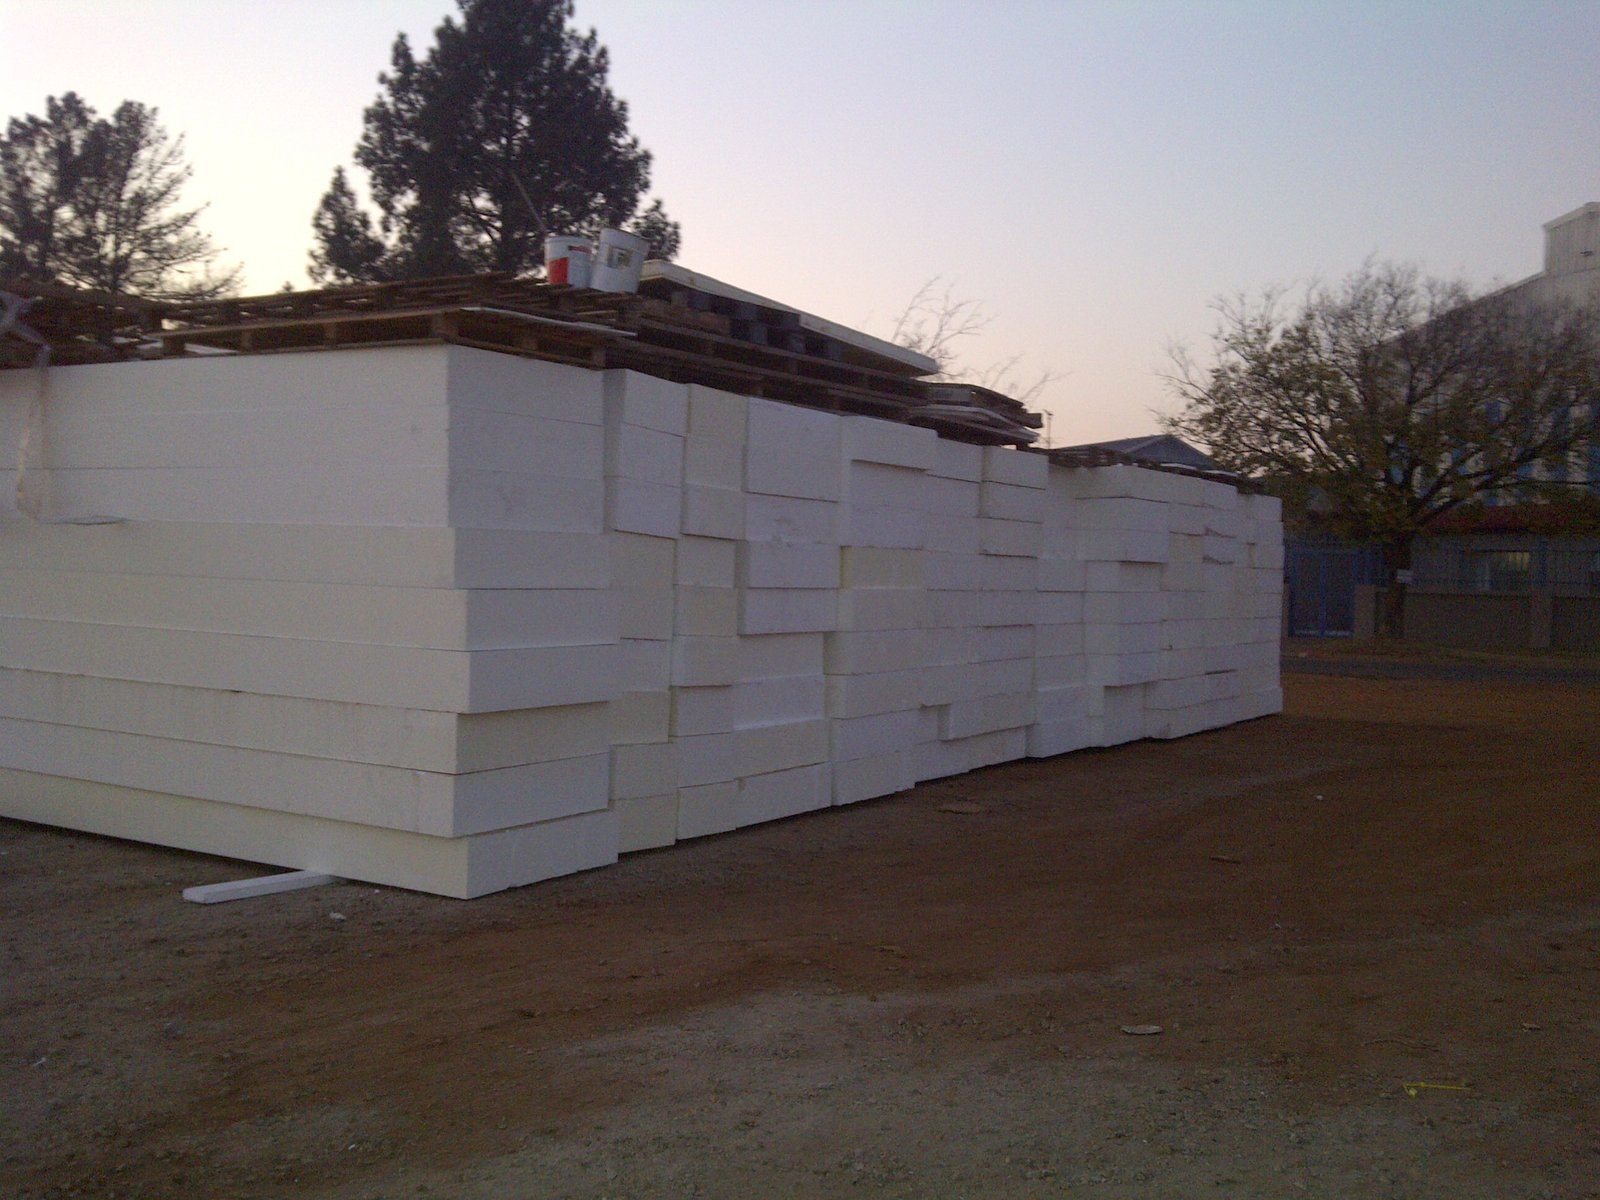
Large EPS slabs stacked several courses high in the yard at dusk, with timber pallets and paint tins left on top. The material in bulk, outdoors, before dispatch.PHOTO
Large EPS slabs stacked several courses high in the yard at dusk, with timber pallets and paint tins left on top. The material in bulk, outdoors, before dispatch.Bulk Insulation Products
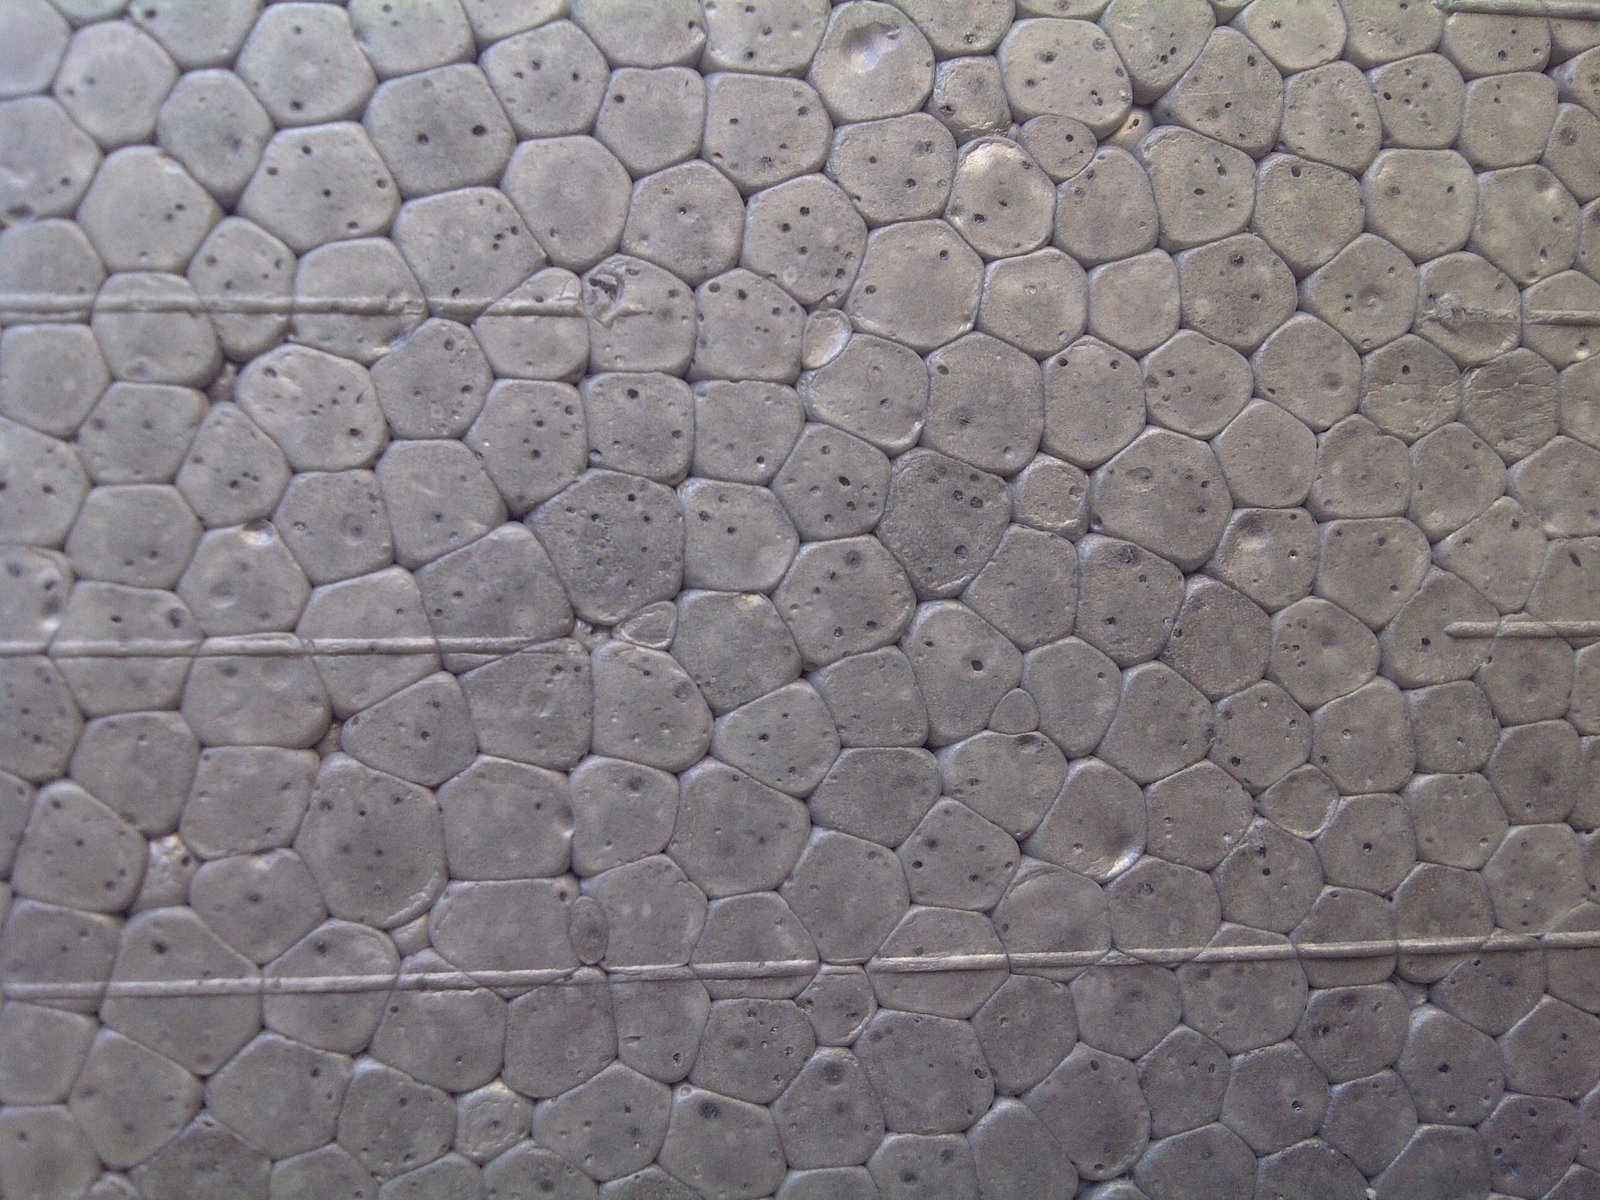
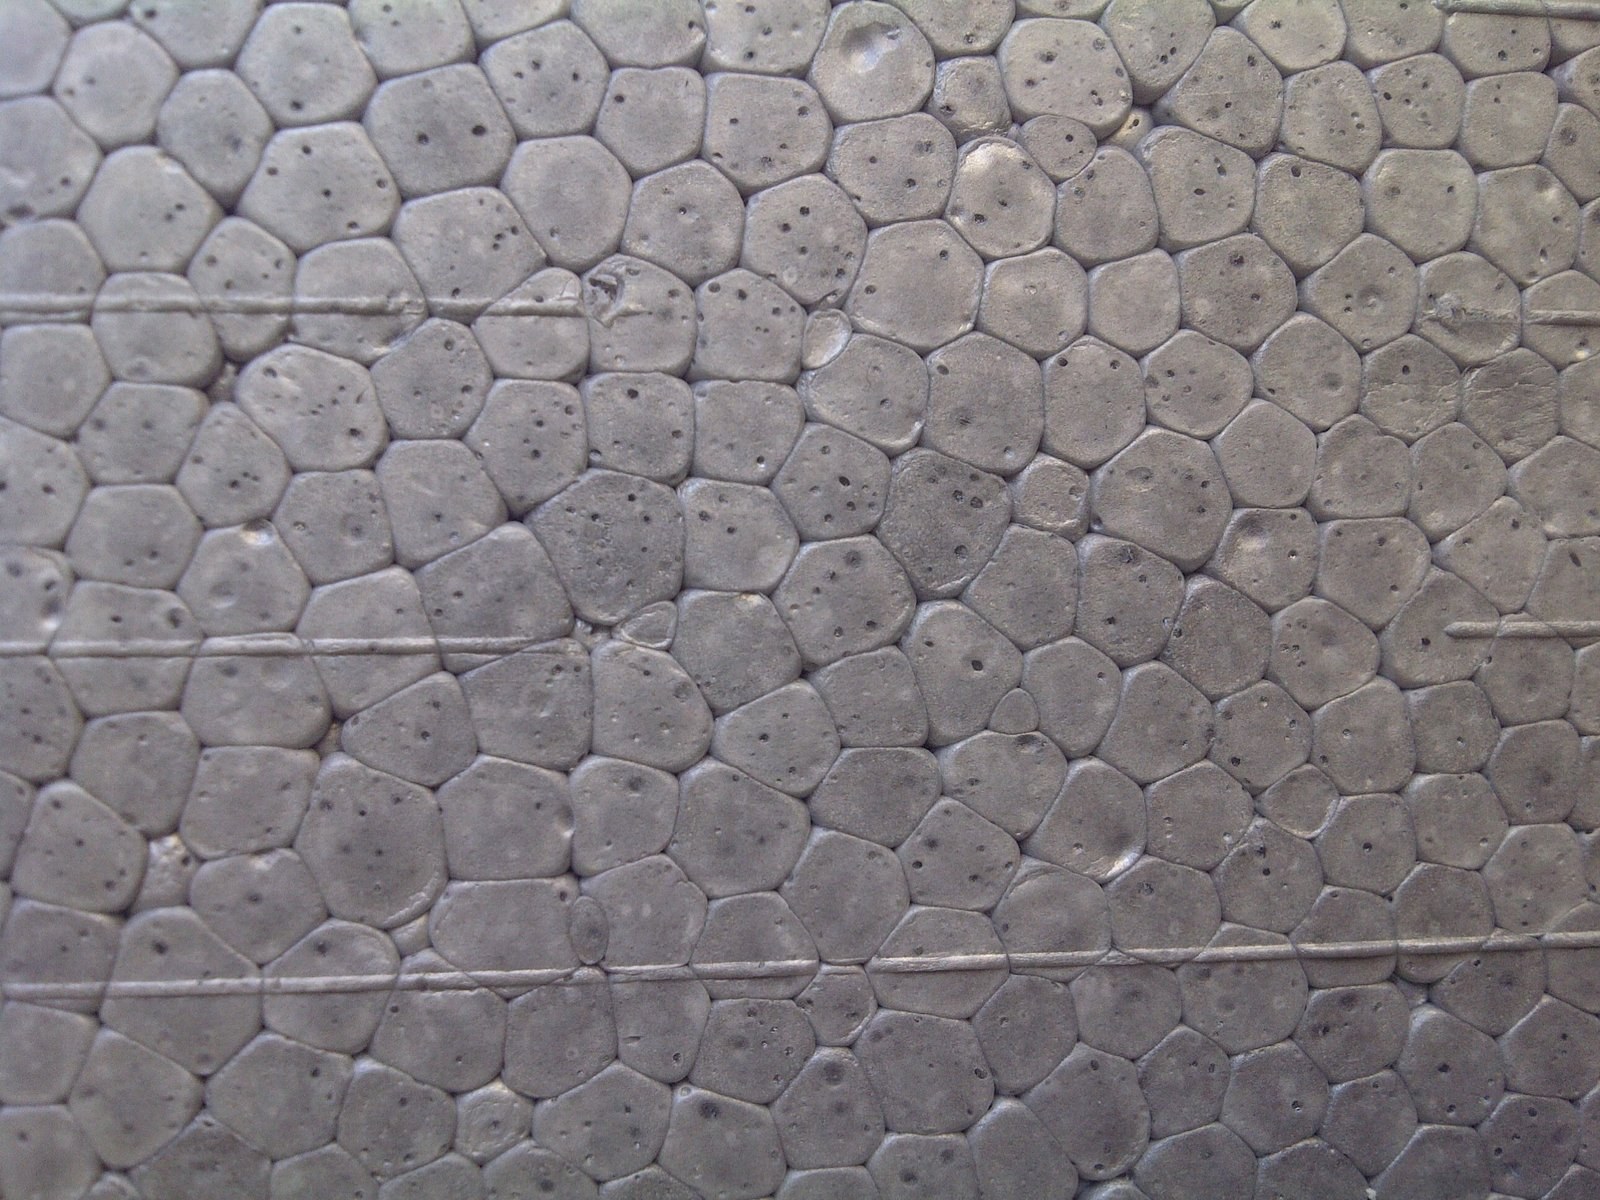
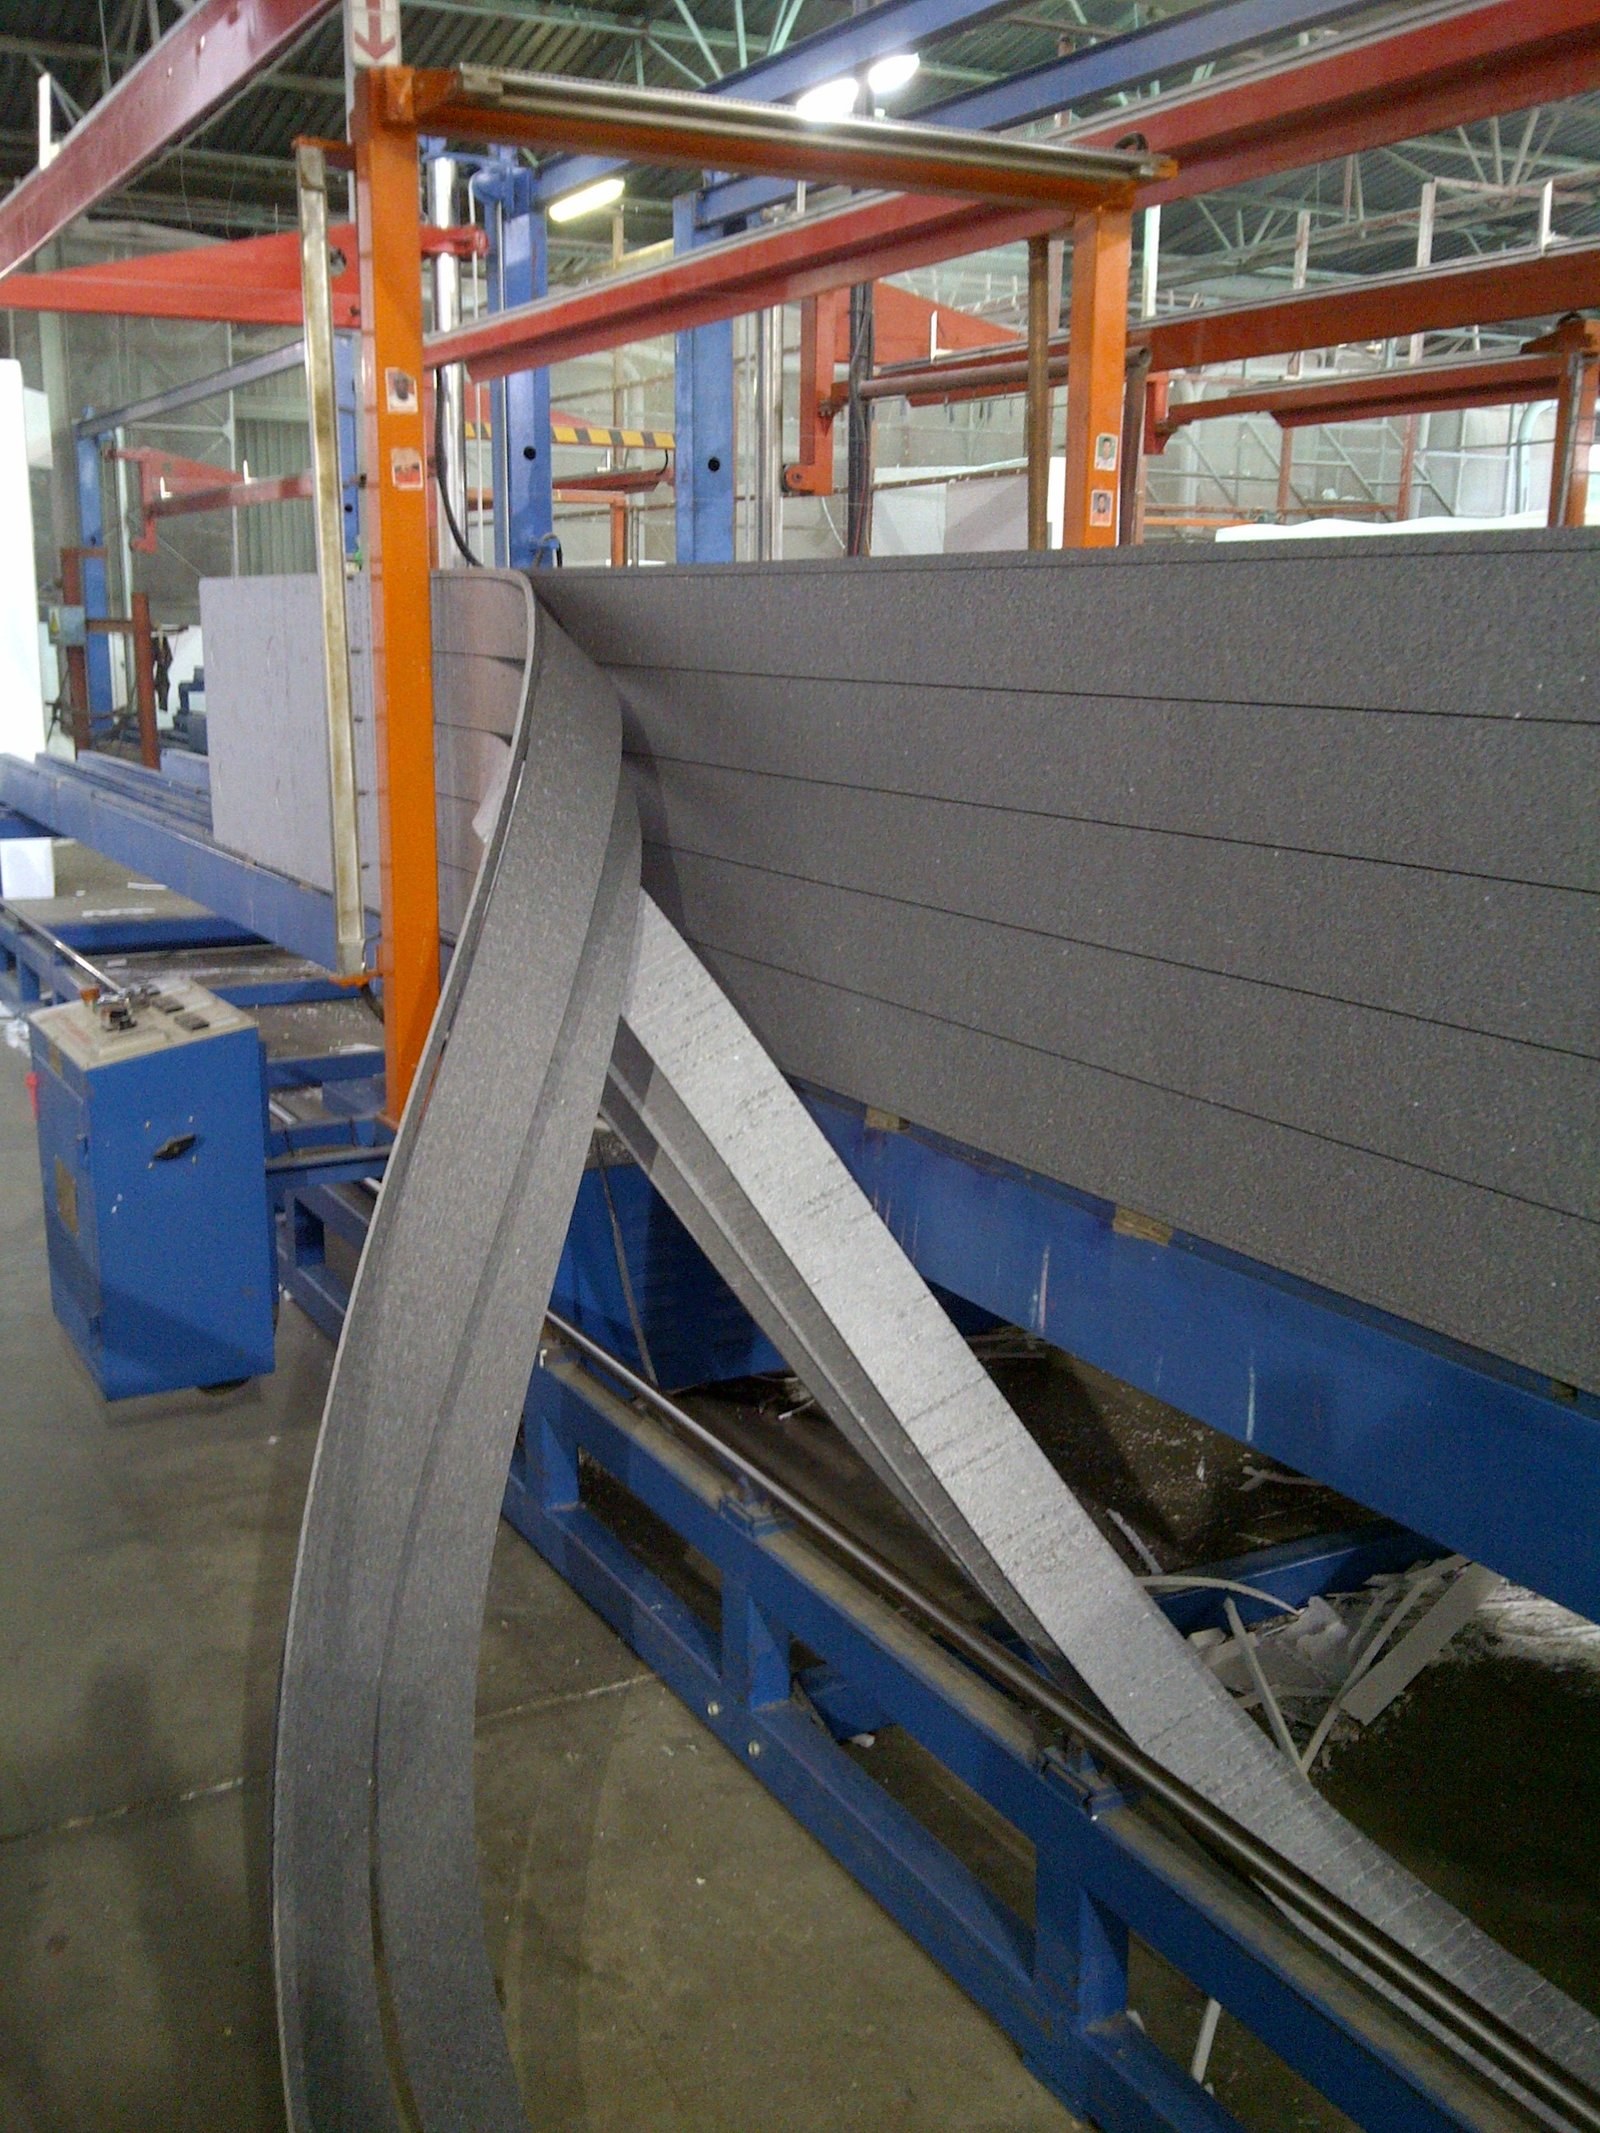
Macro of the cut face of a grey EPS board: individual expanded beads fused into one another, with faint straight hot-wire cut lines crossing the surface.PHOTO
Macro of the cut face of a grey EPS board: individual expanded beads fused into one another, with faint straight hot-wire cut lines crossing the surface.Bulk Insulation Products
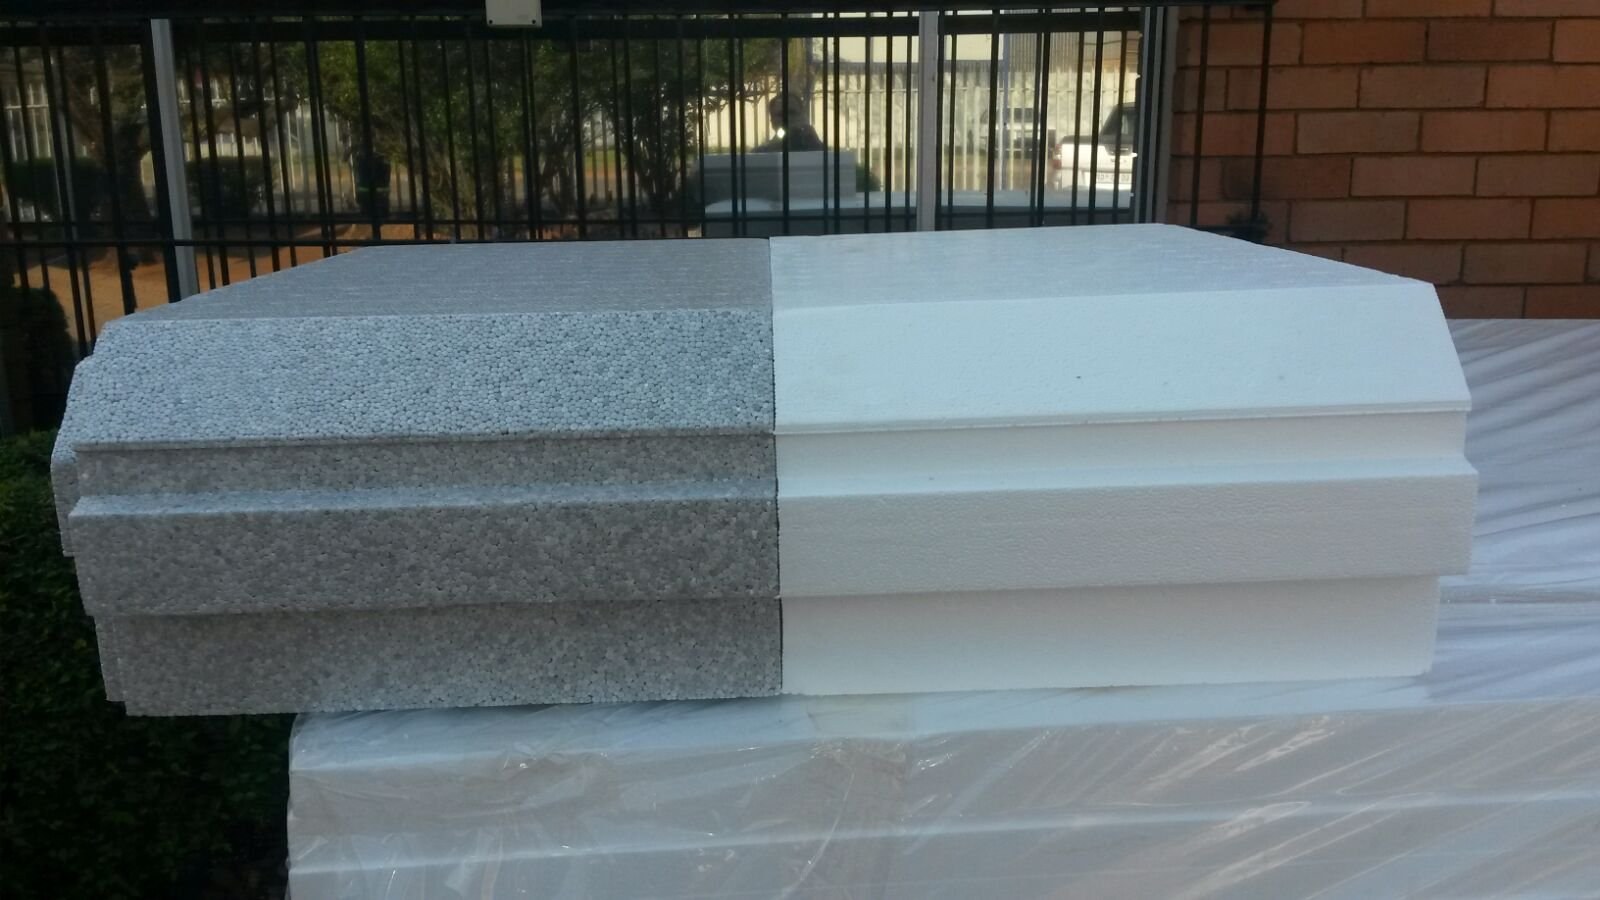
Grey and white EPS boards stacked together on a wrapped bundle outside the factory, the stepped shiplap edge visible along the front of each board.PHOTO
Grey and white EPS boards stacked together on a wrapped bundle outside the factory, the stepped shiplap edge visible along the front of each board.Bulk Insulation Products
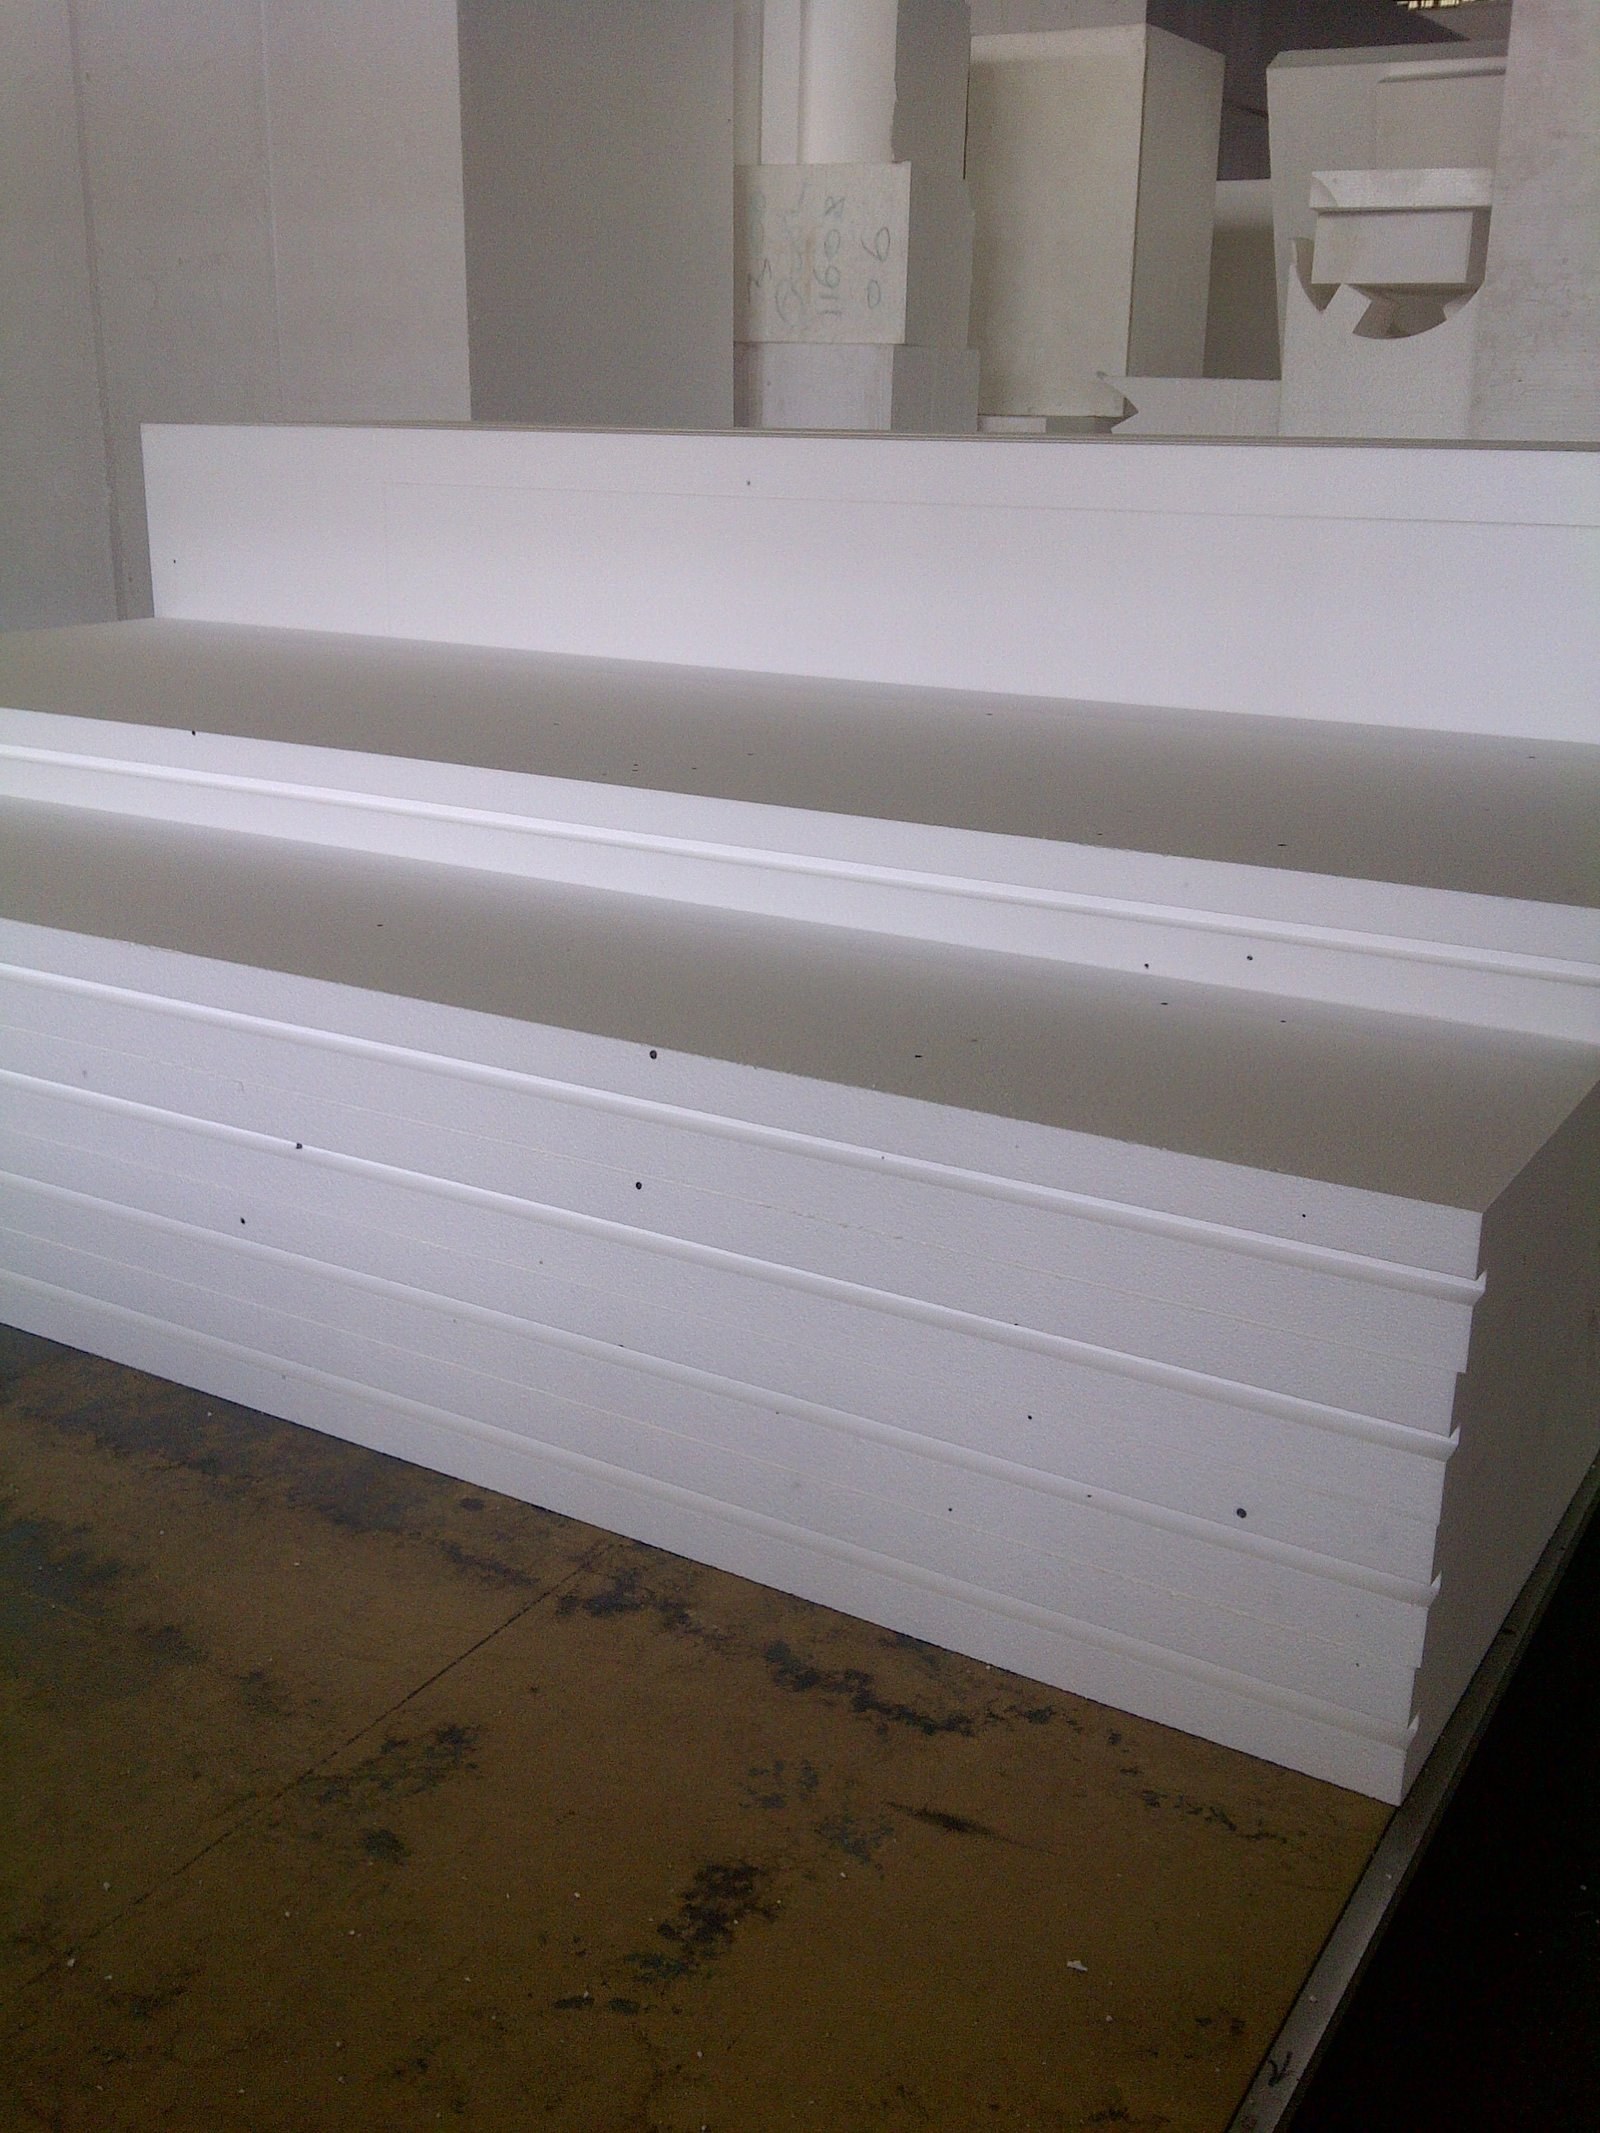
Cut white EPS boards stacked flat on the factory floor, each with a rebated shiplap edge along its long side; hand-marked EPS shapes stand behind them.PHOTO
Cut white EPS boards stacked flat on the factory floor, each with a rebated shiplap edge along its long side; hand-marked EPS shapes stand behind them.Bulk Insulation Products
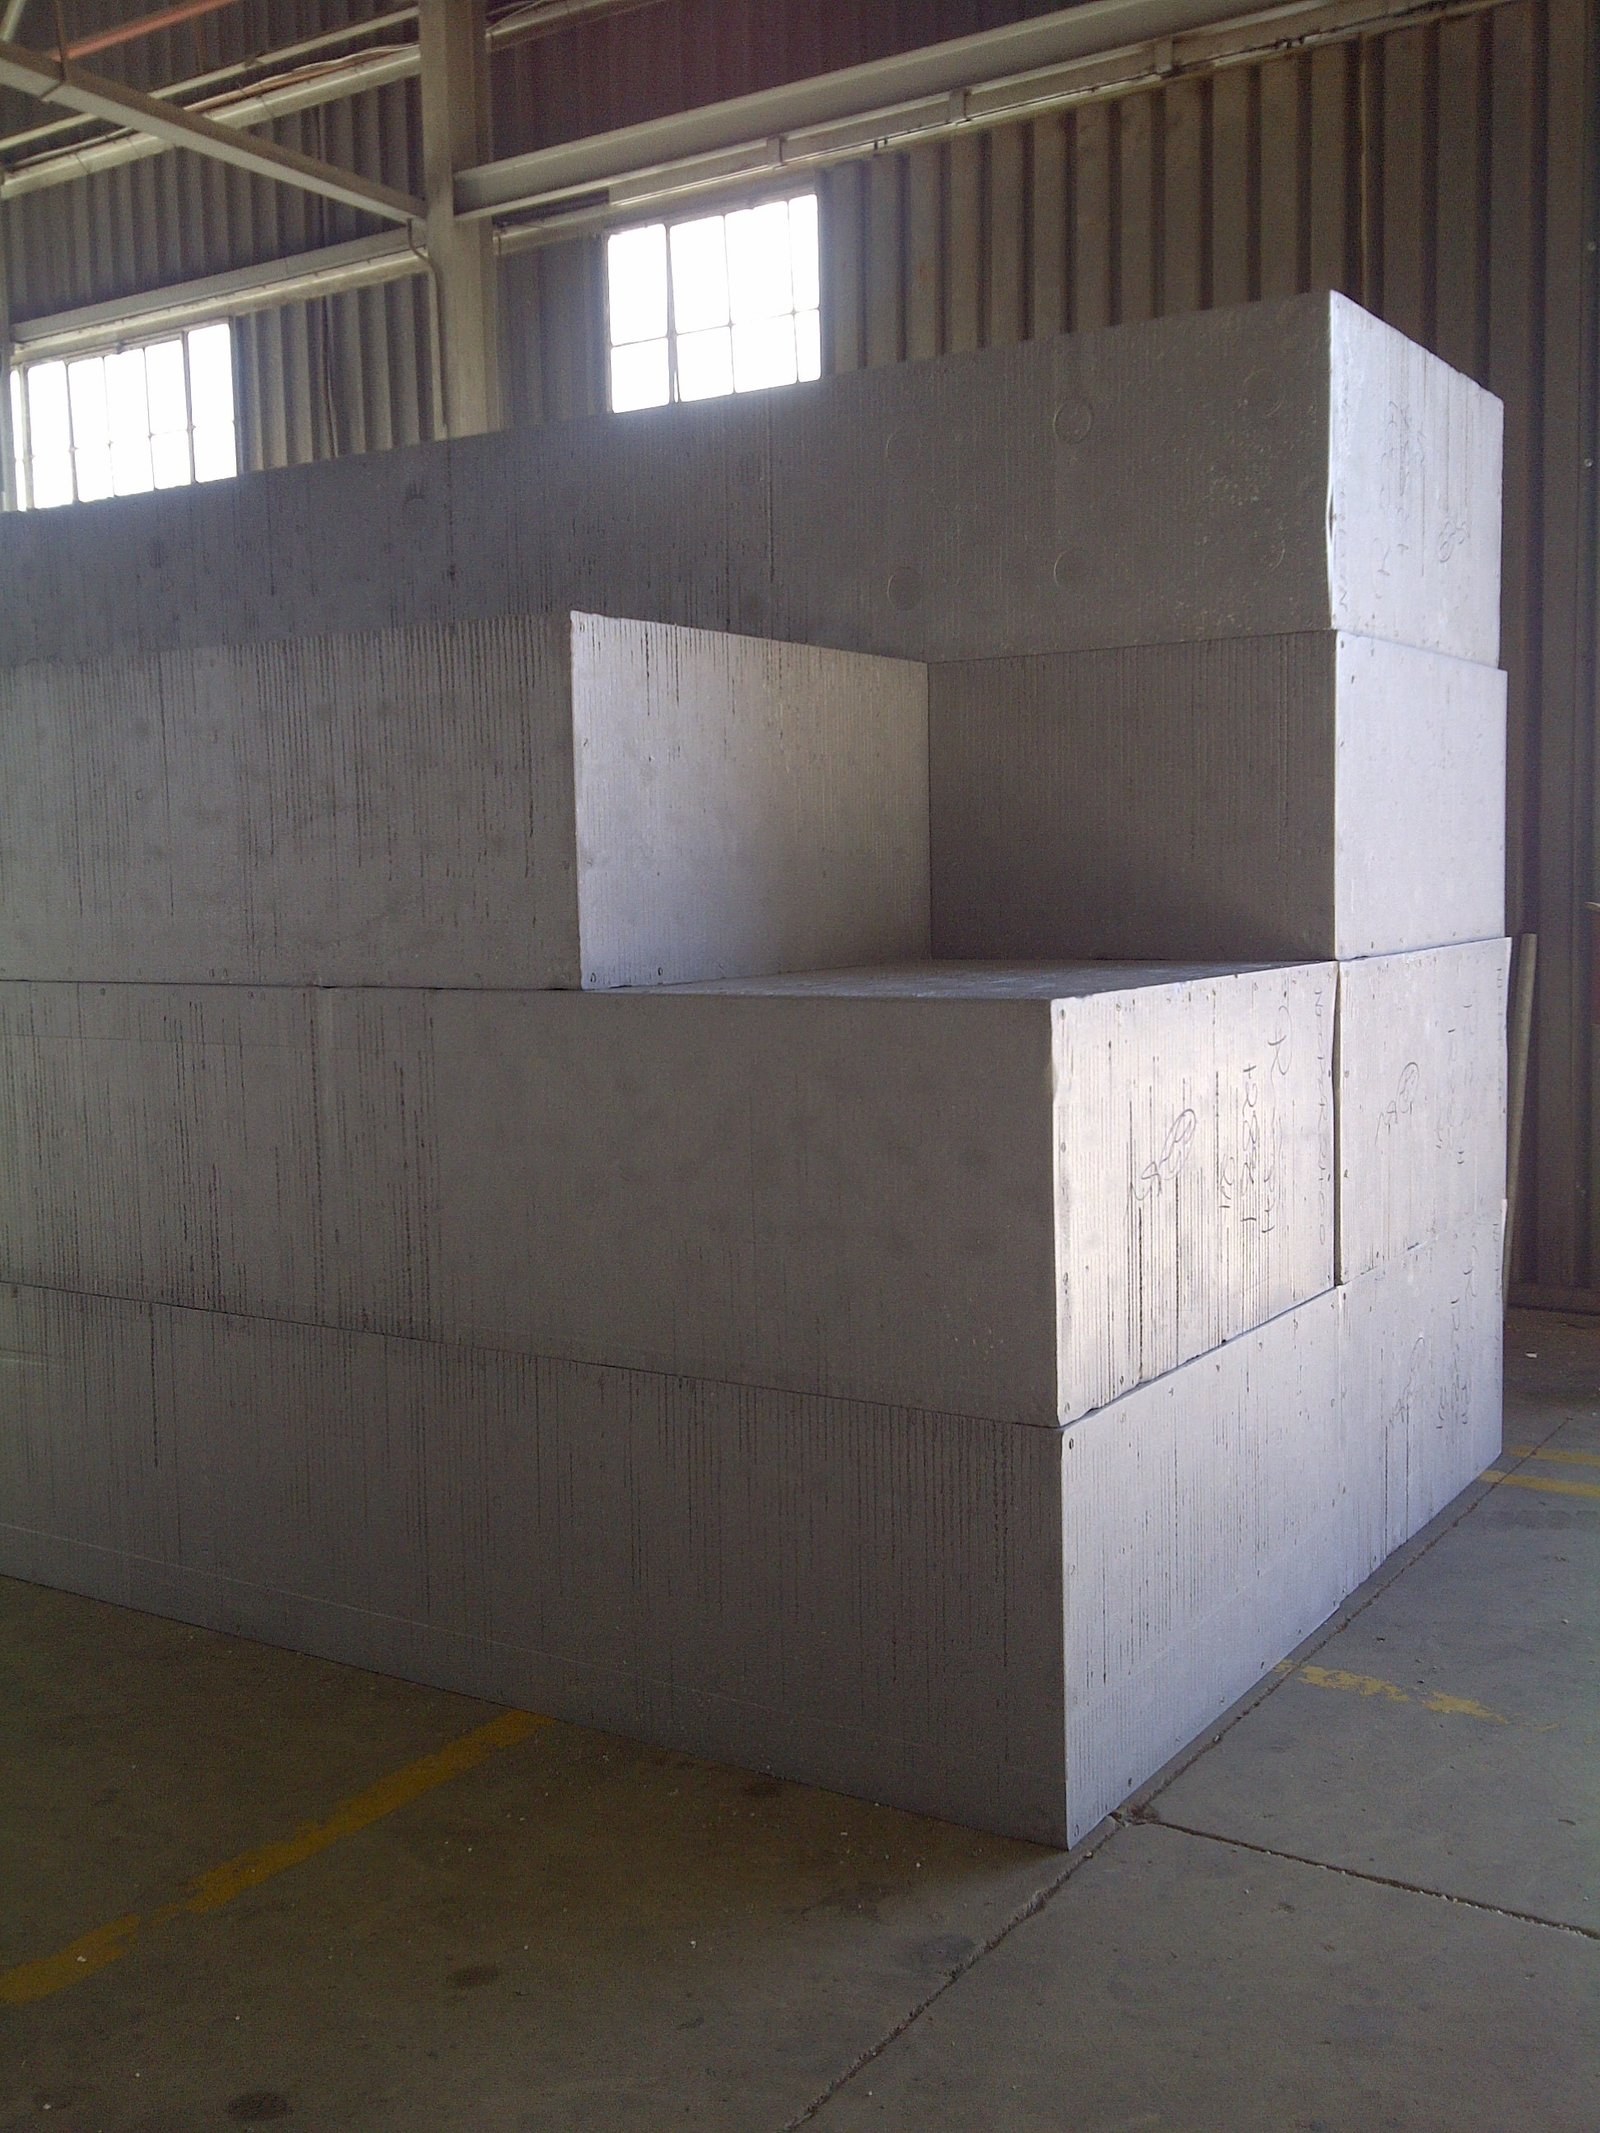
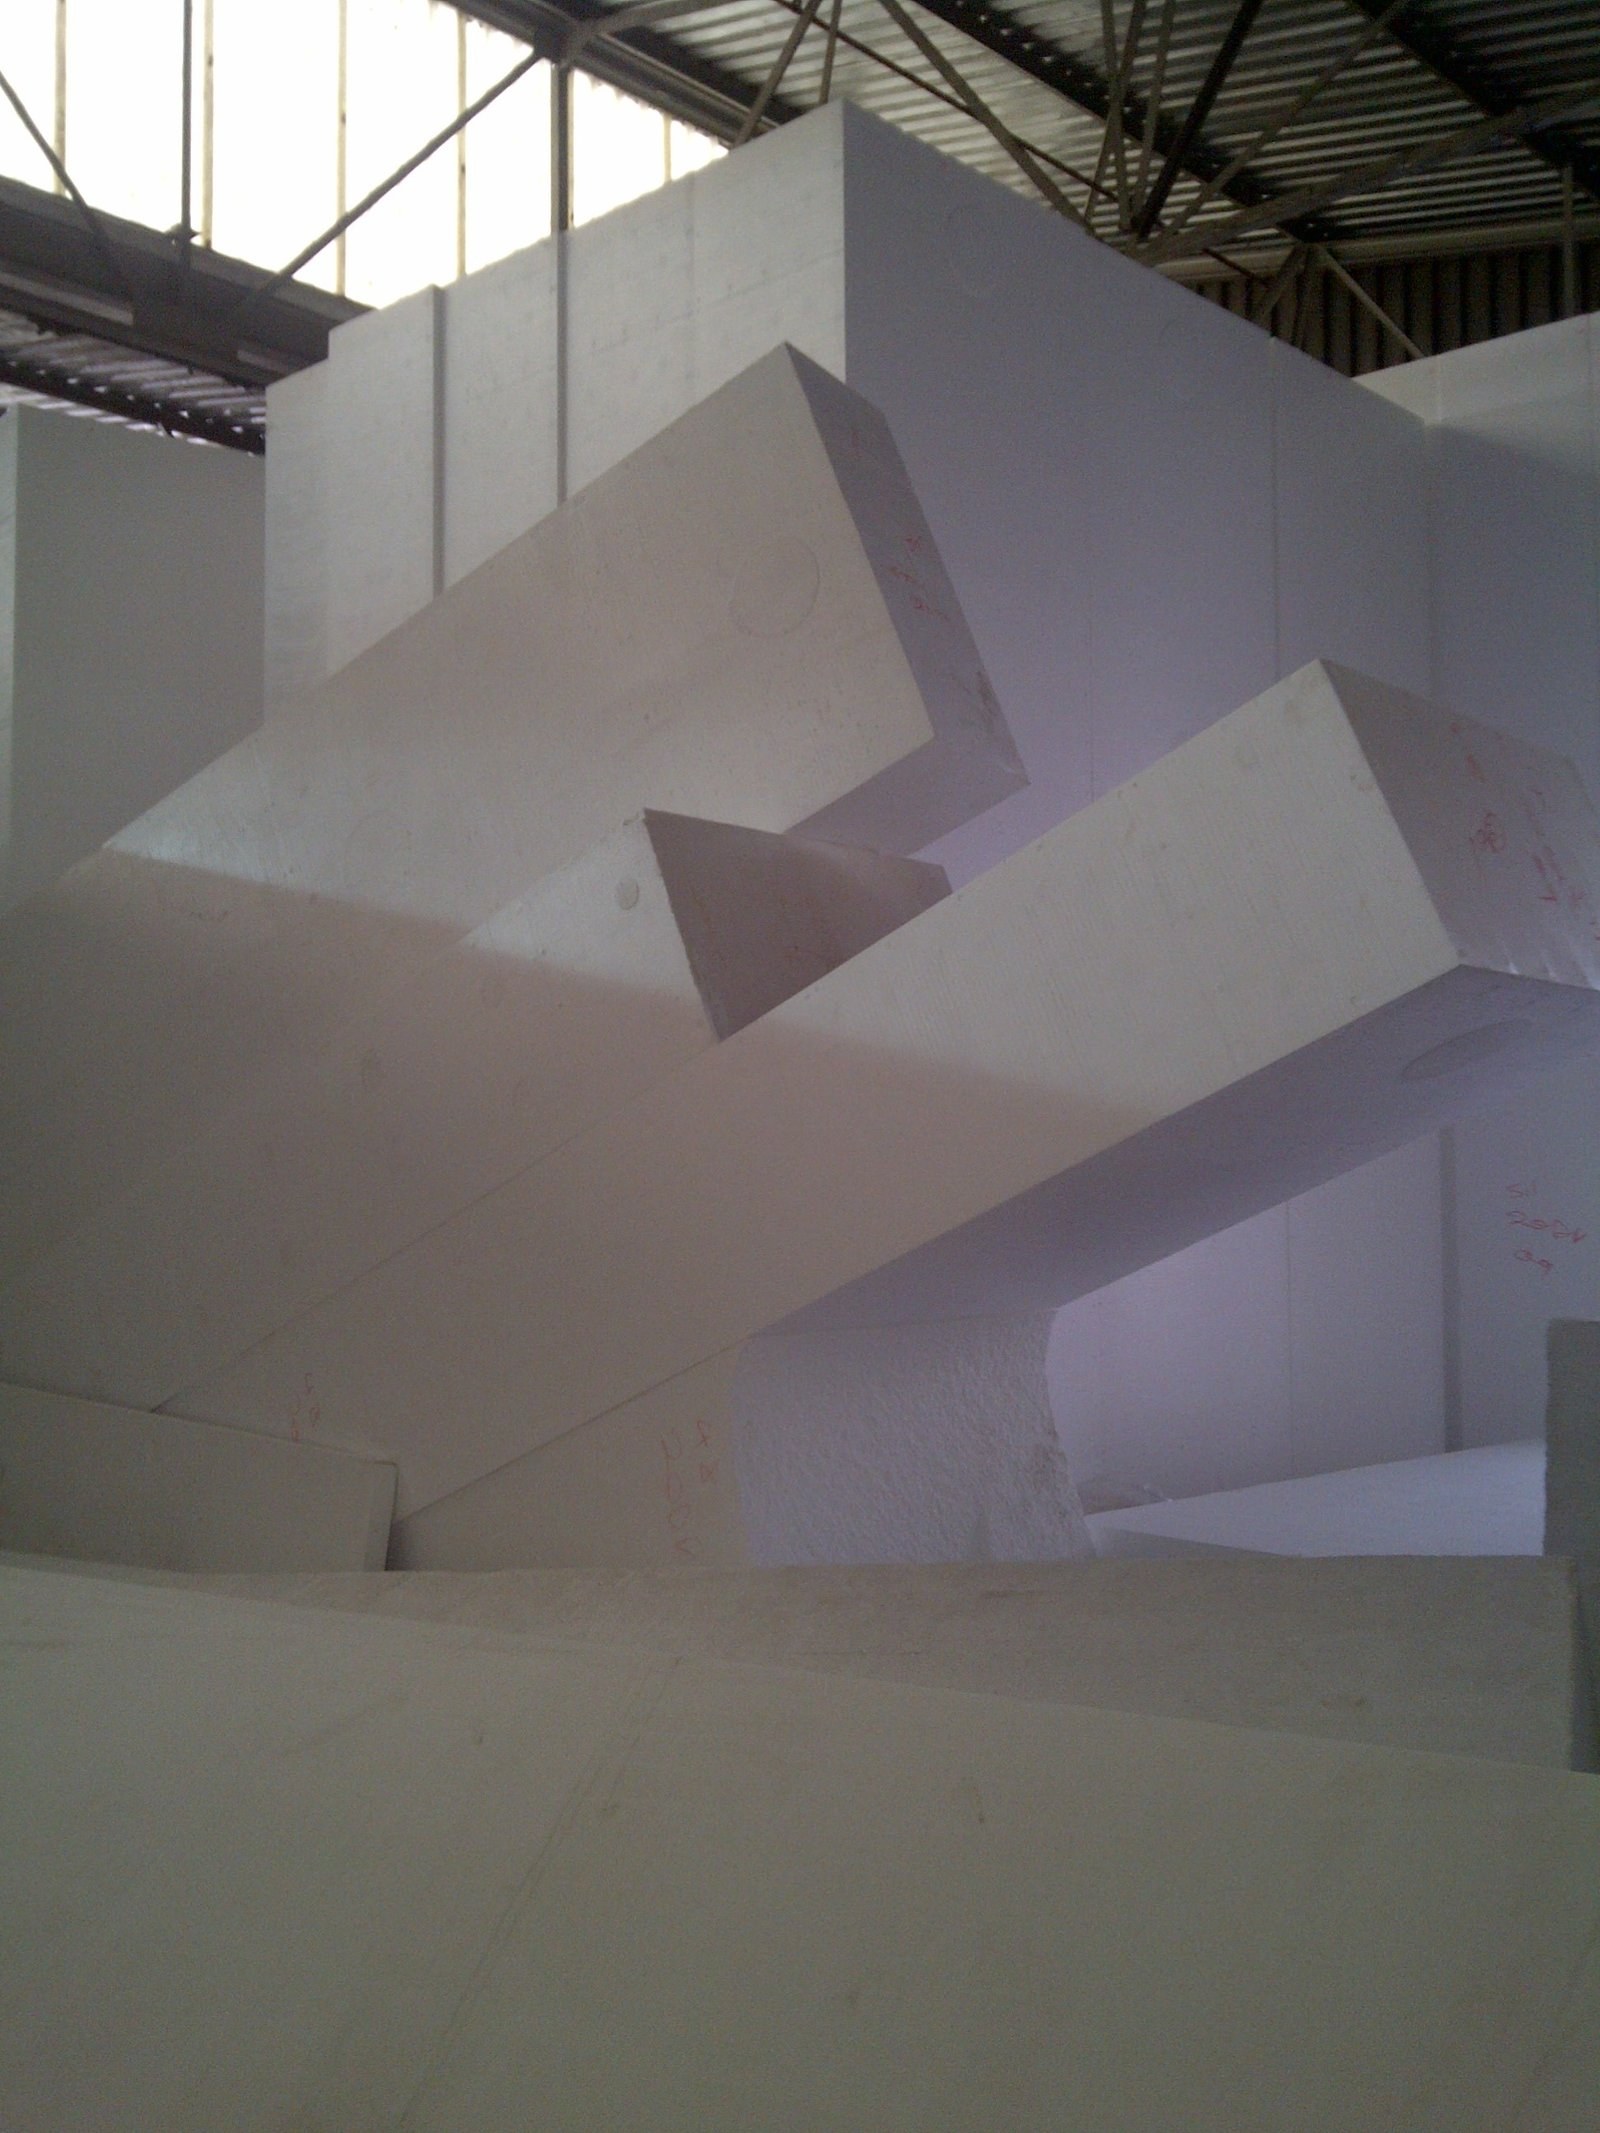
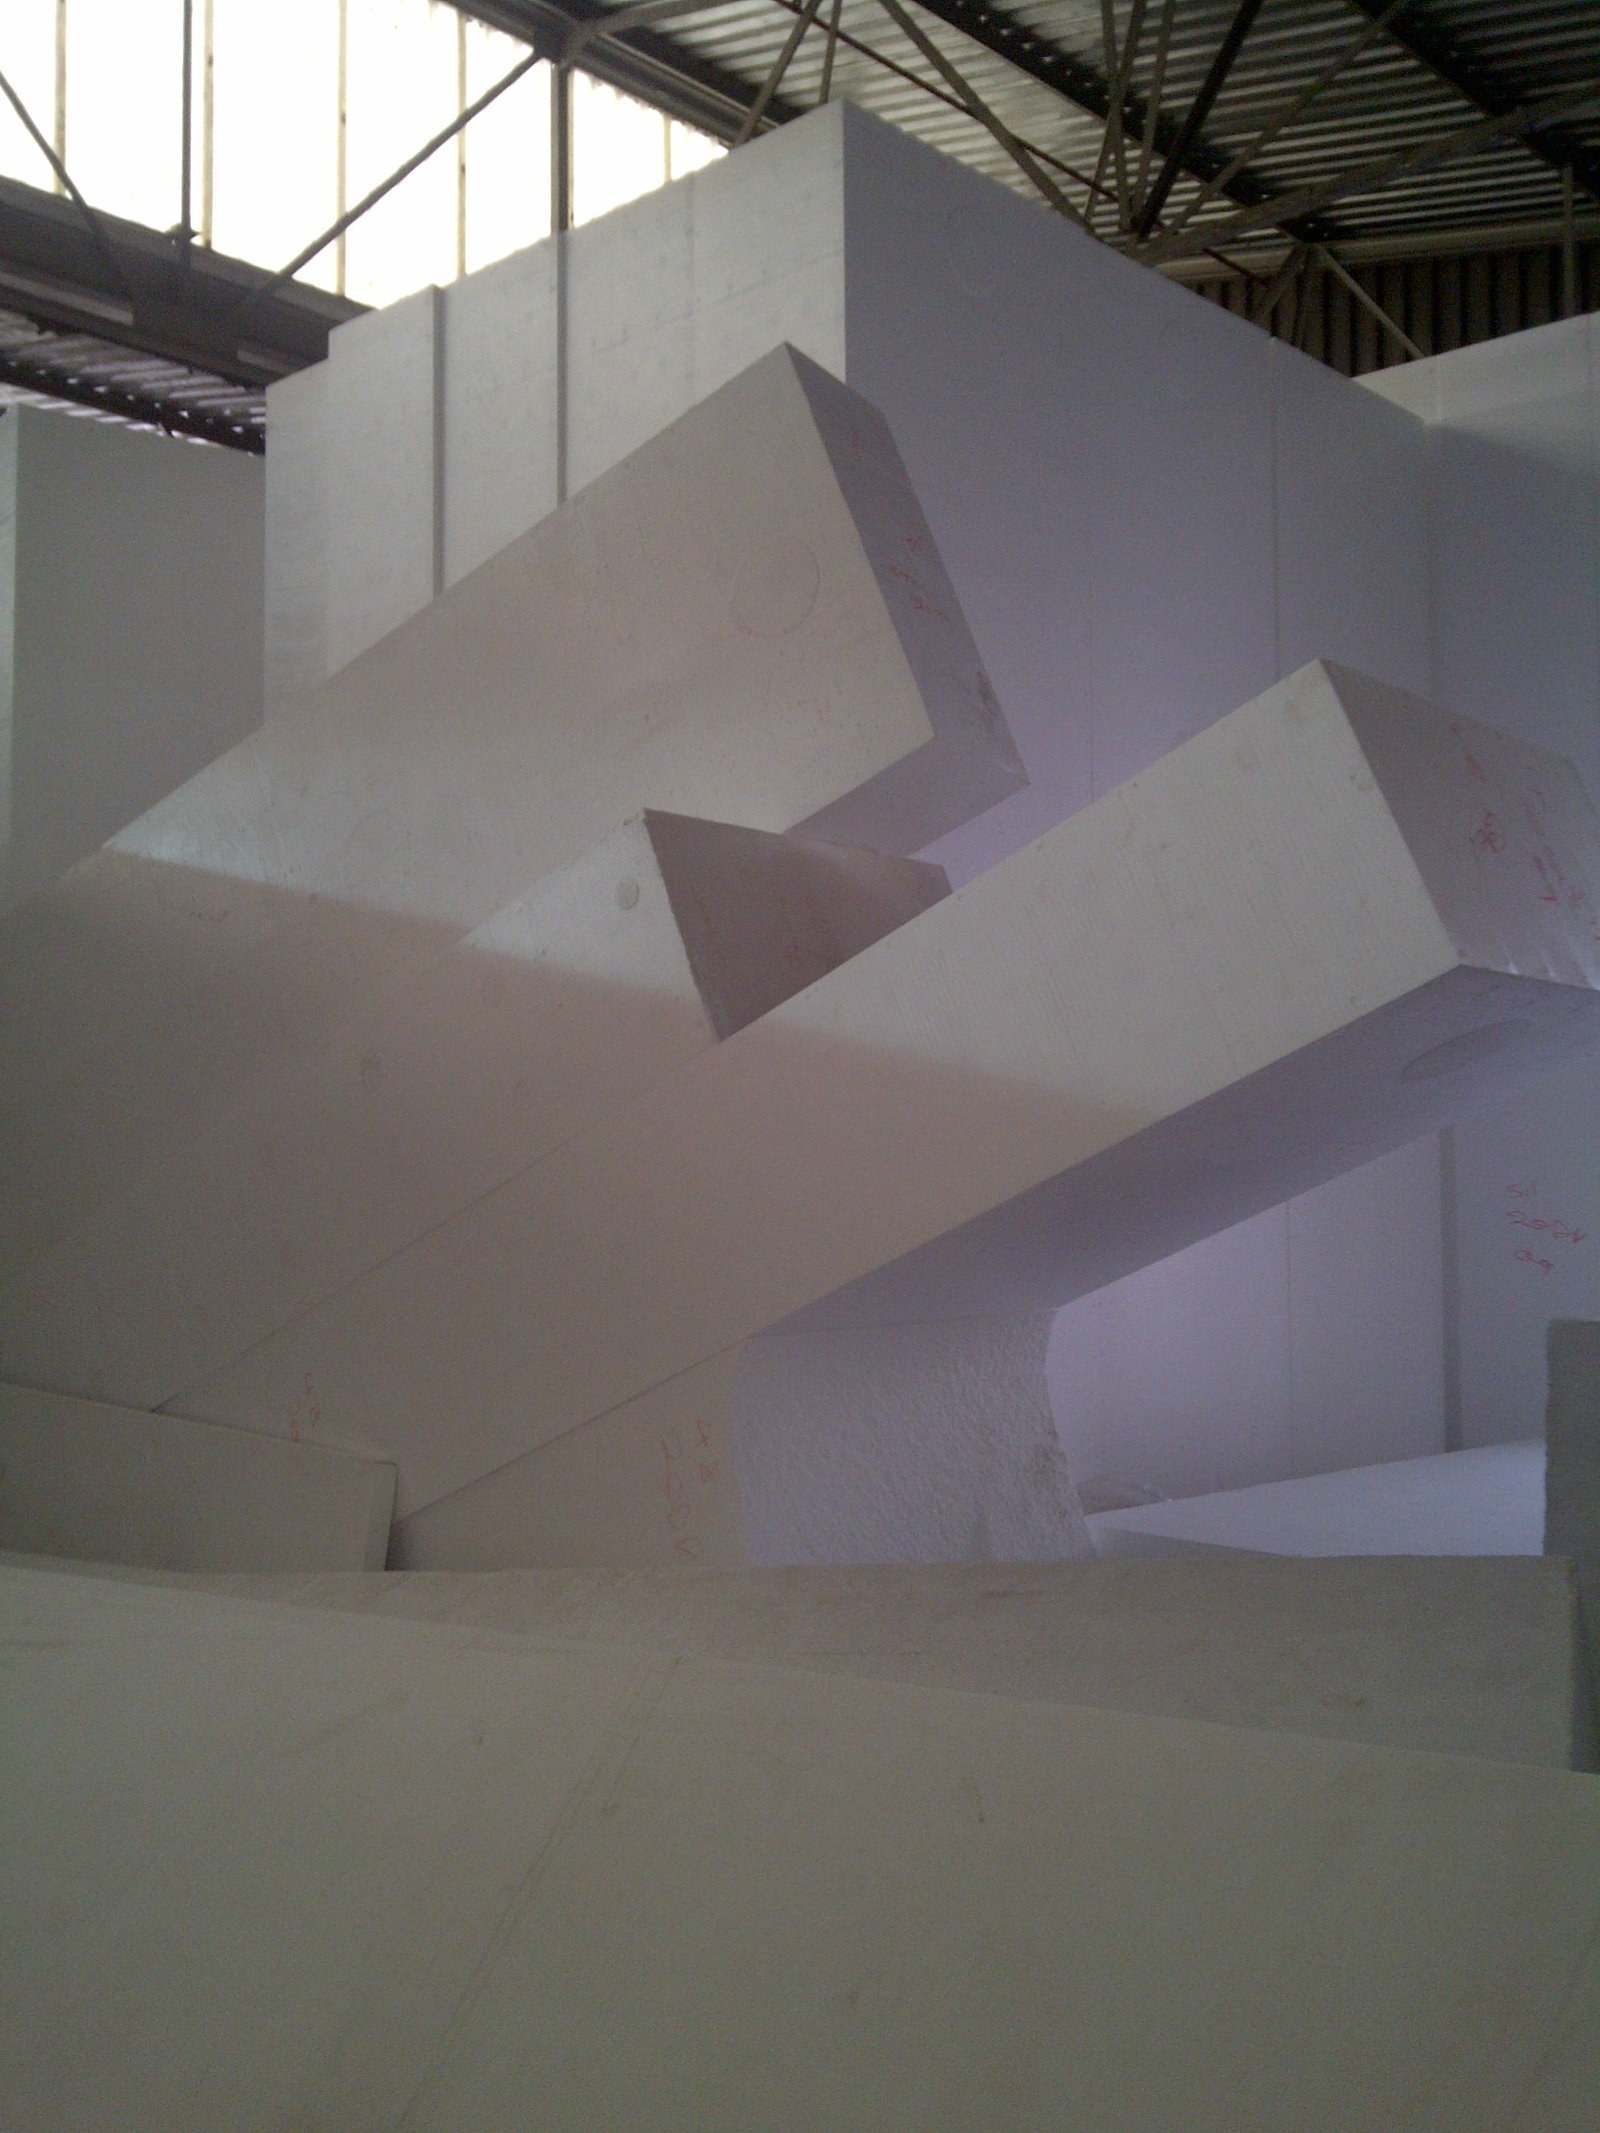
Full-size uncut EPS billets stacked in the factory bay, hand-marked and waiting to be cut down into boards. The vertical ripple on the faces comes off the block moulds.PHOTO
Full-size uncut EPS billets stacked in the factory bay, hand-marked and waiting to be cut down into boards. The vertical ripple on the faces comes off the block moulds.Bulk Insulation Products
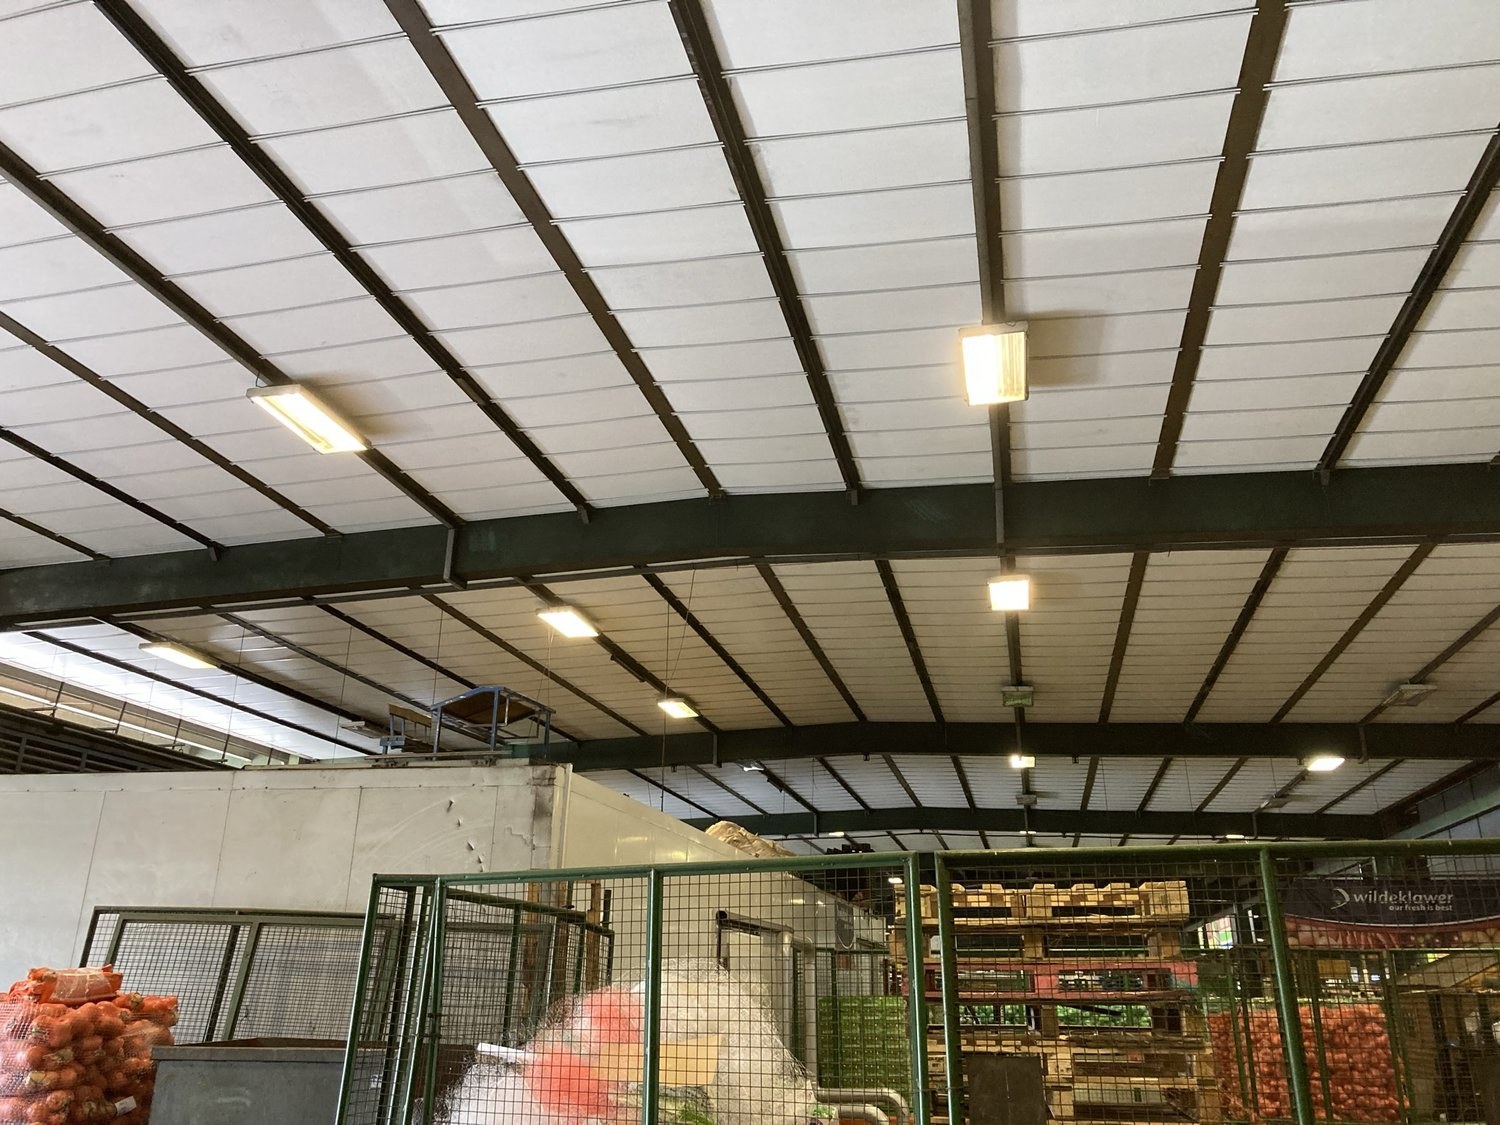
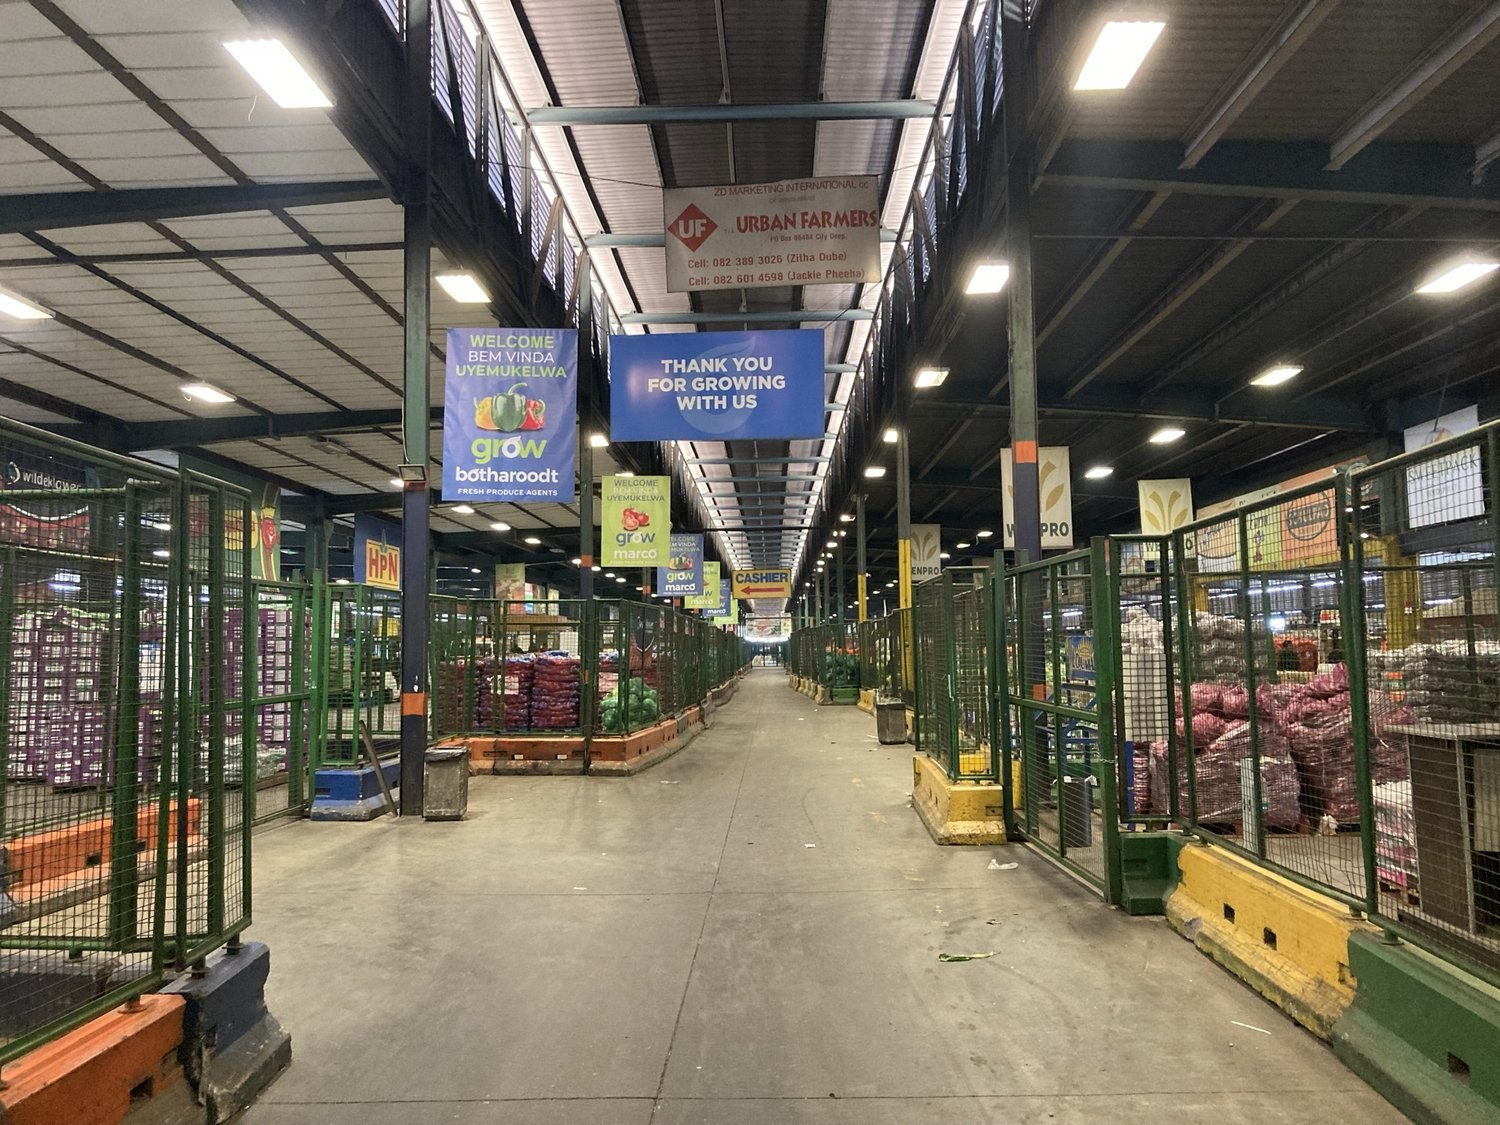
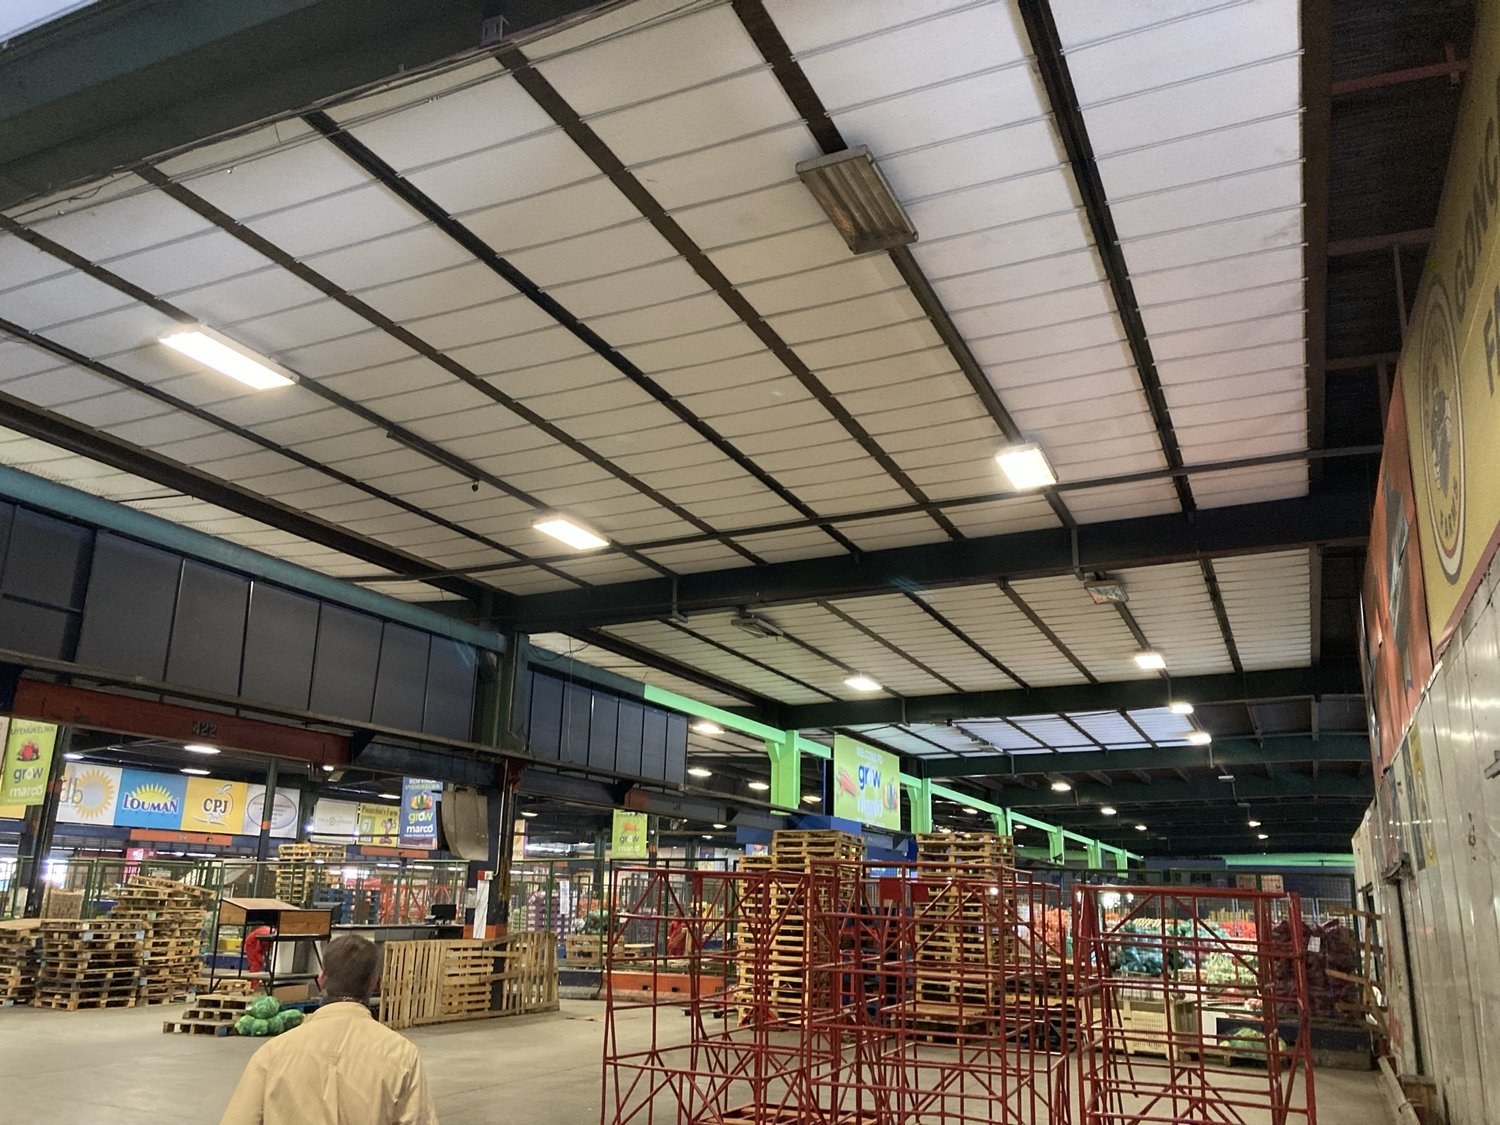
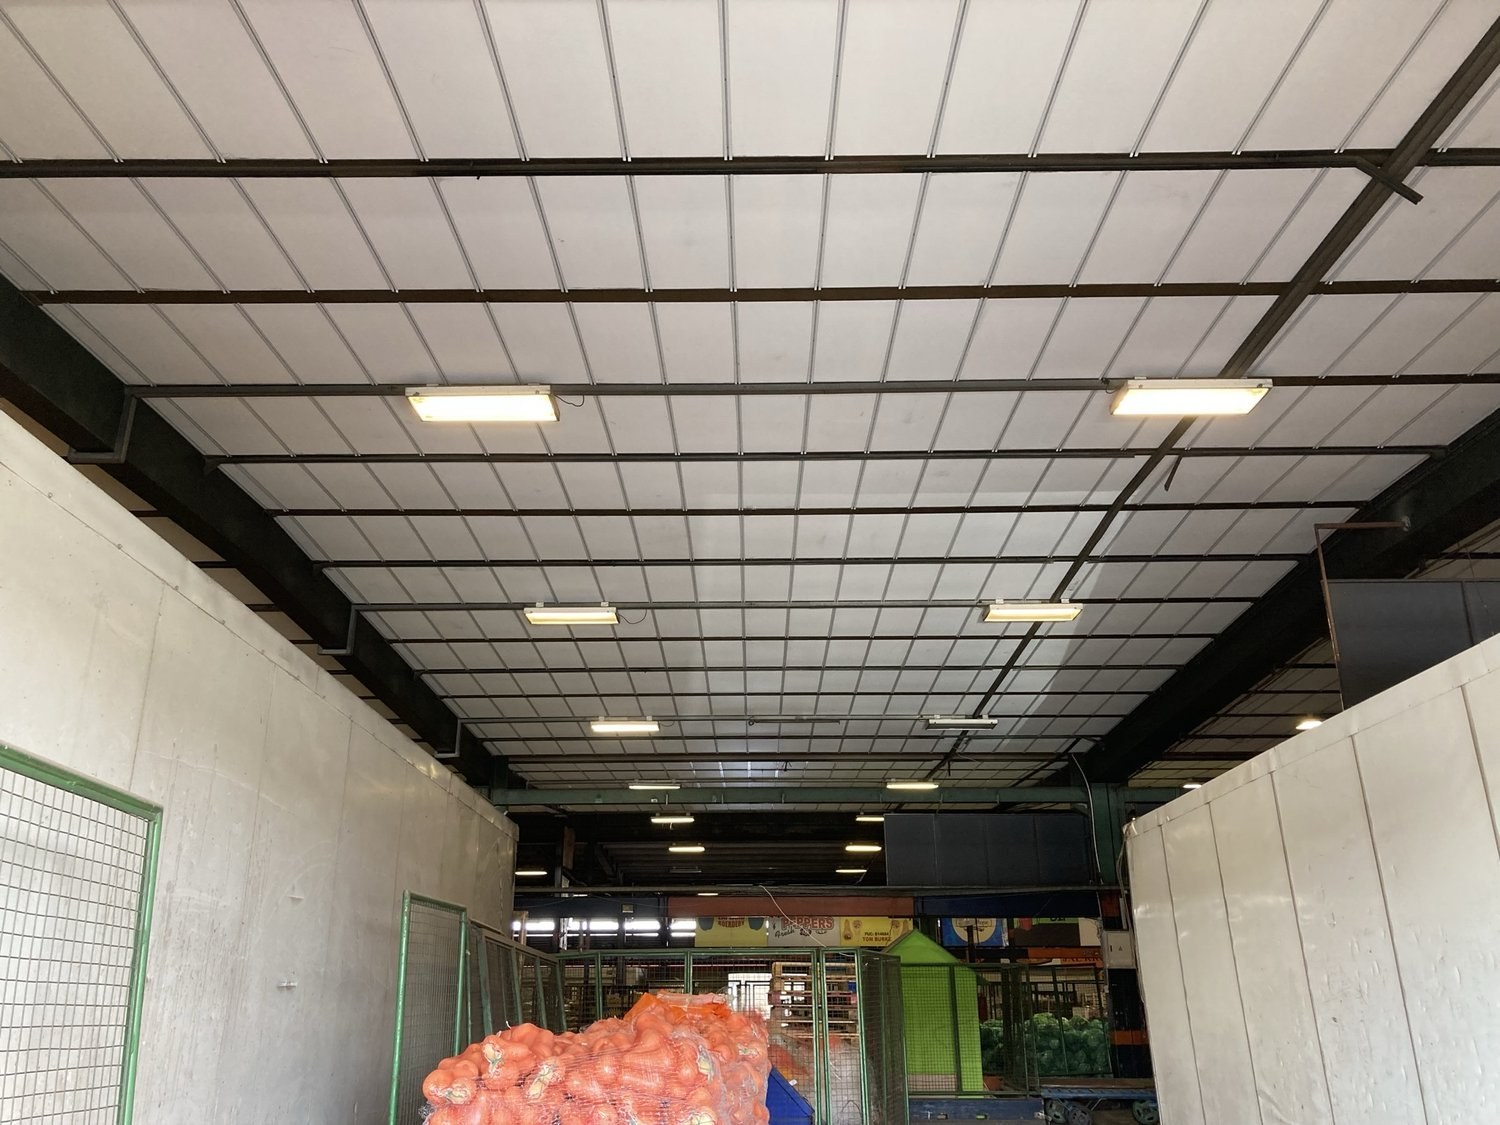
Insulated ceiling boards fitted across steel roof trusses in a fresh-produce market hallPHOTO
Insulated ceiling boards fitted across steel roof trusses in a fresh-produce market hallBulk Insulation Products
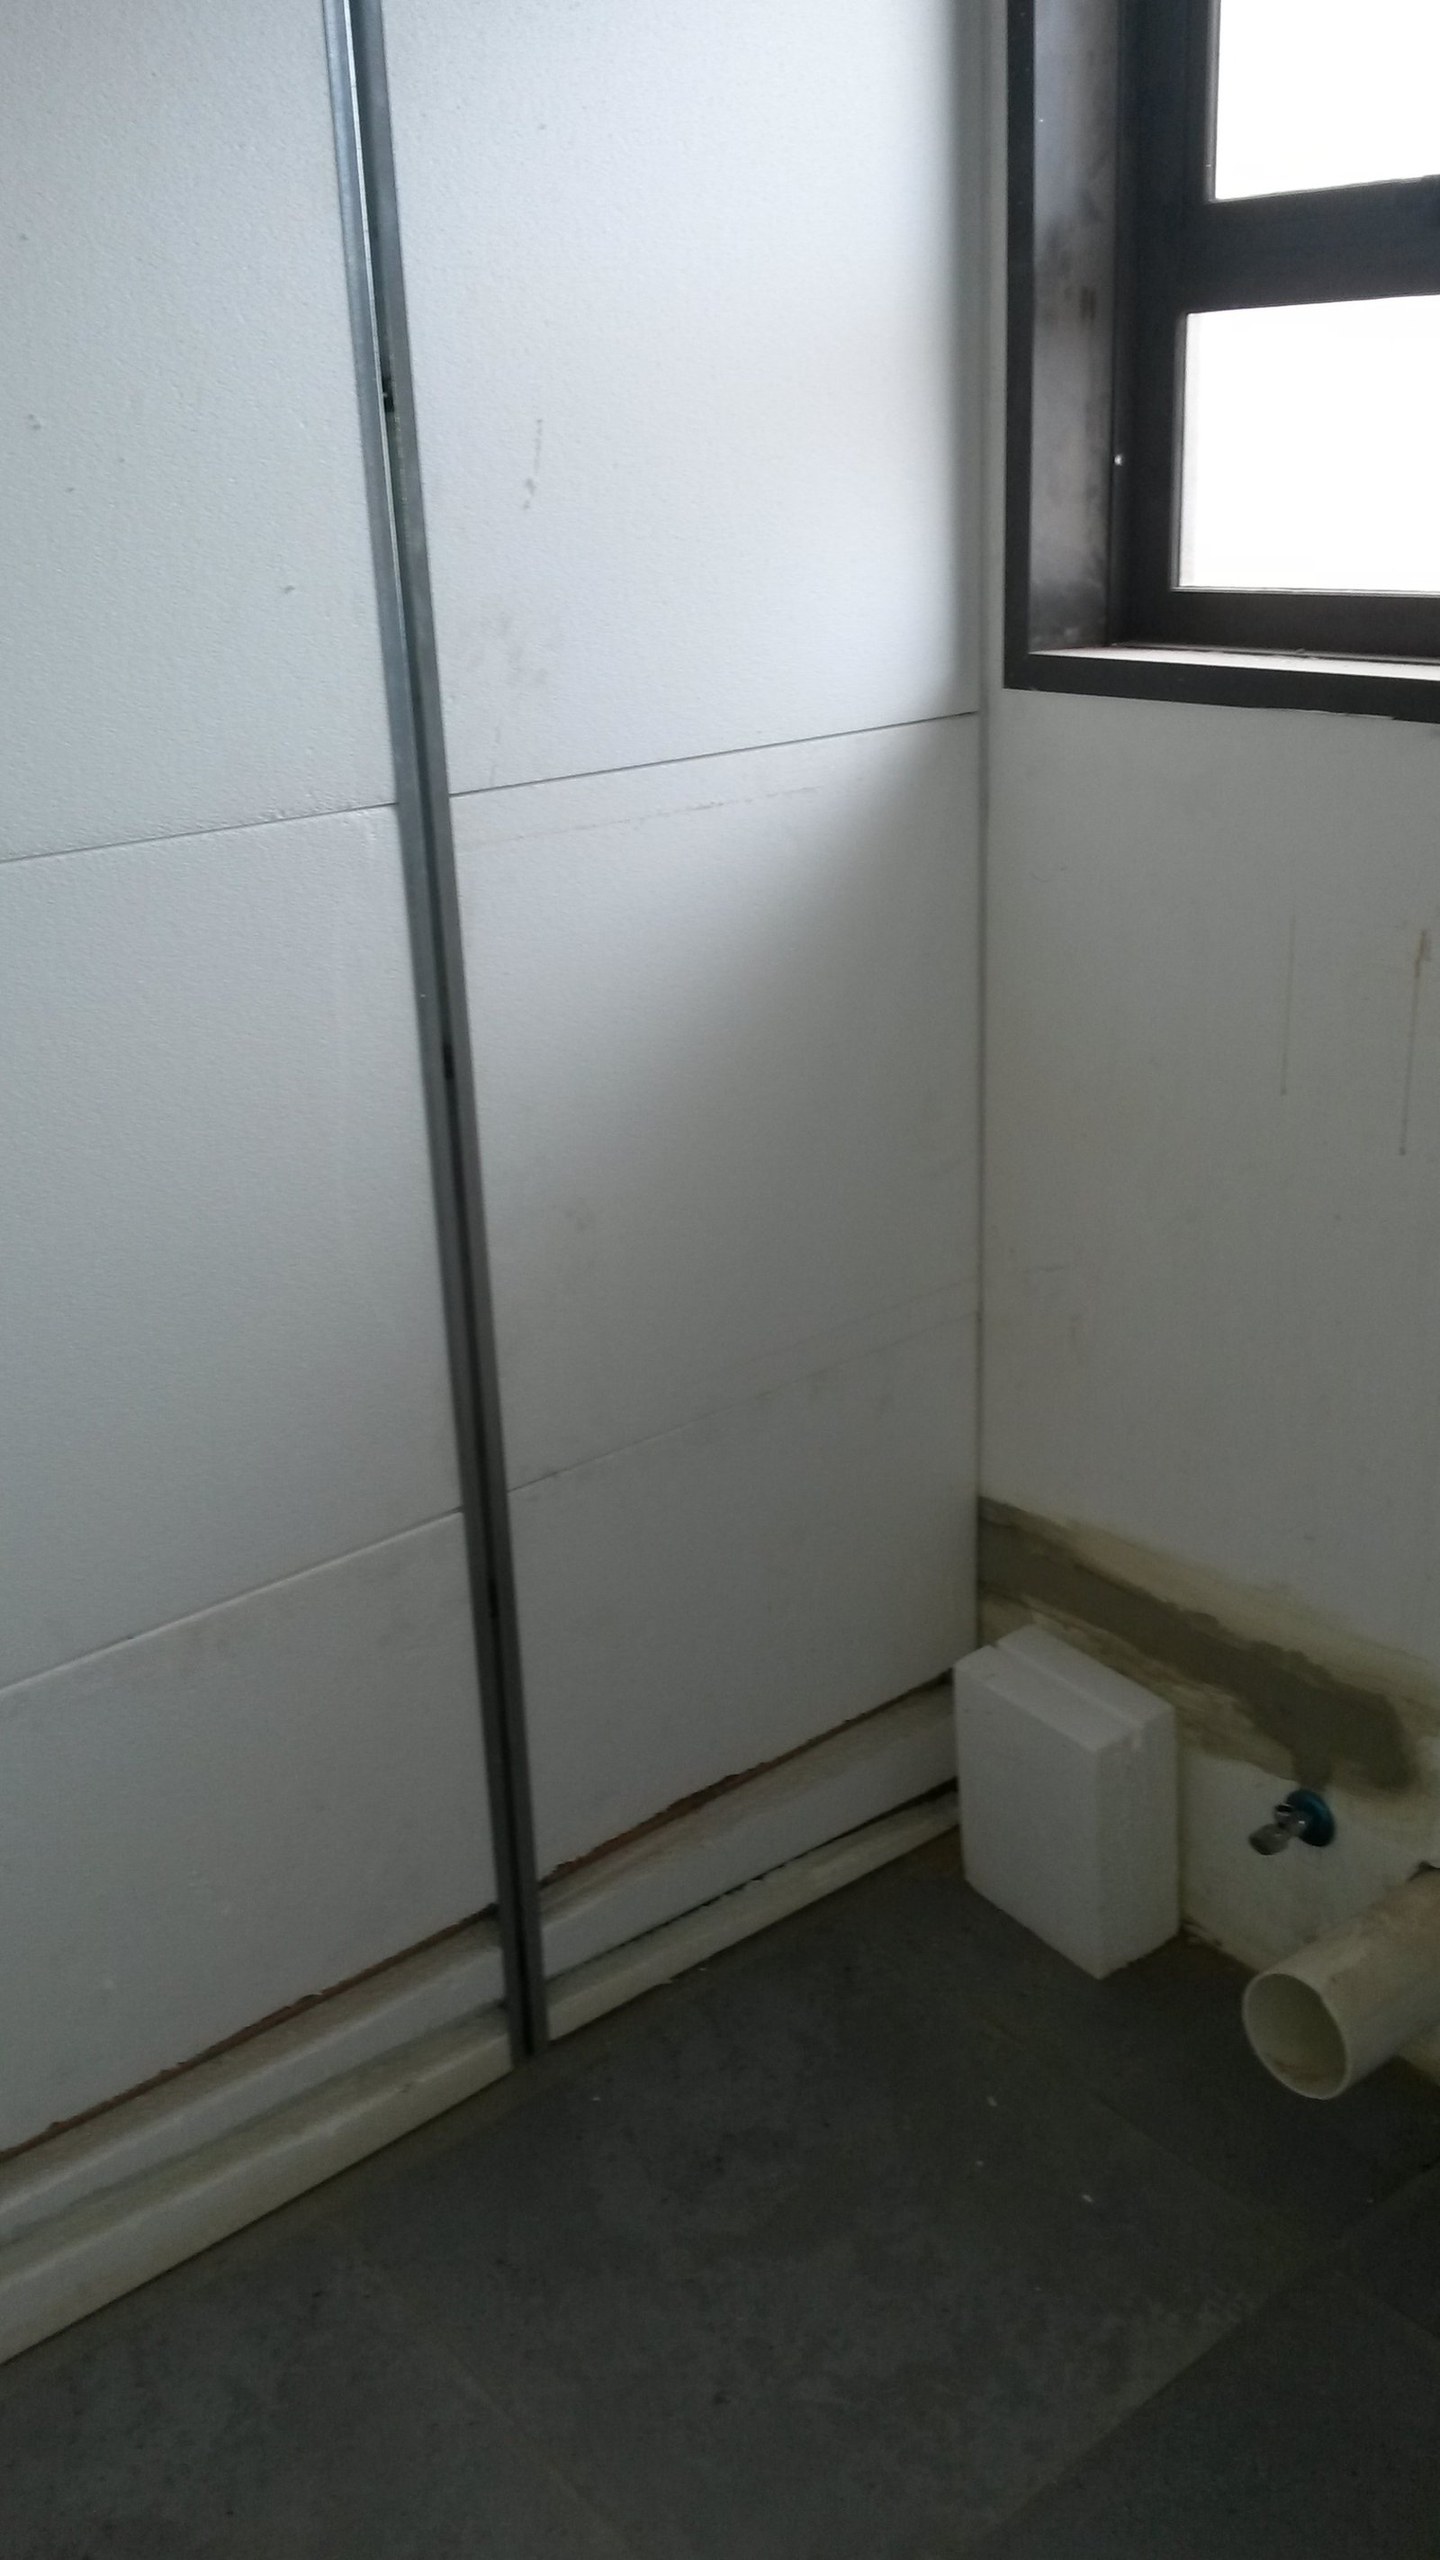
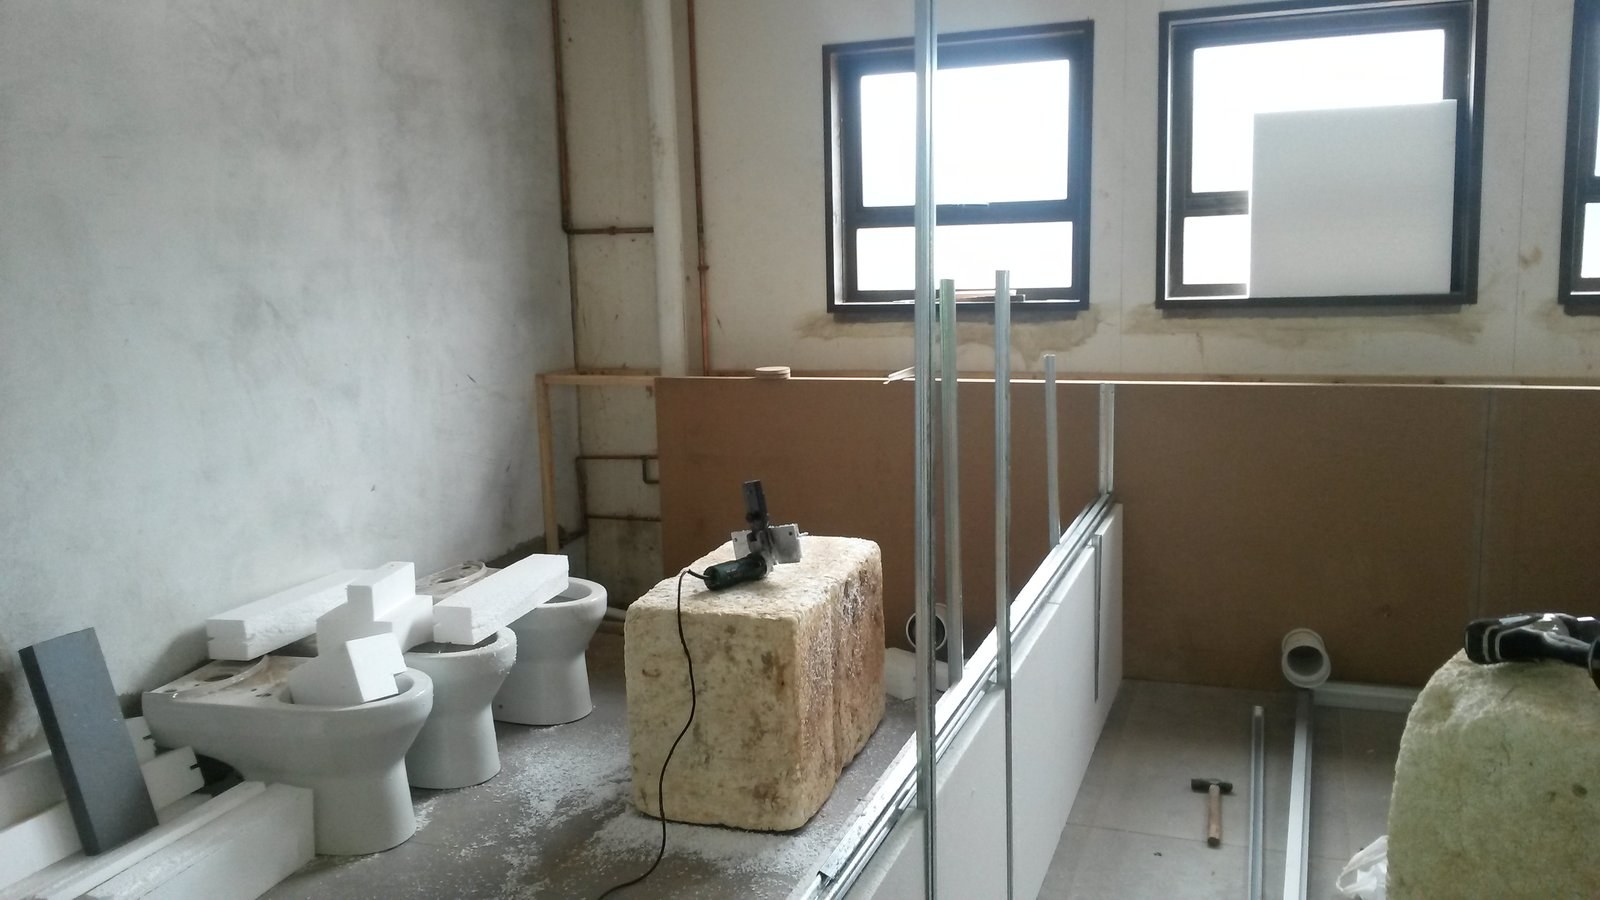
EPS panel-lined bathroom wall built around a cistern box, window fittedPHOTO
EPS panel-lined bathroom wall built around a cistern box, window fittedBulk Insulation Products
EPS board cut to size stacked beside toilet pans during a bathroom fitoutPHOTO
EPS board cut to size stacked beside toilet pans during a bathroom fitoutBulk Insulation Products
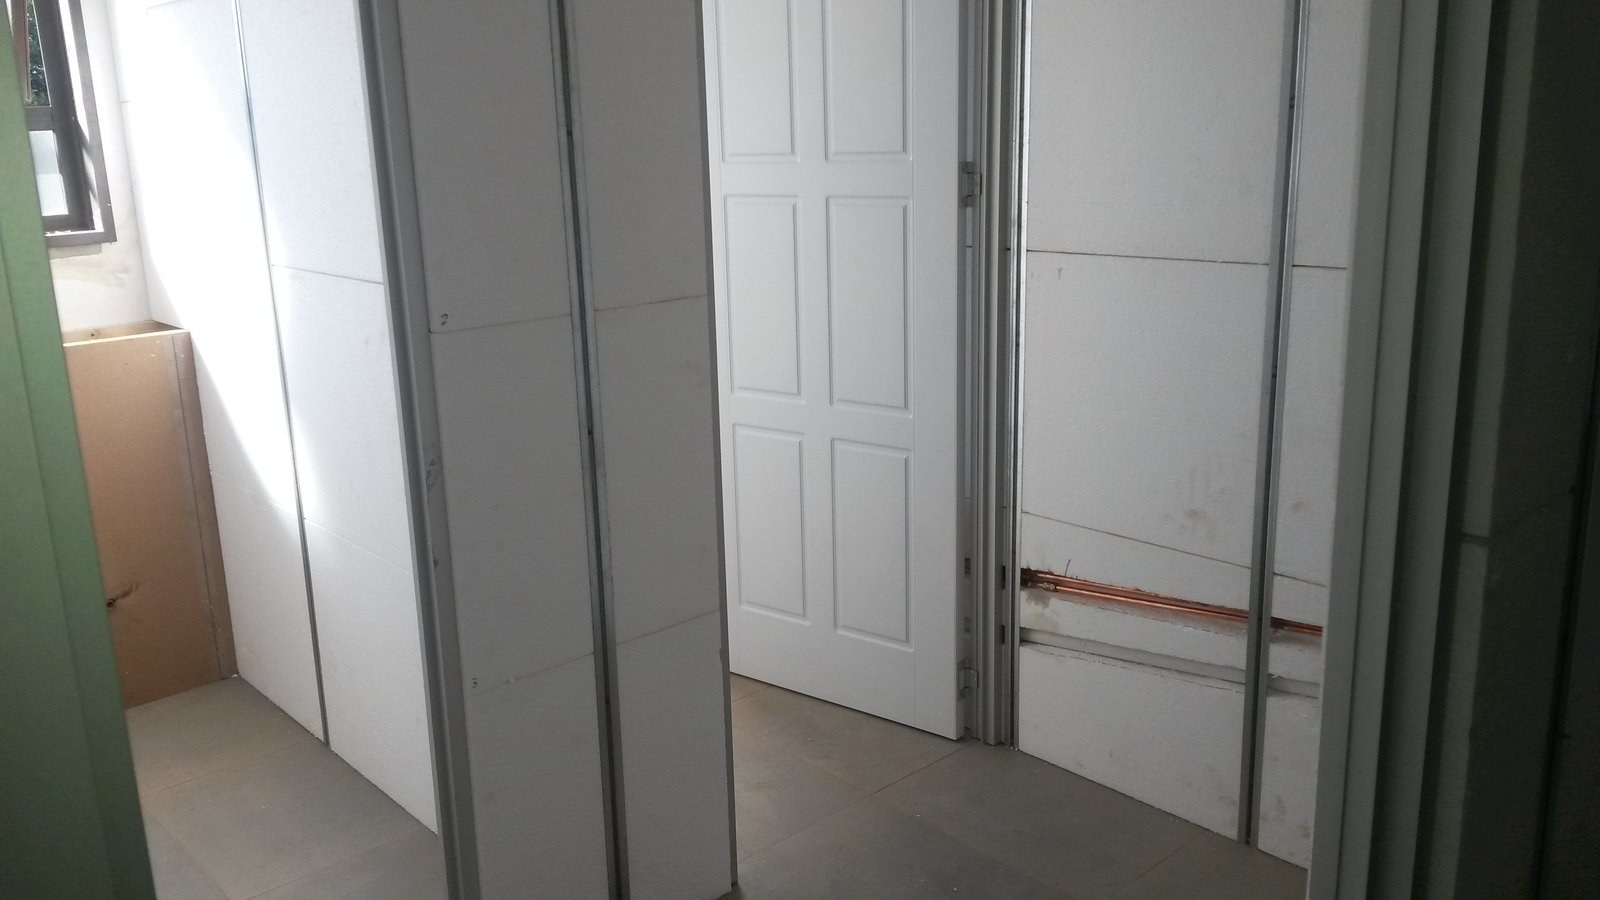
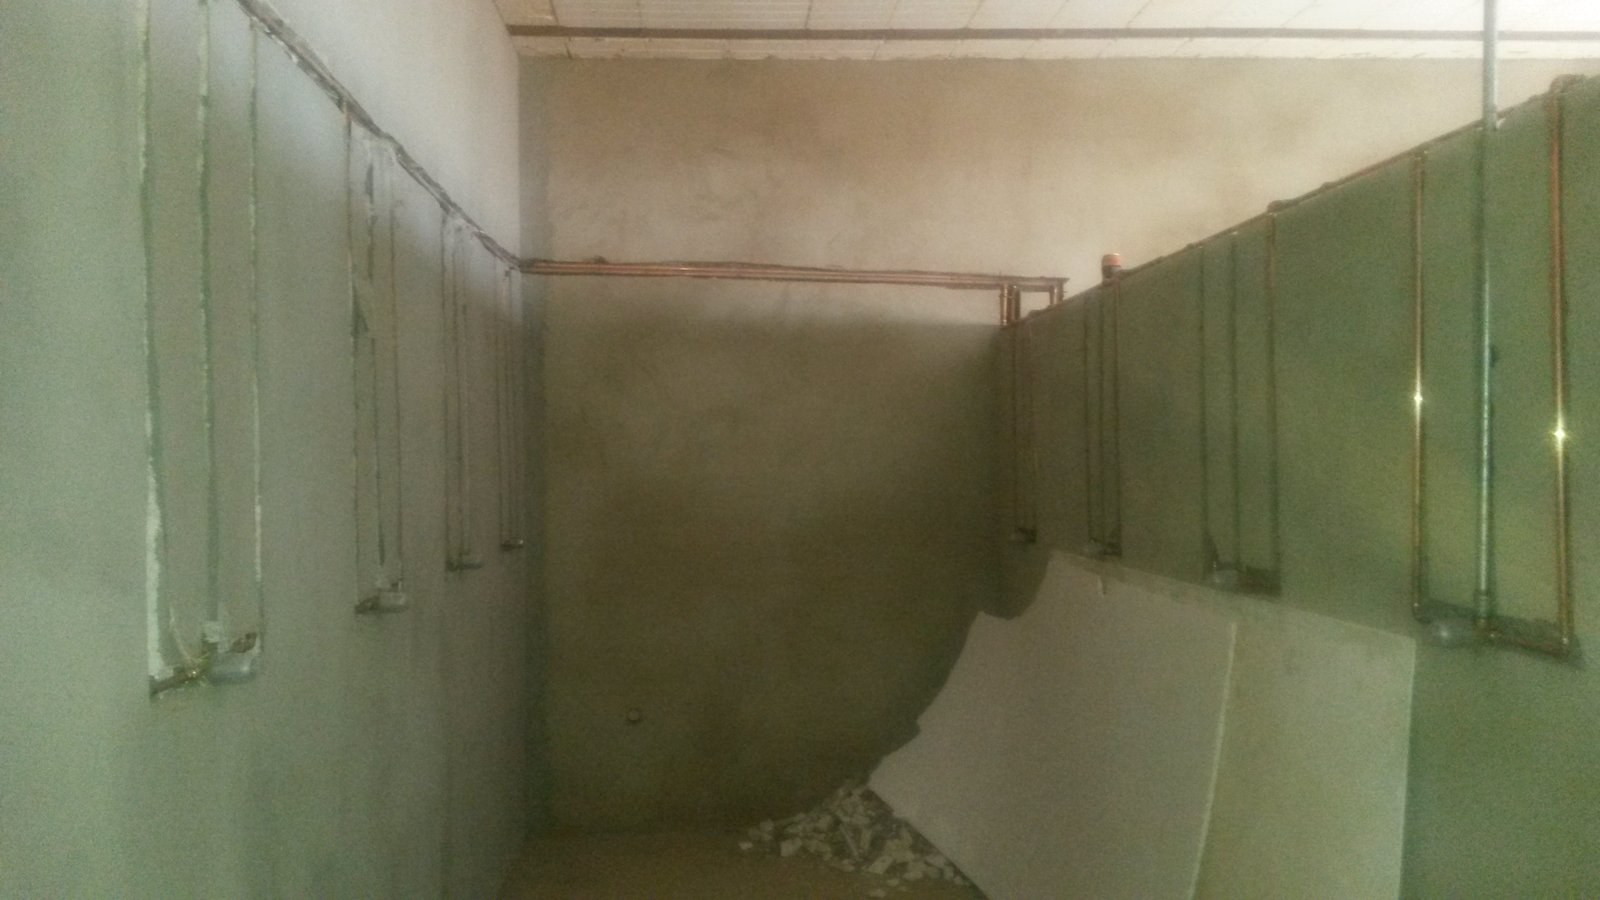
Corridor of EPS panel walls with a copper pipe run let into the board face, door fitted at the endPHOTO
Corridor of EPS panel walls with a copper pipe run let into the board face, door fitted at the endBulk Insulation Products
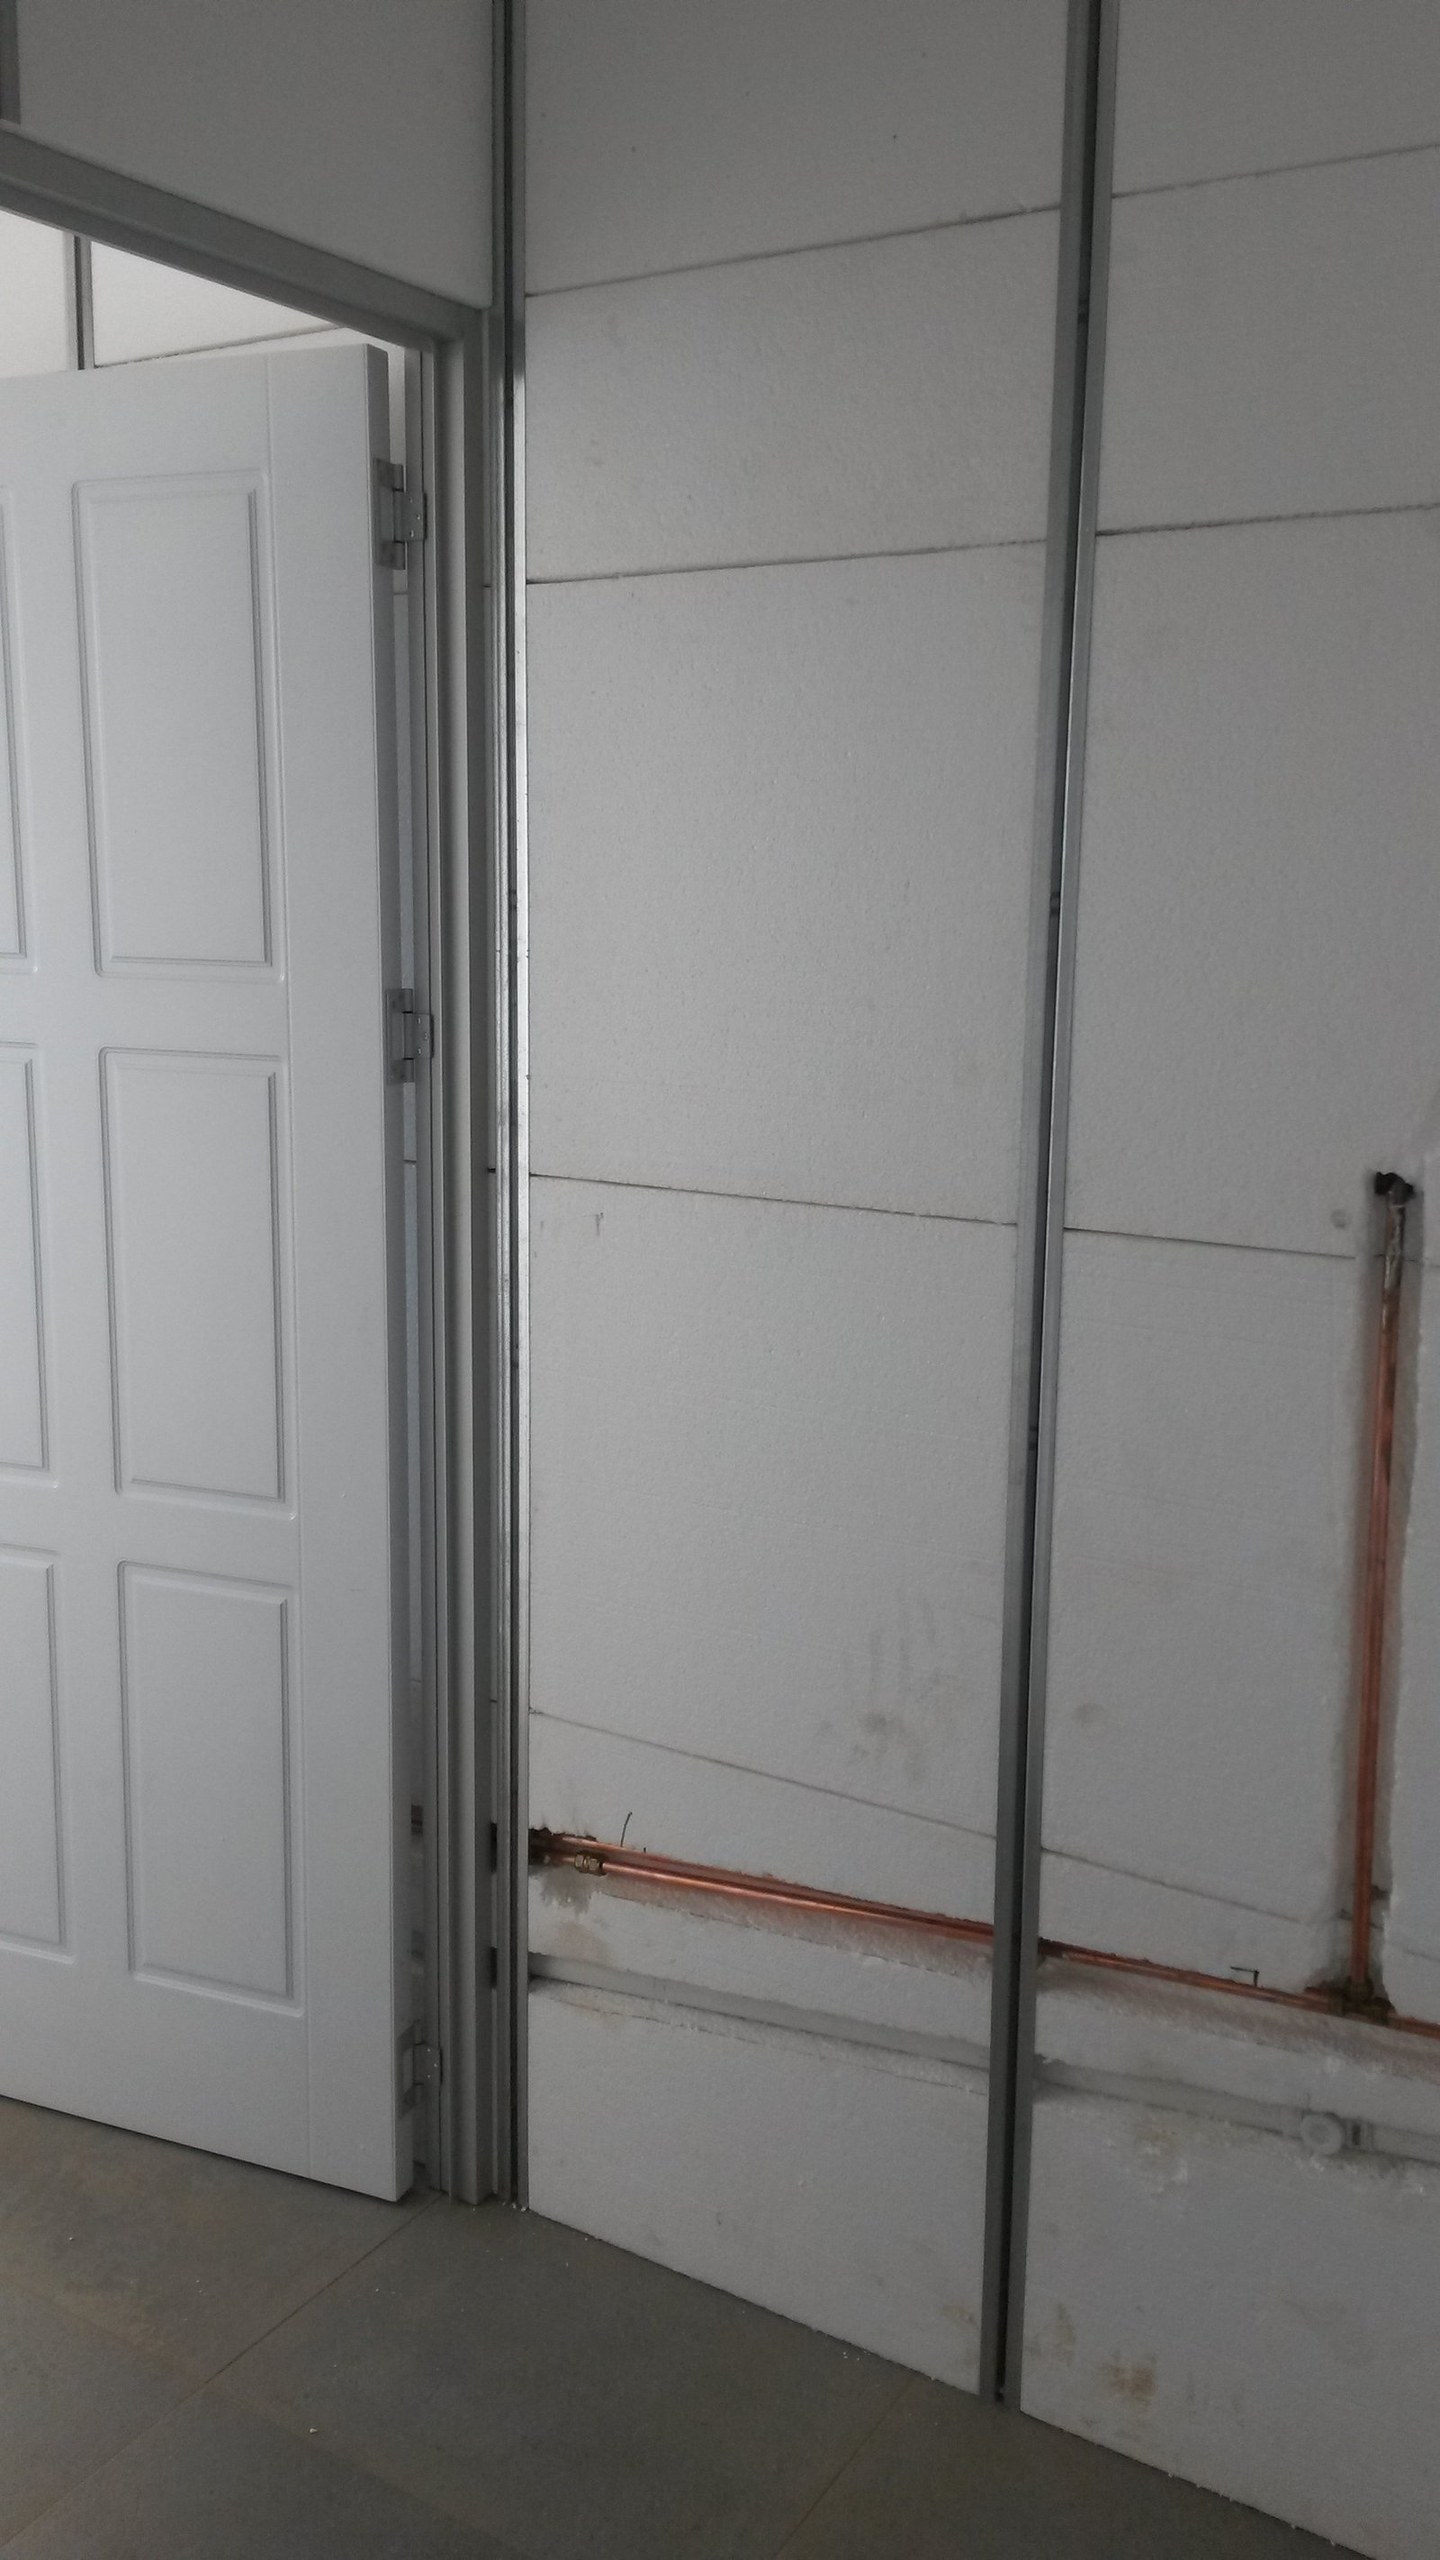
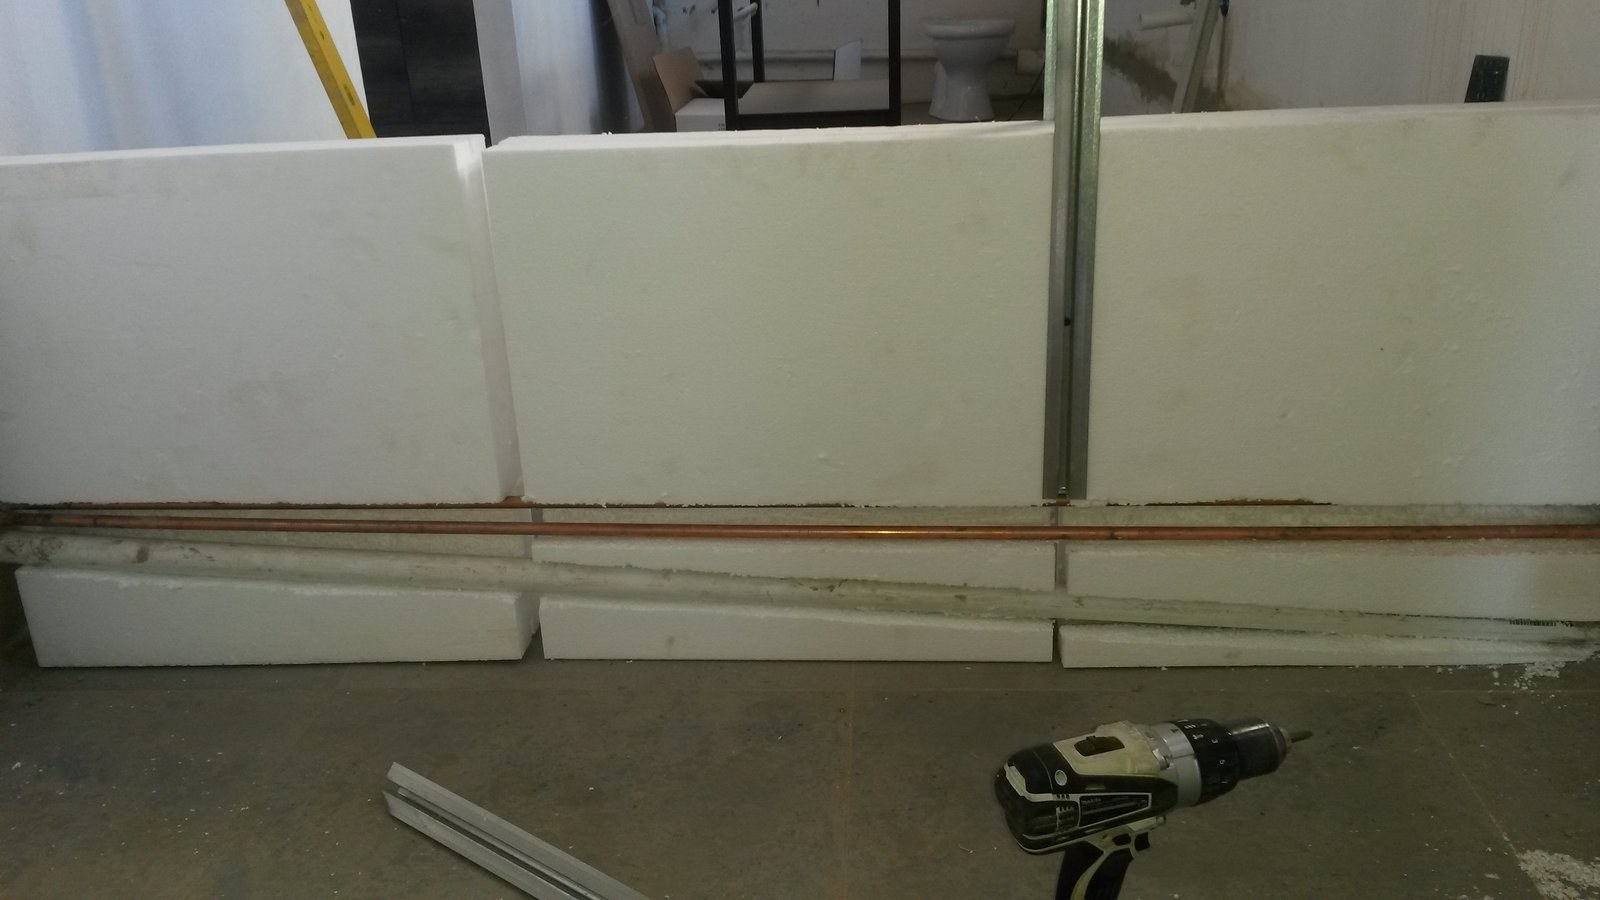
Close-up of an EPS panel joint beside a doorway, with a copper pipe recessed into the boardPHOTO
Close-up of an EPS panel joint beside a doorway, with a copper pipe recessed into the boardBulk Insulation Products
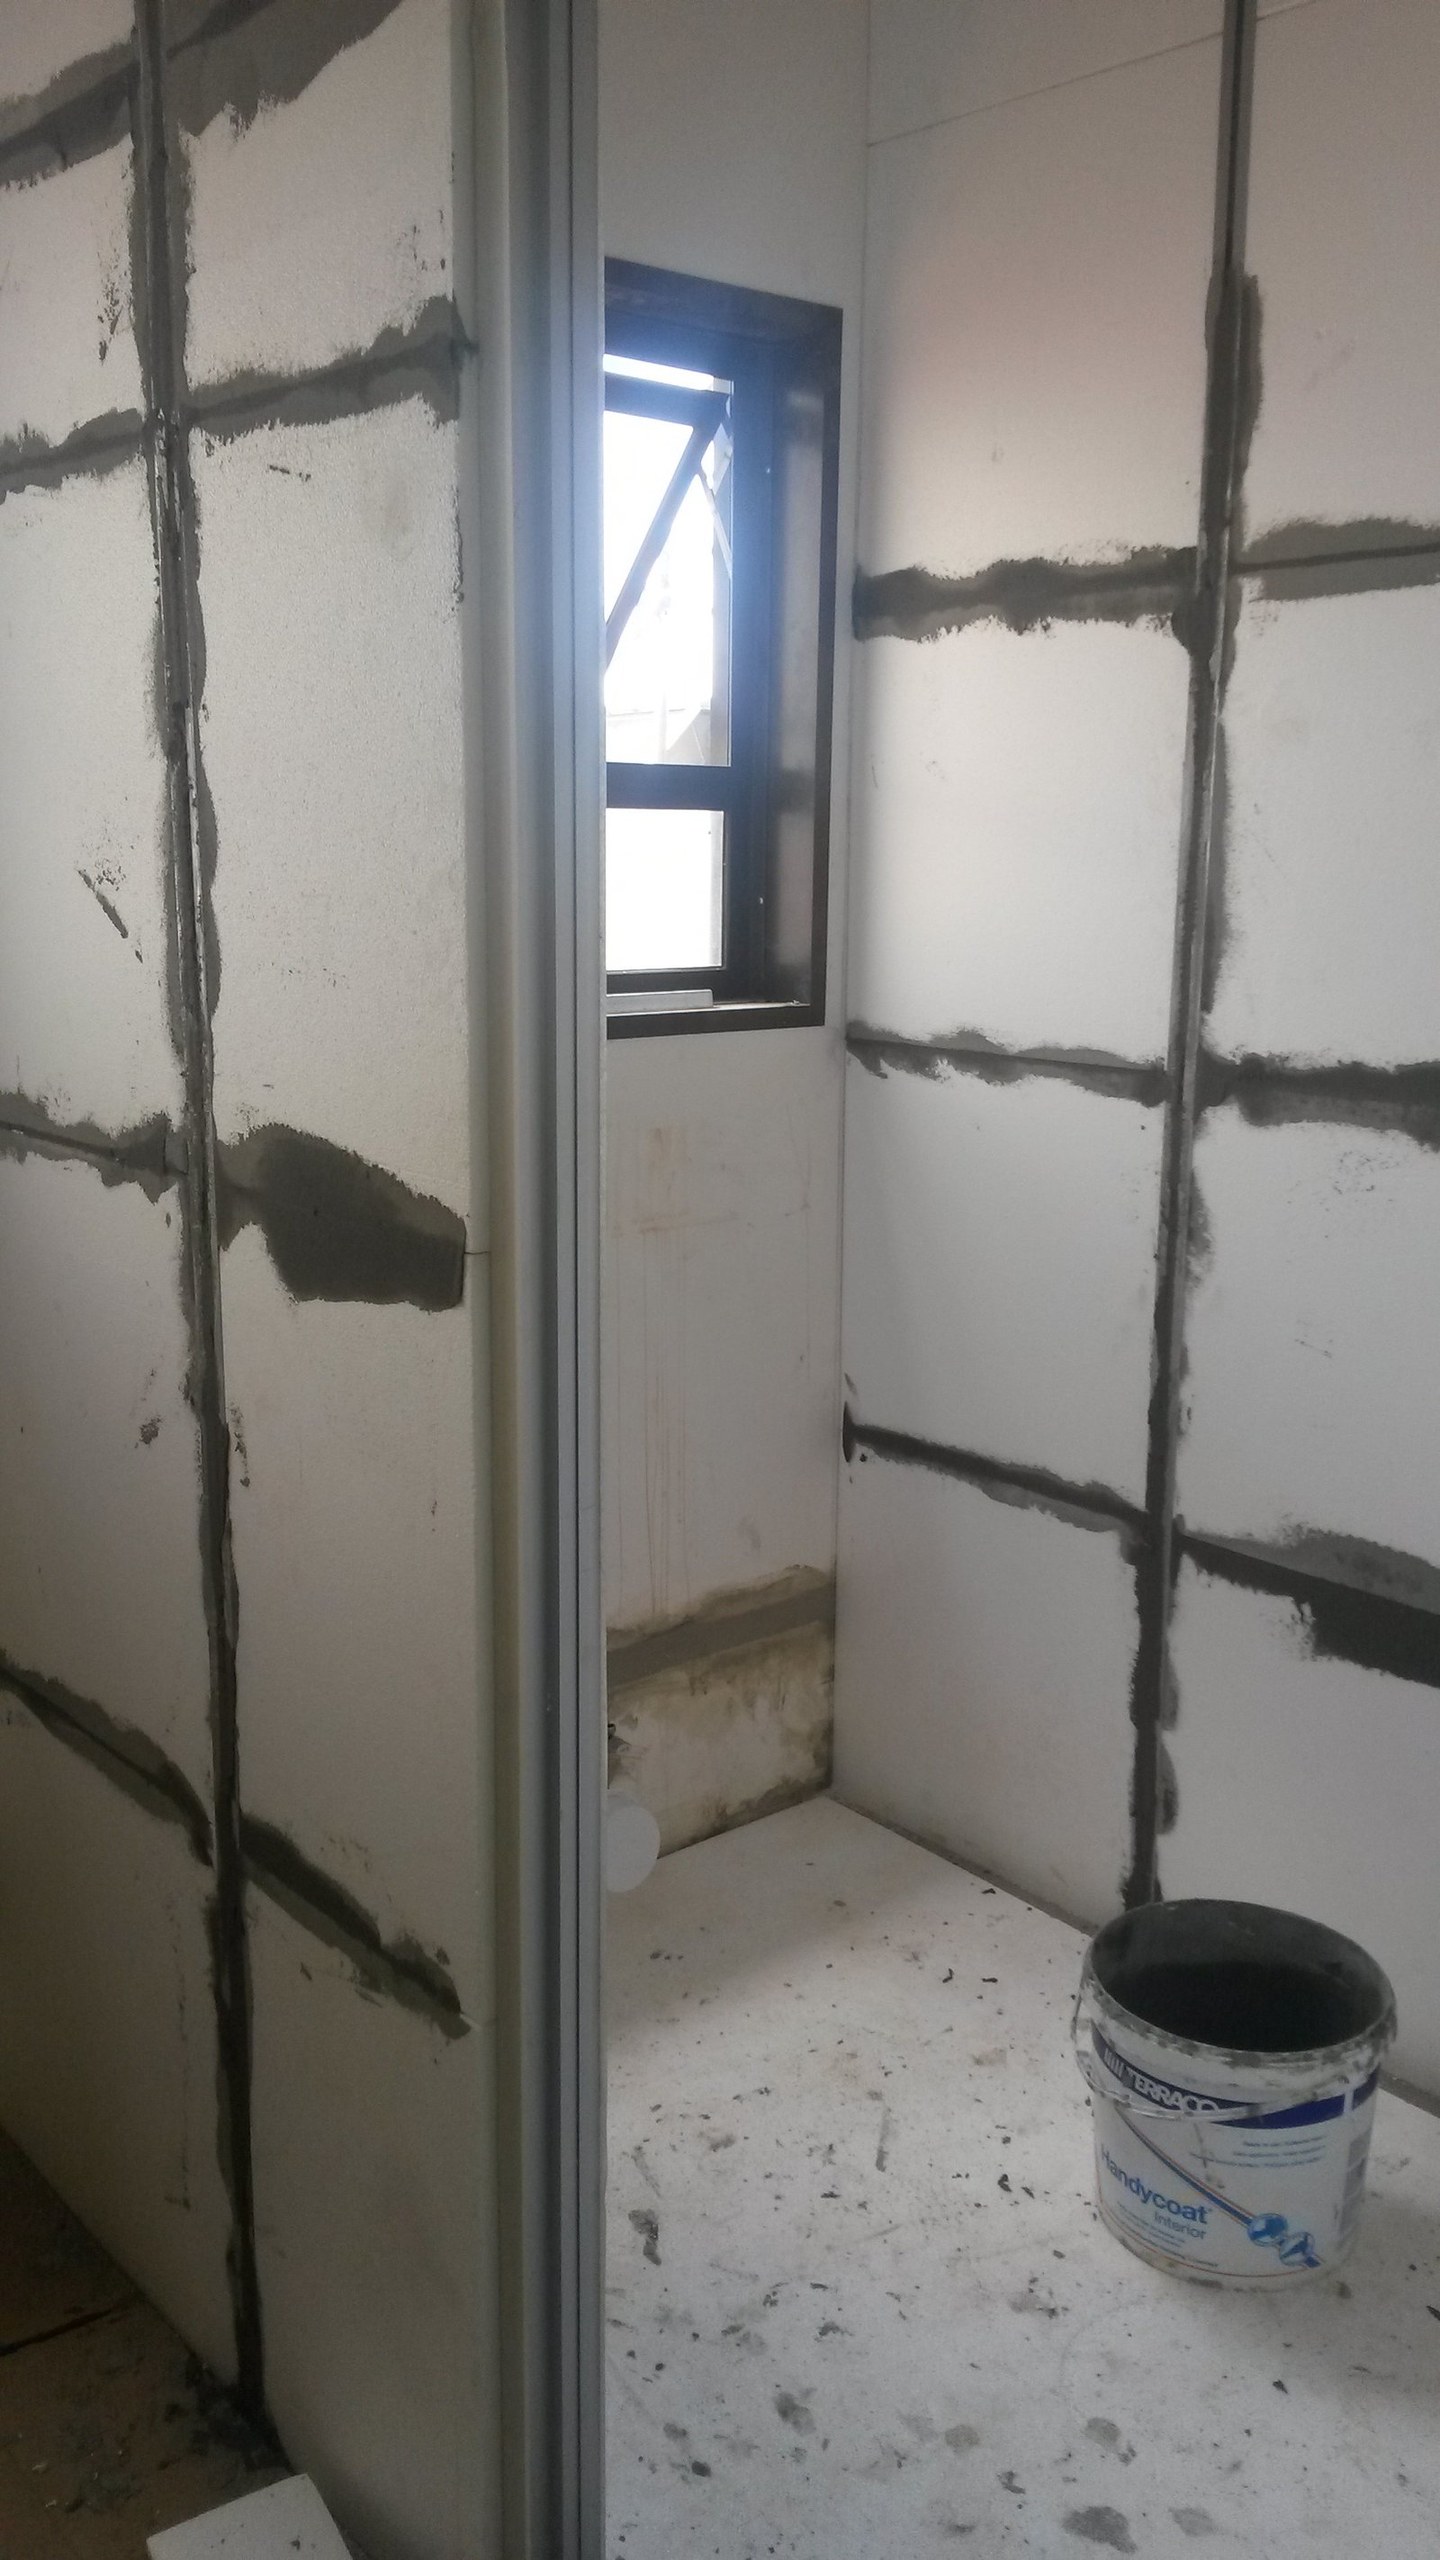
EPS panel wall joints filled with jointing compound, tub left on sitePHOTO
EPS panel wall joints filled with jointing compound, tub left on siteBulk Insulation Products
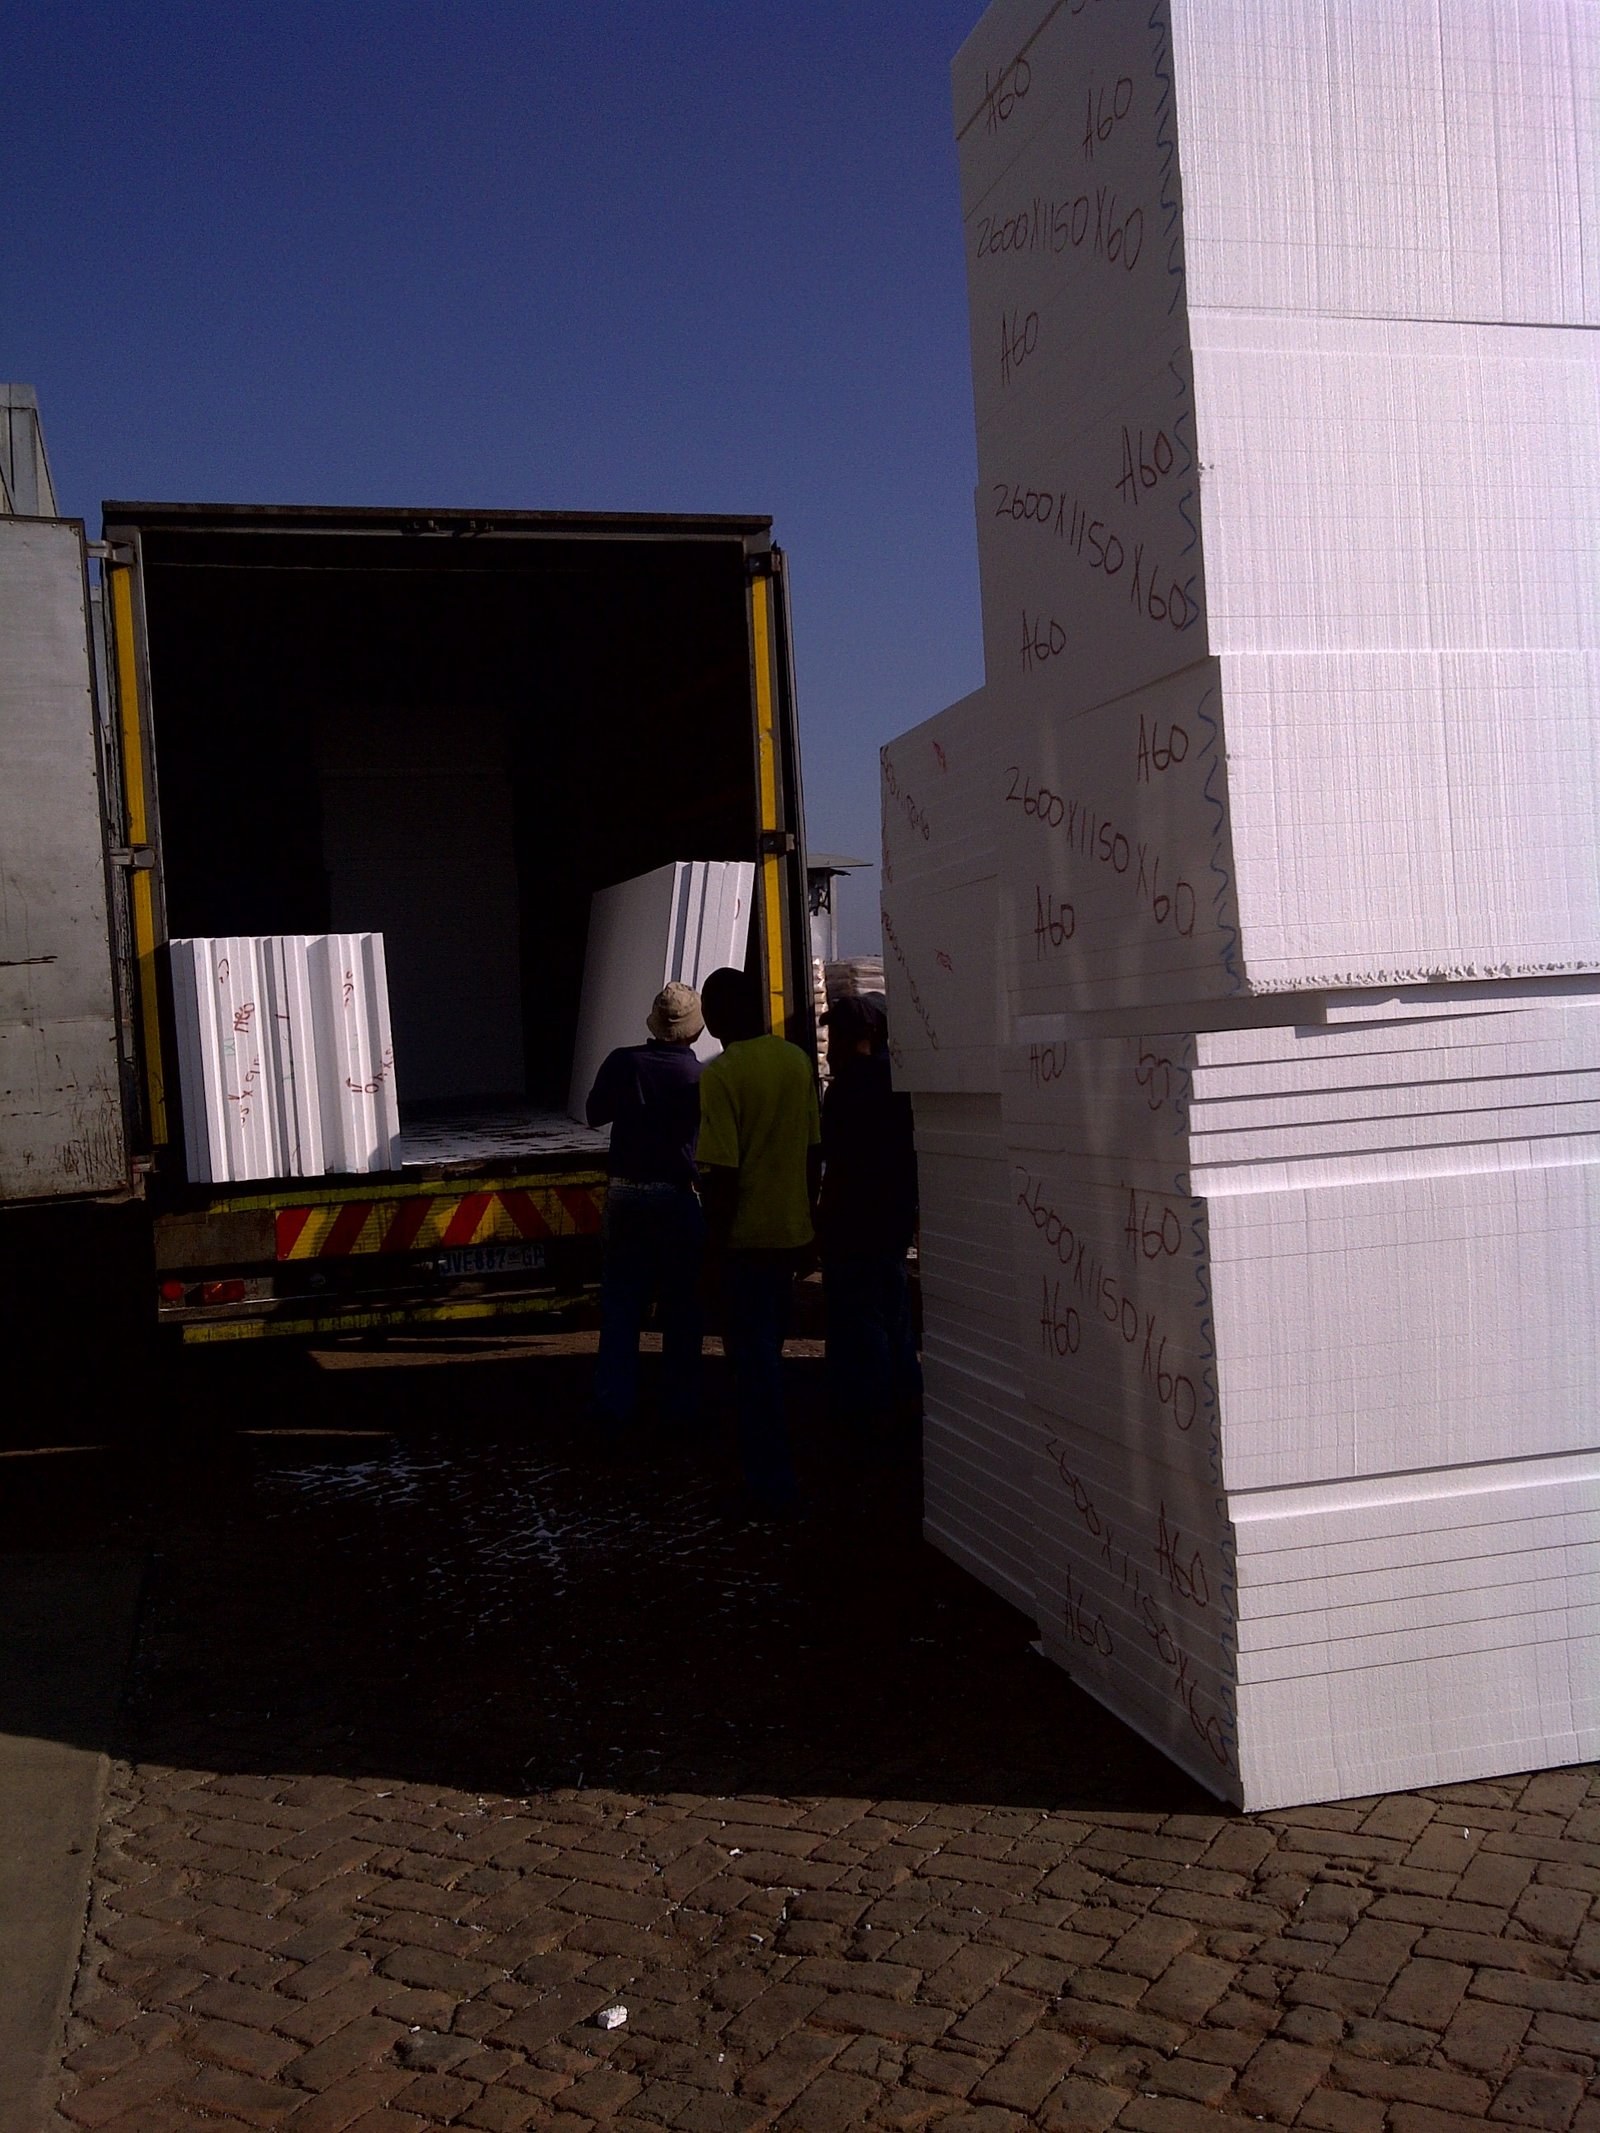
EPS panels being loaded onto a truck outside the factoryPHOTO
EPS panels being loaded onto a truck outside the factoryBulk Insulation Products
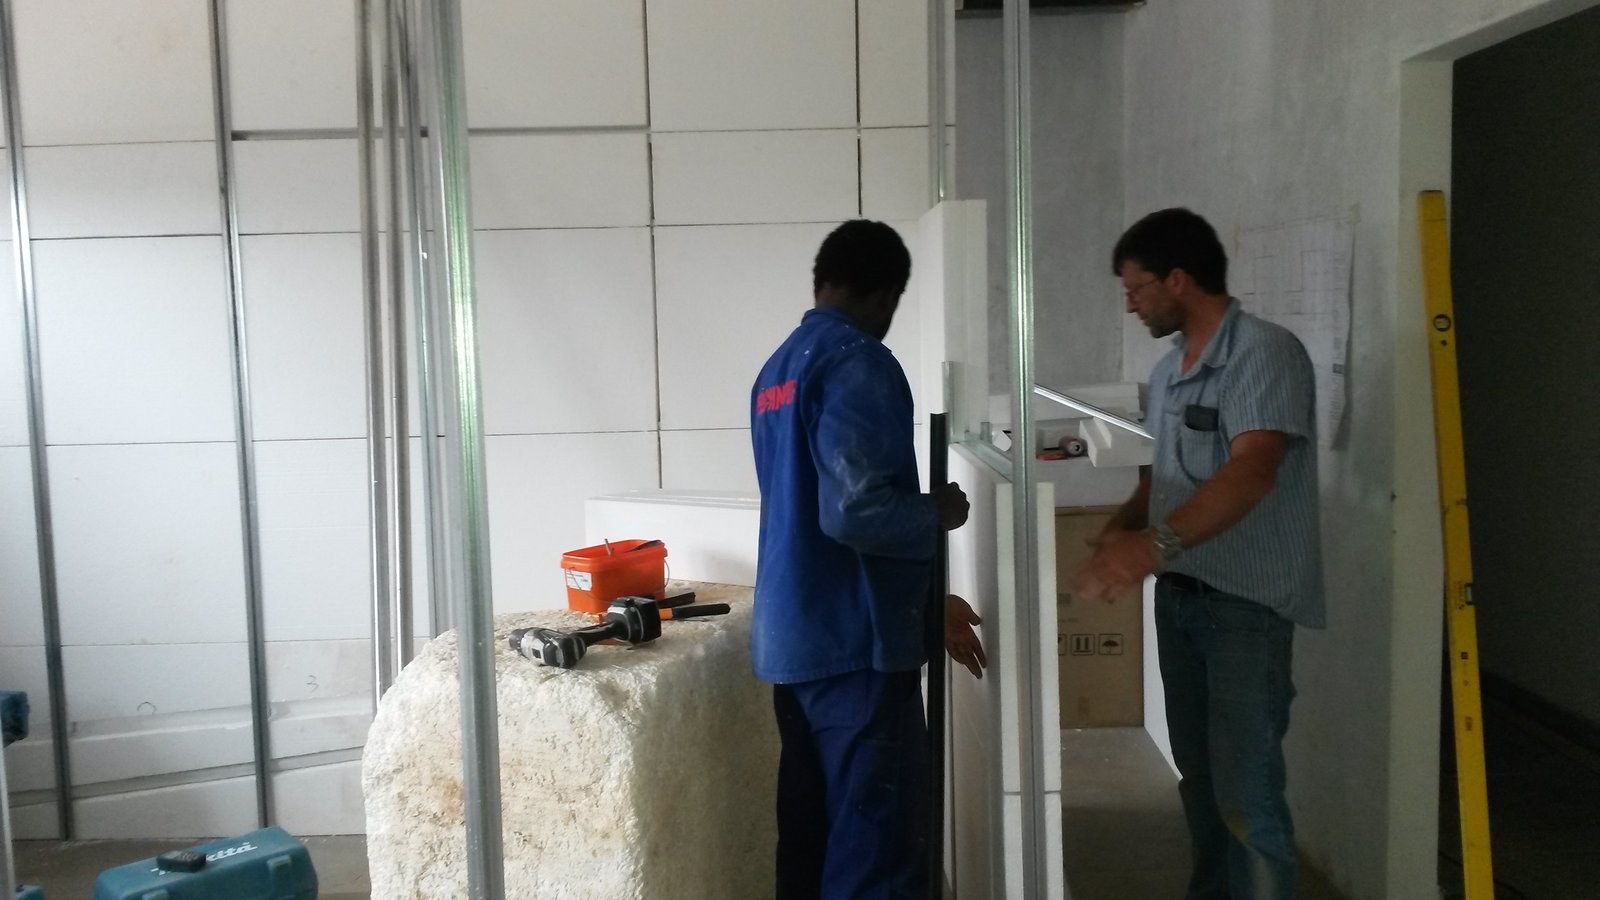
Two installers fitting a door frame into an EPS panel wallPHOTO
Two installers fitting a door frame into an EPS panel wallBulk Insulation Products
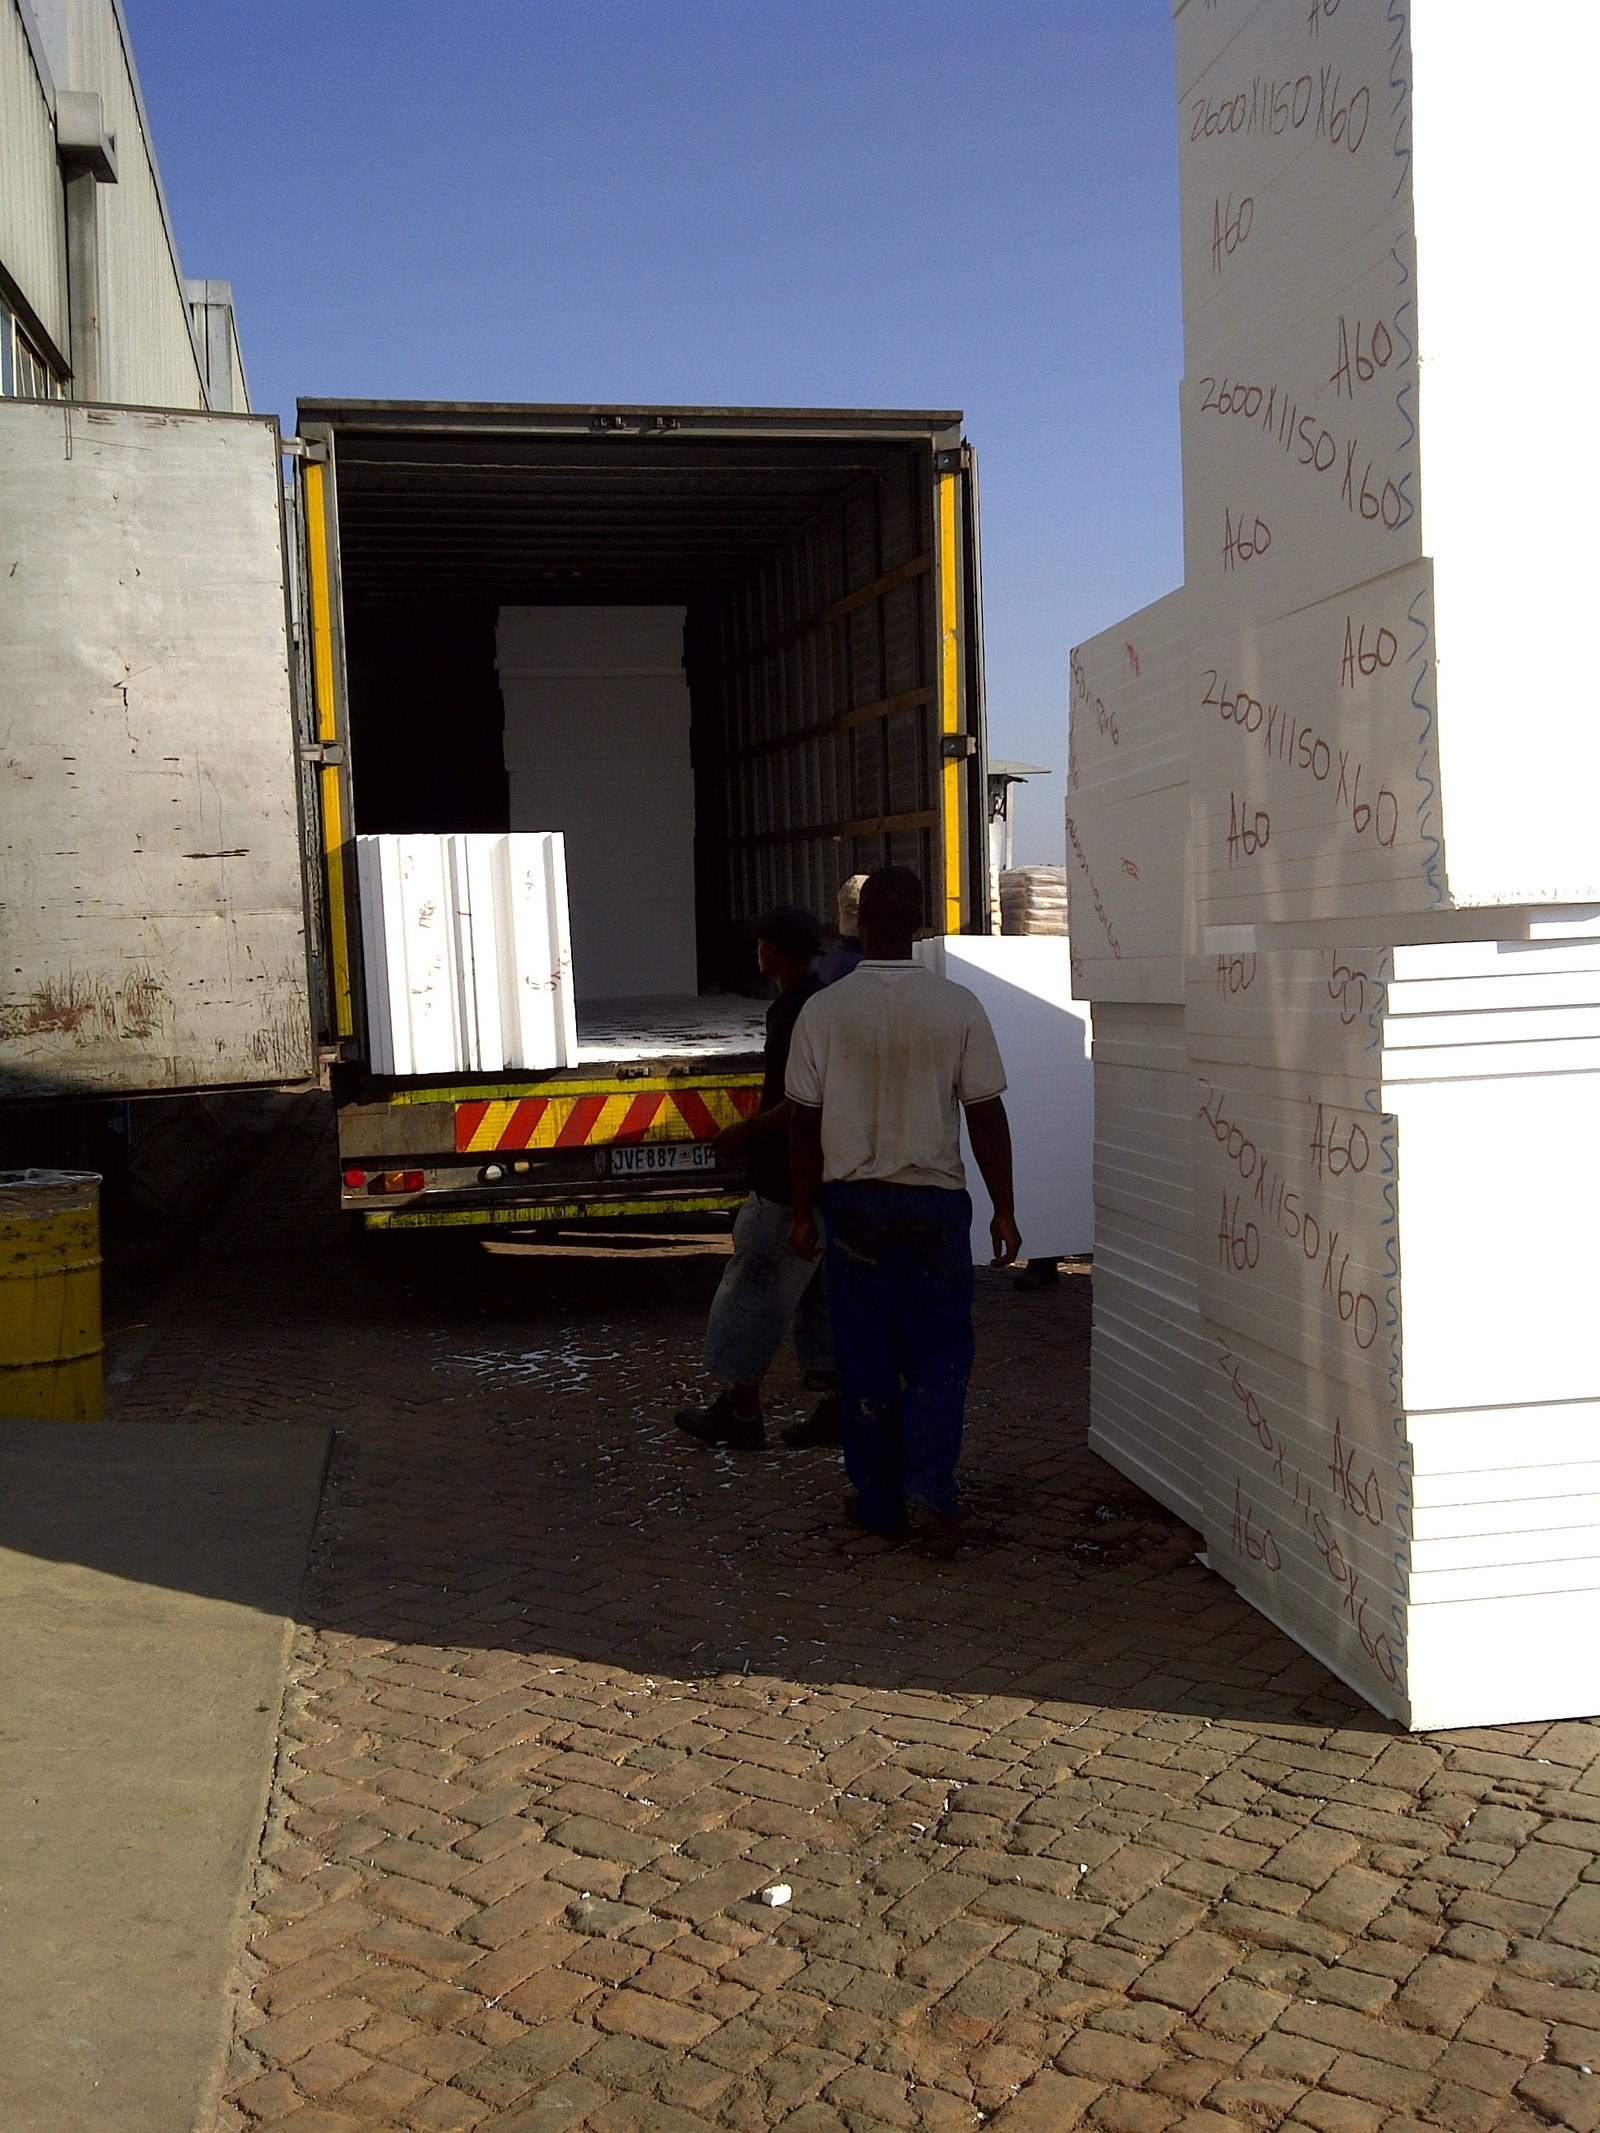
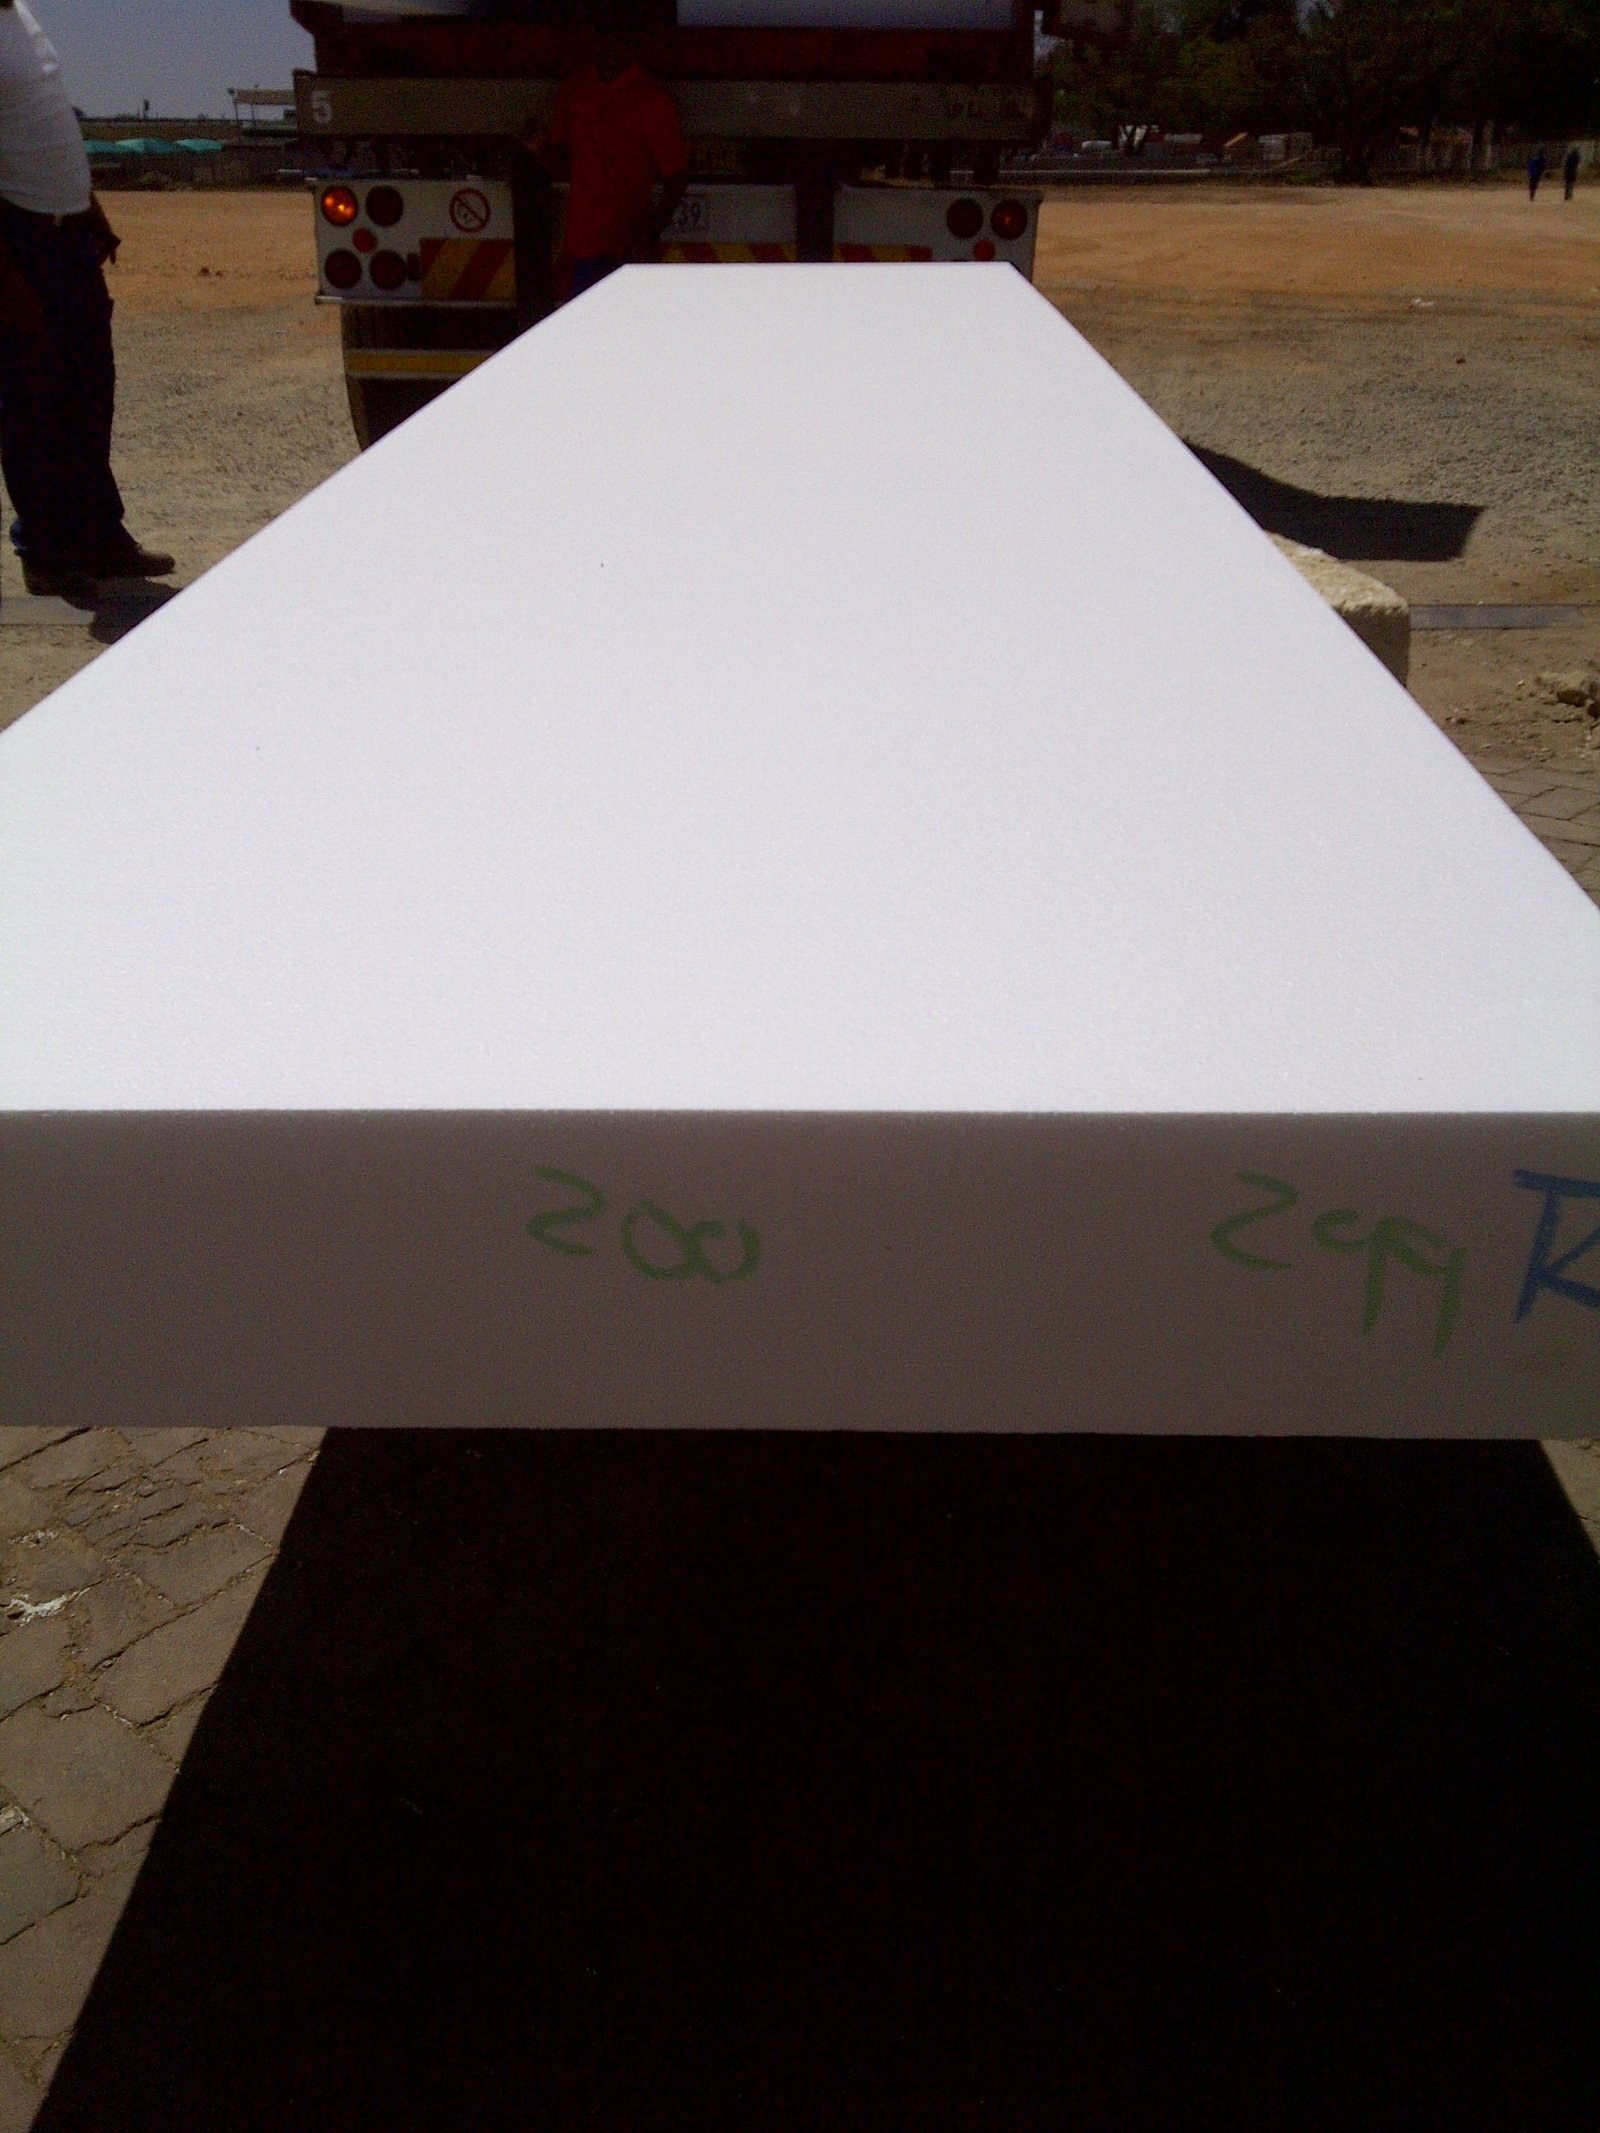
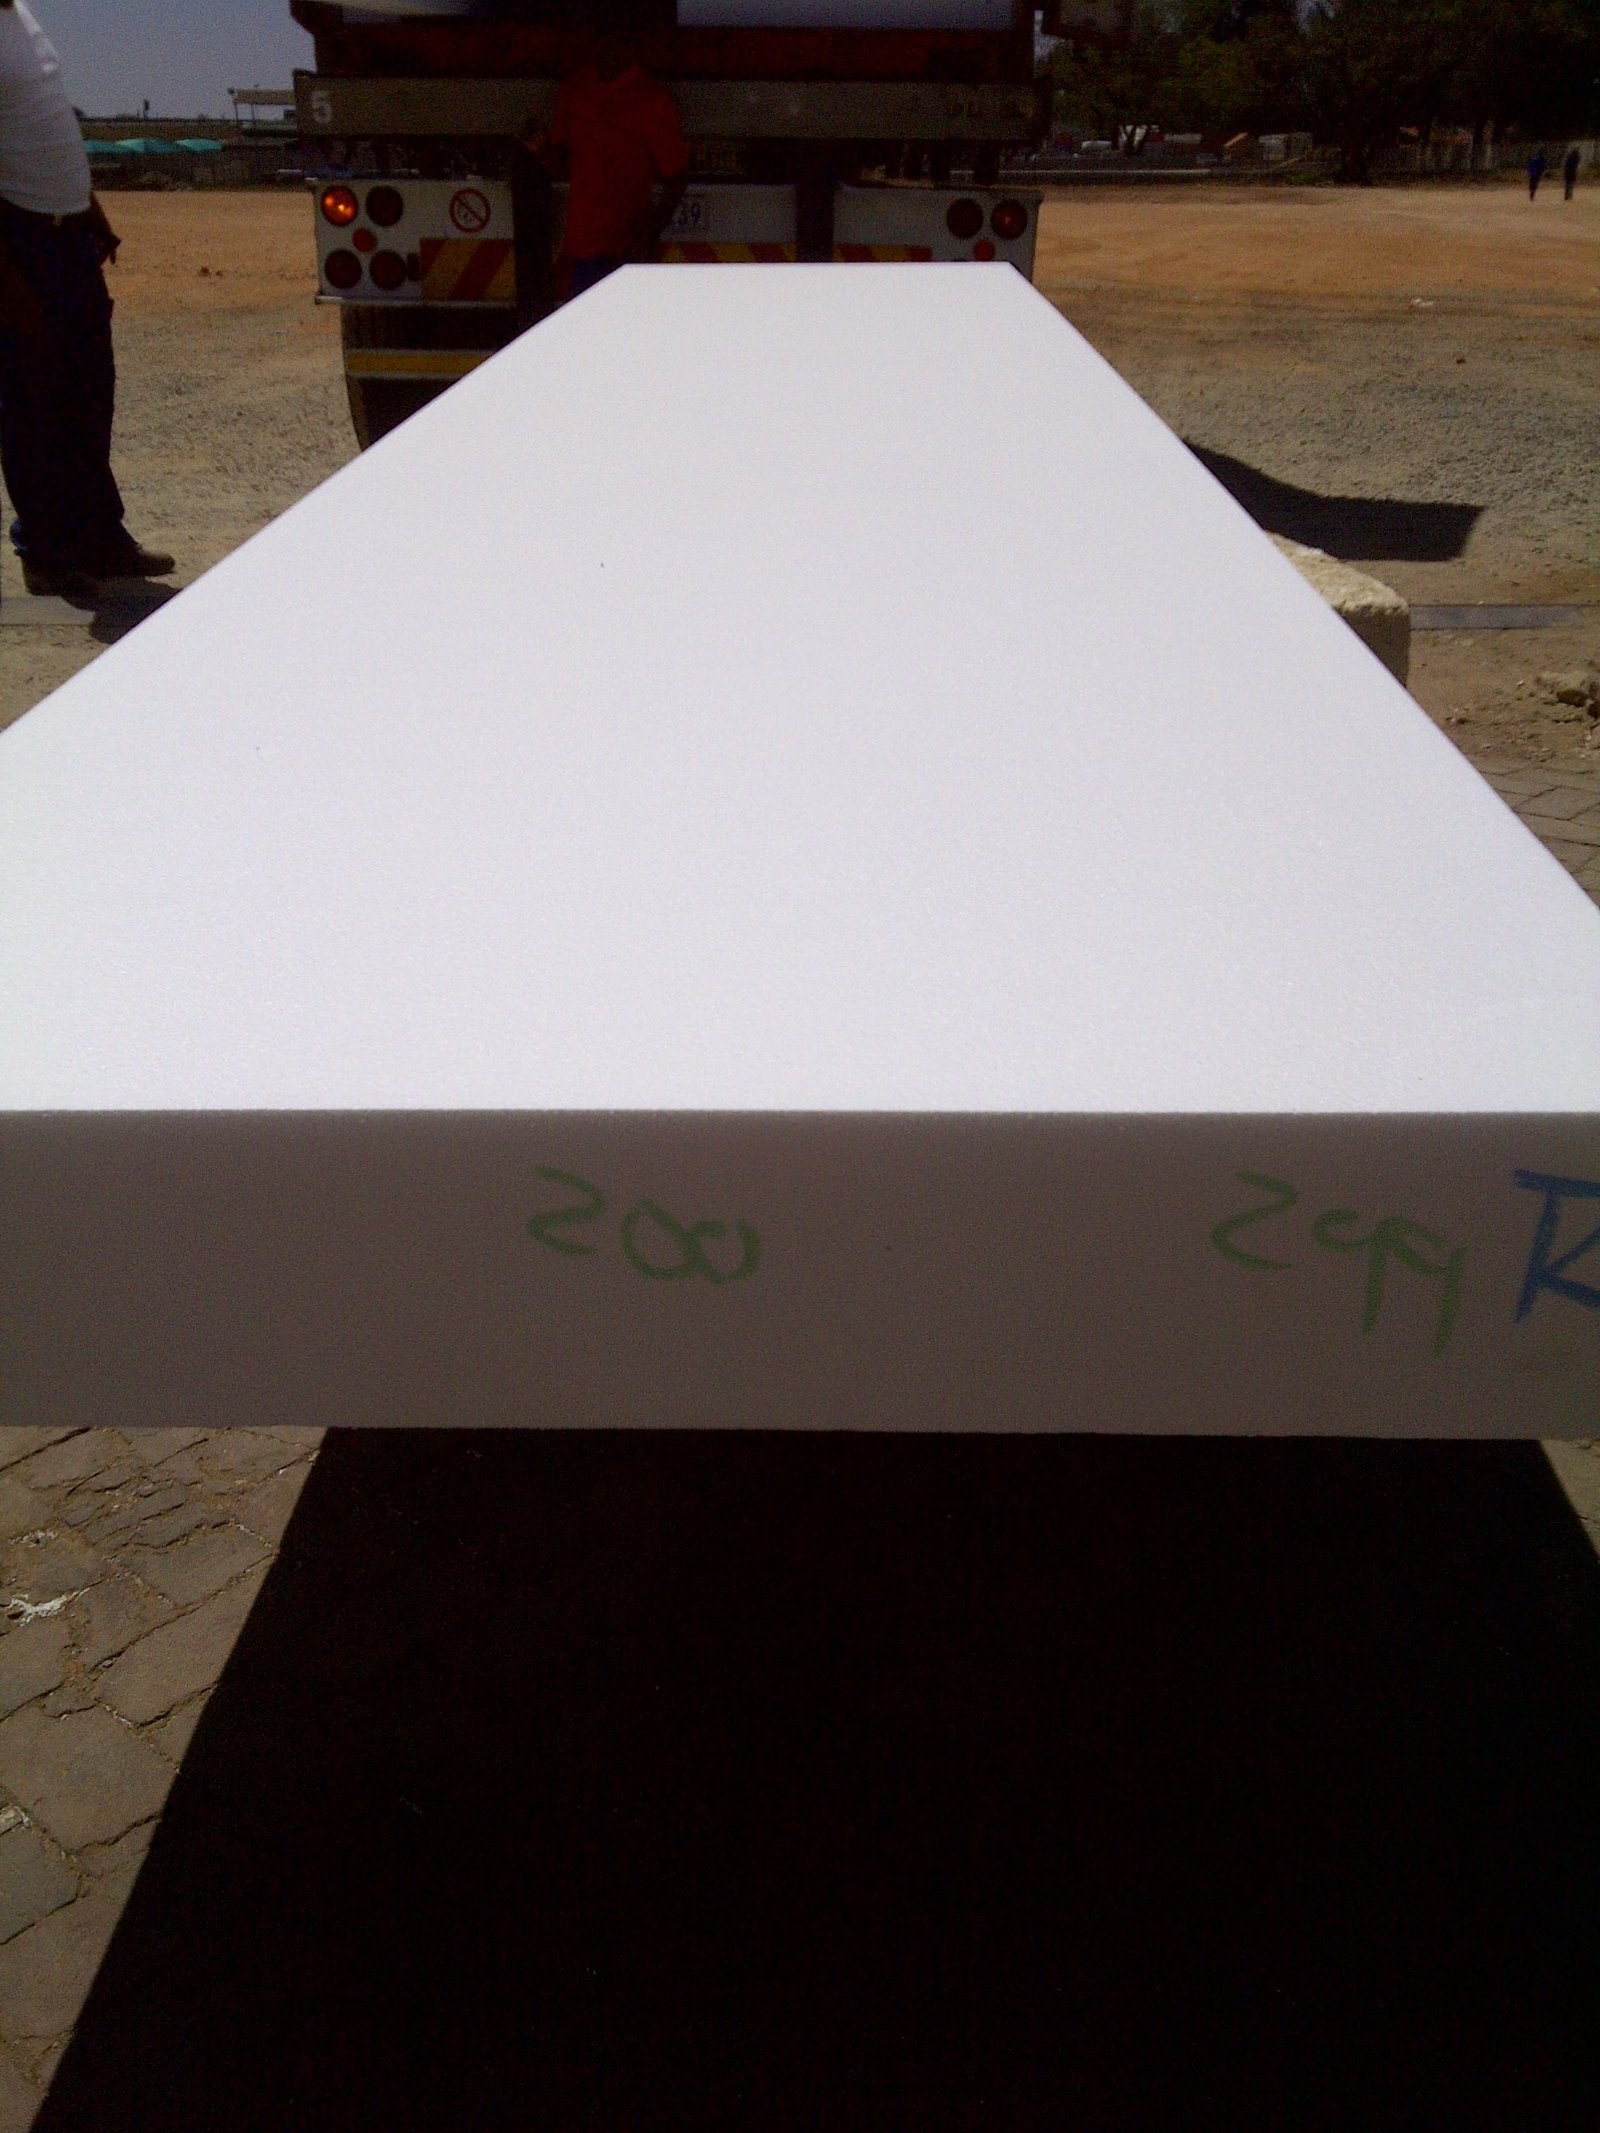
EPS board stack with size markings, loaded into a truckPHOTO
EPS board stack with size markings, loaded into a truckBulk Insulation Products
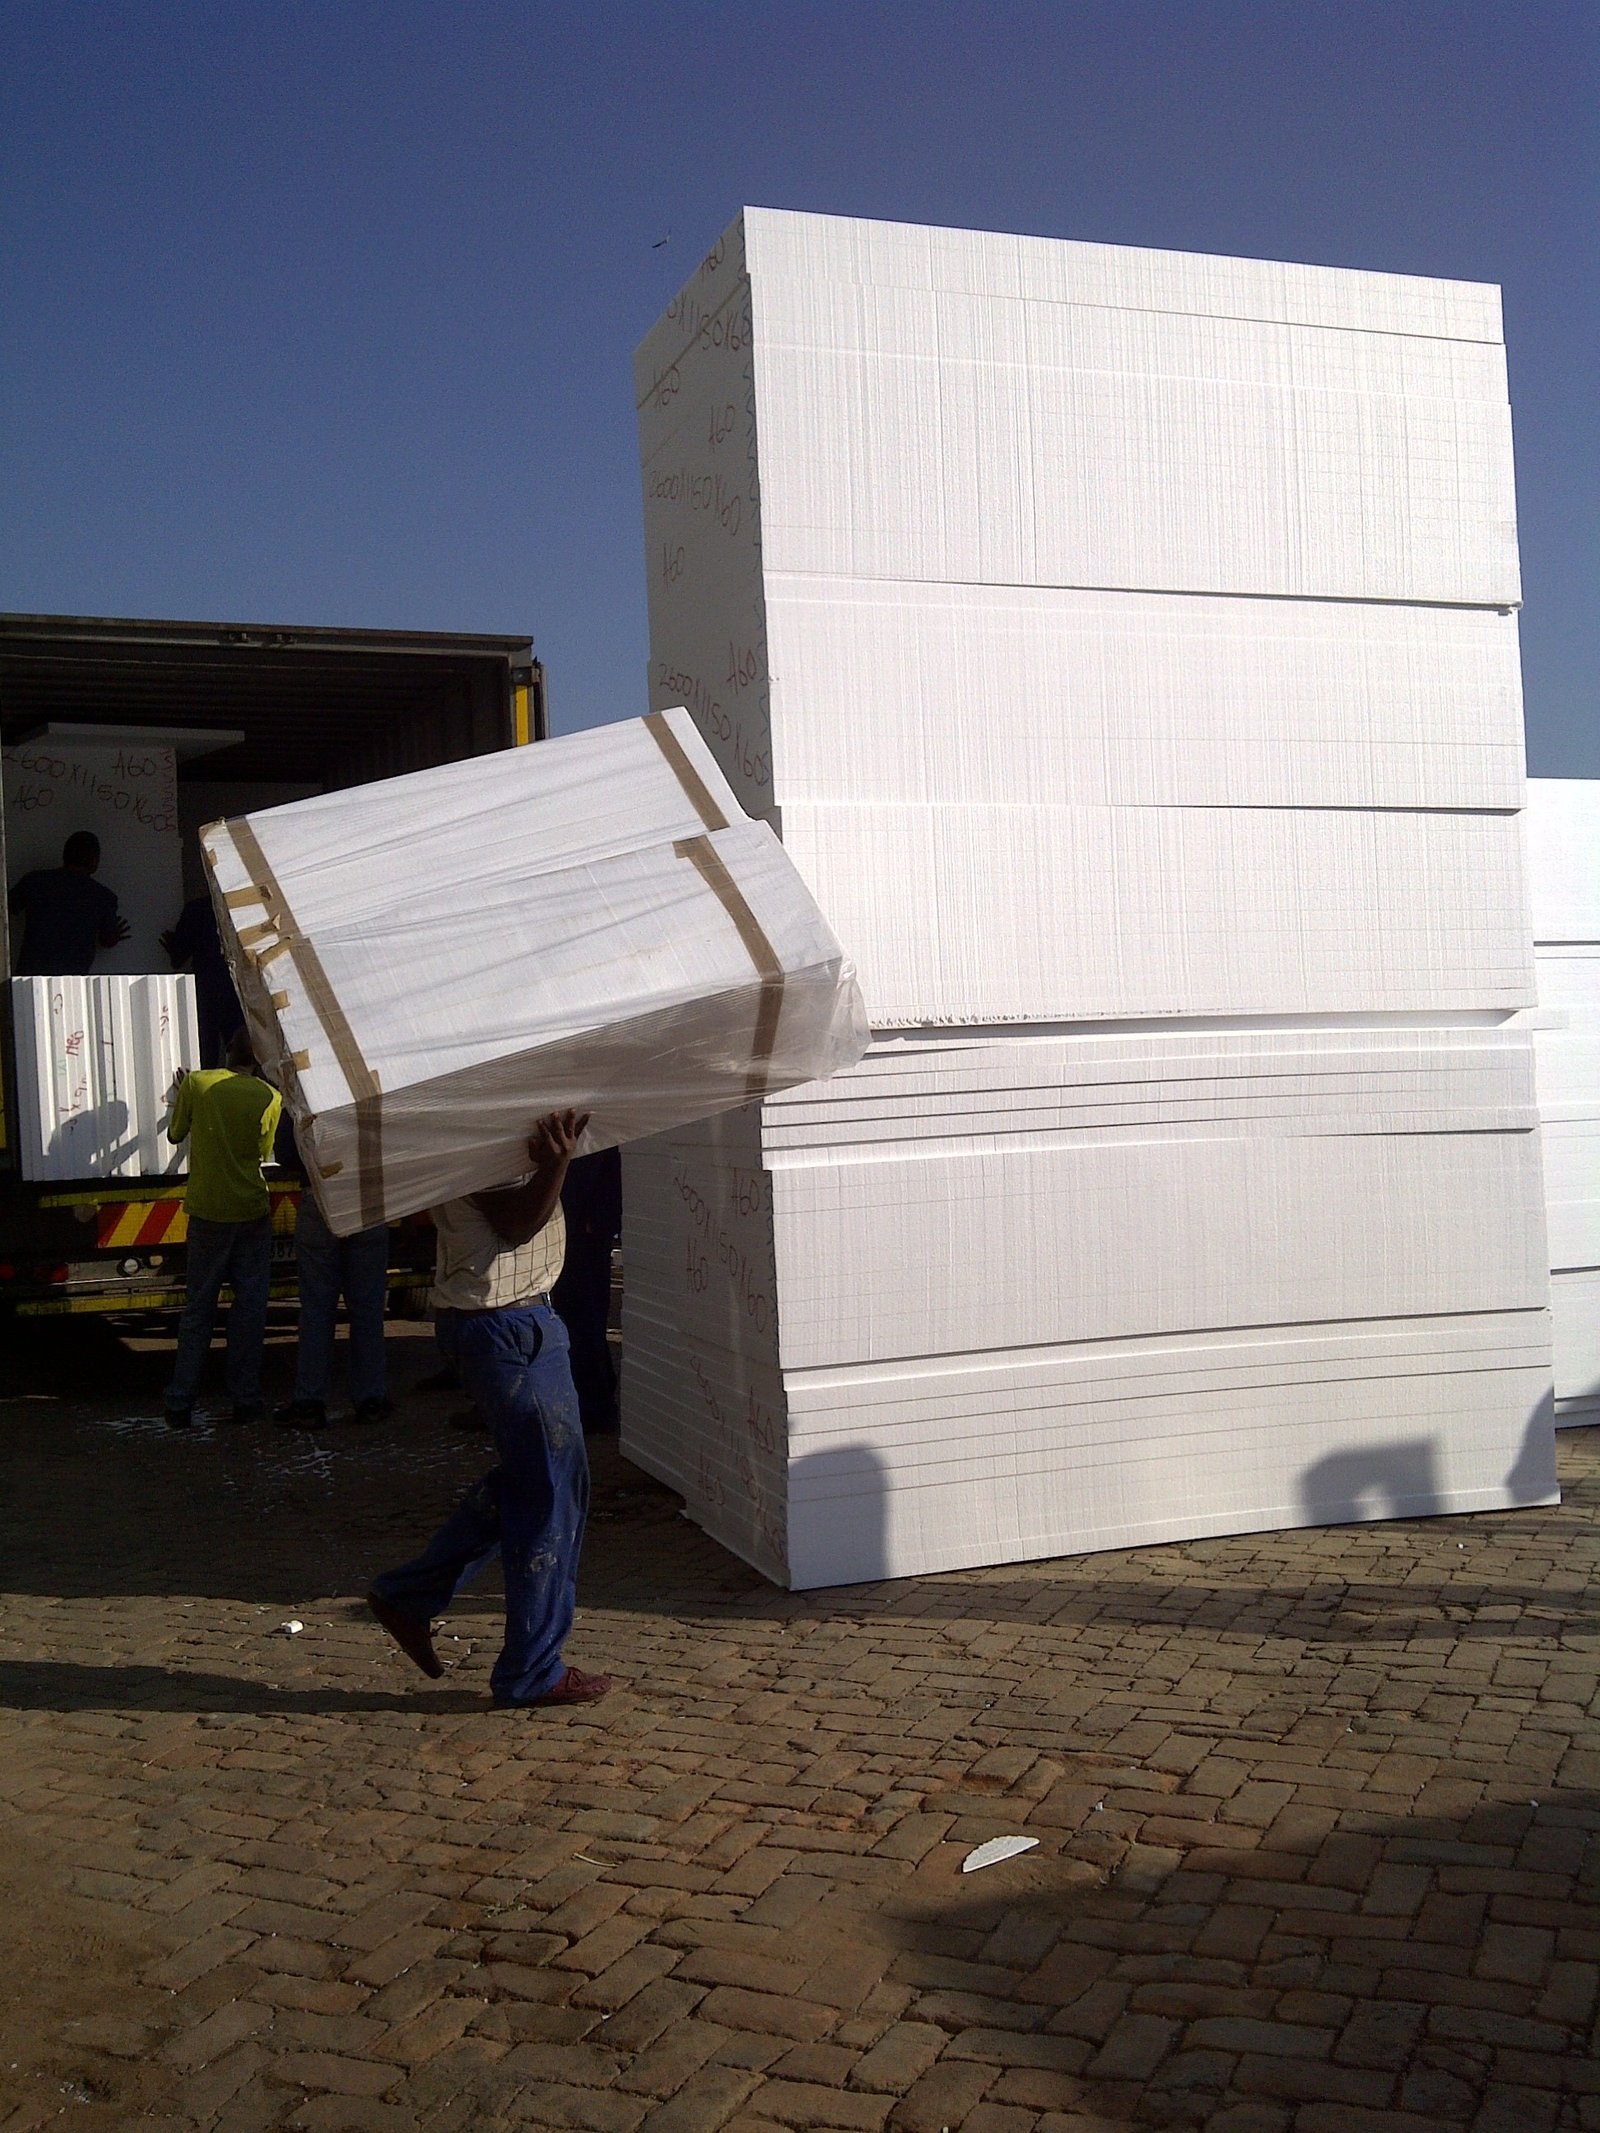
Worker carrying a wrapped EPS board bundle past a stack of blocks in the yardPHOTO
Worker carrying a wrapped EPS board bundle past a stack of blocks in the yardBulk Insulation Products
Close-up of handwritten size and grade markings on an EPS panelPHOTO
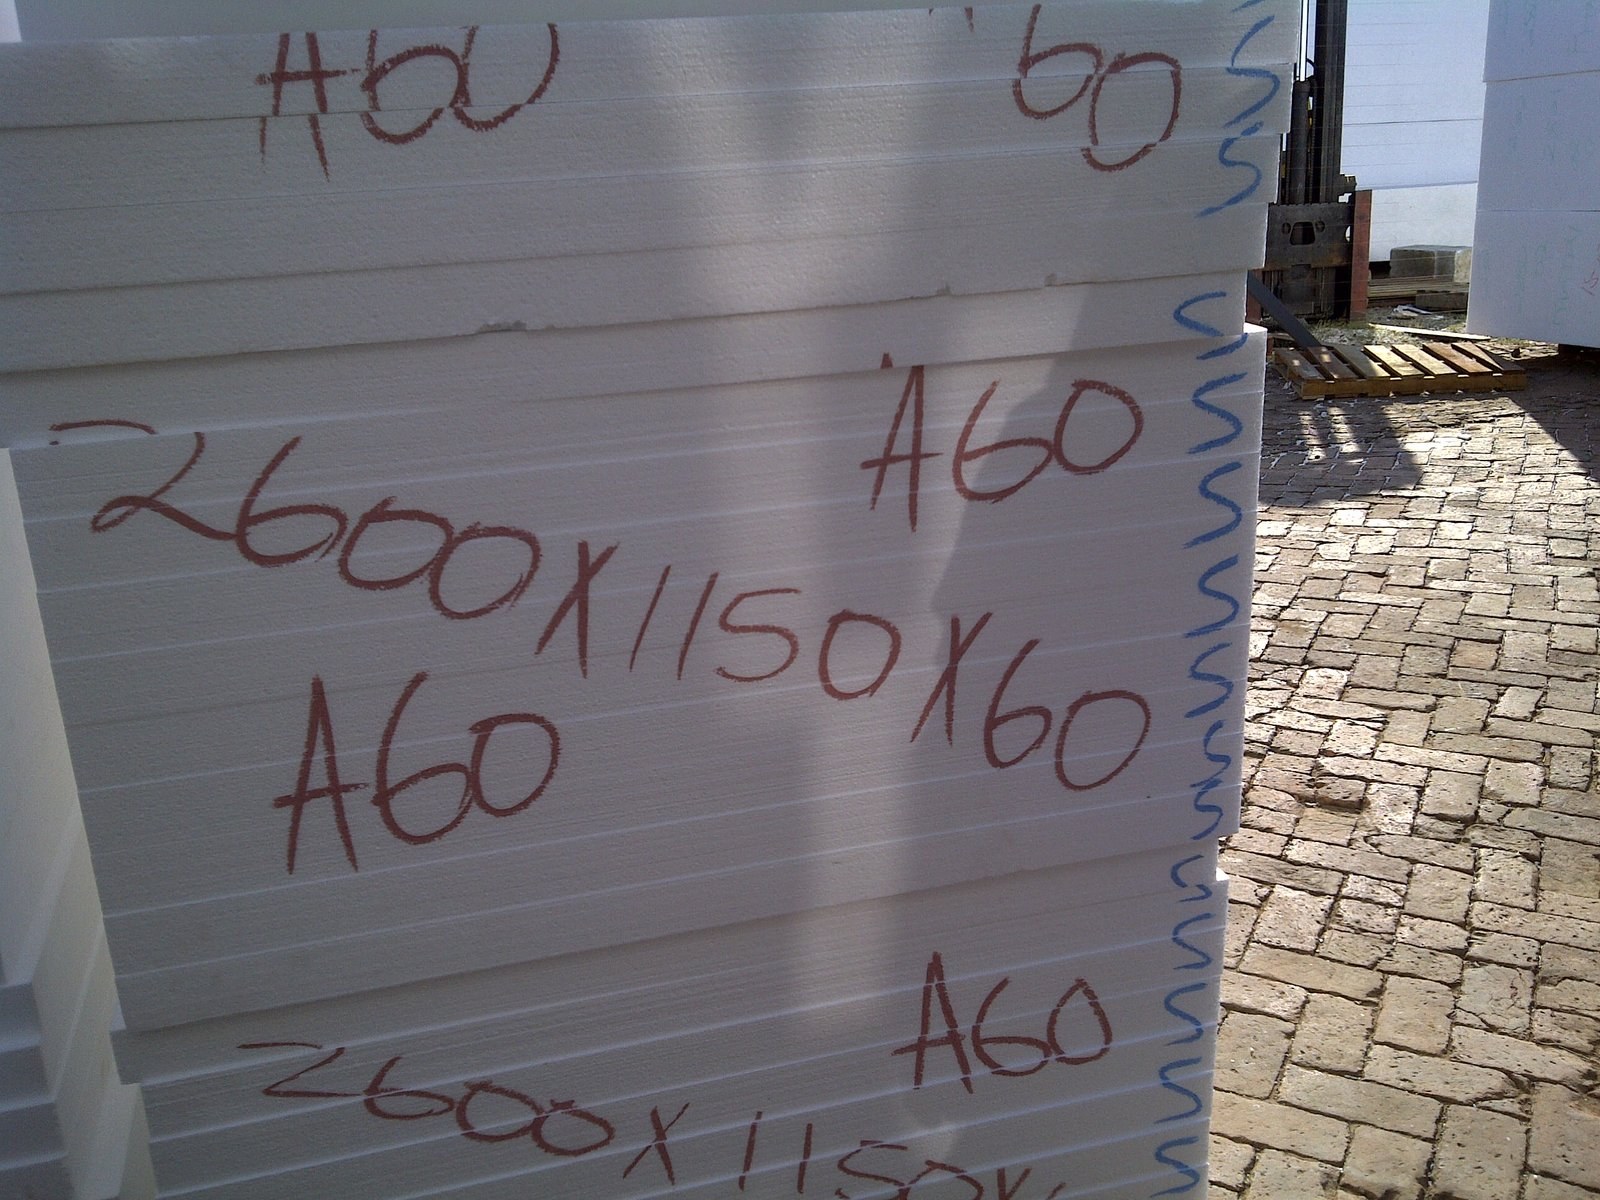
Close-up of handwritten size and grade markings on an EPS panelBulk Insulation Products
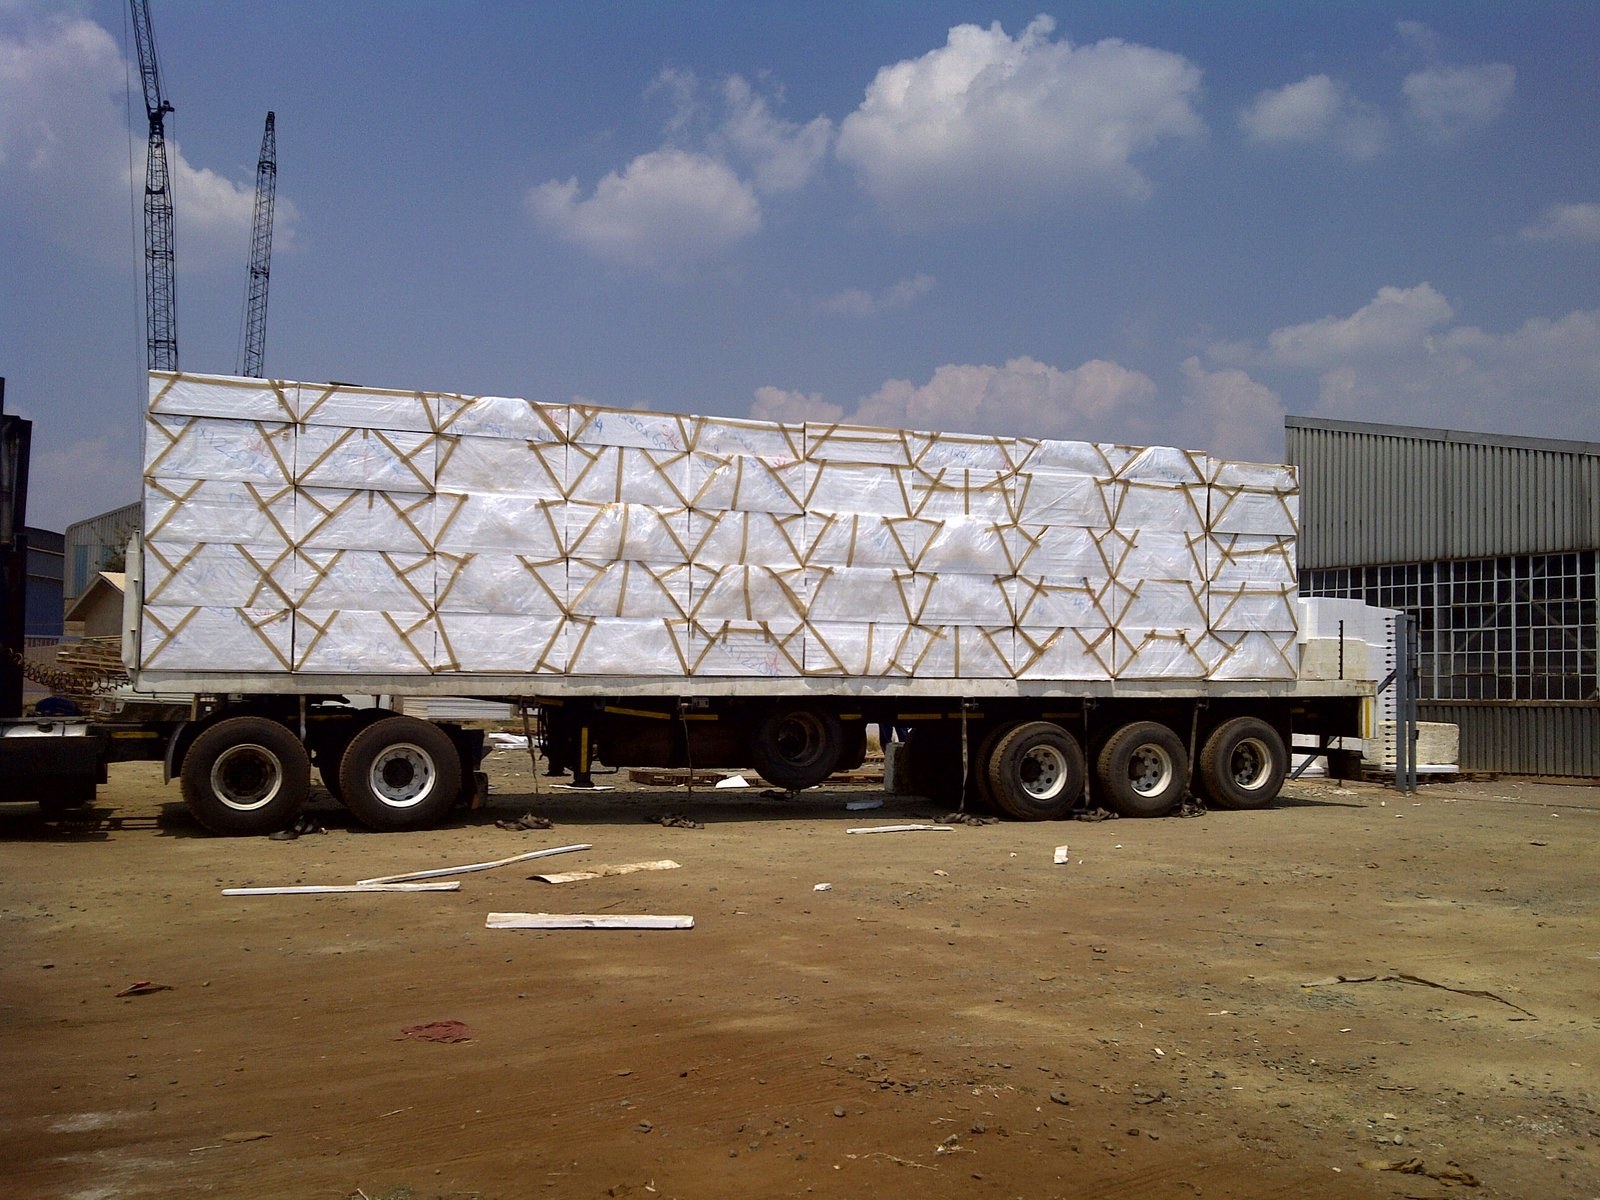
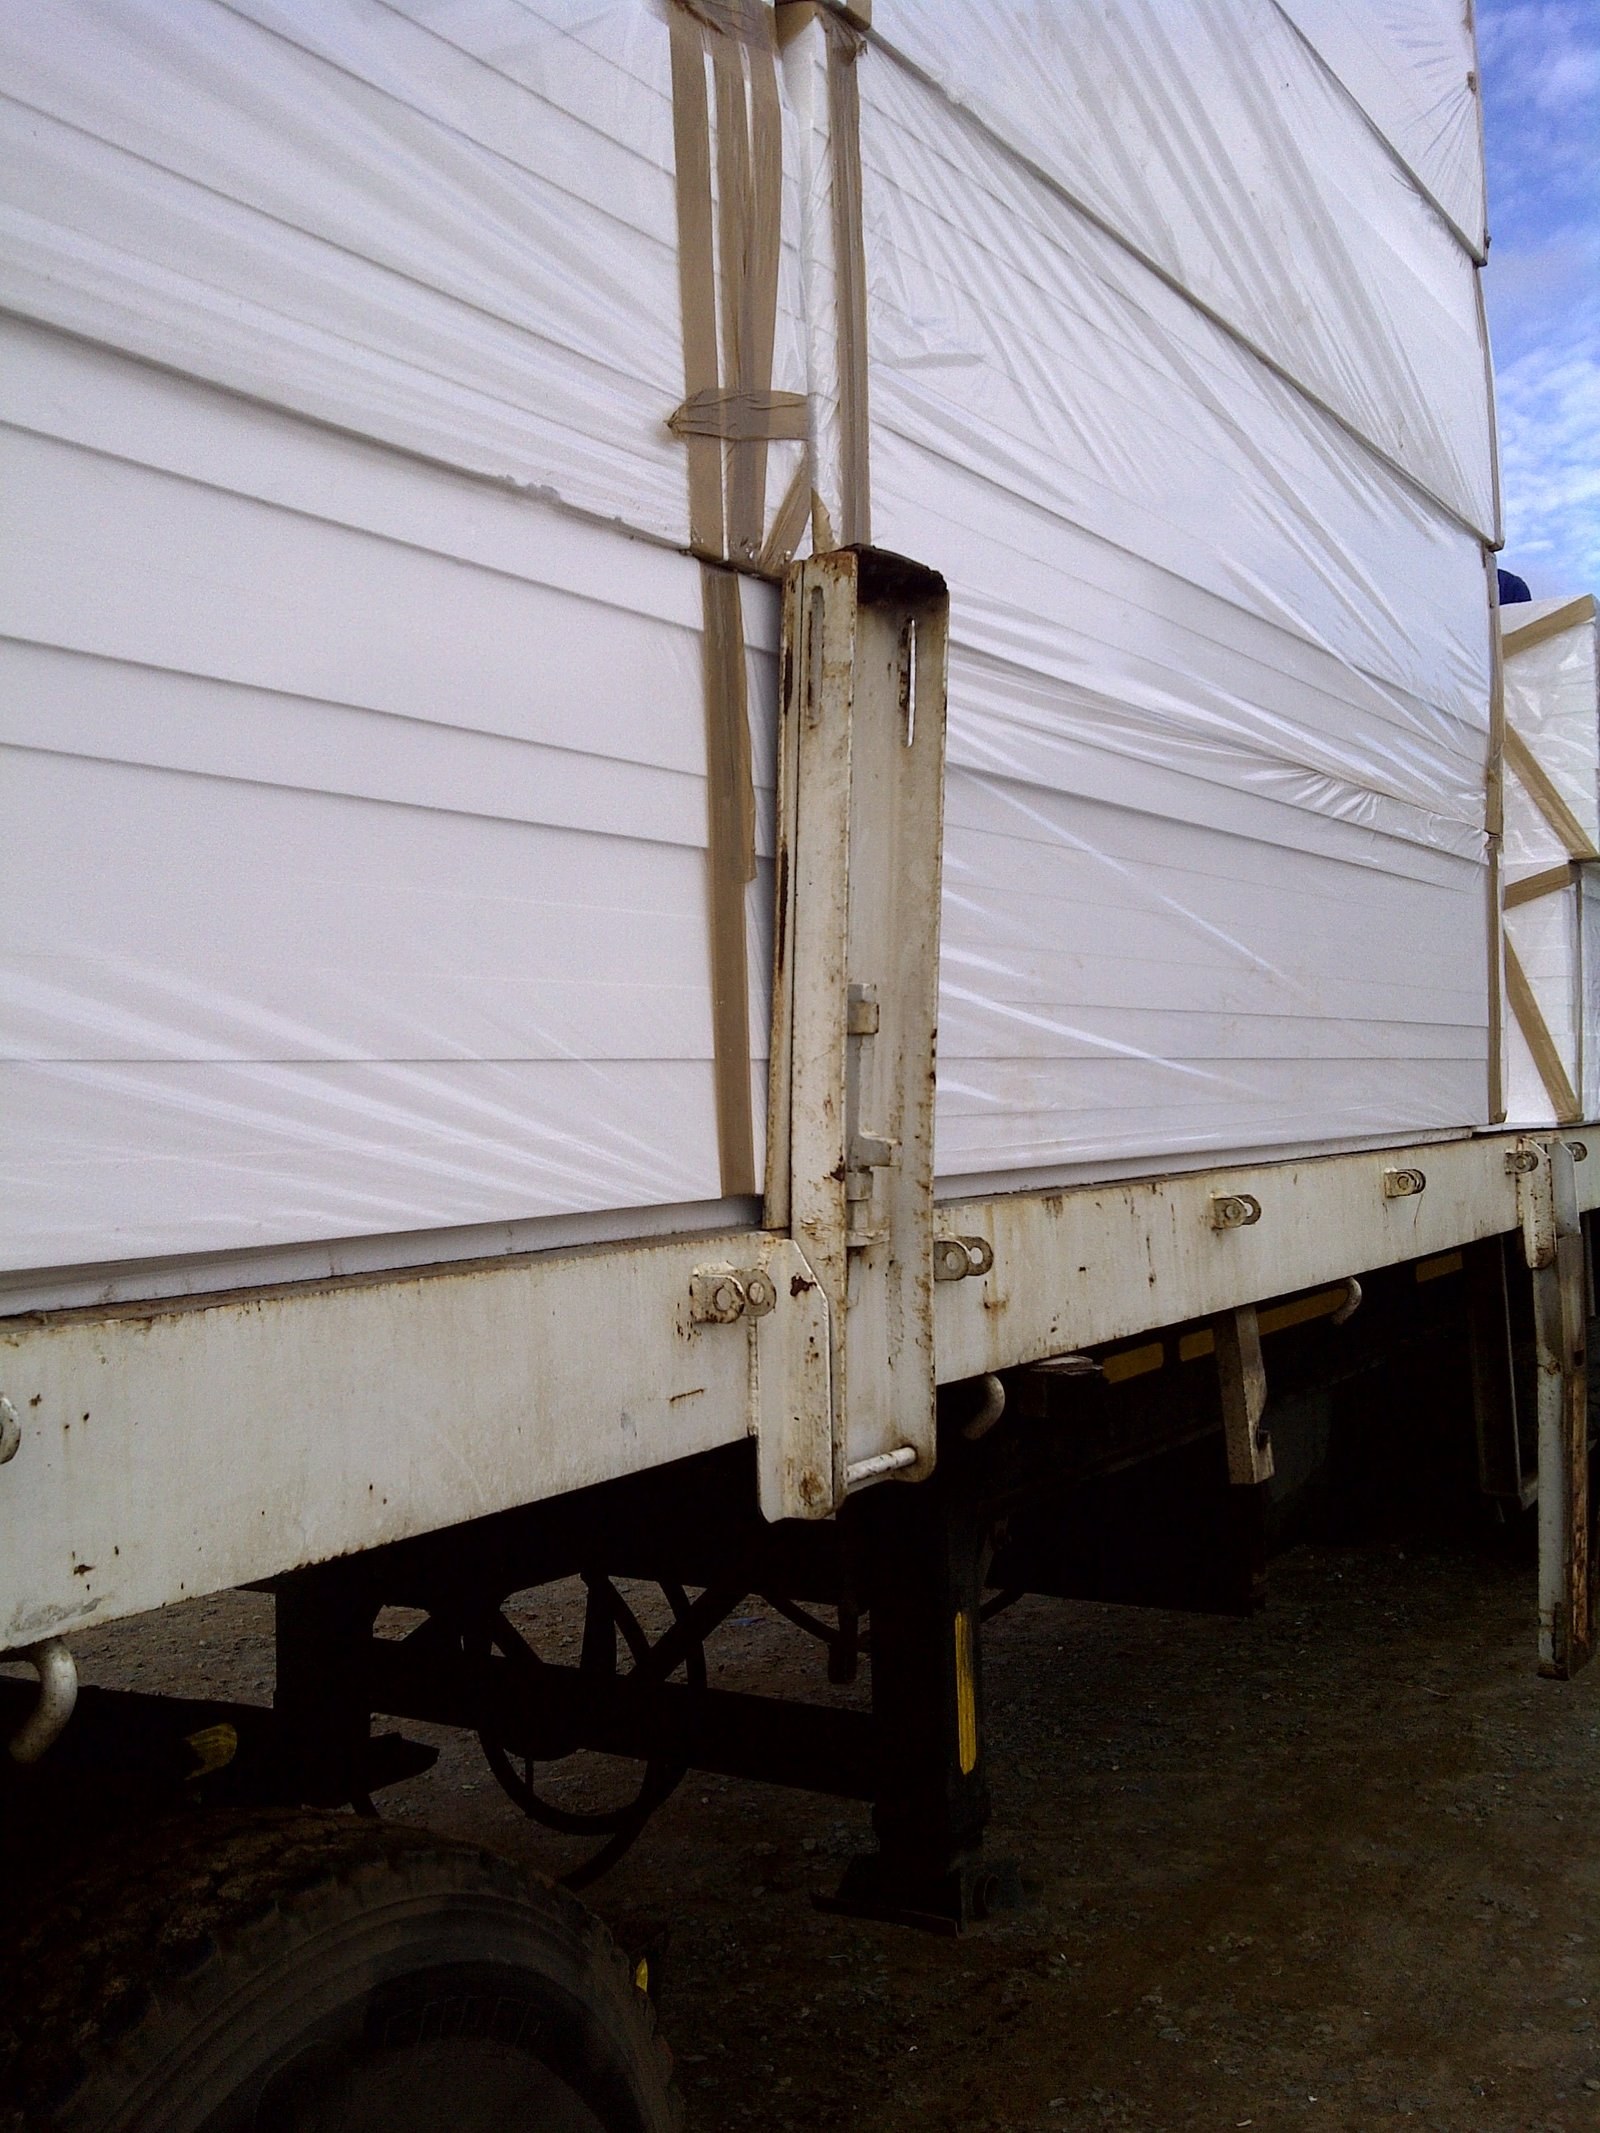
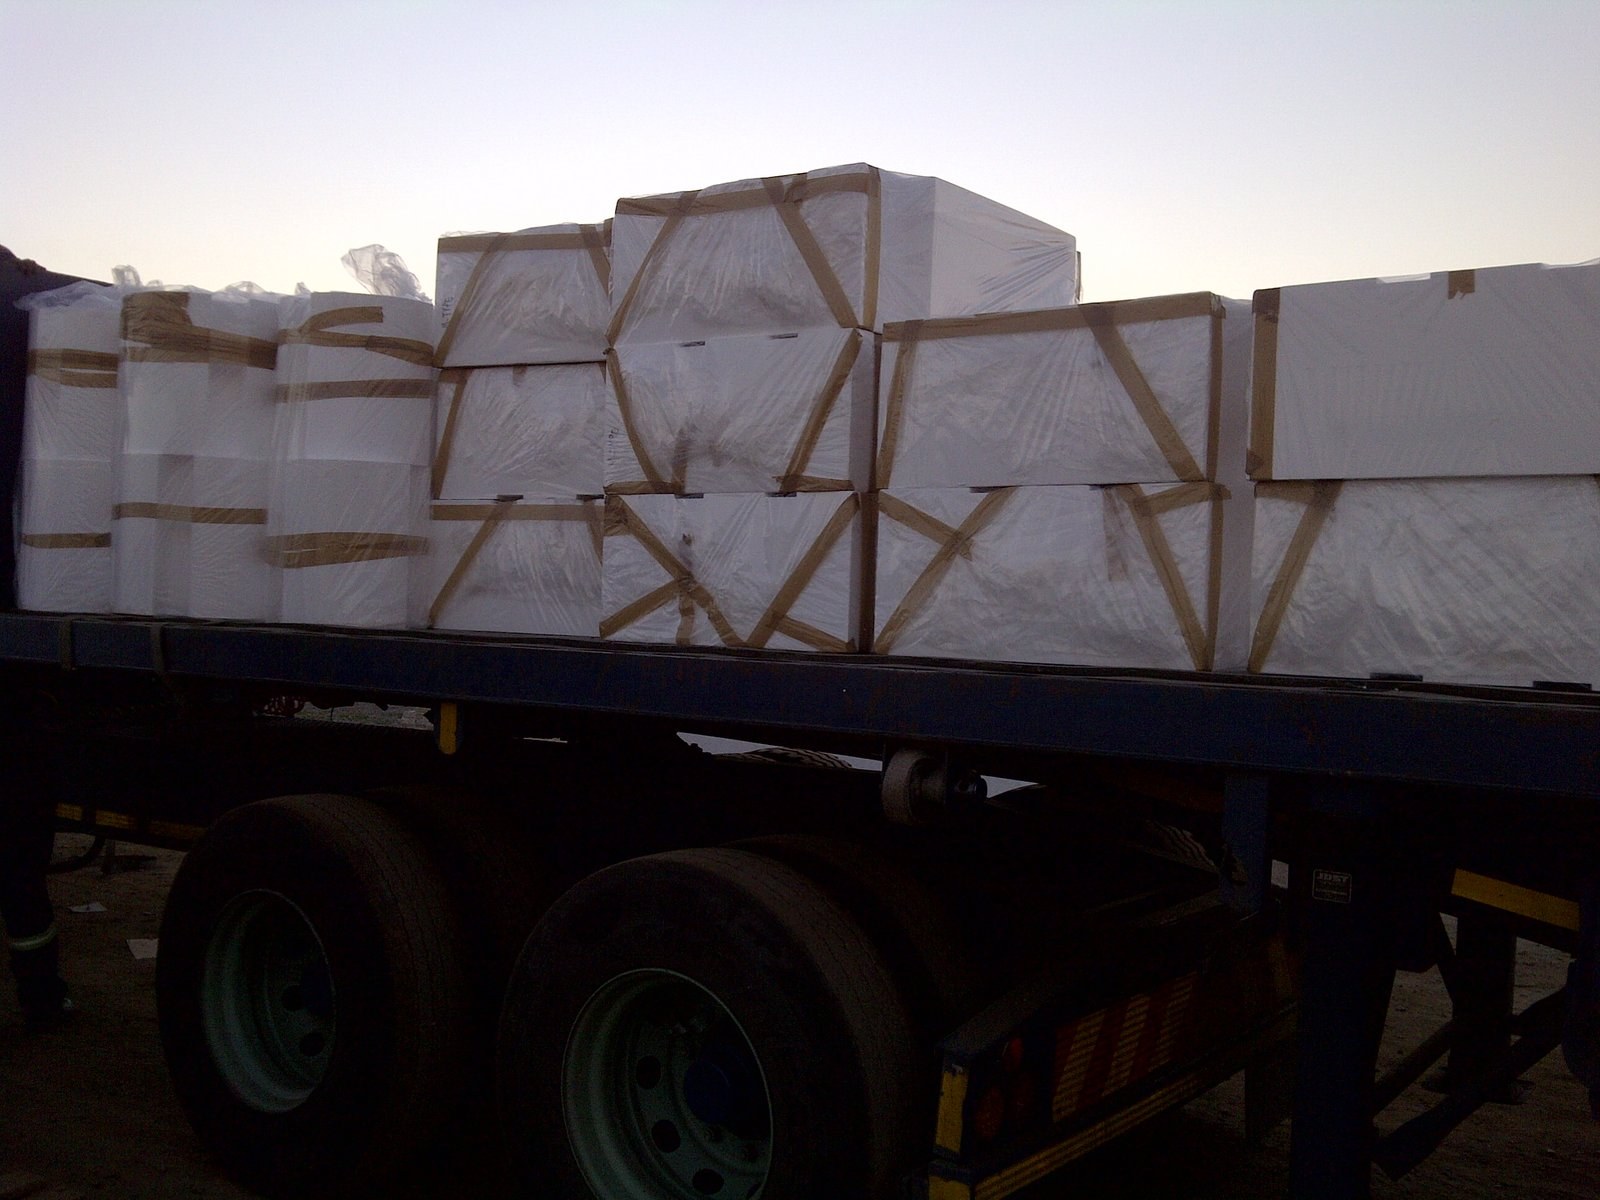
Flatbed truck loaded with wrapped EPS panel bundlesPHOTO
Flatbed truck loaded with wrapped EPS panel bundlesBulk Insulation Products
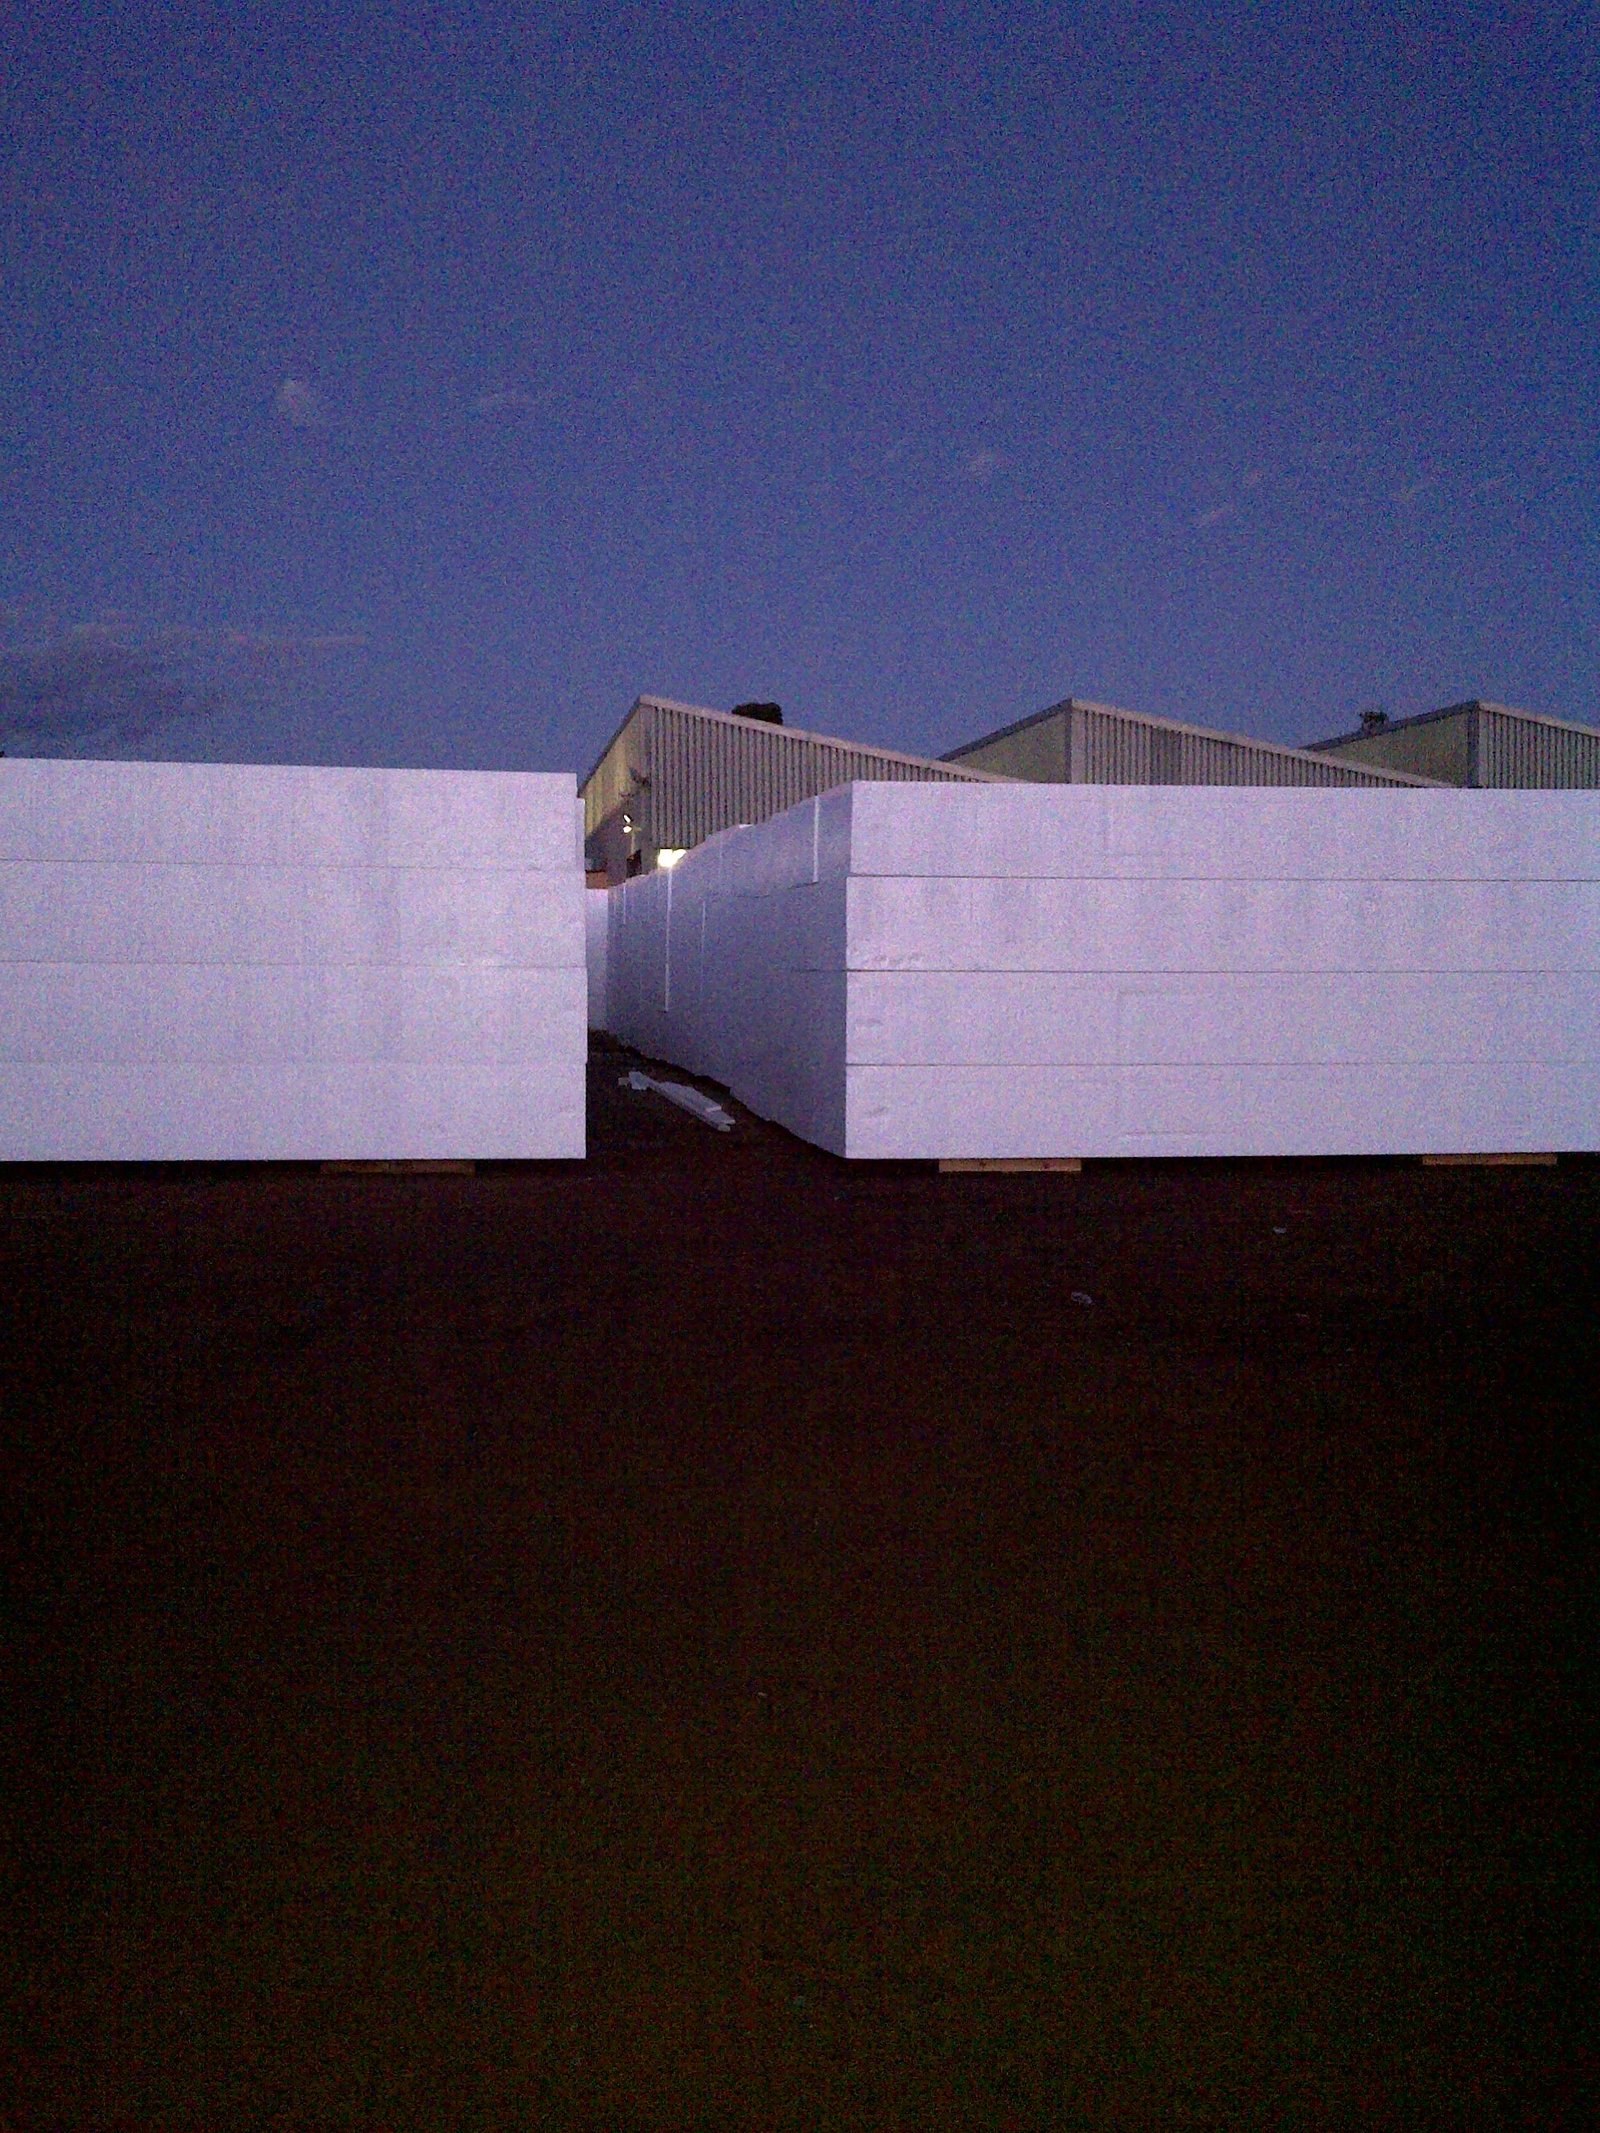
Corridor between stacked EPS block walls in the yard at duskPHOTO
Corridor between stacked EPS block walls in the yard at duskBulk Insulation Products
Two flatbed trucks loaded with EPS panel stacks in the yardPHOTO
Two flatbed trucks loaded with EPS panel stacks in the yardBulk Insulation Products
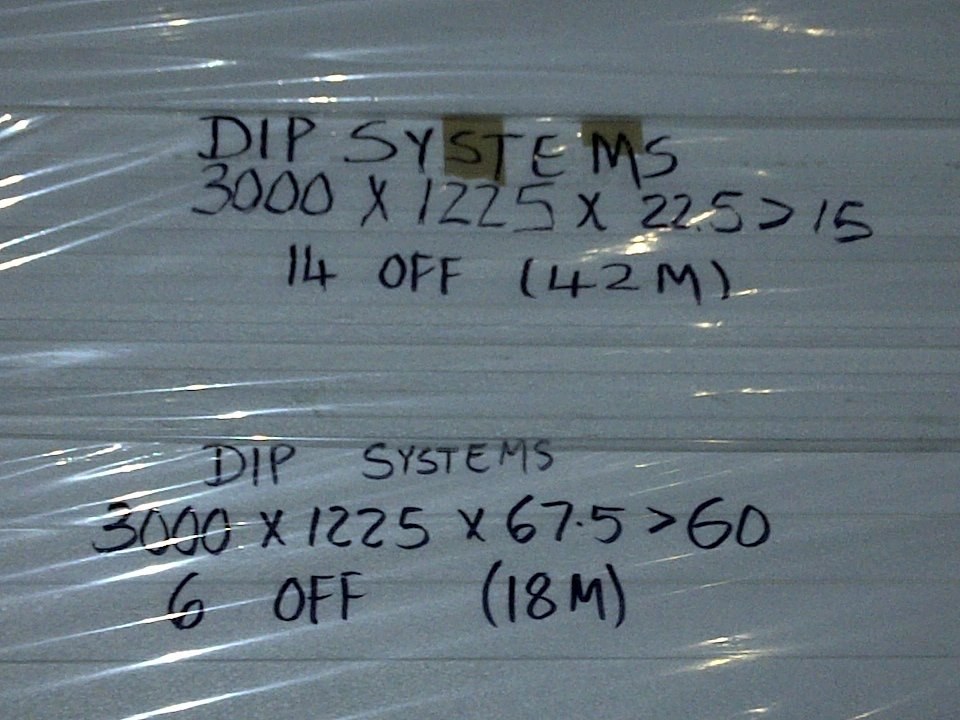
Handwritten order specification taped to a wrapped EPS board bundlePHOTO
Handwritten order specification taped to a wrapped EPS board bundleBulk Insulation Products
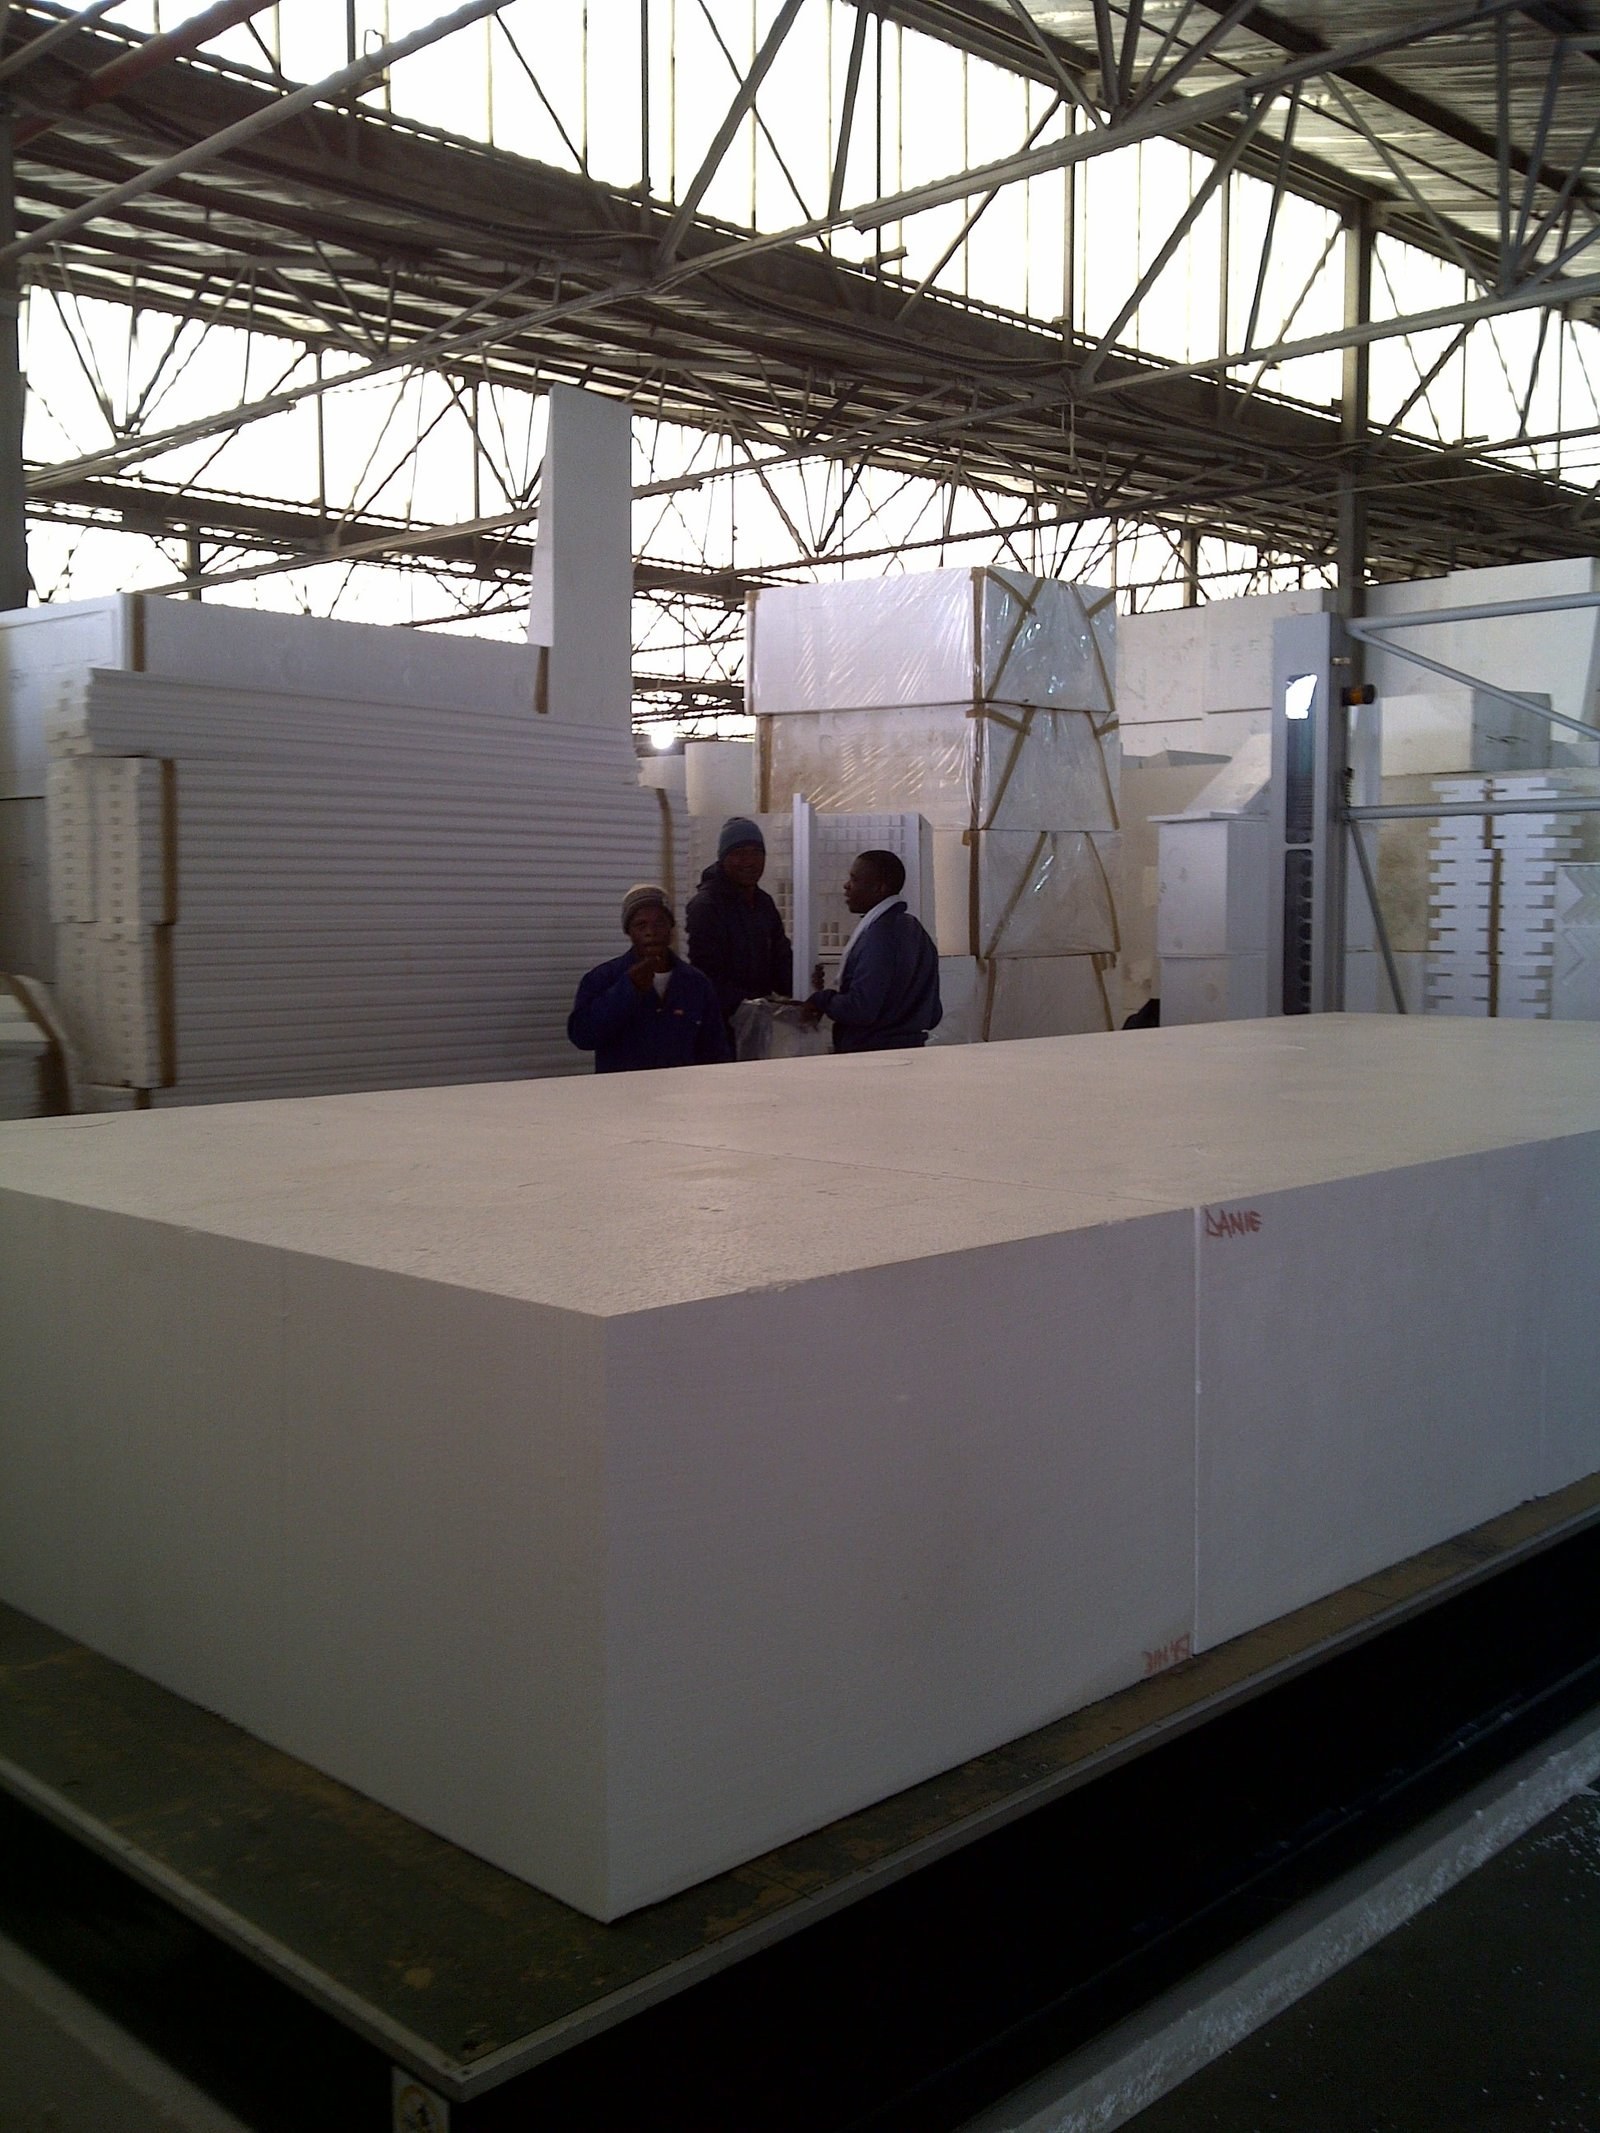
Large EPS block on the factory floor, workers talking in the backgroundPHOTO
Large EPS block on the factory floor, workers talking in the backgroundBulk Insulation Products
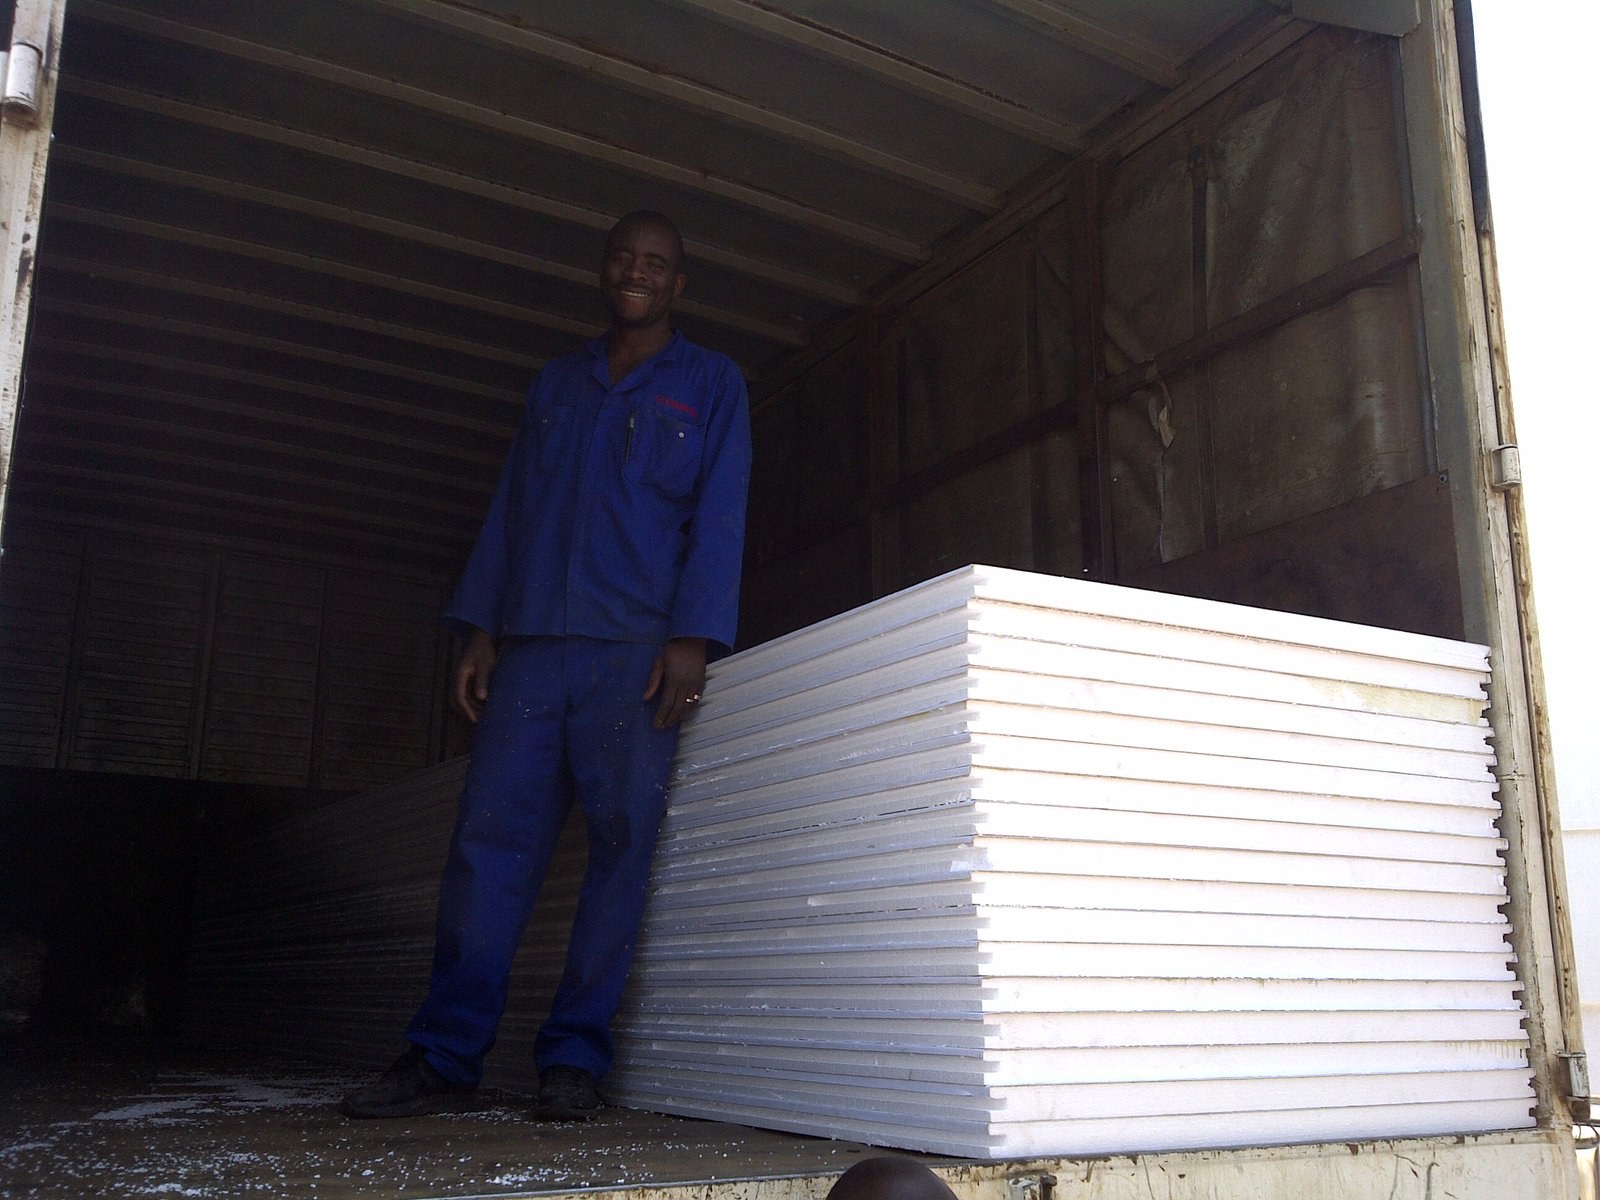
Worker beside a stack of EPS boards loaded in a truckPHOTO
Worker beside a stack of EPS boards loaded in a truckBulk Insulation Products
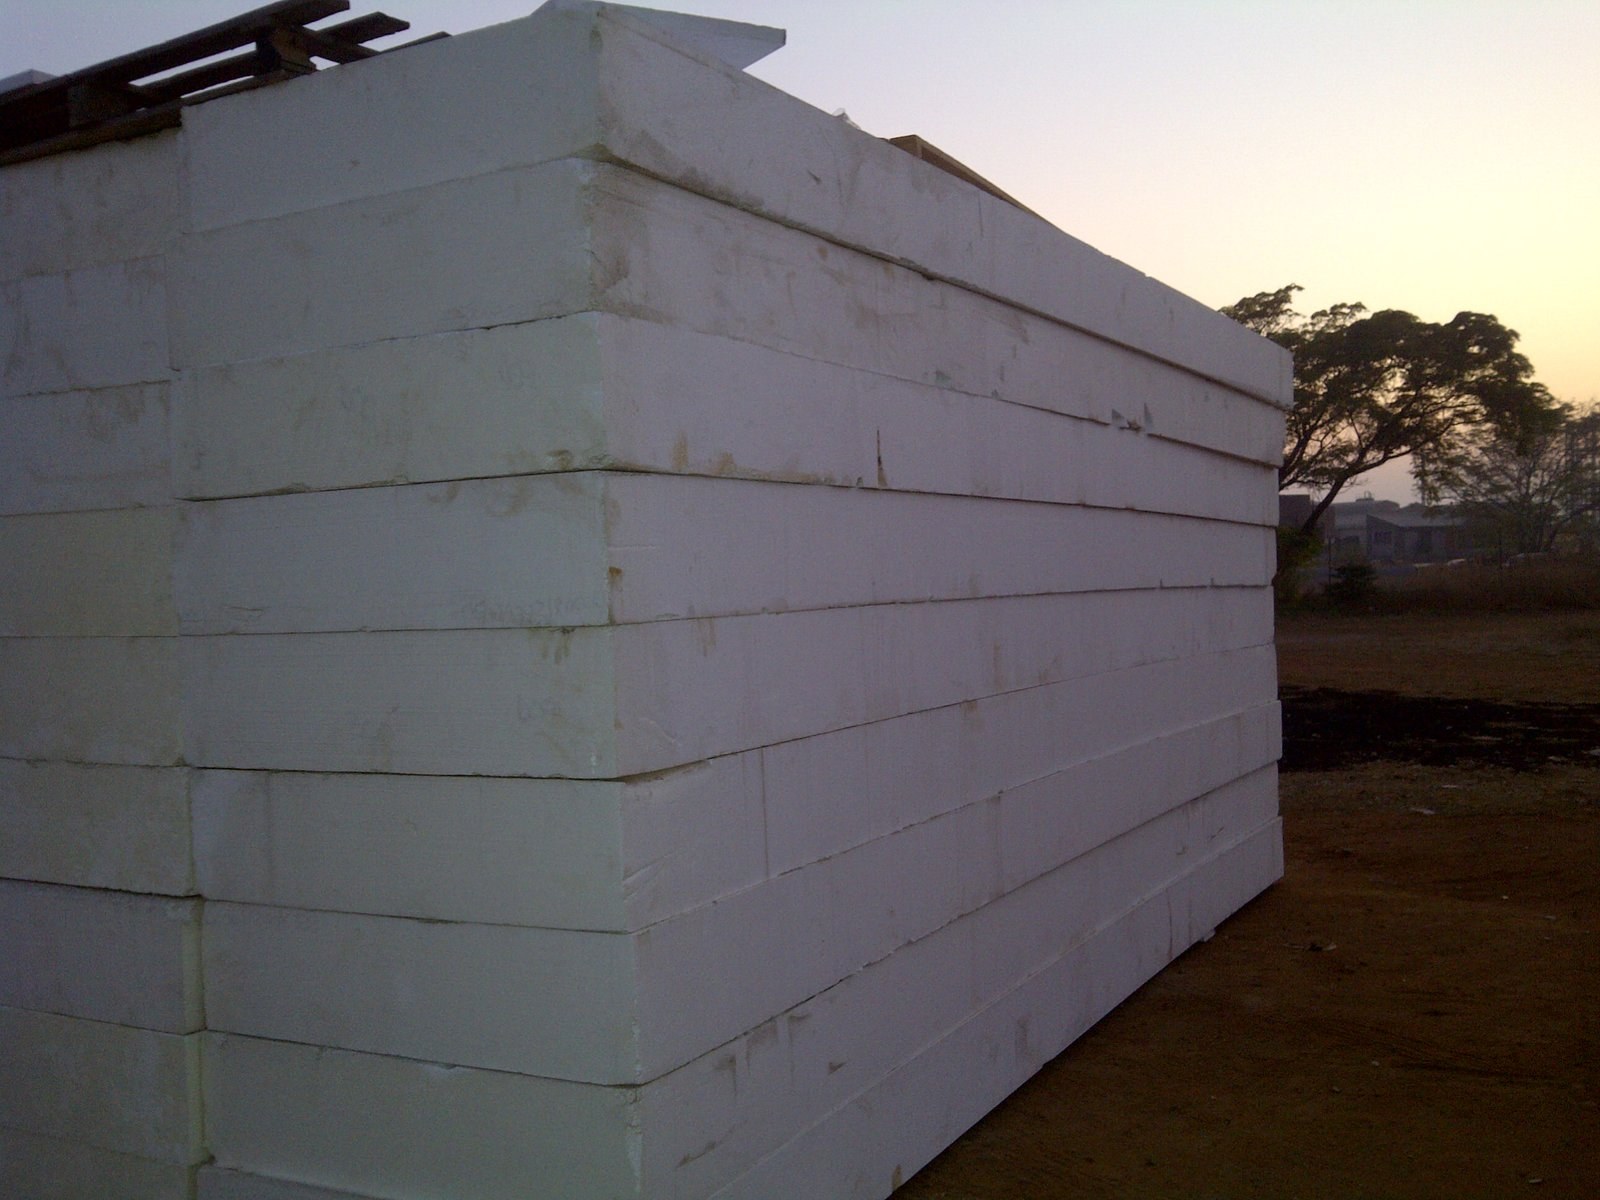
Corner of a stacked EPS block wall in the yard at dawnPHOTO
Corner of a stacked EPS block wall in the yard at dawnBulk Insulation Products
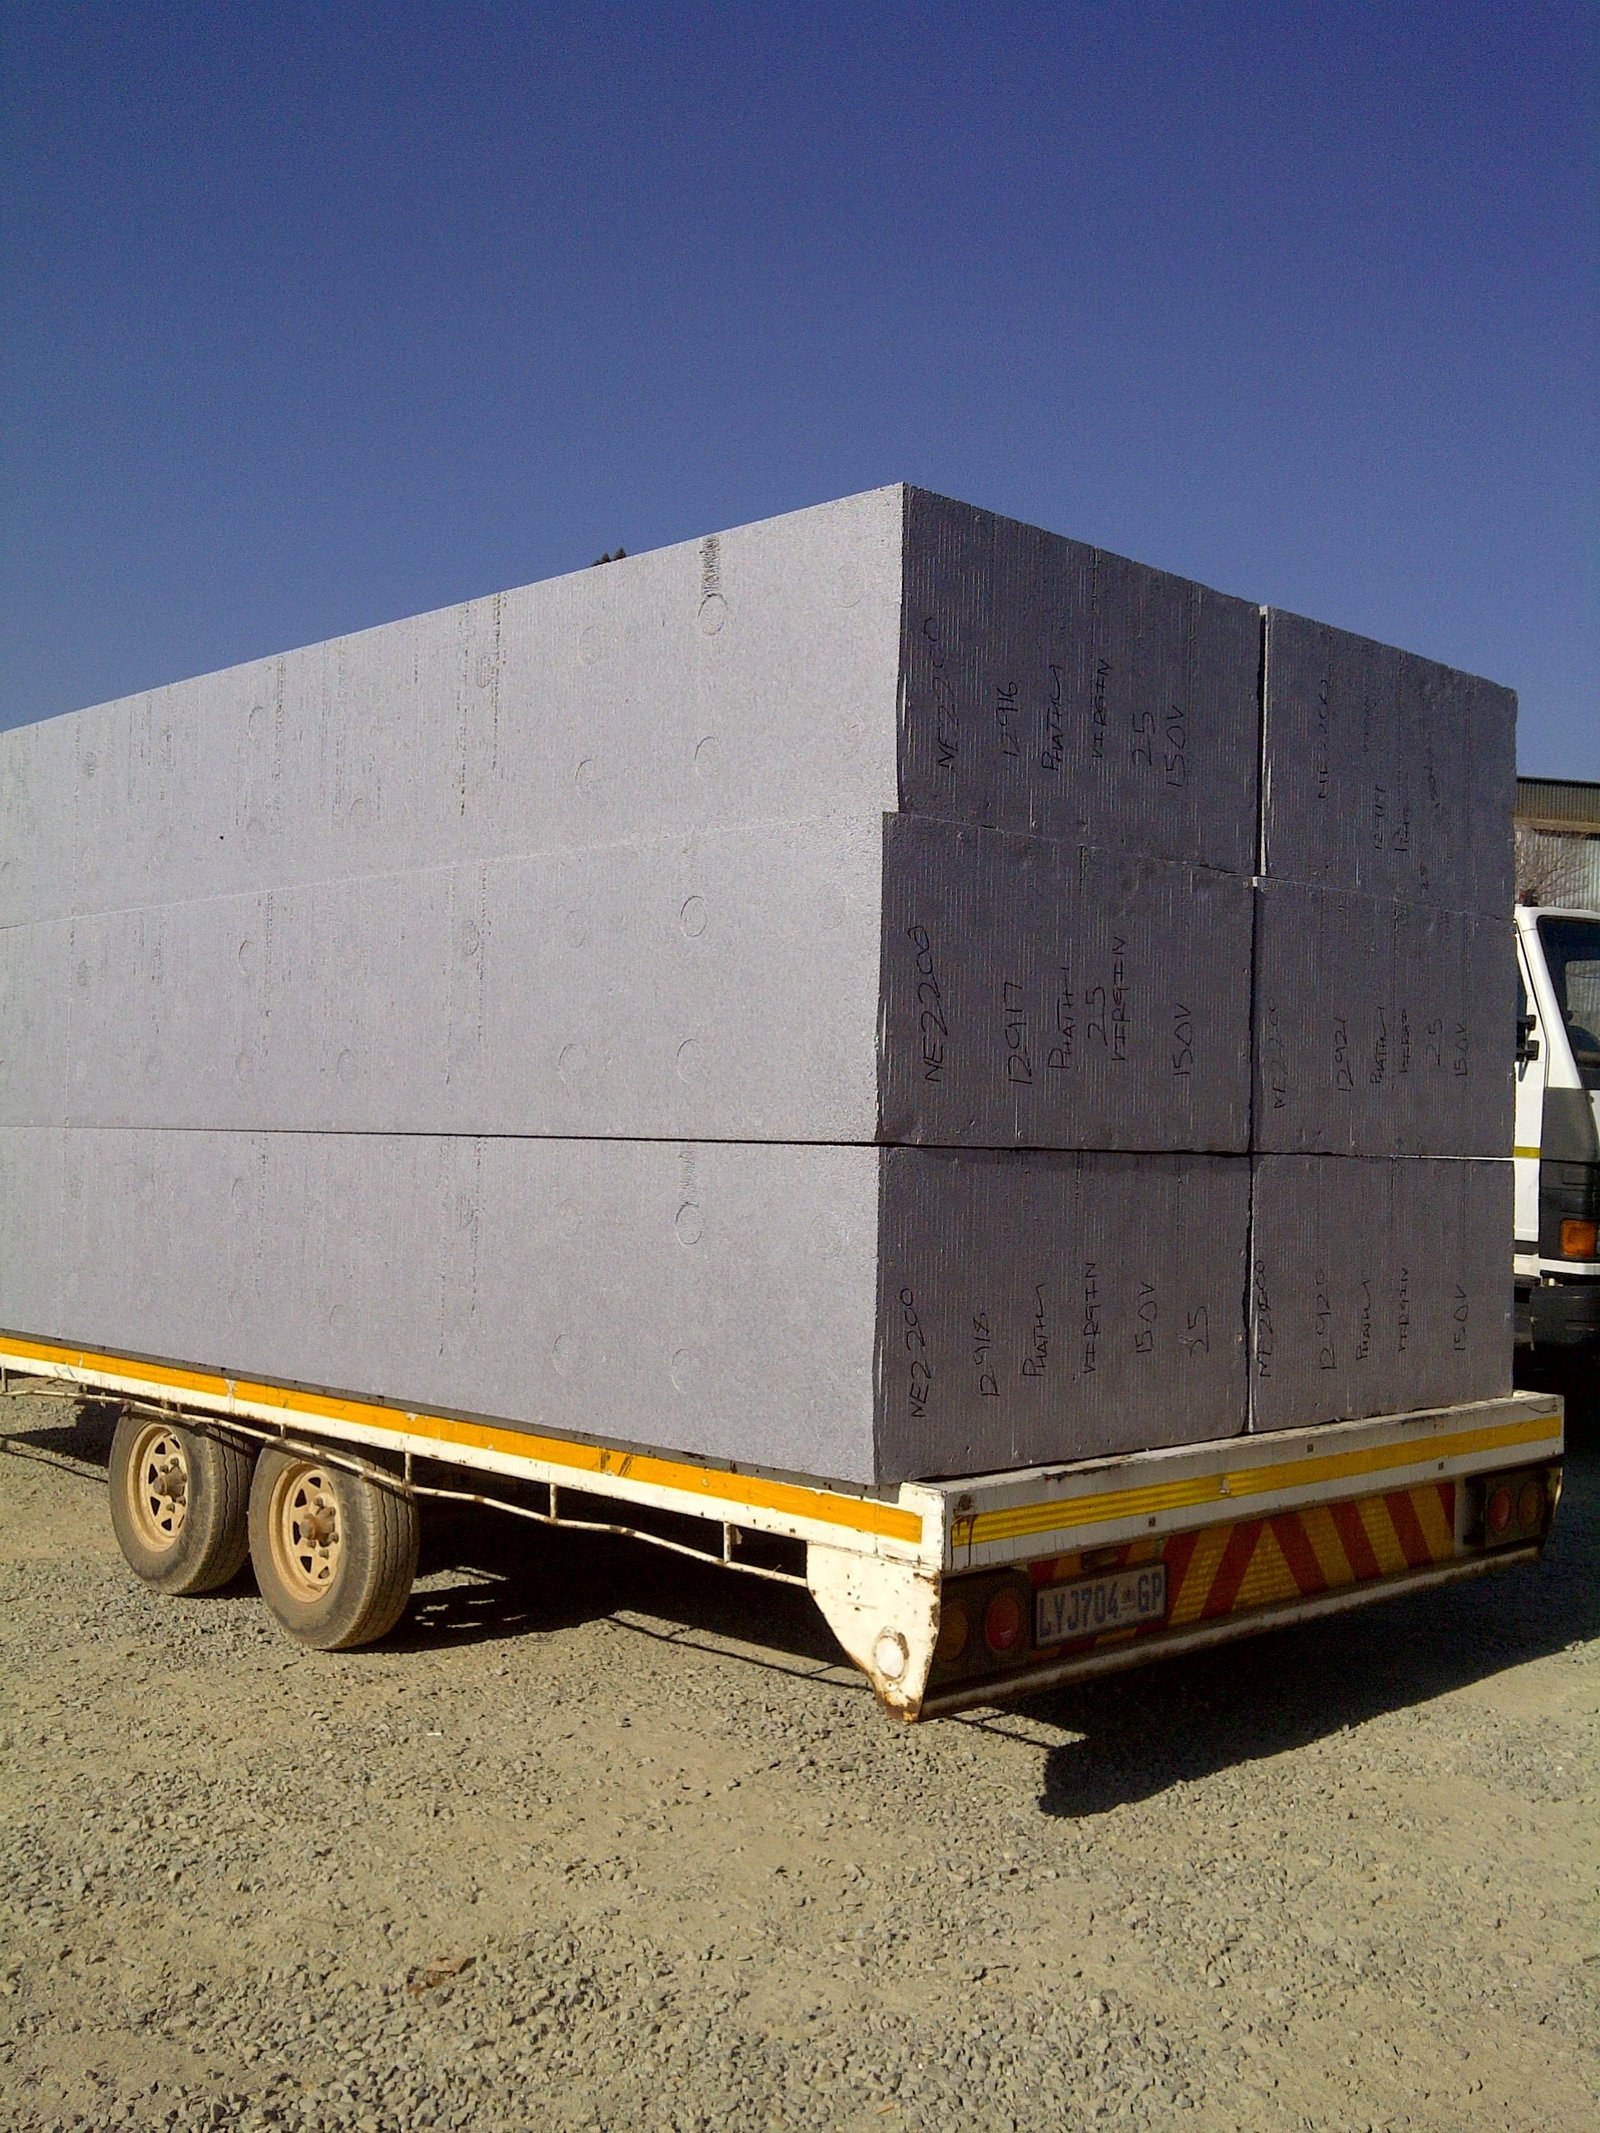
EPS blocks marked with grade and order details, loaded on a delivery trailerPHOTO
EPS blocks marked with grade and order details, loaded on a delivery trailerBulk Insulation Products
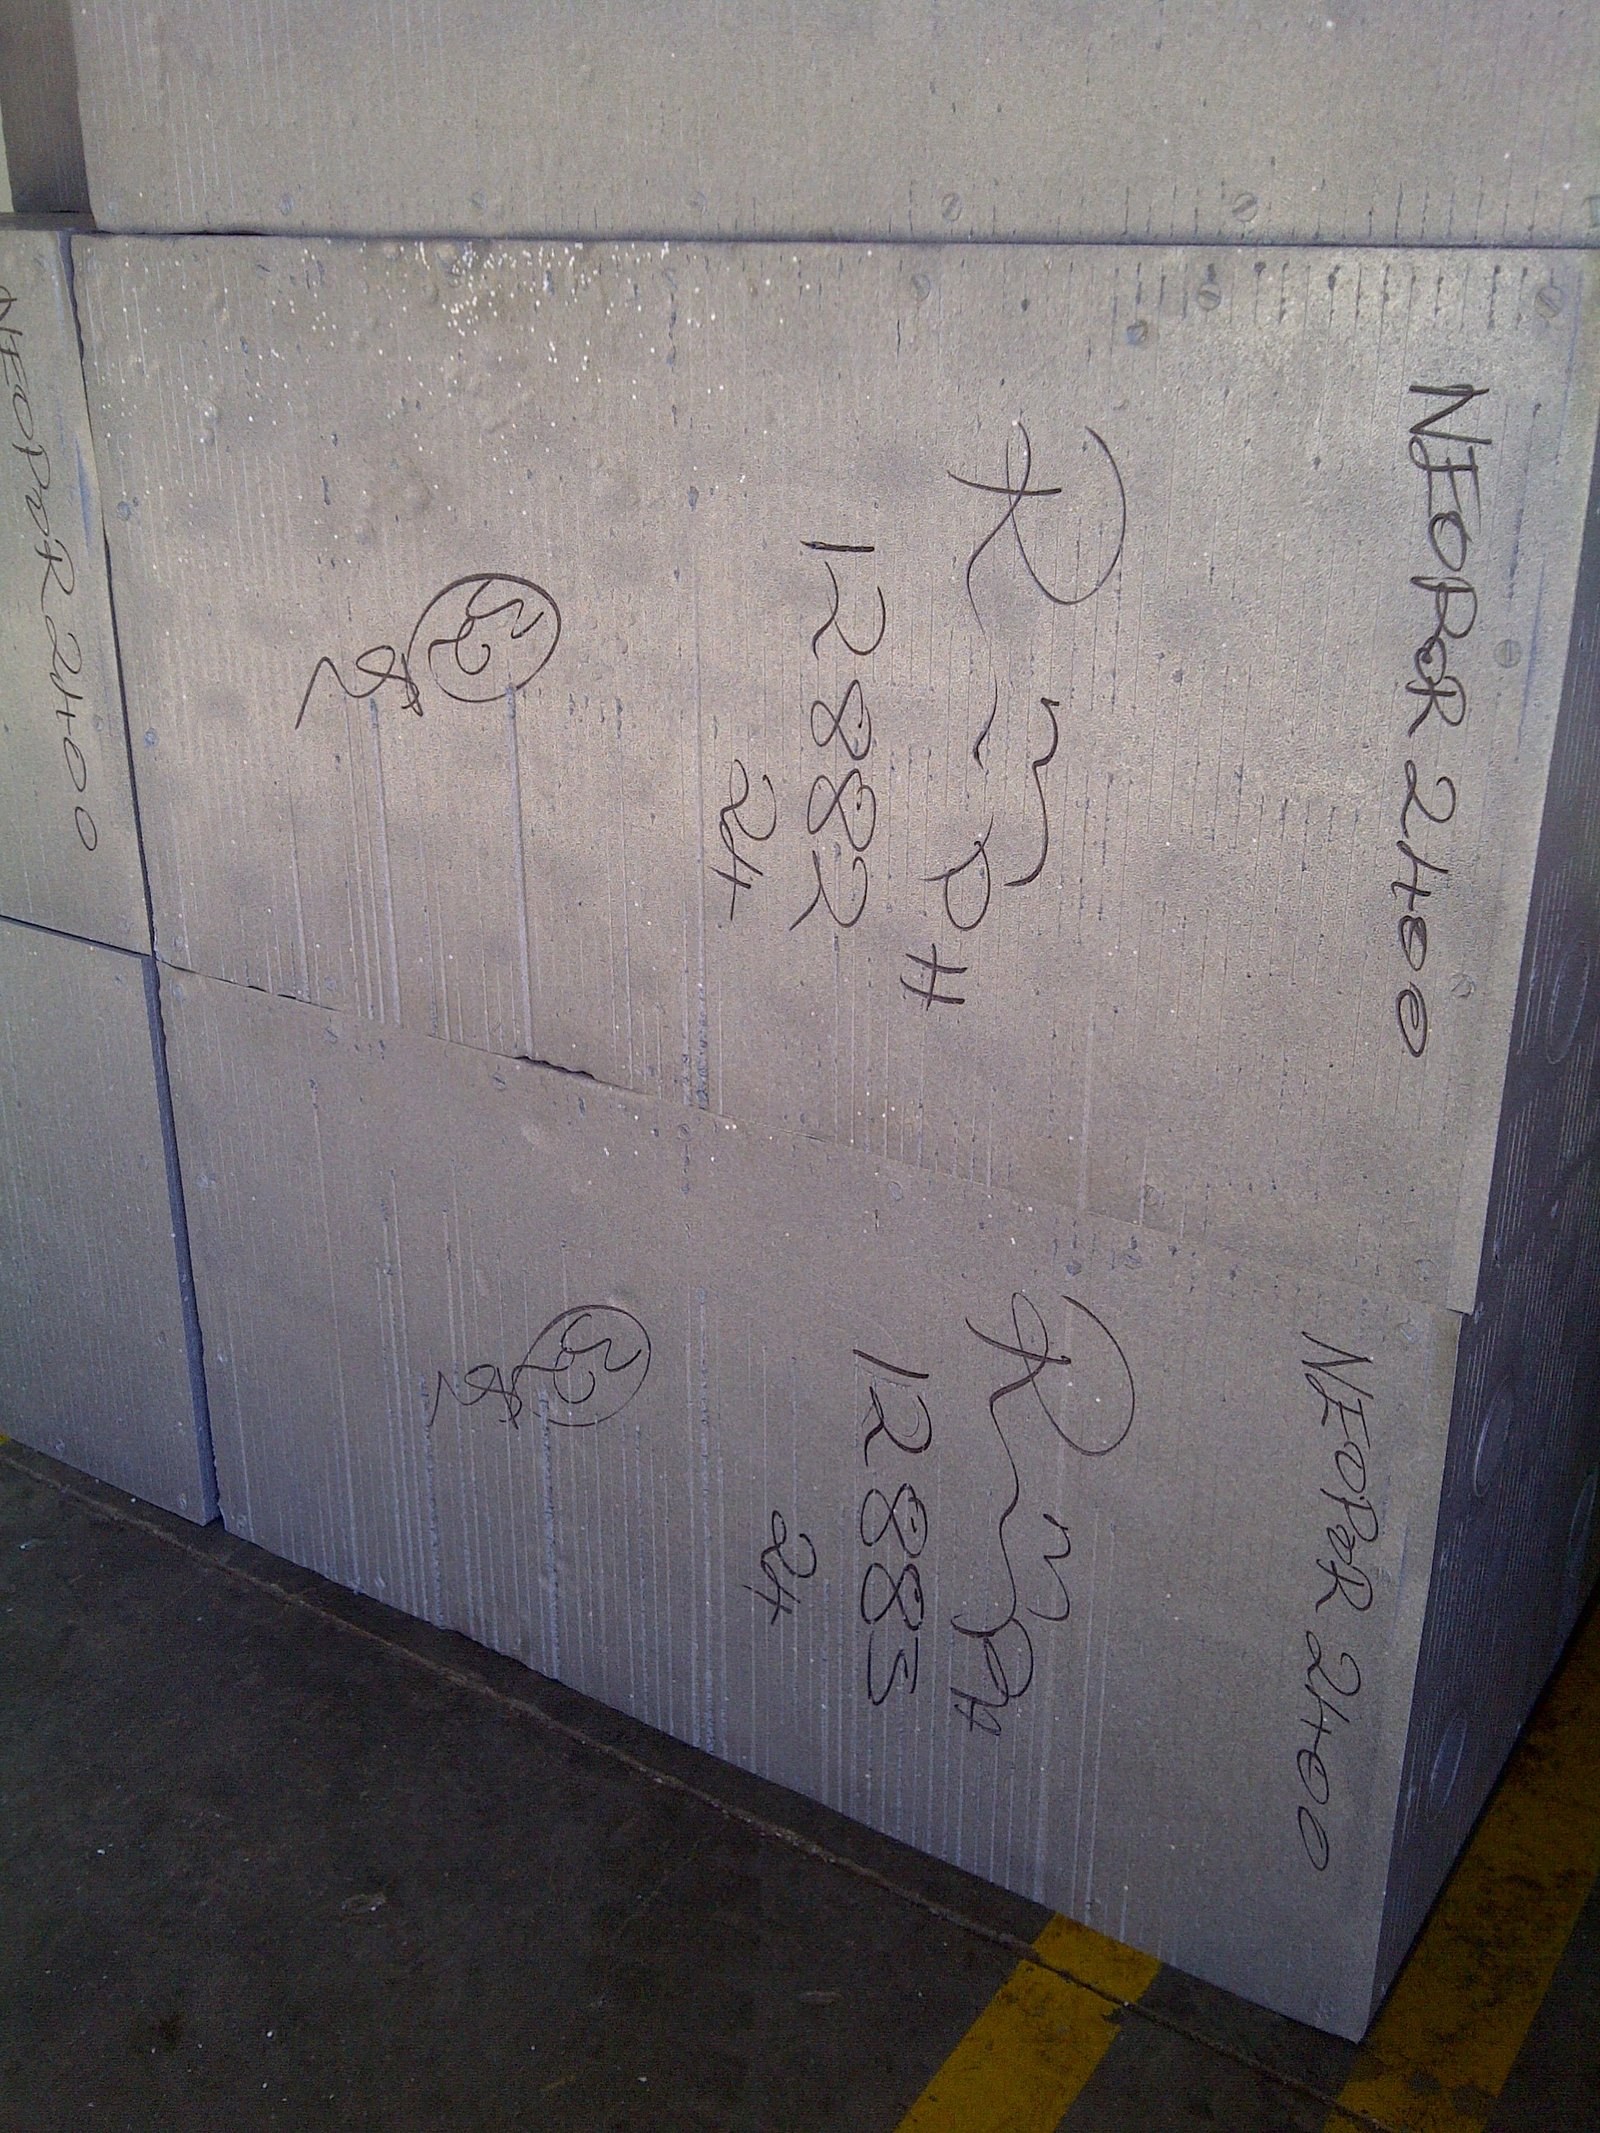
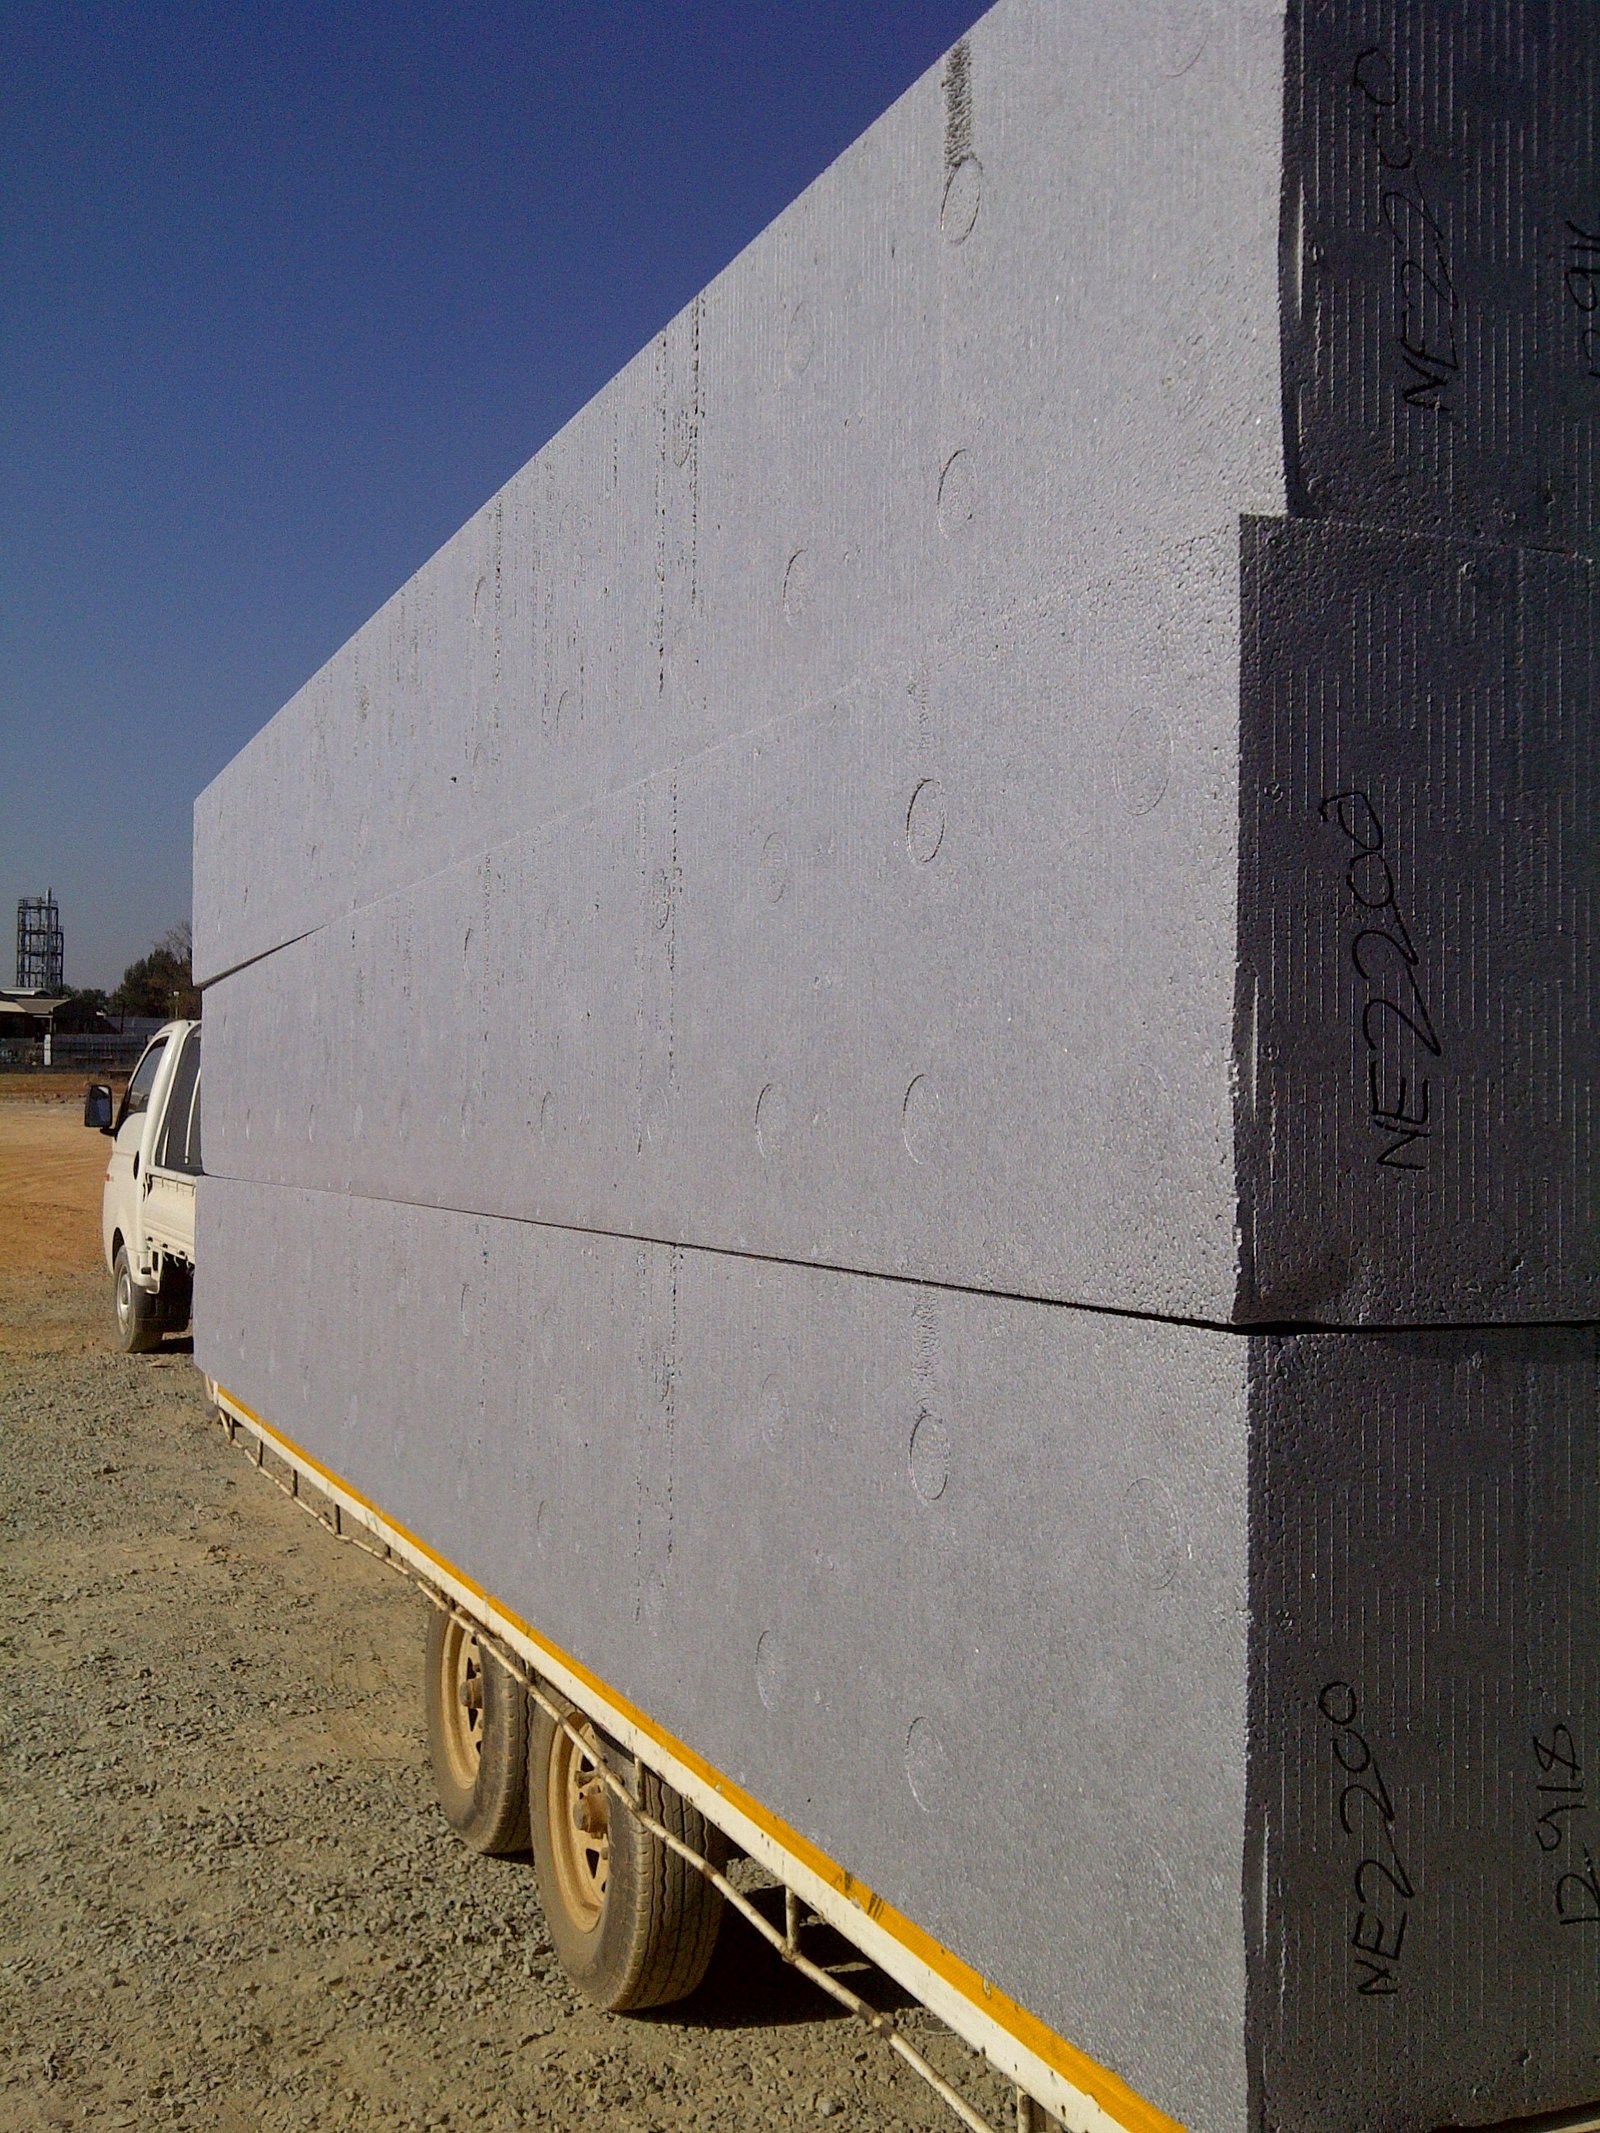
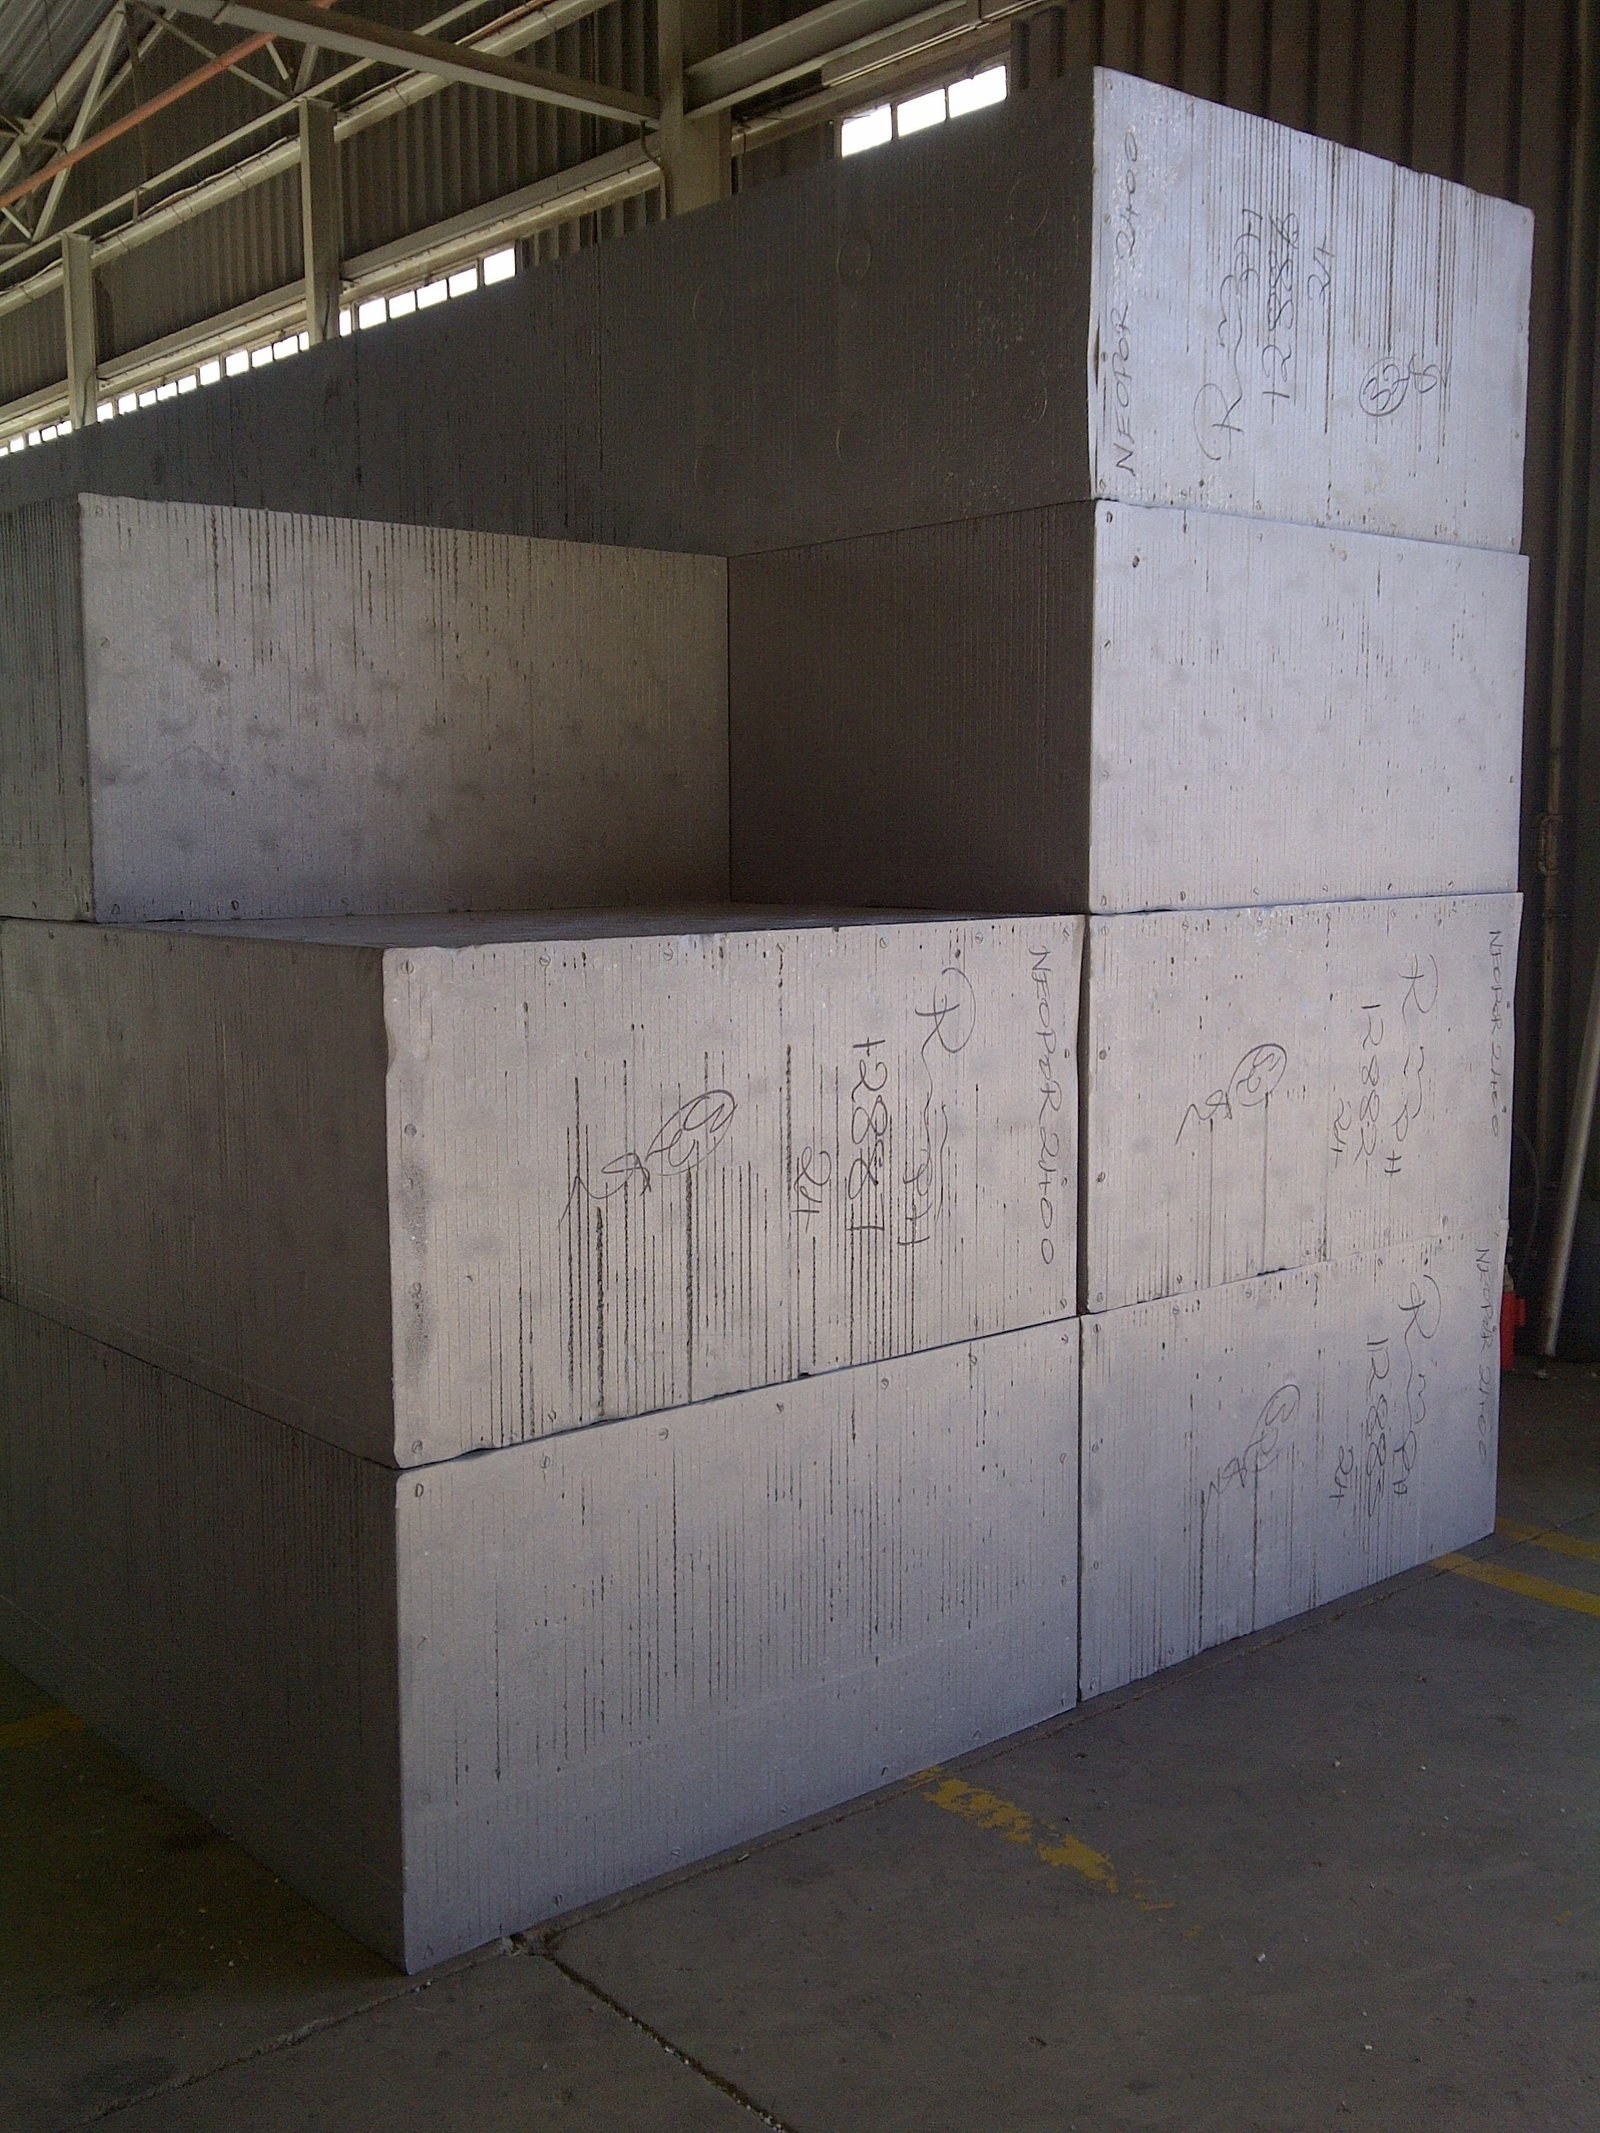
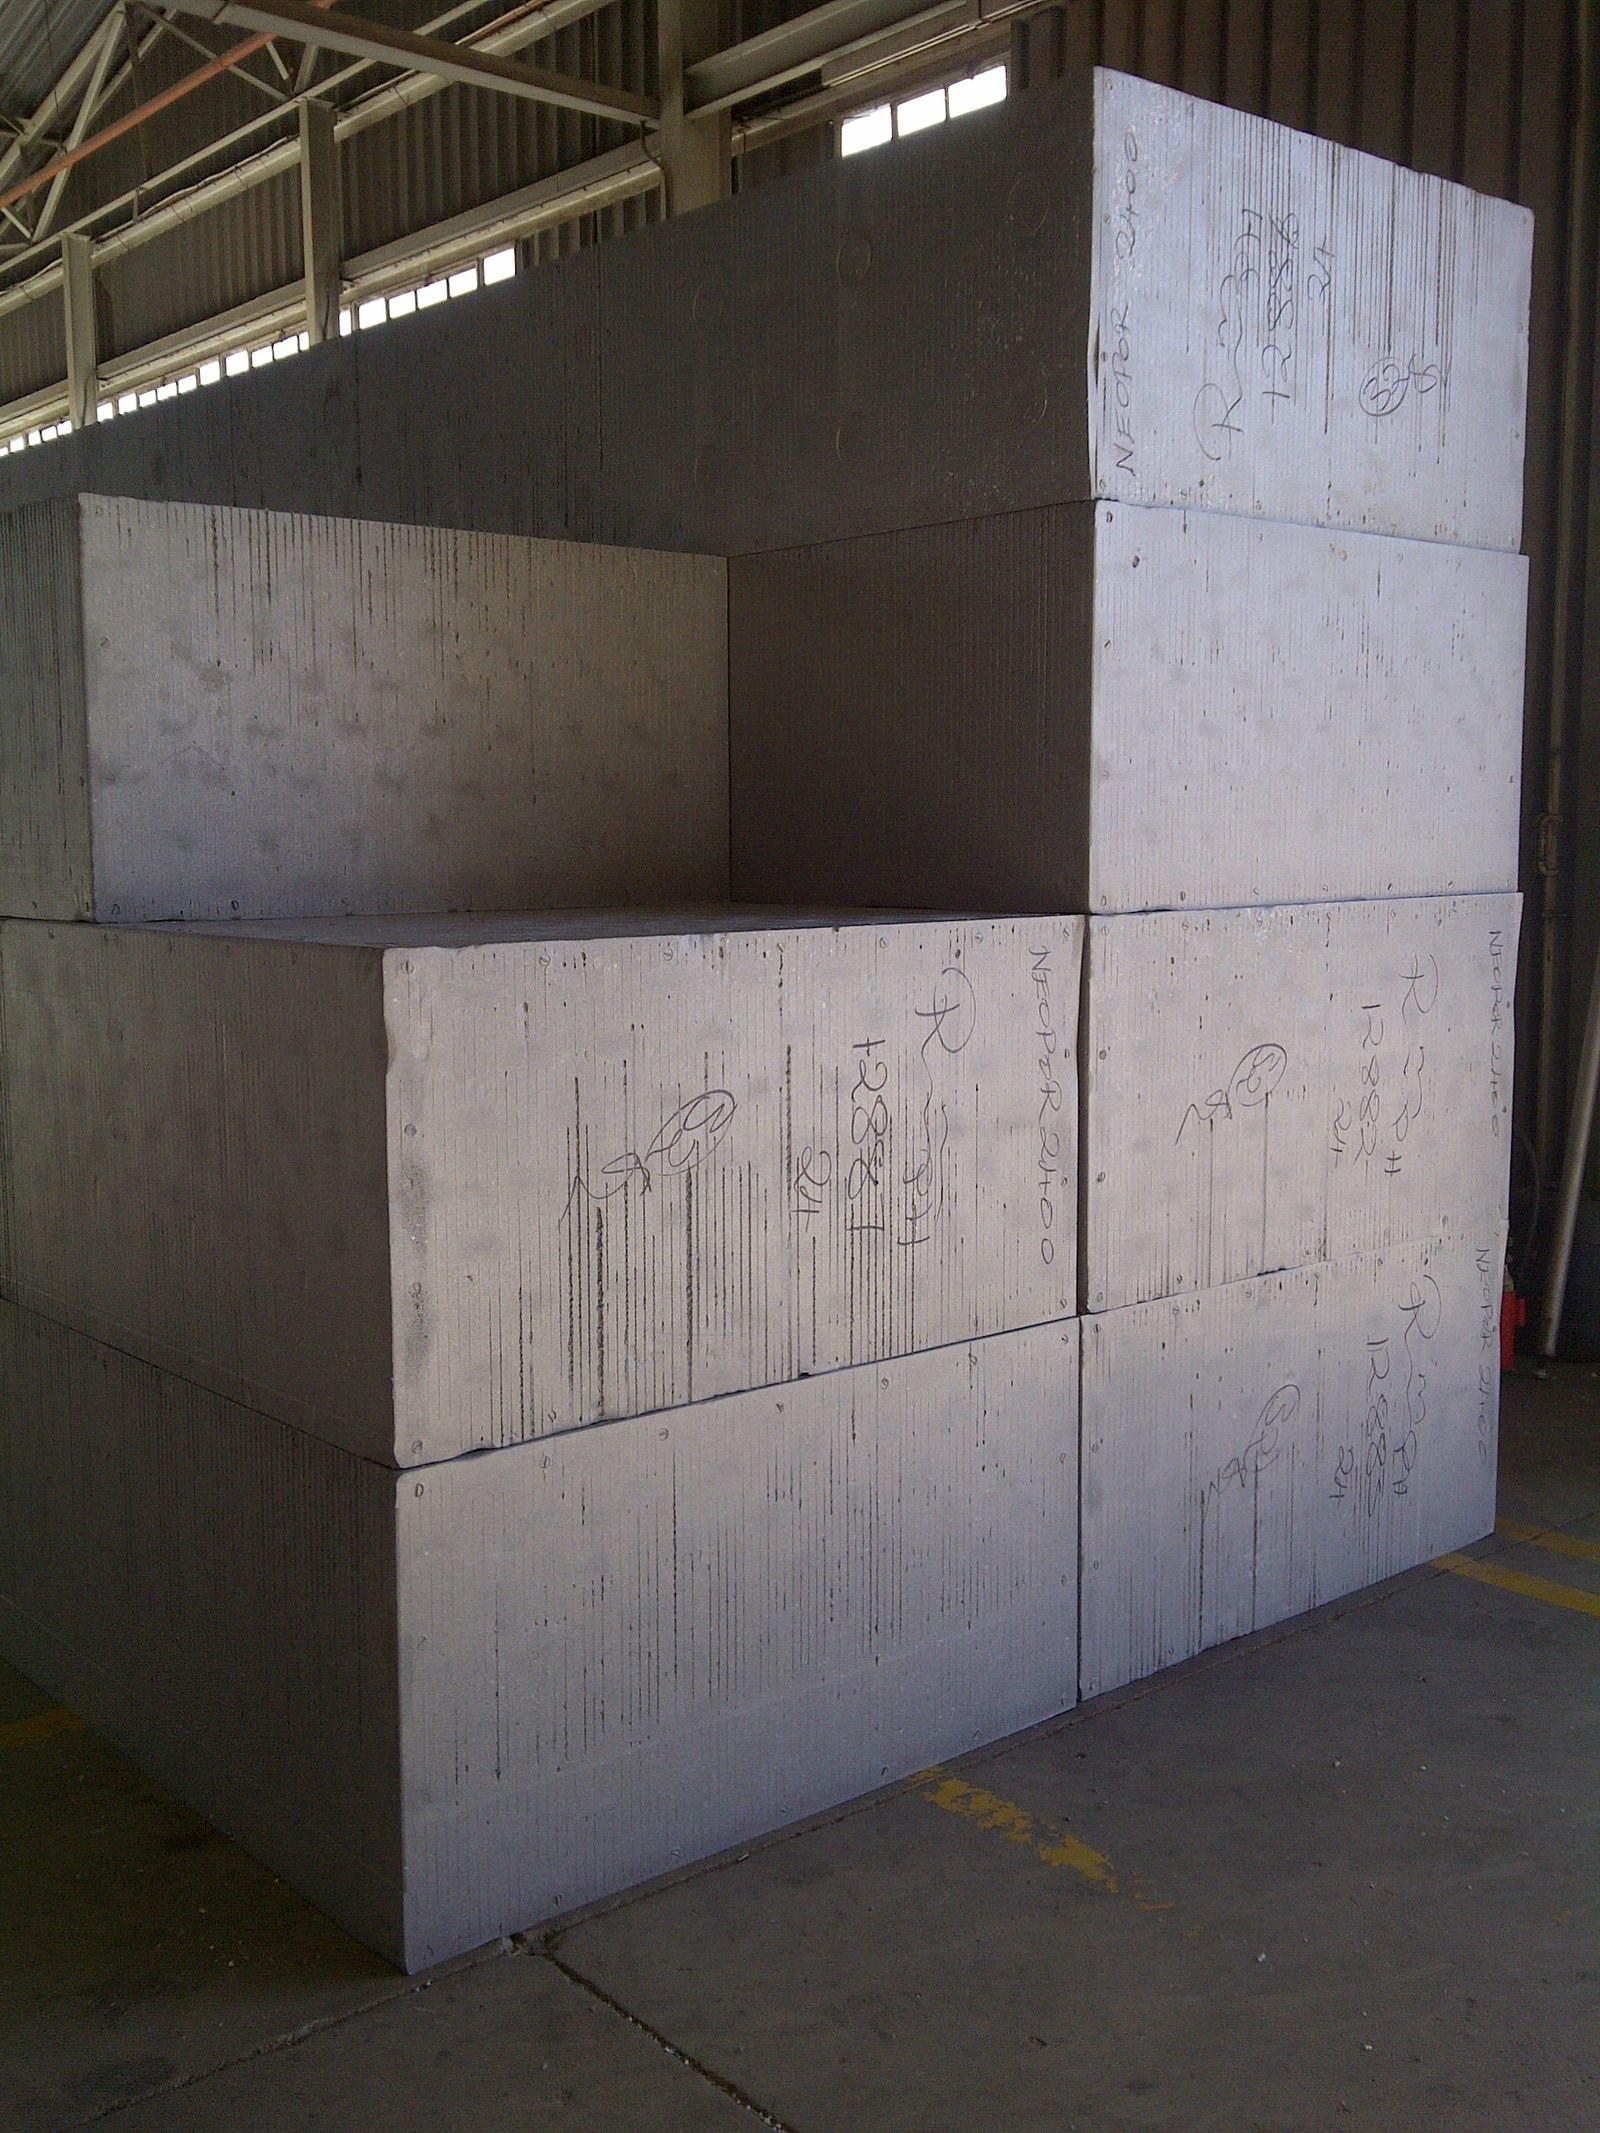
Close-up of NEOPOR grade markings written on stacked EPS blocksPHOTO
Close-up of NEOPOR grade markings written on stacked EPS blocksBulk Insulation Products
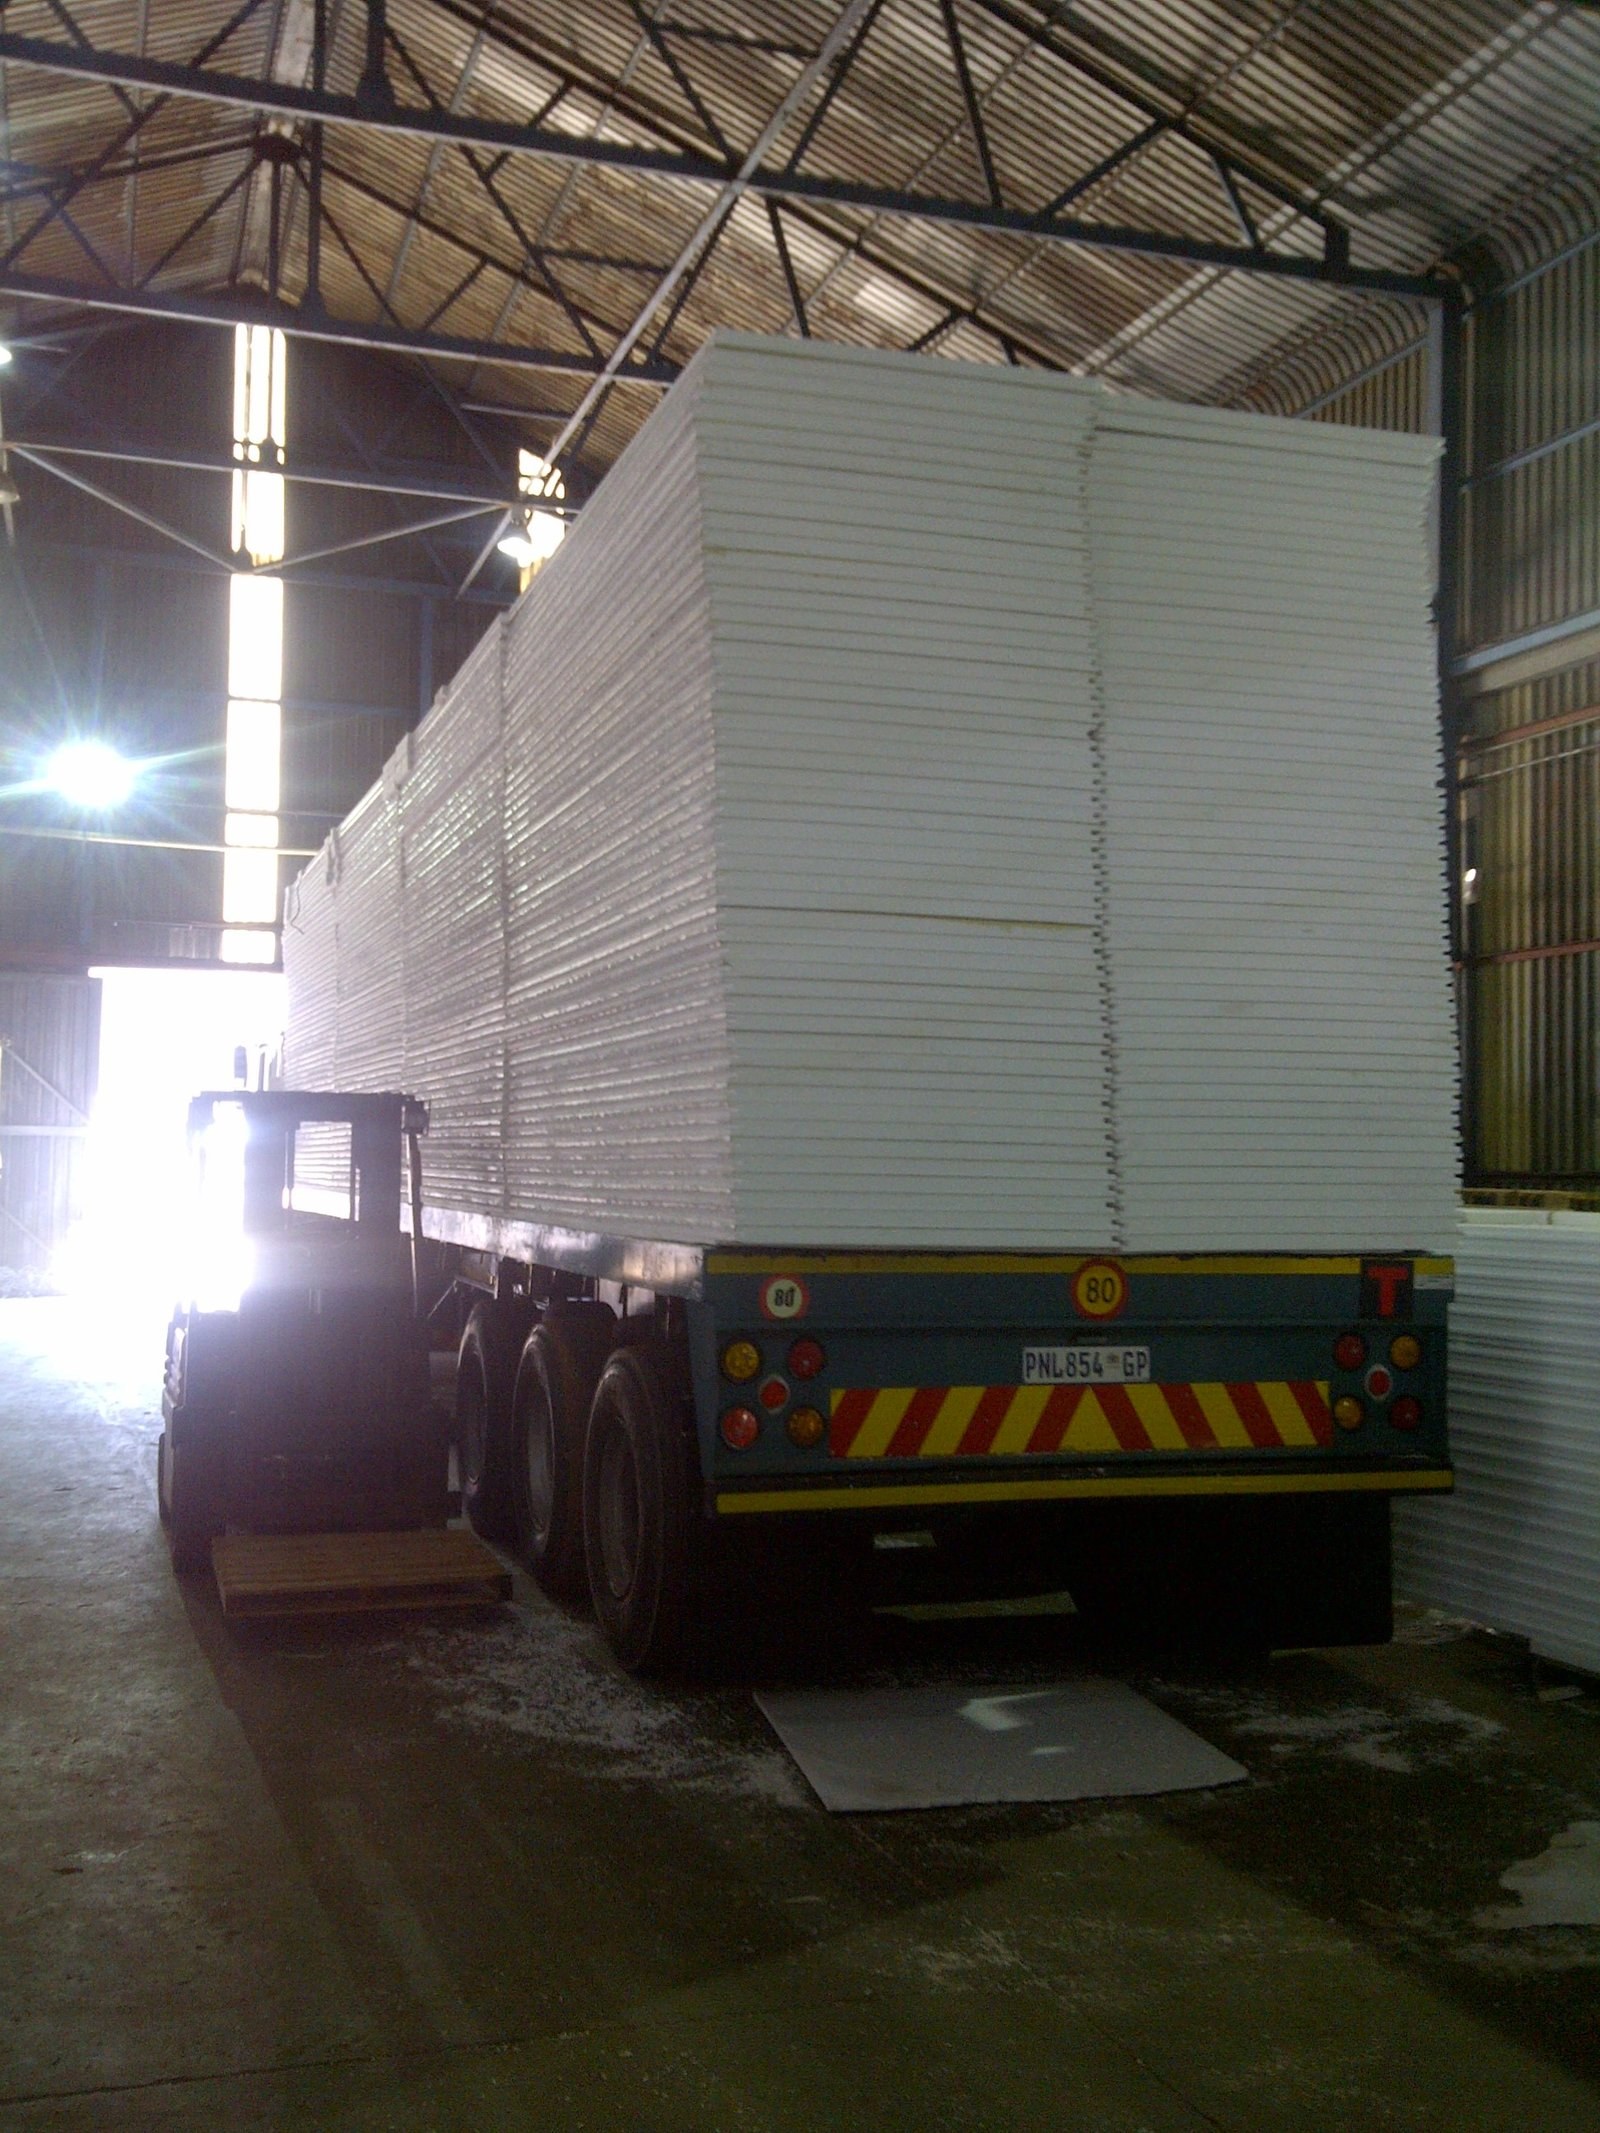
Flatbed trailer loaded with EPS panels inside the warehousePHOTO
Flatbed trailer loaded with EPS panels inside the warehouseBulk Insulation Products
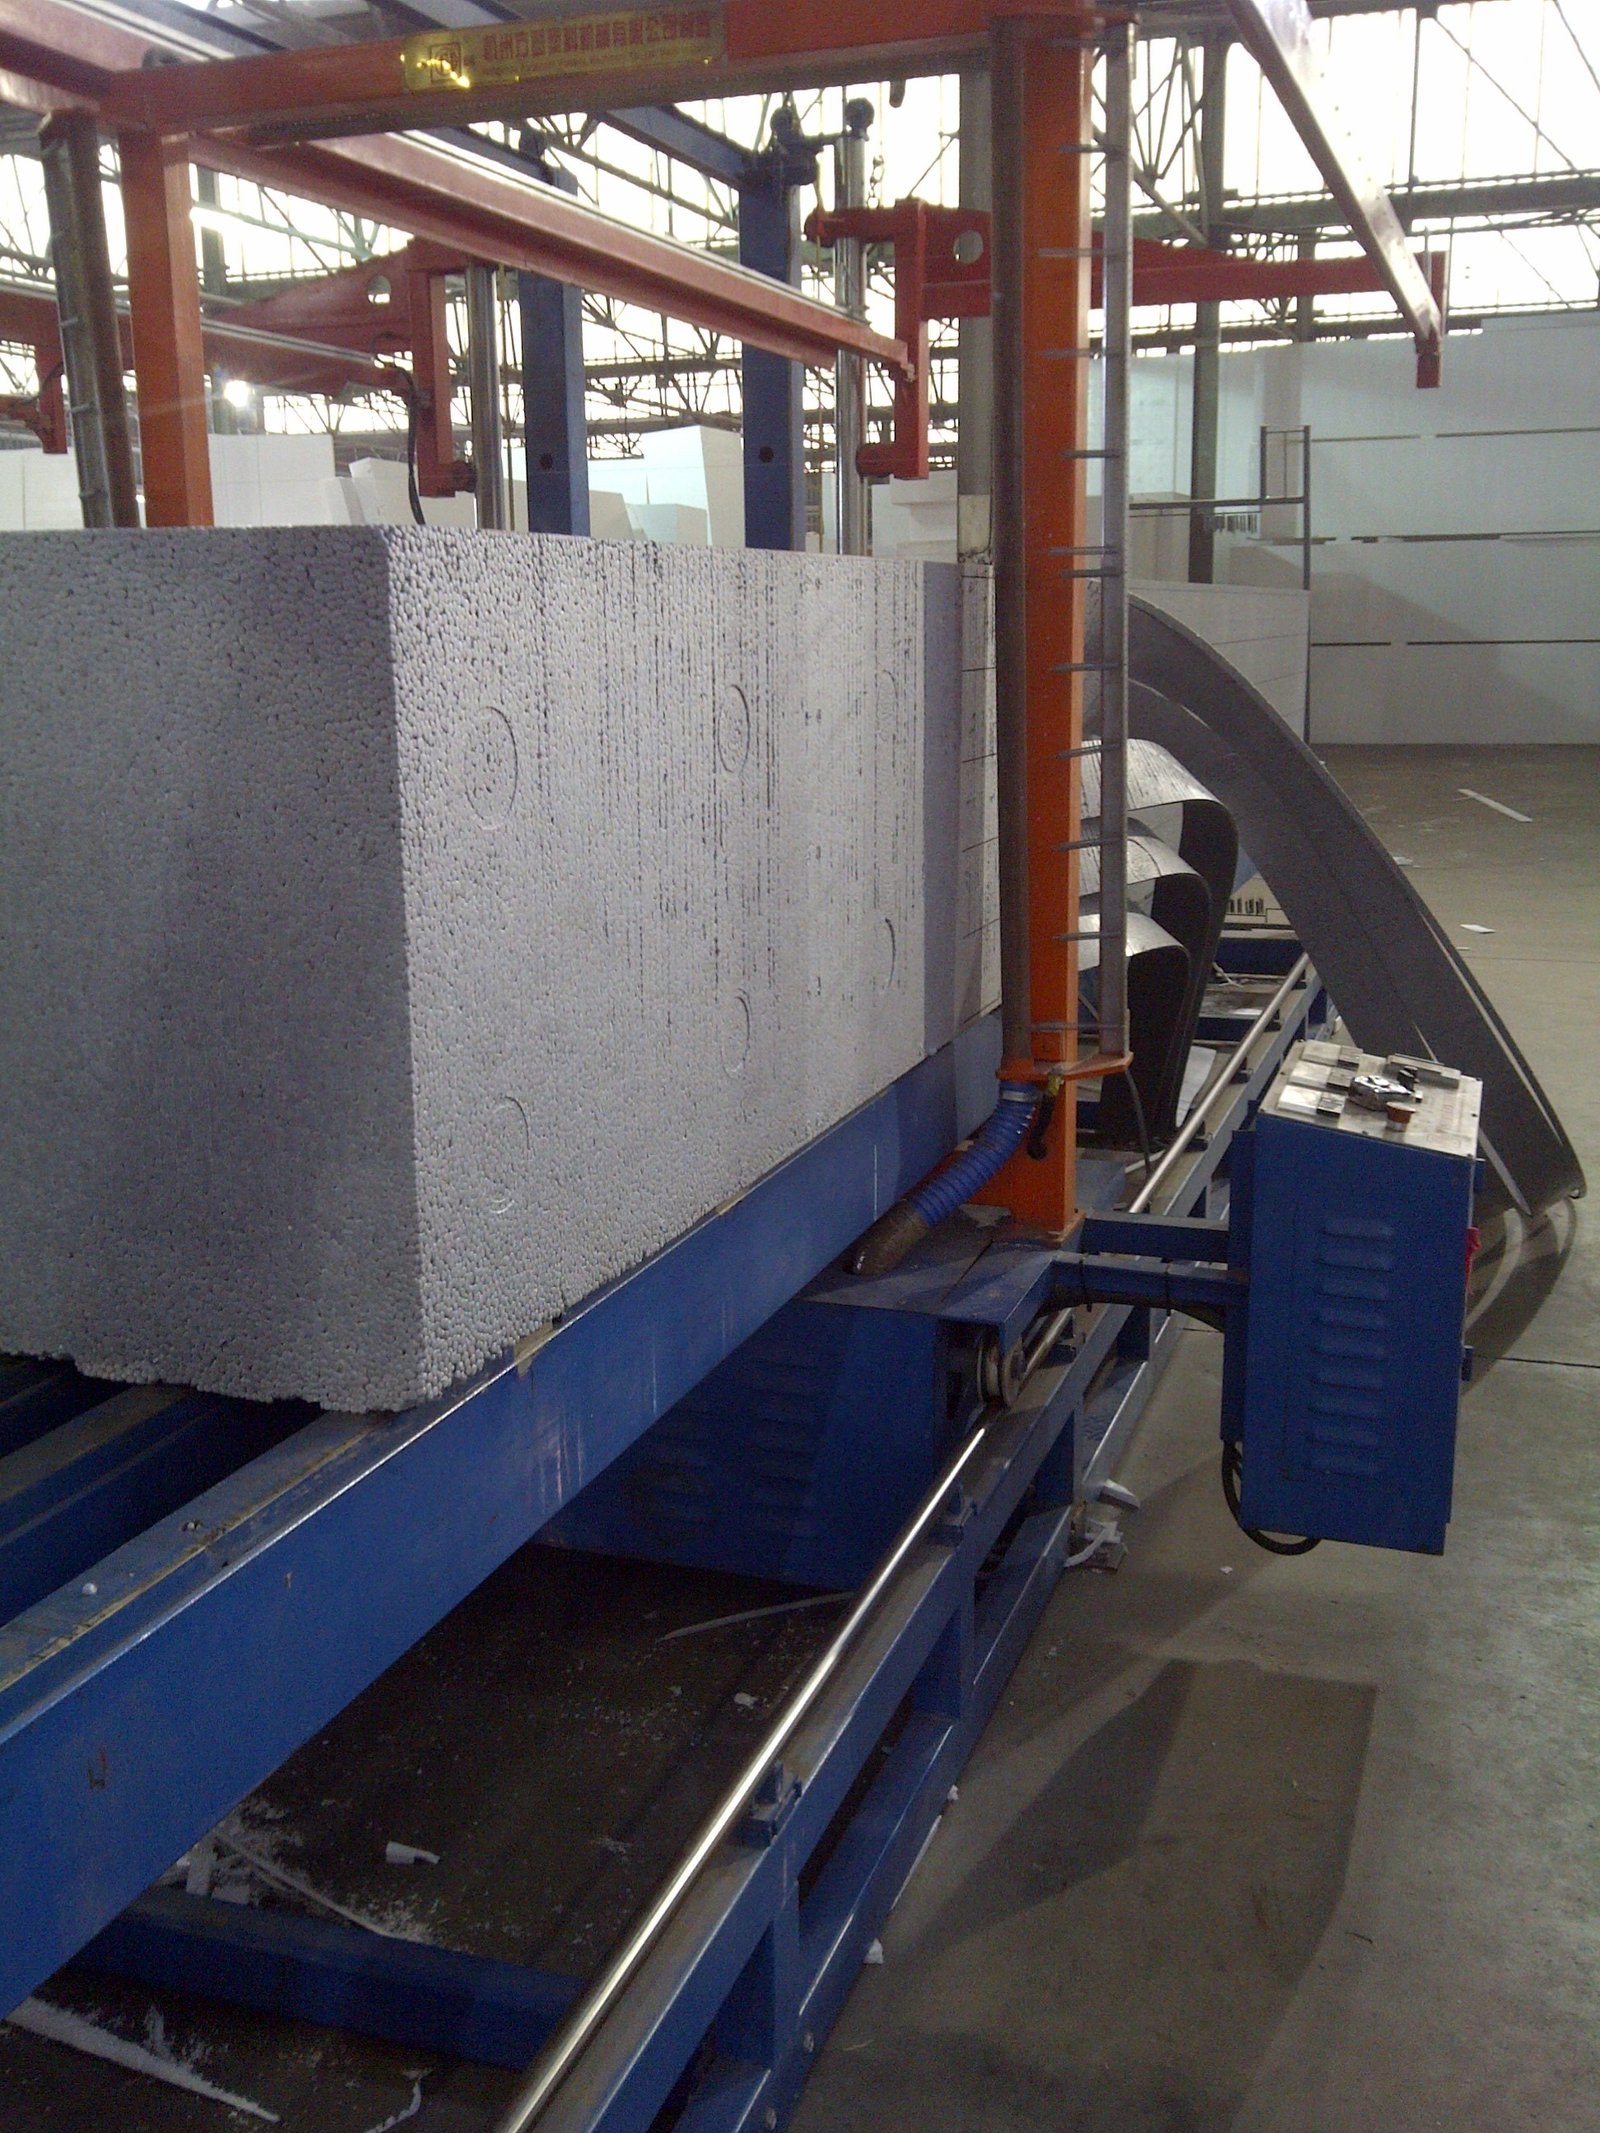
EPS block on the production line conveyor, overhead crane behindPHOTO
EPS block on the production line conveyor, overhead crane behindBulk Insulation Products
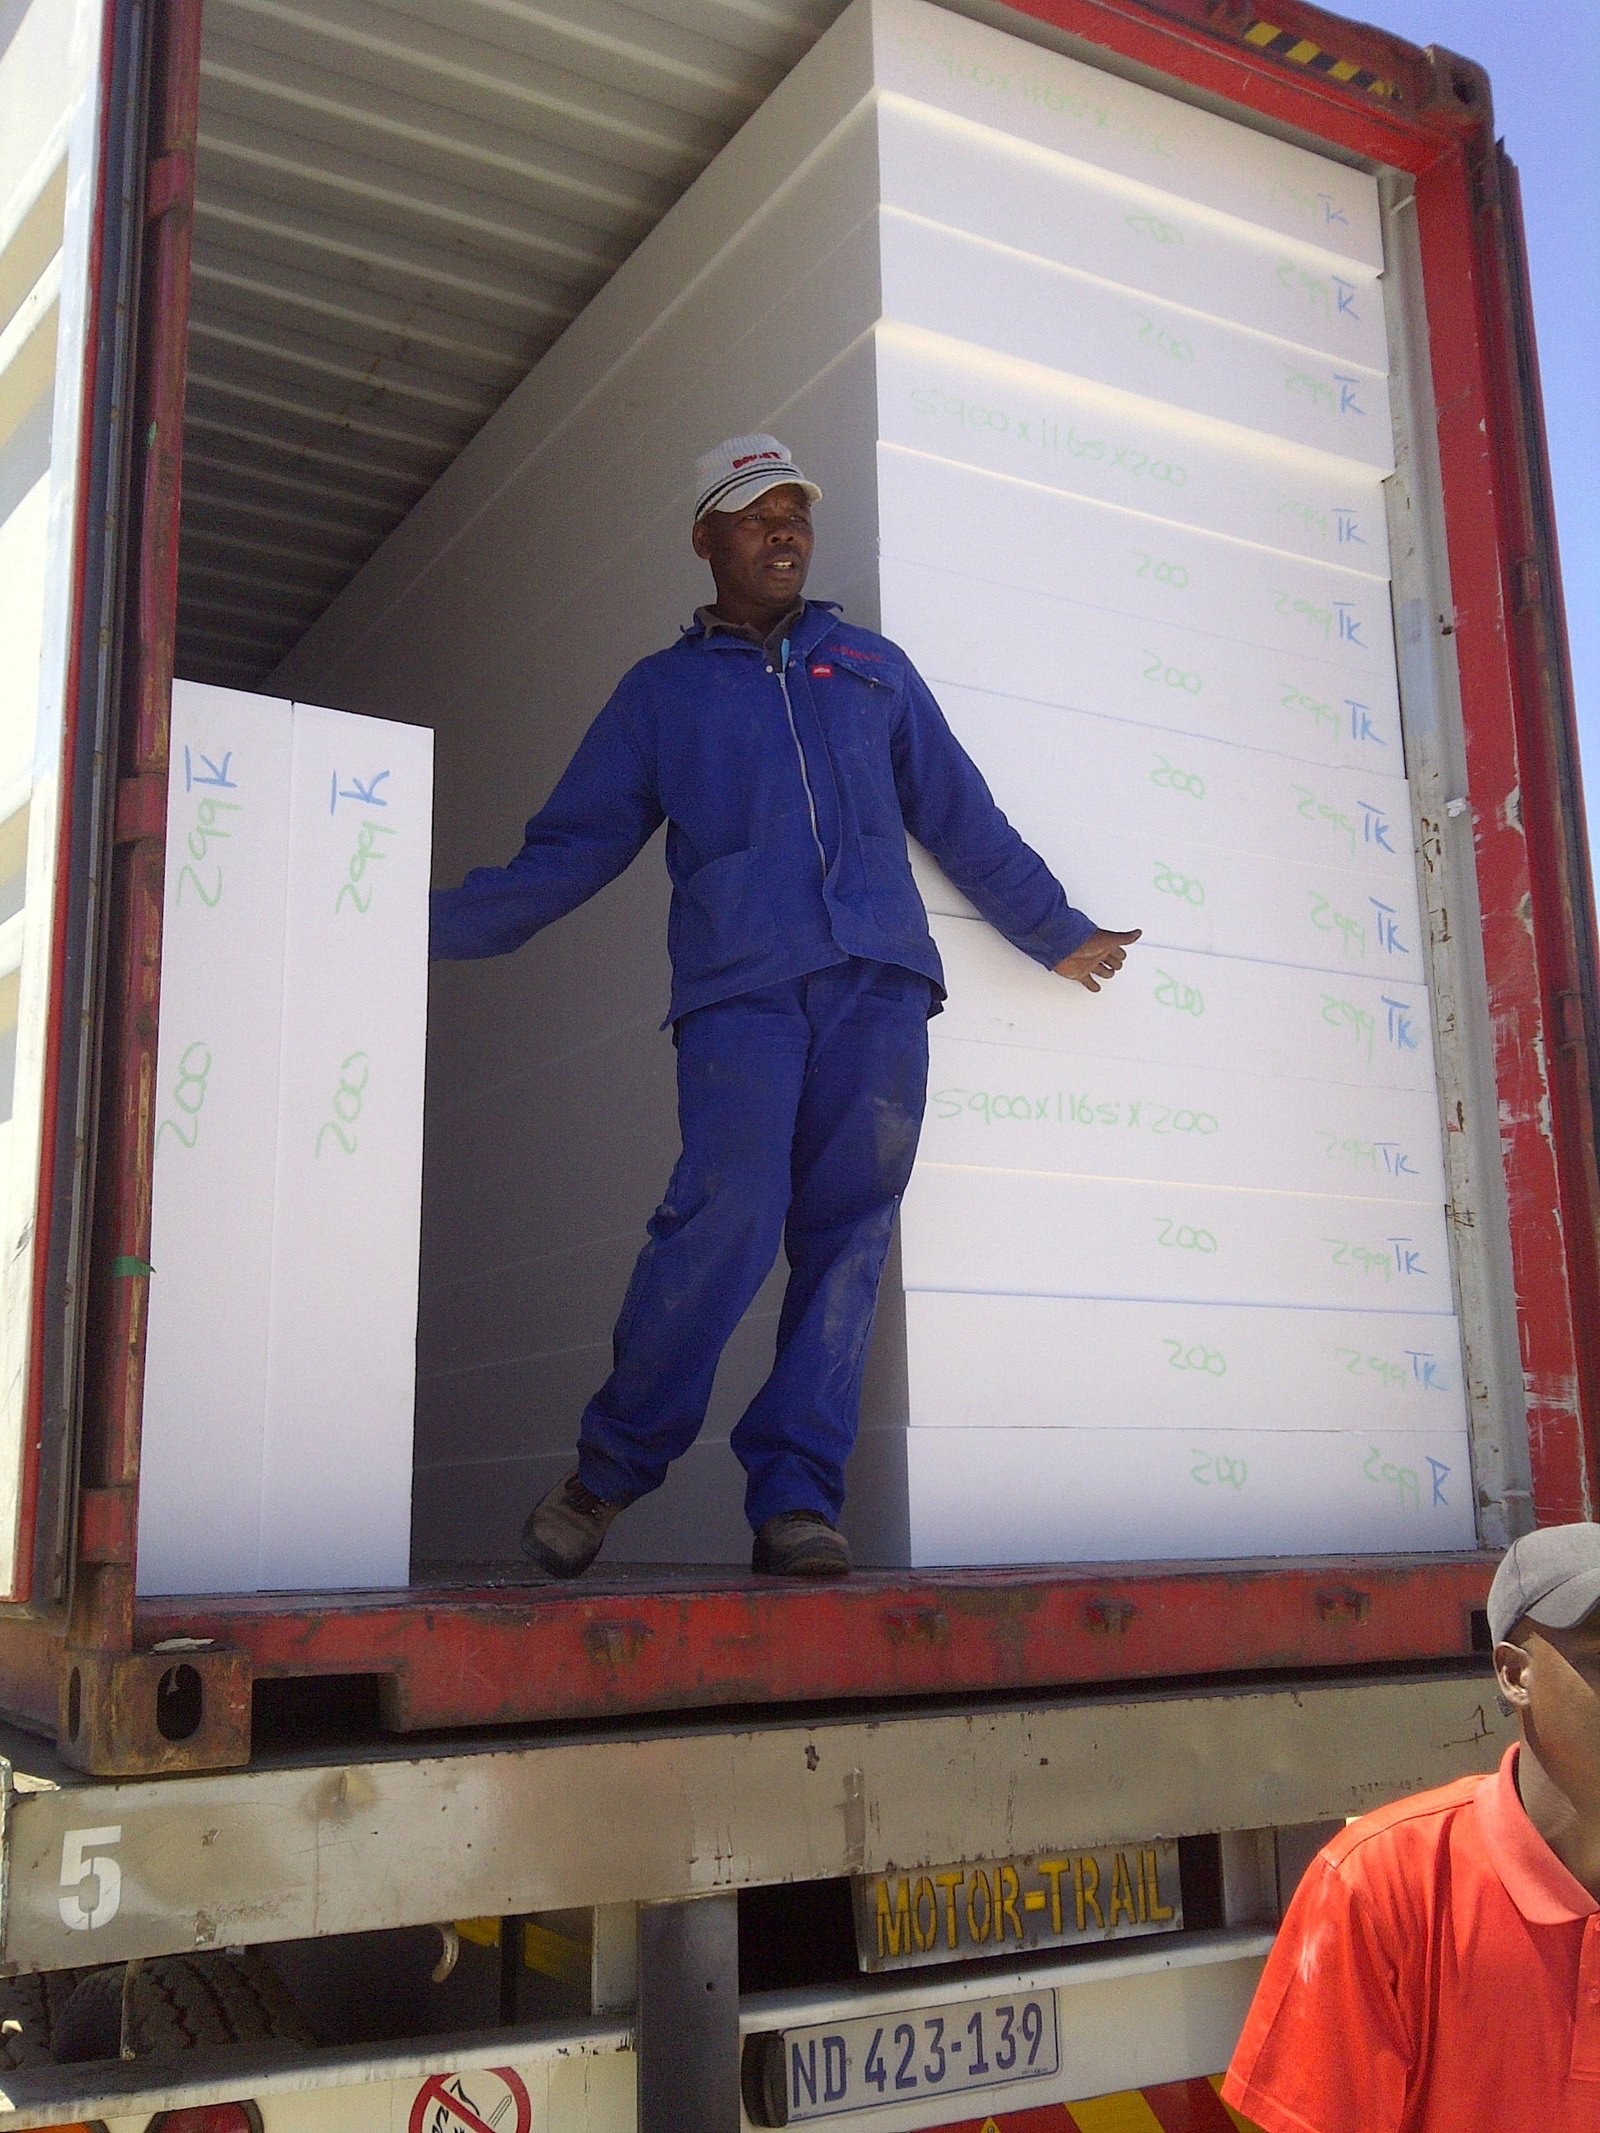
Worker loading marked EPS boards into a shipping containerPHOTO
Worker loading marked EPS boards into a shipping containerBulk Insulation Products
EPS panels staged on the floor of a poultry house under construction, insulated ceiling boards already upPHOTO
EPS panels staged on the floor of a poultry house under construction, insulated ceiling boards already upBulk Insulation Products
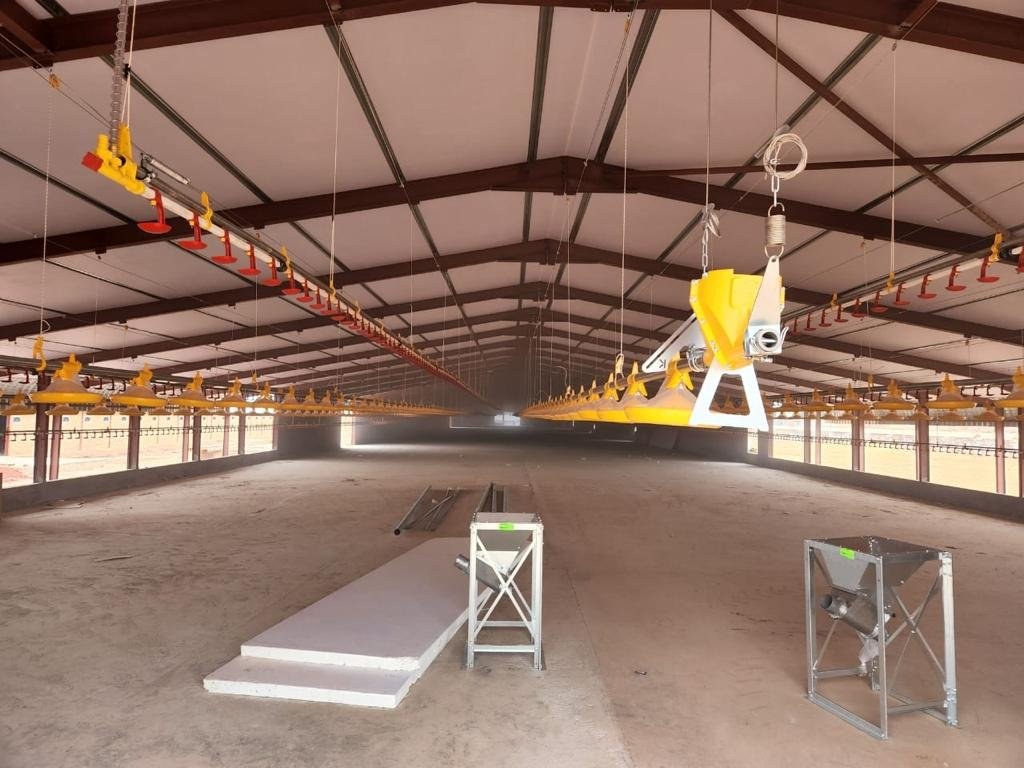
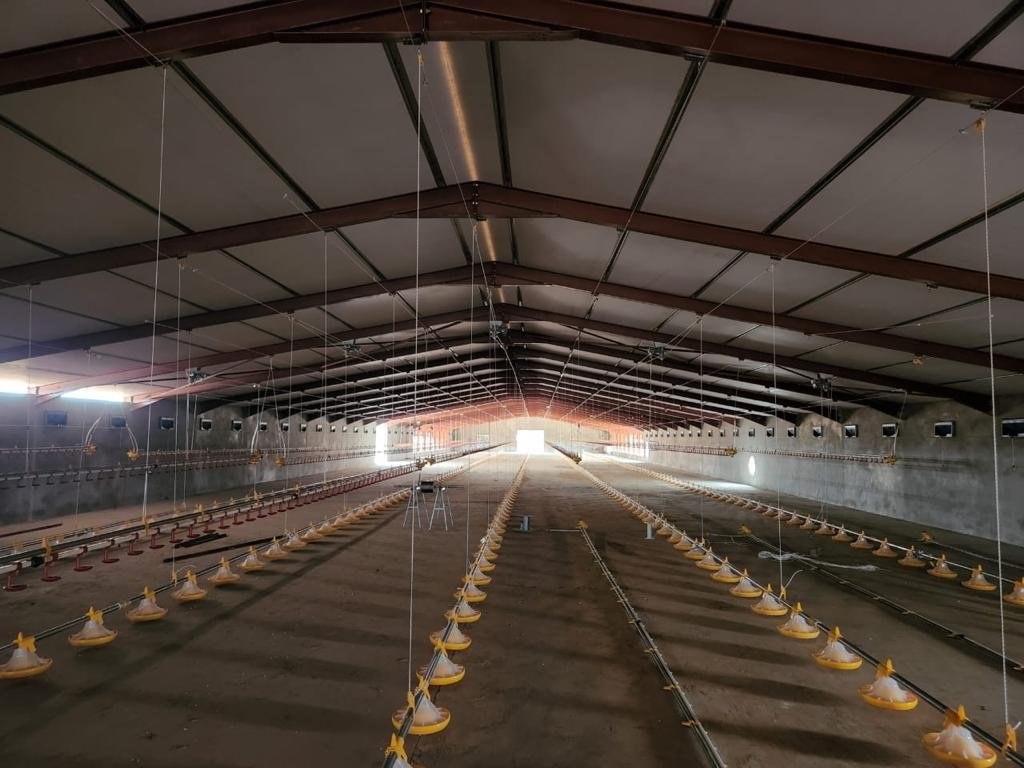
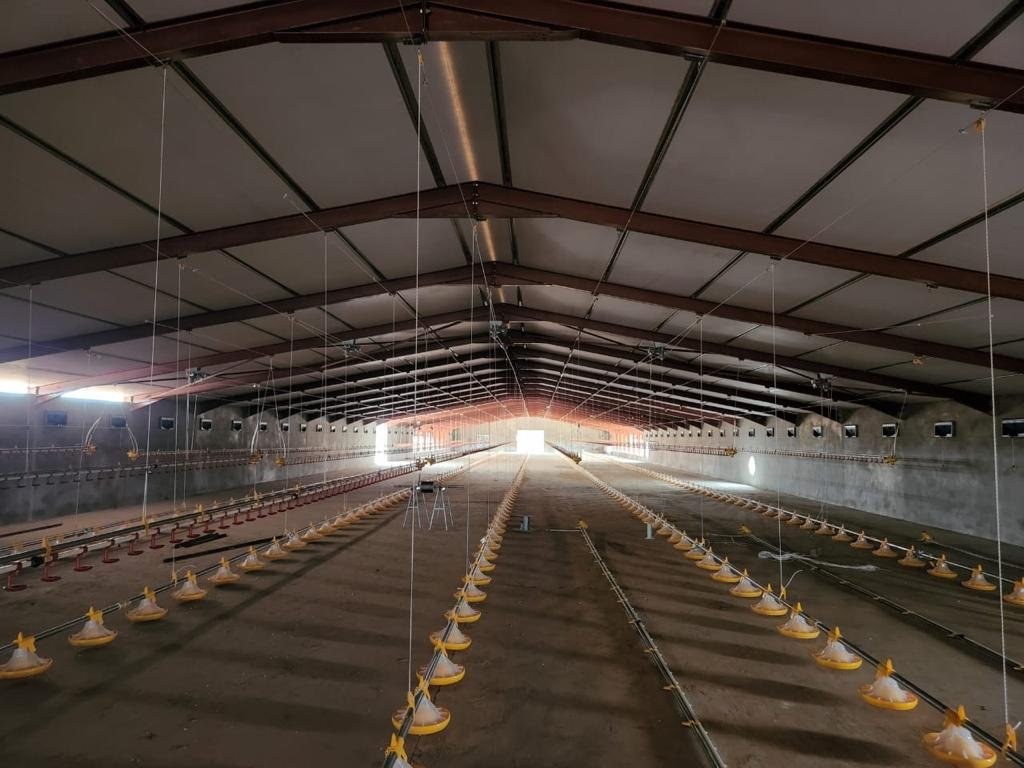
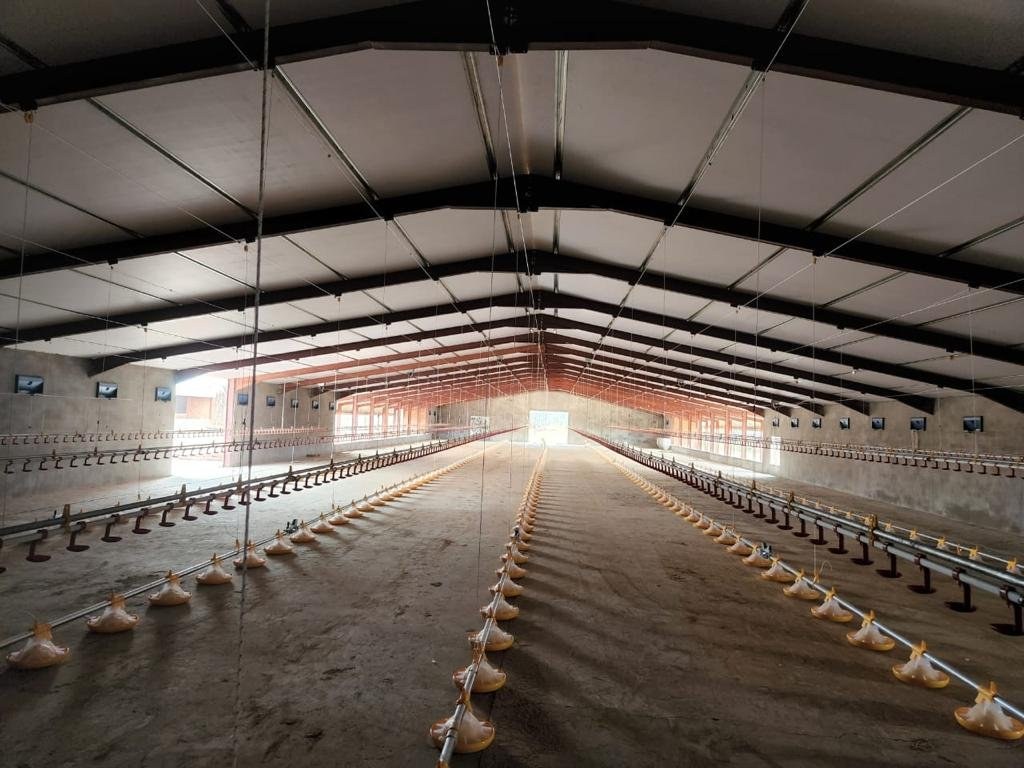
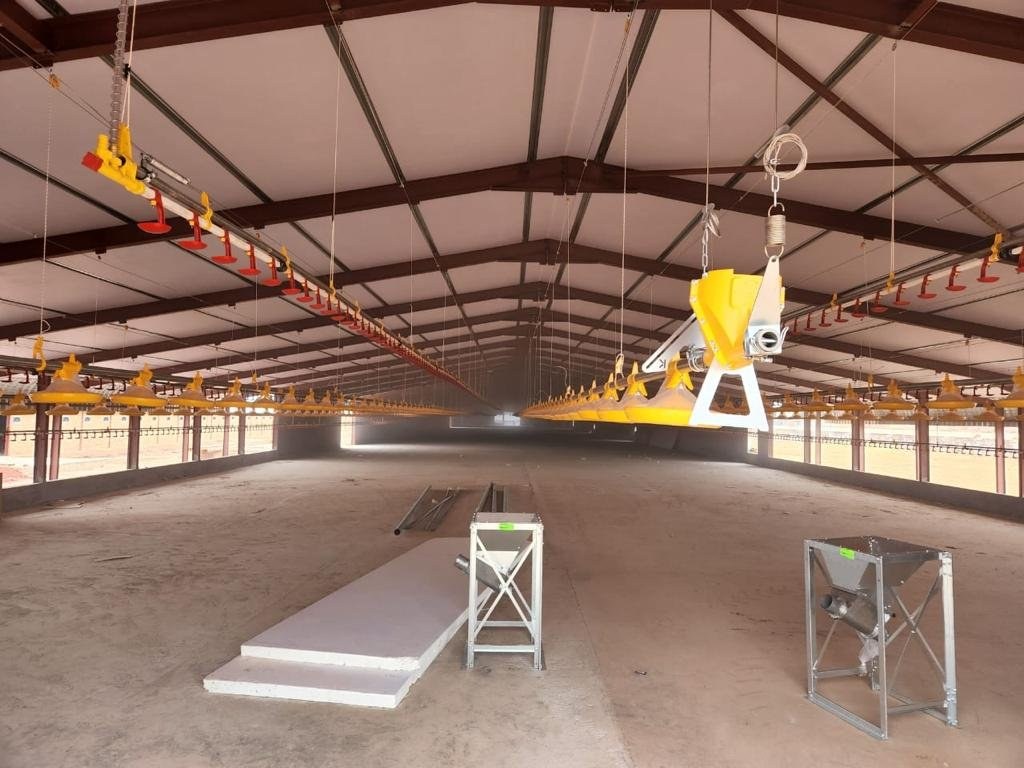
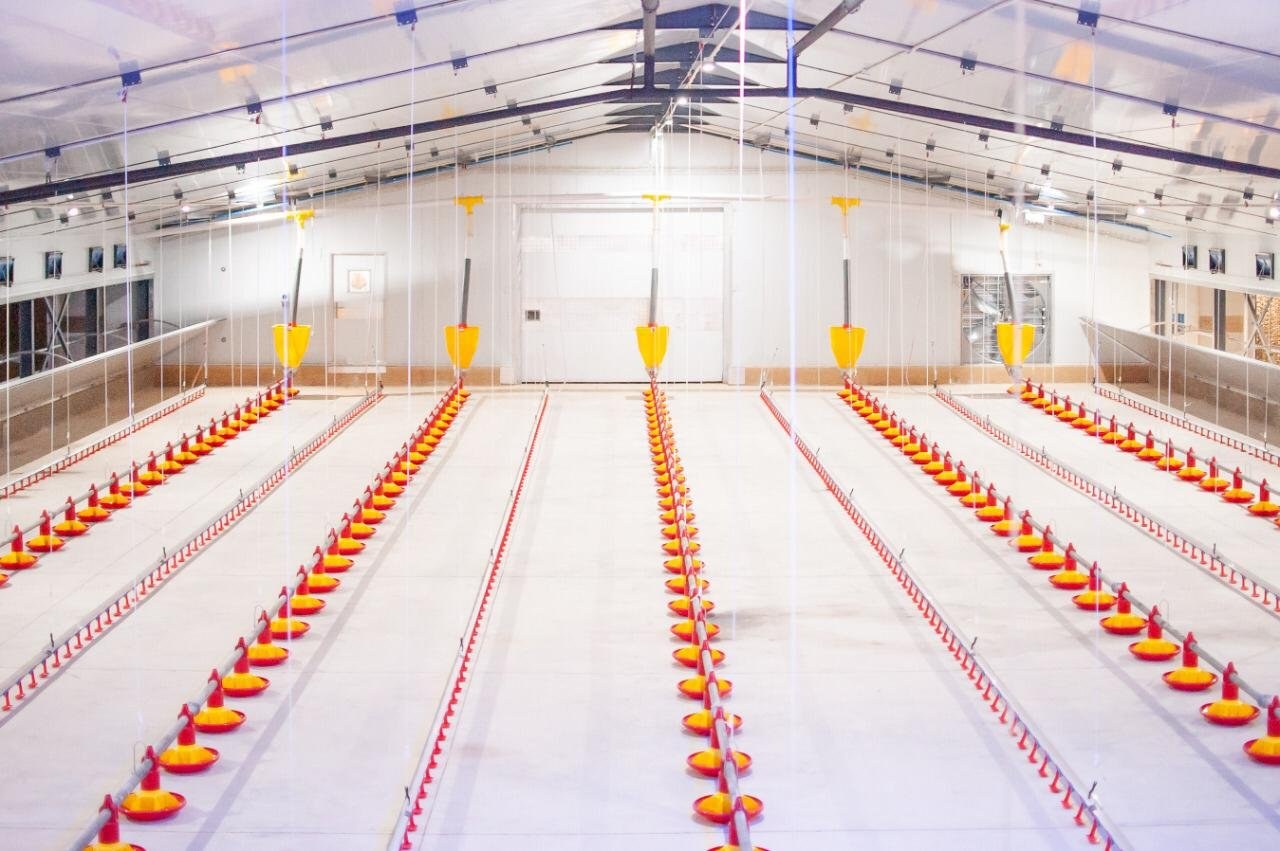
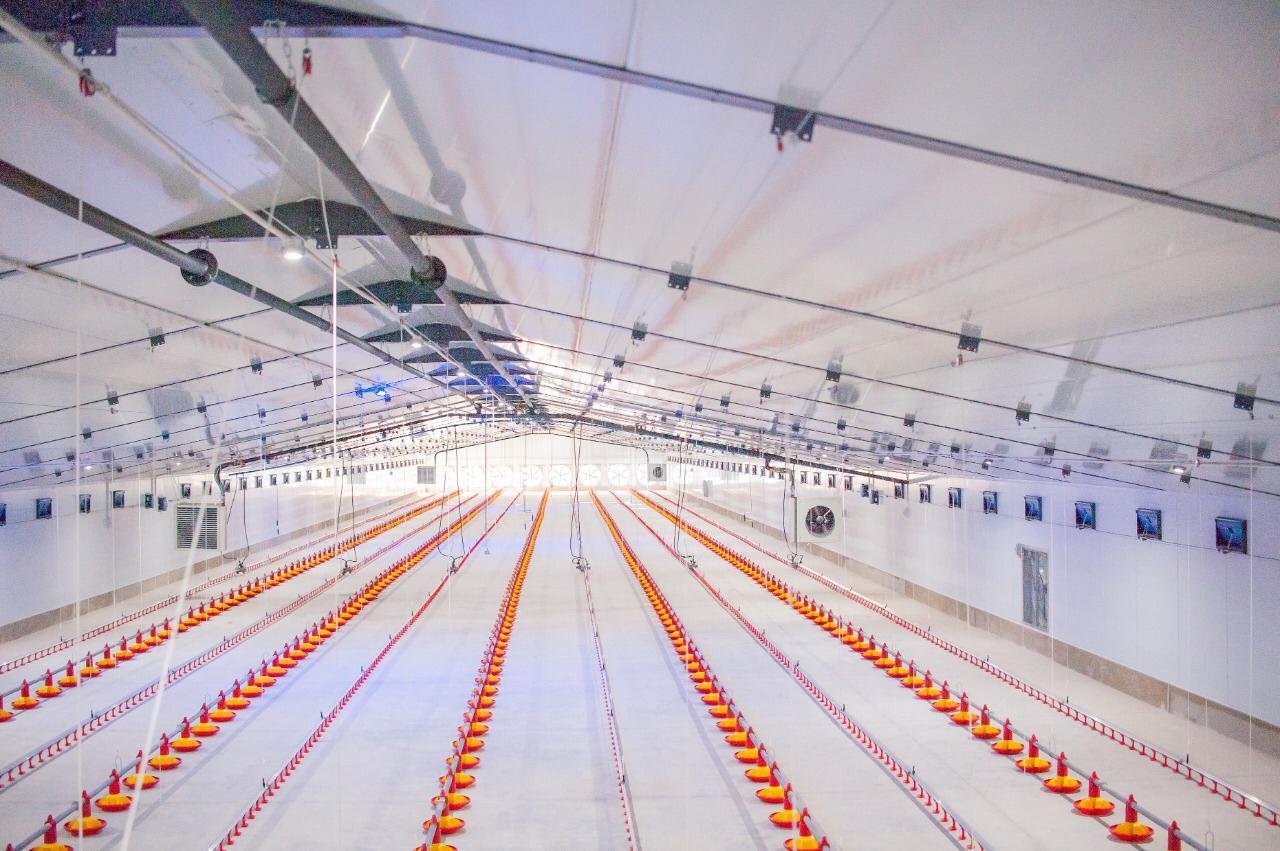
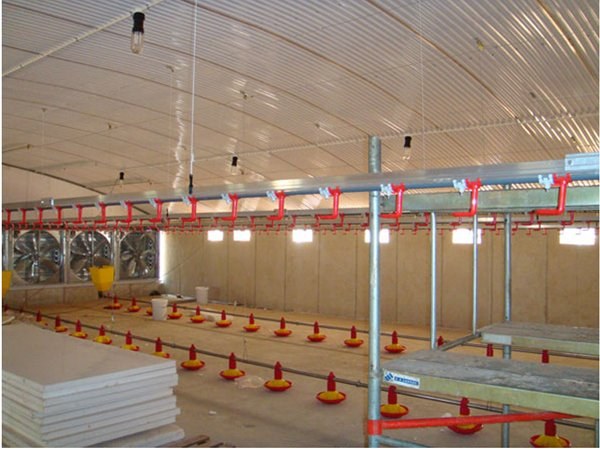
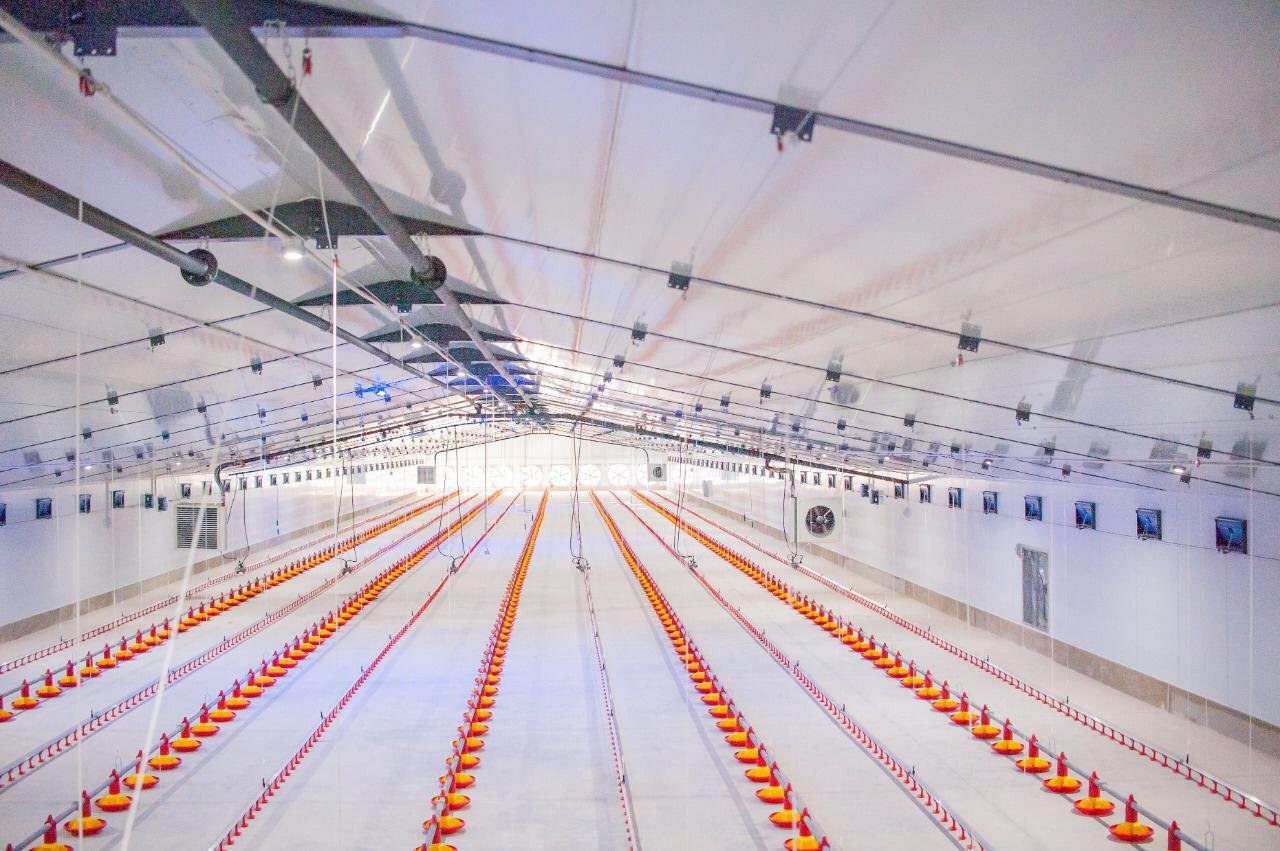
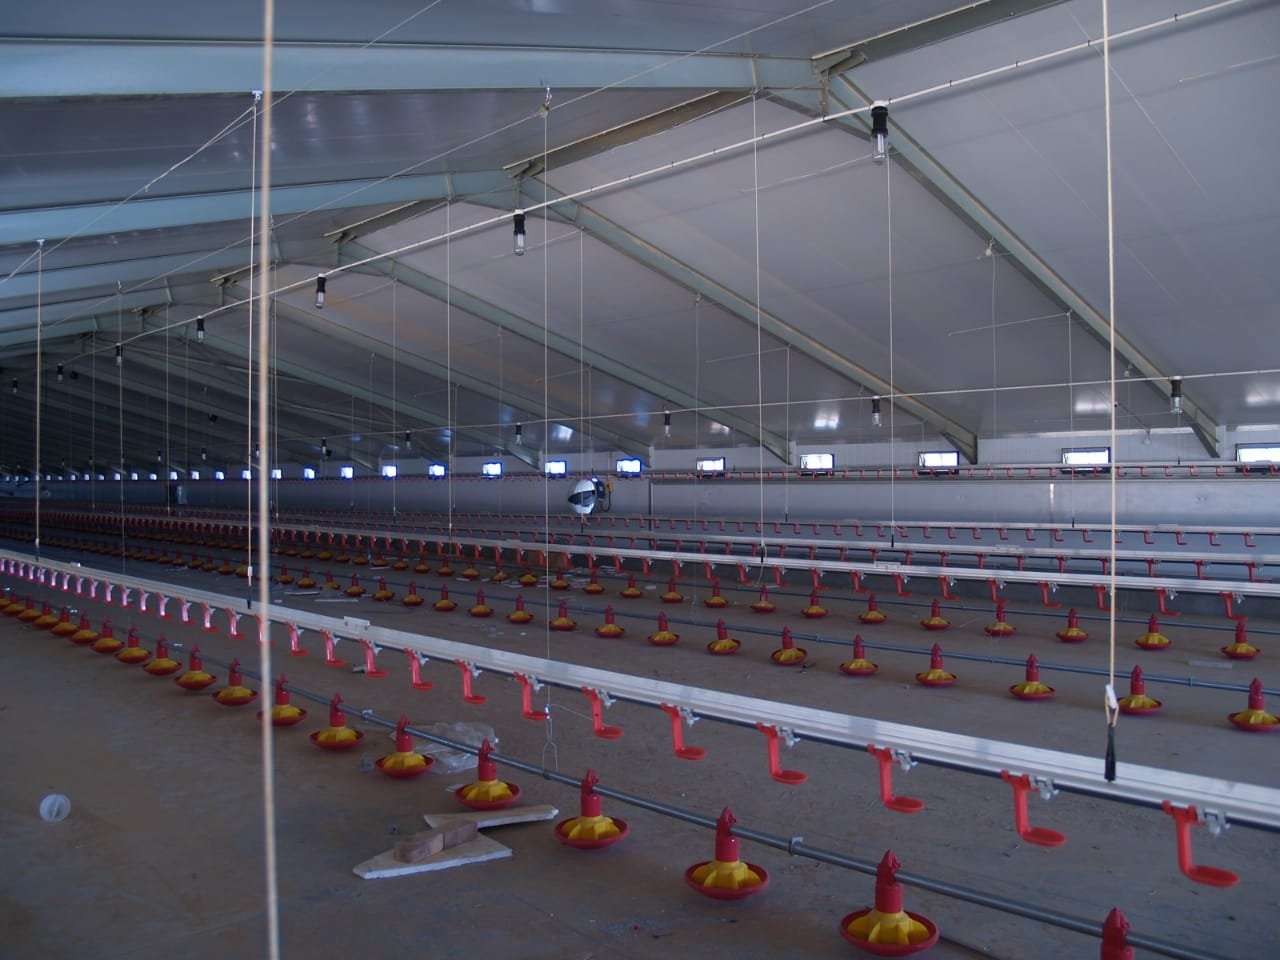
Finished poultry house interior with insulated ceiling boards overhead and feeder lines installedPHOTO
Finished poultry house interior with insulated ceiling boards overhead and feeder lines installedBulk Insulation Products
PHOTO
Bulk Insulation Products
PHOTO
Bulk Insulation Products
PHOTO
Bulk Insulation Products
PHOTO
Bulk Insulation Products
PHOTO
Bulk Insulation Products
PHOTO
Bulk Insulation Products
PHOTO
Bulk Insulation Products
PHOTO
Bulk Insulation Products
PHOTO
Bulk Insulation Products
PHOTO
Bulk Insulation Products
PHOTO
Bulk Insulation Products
PHOTO
Bulk Insulation Products
PHOTO
Bulk Insulation Products
PHOTO
Bulk Insulation Products
PHOTO
Bulk Insulation Products
PHOTO
Bulk Insulation Products
PHOTO
Bulk Insulation Products
PHOTO
Bulk Insulation Products
PHOTO
Bulk Insulation Products
PHOTO
Bulk Insulation Products
PHOTO
Bulk Insulation Products
PHOTO
Bulk Insulation Products
PHOTO
Bulk Insulation Products
PHOTO
Bulk Insulation Products
PHOTO
Bulk Insulation Products
PHOTO
Bulk Insulation Products
PHOTO
Bulk Insulation Products
PHOTO
Bulk Insulation Products
PHOTO
Bulk Insulation Products
PHOTO
Bulk Insulation Products
PHOTO
Bulk Insulation Products
PHOTO
Bulk Insulation Products
PHOTO
Bulk Insulation Products
PHOTO
Bulk Insulation Products
PHOTO
Bulk Insulation Products
PHOTO
Bulk Insulation Products
PHOTO
Bulk Insulation Products
PHOTO
Bulk Insulation Products
PHOTO
Bulk Insulation Products
PHOTO
Bulk Insulation Products
PHOTO
Bulk Insulation Products
PHOTO
Bulk Insulation Products
PHOTO
Bulk Insulation Products
PHOTO
Bulk Insulation Products
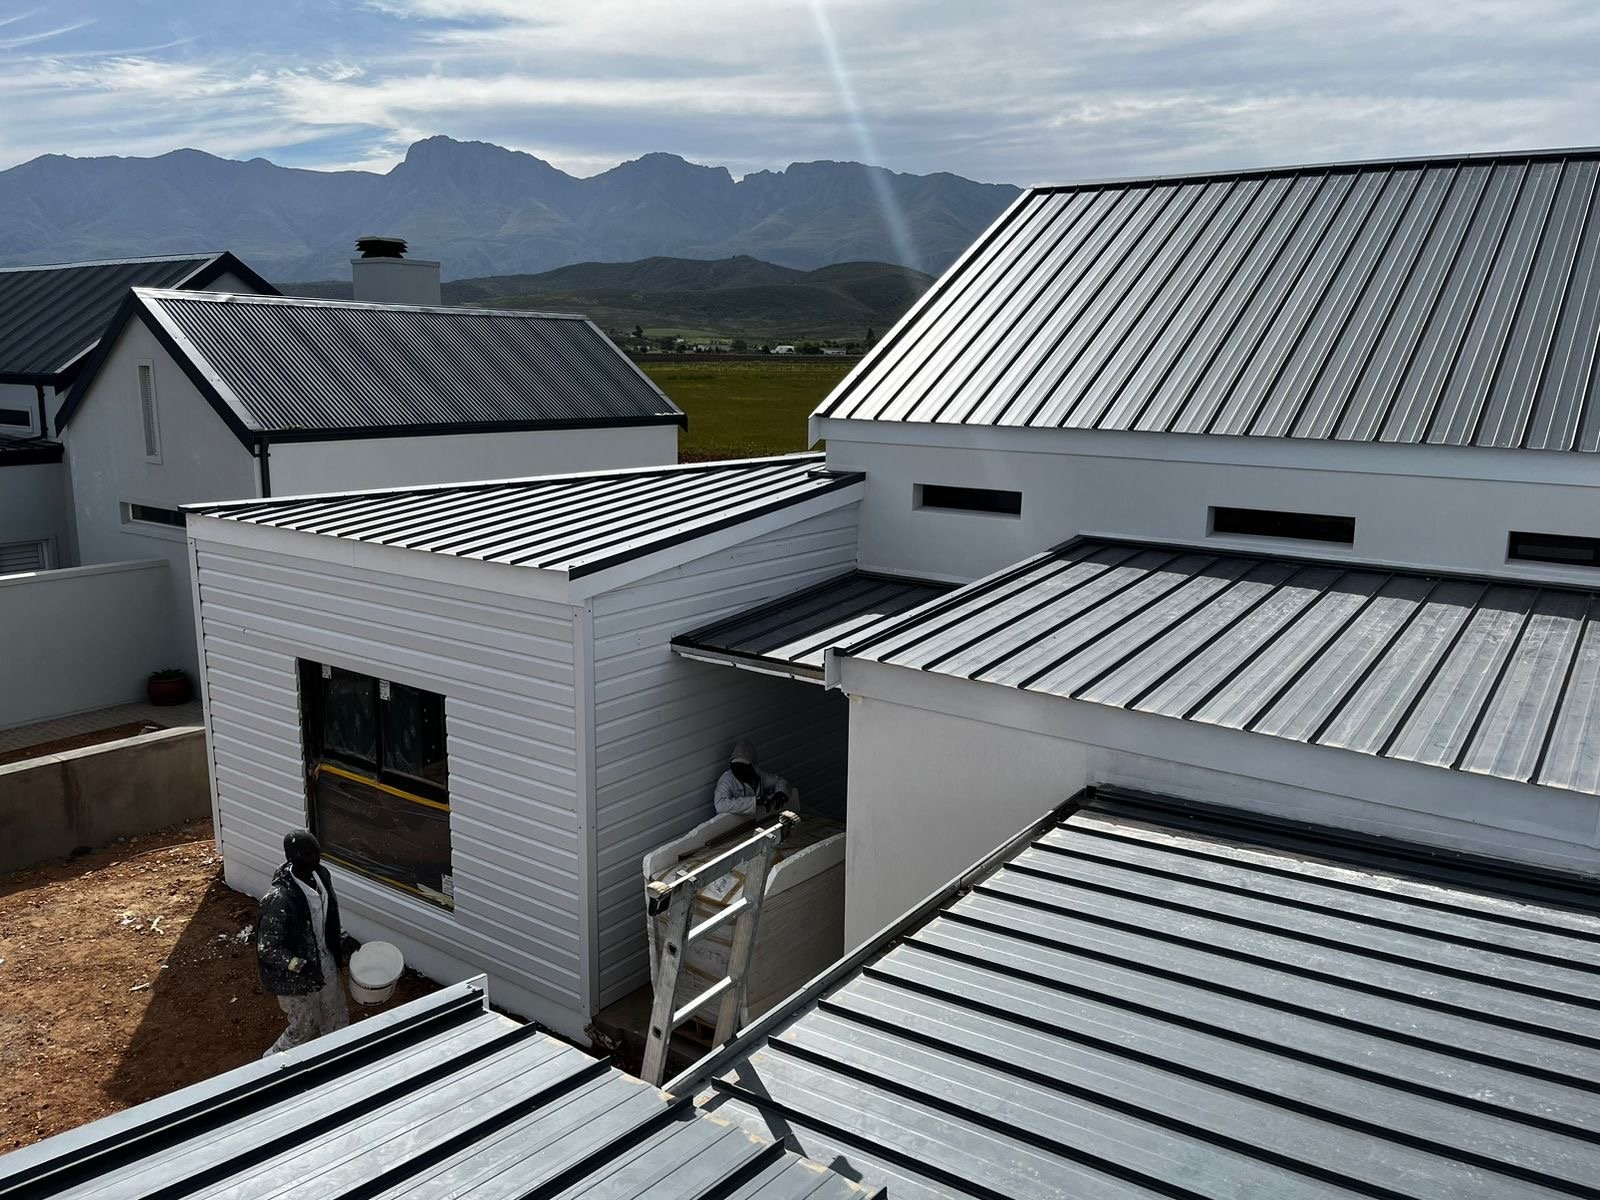
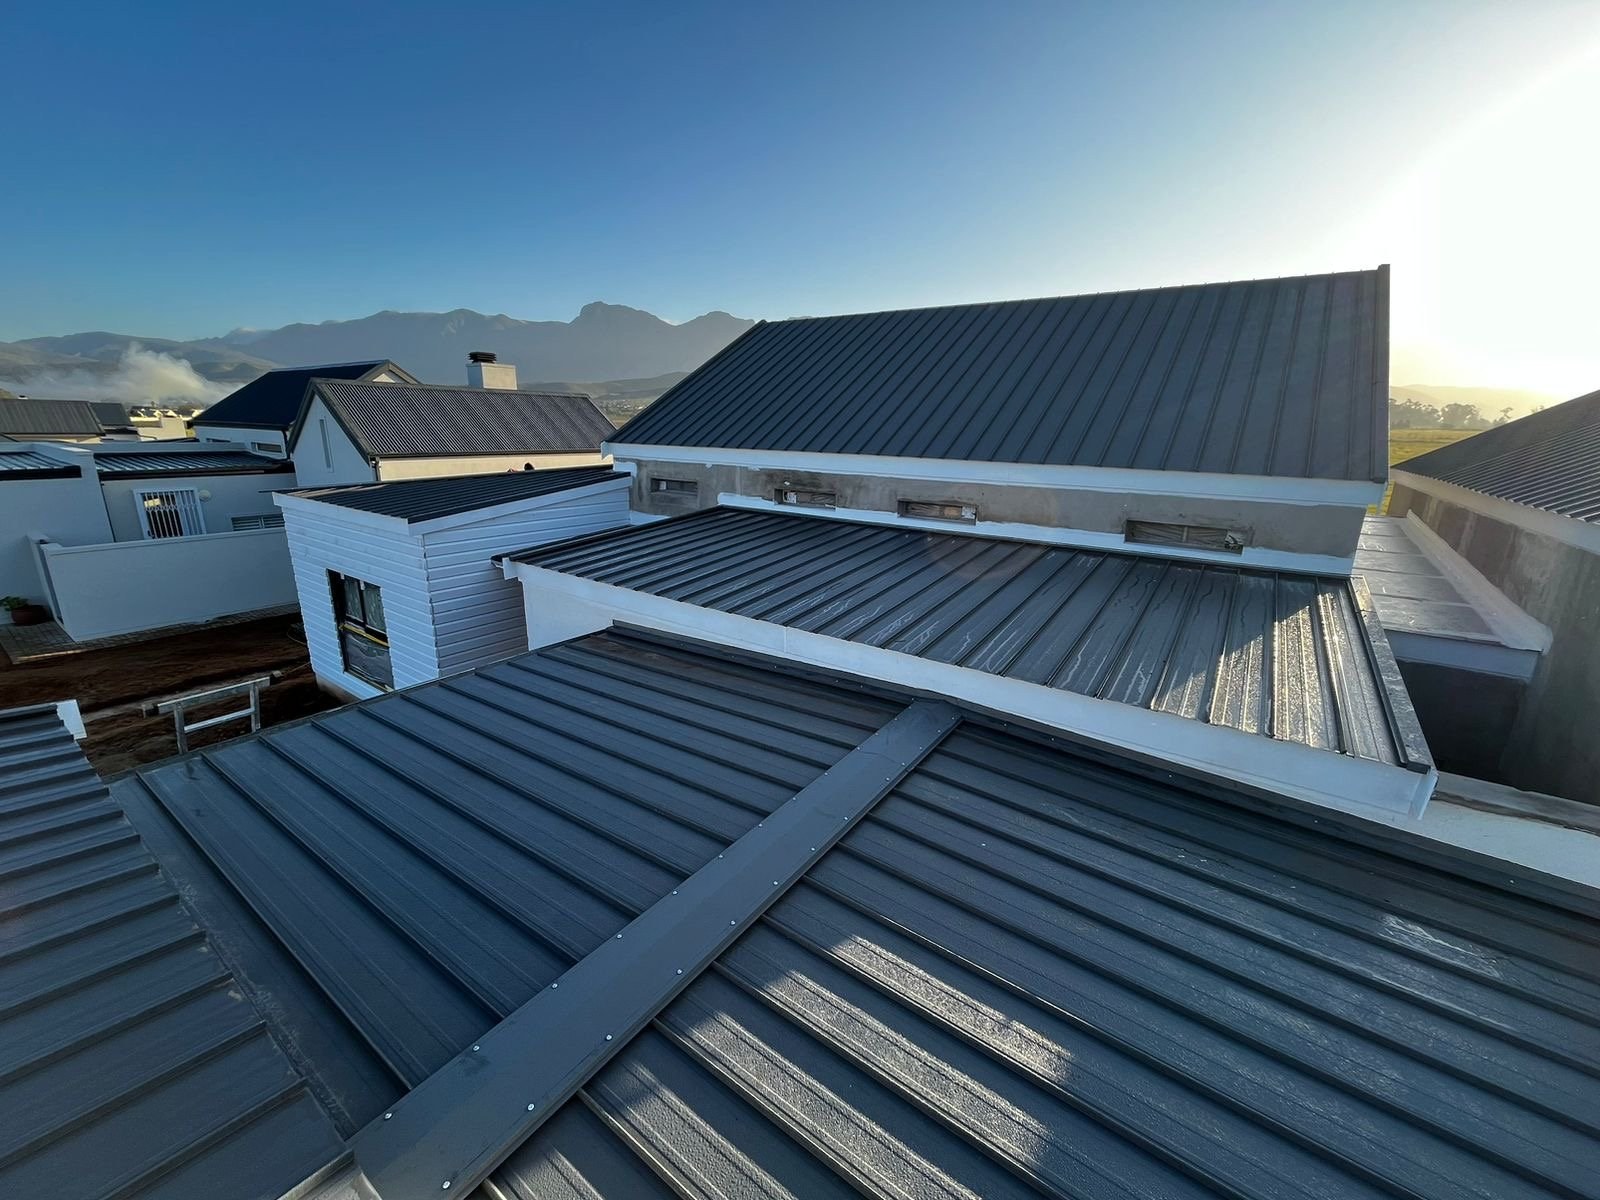
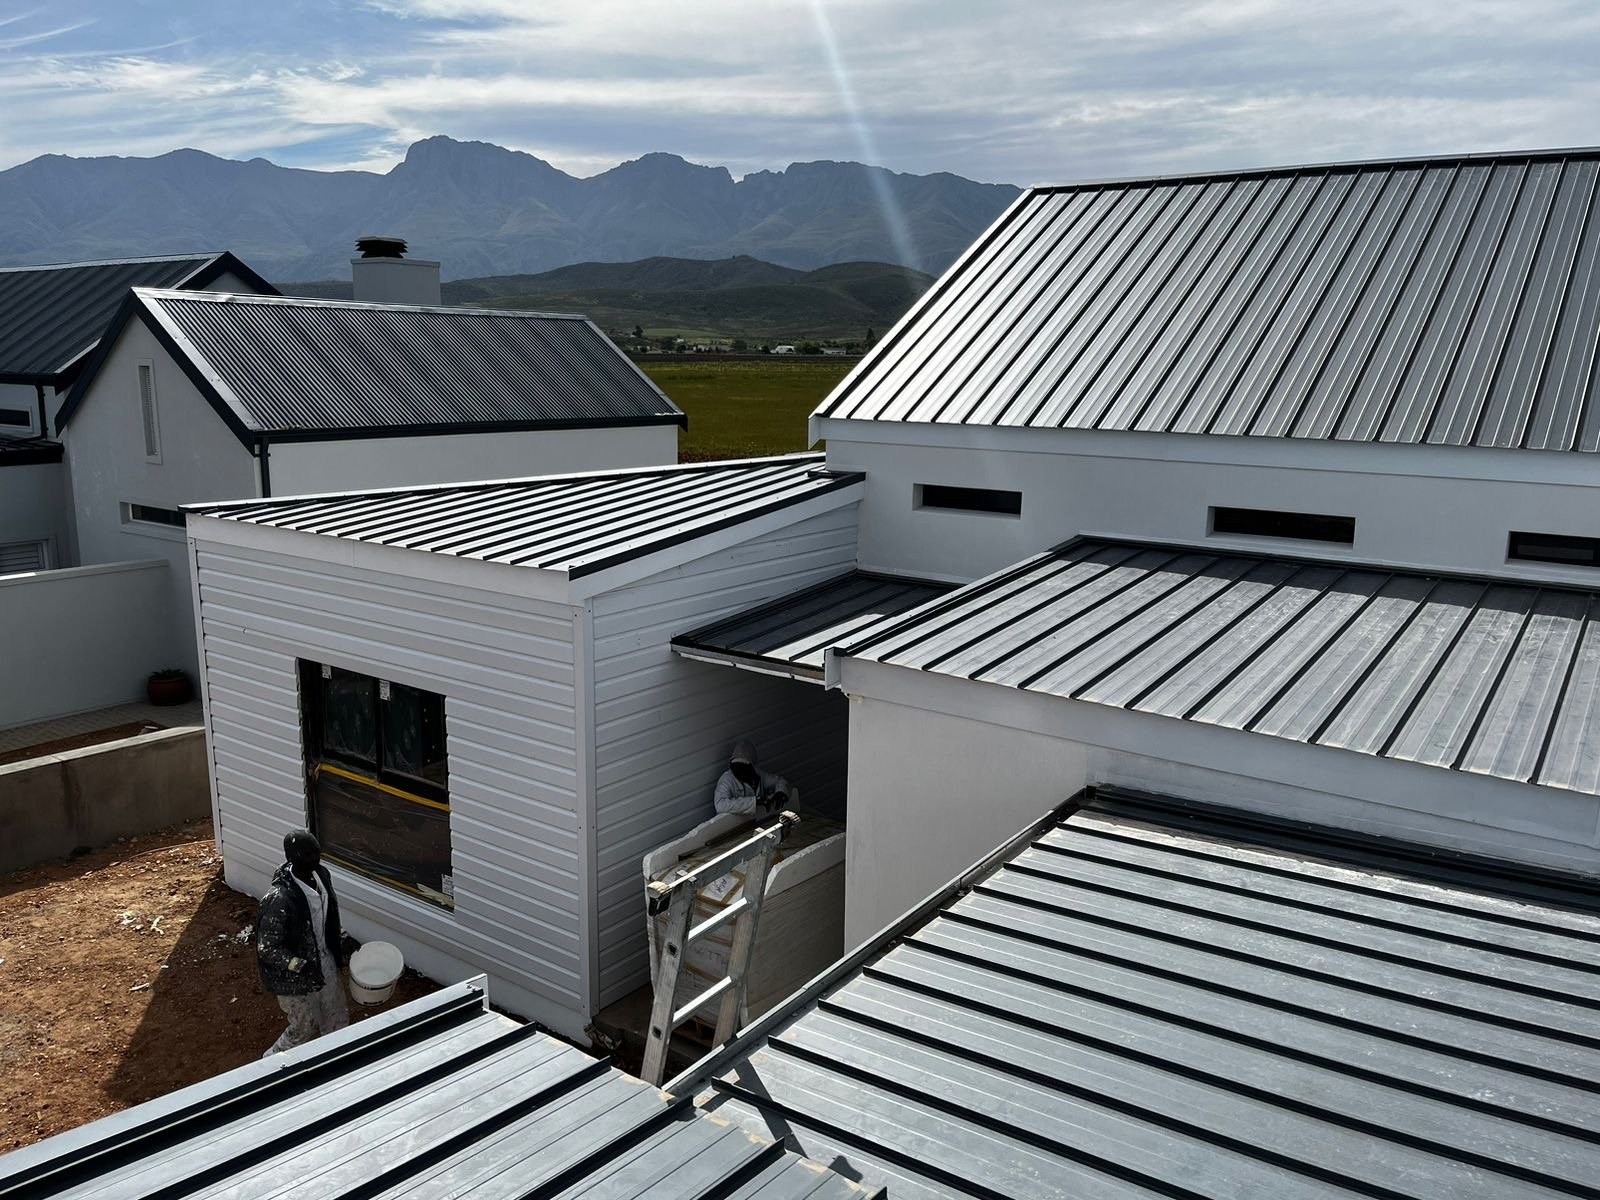
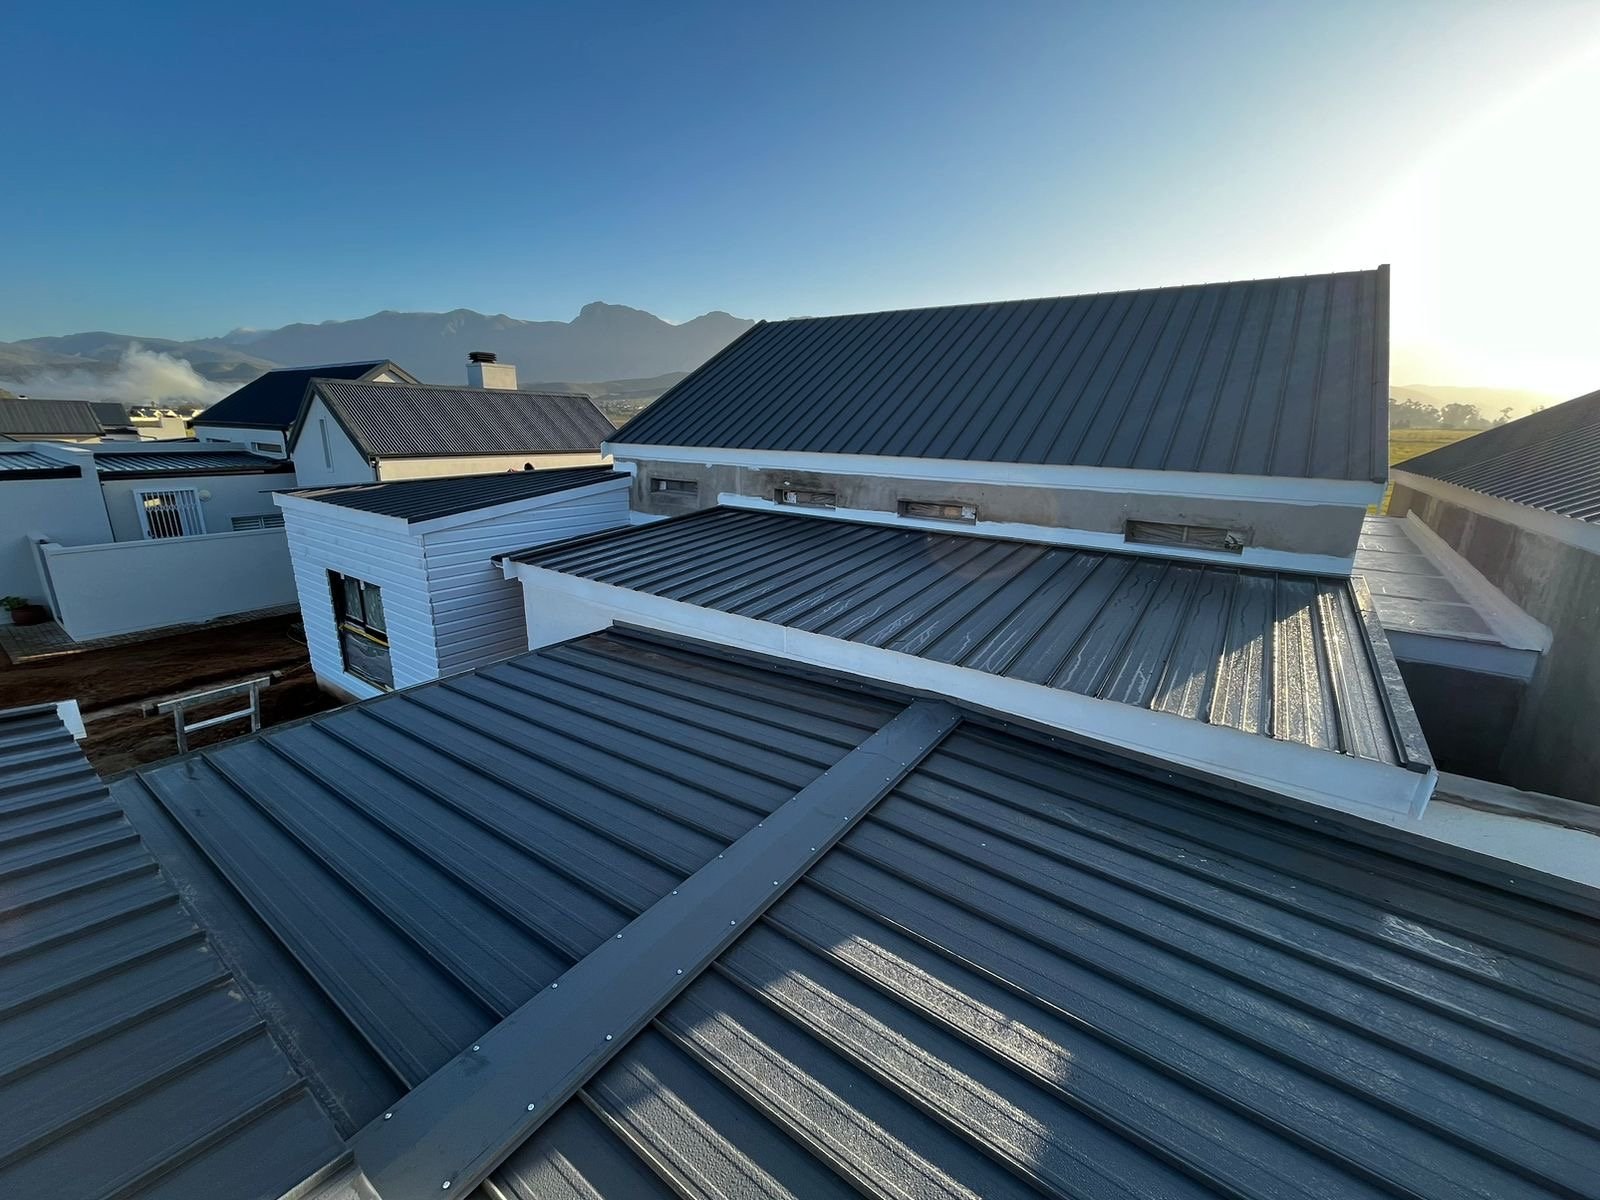
Standing-seam metal roof sheeting laid across several roof planes, with a lower extension clad in white horizontal-lap profiled sheeting. Photographed from the roof during installation, mountains in the background.PHOTO
Standing-seam metal roof sheeting laid across several roof planes, with a lower extension clad in white horizontal-lap profiled sheeting. Photographed from the roof during installation, mountains in the background.LiteClad Steel Profiles
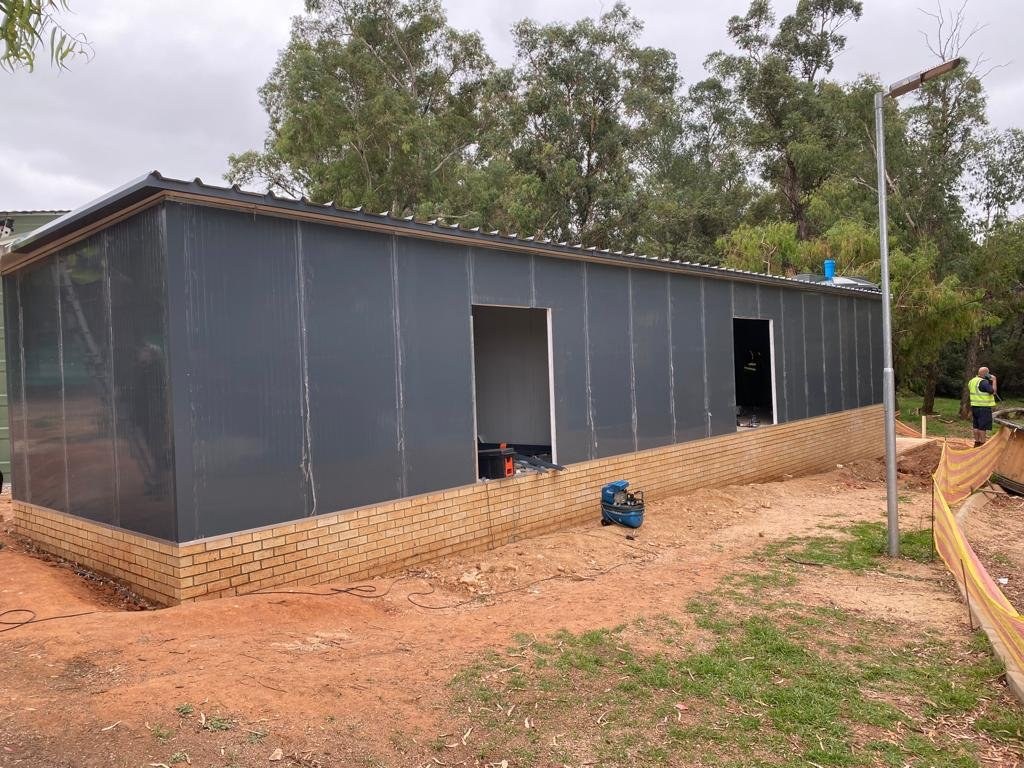
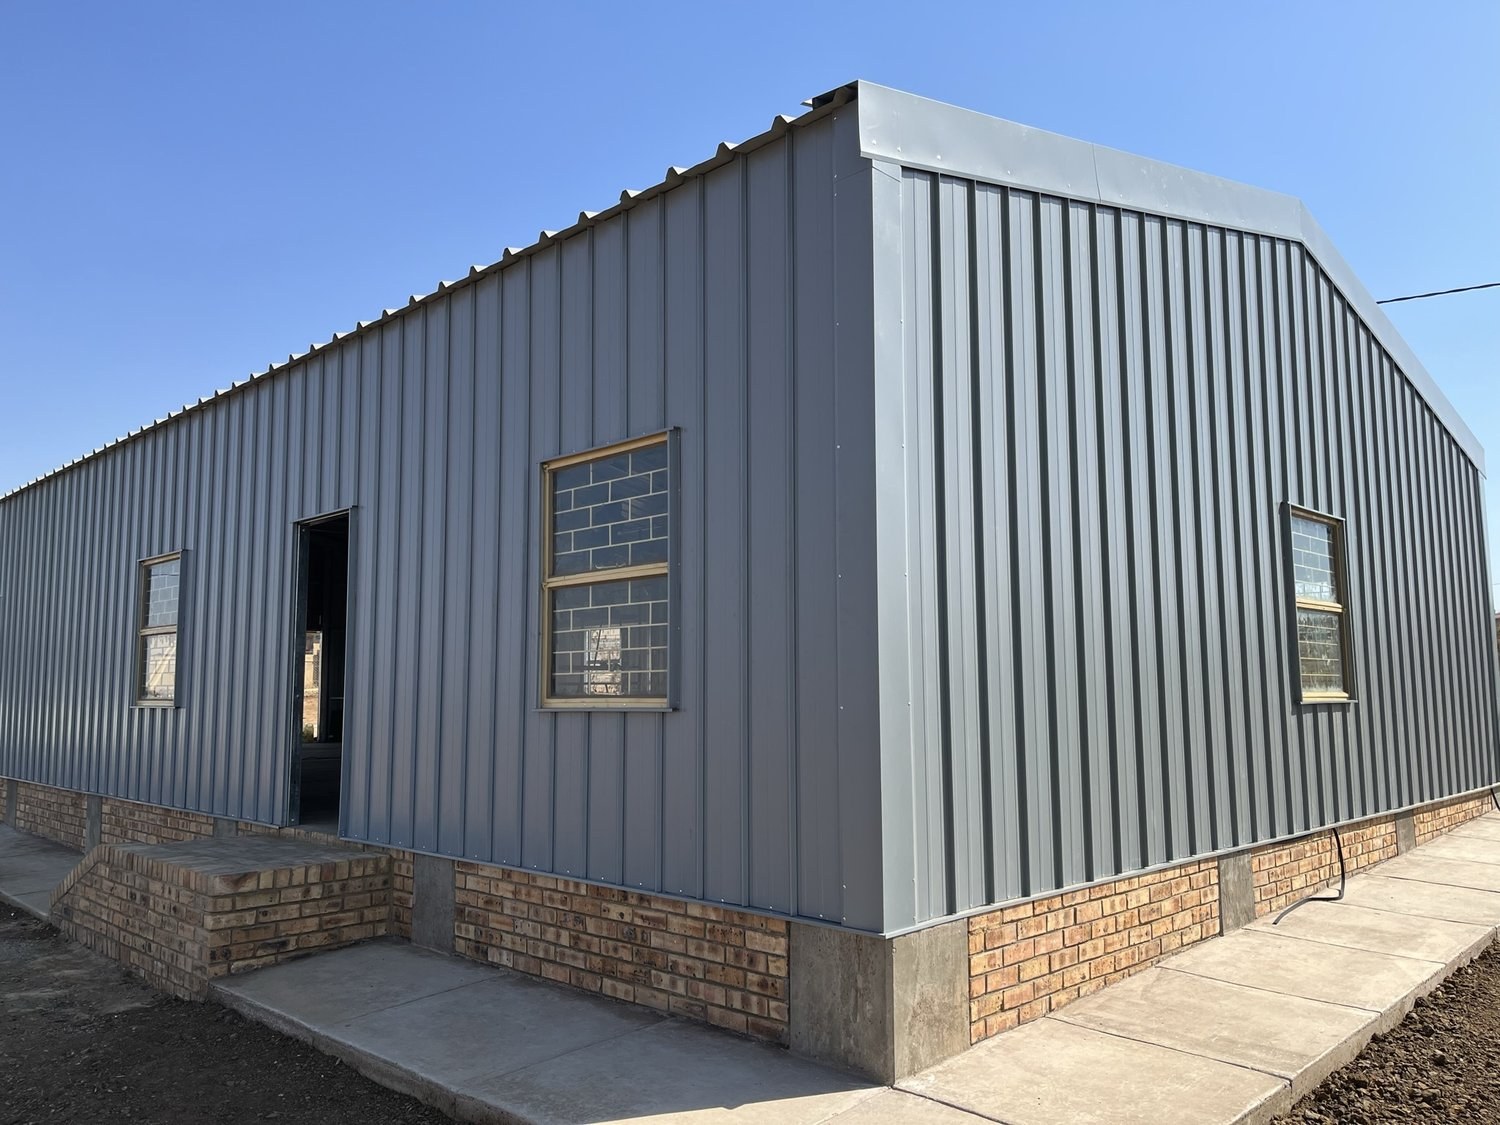
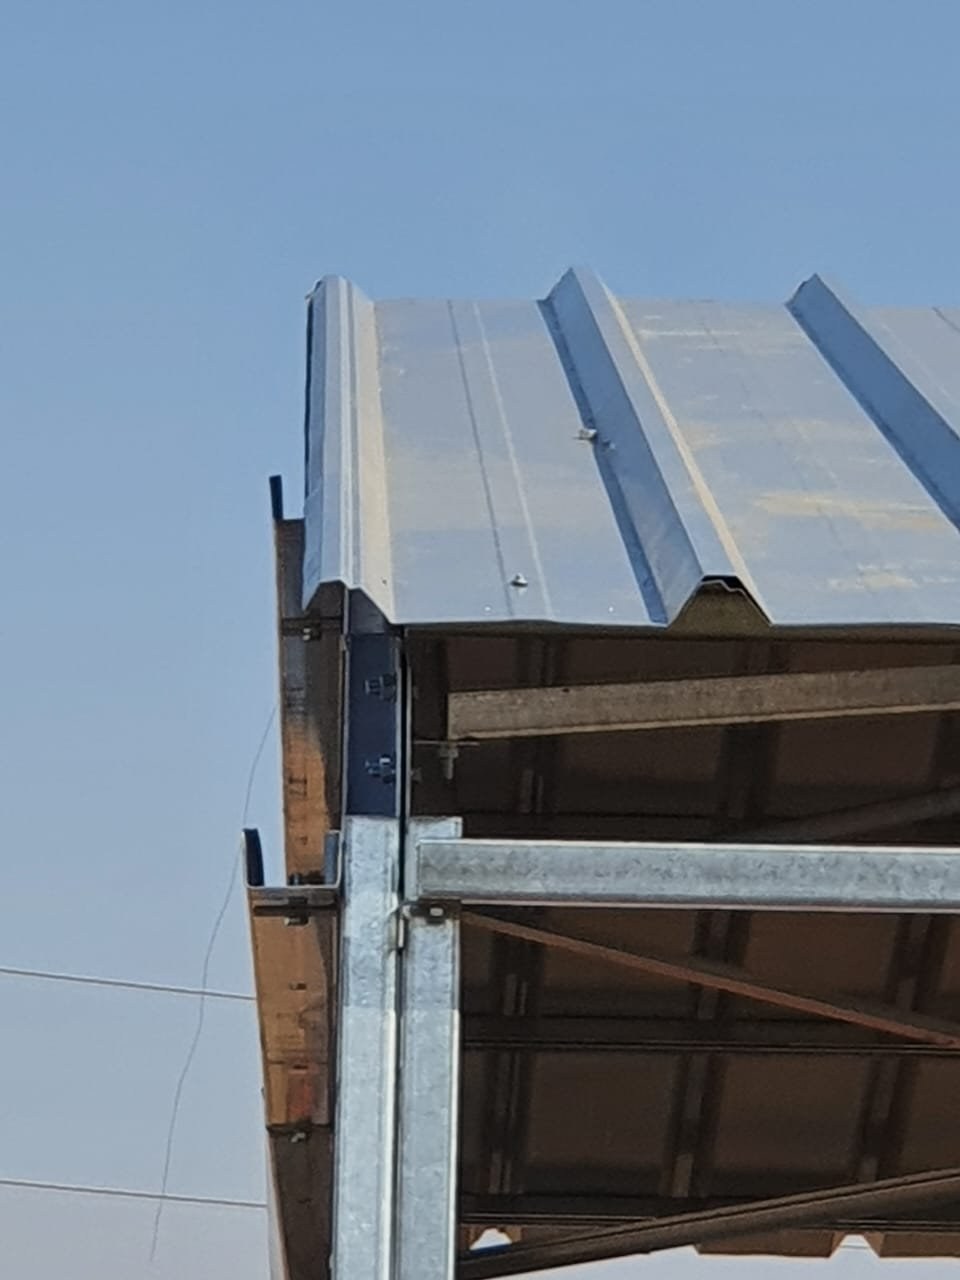
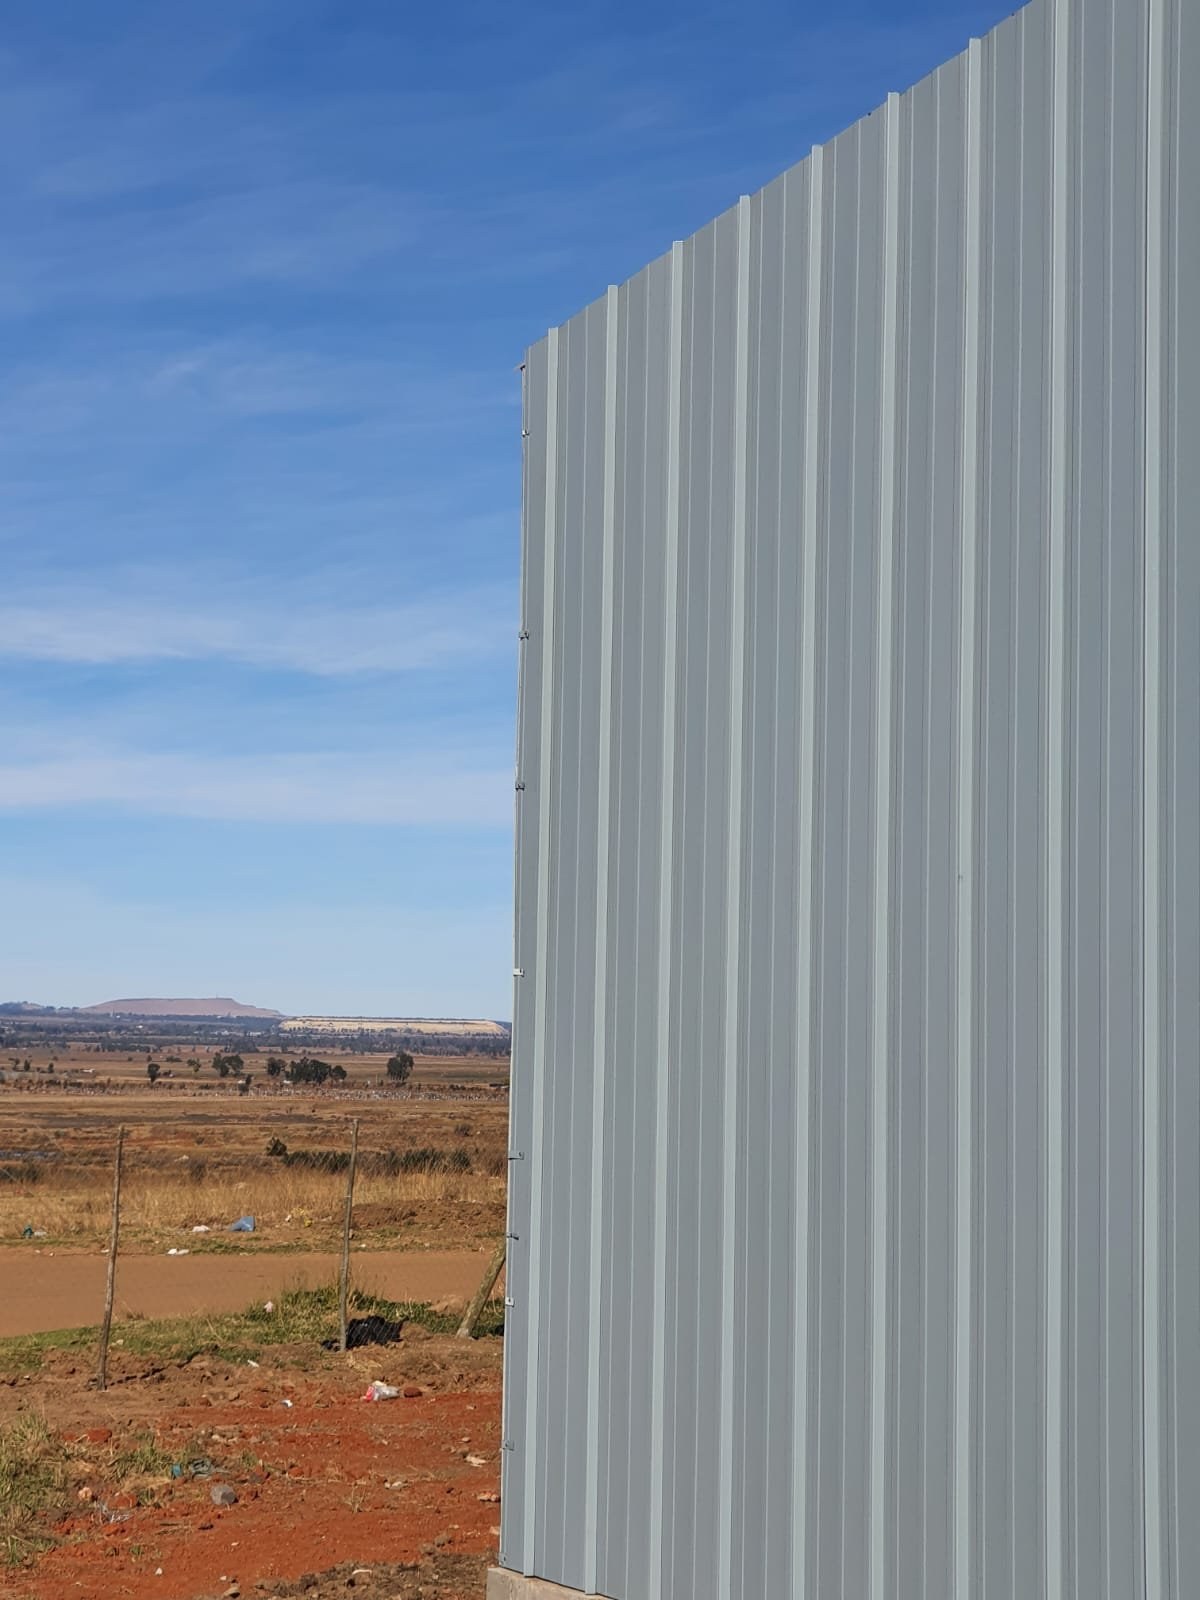
Building fully clad in grey vertical-rib profiled steel sheeting, with folded barge caps at the roof edge and a face-brick plinth at the base.PHOTO
Building fully clad in grey vertical-rib profiled steel sheeting, with folded barge caps at the roof edge and a face-brick plinth at the base.LiteClad Steel Profiles
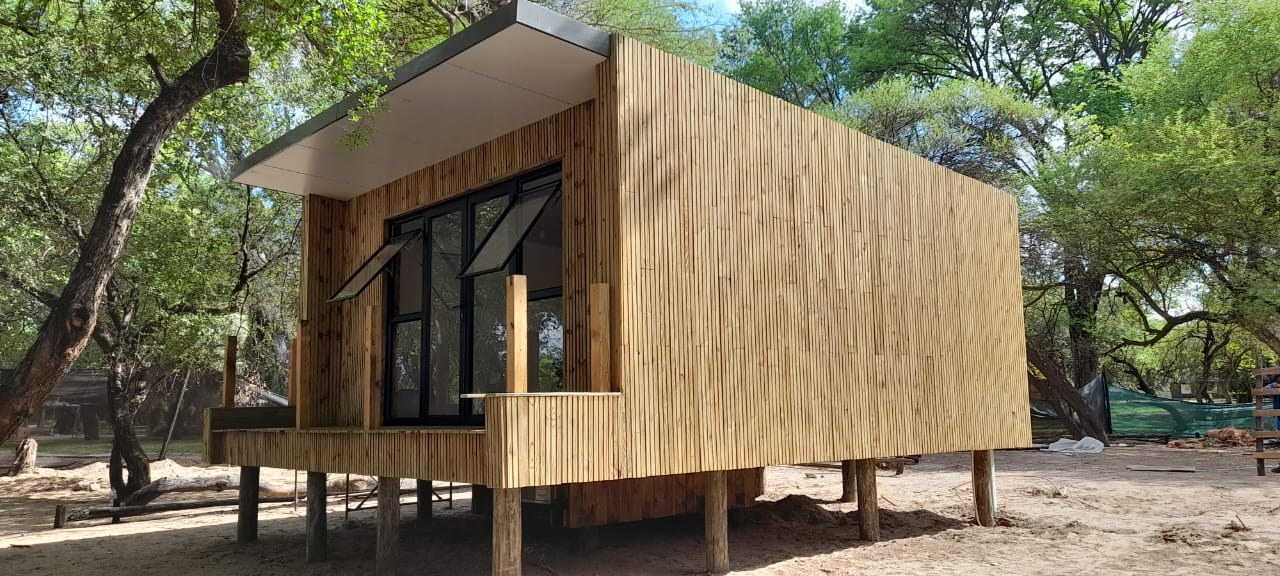
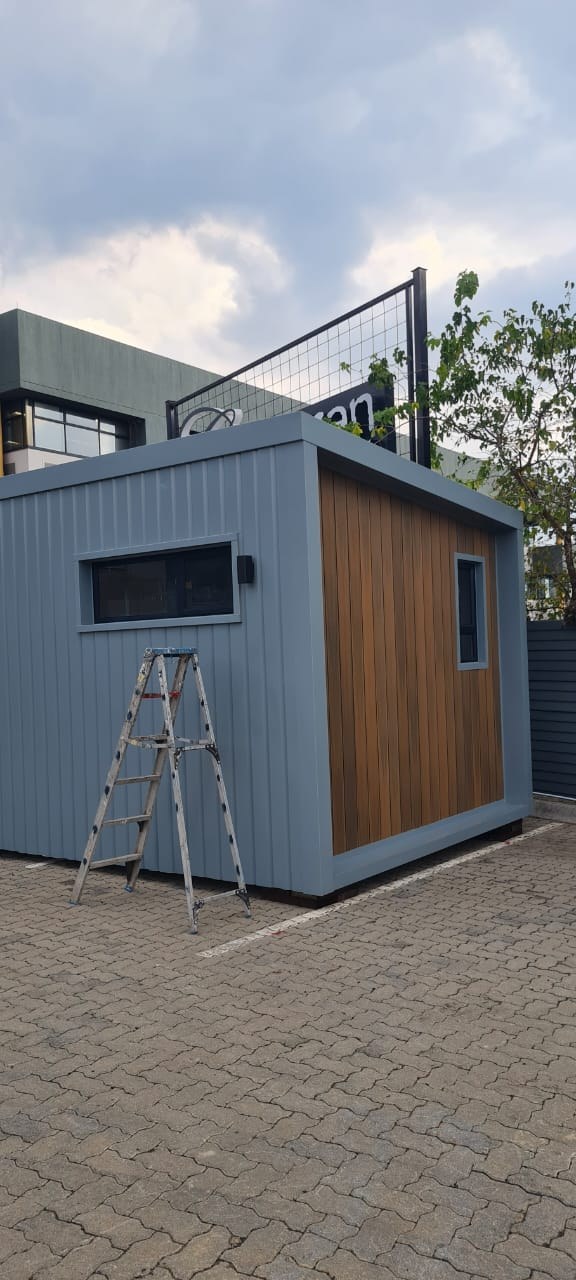
Modular unit clad in grey vertical-rib profiled steel sheeting, with a vertical timber-slat end panel. Photographed on site during fit-out.PHOTO
Modular unit clad in grey vertical-rib profiled steel sheeting, with a vertical timber-slat end panel. Photographed on site during fit-out.LiteClad Steel Profiles
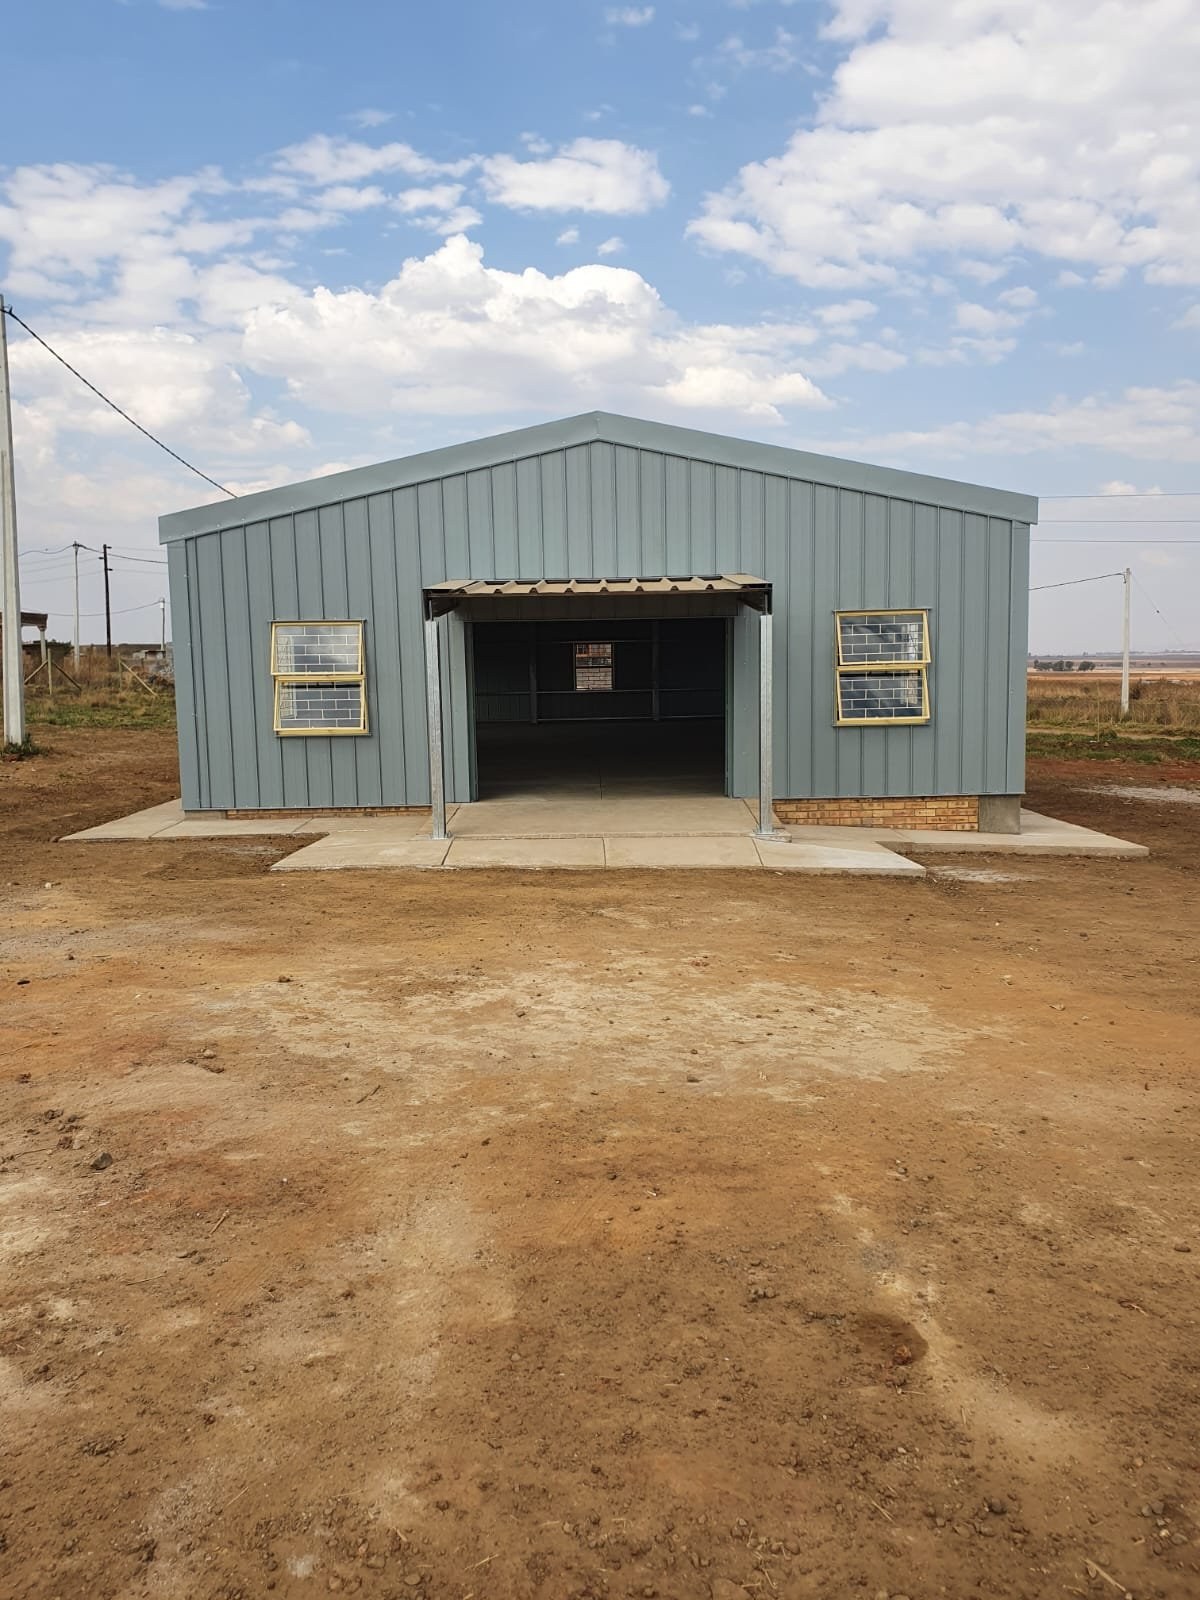
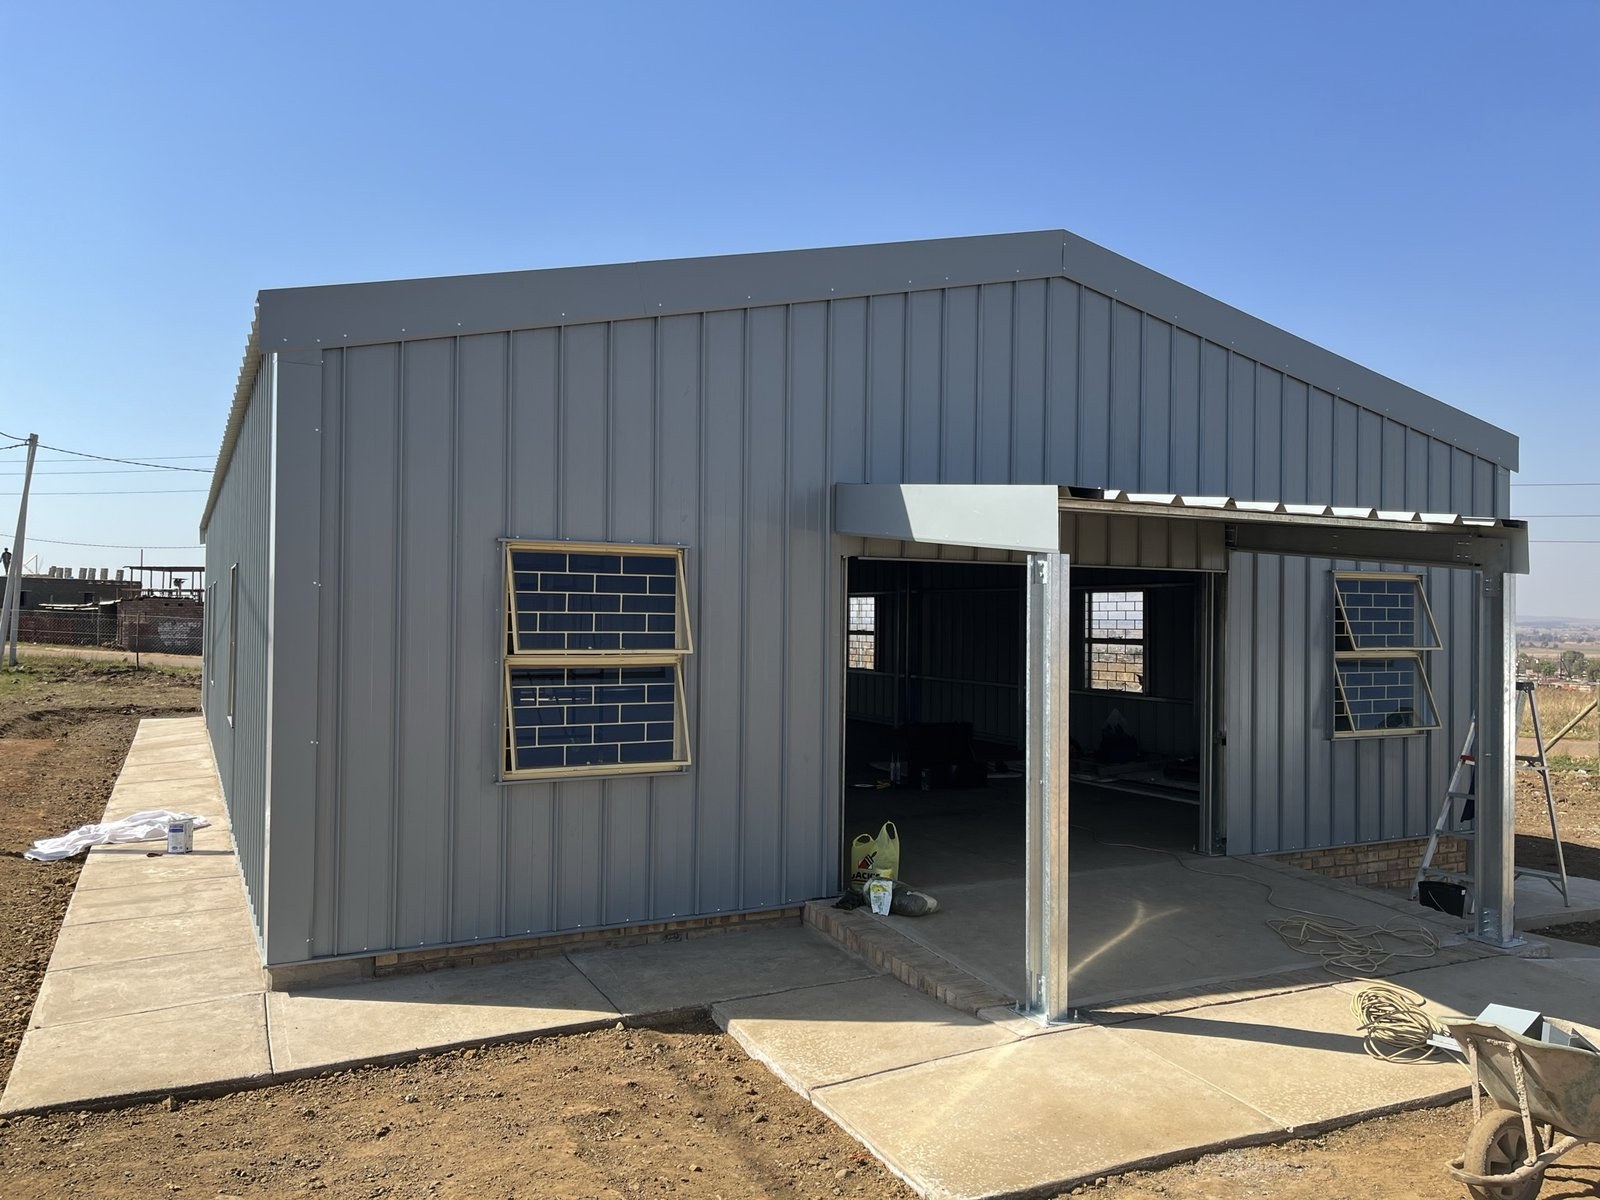
Steel-clad building front elevation with an open, column-supported carport bay between two windowsPHOTO
Steel-clad building front elevation with an open, column-supported carport bay between two windowsLiteClad Steel Profiles
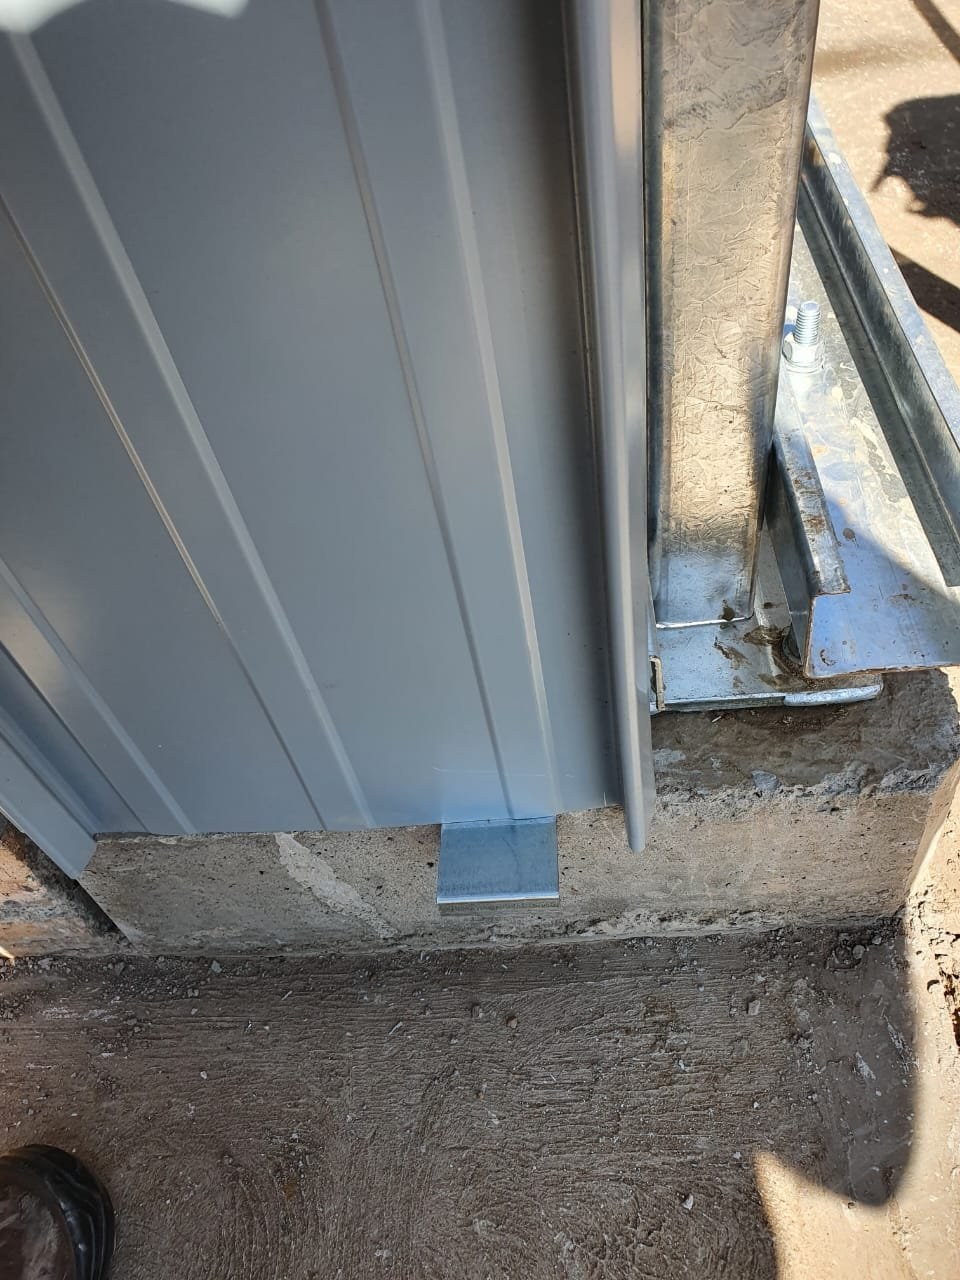
Close-up of a steel wall panel base fixed with a flashing bracket to a concrete plinthPHOTO
Close-up of a steel wall panel base fixed with a flashing bracket to a concrete plinthLiteClad Steel Profiles
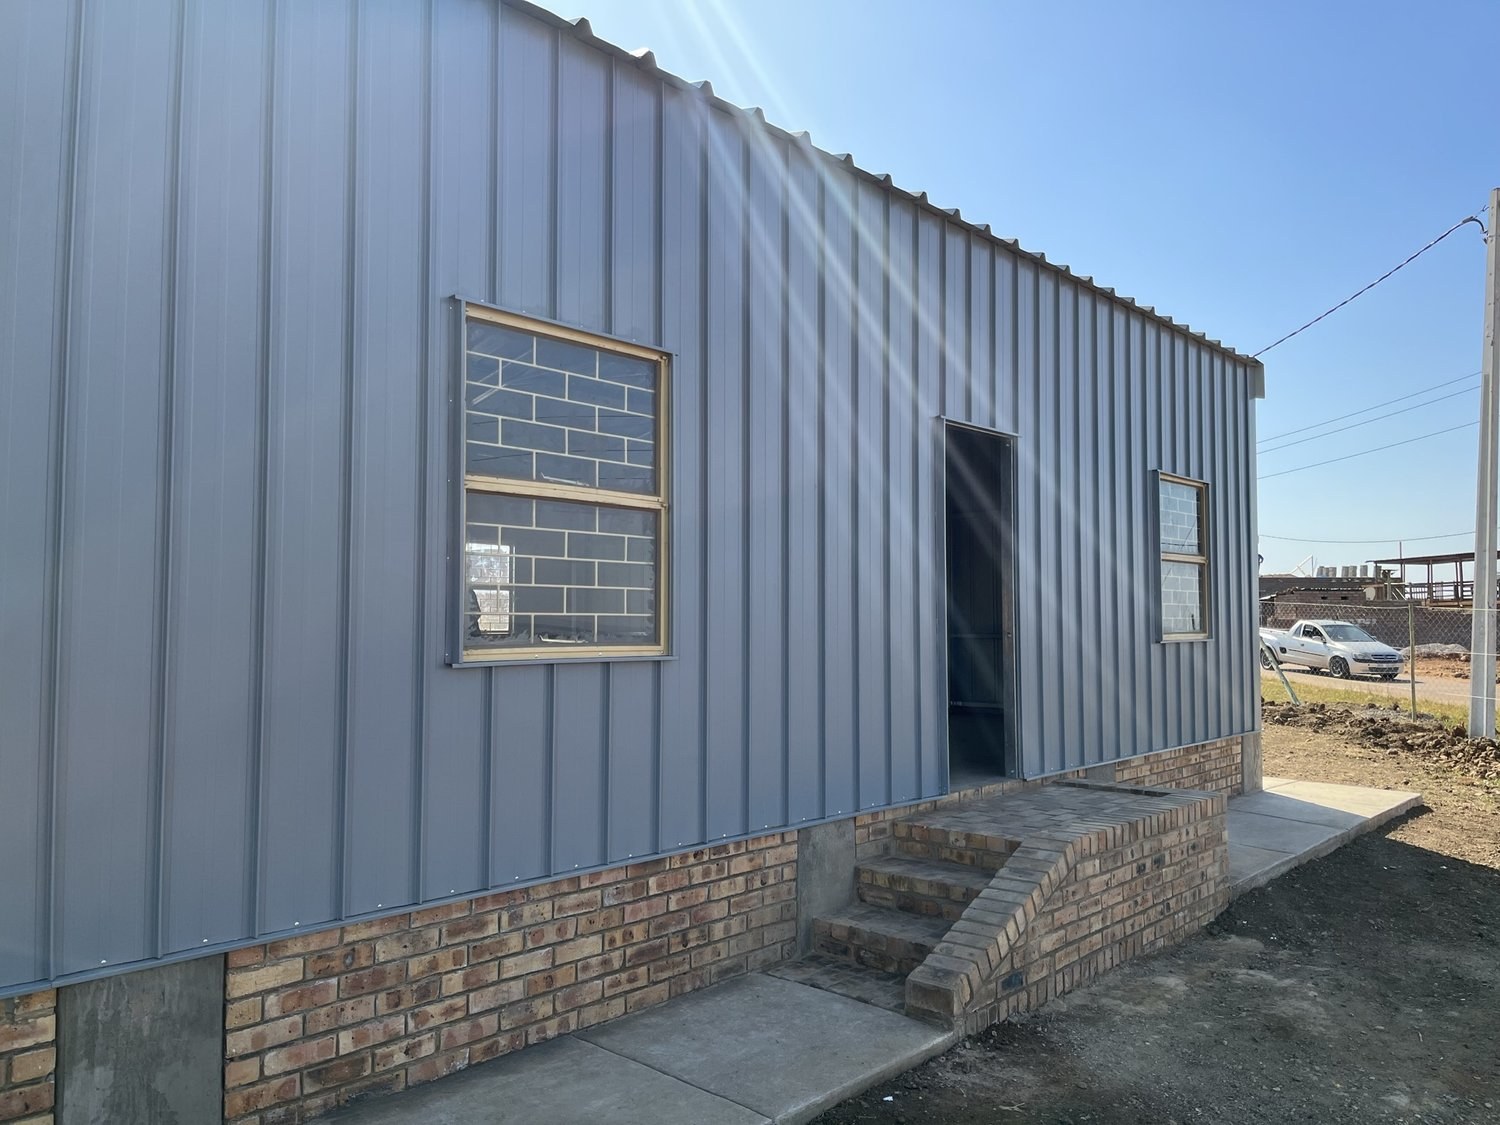
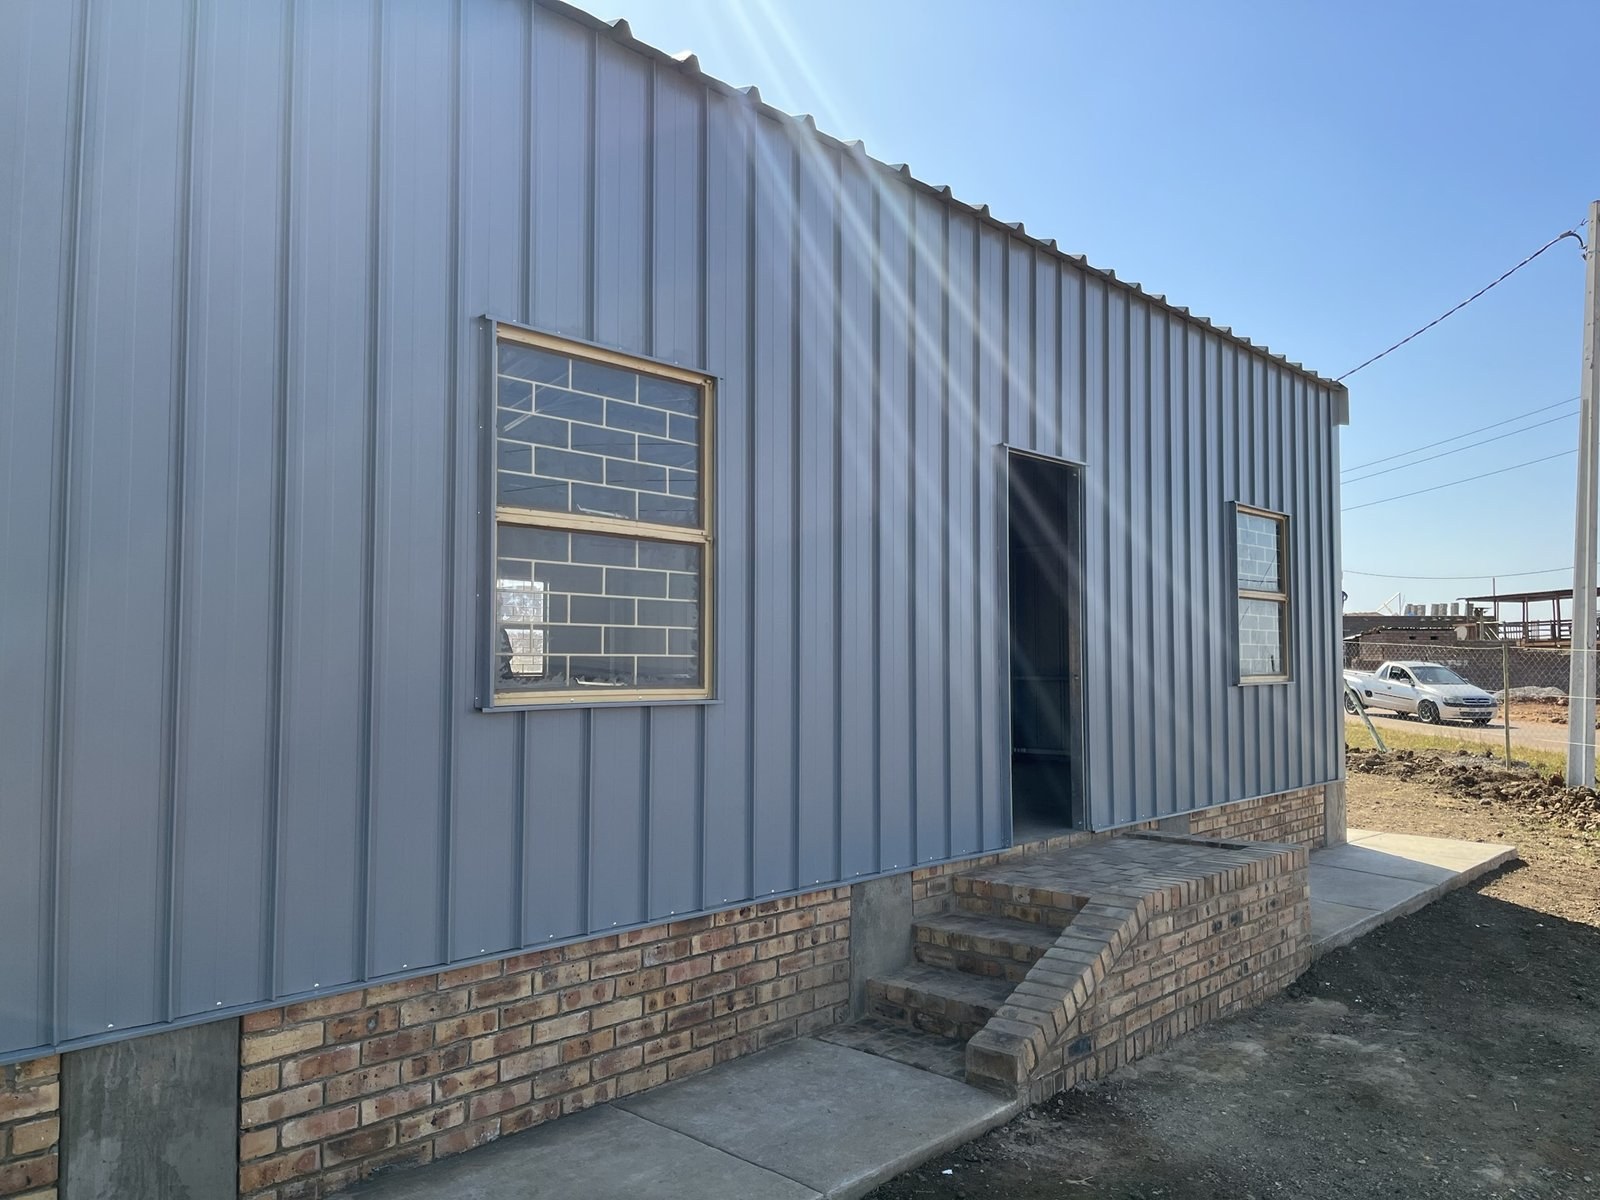
Side wall of a steel-clad building showing a window and open door above a brick base coursePHOTO
Side wall of a steel-clad building showing a window and open door above a brick base courseLiteClad Steel Profiles
Finished steel-clad building with door and two windows set over a brick base coursePHOTO
Finished steel-clad building with door and two windows set over a brick base courseLiteClad Steel Profiles
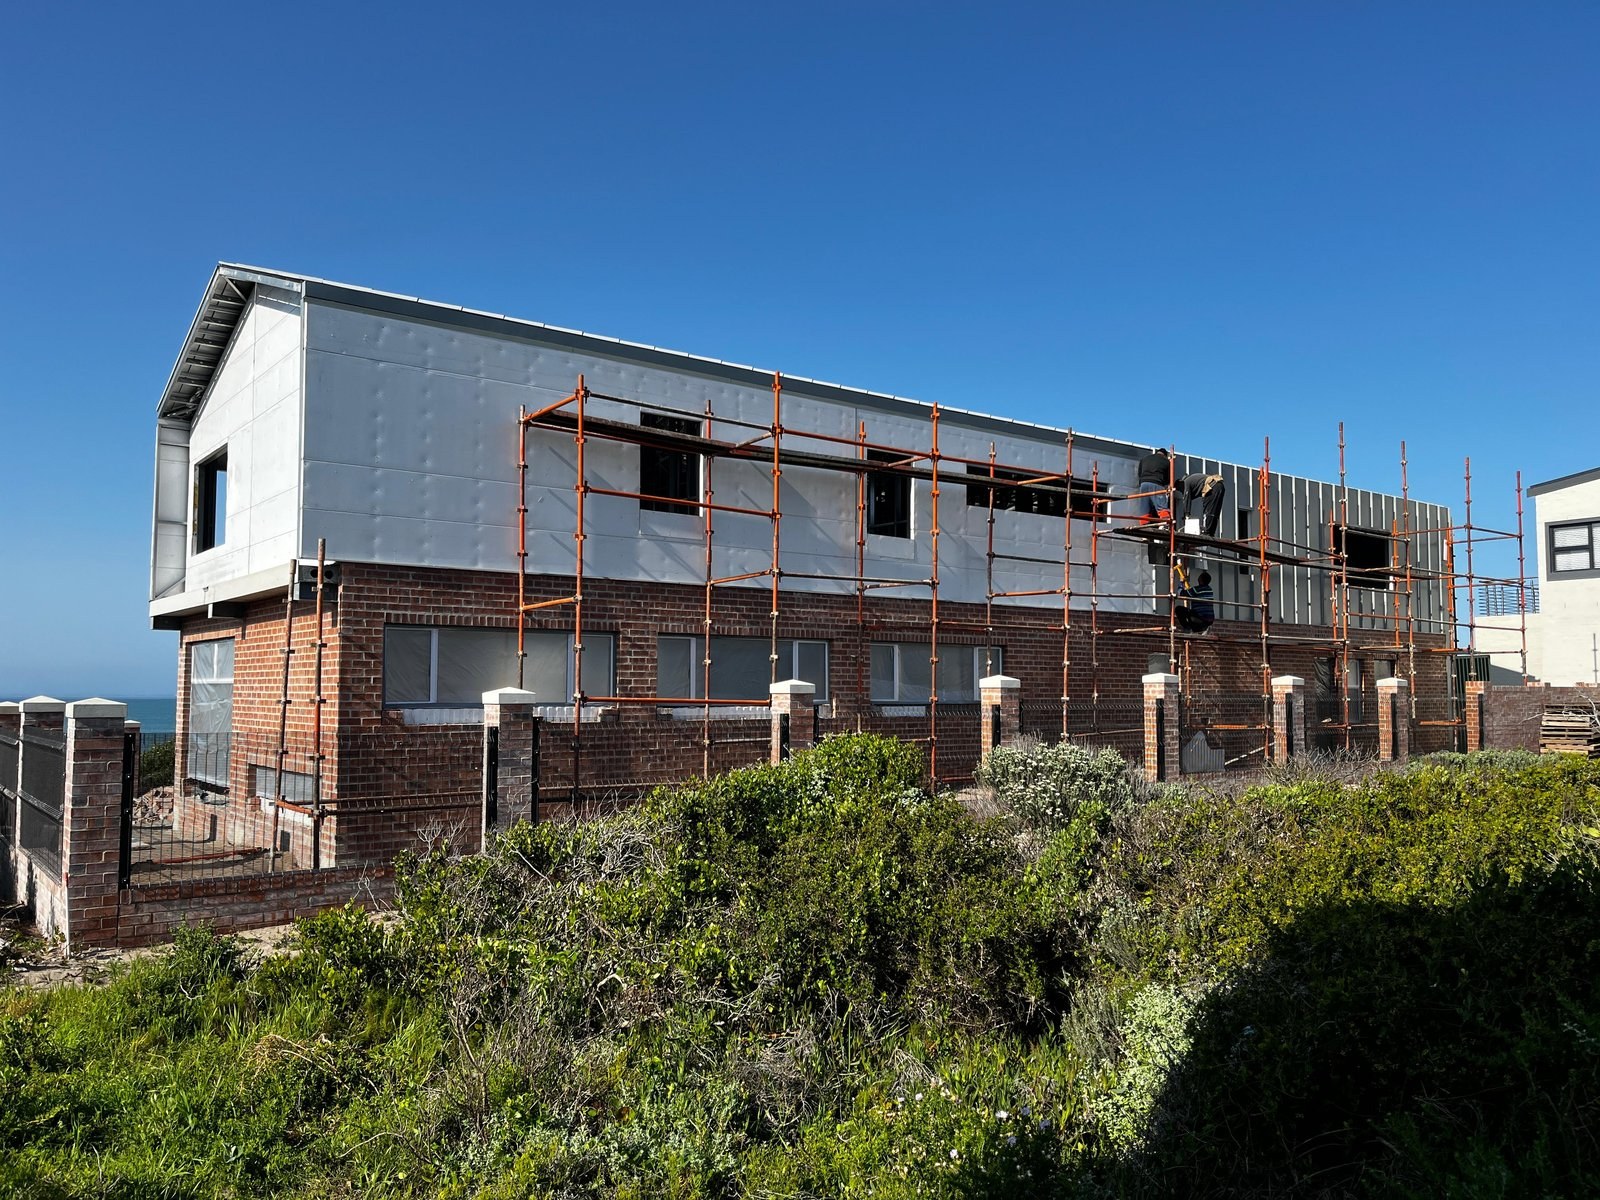
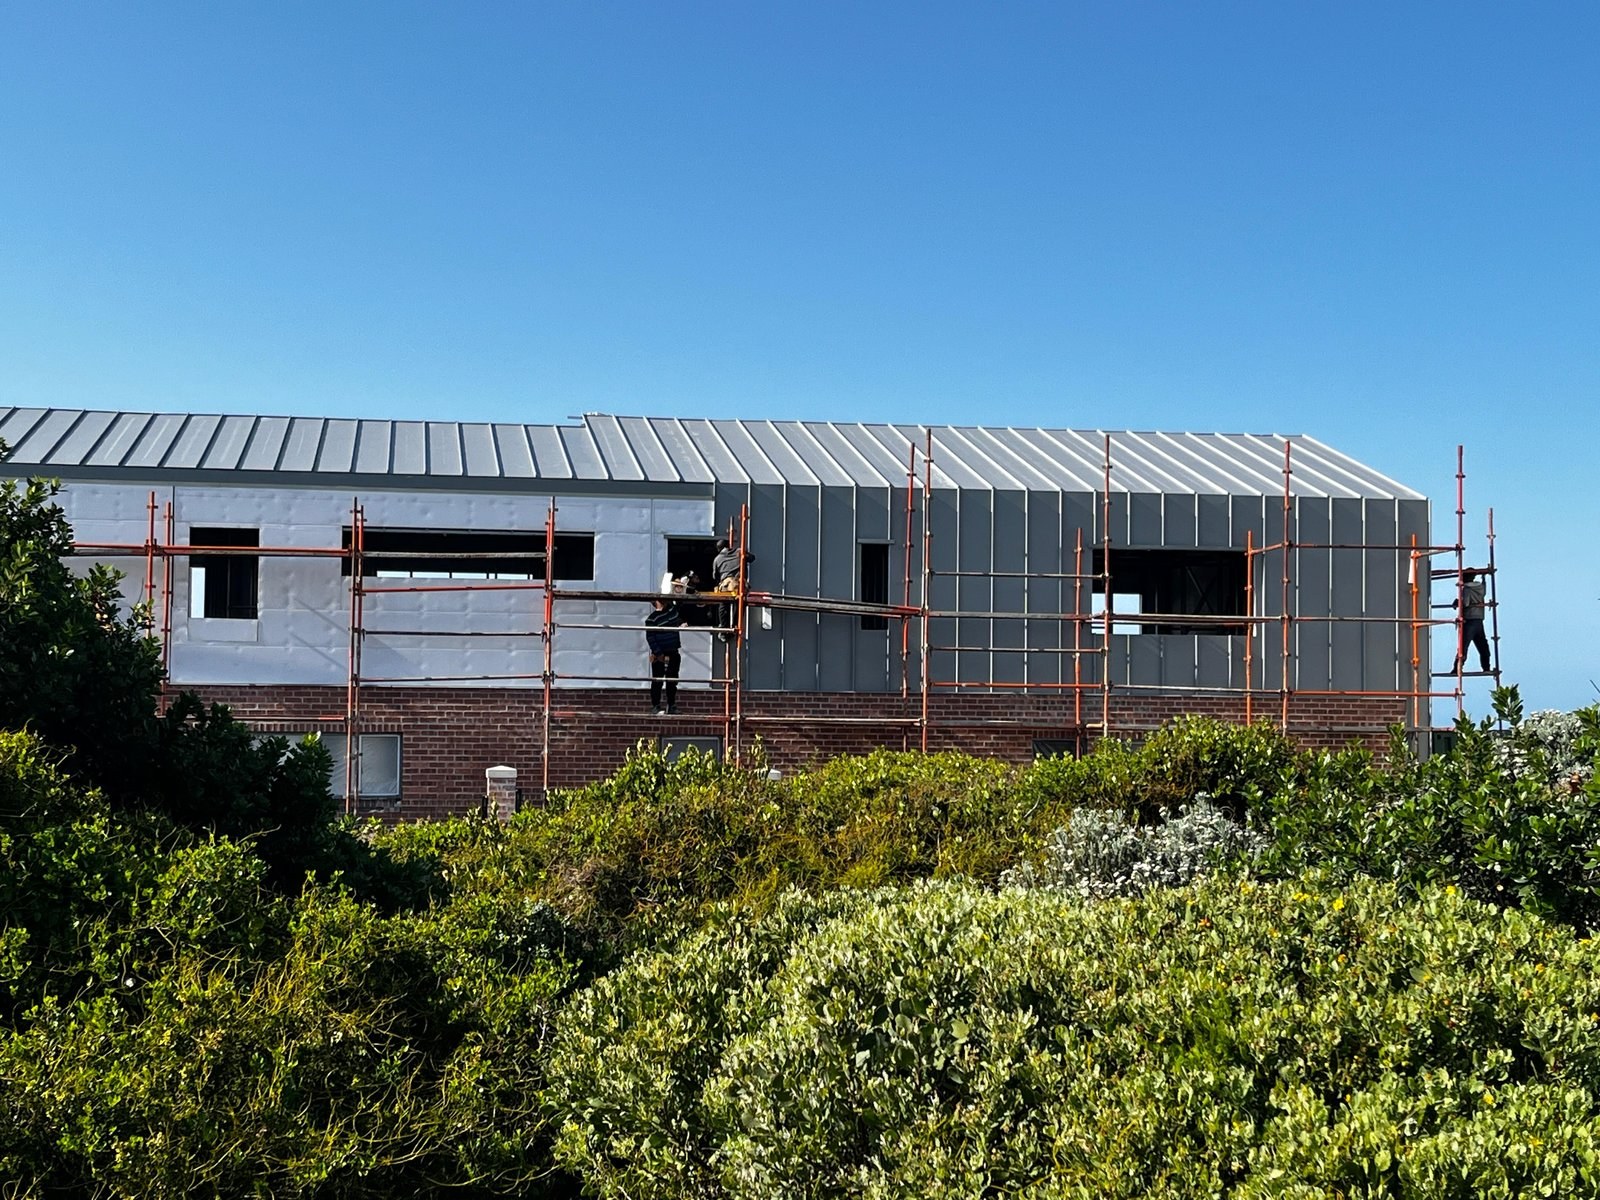
Steel wall cladding partway through installation over a brick upper storey of a coastal house, scaffolding in placePHOTO
Steel wall cladding partway through installation over a brick upper storey of a coastal house, scaffolding in placeLiteClad Steel Profiles
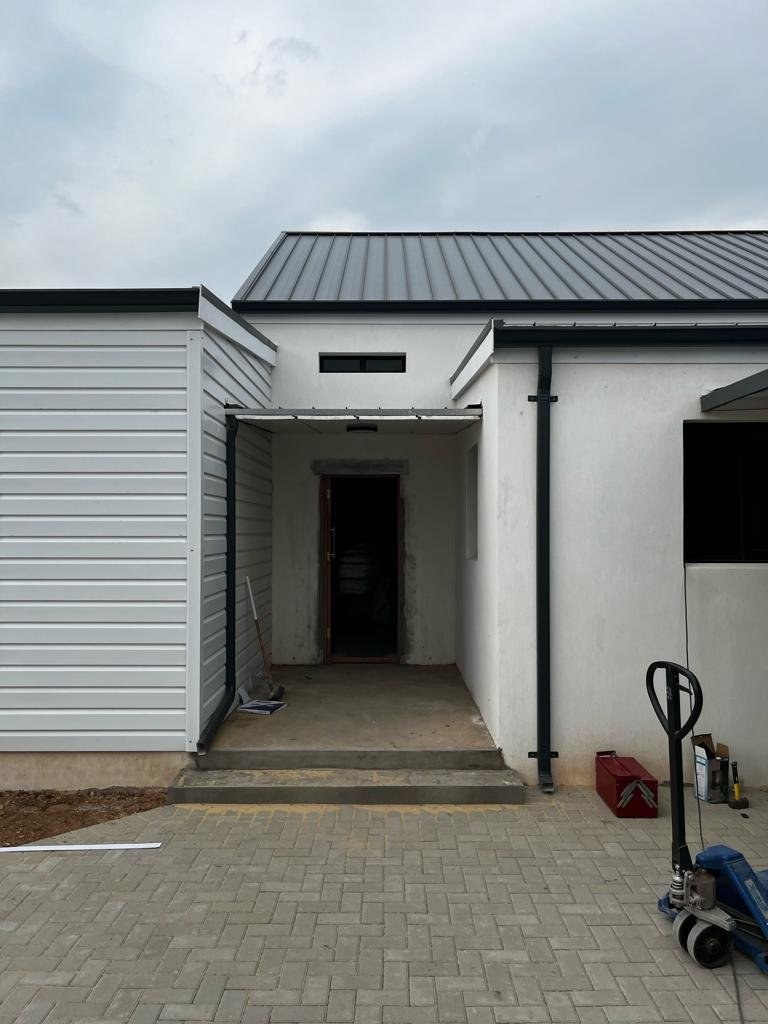
Finished house entrance porch with a steel-clad gable end and standing-seam roof alongsidePHOTO
Finished house entrance porch with a steel-clad gable end and standing-seam roof alongsideLiteClad Steel Profiles
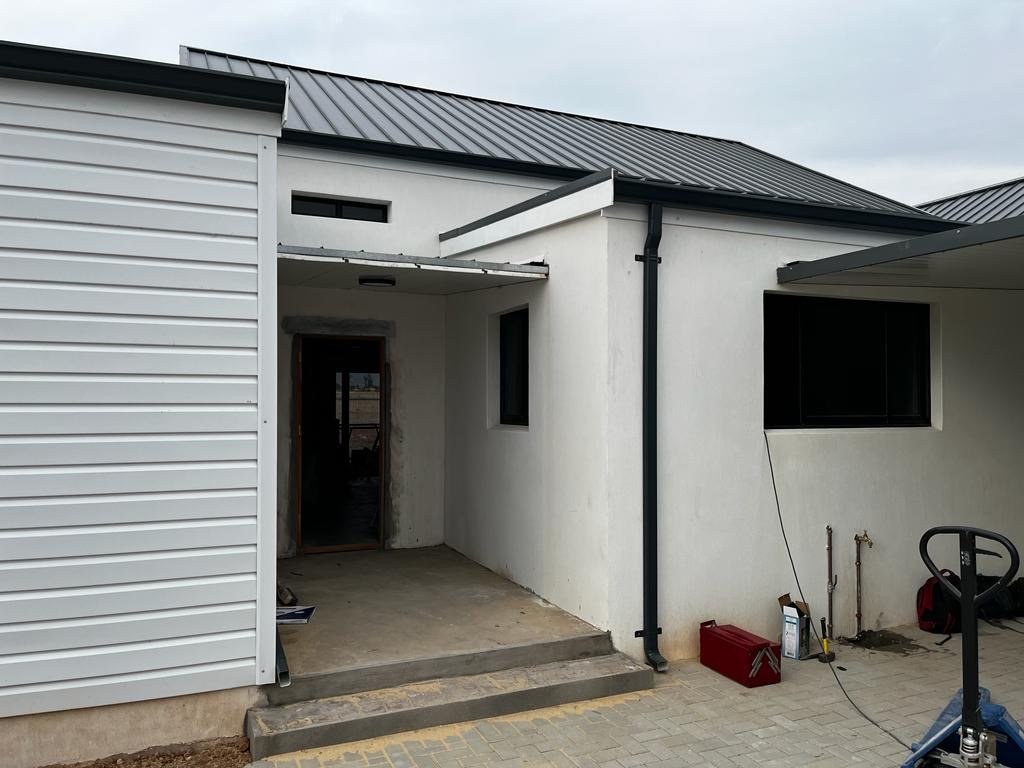
Corner of a finished house showing standing-seam roof and steel wall cladding under an overcast skyPHOTO
Corner of a finished house showing standing-seam roof and steel wall cladding under an overcast skyLiteClad Steel Profiles
Workers on scaffolding fixing steel wall cladding panels to a coastal housePHOTO
Workers on scaffolding fixing steel wall cladding panels to a coastal houseLiteClad Steel Profiles
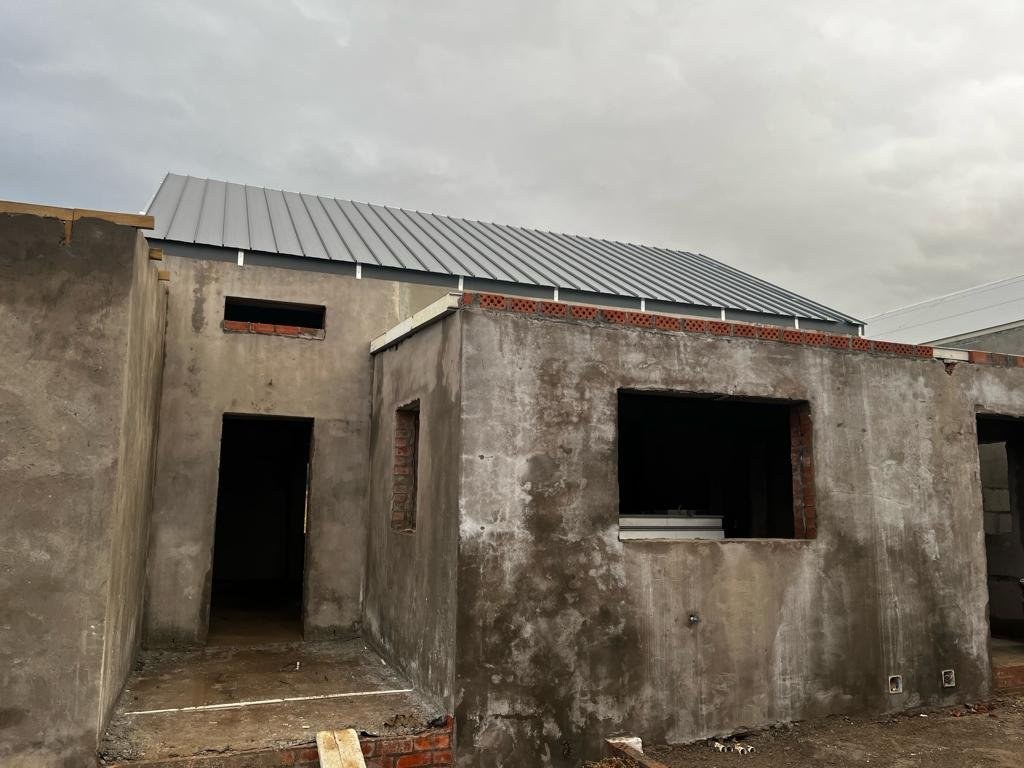
Standing-seam roof sheeting fitted over an unplastered block building shellPHOTO
Standing-seam roof sheeting fitted over an unplastered block building shellLiteClad Steel Profiles
Standing-seam steel roofs on a row of houses with mountains in the backgroundPHOTO
Standing-seam steel roofs on a row of houses with mountains in the backgroundLiteClad Steel Profiles
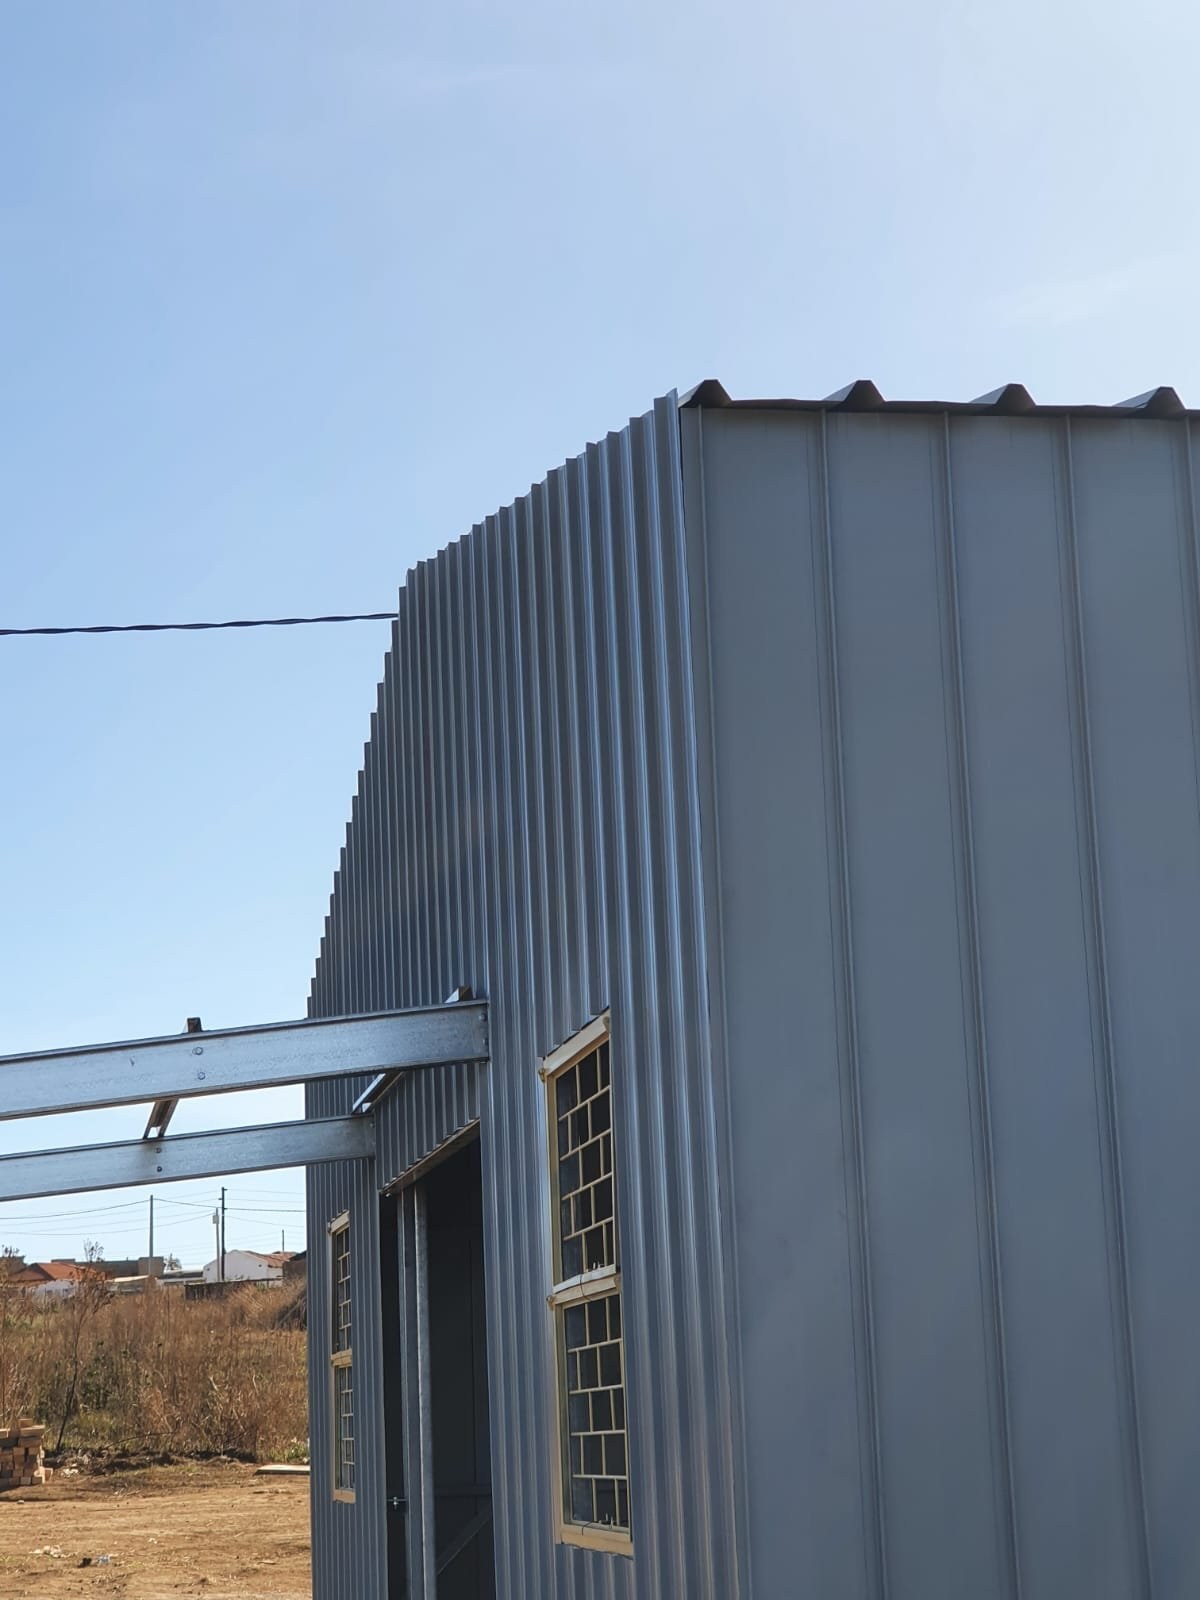
Curved gable-end corner of a steel-clad building with door and window openingsPHOTO
Curved gable-end corner of a steel-clad building with door and window openingsLiteClad Steel Profiles
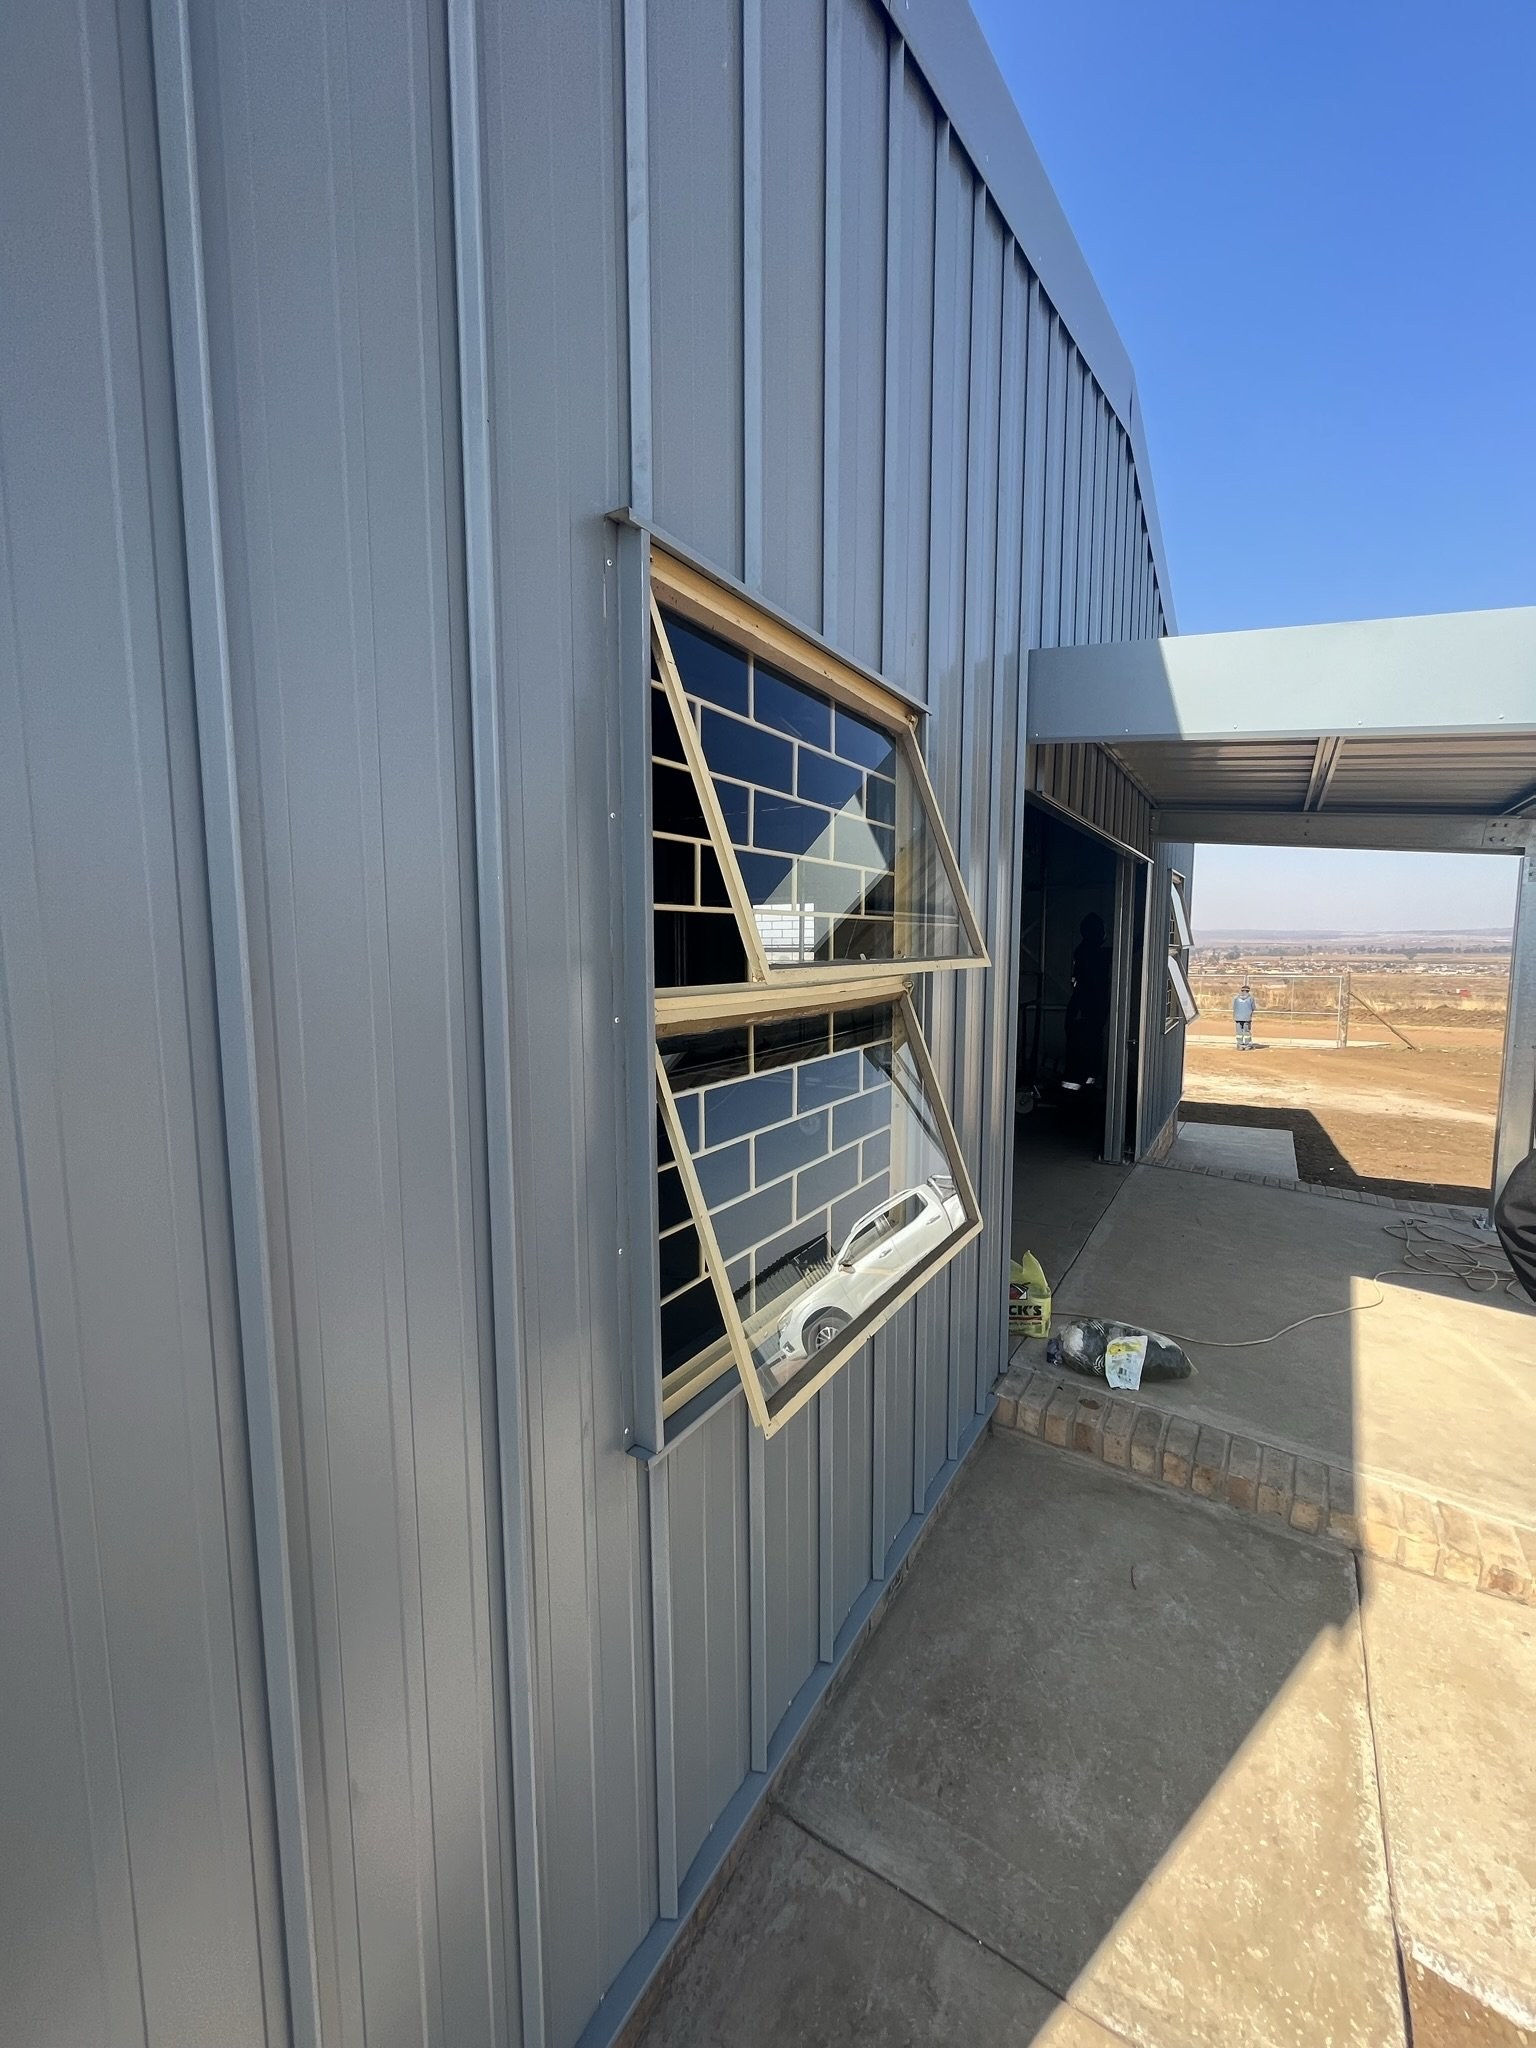
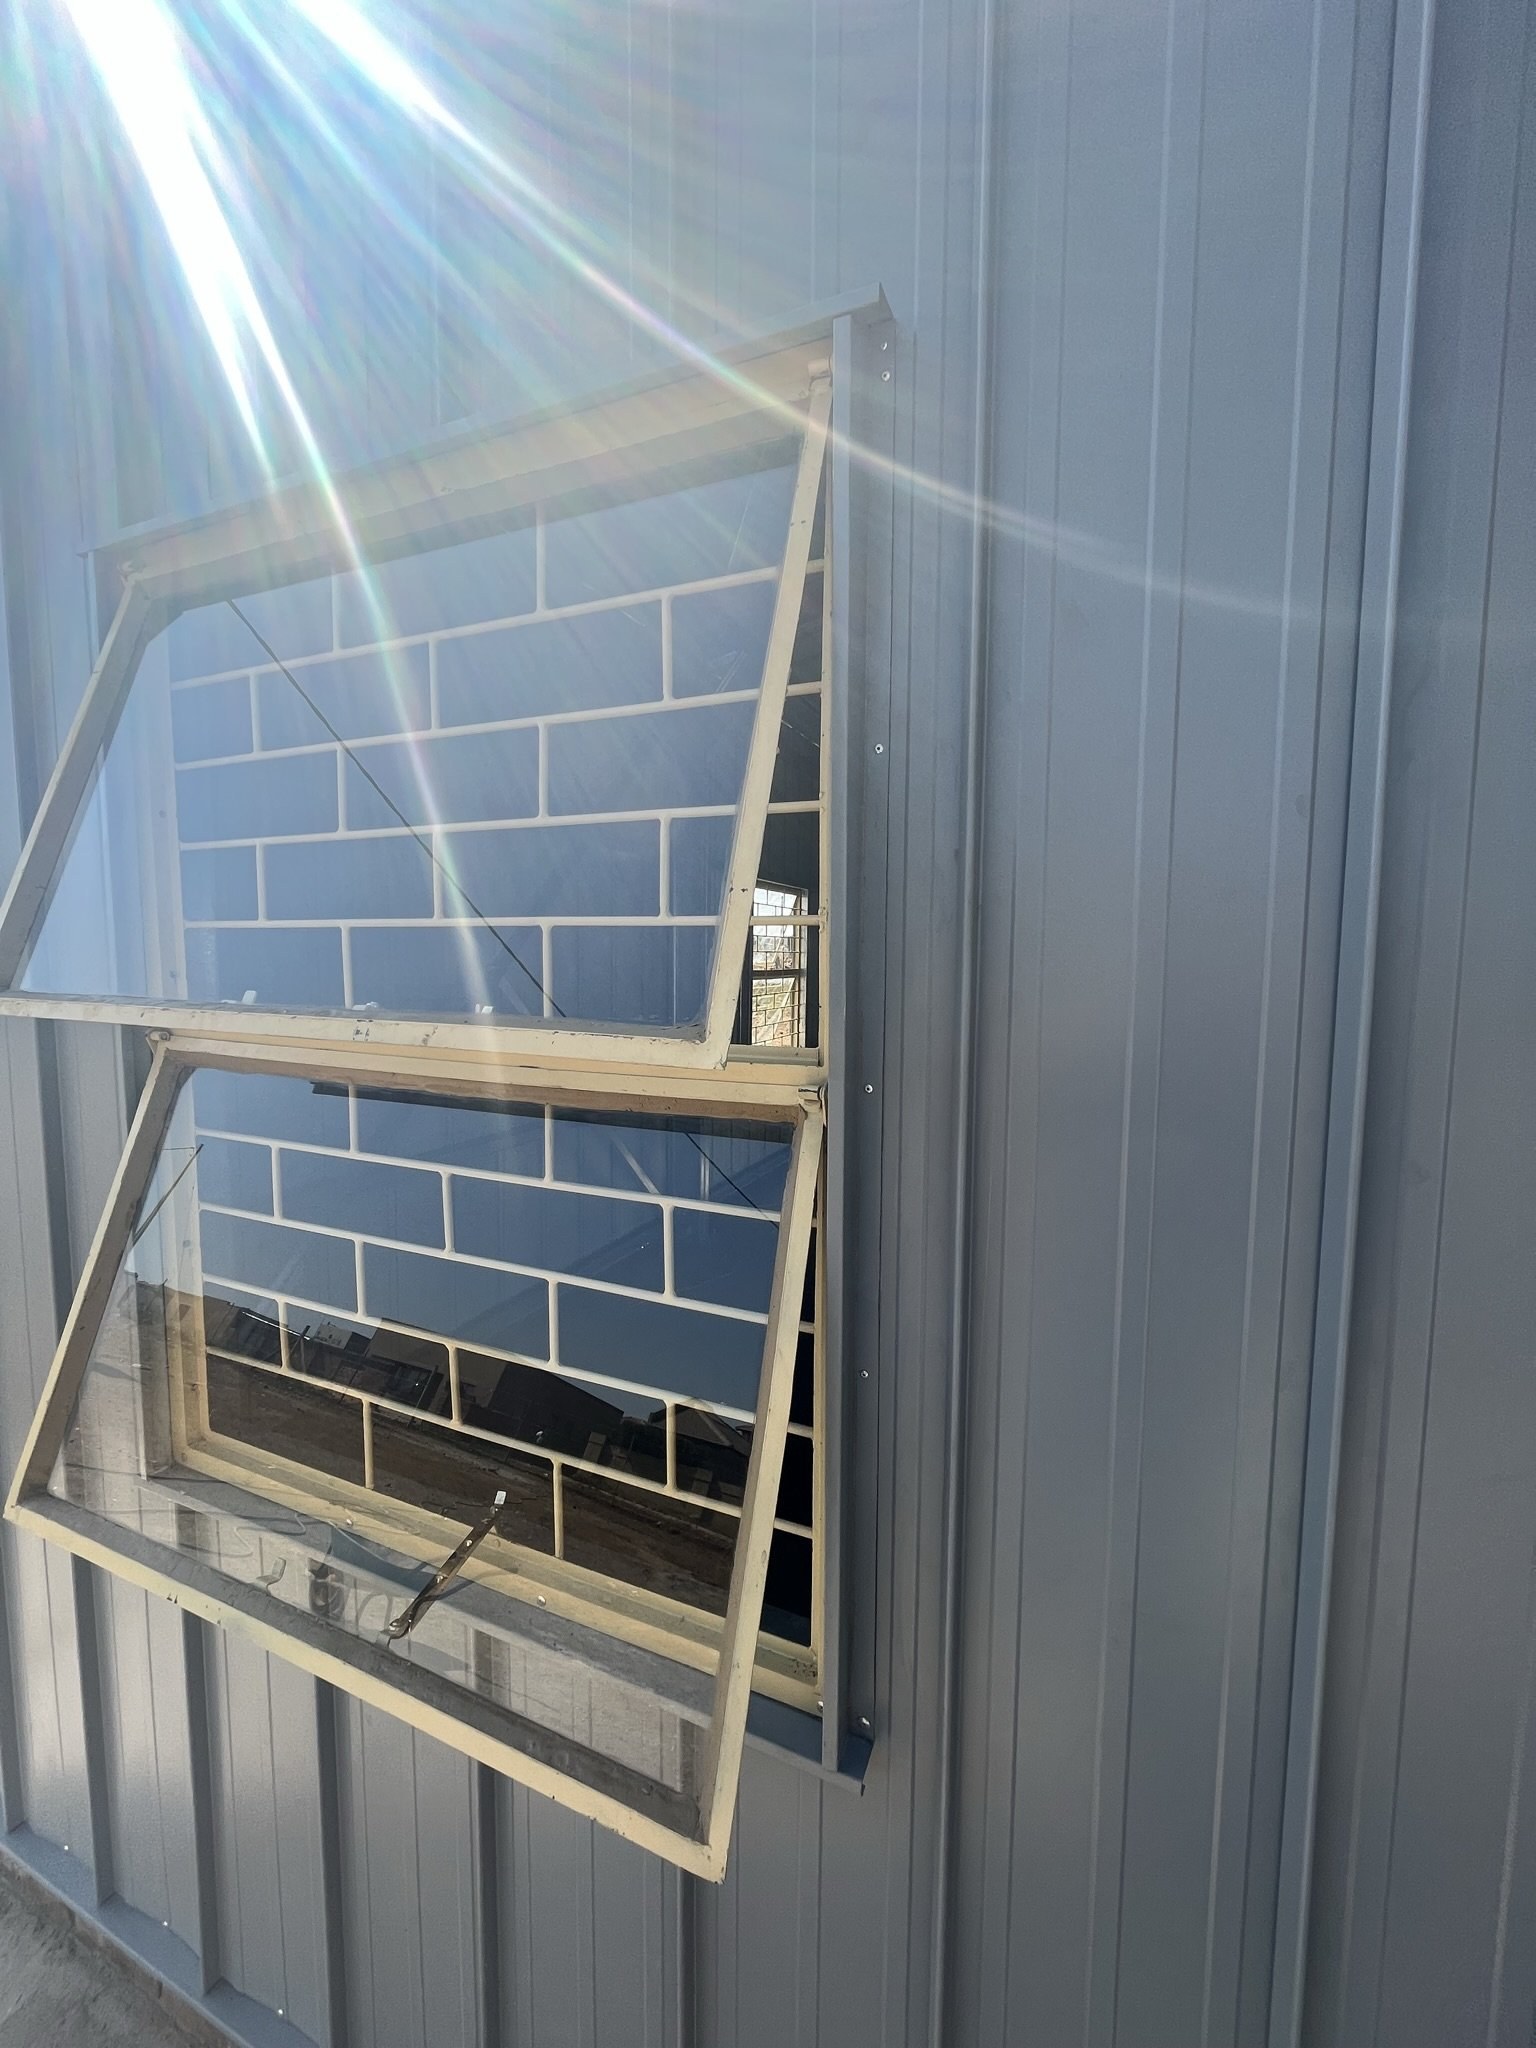
Open awning window in a steel-clad wall, viewed alongside an open bay doorPHOTO
Open awning window in a steel-clad wall, viewed alongside an open bay doorLiteClad Steel Profiles
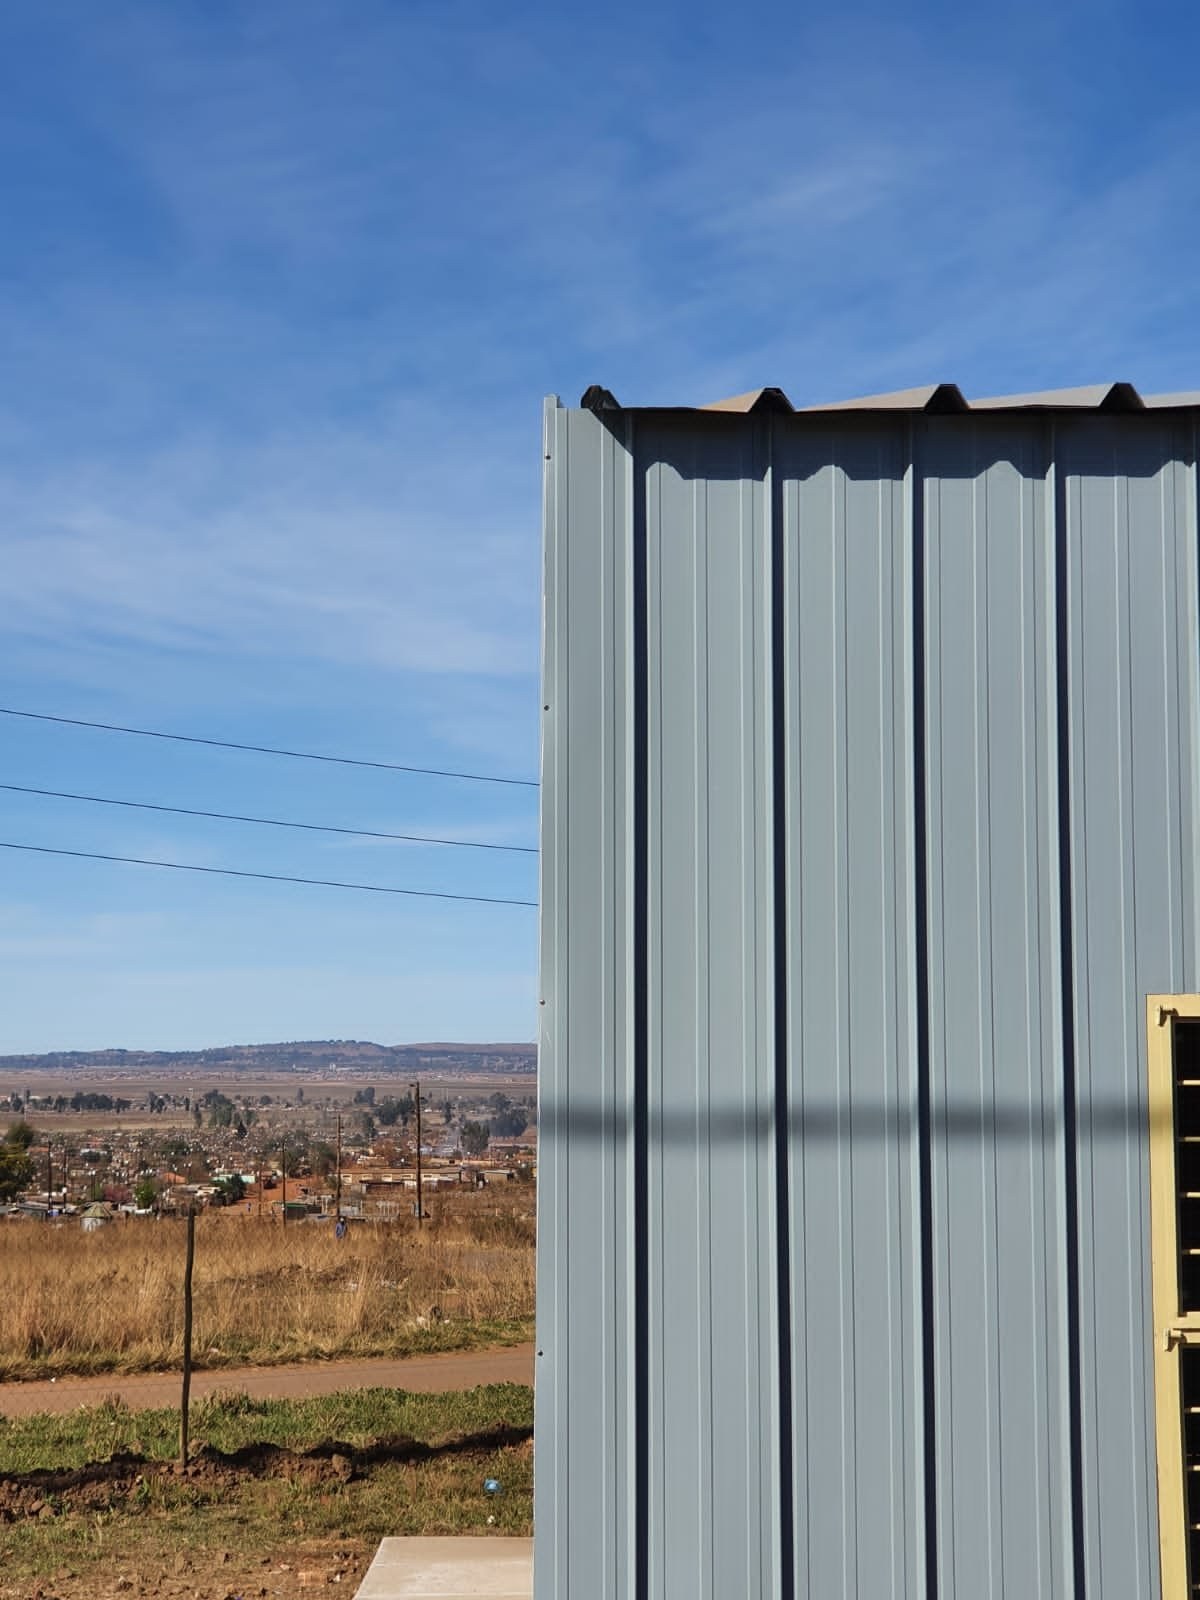
Close-up of vertical steel wall cladding at a building corner overlooking a township in the distancePHOTO
Close-up of vertical steel wall cladding at a building corner overlooking a township in the distanceLiteClad Steel Profiles
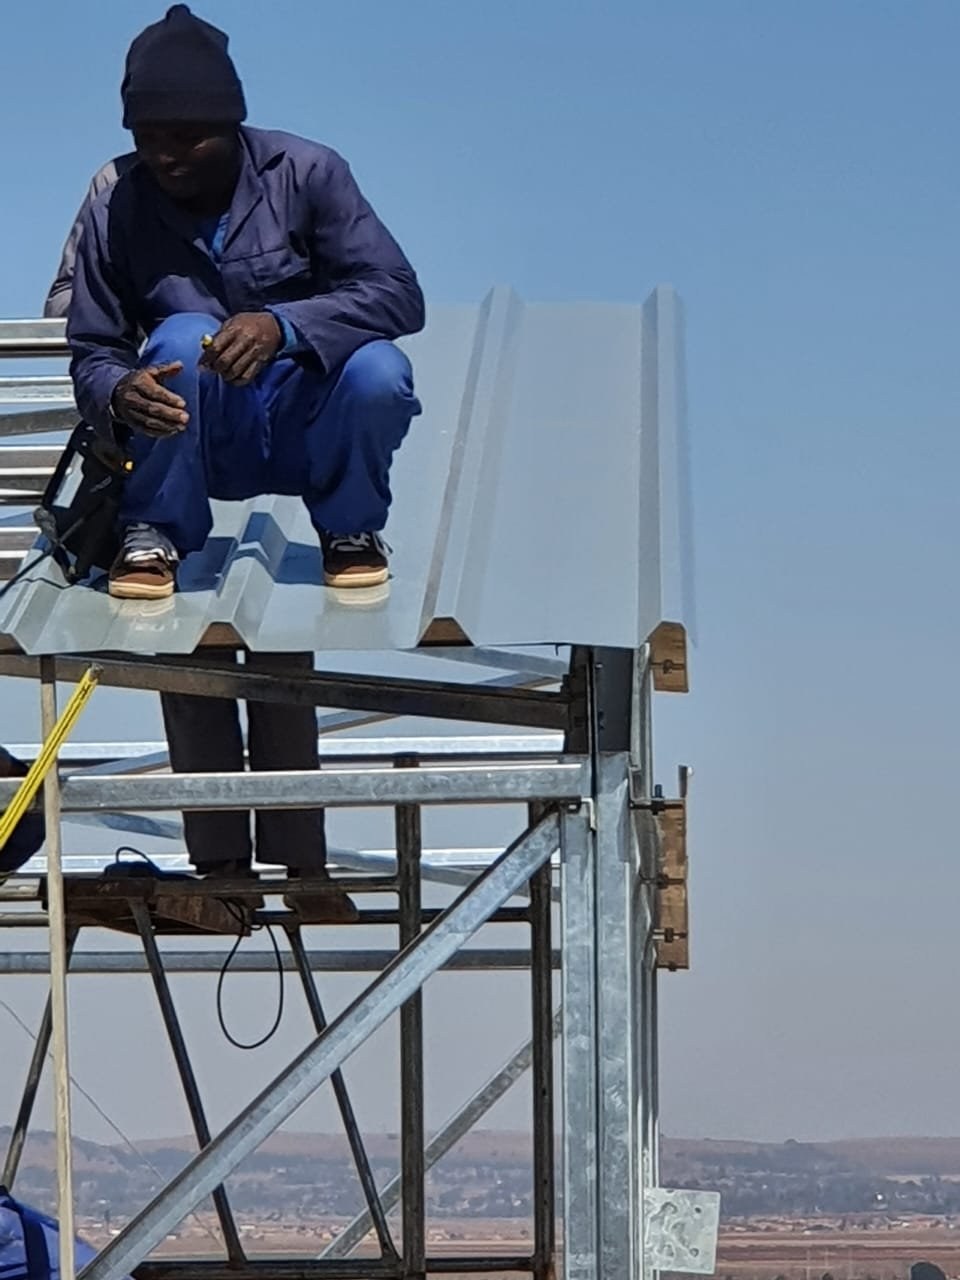
Worker fitting roof sheeting while seated on a scaffold towerPHOTO
Worker fitting roof sheeting while seated on a scaffold towerLiteClad Steel Profiles
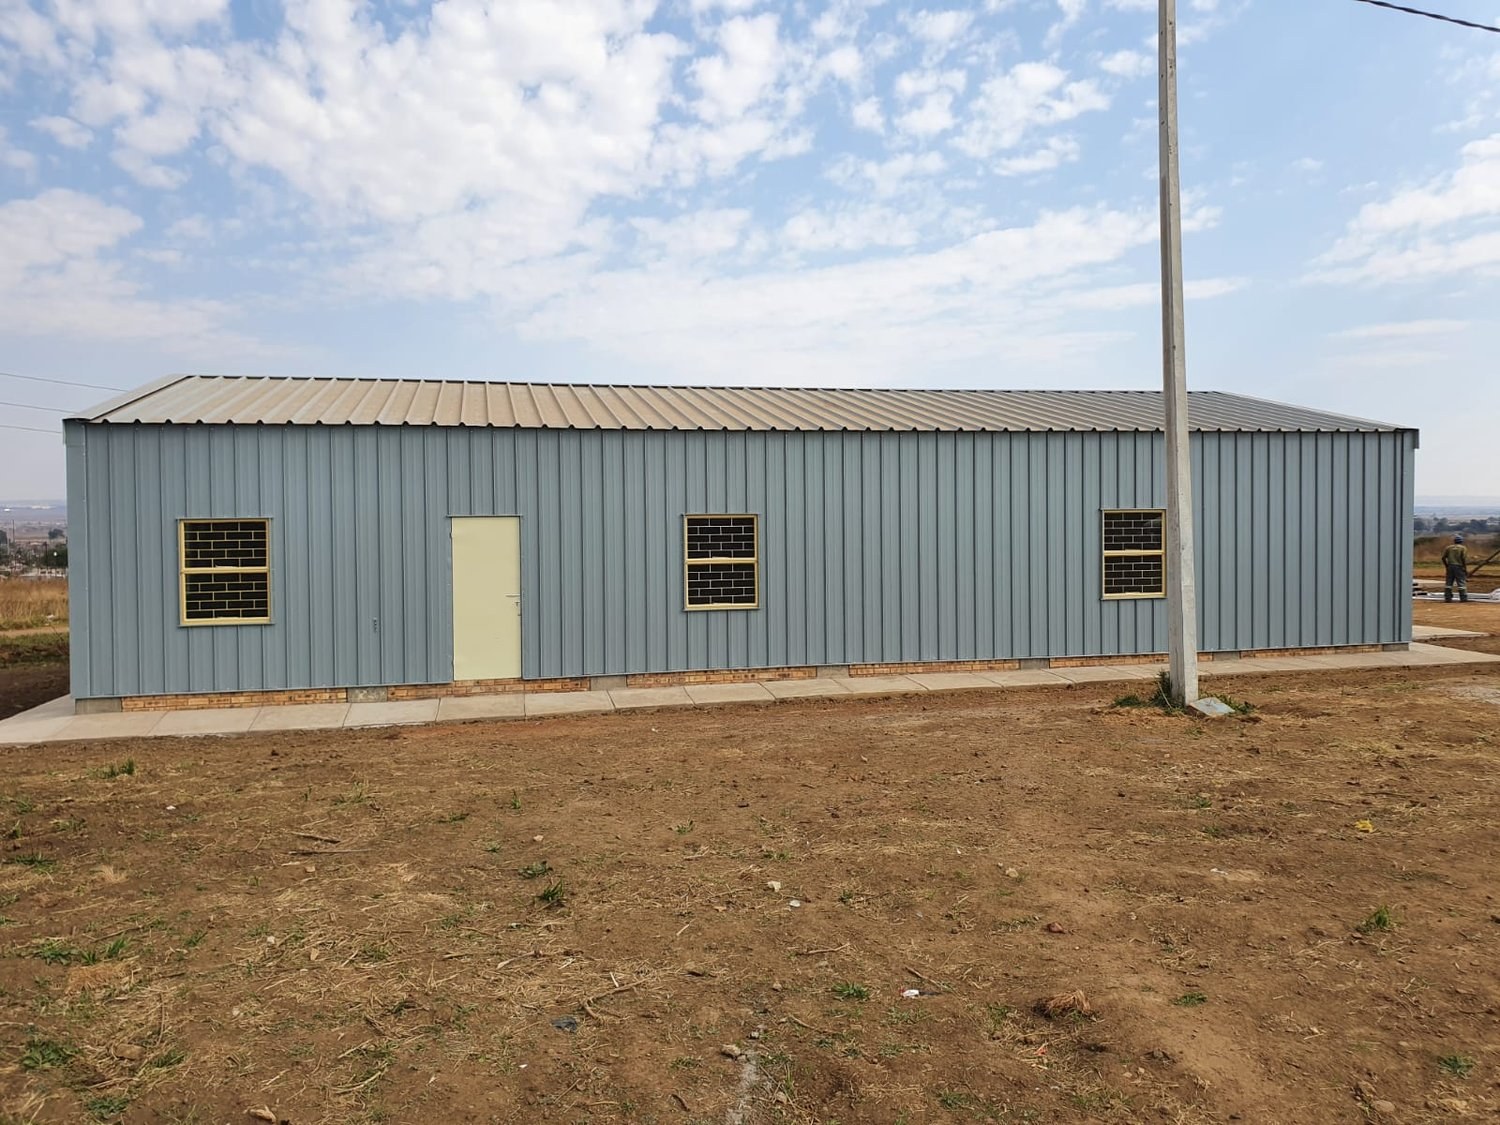
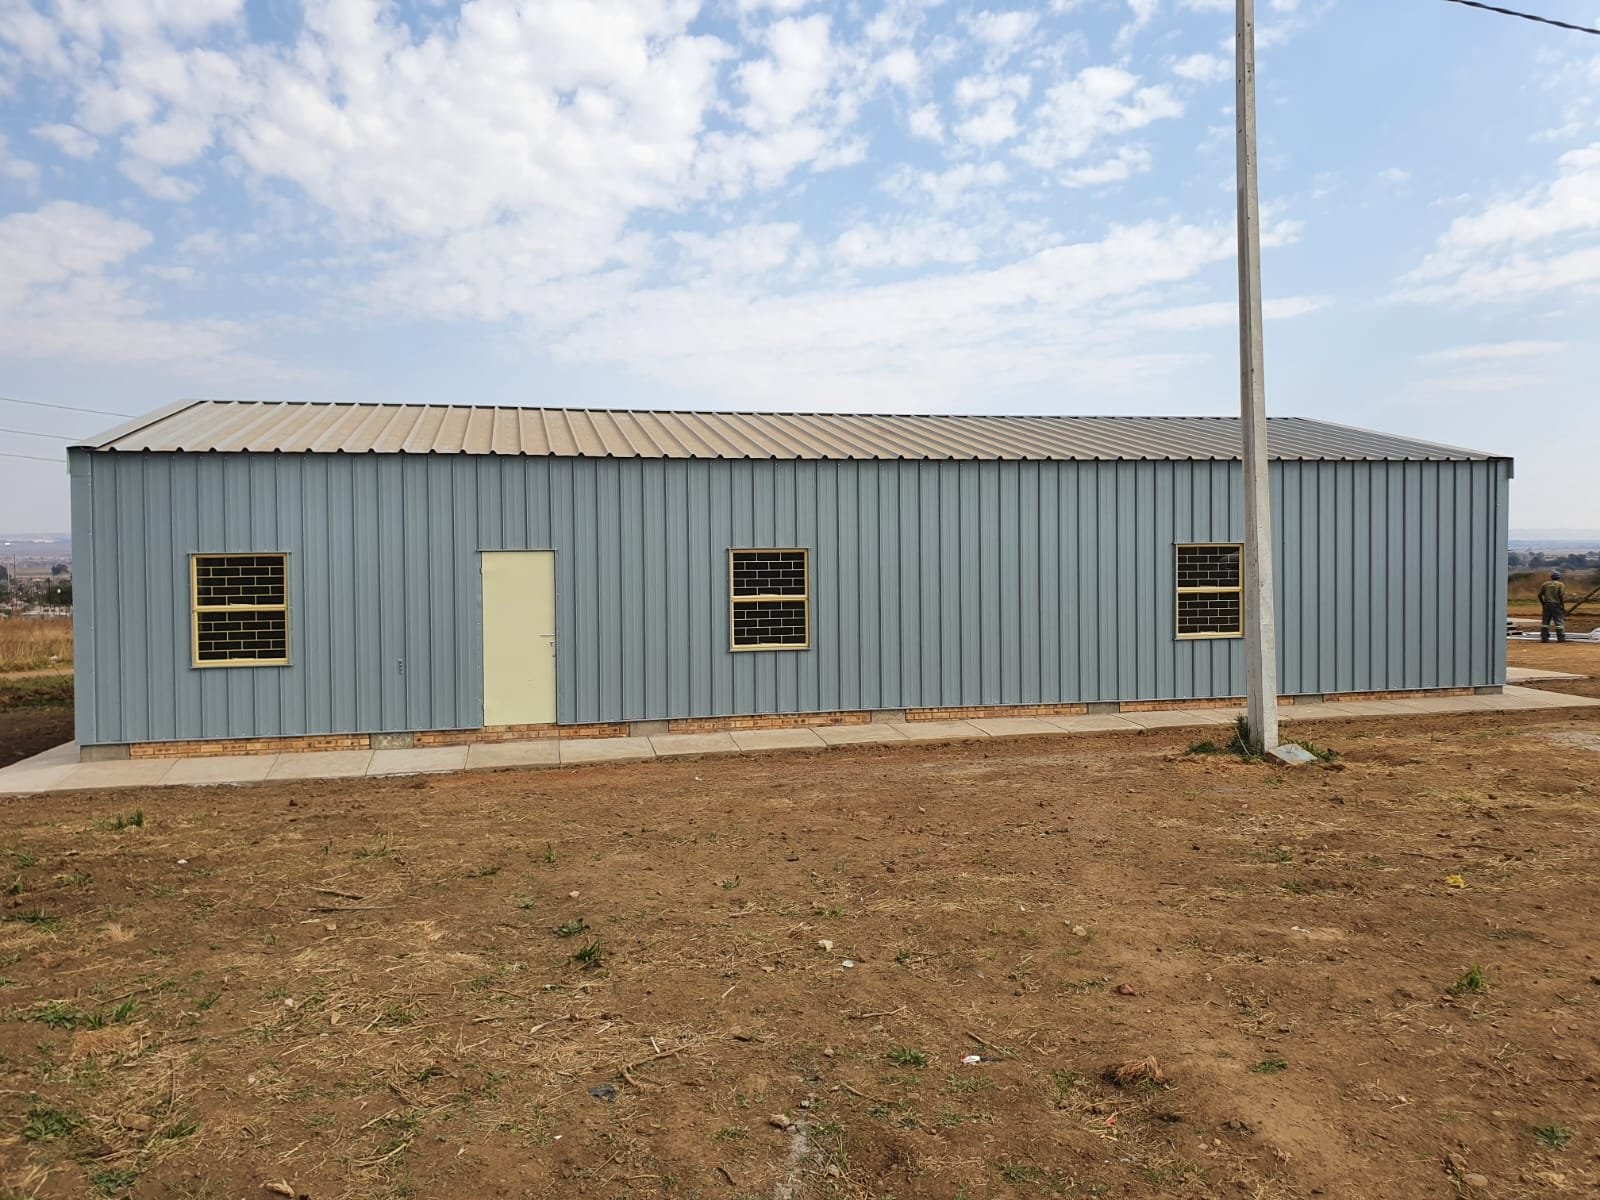
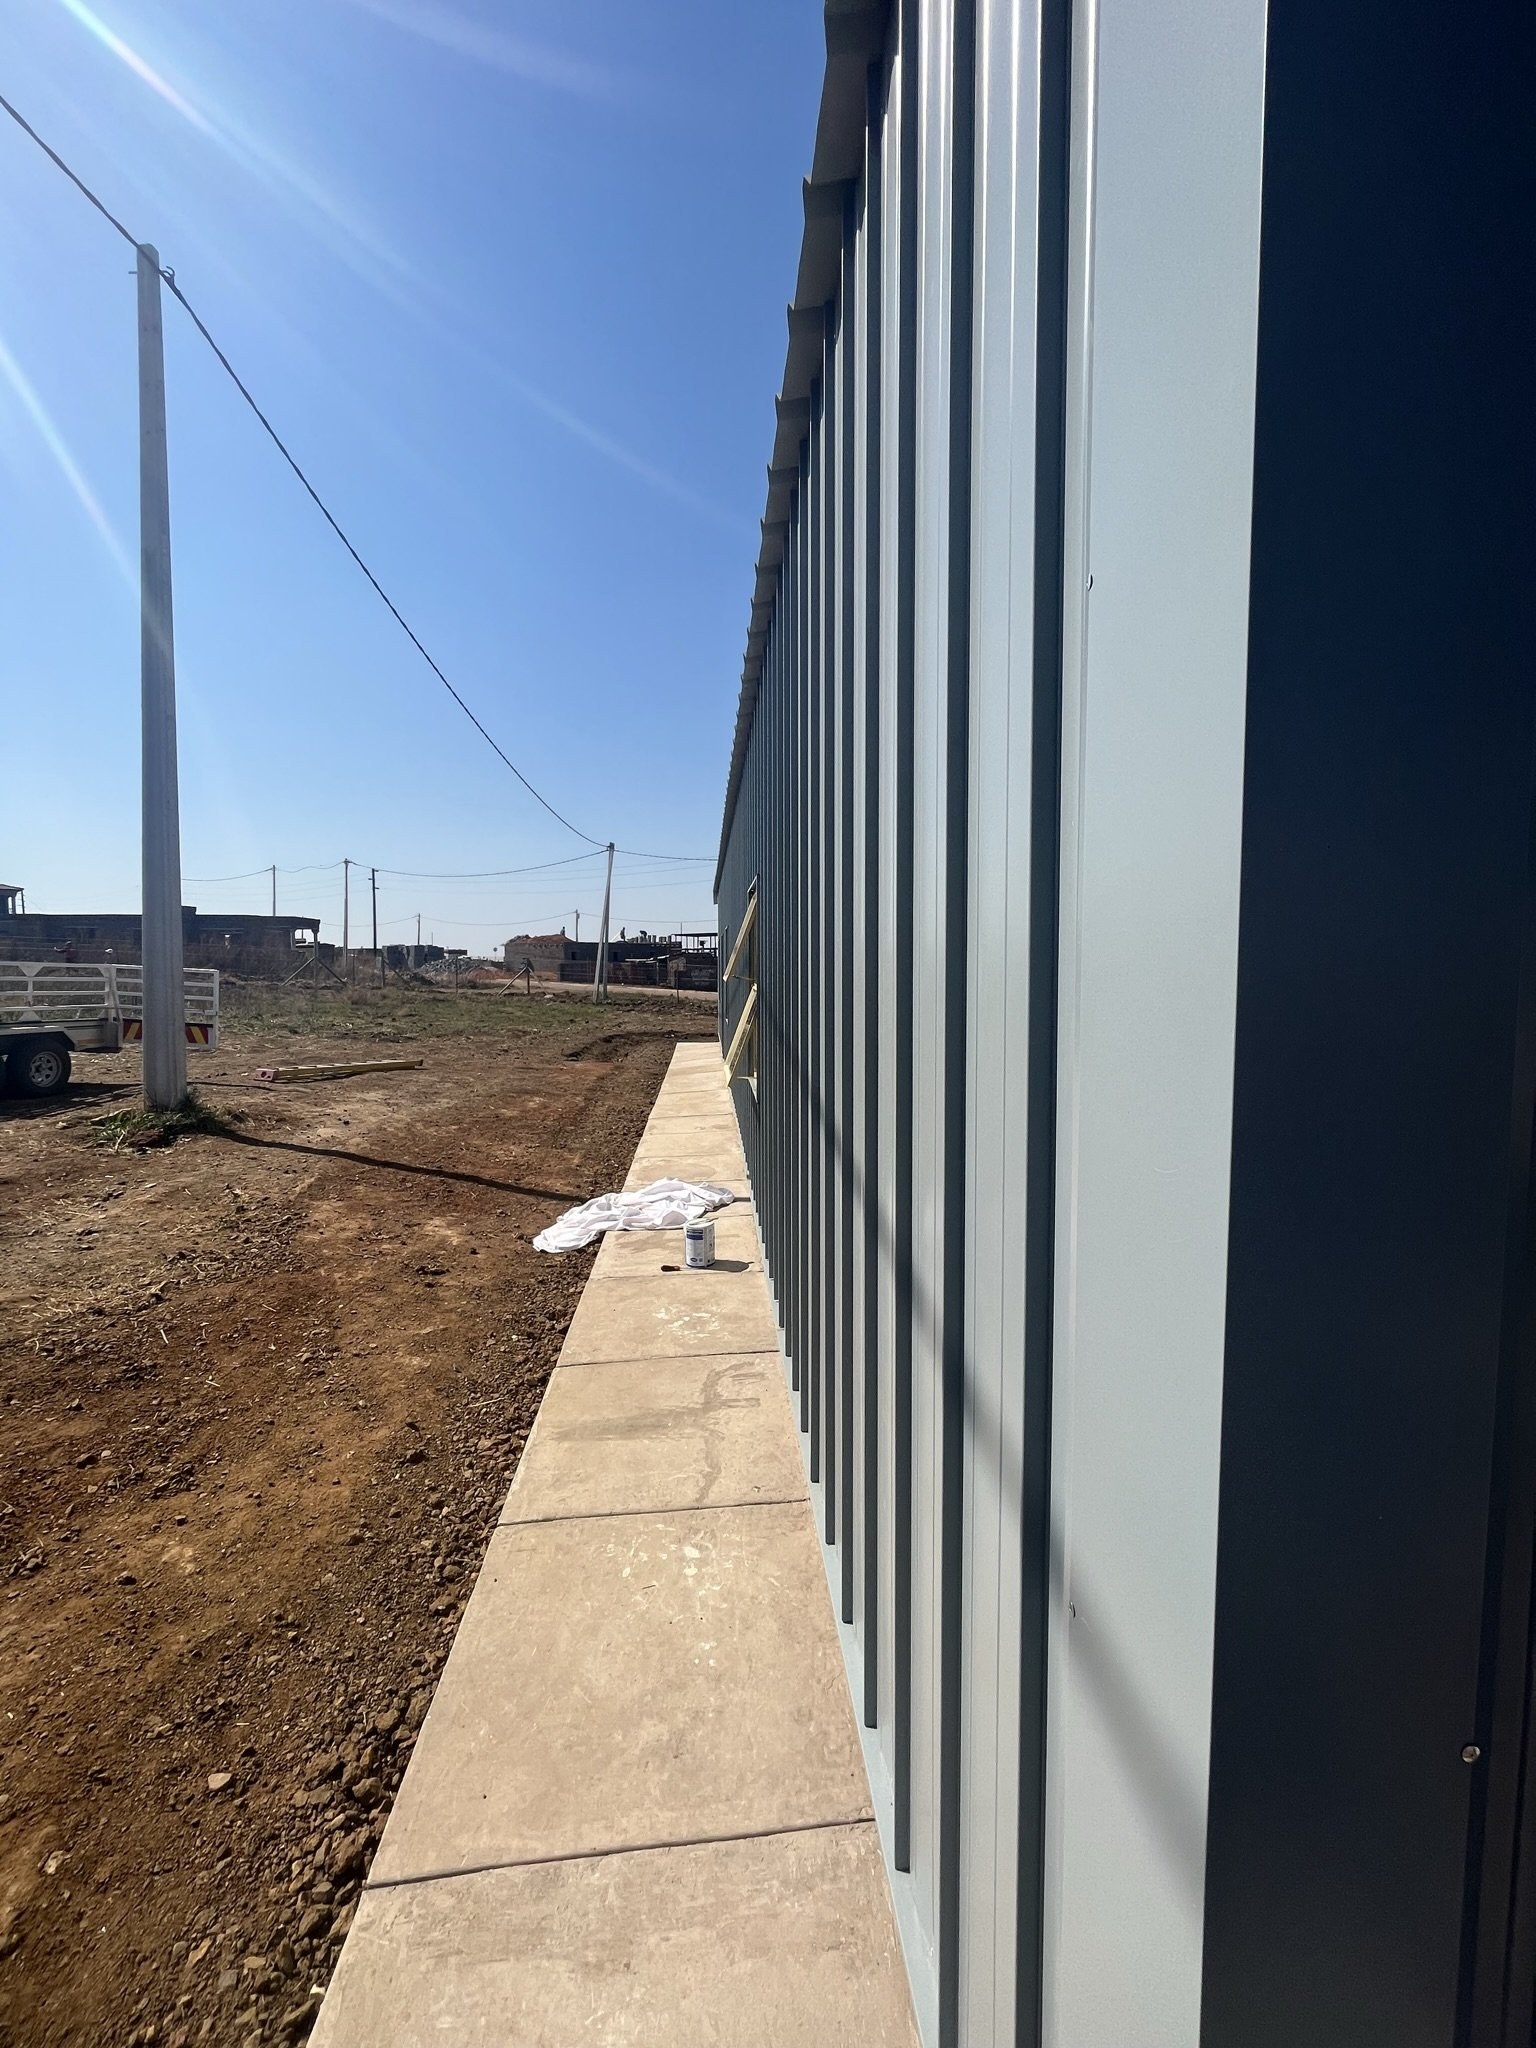
Front elevation of a long steel-clad building with a door, three windows and a power pole in frontPHOTO
Front elevation of a long steel-clad building with a door, three windows and a power pole in frontLiteClad Steel Profiles
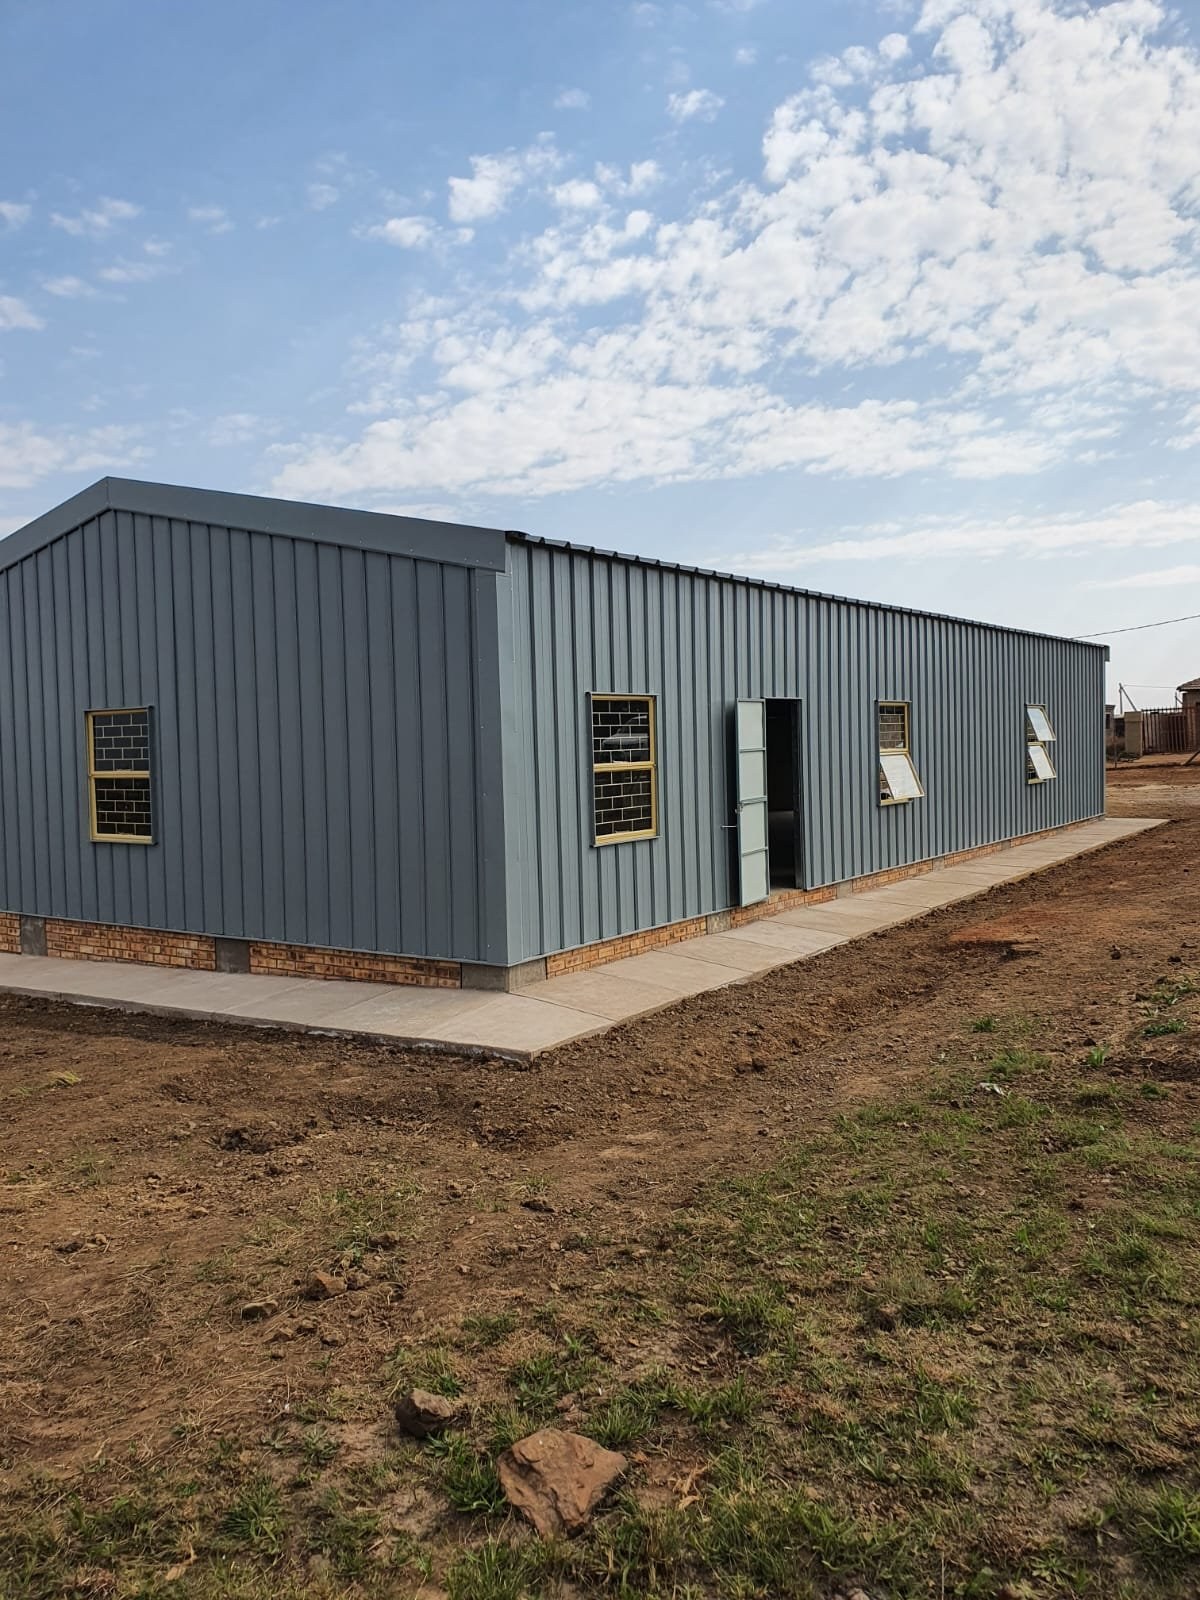
Three-quarter view of a steel-clad building corner showing door, windows and brick base coursePHOTO
Three-quarter view of a steel-clad building corner showing door, windows and brick base courseLiteClad Steel Profiles
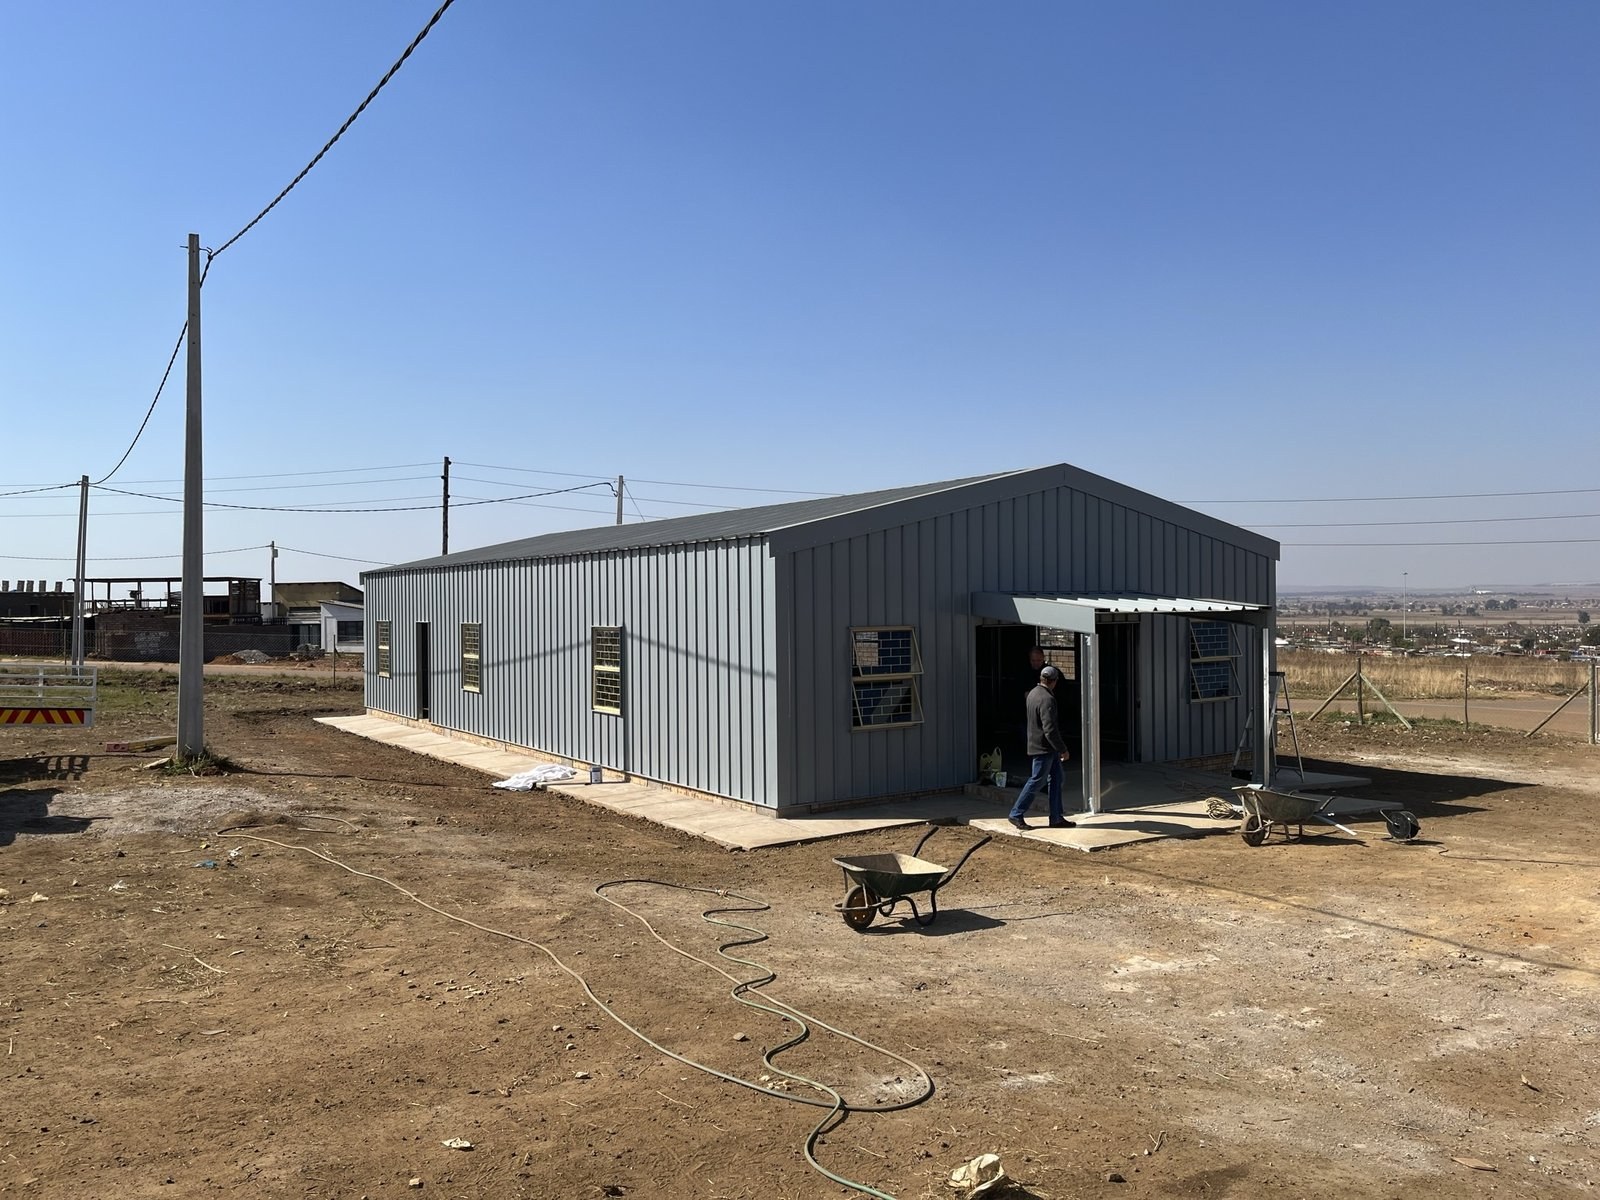
Worker walking into a steel-clad warehouse through an open bay door, hose reels on the ground outsidePHOTO
Worker walking into a steel-clad warehouse through an open bay door, hose reels on the ground outsideLiteClad Steel Profiles
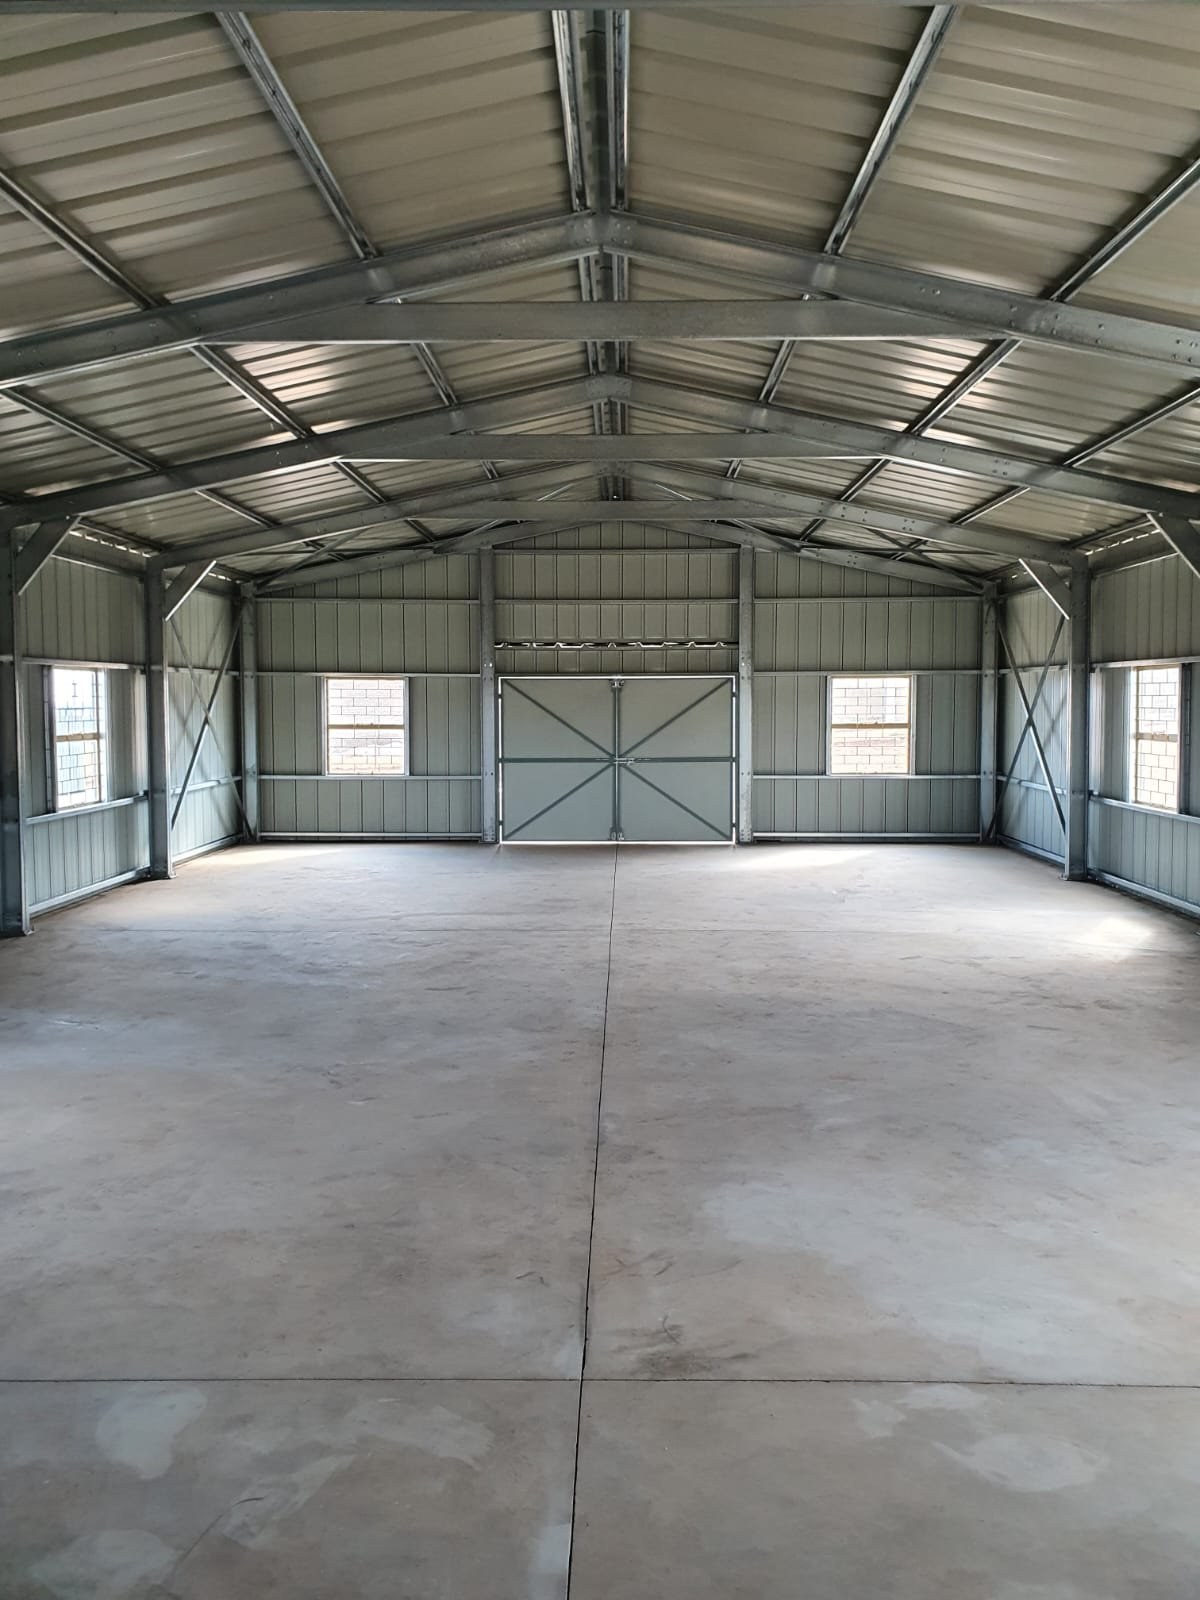
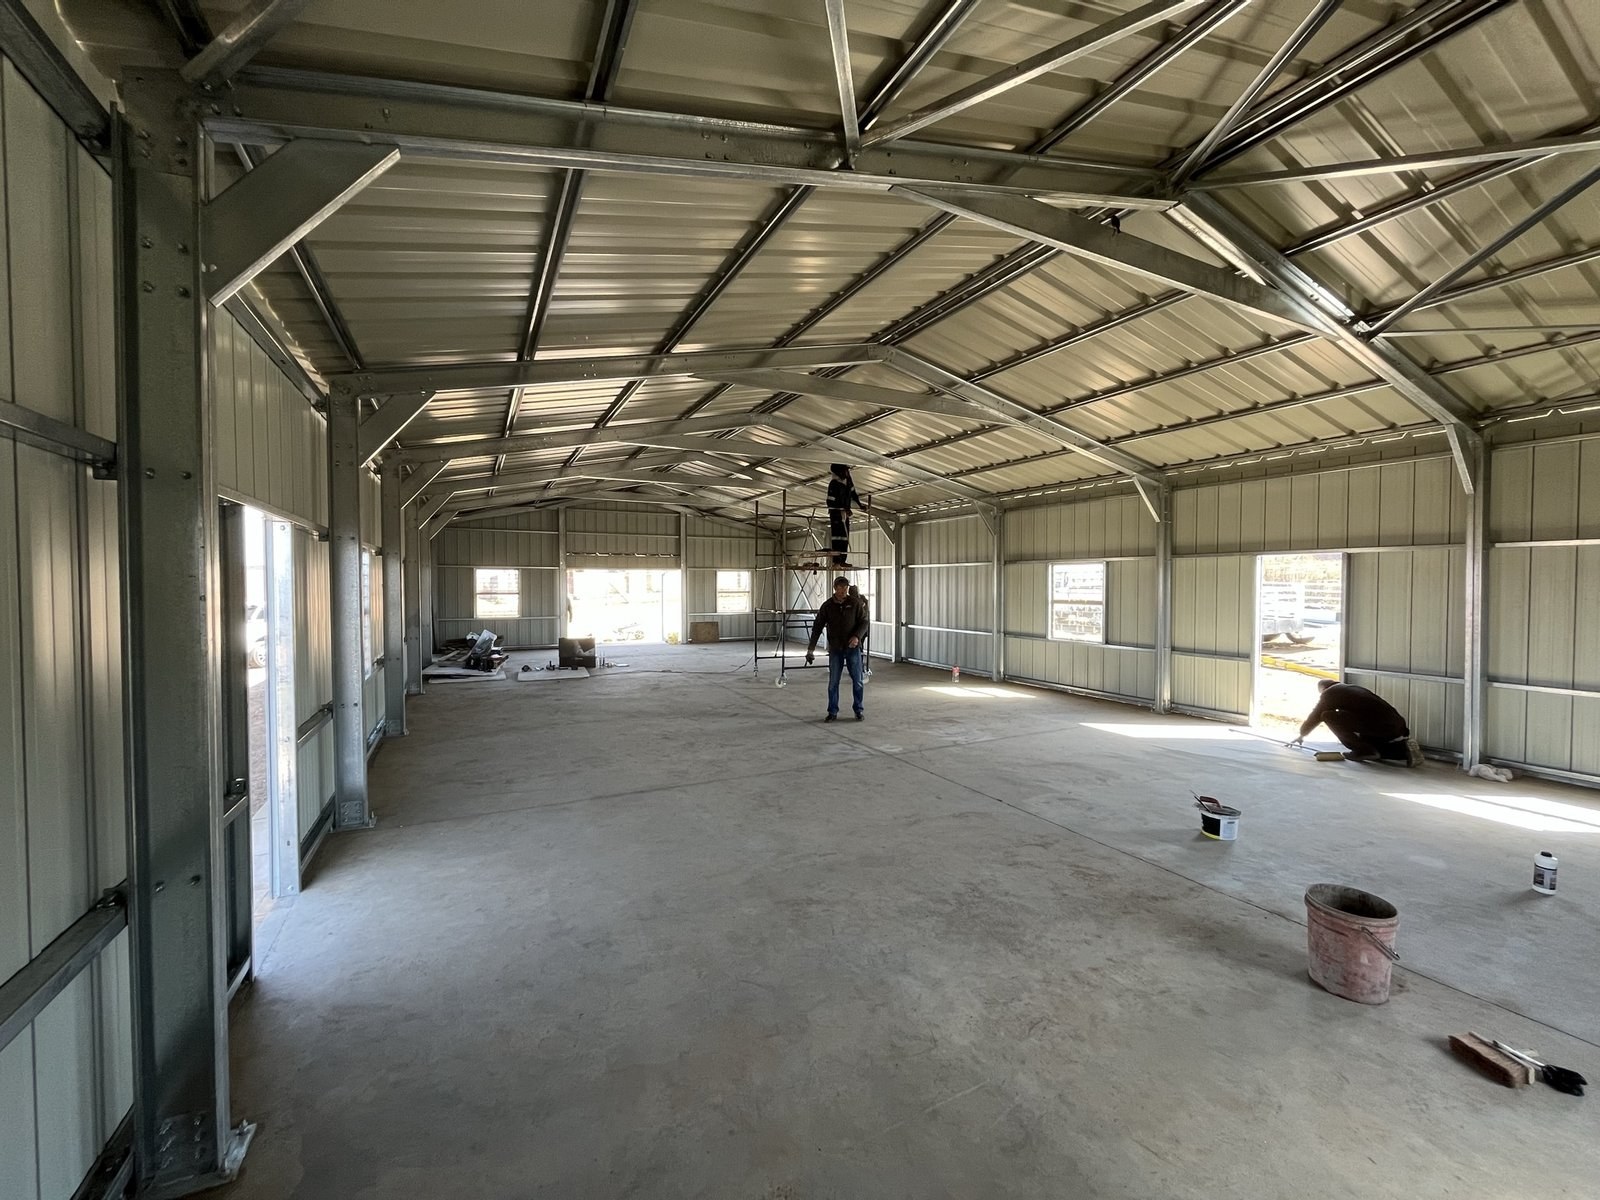
Empty warehouse interior showing exposed steel roof trusses and a closed double door at the gable endPHOTO
Empty warehouse interior showing exposed steel roof trusses and a closed double door at the gable endLiteClad Steel Profiles
Workers finishing the floor and steelwork inside a steel-clad warehouse under constructionPHOTO
Workers finishing the floor and steelwork inside a steel-clad warehouse under constructionLiteClad Steel Profiles
Corner view of a steel-clad building with an open bay/carport opening and window either sidePHOTO
Corner view of a steel-clad building with an open bay/carport opening and window either sideLiteClad Steel Profiles
Close-up of an open awning window with brick-pattern burglar bars set into a steel-clad wallPHOTO
Close-up of an open awning window with brick-pattern burglar bars set into a steel-clad wallLiteClad Steel Profiles
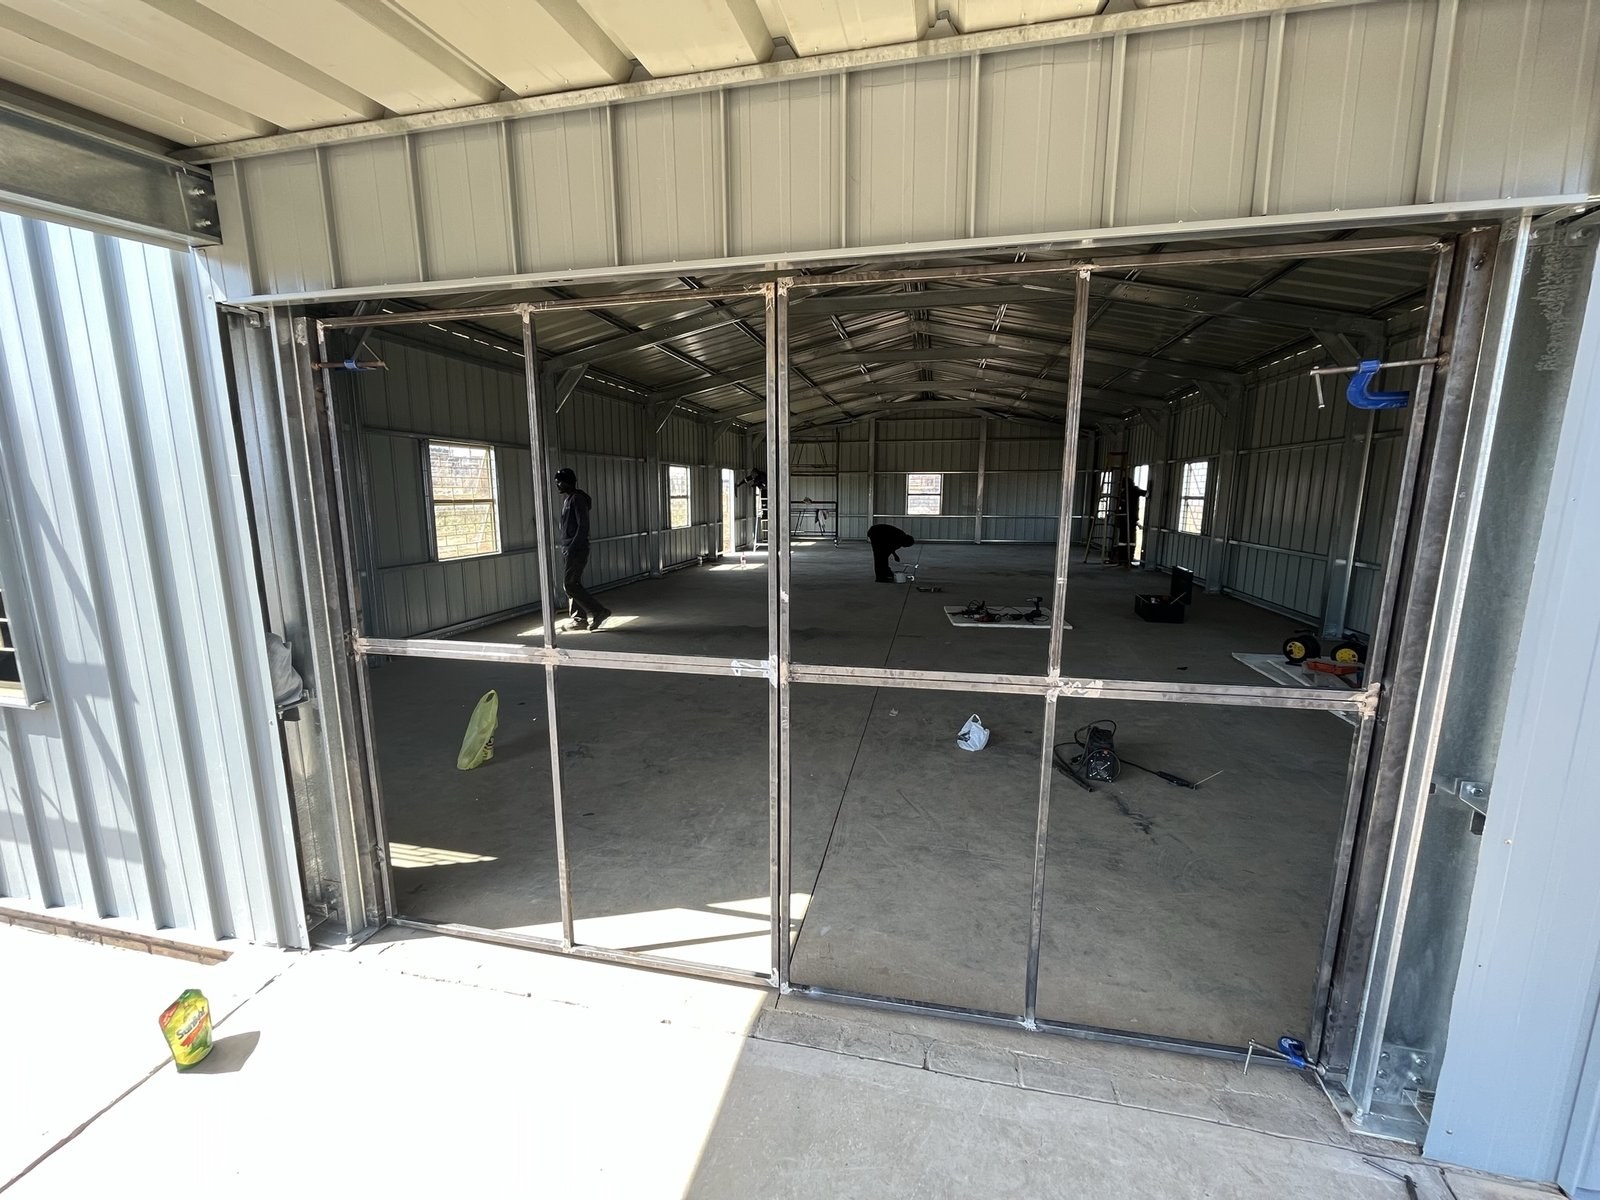
Interior view through open bay doors showing steel wall framing and window openings mid-installationPHOTO
Interior view through open bay doors showing steel wall framing and window openings mid-installationLiteClad Steel Profiles
Elevated view of a small steel-clad room addition beside standing-seam roofs, with a worker on a ladder and mountains beyondPHOTO
Elevated view of a small steel-clad room addition beside standing-seam roofs, with a worker on a ladder and mountains beyondLiteClad Steel Profiles
PHOTO
LiteClad Steel Profiles
PHOTO
LiteClad Steel Profiles
PHOTO
LiteClad Steel Profiles
PHOTO
LiteClad Steel Profiles
PHOTO
LiteClad Steel Profiles
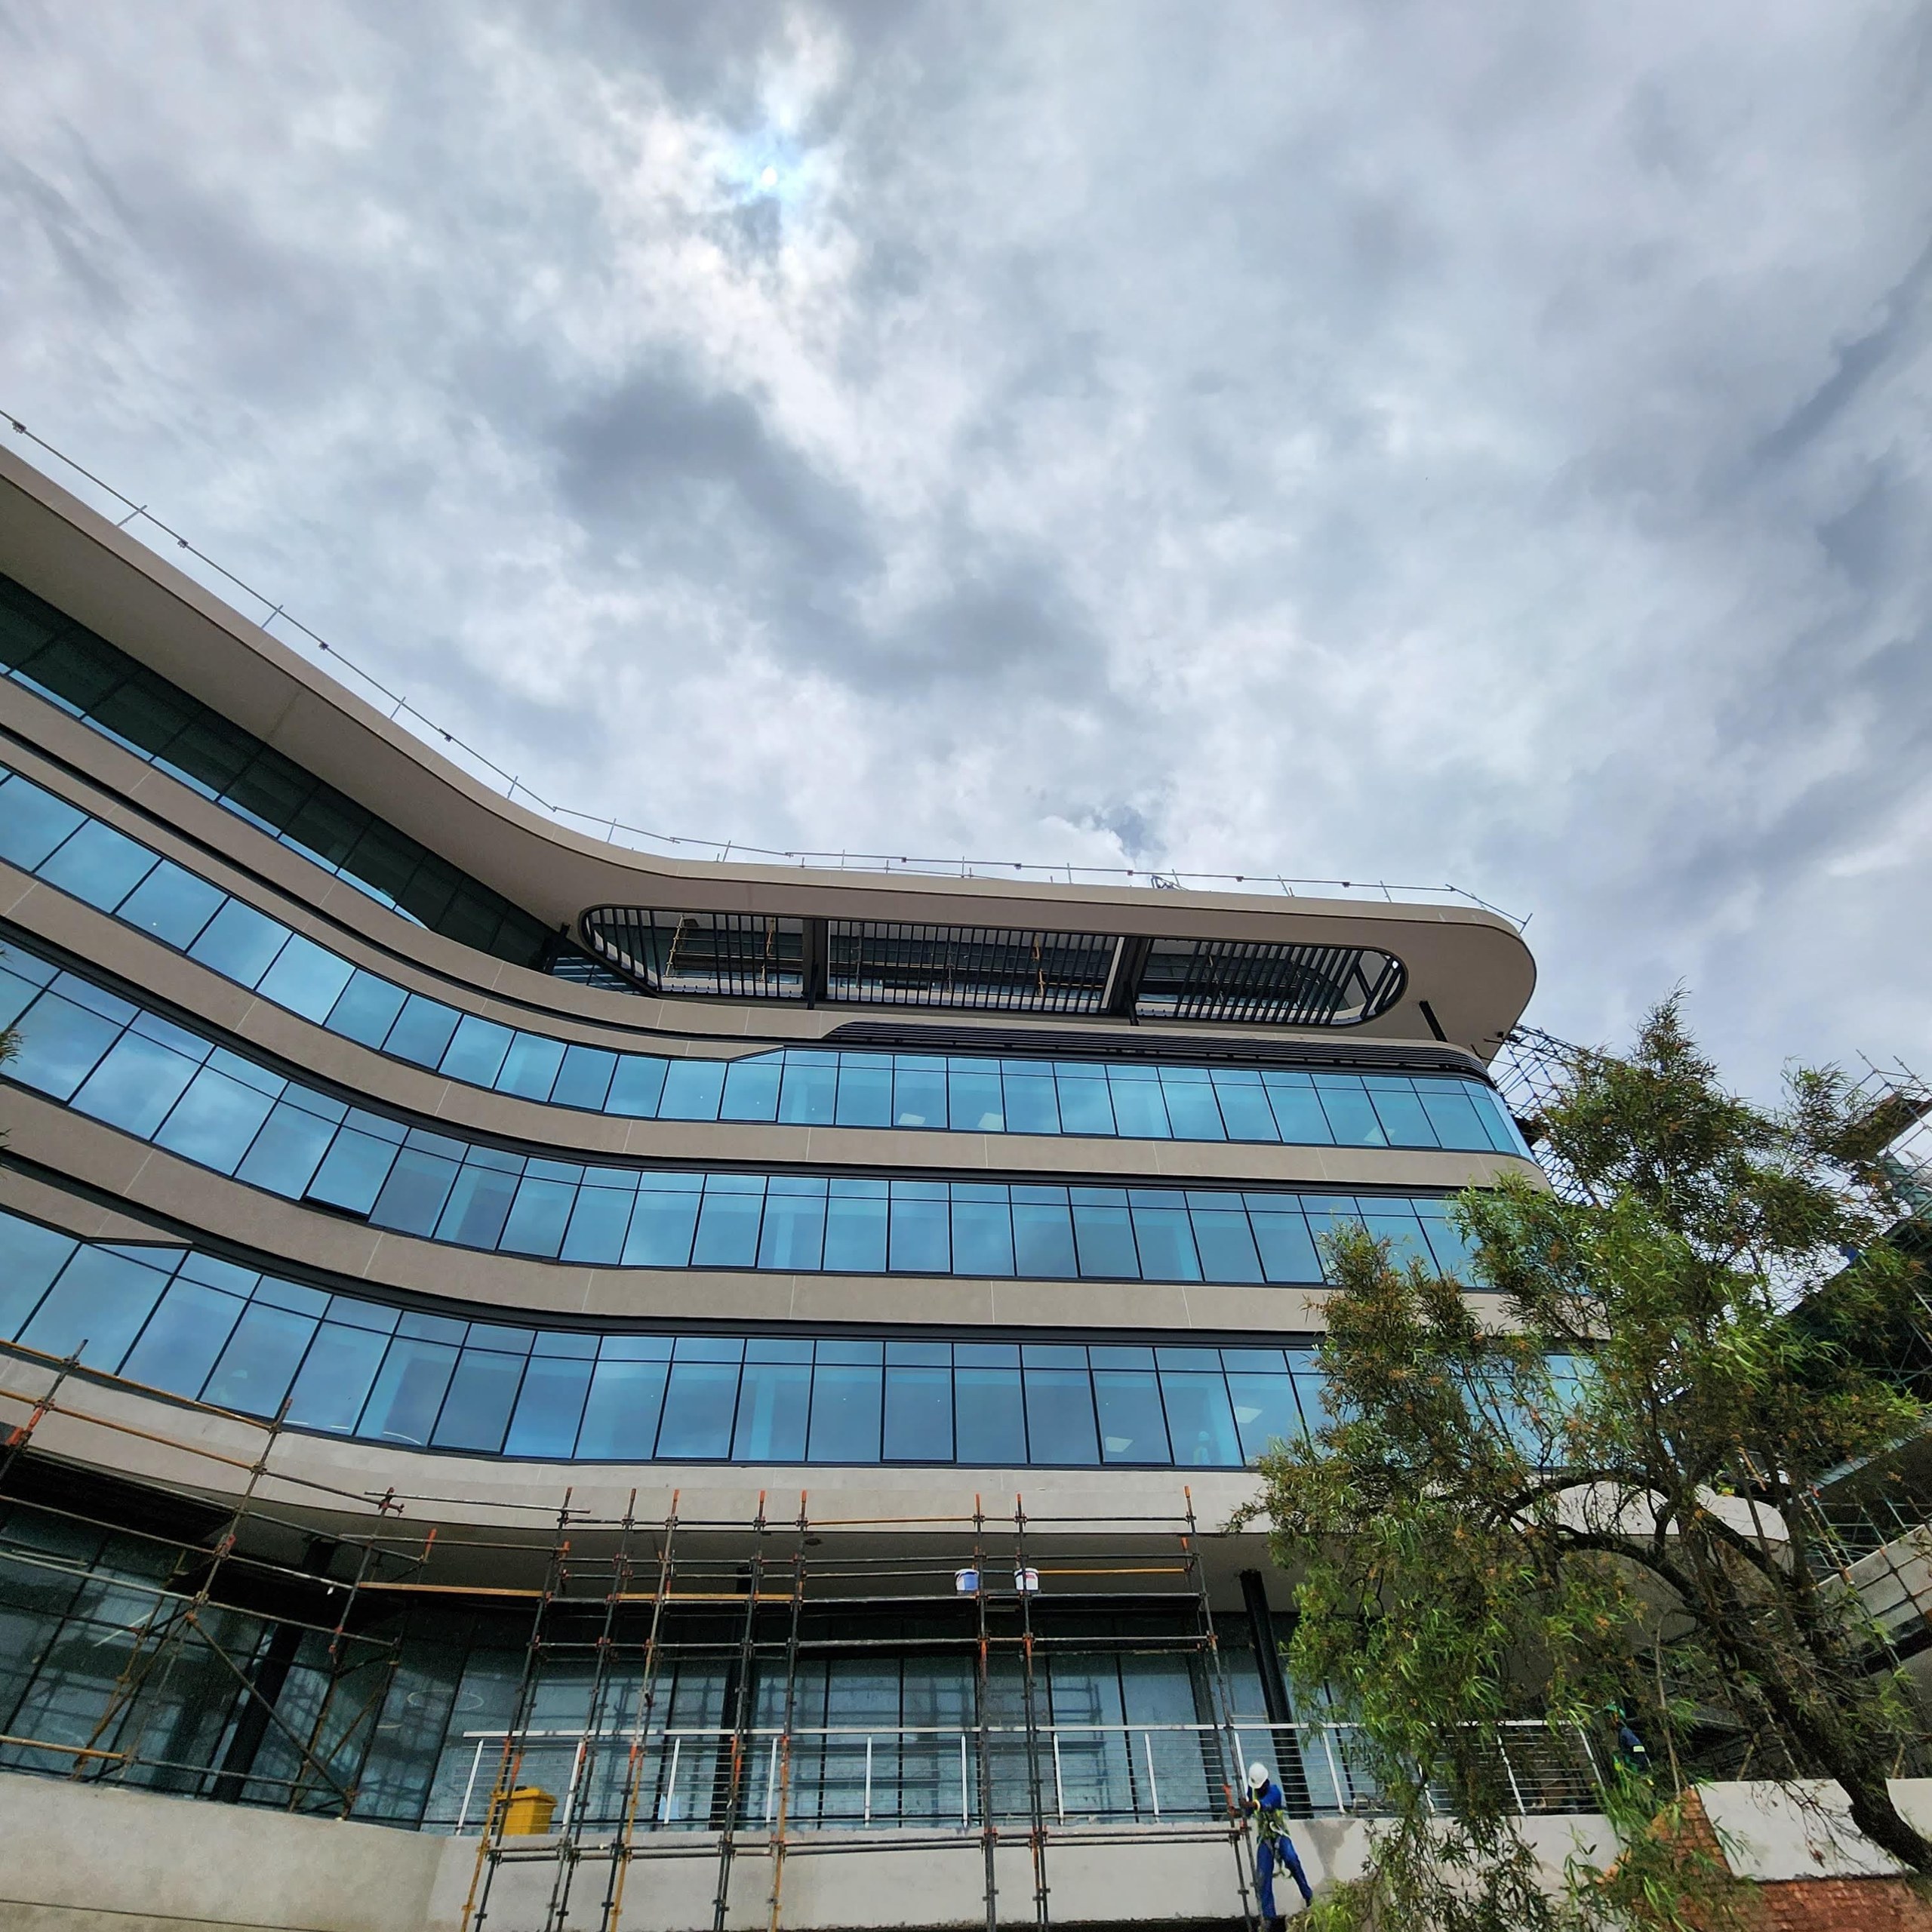
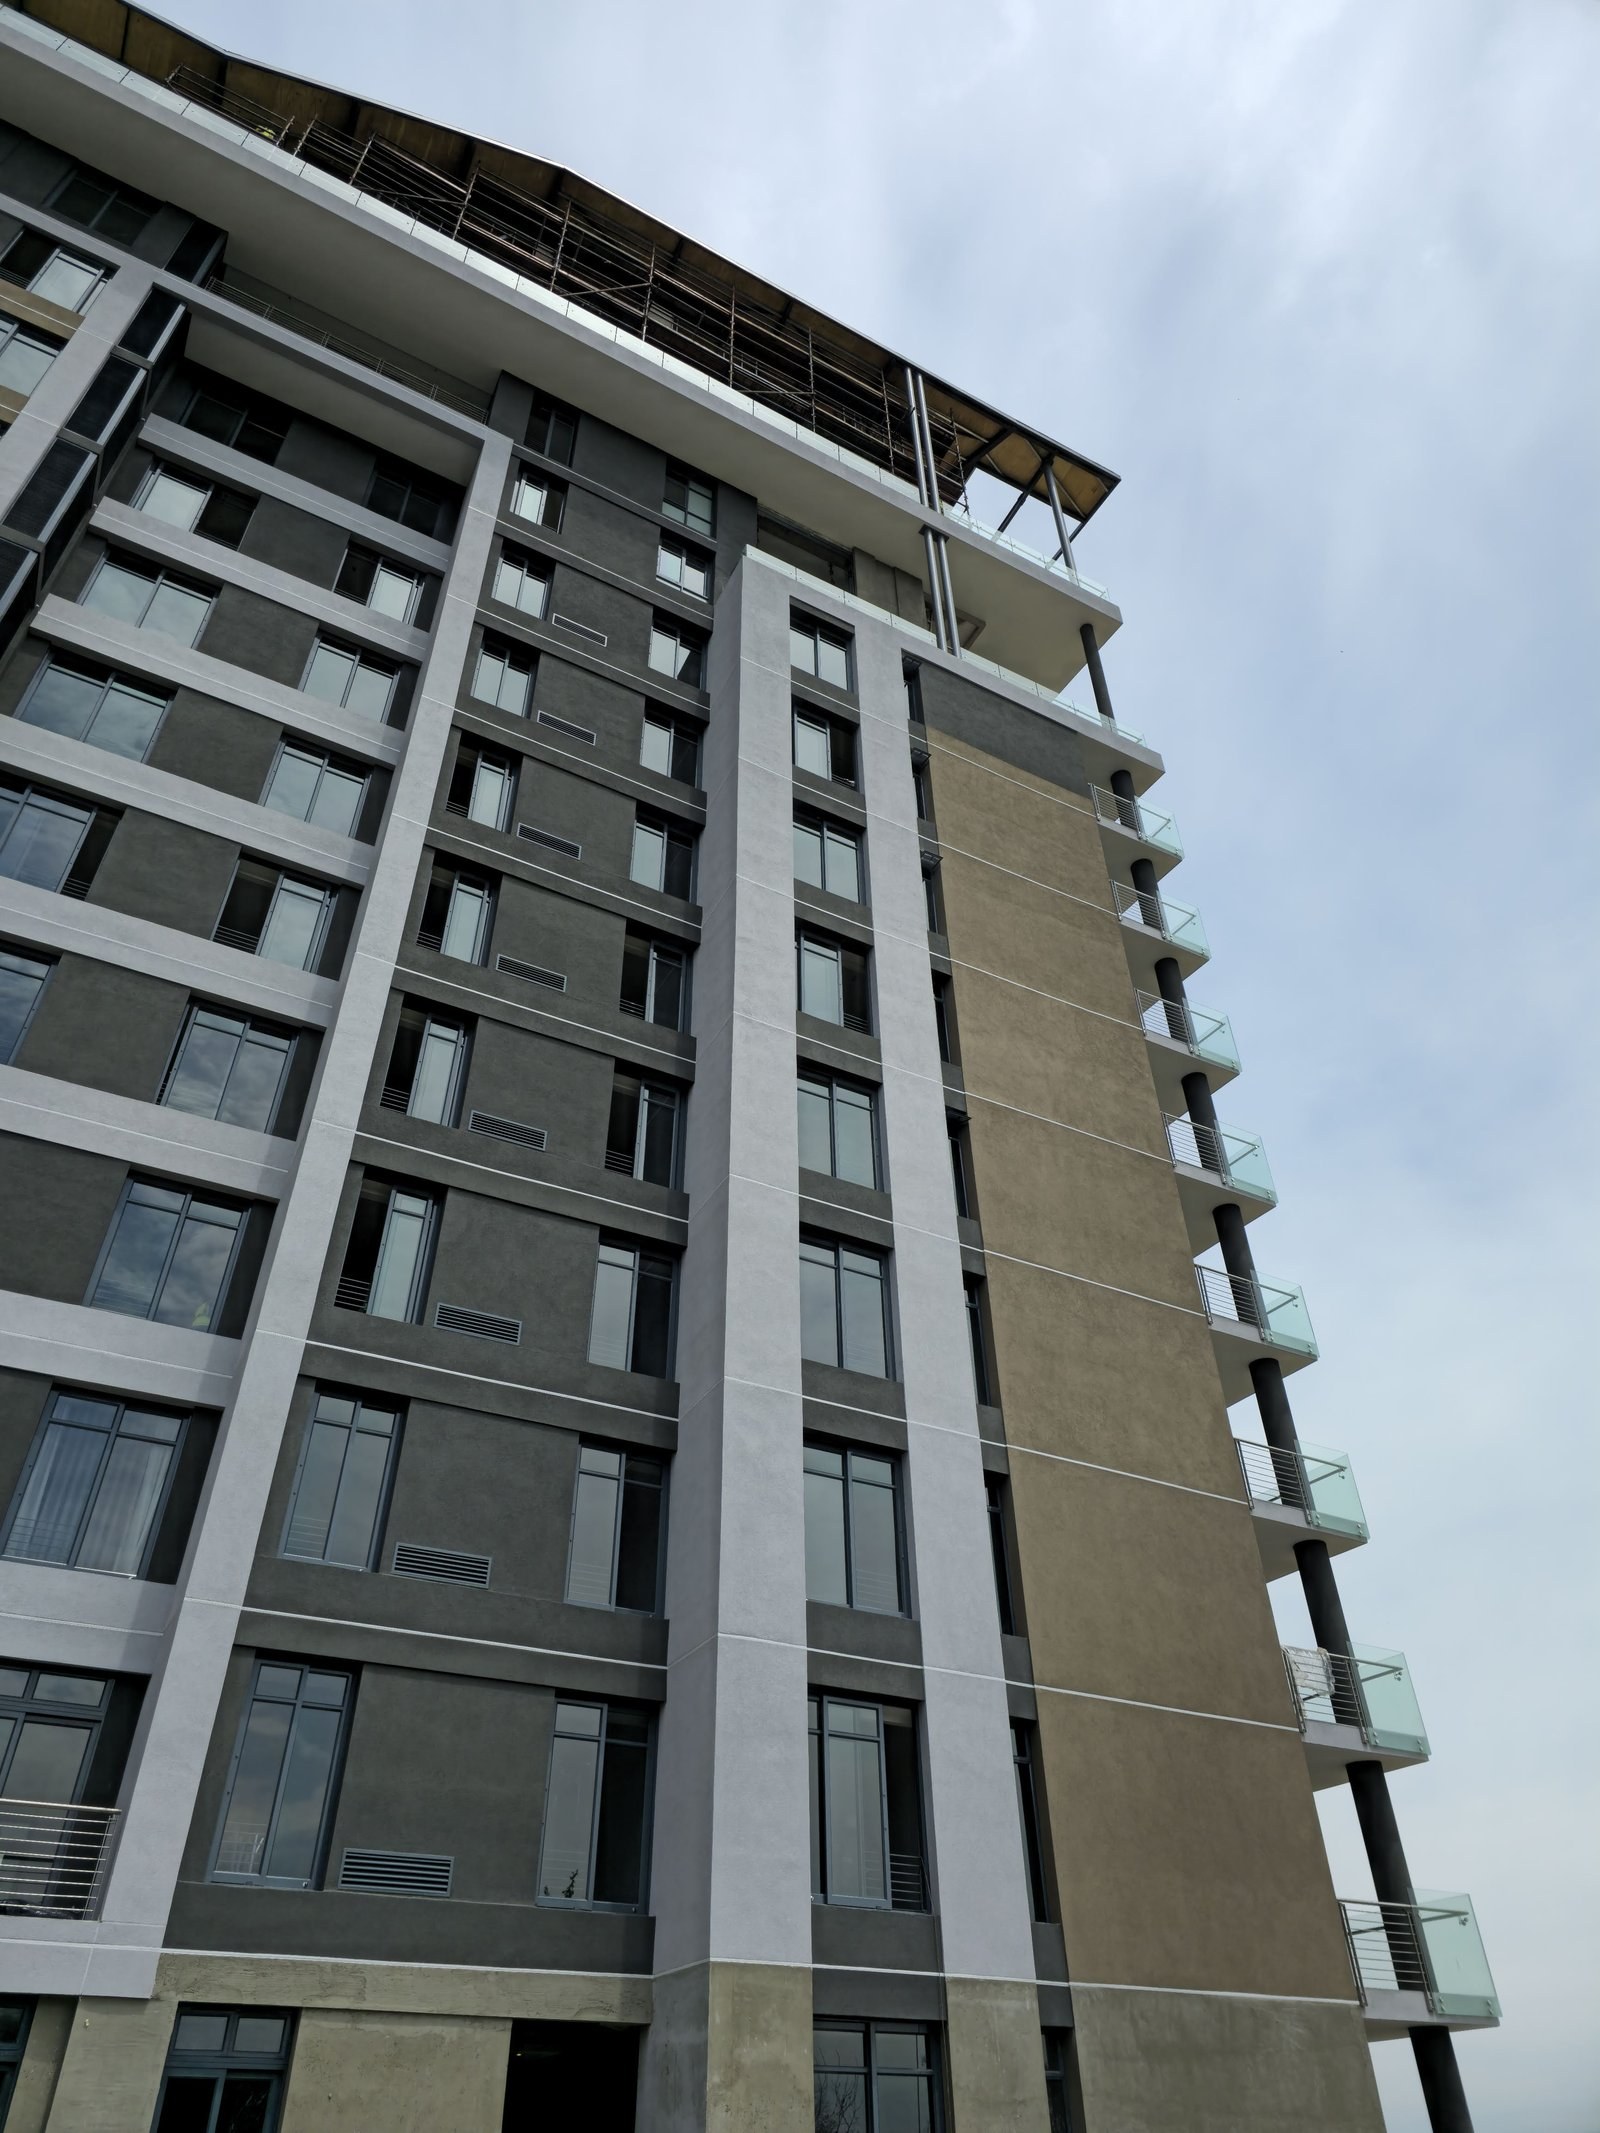
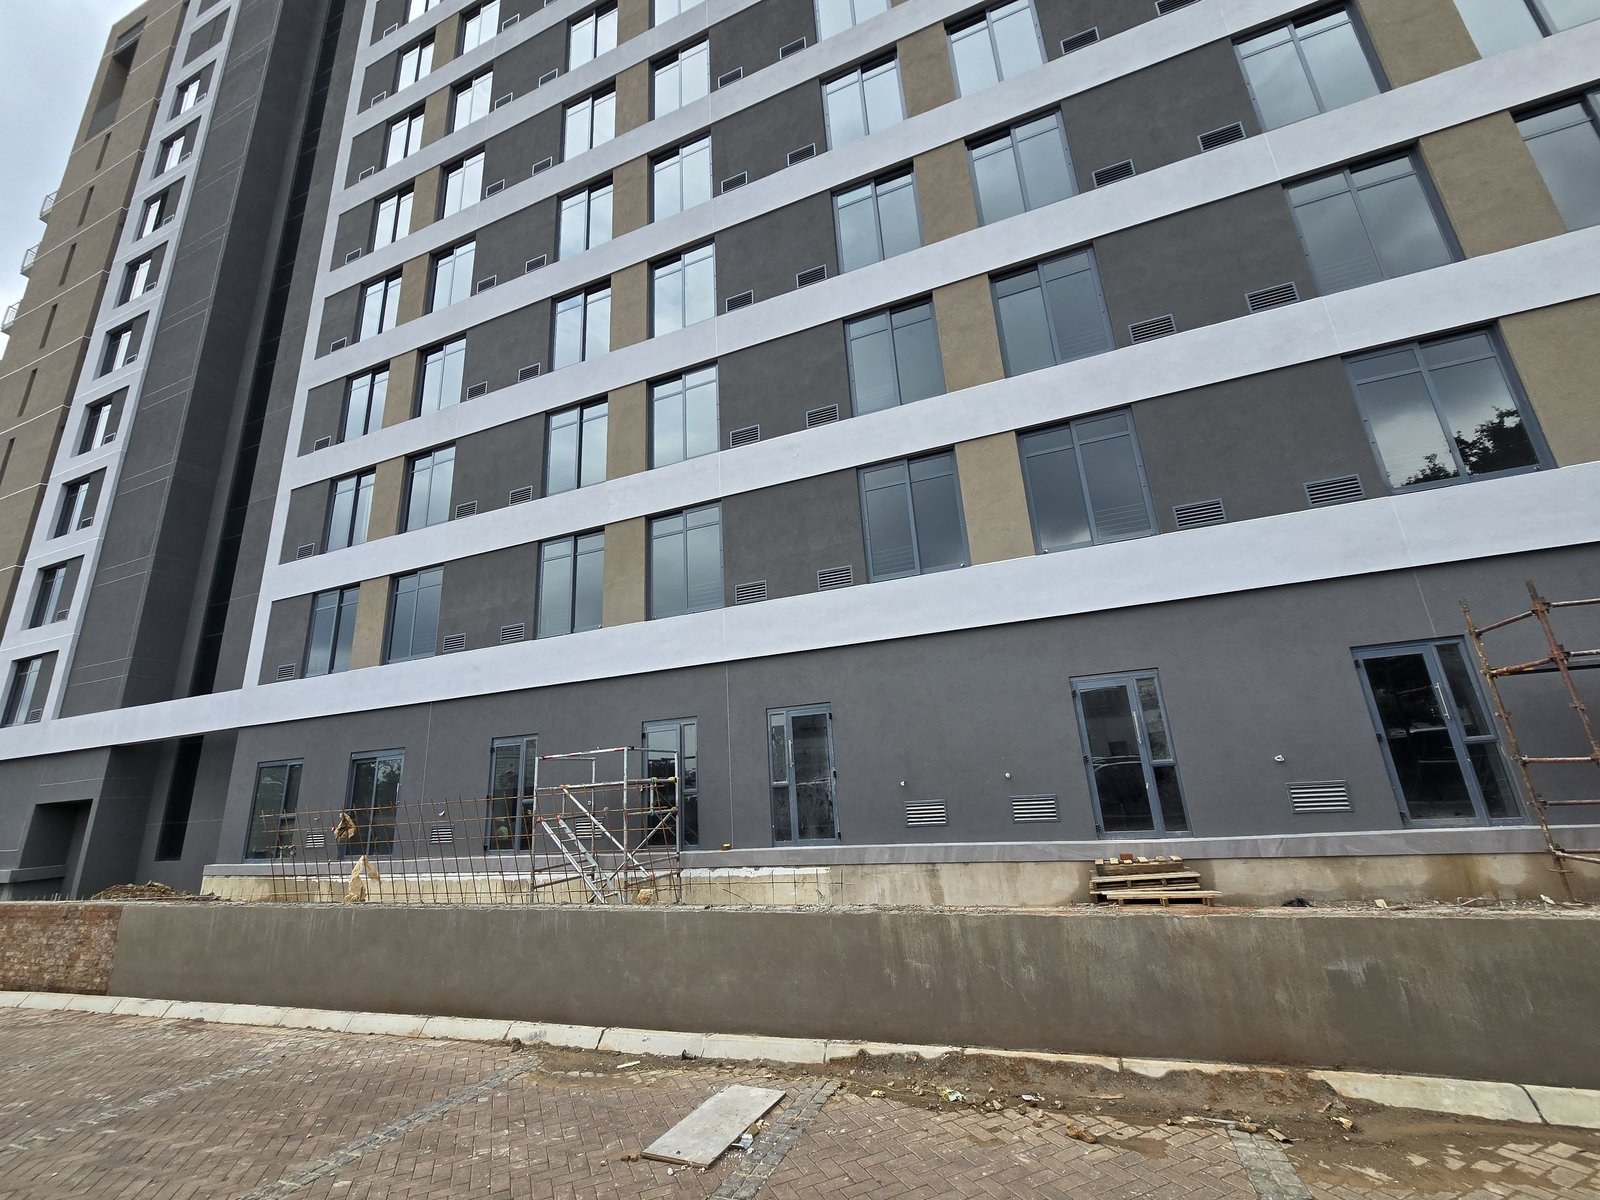
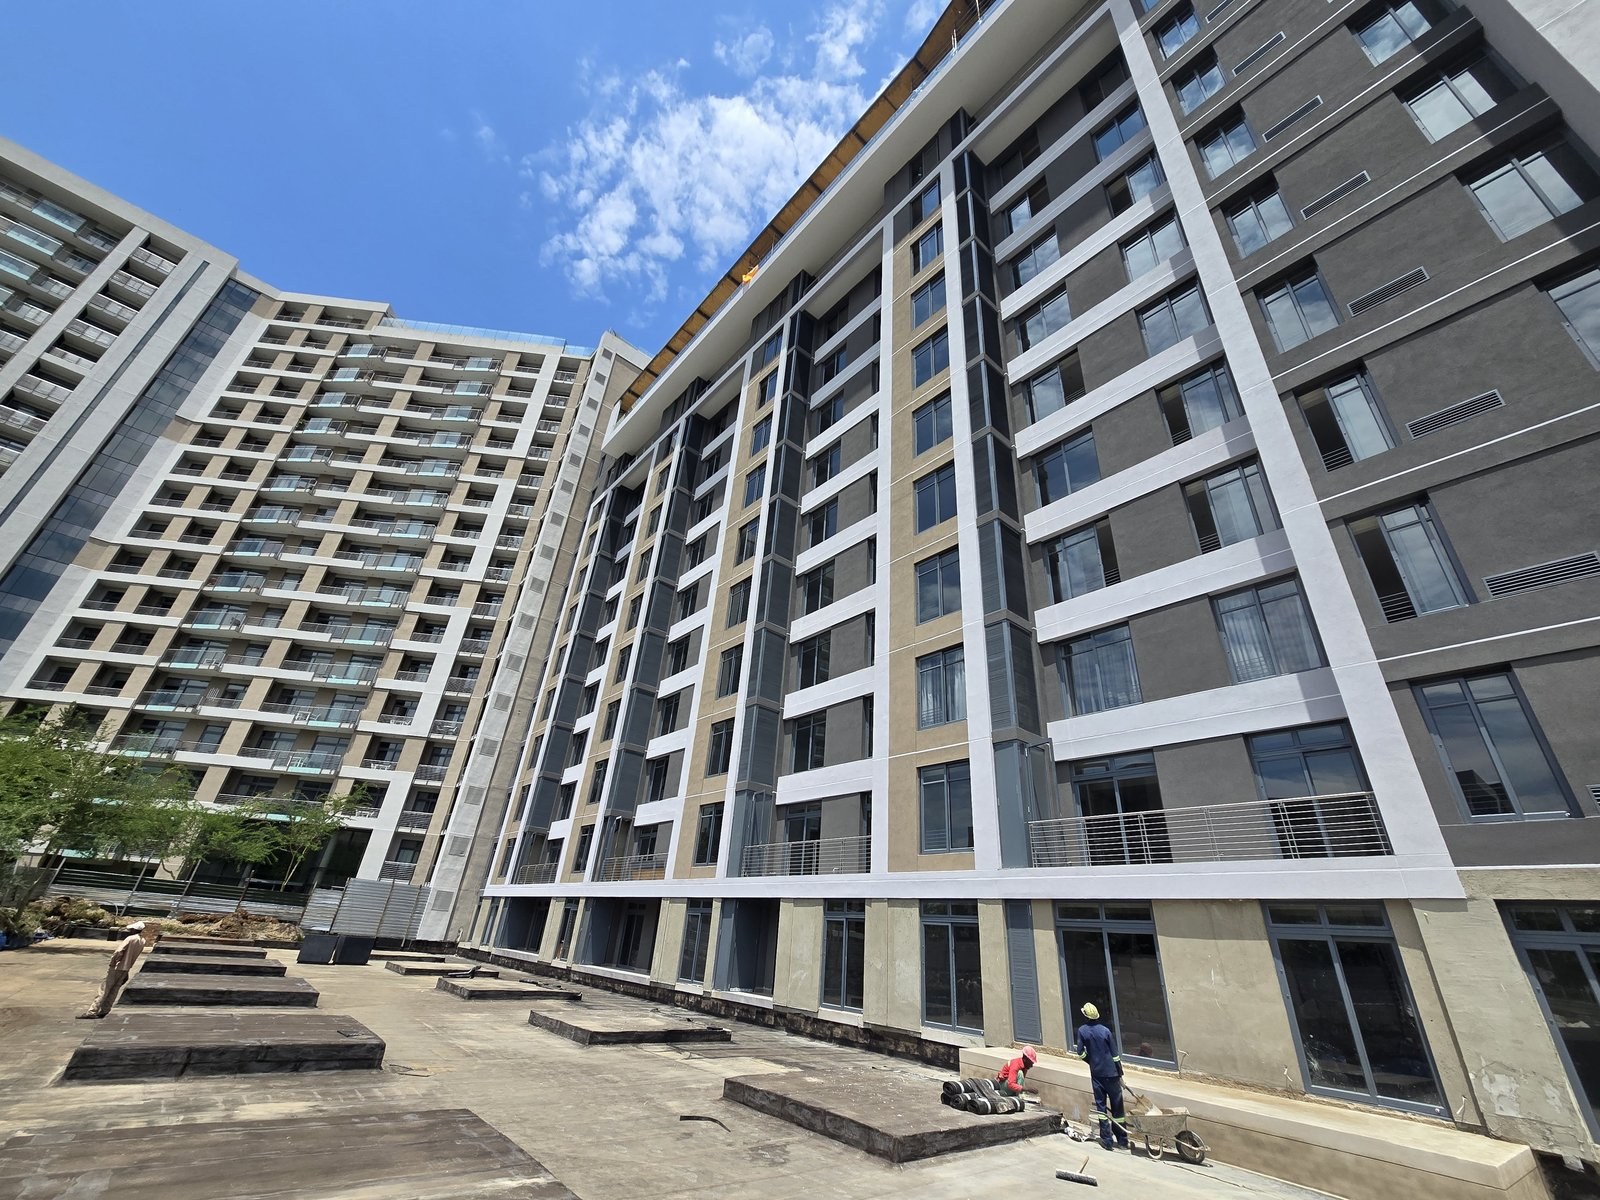
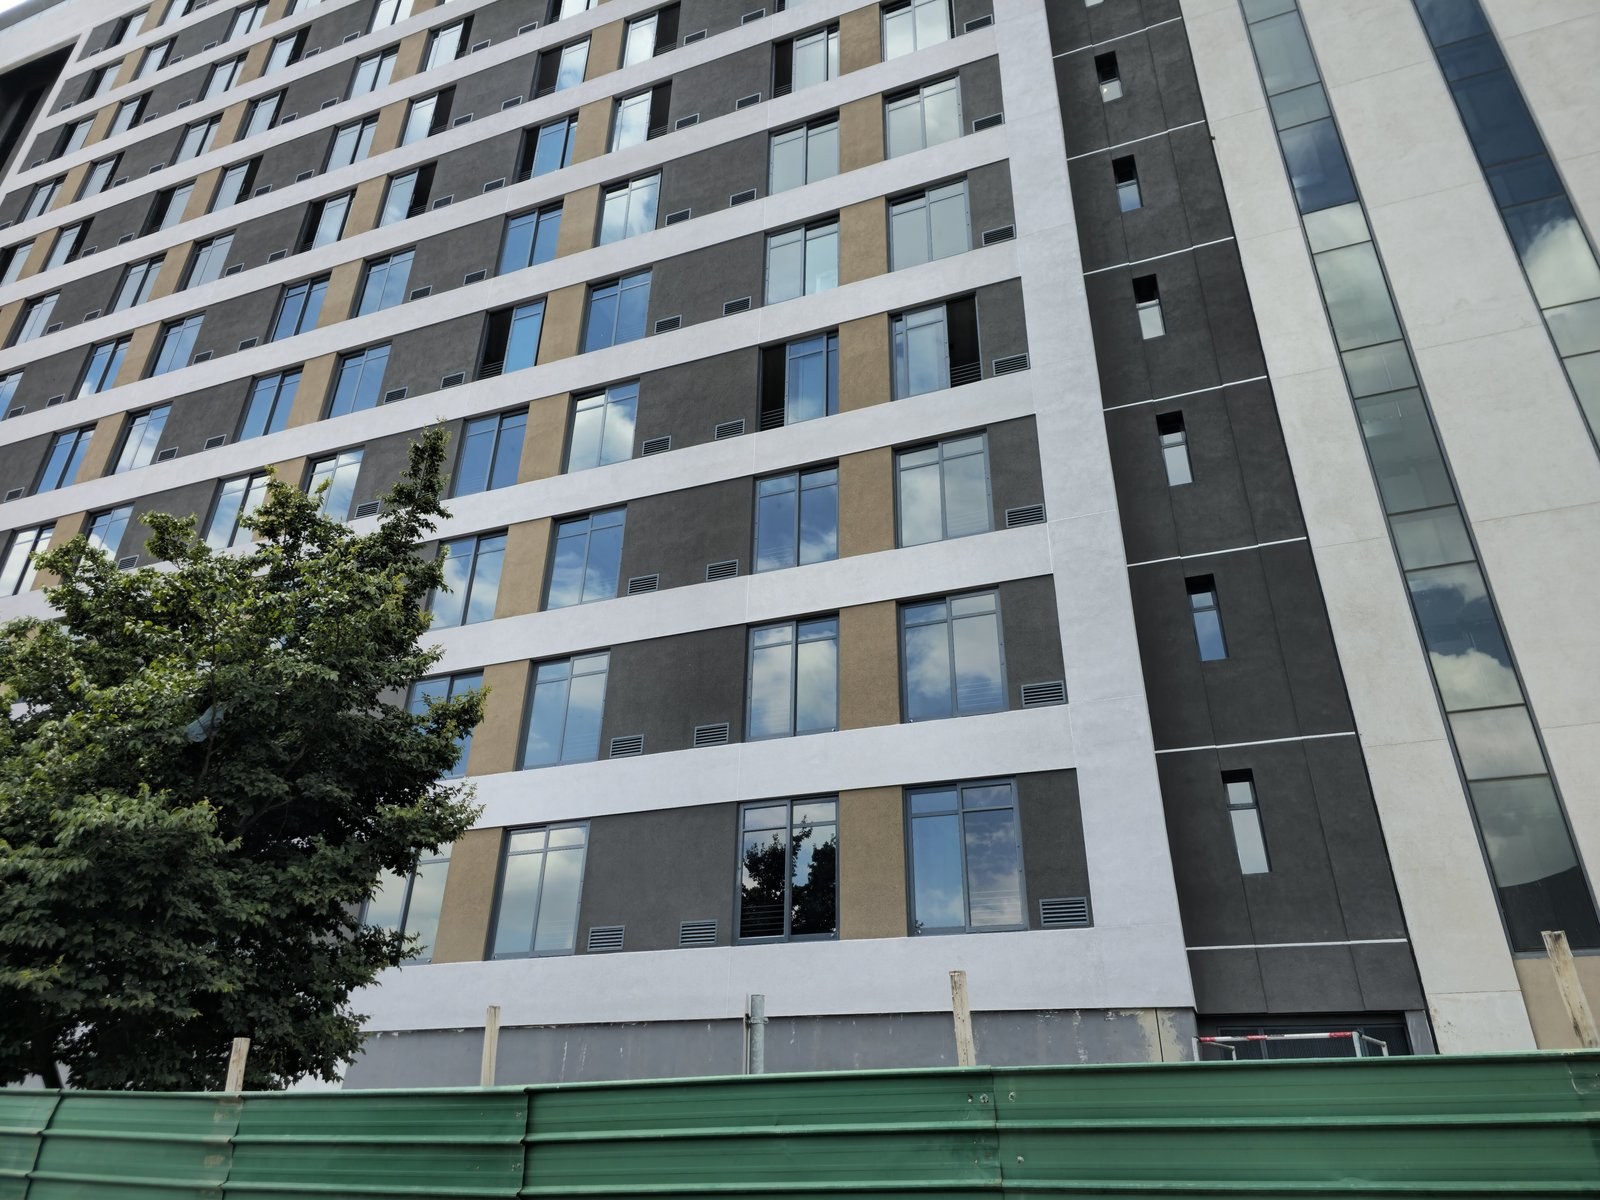
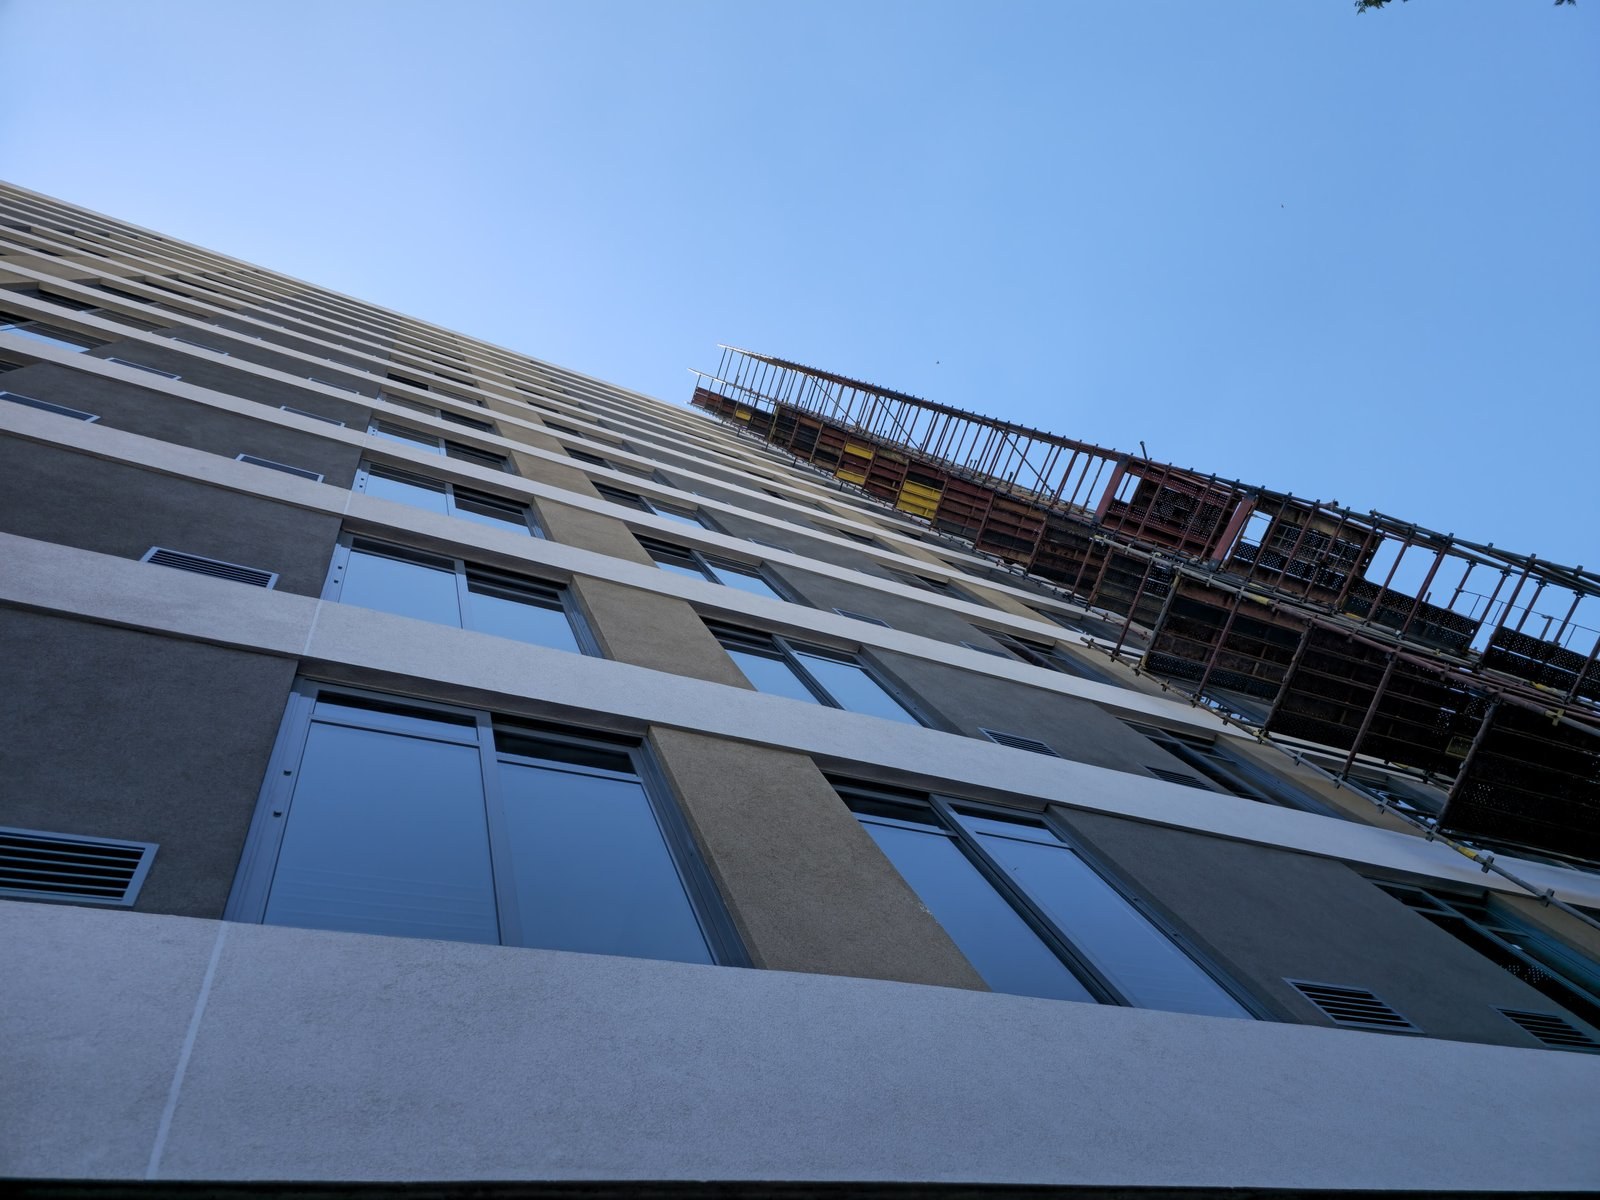
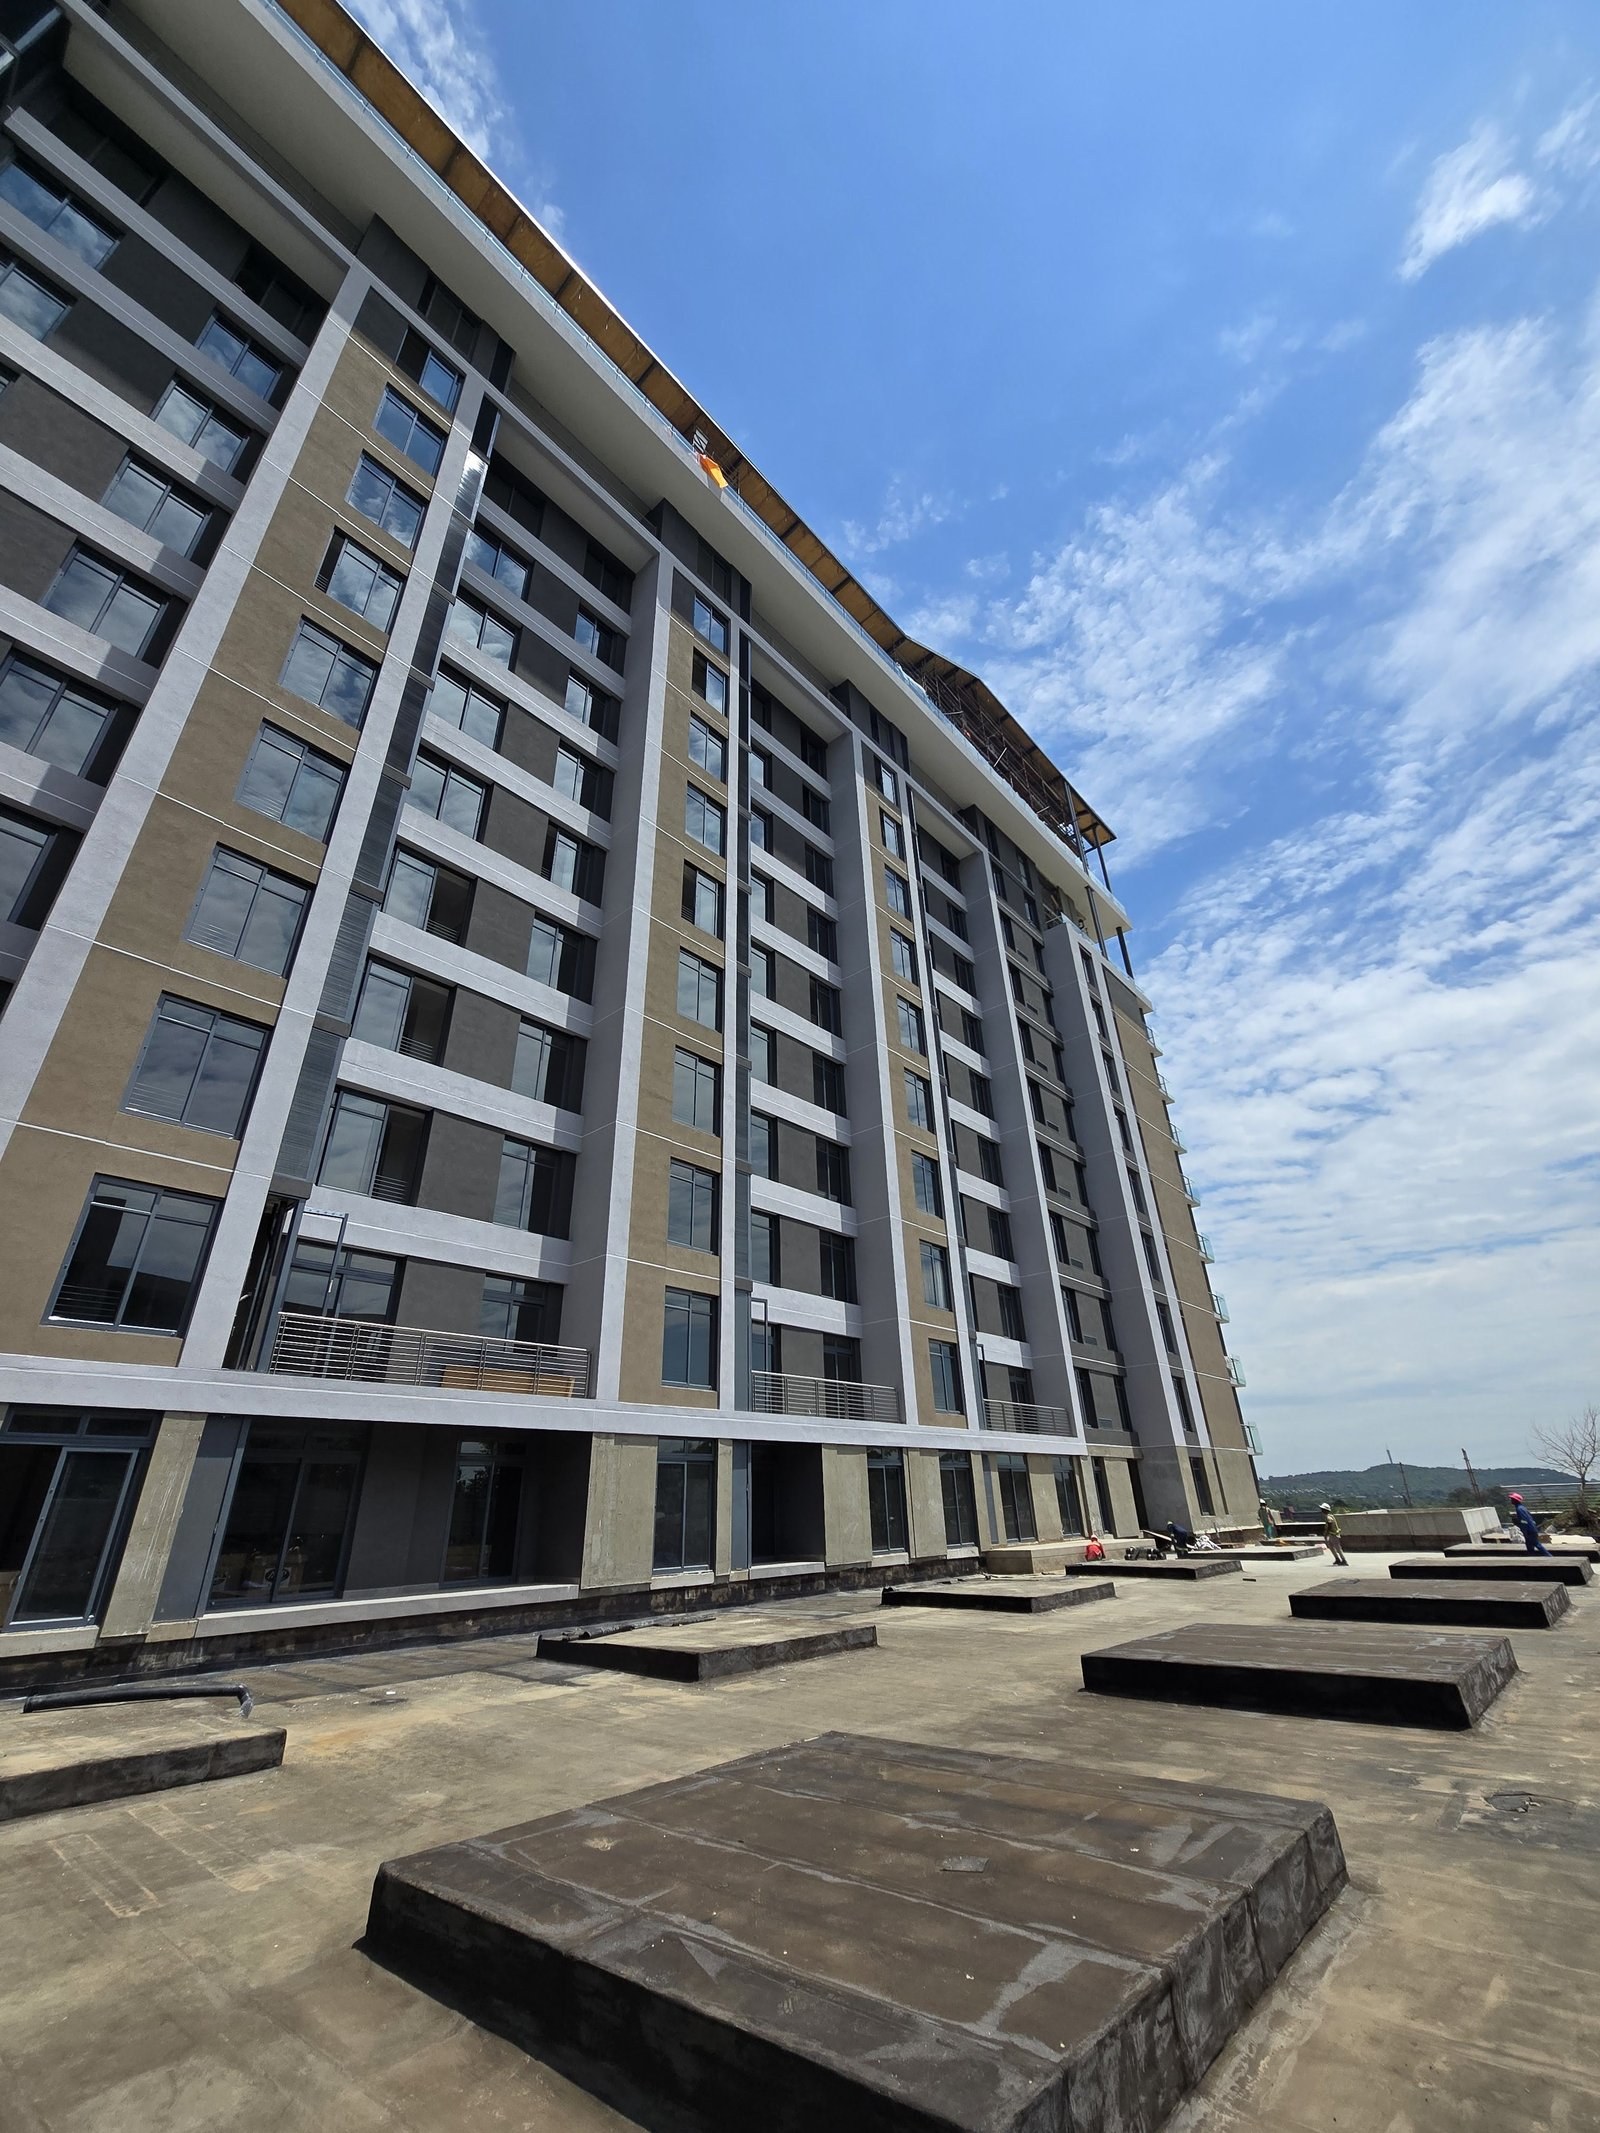
Curved multi-storey facade with smooth pale rendered bands running between the blue ribbon glazing. Scaffolding is still standing at ground level and a worker is on the deck - the coating on the upper floors is complete, the building is not.PHOTO
Curved multi-storey facade with smooth pale rendered bands running between the blue ribbon glazing. Scaffolding is still standing at ground level and a worker is on the deck - the coating on the upper floors is complete, the building is not.EIFS/ETICS External Wall Insulation
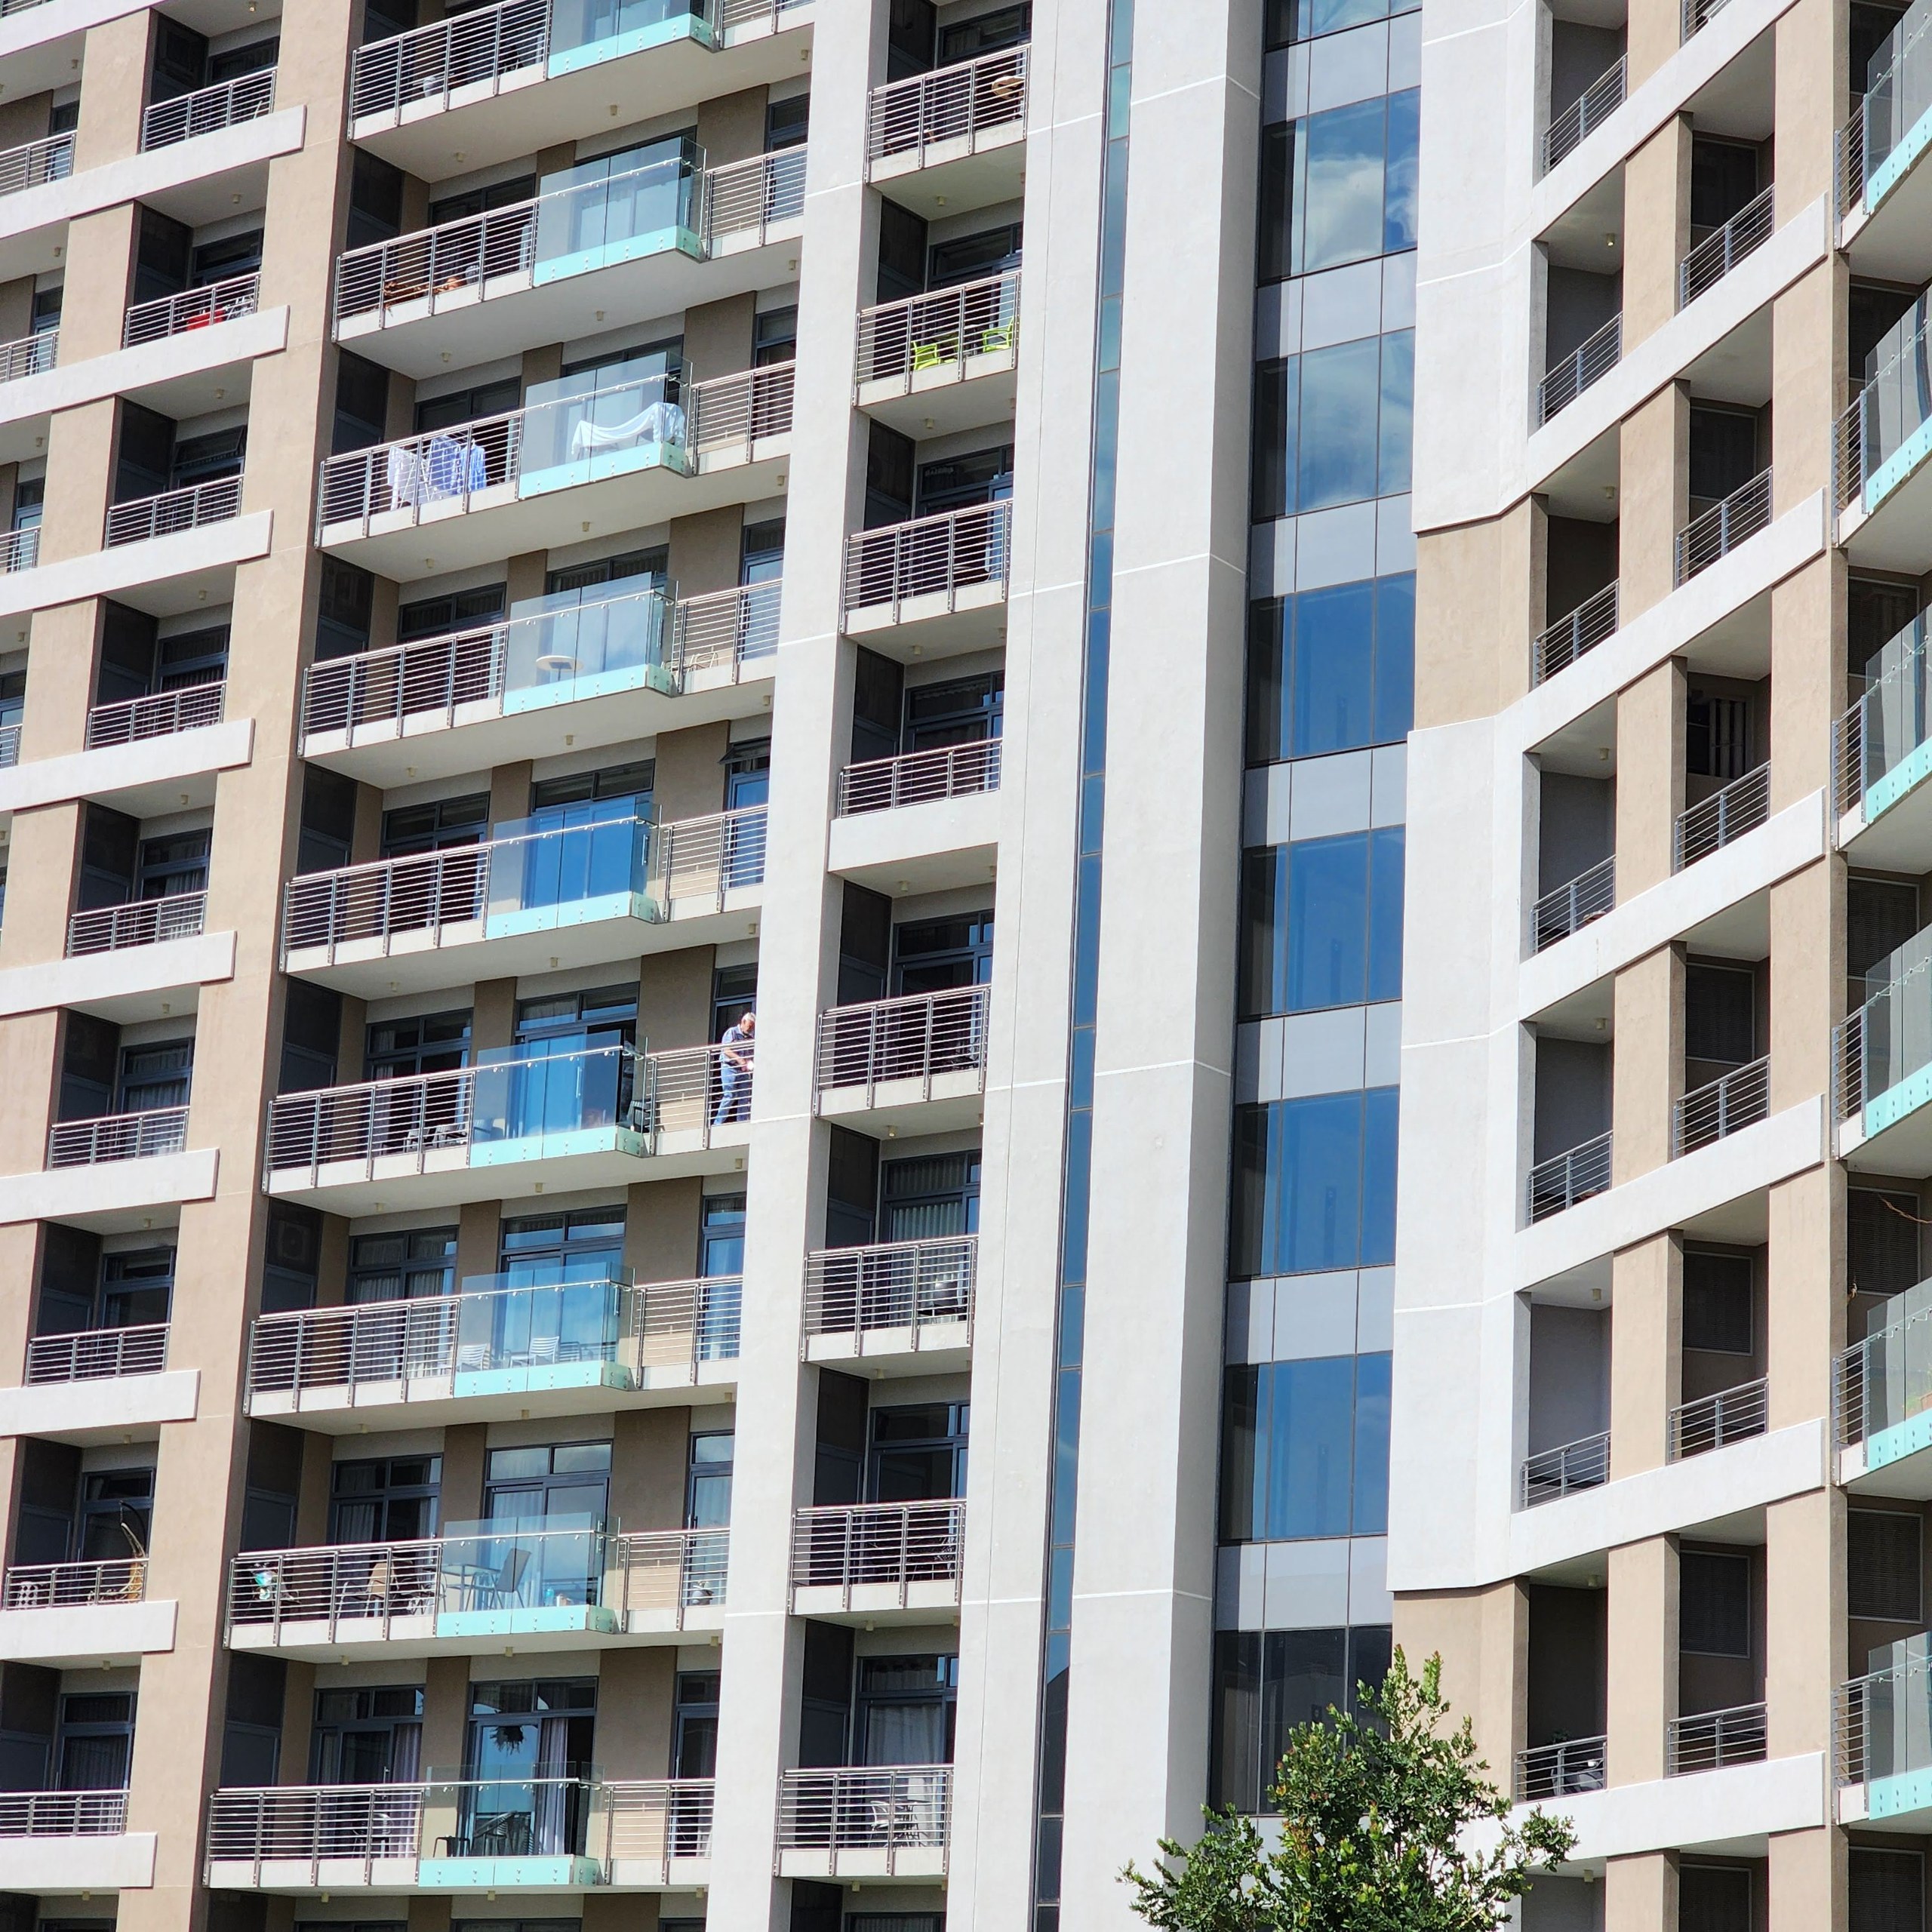
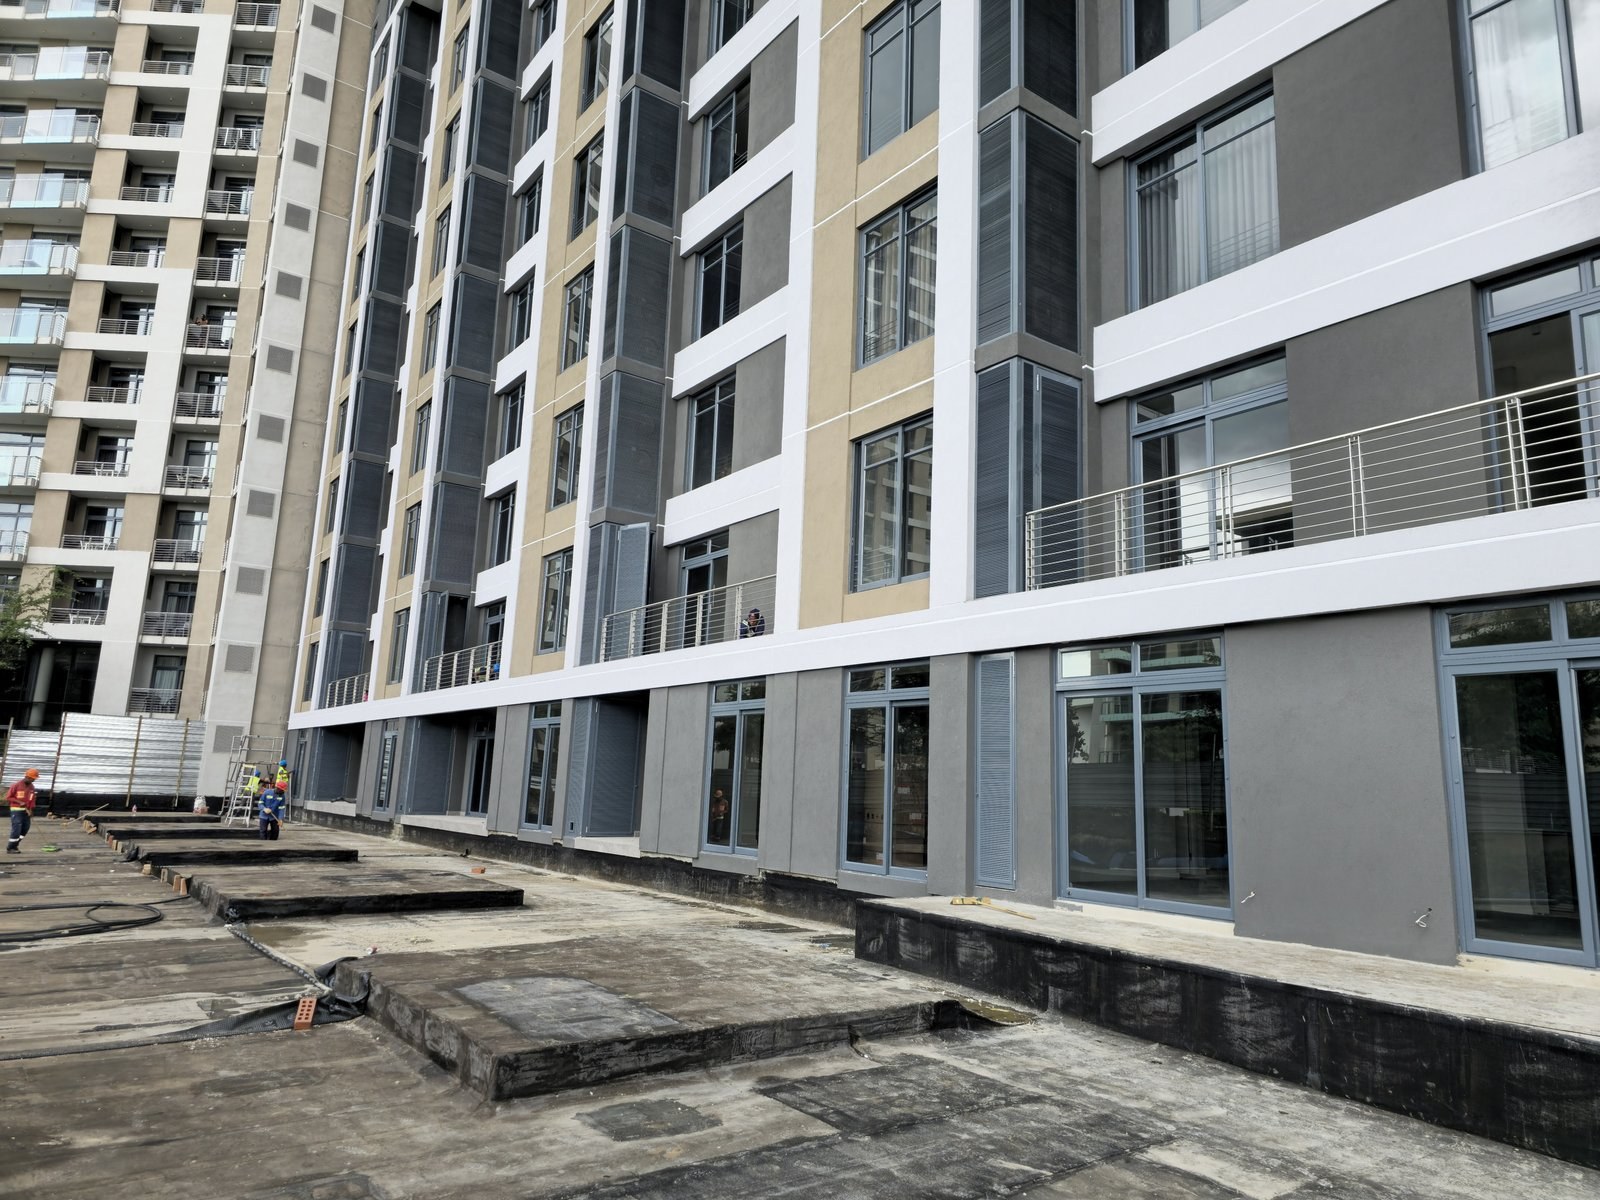
Occupied apartment tower shot tight: rows of recessed balconies with wire balustrades and glass screens, with the pale render coating carried across every soffit, balcony wall and horizontal band.PHOTO
Occupied apartment tower shot tight: rows of recessed balconies with wire balustrades and glass screens, with the pale render coating carried across every soffit, balcony wall and horizontal band.EIFS/ETICS External Wall Insulation
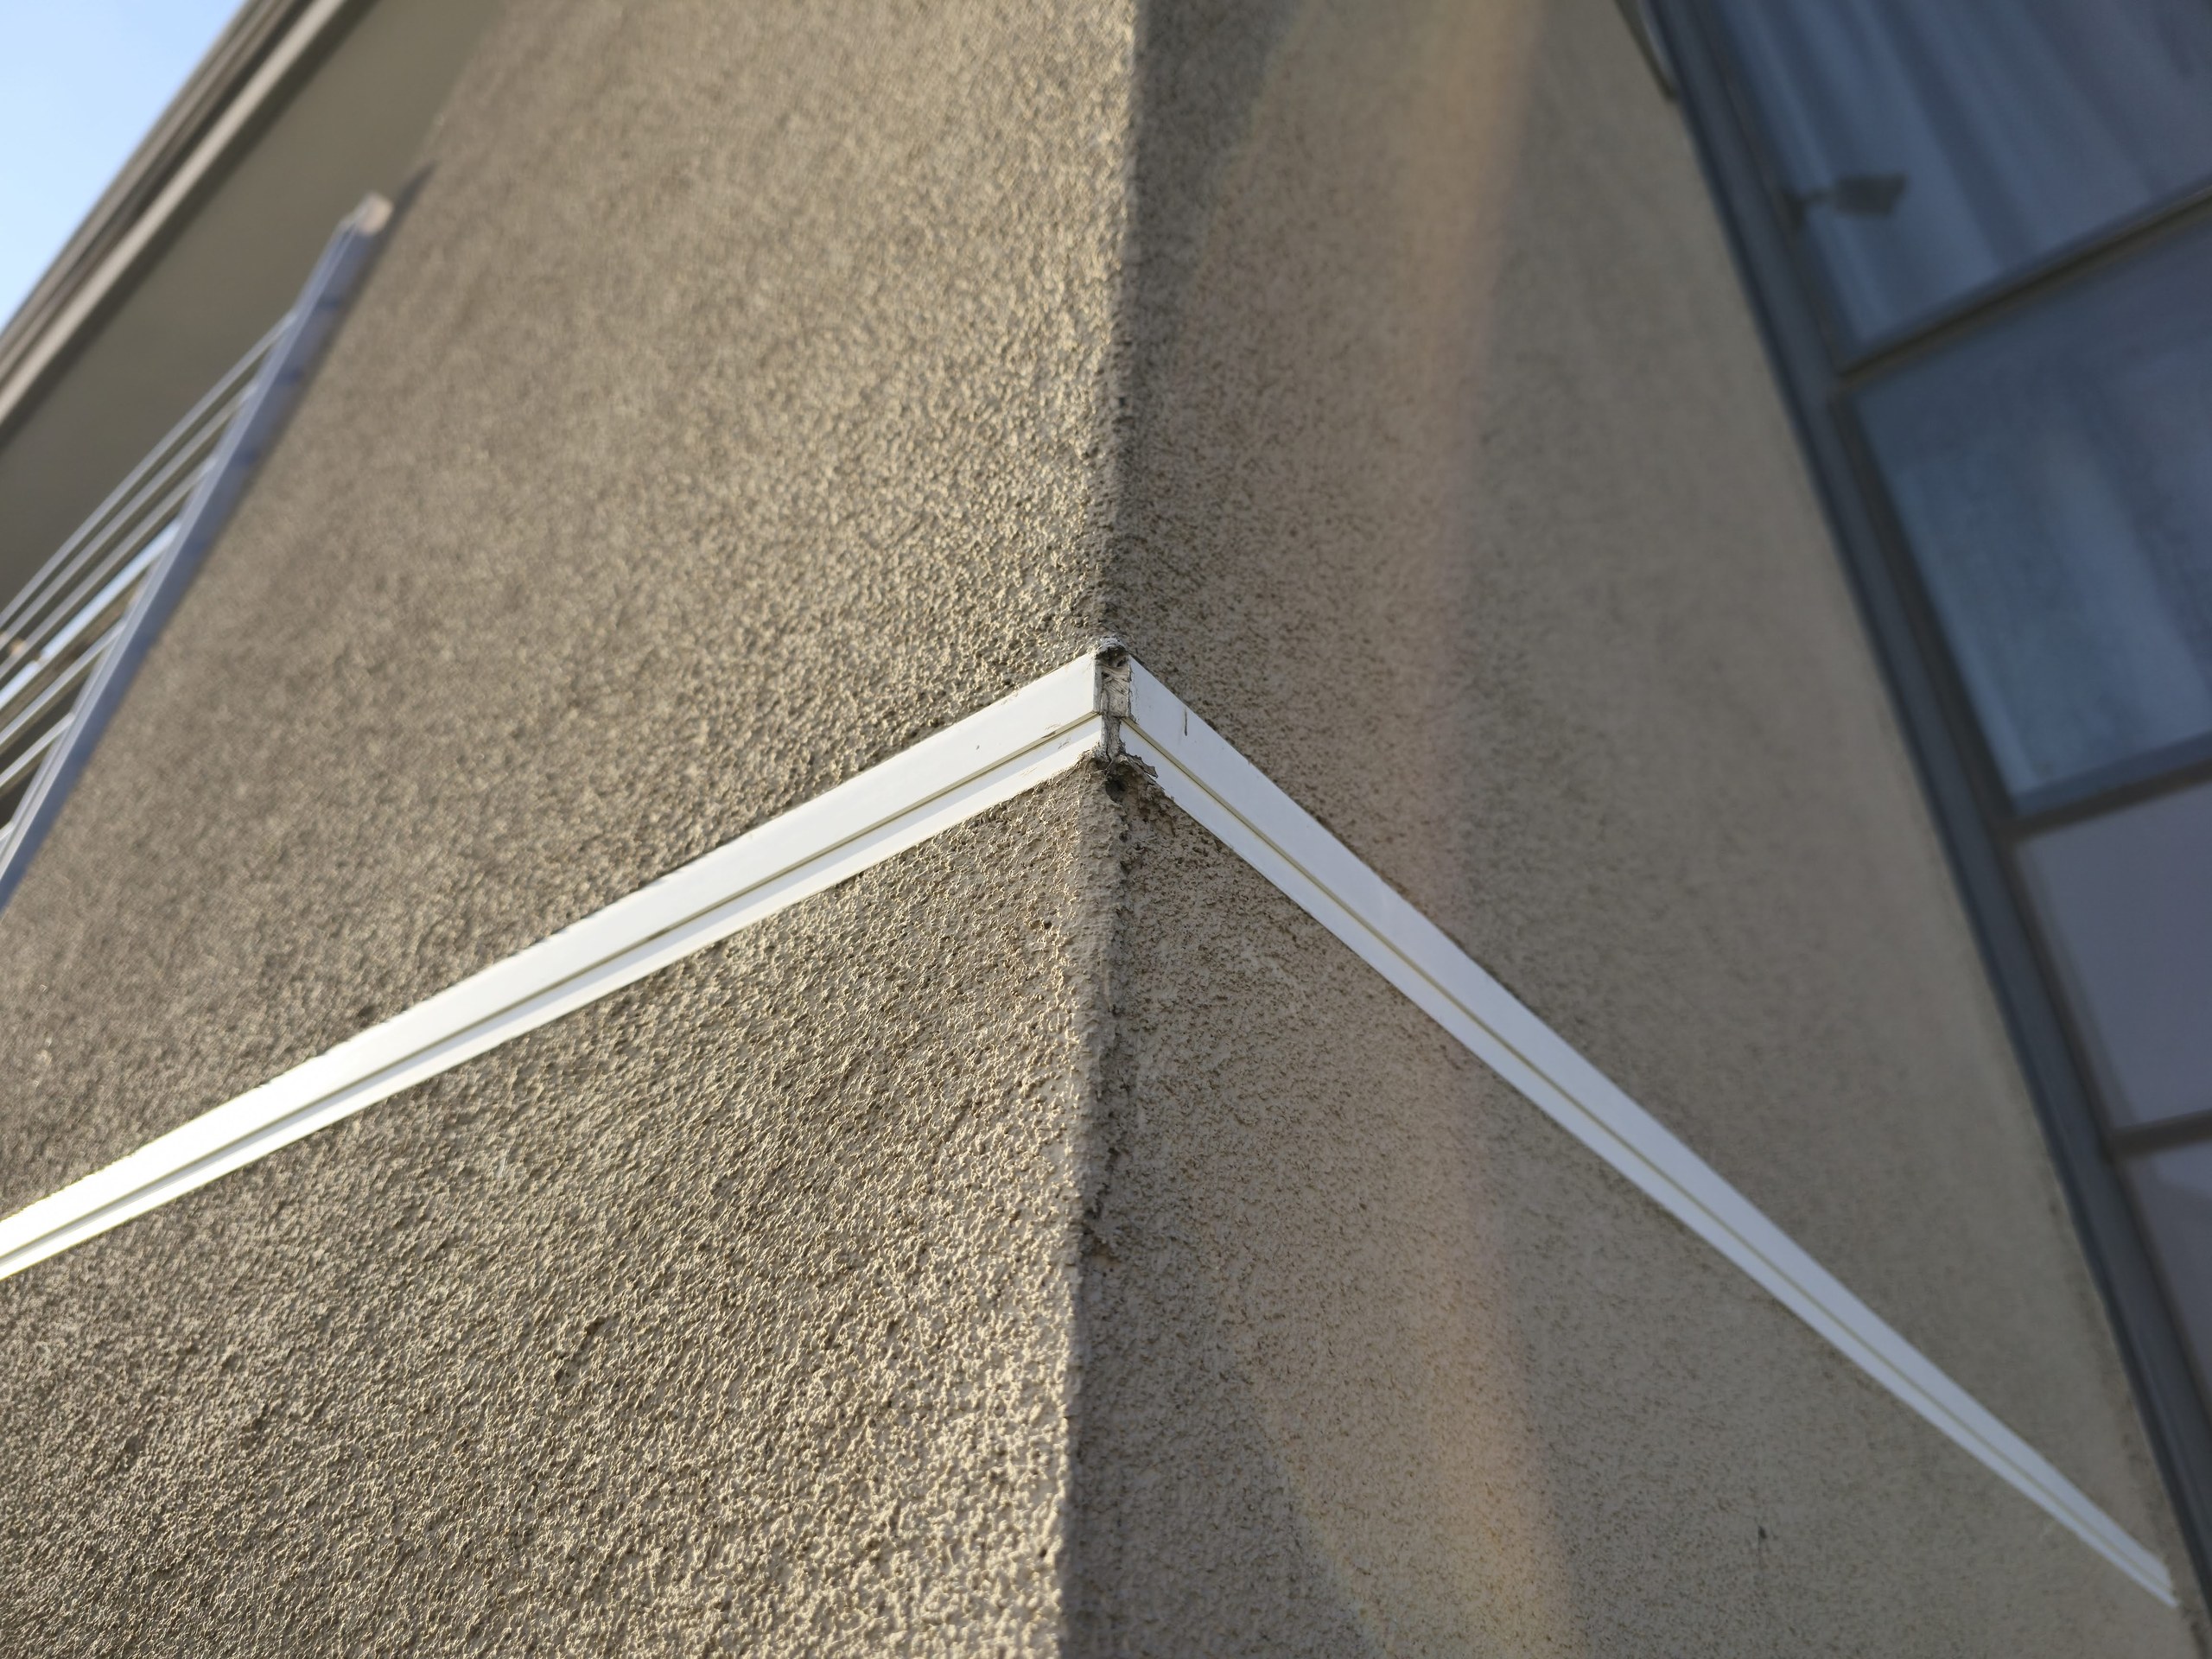
Coarse textured topcoat on an external corner, with a white trim profile turning the arris. Raking low sun shows the aggregate grain of the finish; the render on the corner edge itself is slightly chipped.PHOTO
Coarse textured topcoat on an external corner, with a white trim profile turning the arris. Raking low sun shows the aggregate grain of the finish; the render on the corner edge itself is slightly chipped.EIFS/ETICS External Wall Insulation
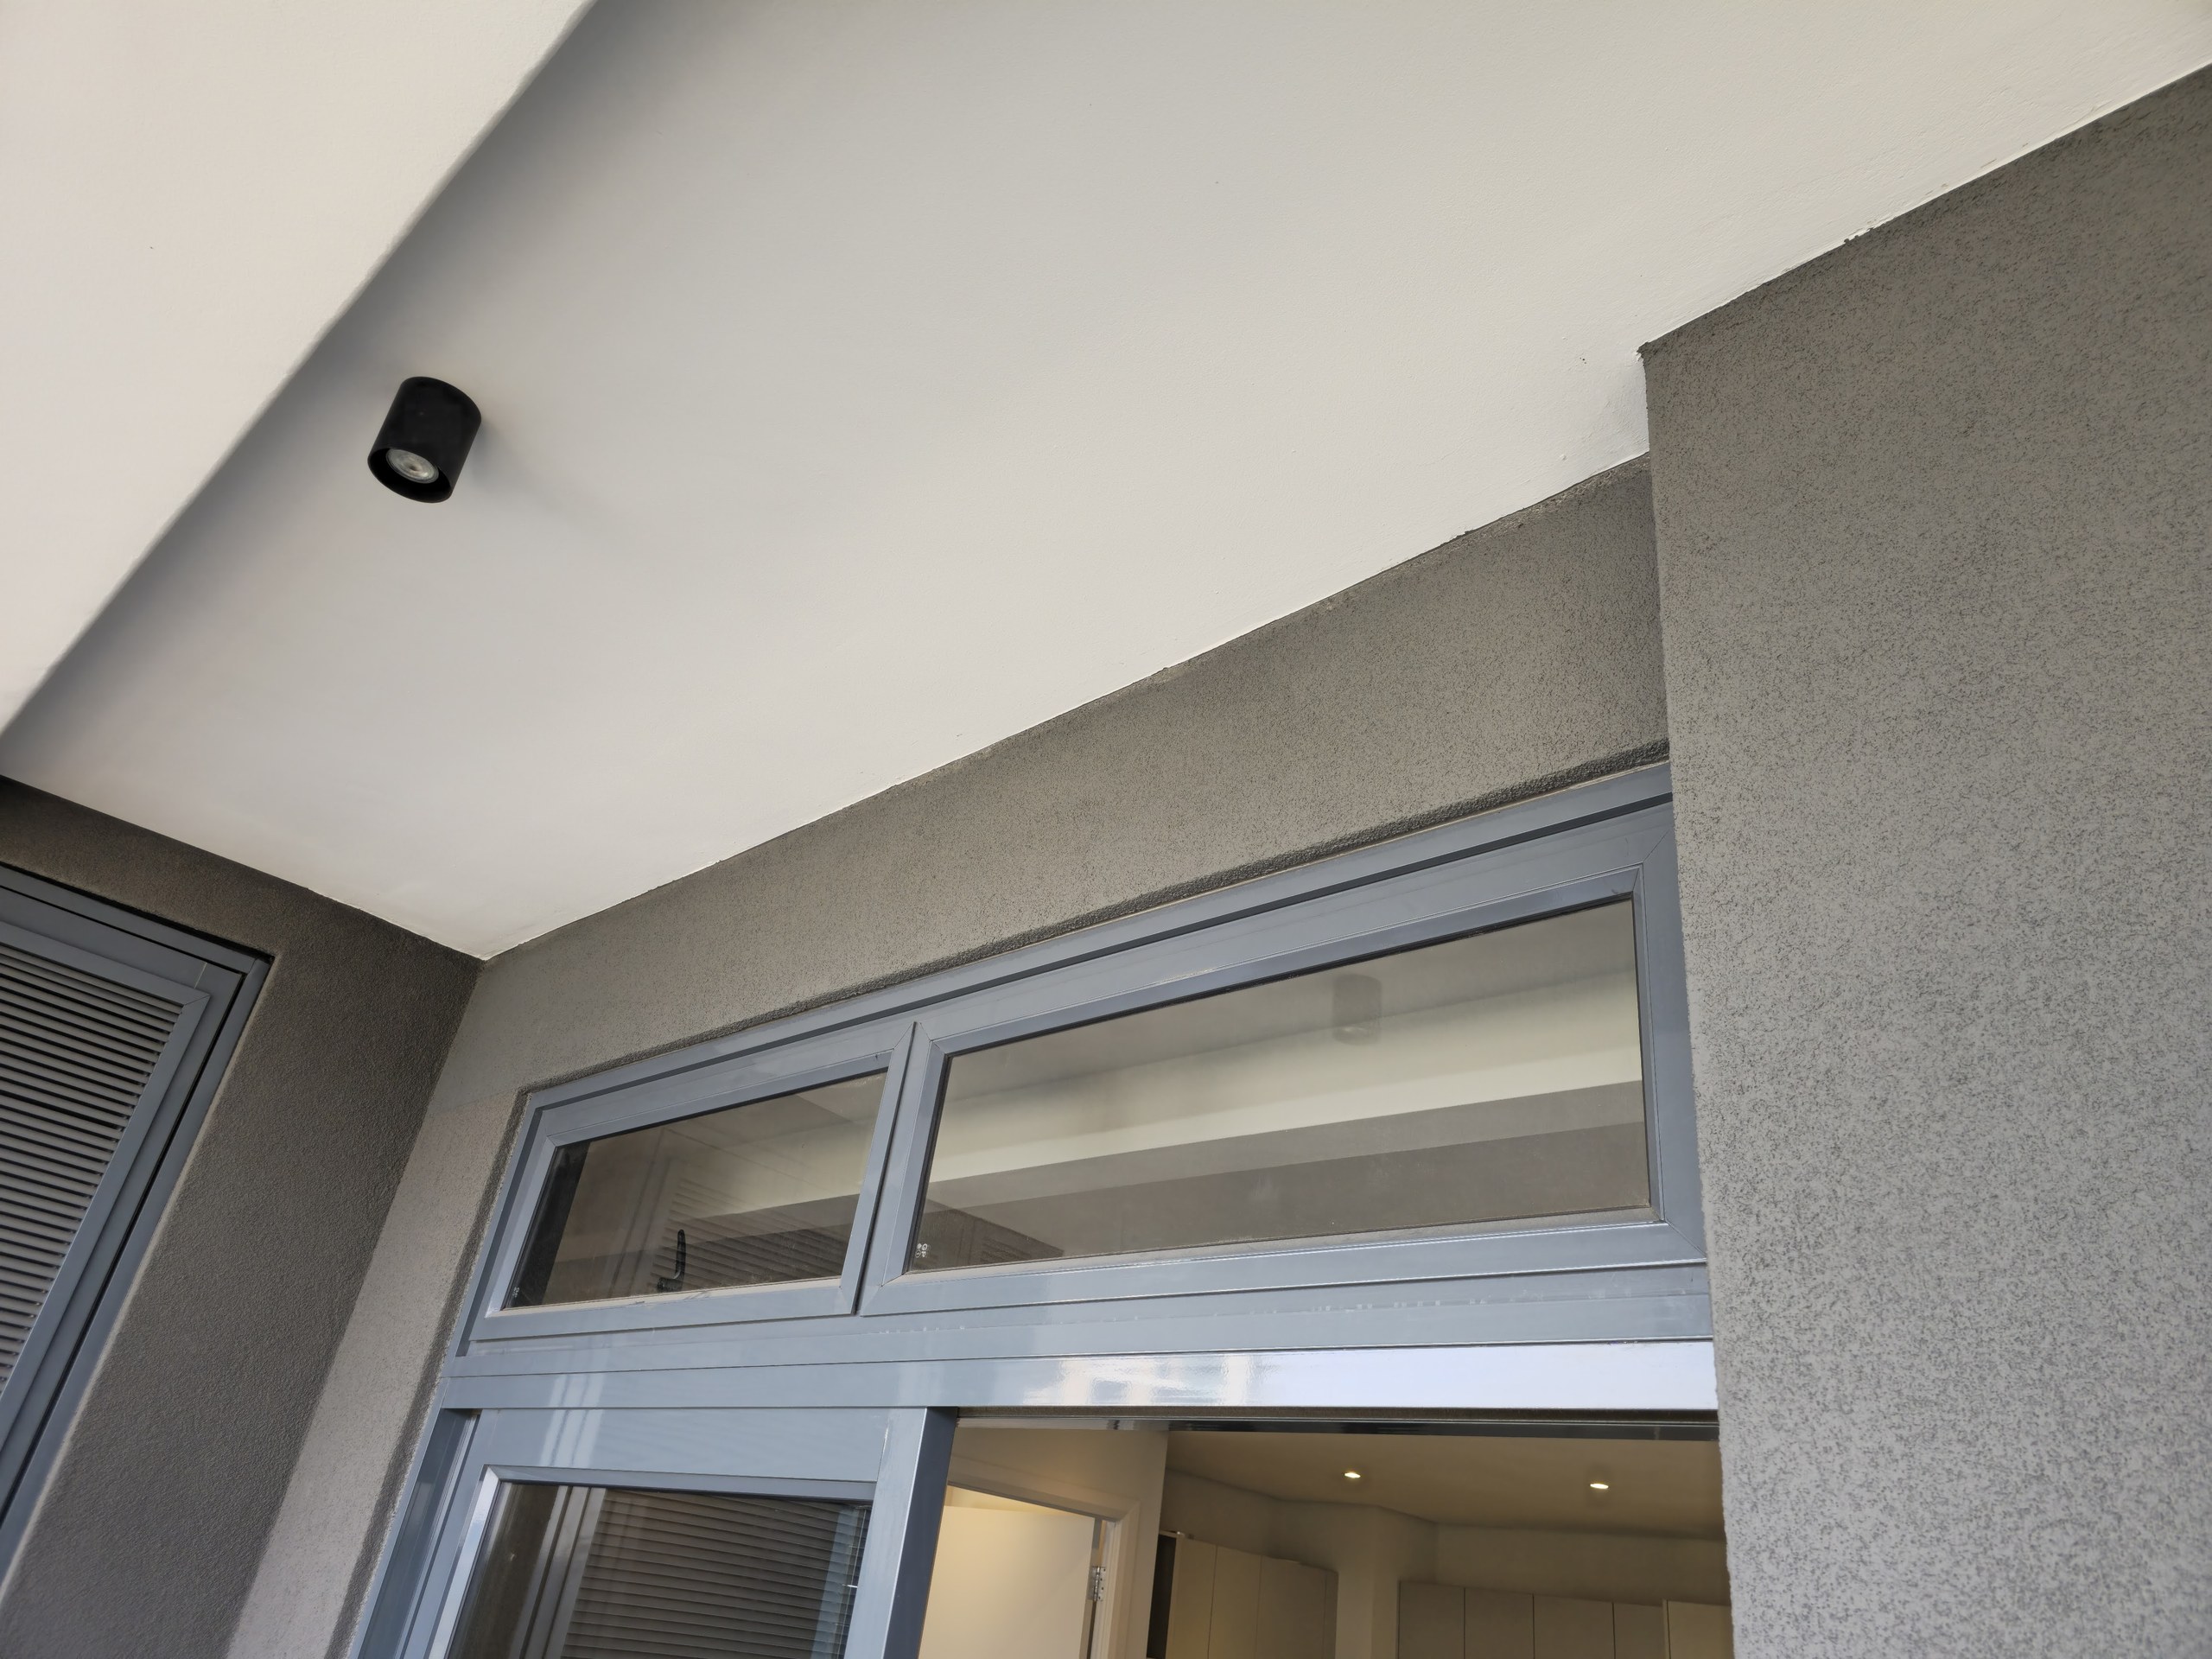
Underside of a balcony: smooth white soffit meeting grey textured render on the wall and pier, with the coating run cleanly down to the aluminium sliding-door head. Shot from outside, looking in through the open door.PHOTO
Underside of a balcony: smooth white soffit meeting grey textured render on the wall and pier, with the coating run cleanly down to the aluminium sliding-door head. Shot from outside, looking in through the open door.EIFS/ETICS External Wall Insulation
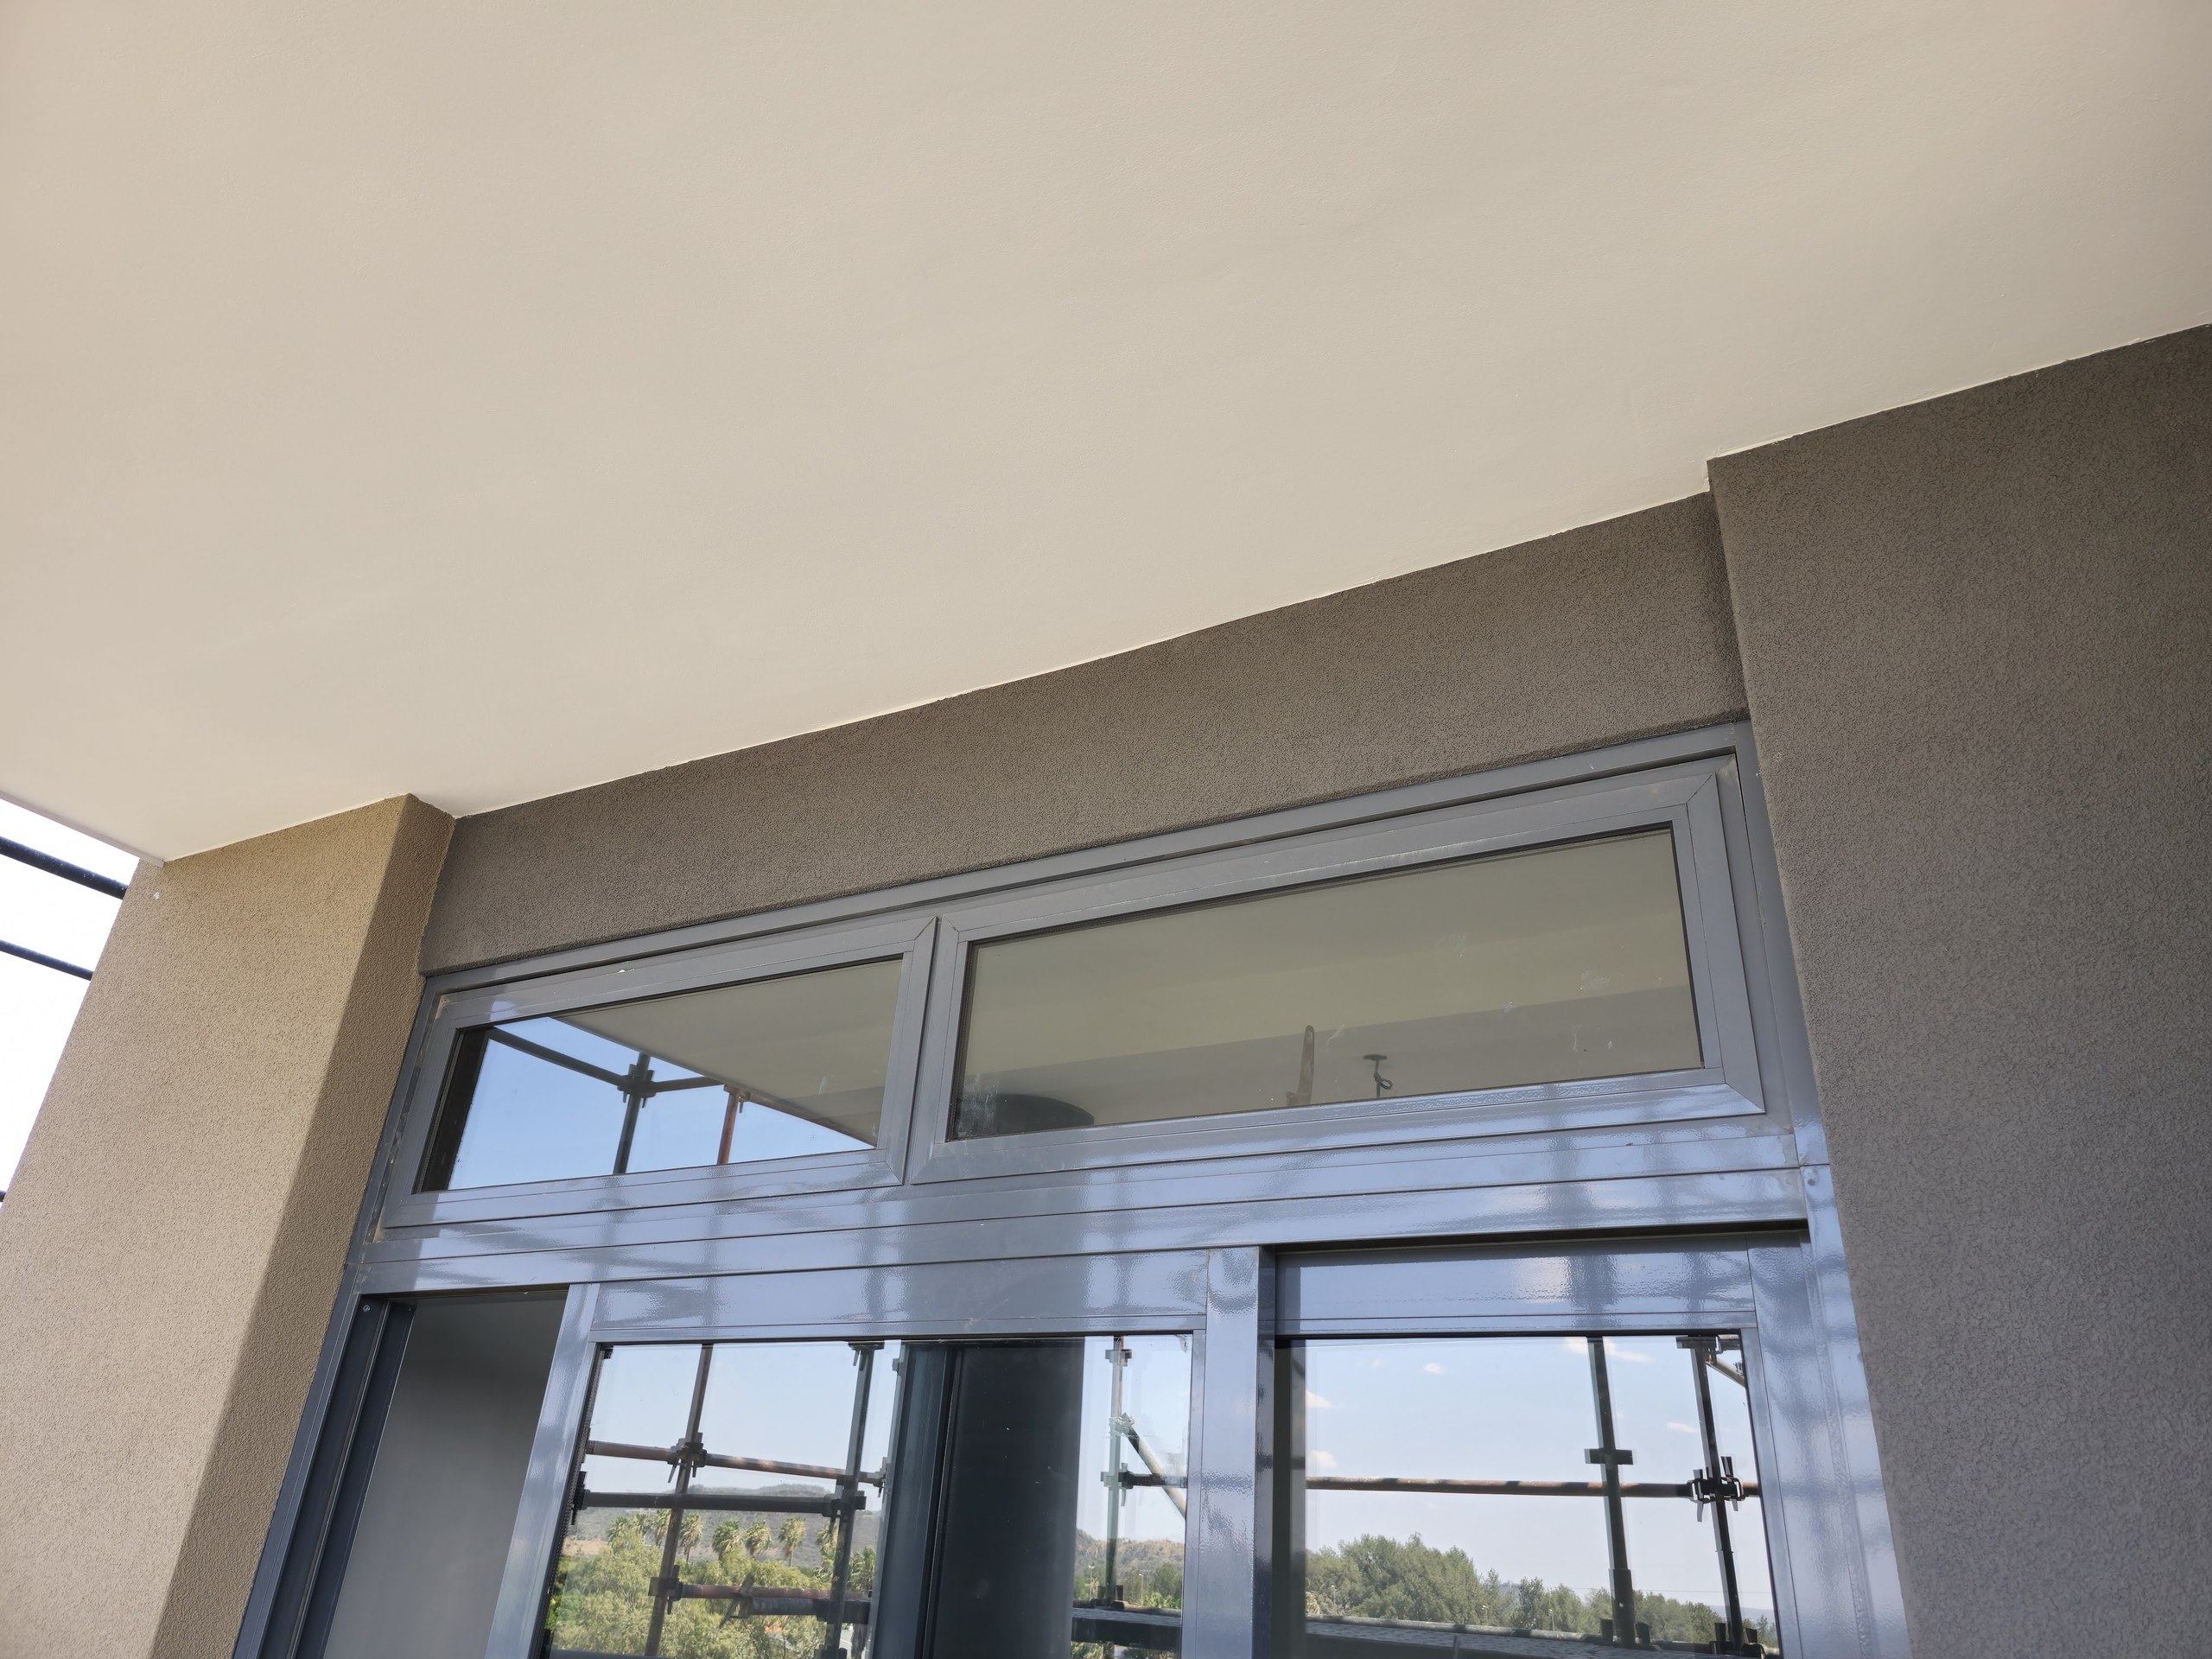
Textured render on the beam face and pier meeting a smooth painted soffit above an aluminium sliding door. Scaffolding is still standing outside, visible through the glass.PHOTO
Textured render on the beam face and pier meeting a smooth painted soffit above an aluminium sliding door. Scaffolding is still standing outside, visible through the glass.EIFS/ETICS External Wall Insulation
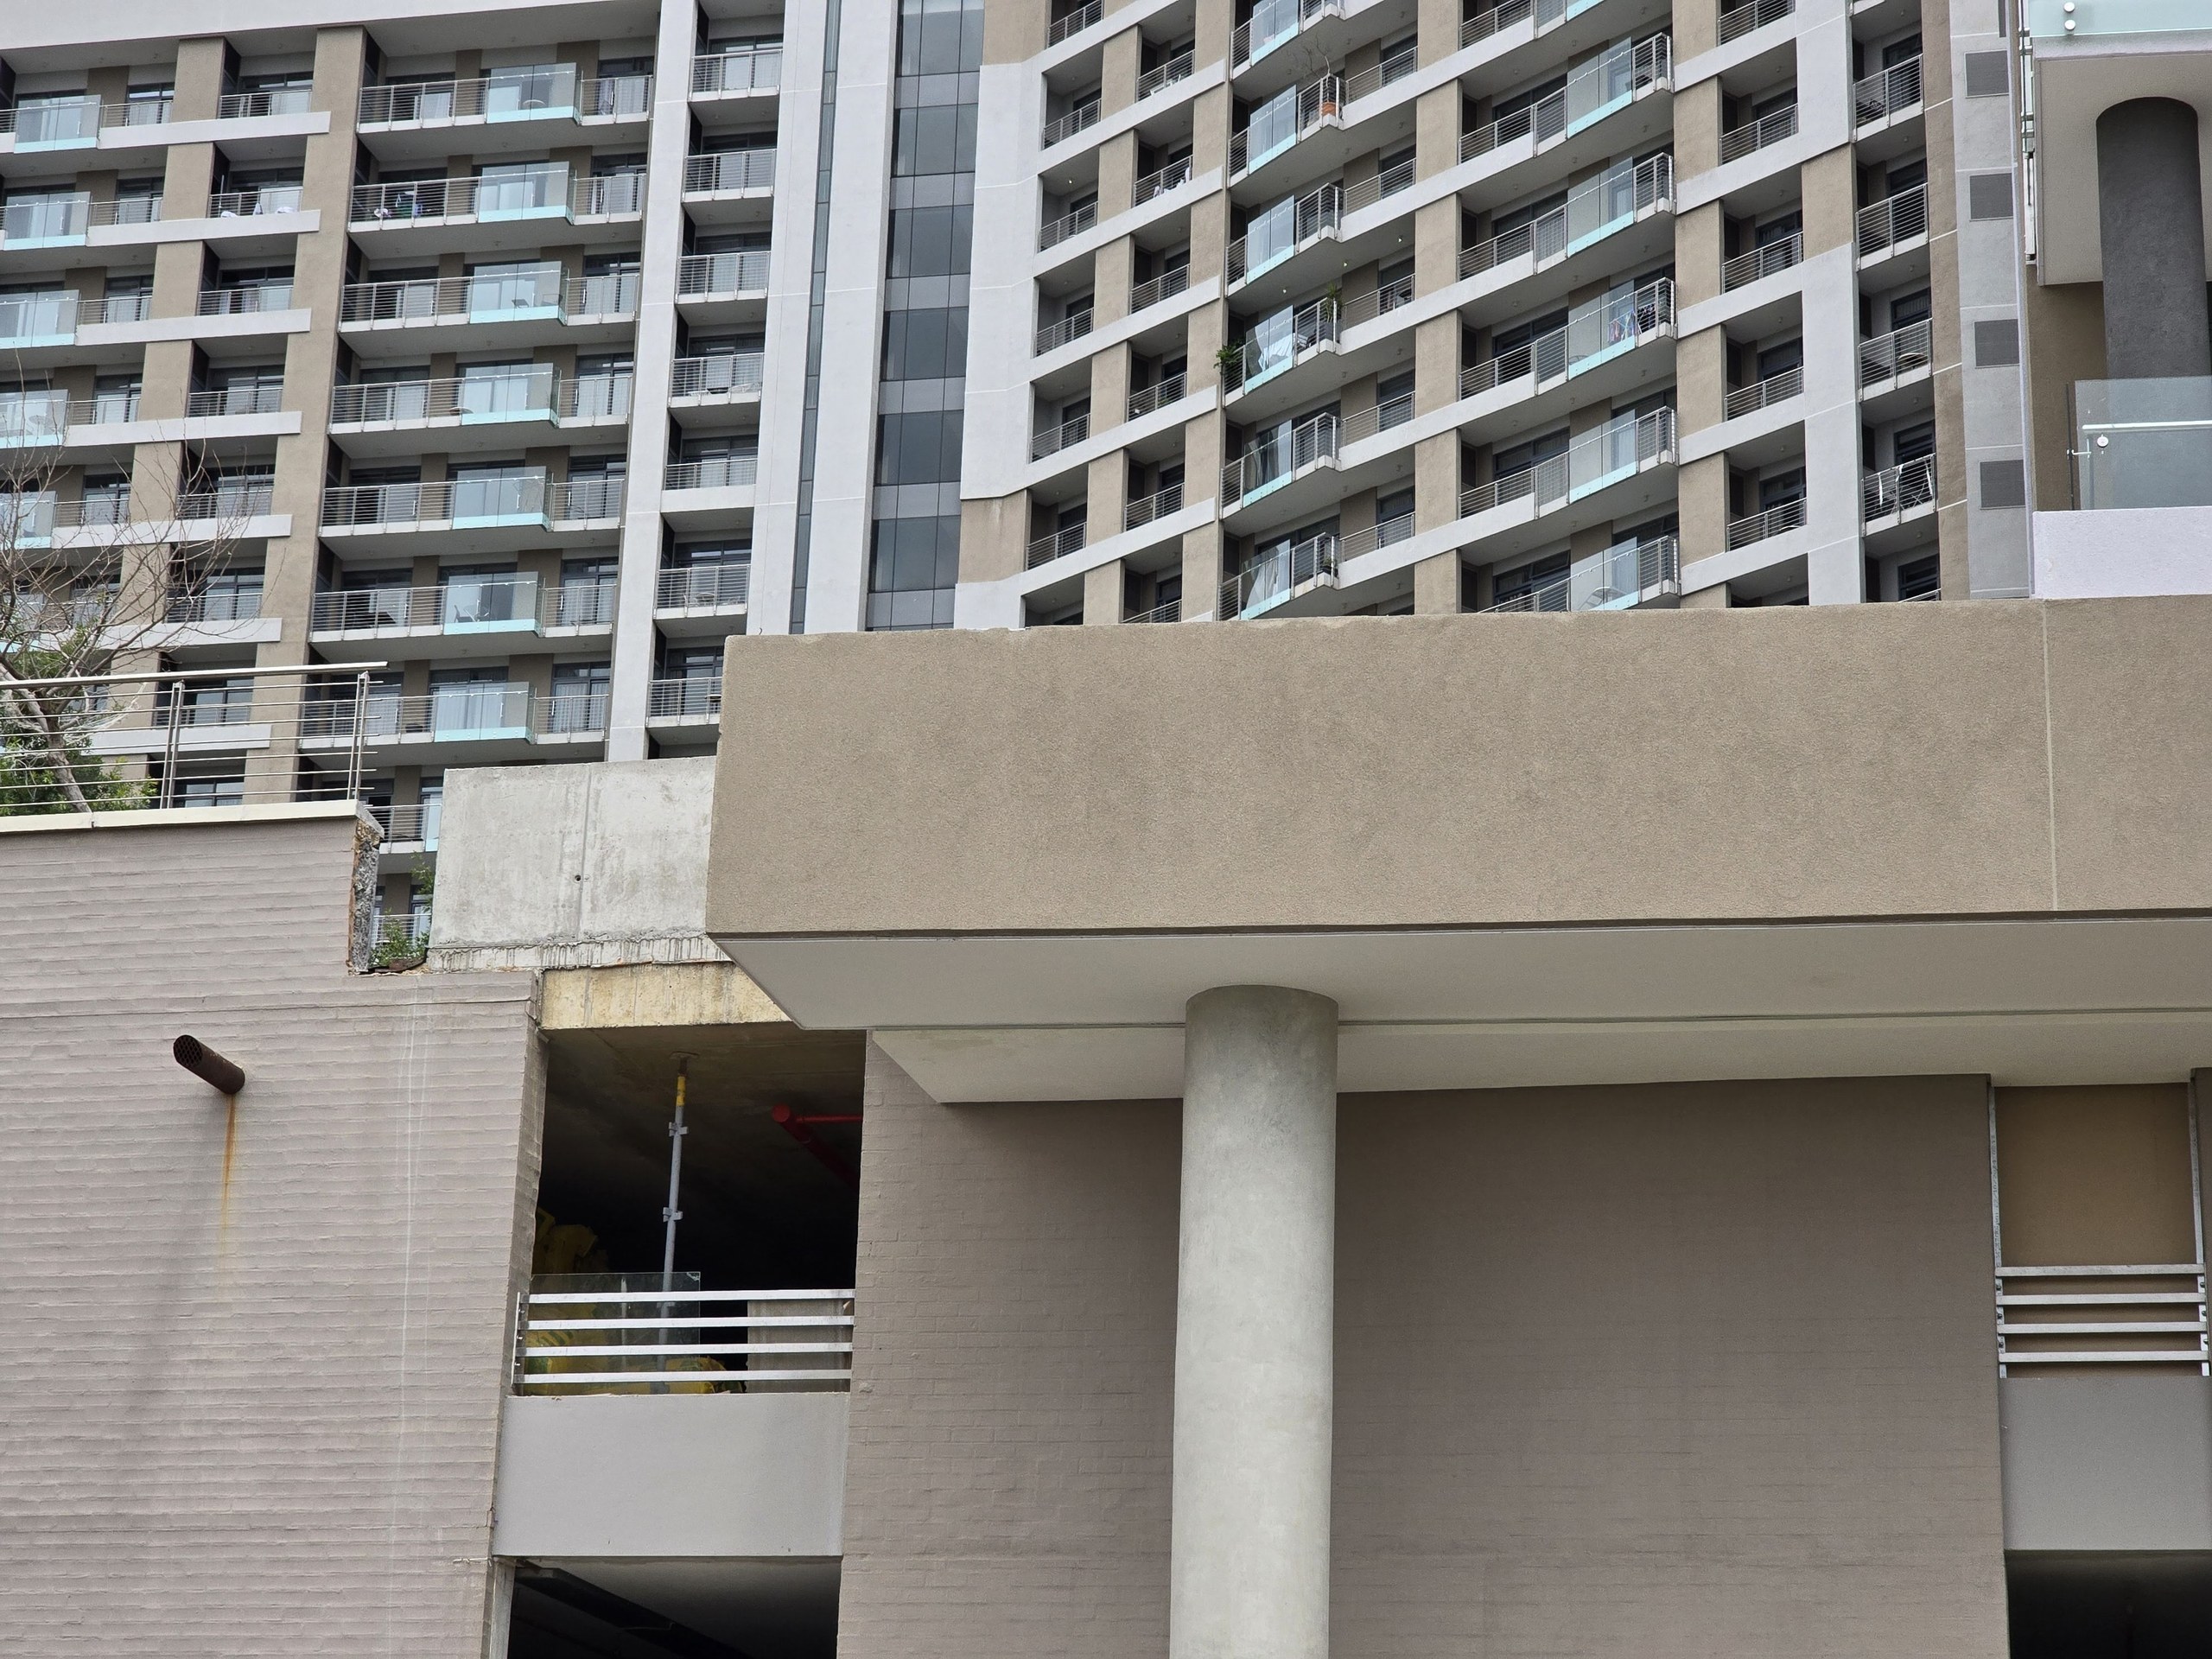
Rendered podium under a multi-storey apartment block, photographed mid-construction. A round rendered column carries a coated soffit and a thick band of beige textured render; the wall to the left is finished in a horizontally grooved texture. The site is still working: bare concrete at the slab edge, an open parking undercroft with a prop and a worker in yellow, and a rust stain running down from a steel pipe outlet.PHOTO
Rendered podium under a multi-storey apartment block, photographed mid-construction. A round rendered column carries a coated soffit and a thick band of beige textured render; the wall to the left is finished in a horizontally grooved texture. The site is still working: bare concrete at the slab edge, an open parking undercroft with a prop and a worker in yellow, and a rust stain running down from a steel pipe outlet.EIFS/ETICS External Wall Insulation
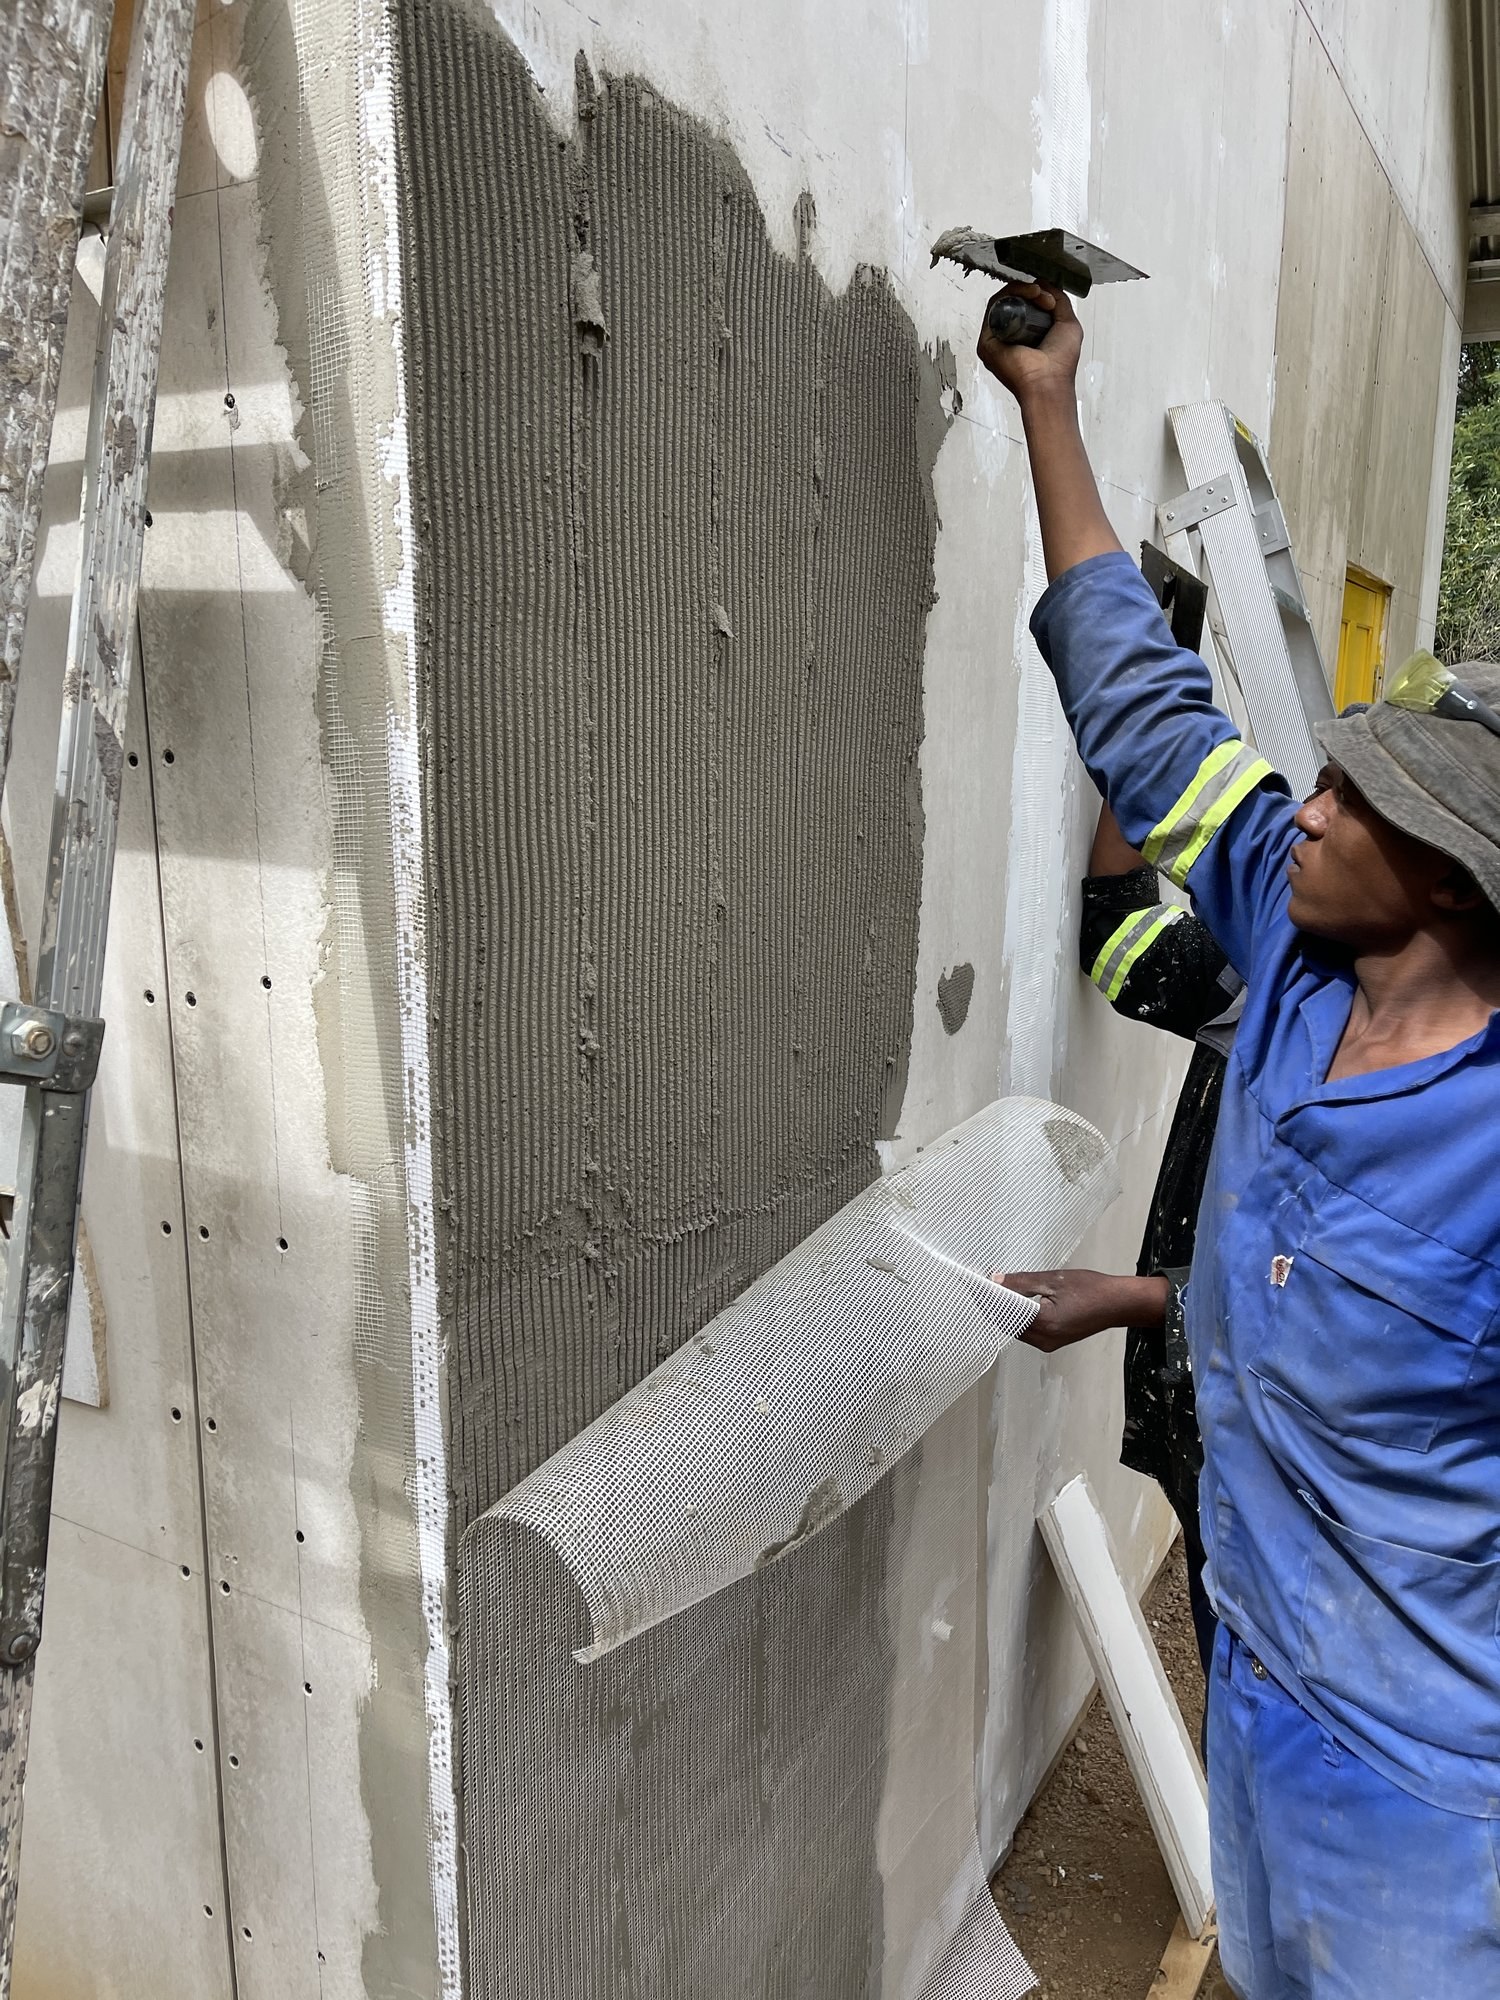
Trowelling basecoat onto an EPS board wall section, mesh and disc fixings visible at the edgesPHOTO
Trowelling basecoat onto an EPS board wall section, mesh and disc fixings visible at the edgesEIFS/ETICS External Wall Insulation
Worker embedding fibreglass mesh into wet basecoat at an external wall cornerPHOTO
Worker embedding fibreglass mesh into wet basecoat at an external wall cornerEIFS/ETICS External Wall Insulation
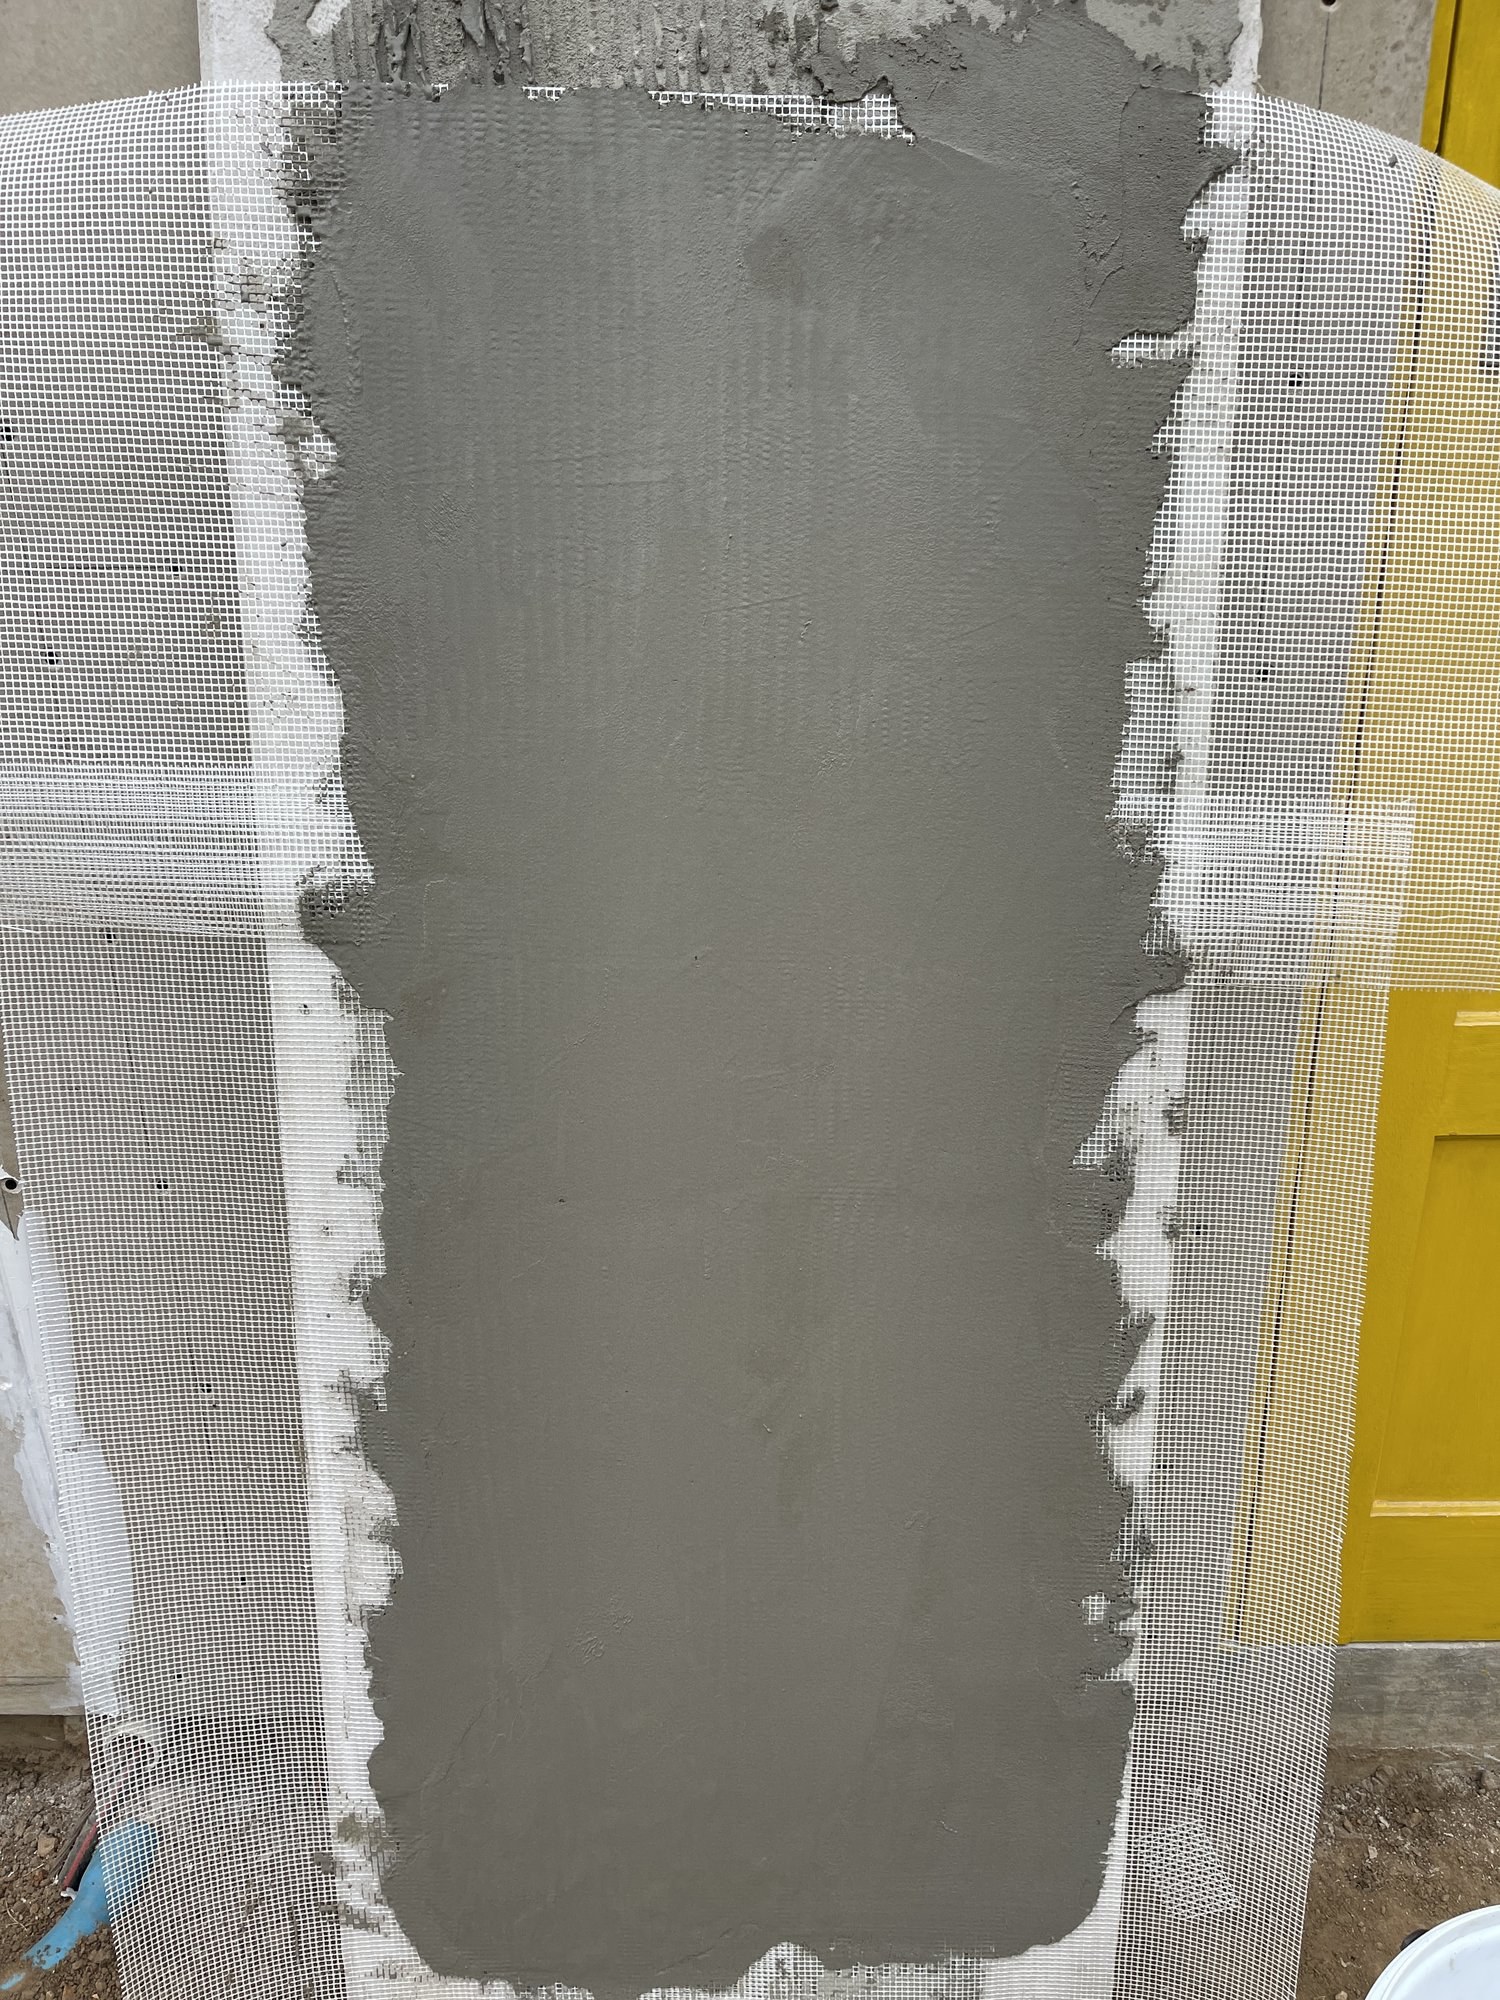
Basecoat trowelled smooth over mesh at a wall cornerPHOTO
Basecoat trowelled smooth over mesh at a wall cornerEIFS/ETICS External Wall Insulation
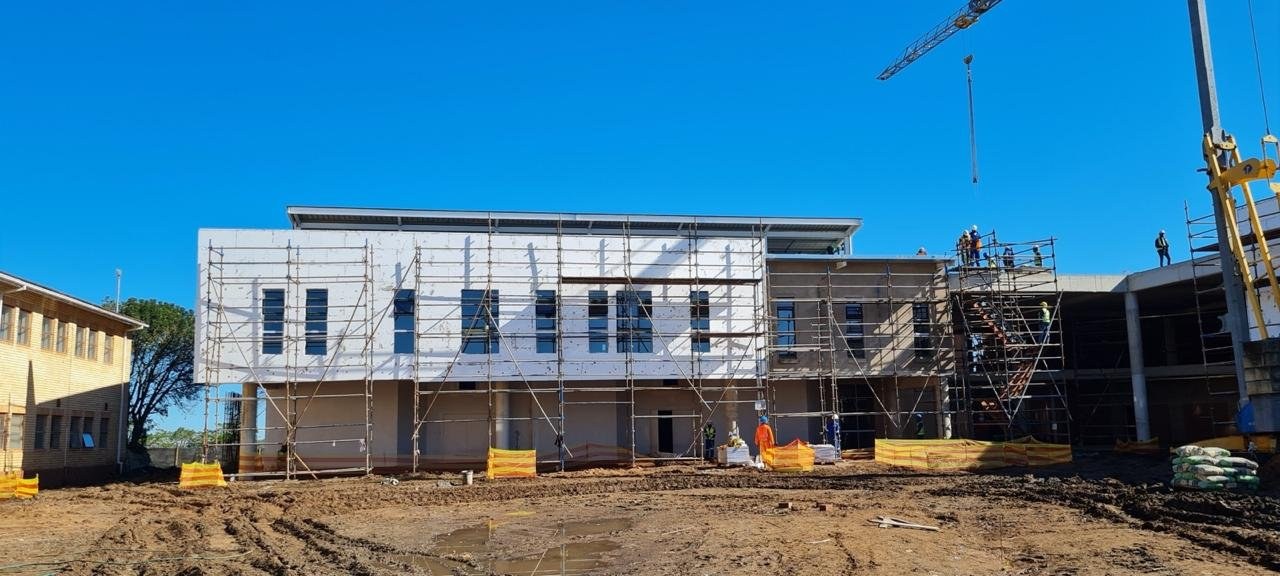
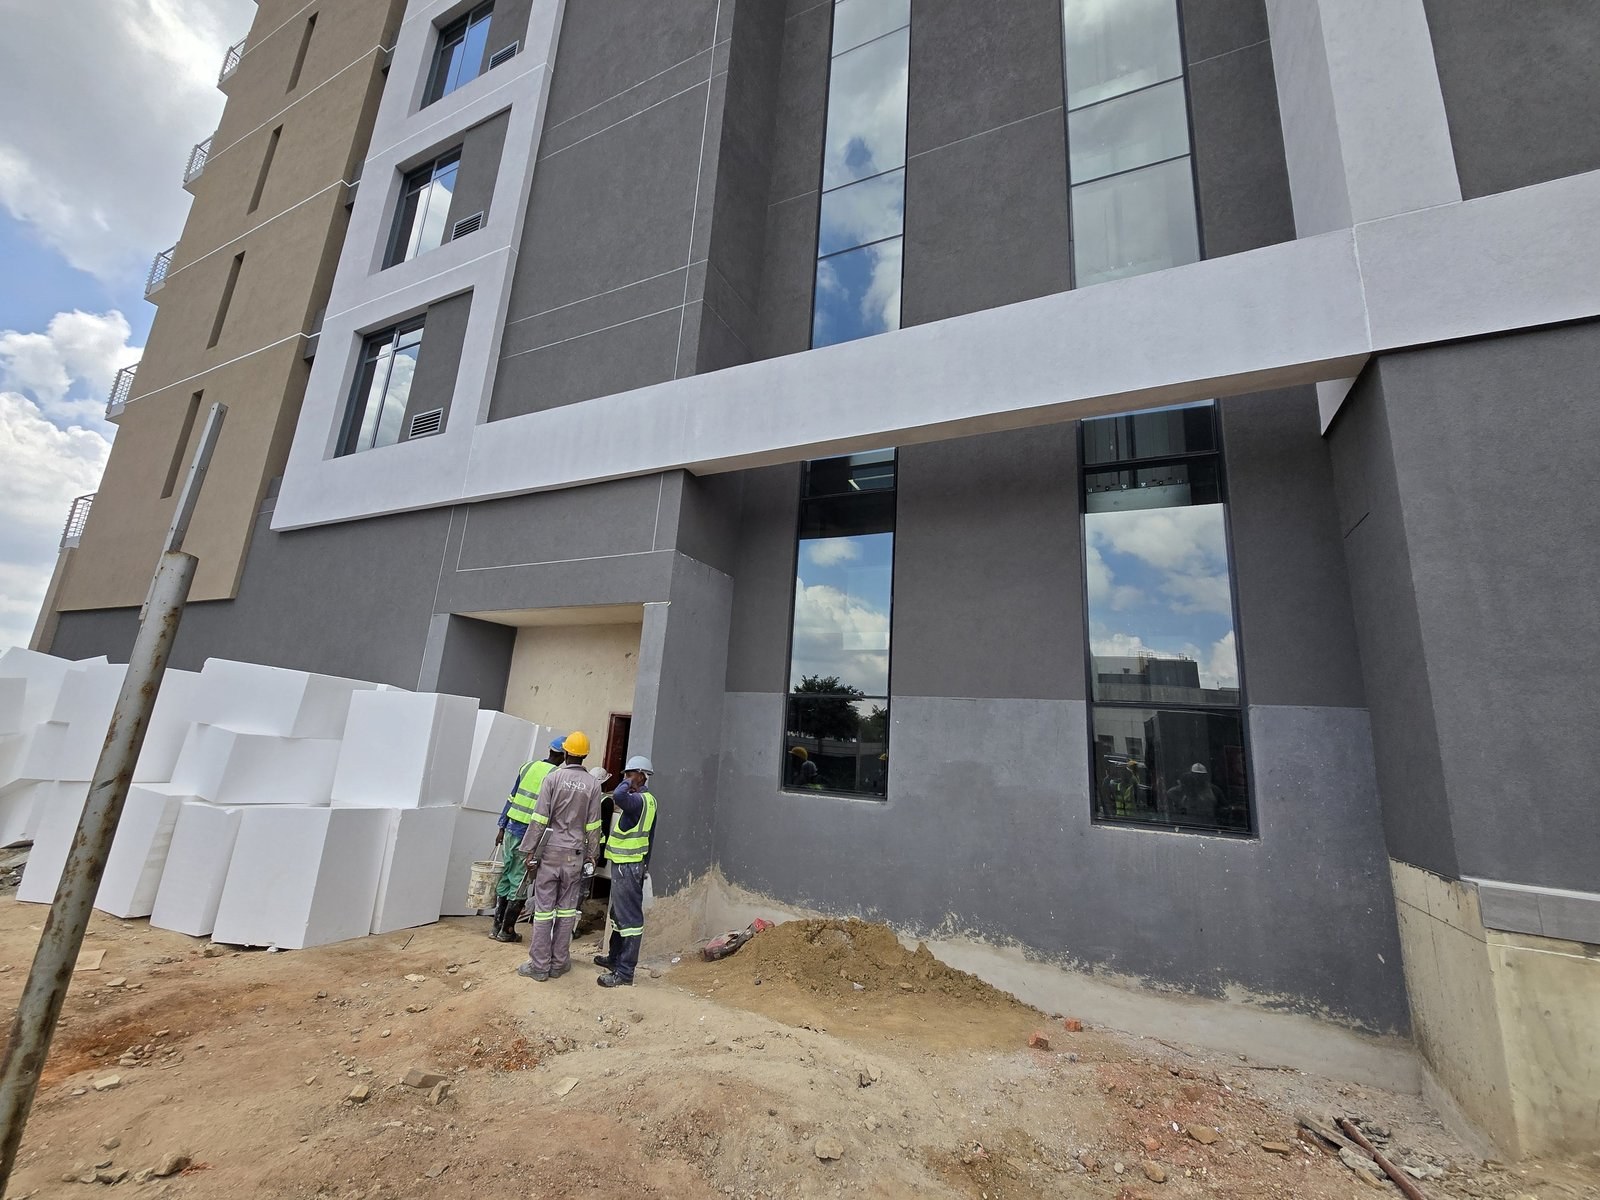
EPS boards fixed to a building facade ahead of basecoat and render, tower crane on sitePHOTO
EPS boards fixed to a building facade ahead of basecoat and render, tower crane on siteEIFS/ETICS External Wall Insulation
EPS insulation boards stacked at a building's base ready for fixingPHOTO
EPS insulation boards stacked at a building's base ready for fixingEIFS/ETICS External Wall Insulation
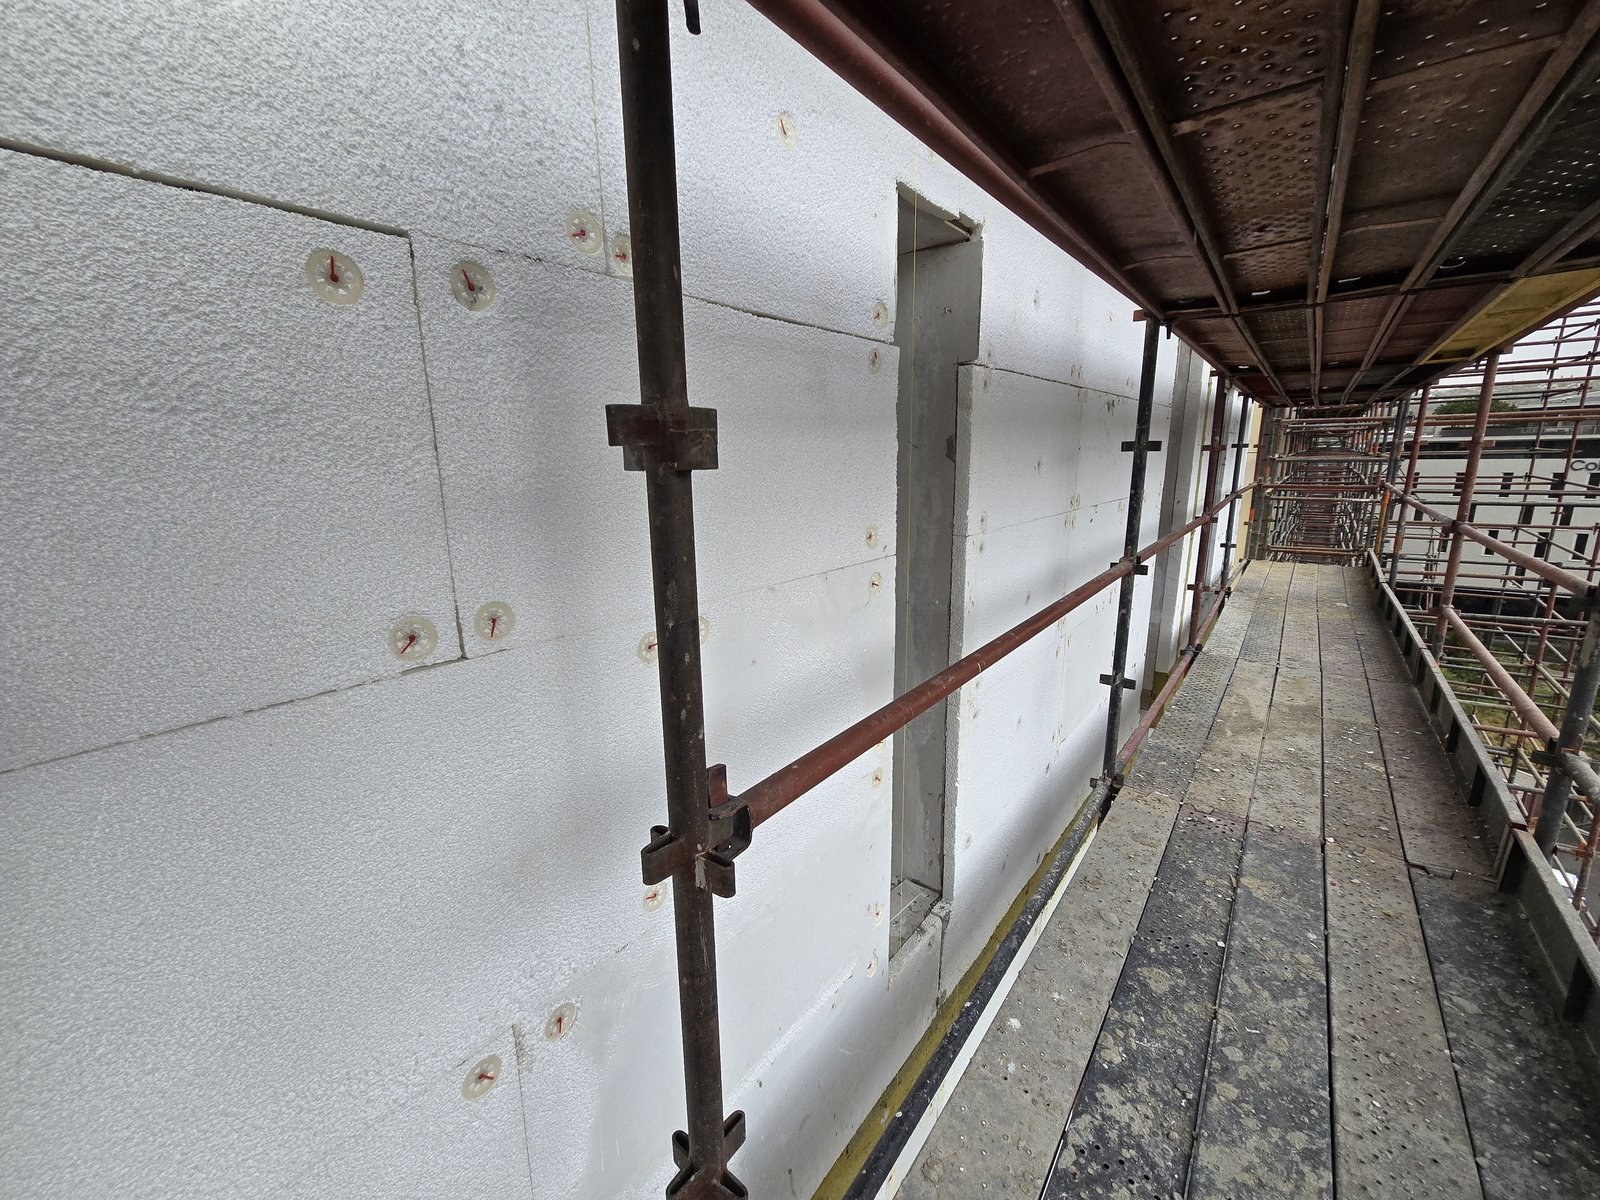
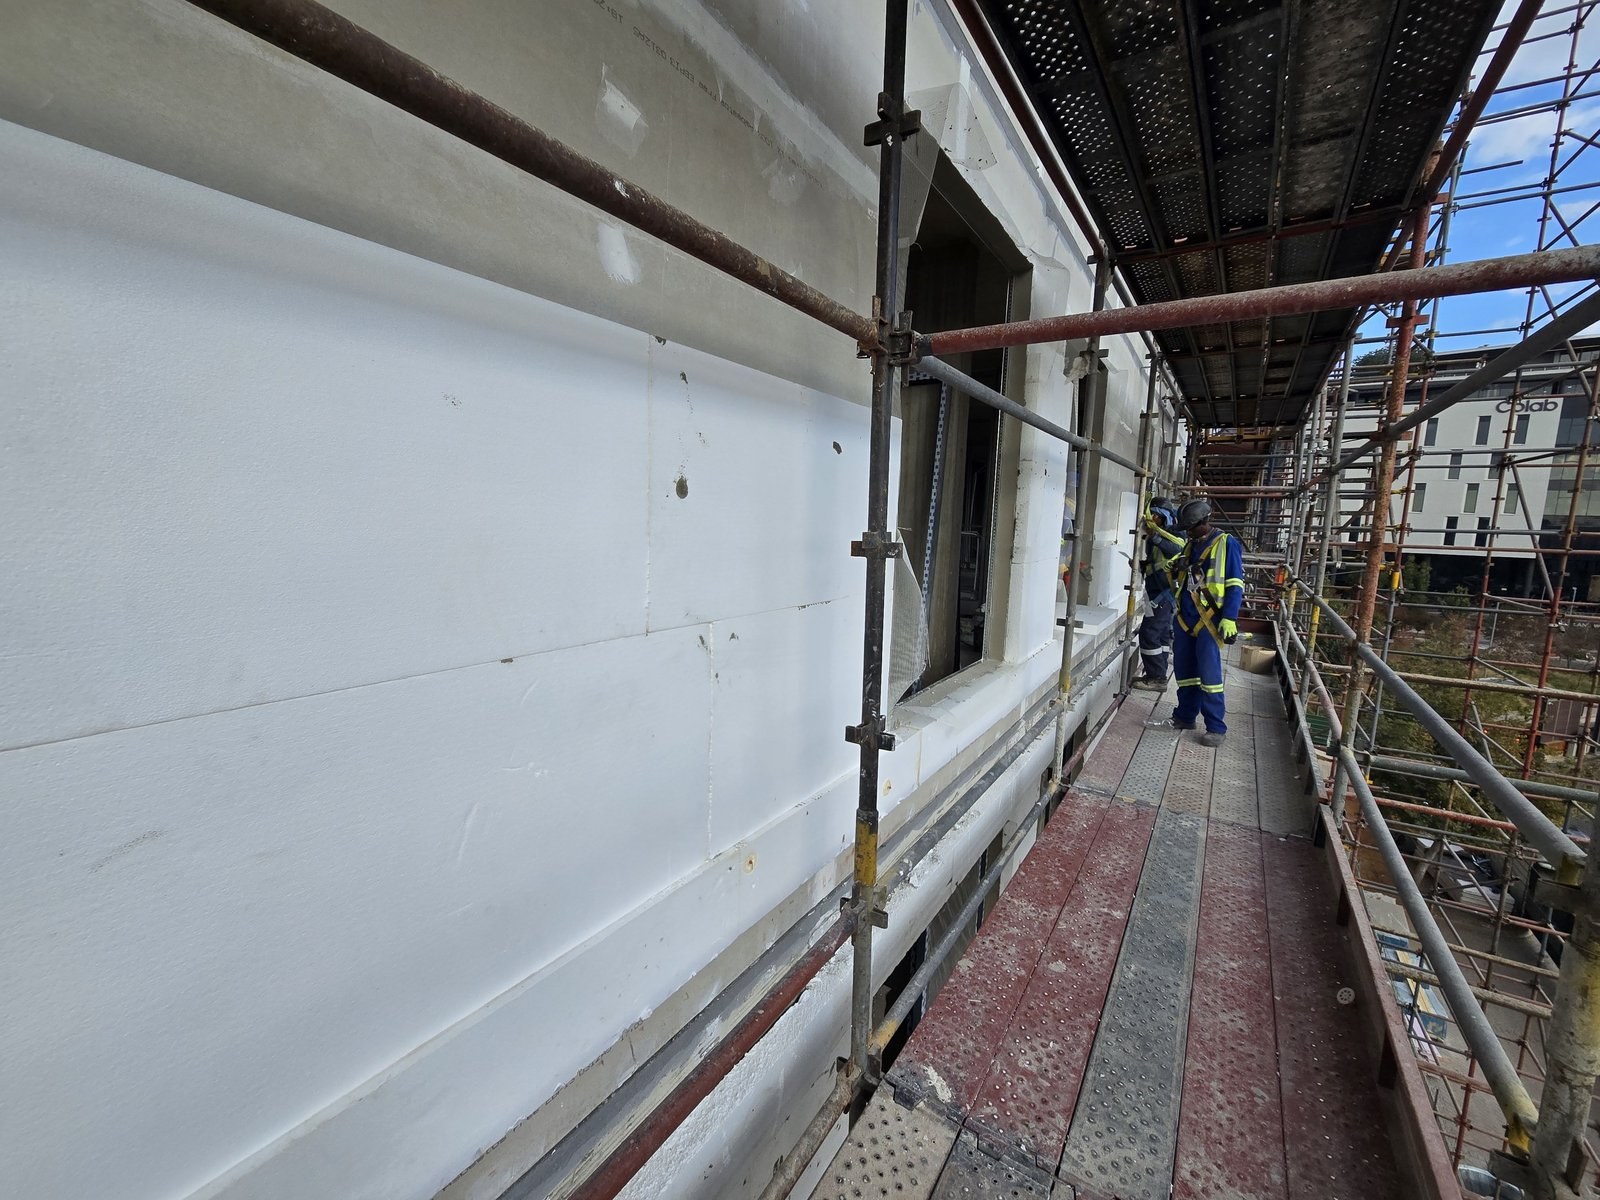
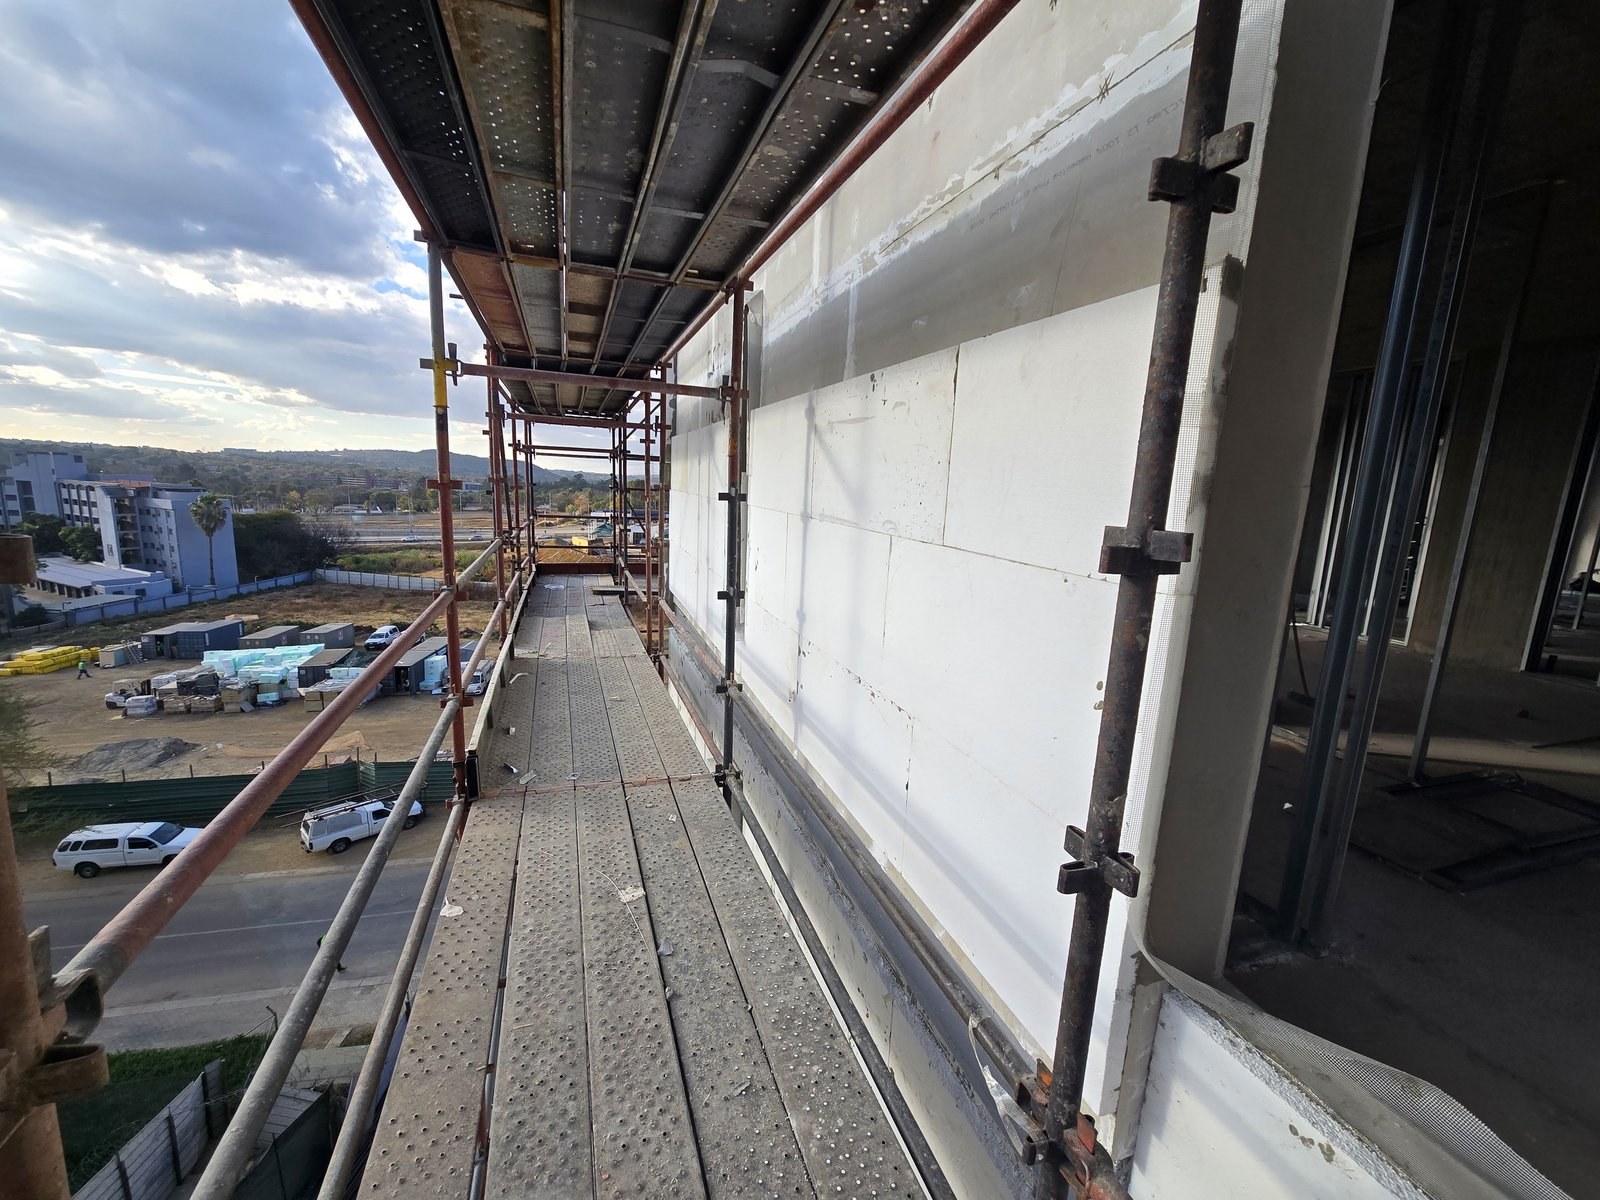
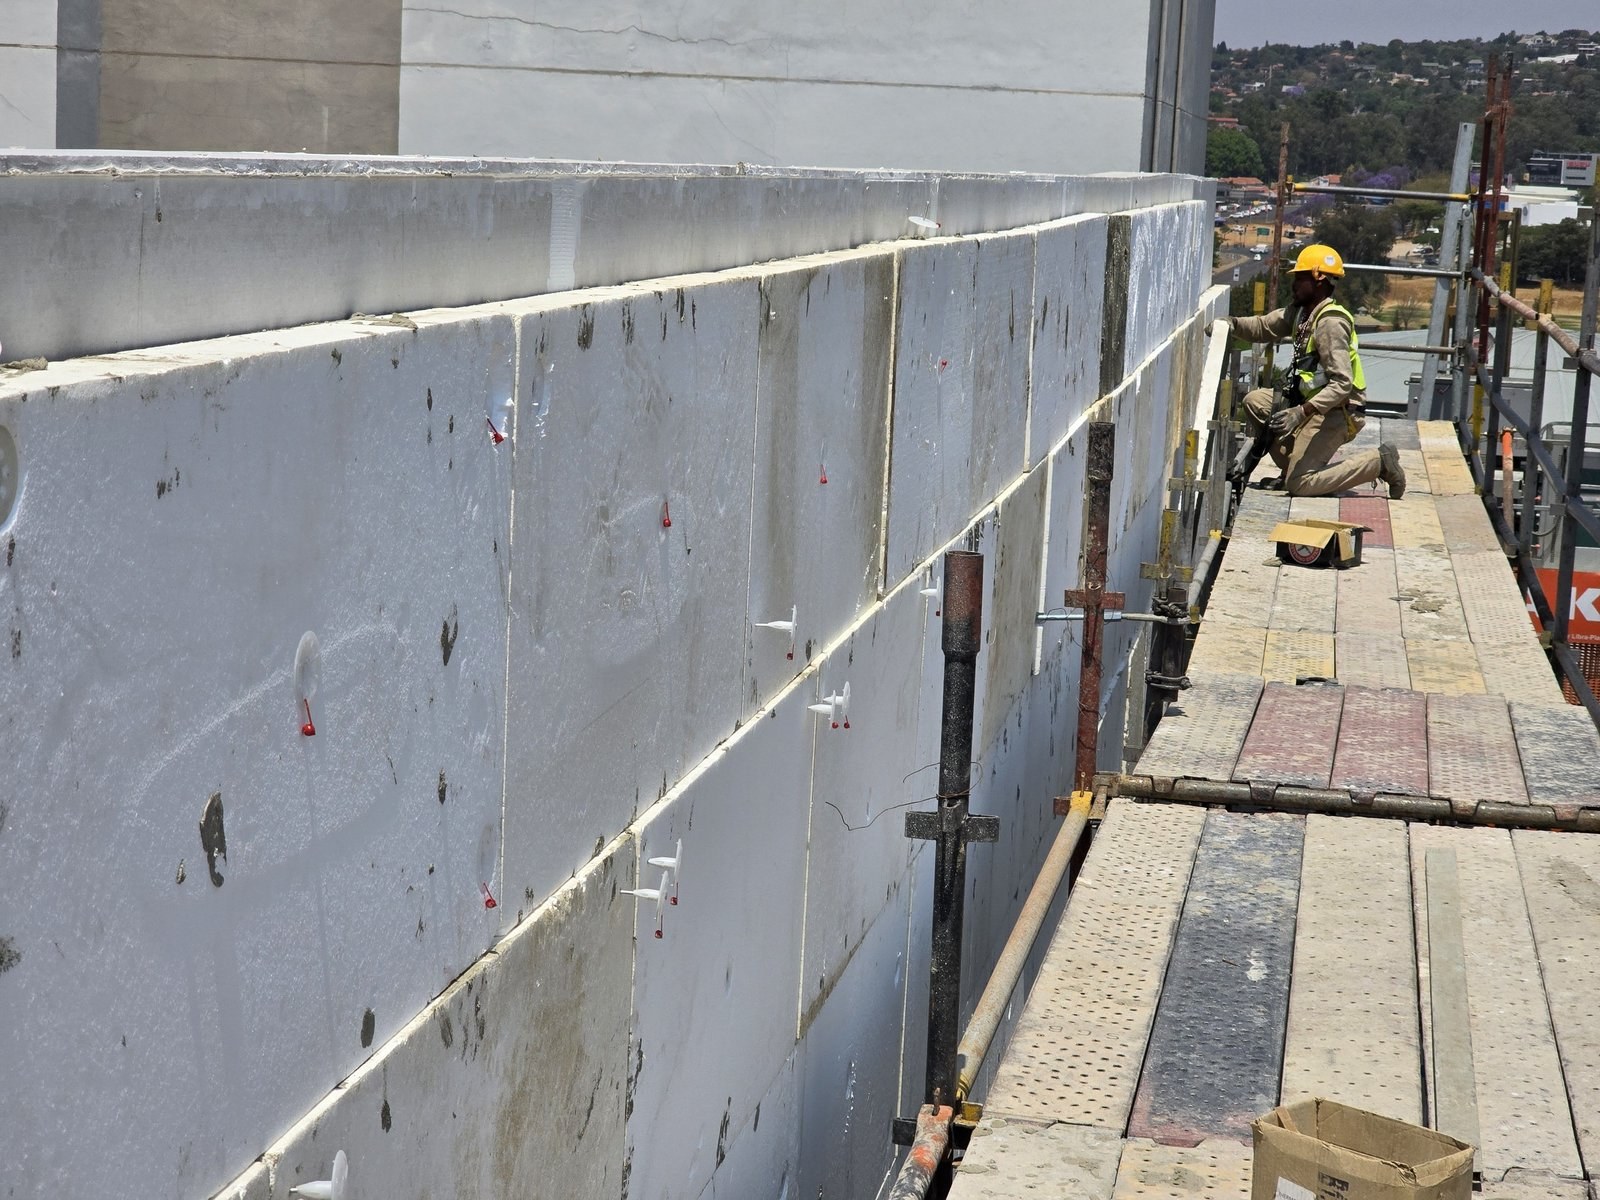
EPS boards fixed to a high-rise facade in a running-bond pattern with disc fixings, scaffold walkway alongsidePHOTO
EPS boards fixed to a high-rise facade in a running-bond pattern with disc fixings, scaffold walkway alongsideEIFS/ETICS External Wall Insulation
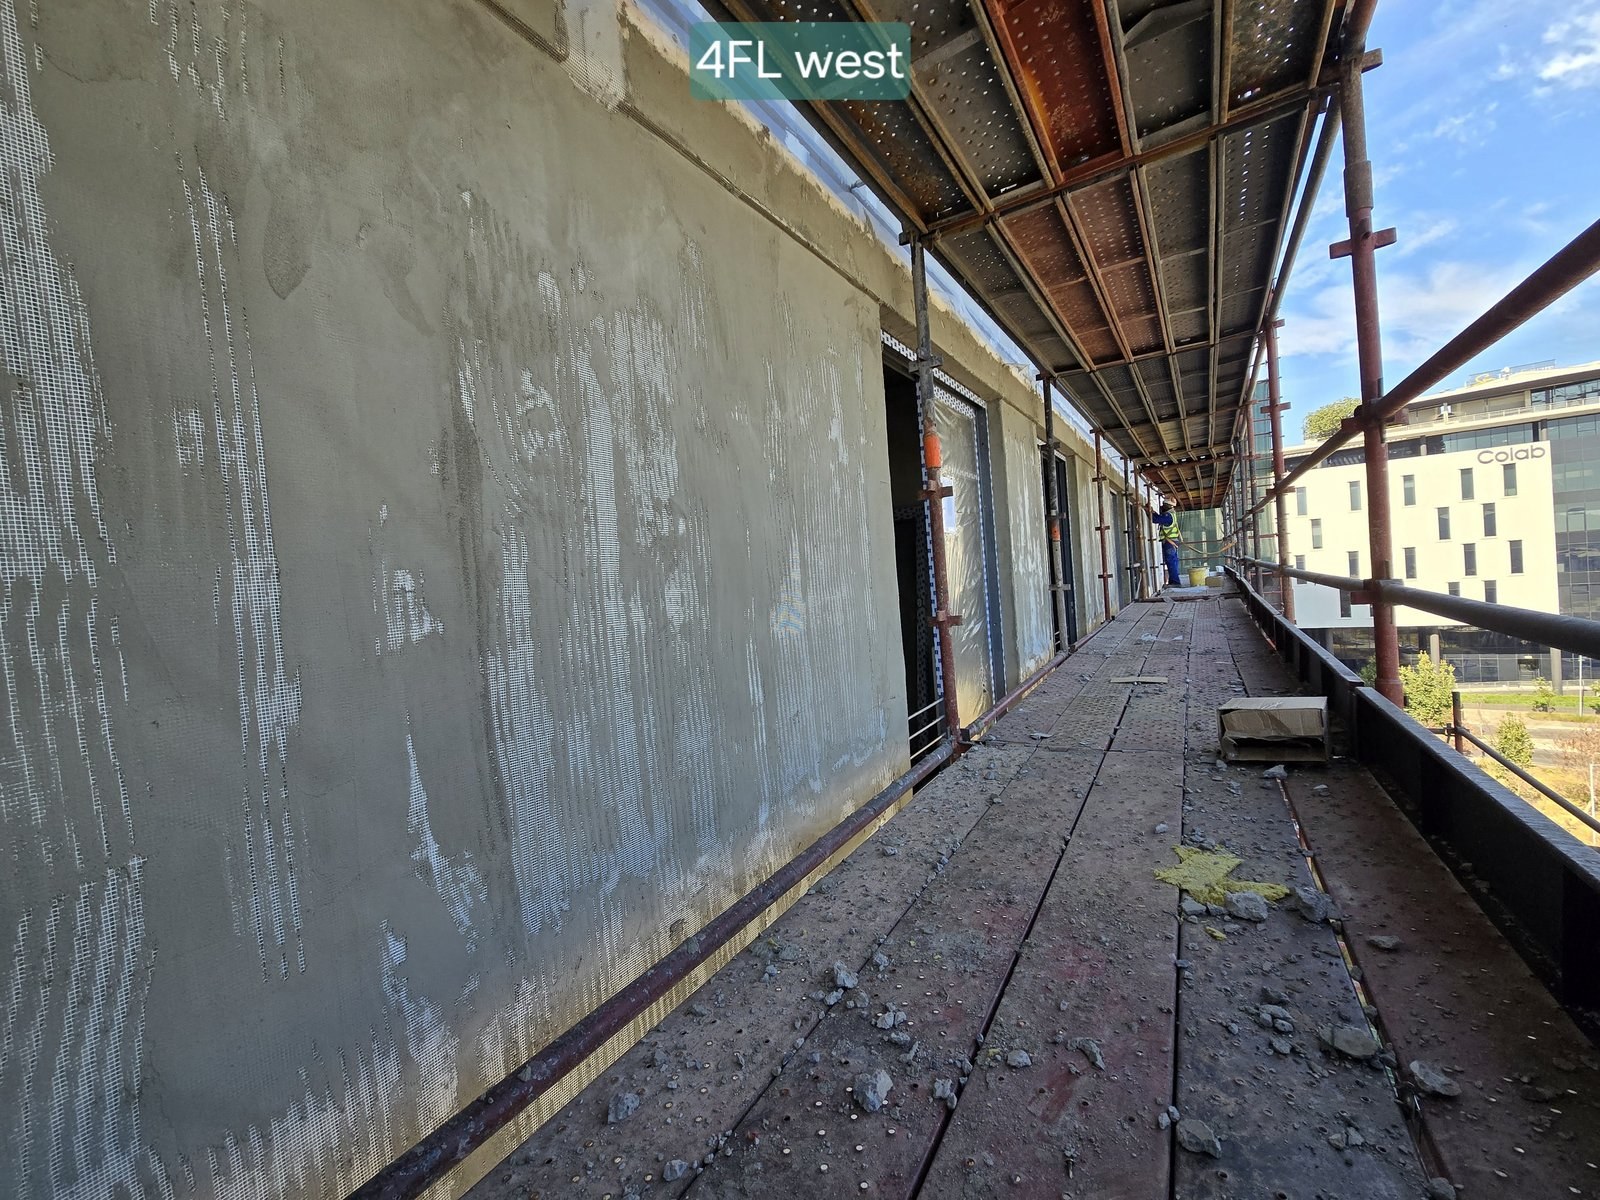
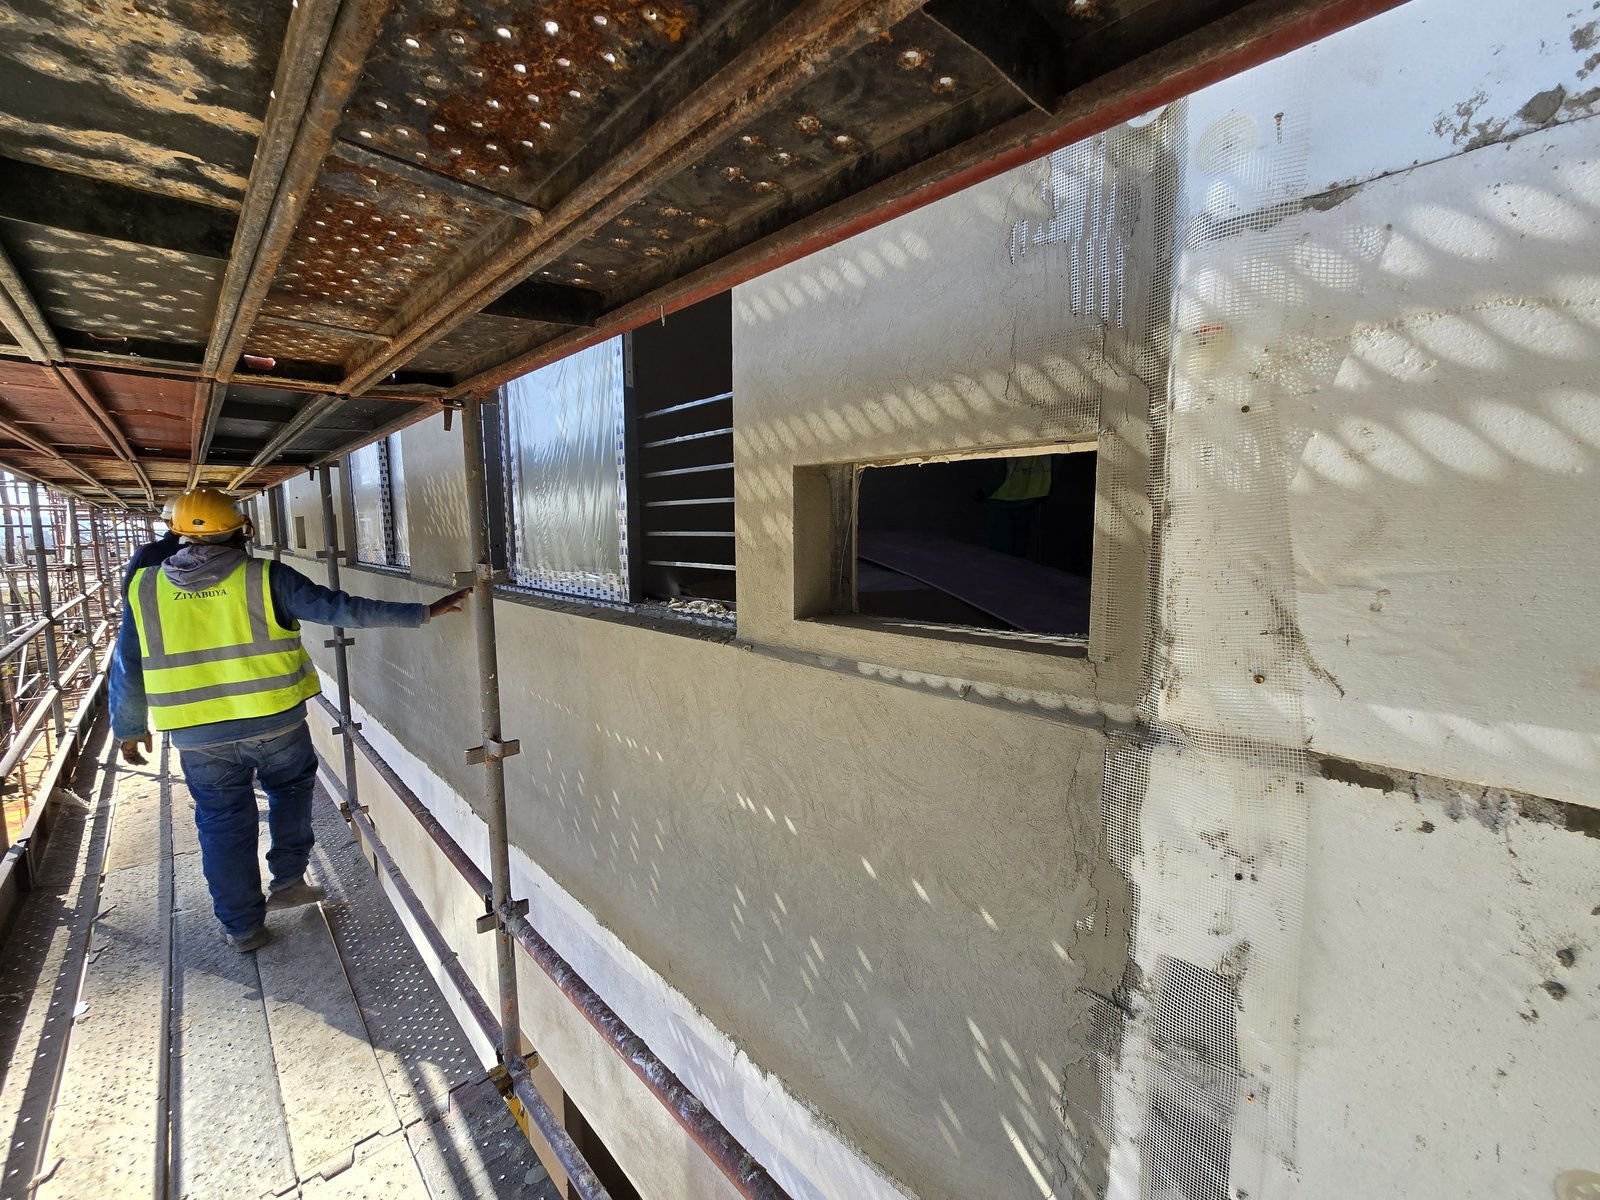
Mesh and basecoat applied over EPS boards at a column corner, foam offcuts left on the scaffold deckPHOTO
Mesh and basecoat applied over EPS boards at a column corner, foam offcuts left on the scaffold deckEIFS/ETICS External Wall Insulation
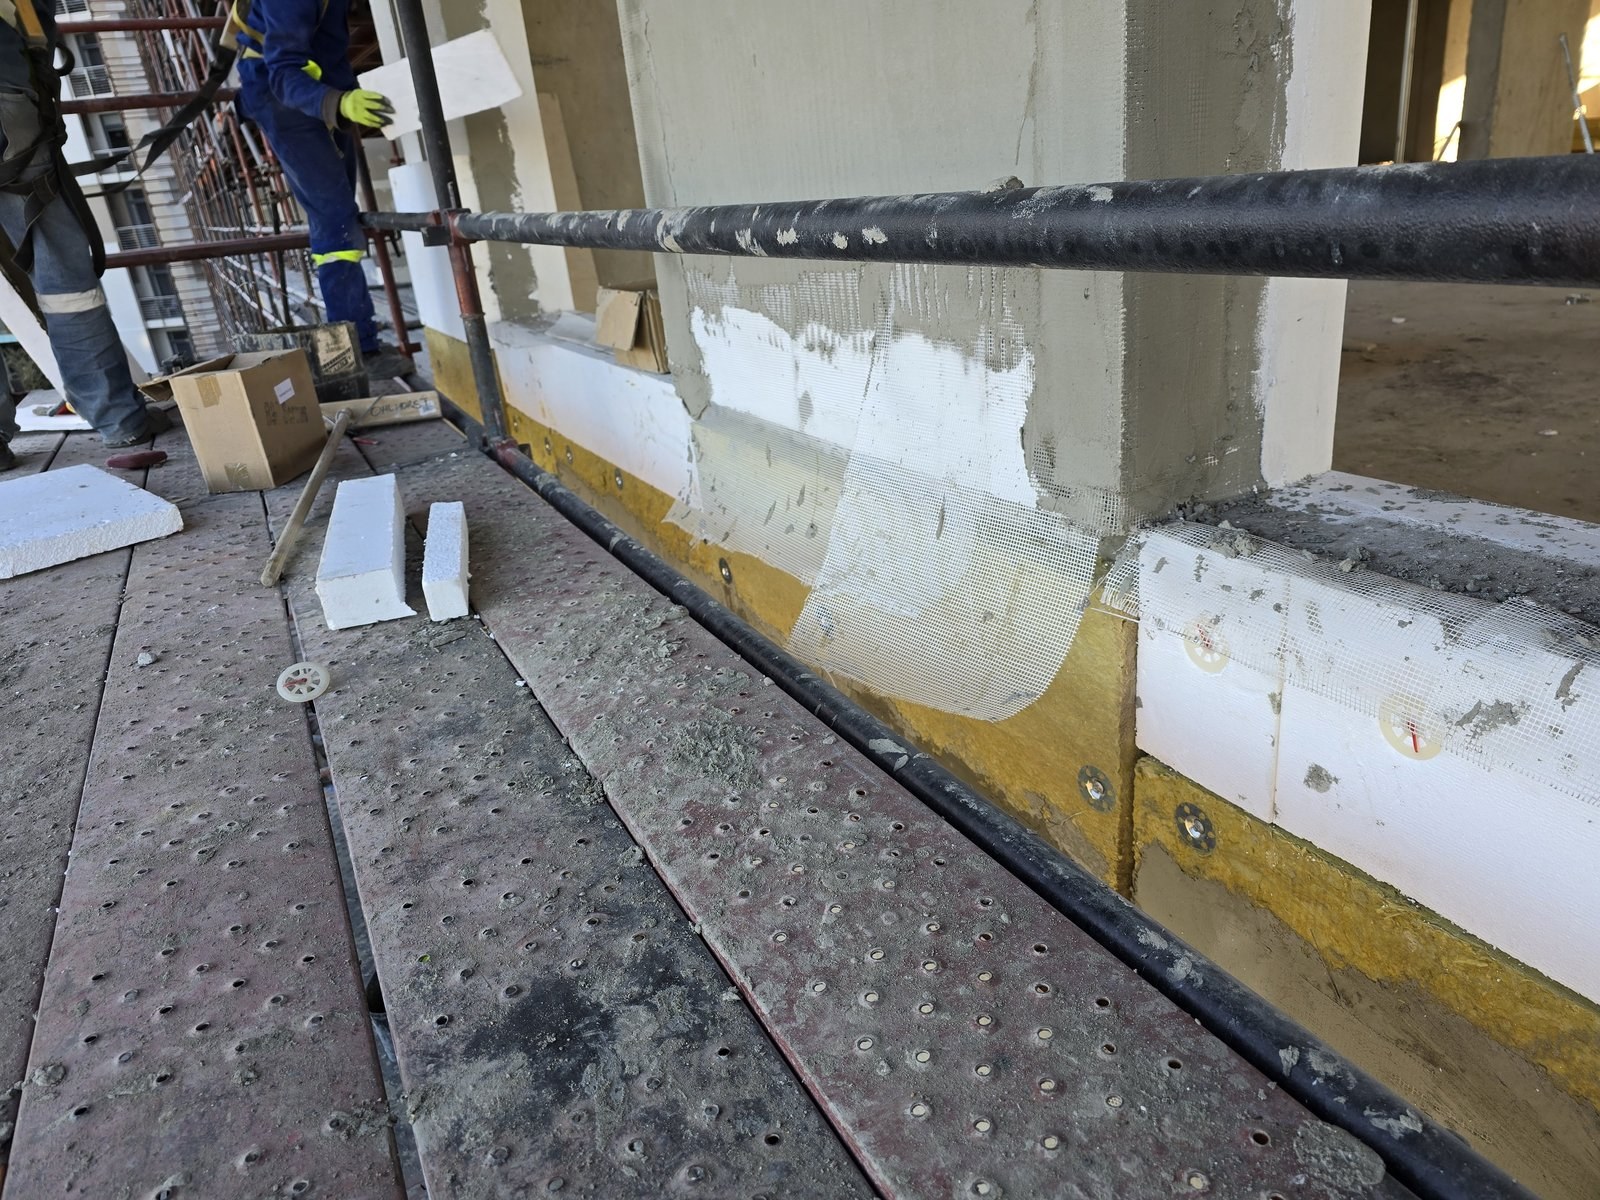
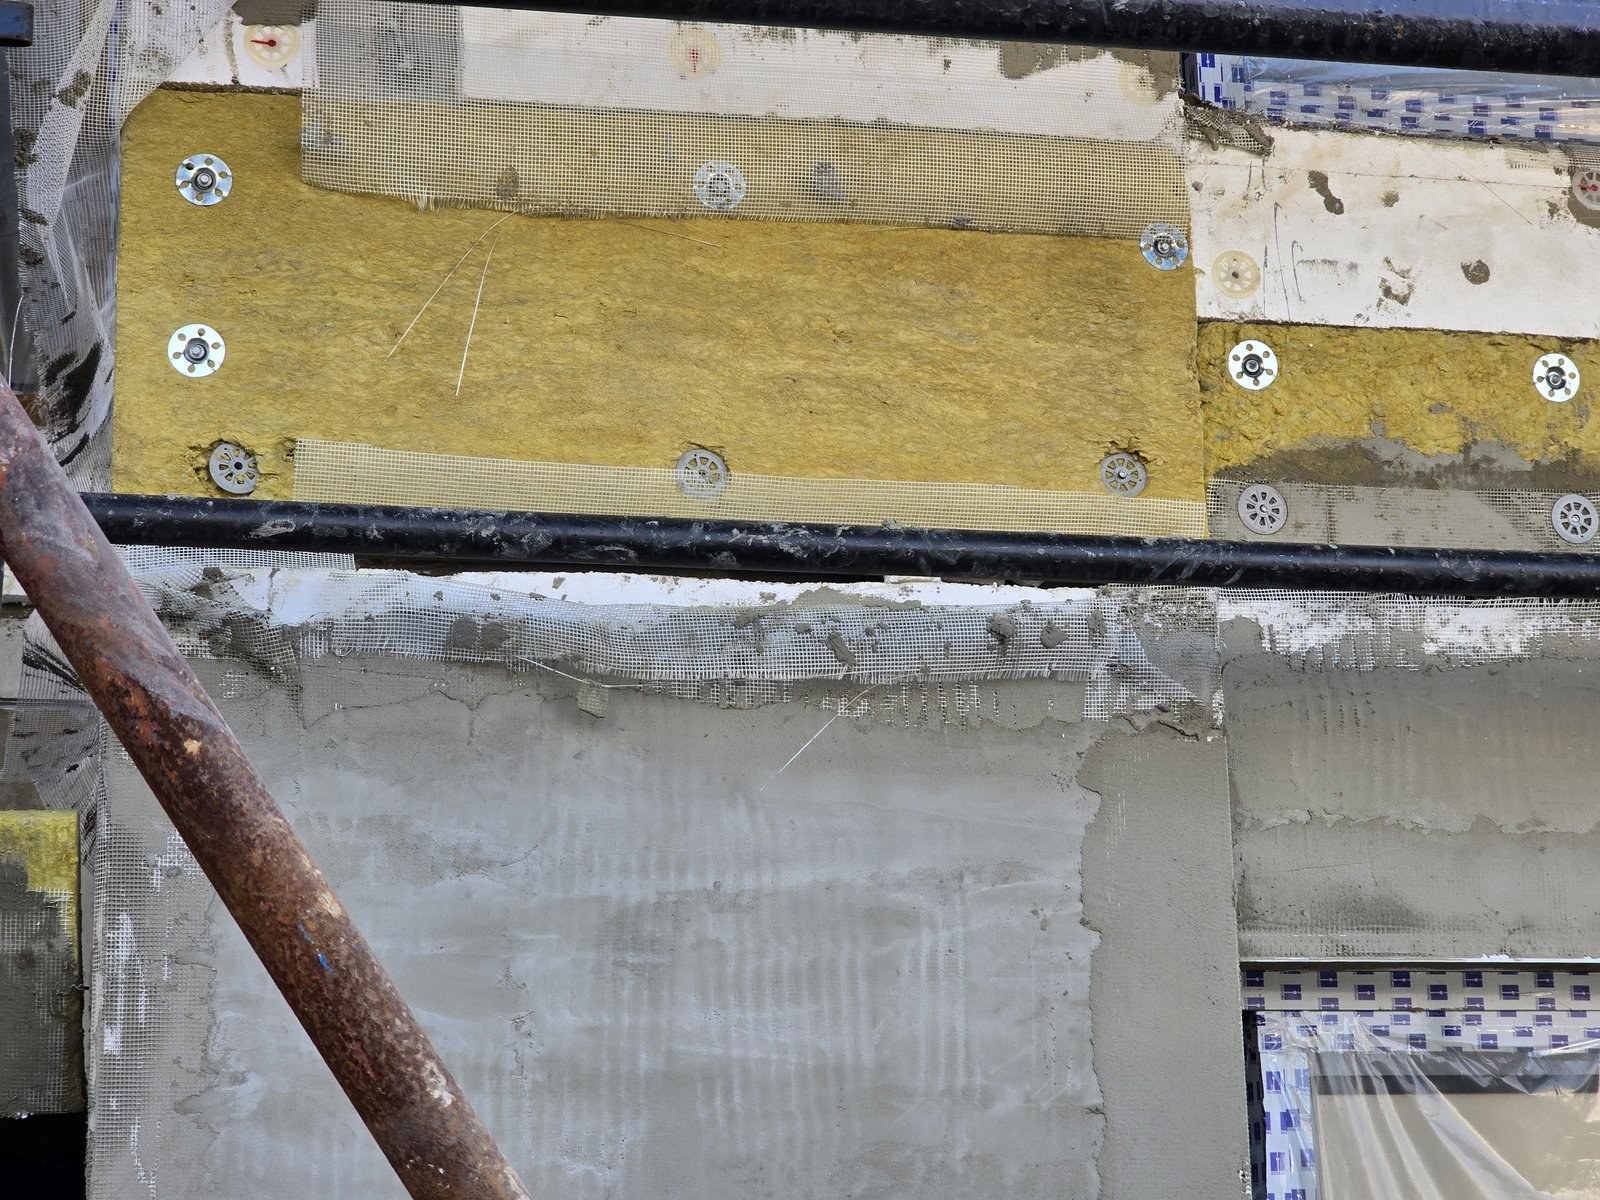
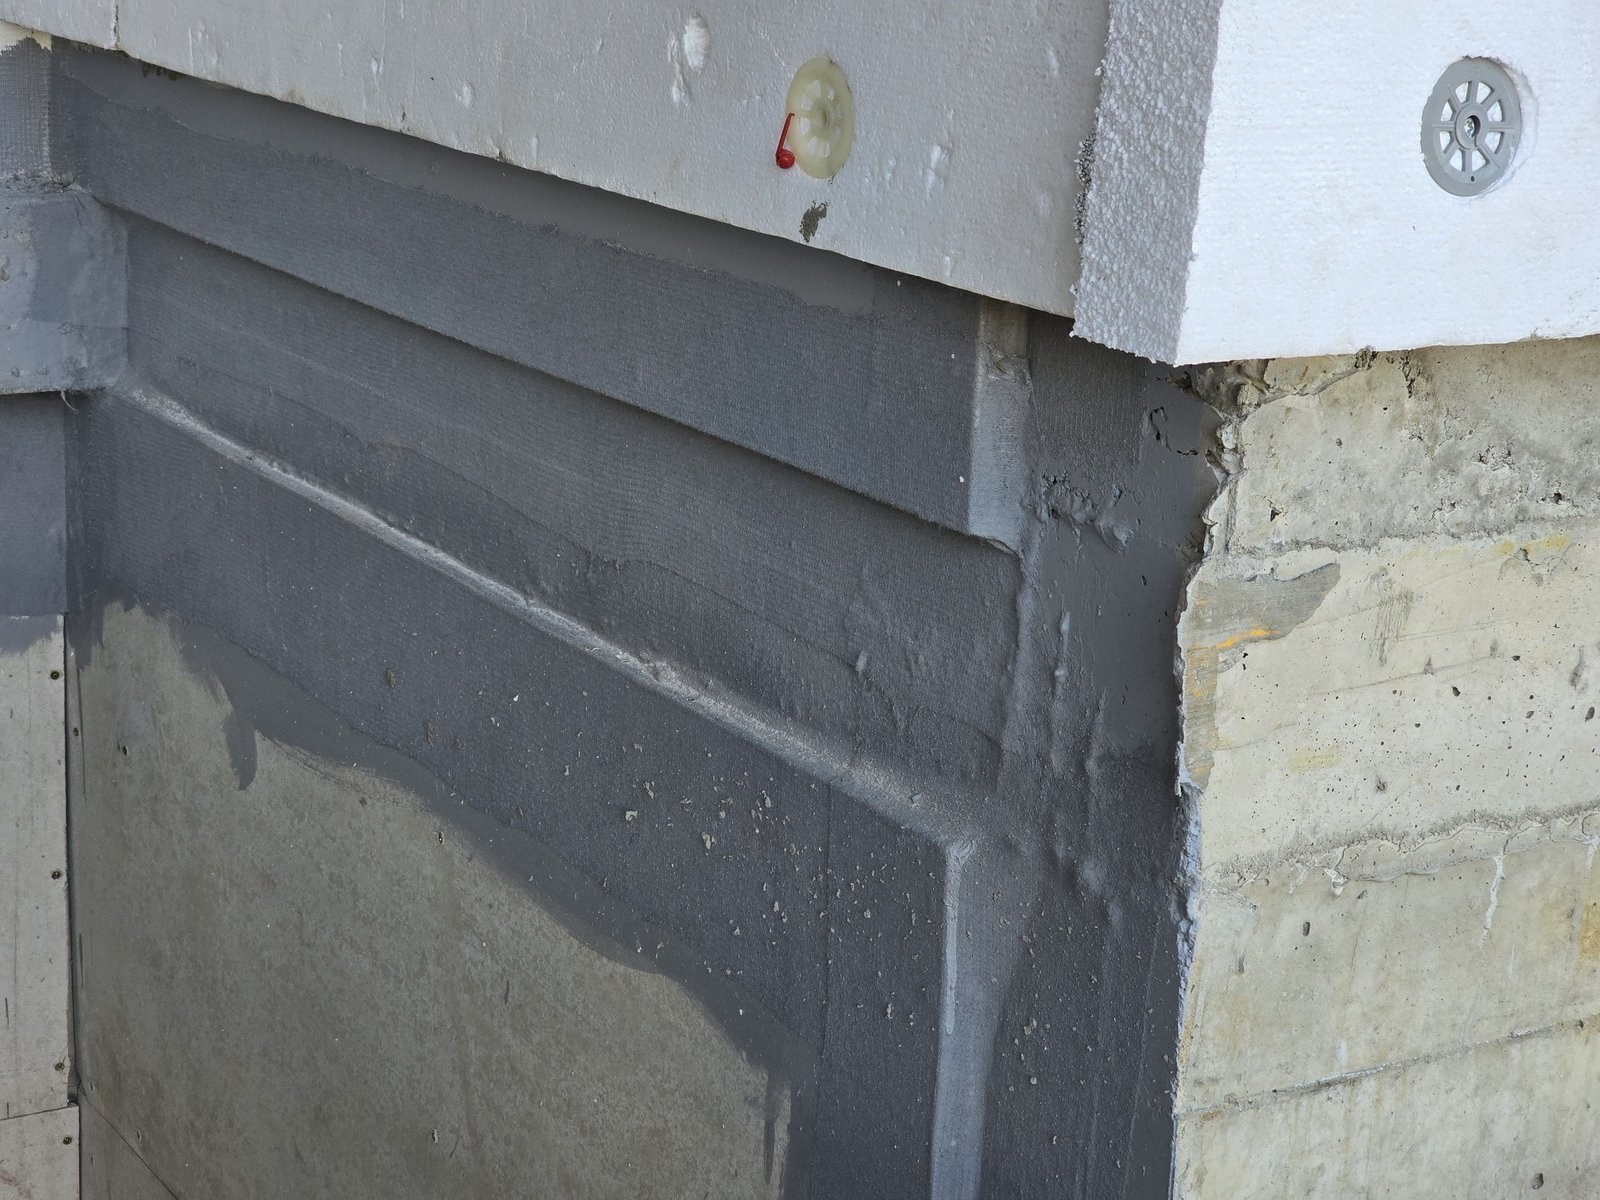
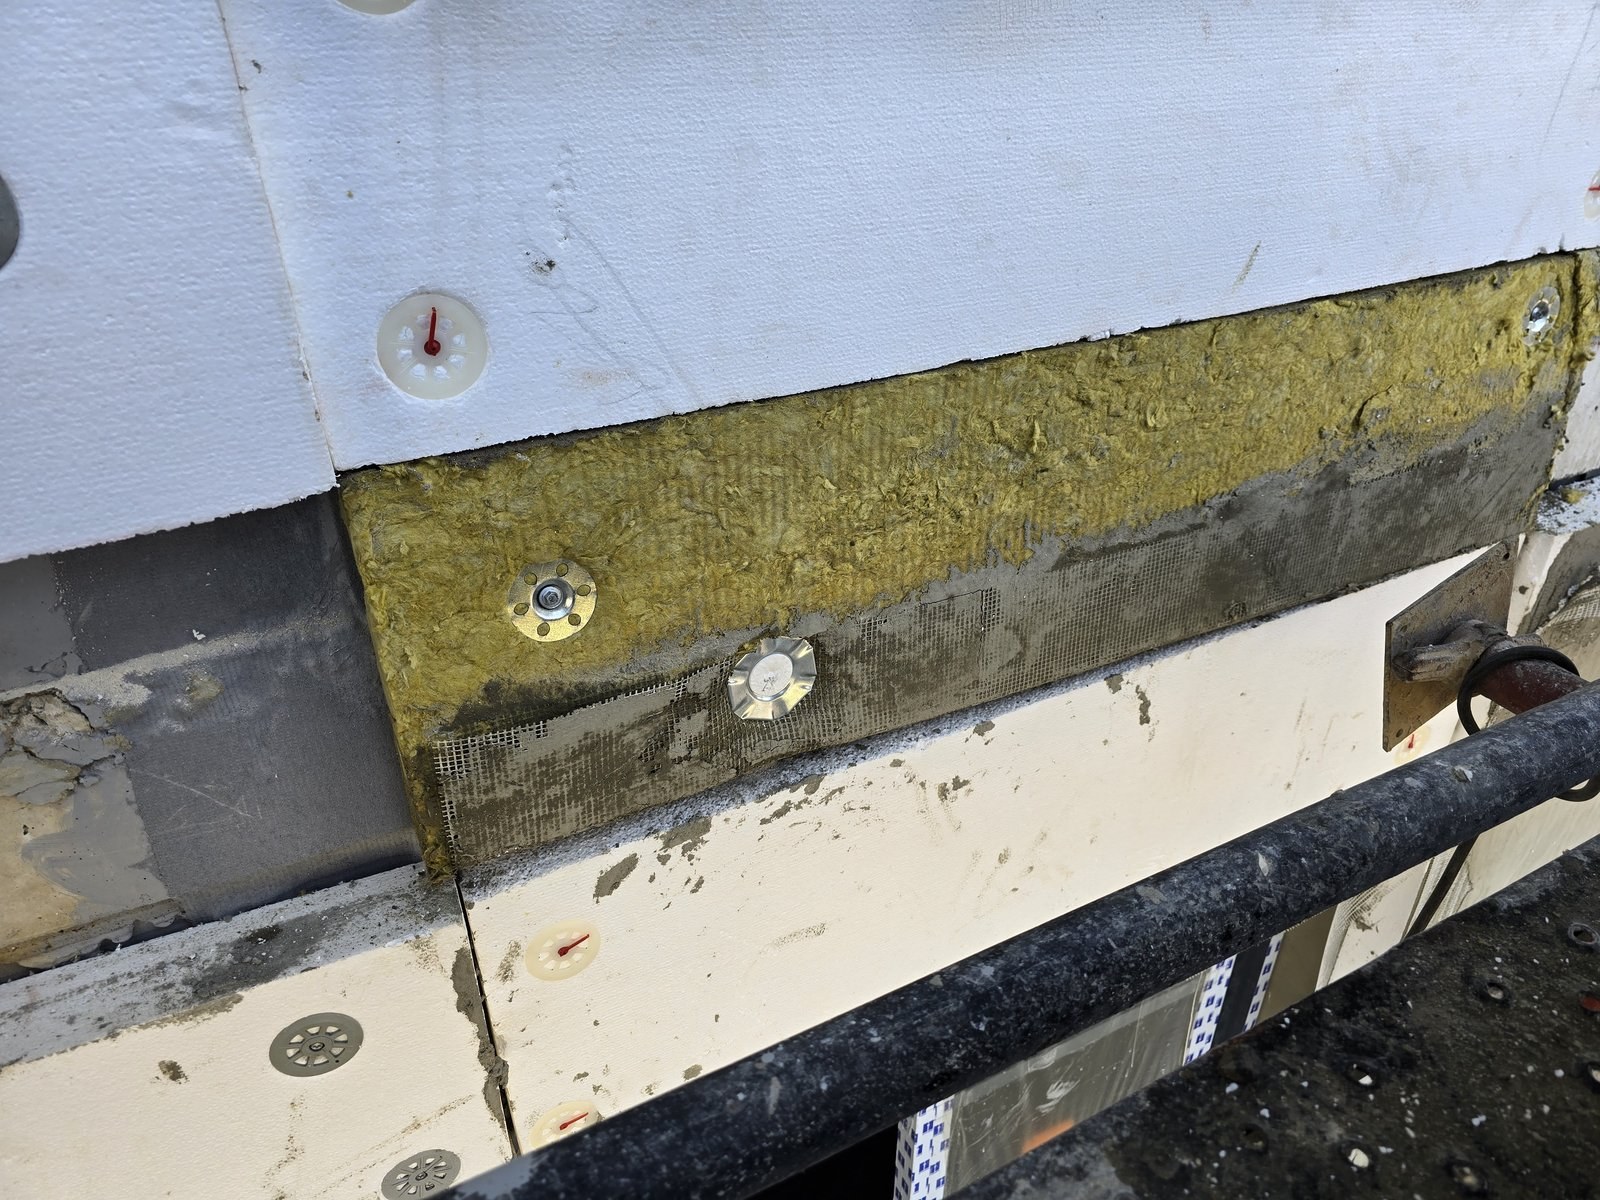
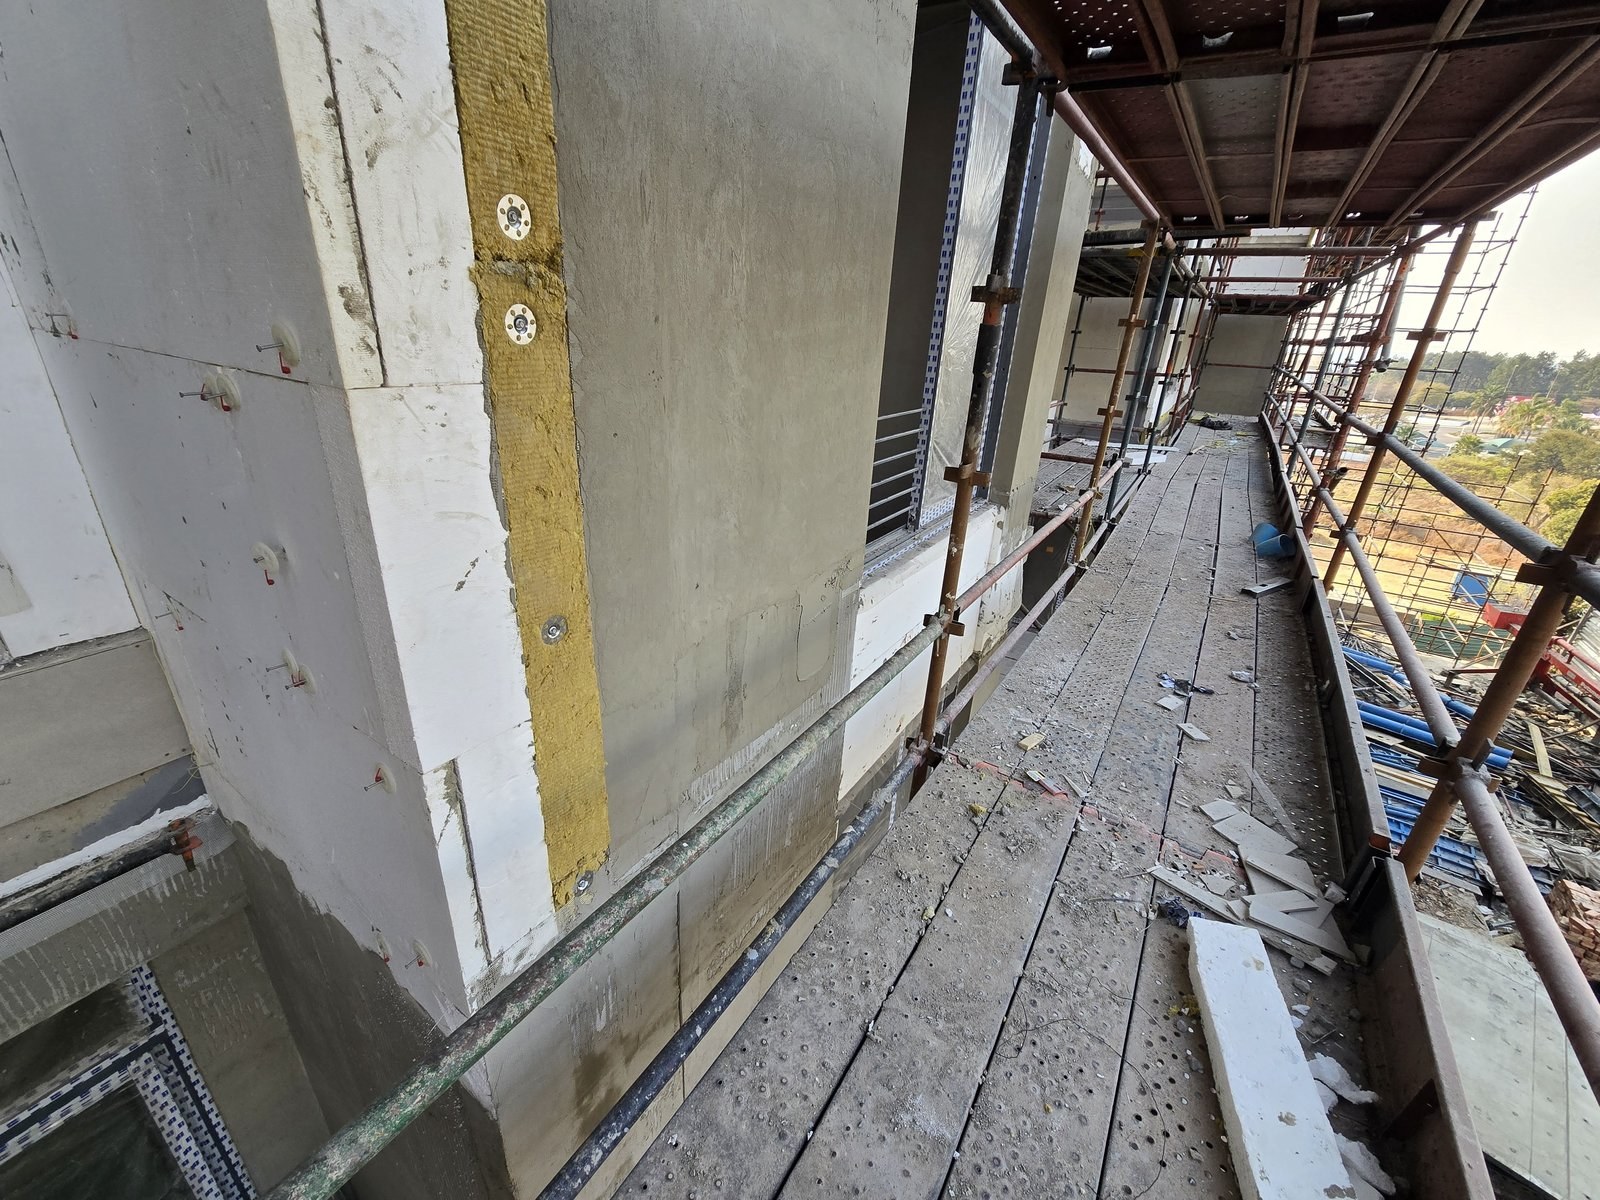
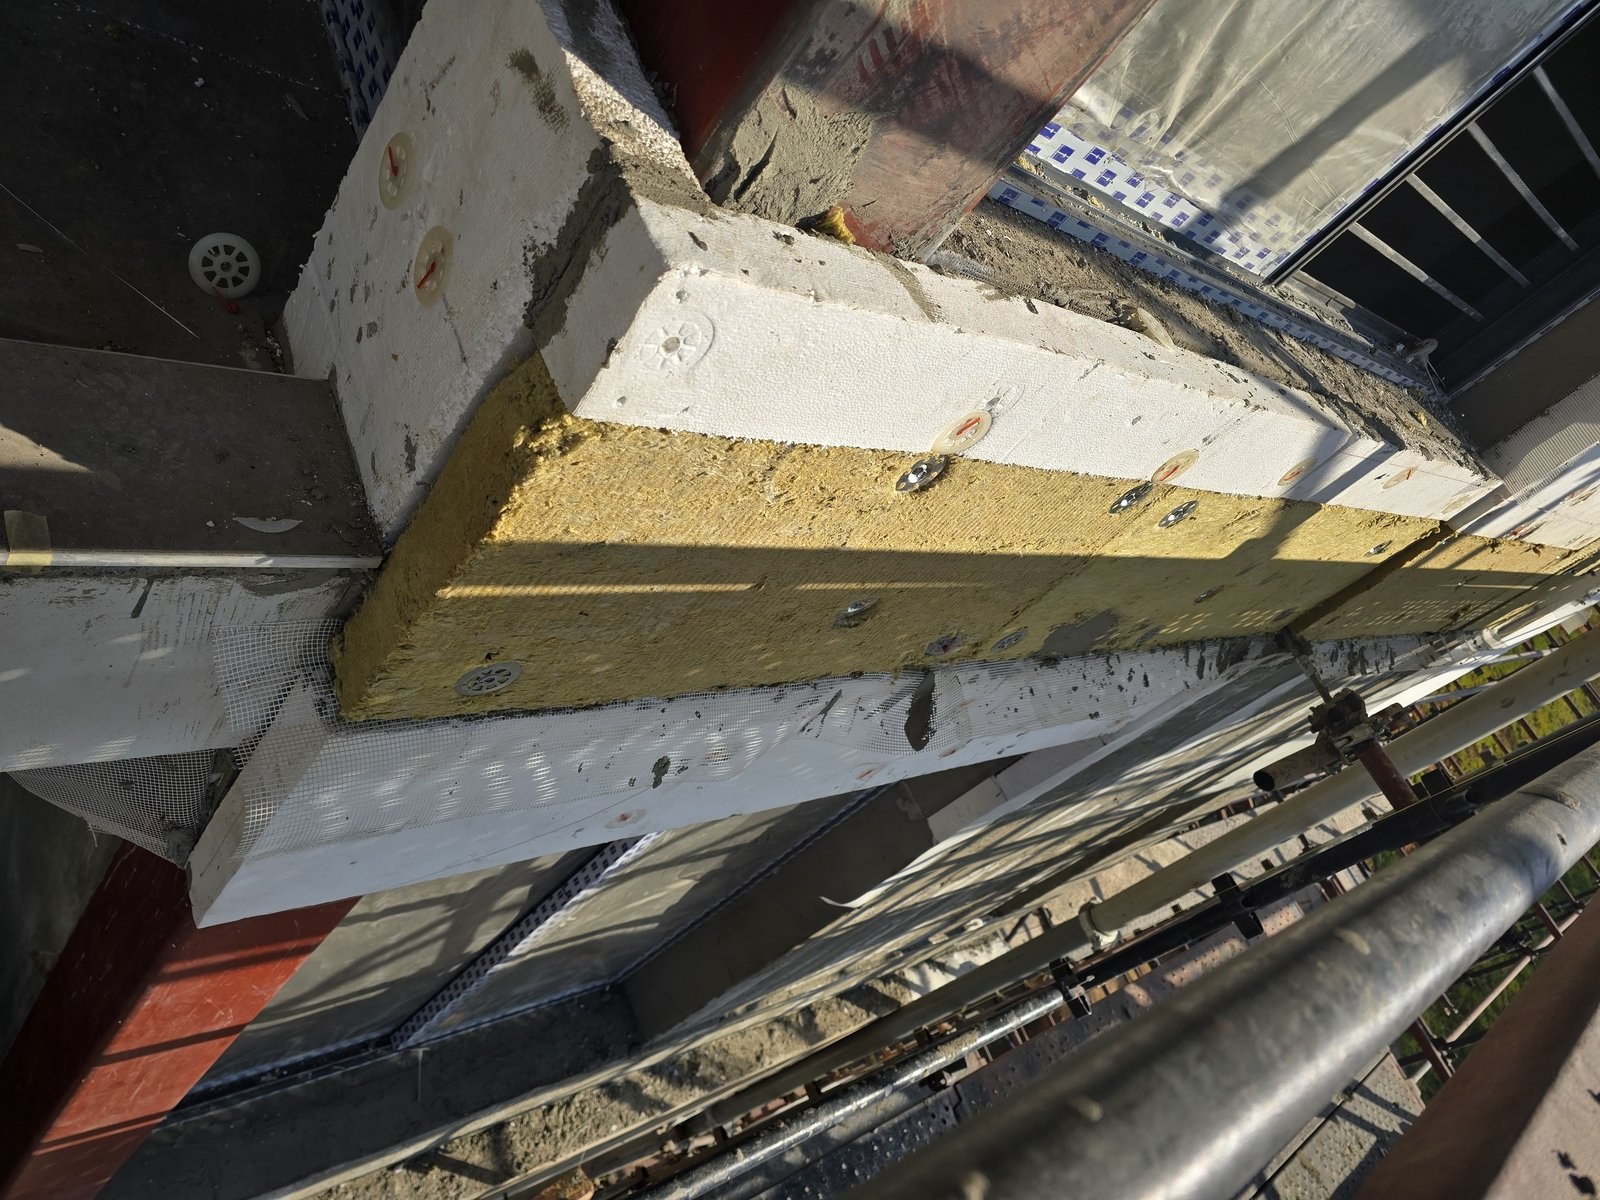
Mineral wool fire band between EPS boards, mesh-reinforced and disc-fixedPHOTO
Mineral wool fire band between EPS boards, mesh-reinforced and disc-fixedEIFS/ETICS External Wall Insulation
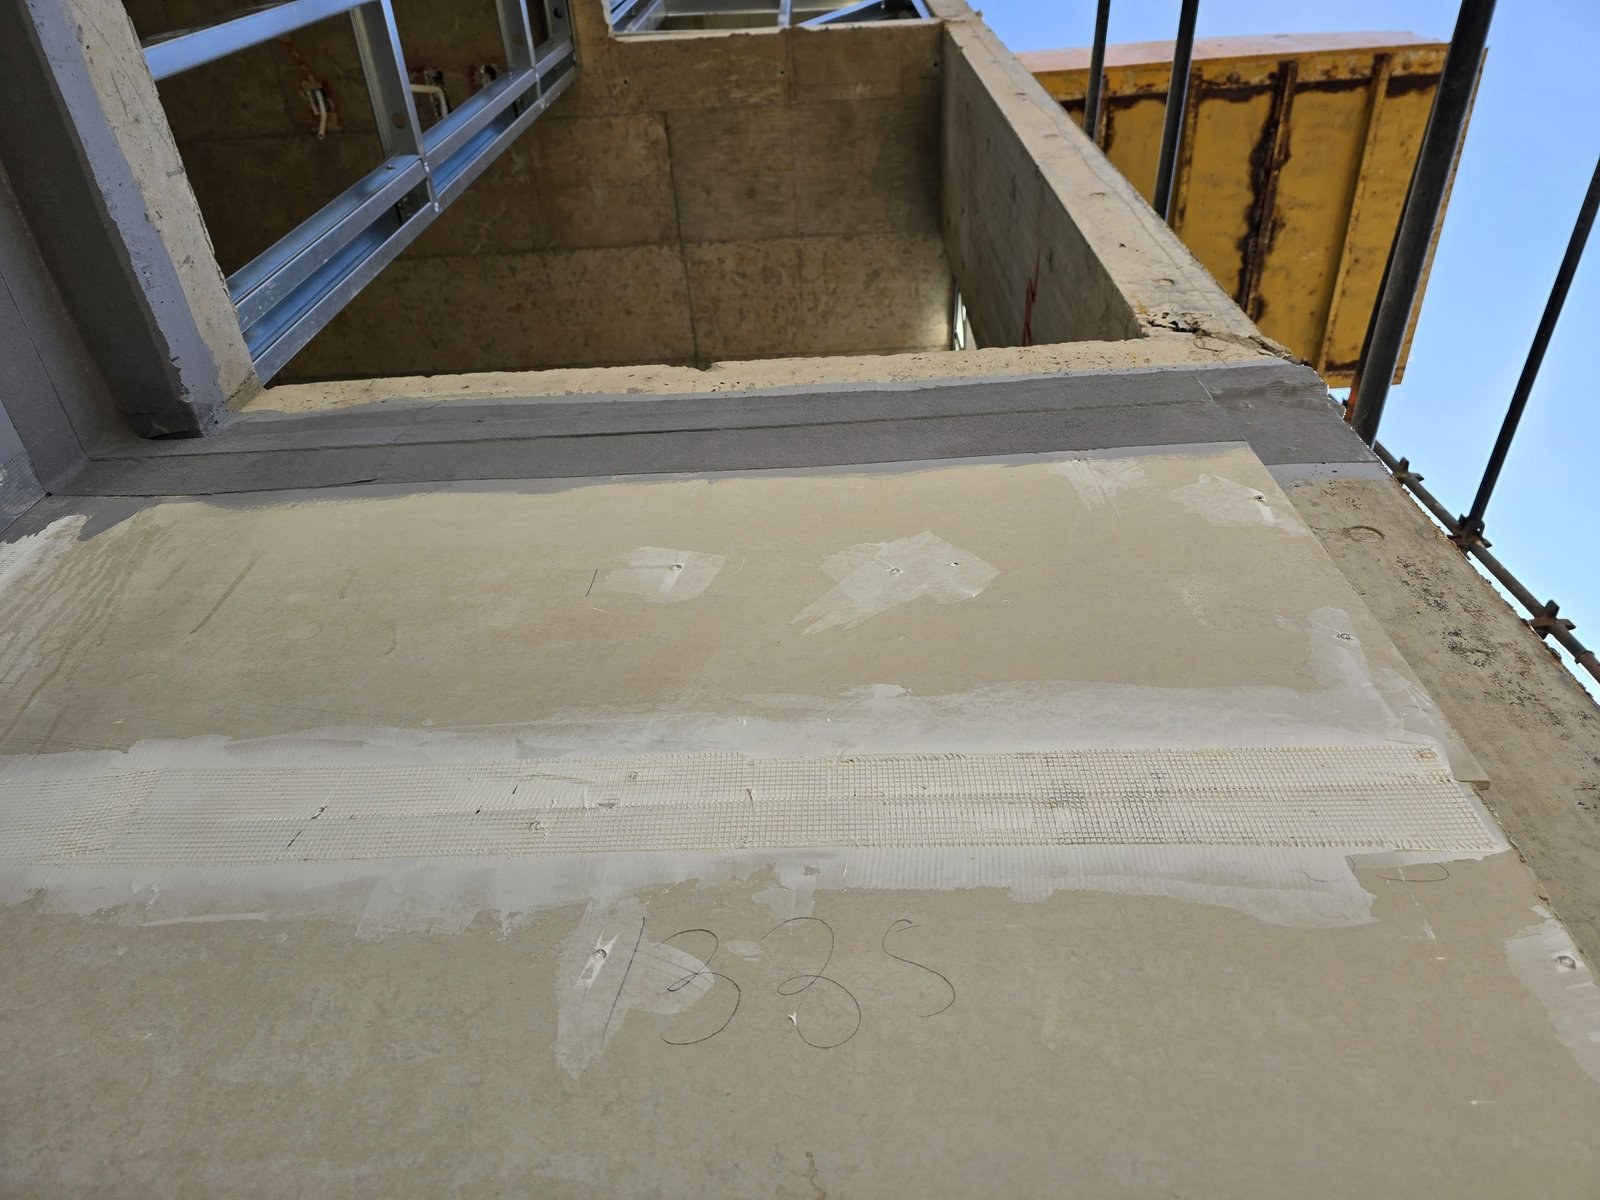
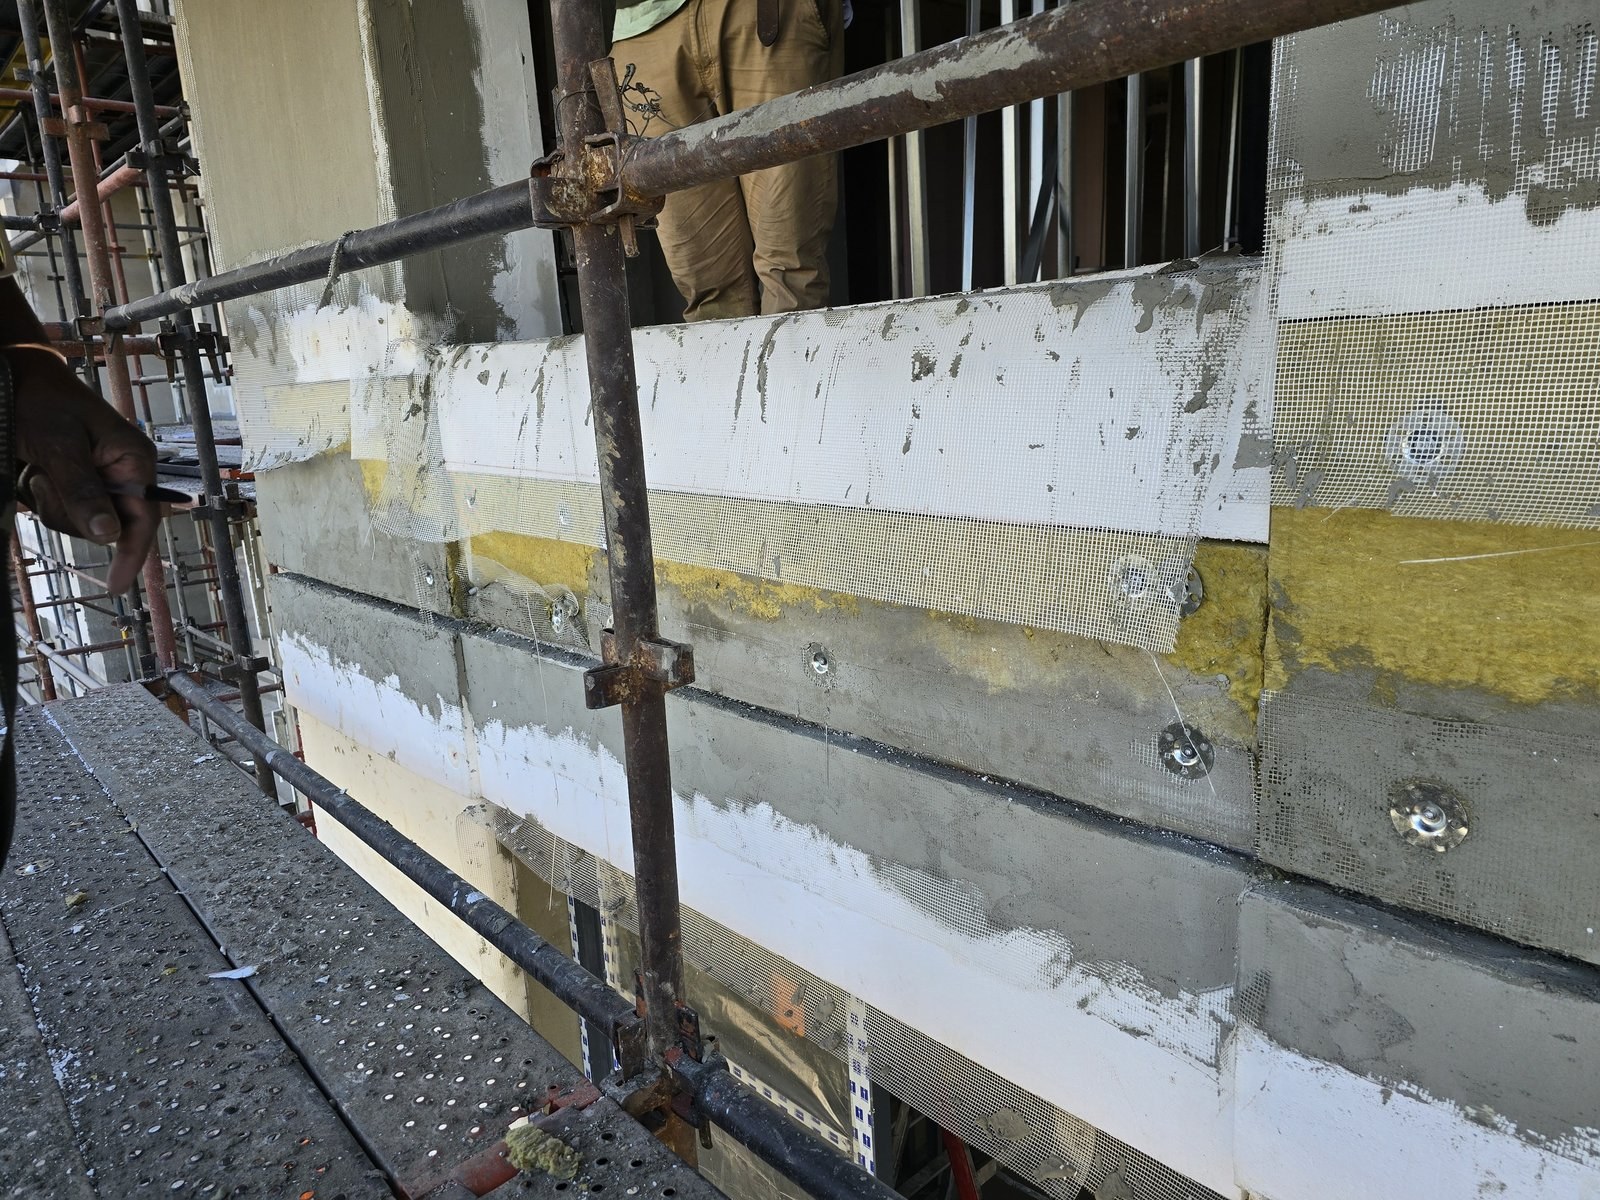
Mesh and basecoat detail at a window reveal corner, EPS board edge visiblePHOTO
Mesh and basecoat detail at a window reveal corner, EPS board edge visibleEIFS/ETICS External Wall Insulation
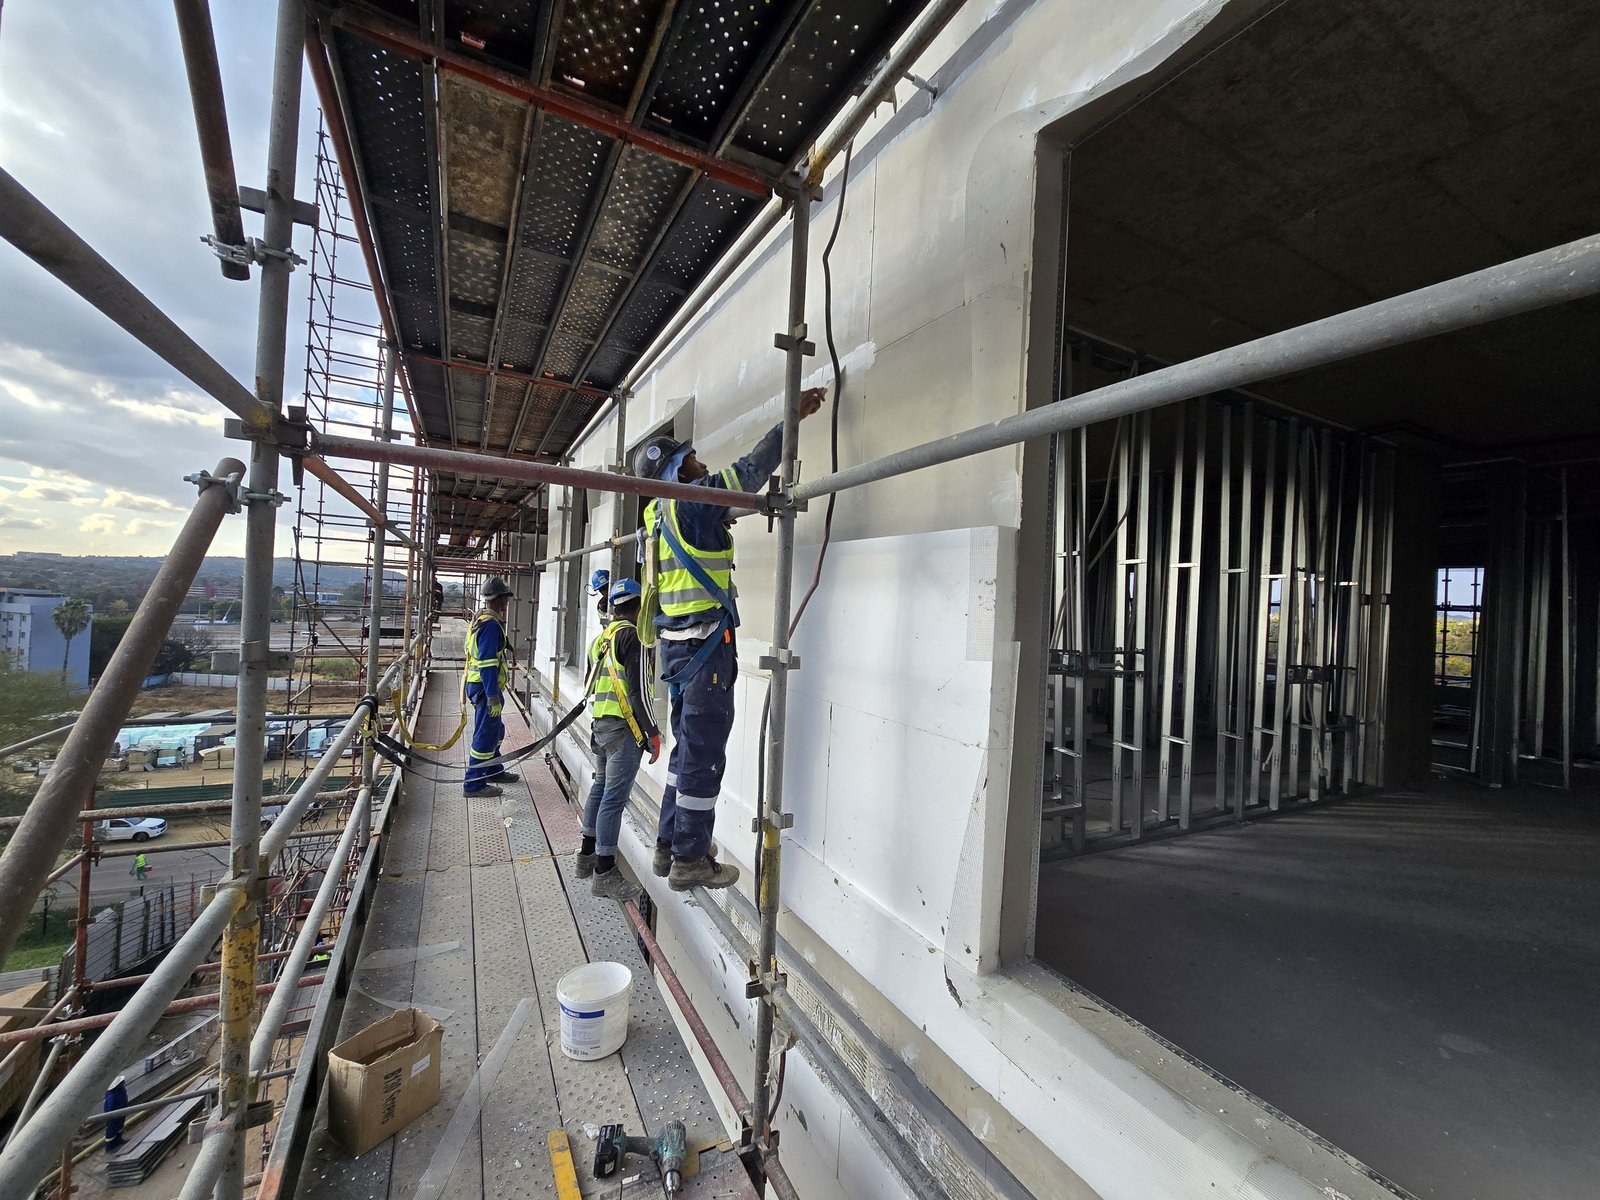
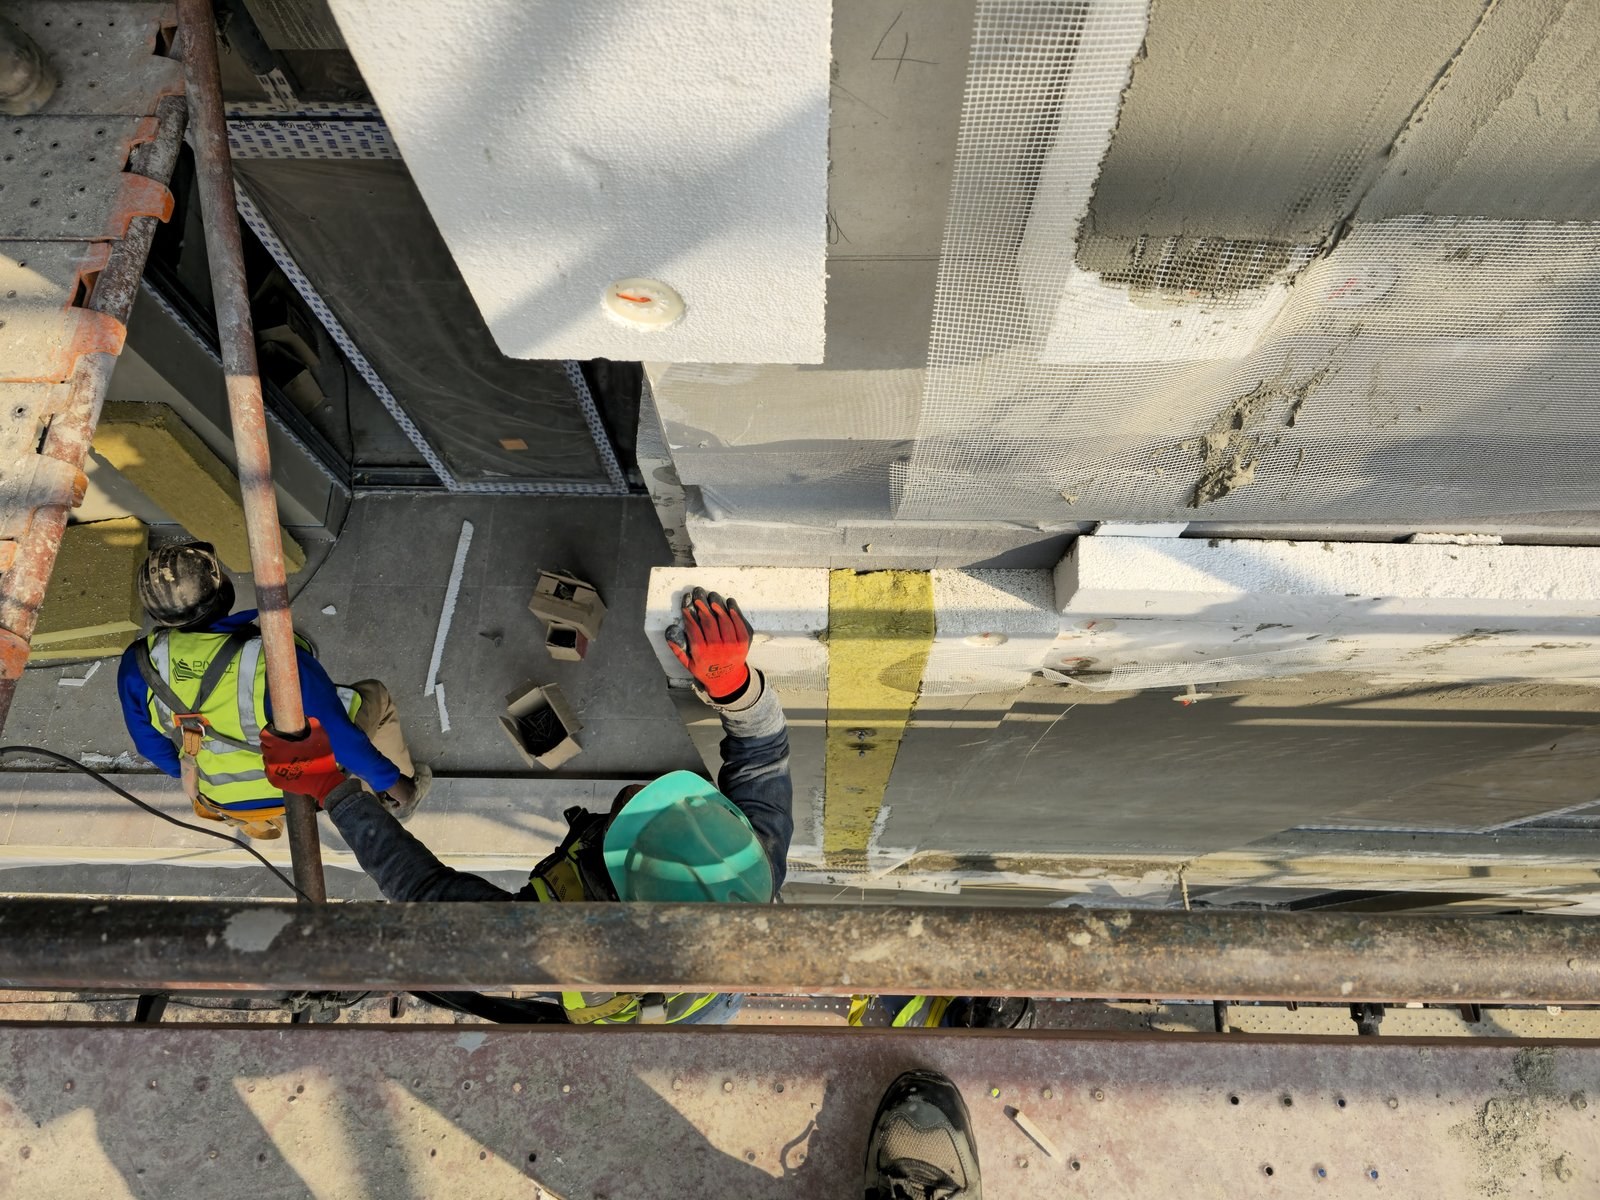
Workers applying basecoat to EPS boards from a scaffold platform on a high-rise facadePHOTO
Workers applying basecoat to EPS boards from a scaffold platform on a high-rise facadeEIFS/ETICS External Wall Insulation
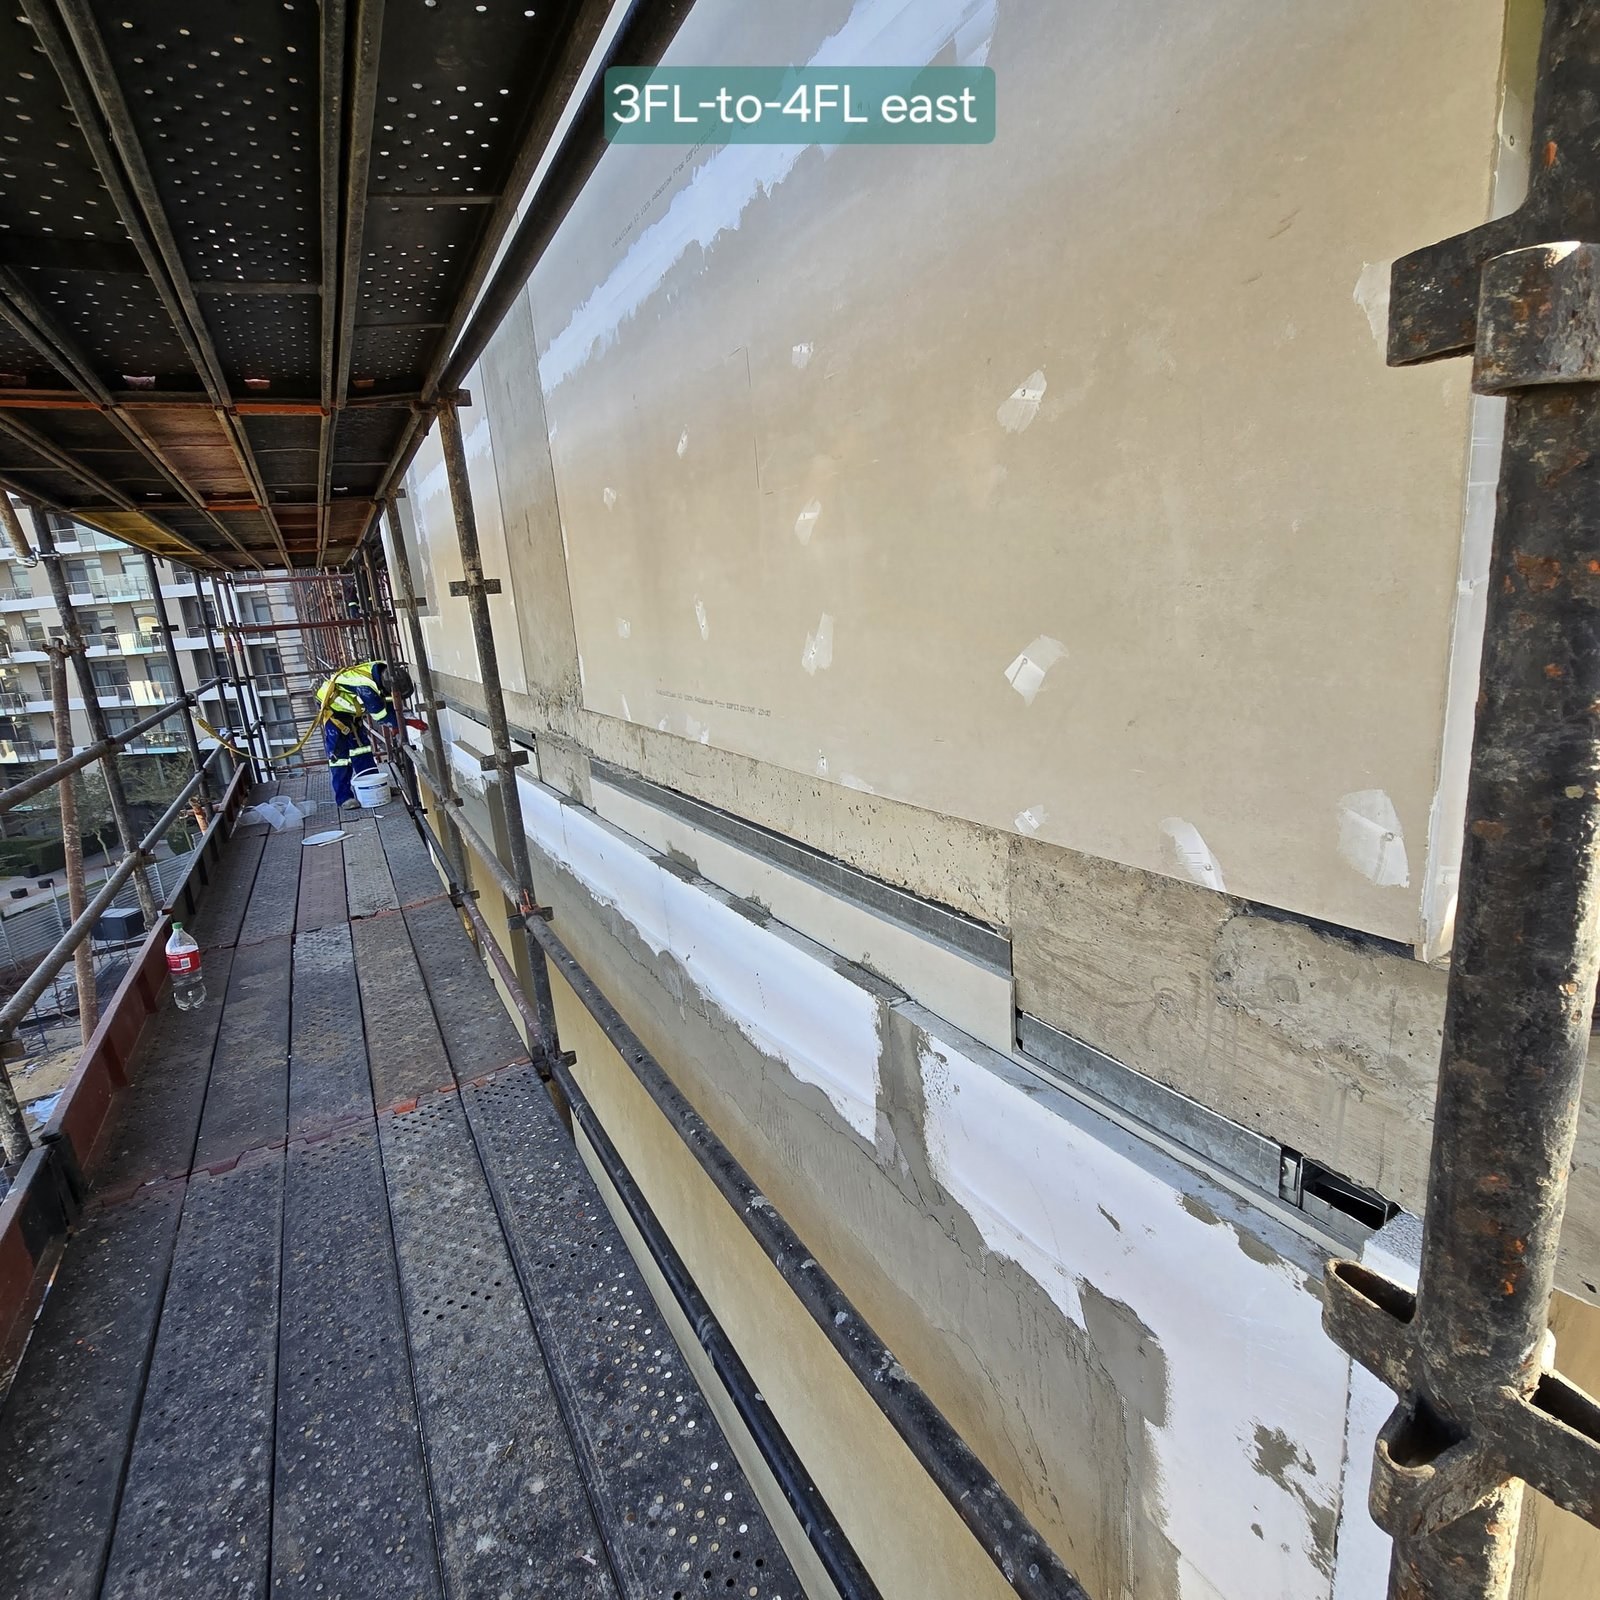
Worker finishing render between the 3rd and 4th floor on a scaffold walkwayPHOTO
Worker finishing render between the 3rd and 4th floor on a scaffold walkwayEIFS/ETICS External Wall Insulation
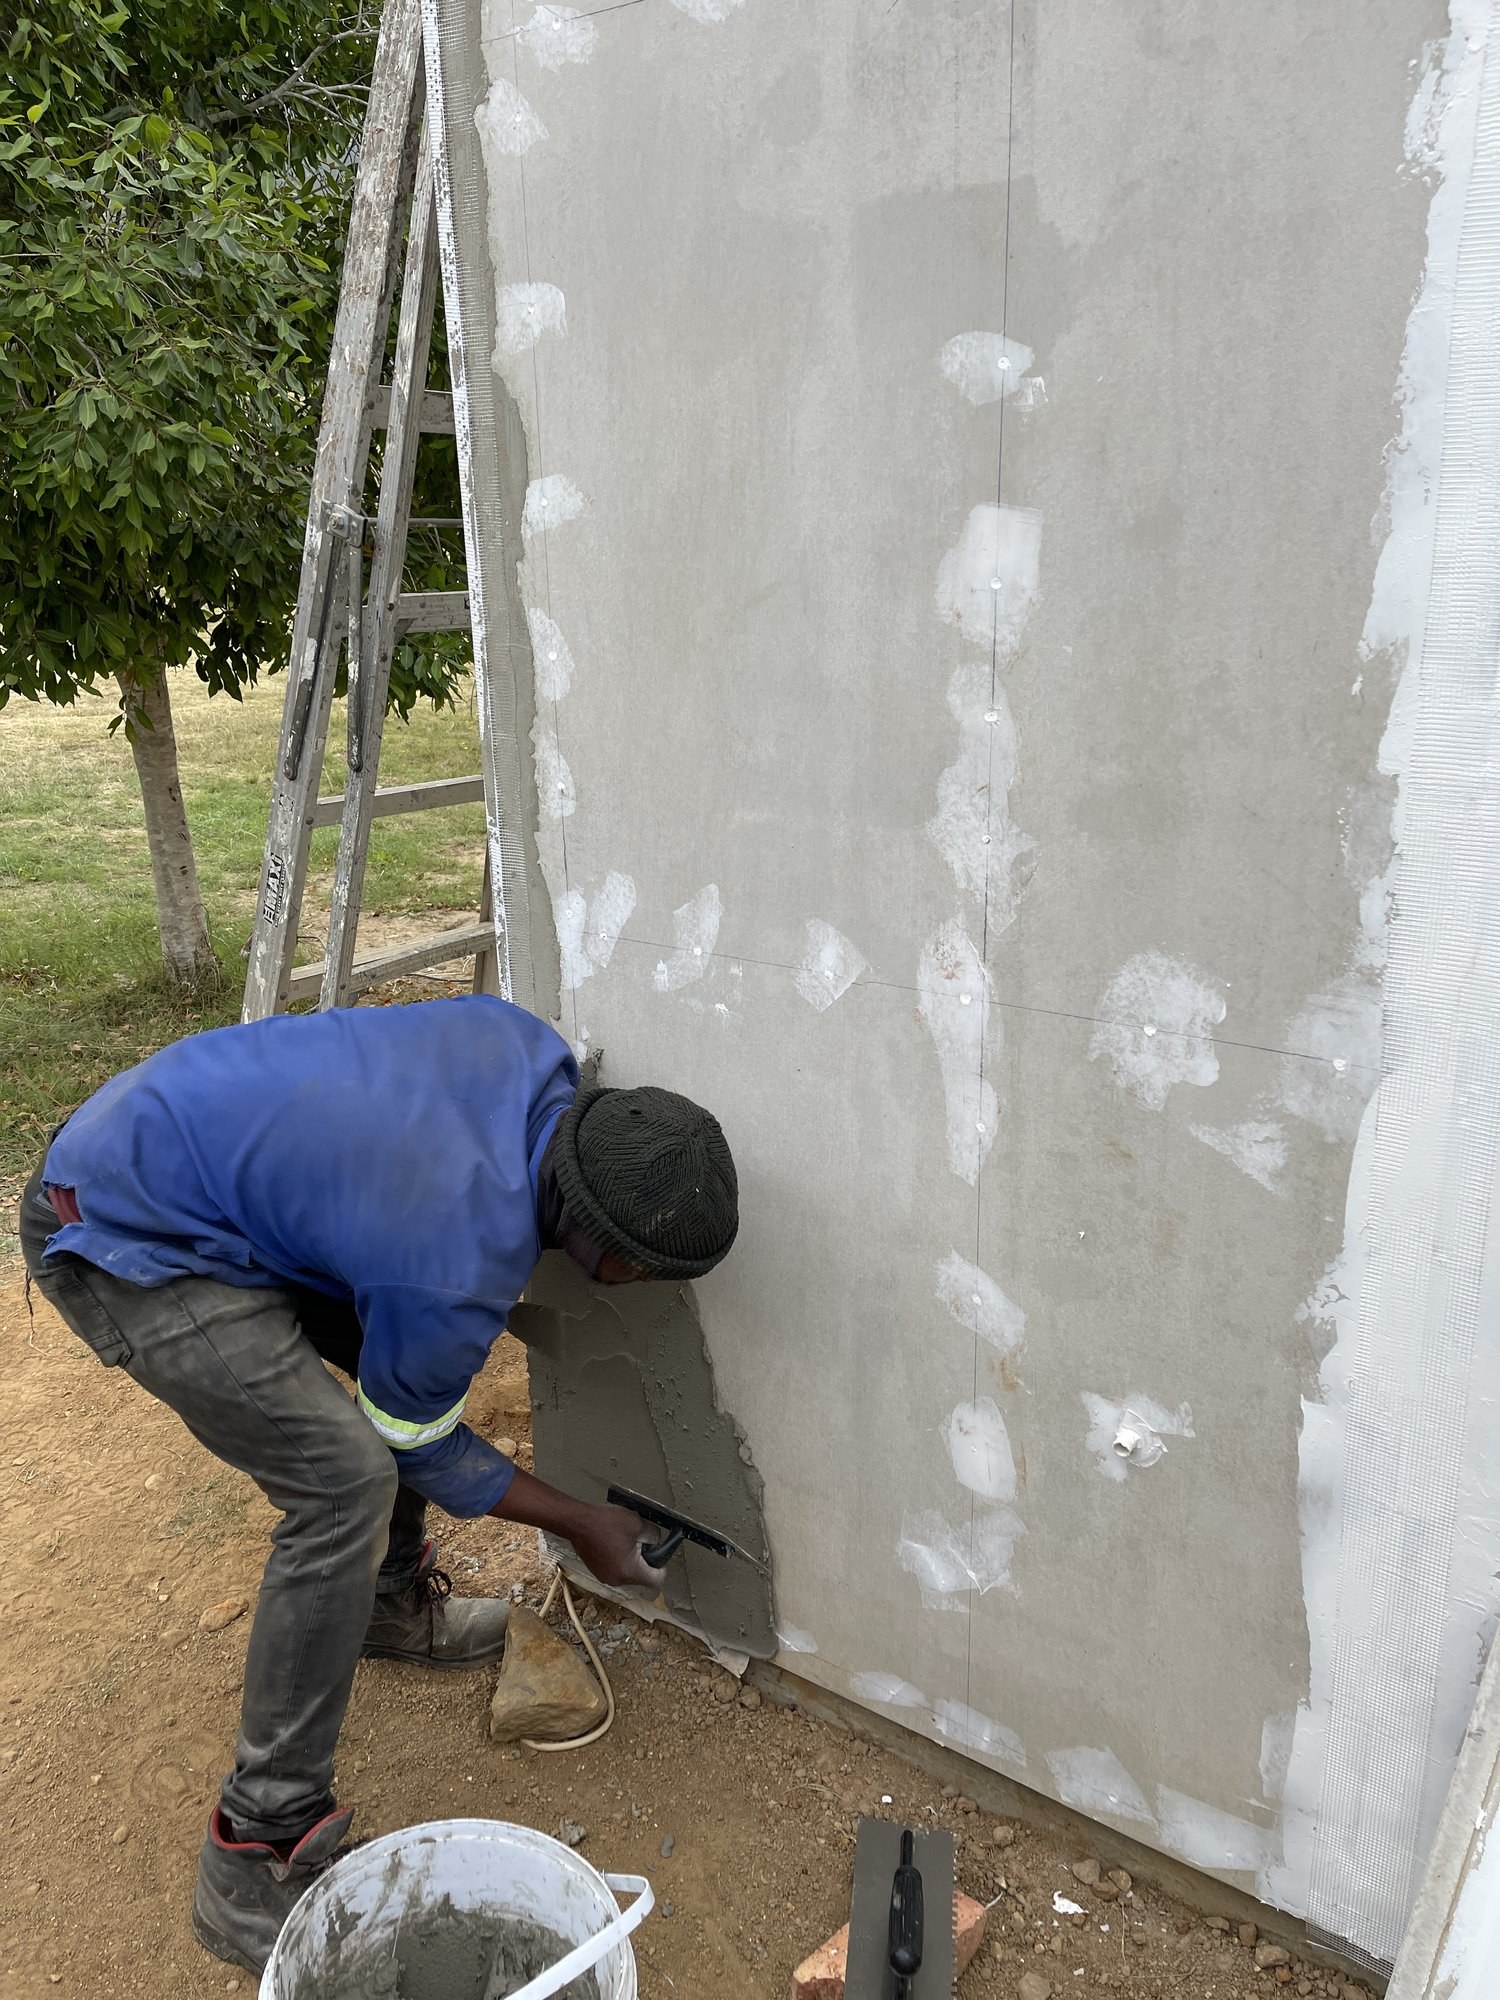
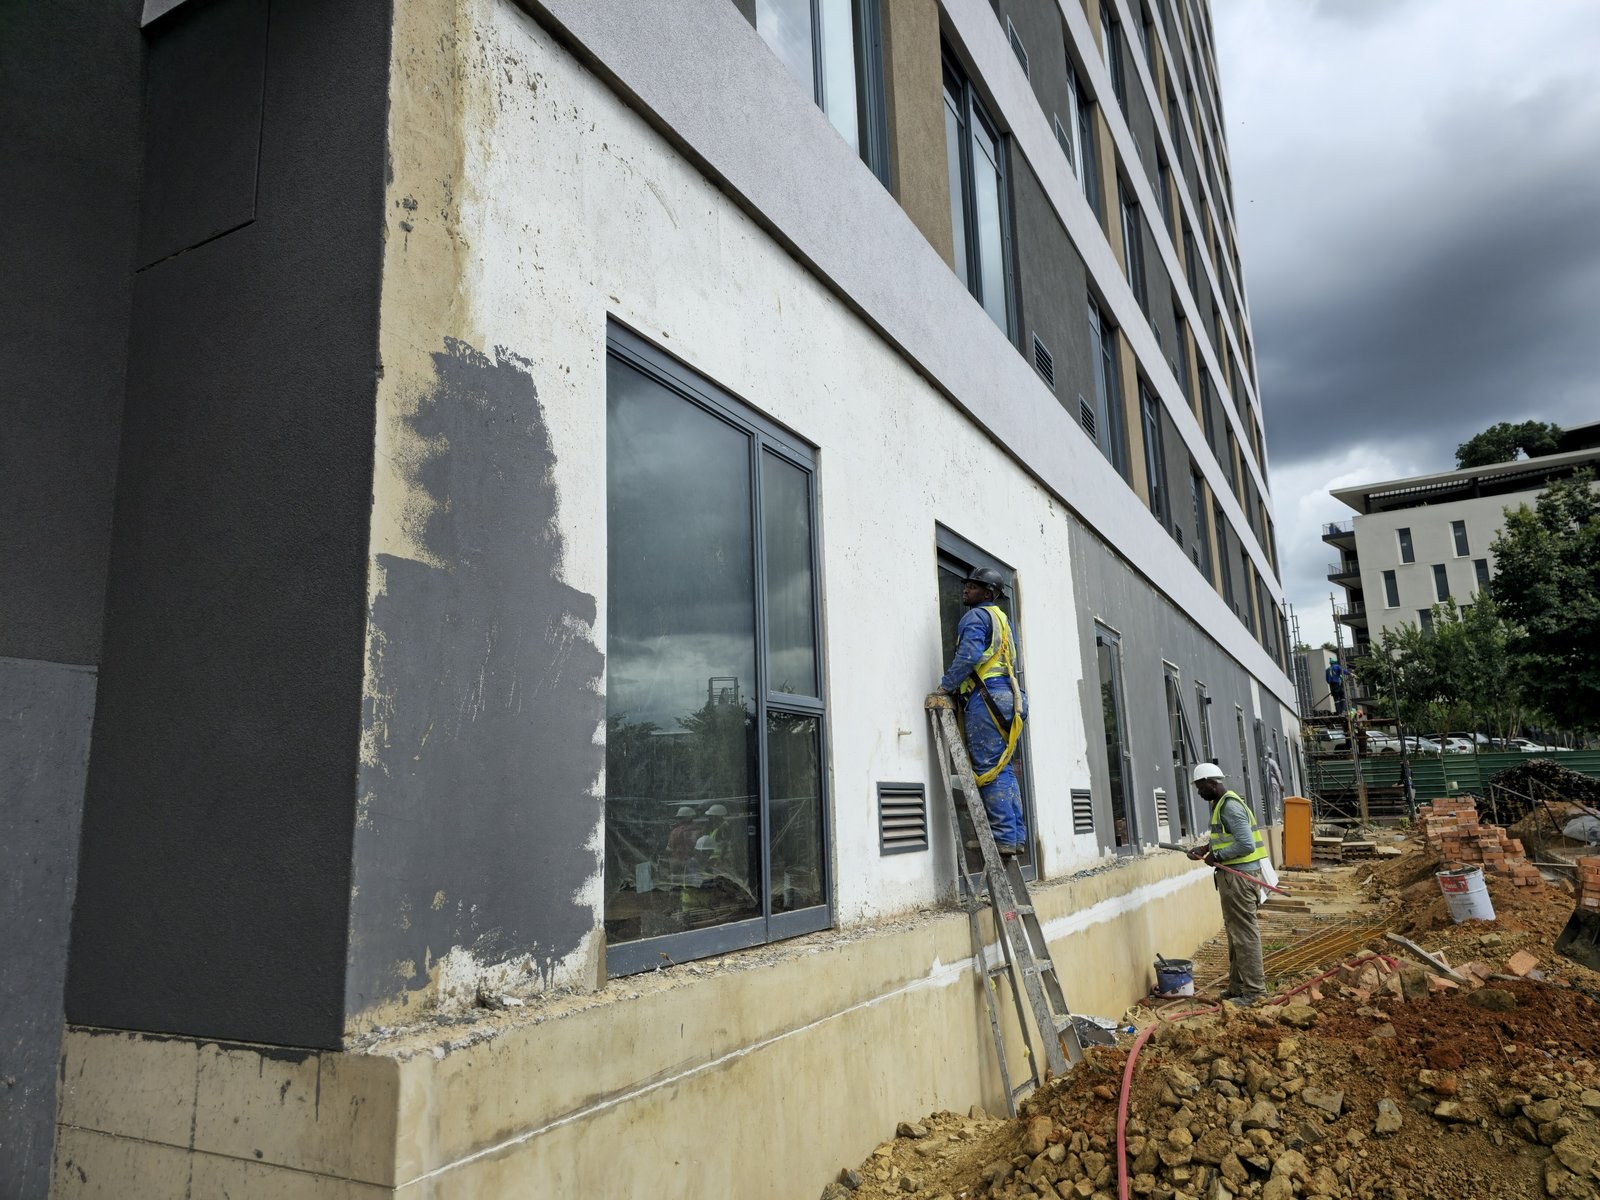
Workers applying and finishing render at ground floor level of a building under constructionPHOTO
Workers applying and finishing render at ground floor level of a building under constructionEIFS/ETICS External Wall Insulation
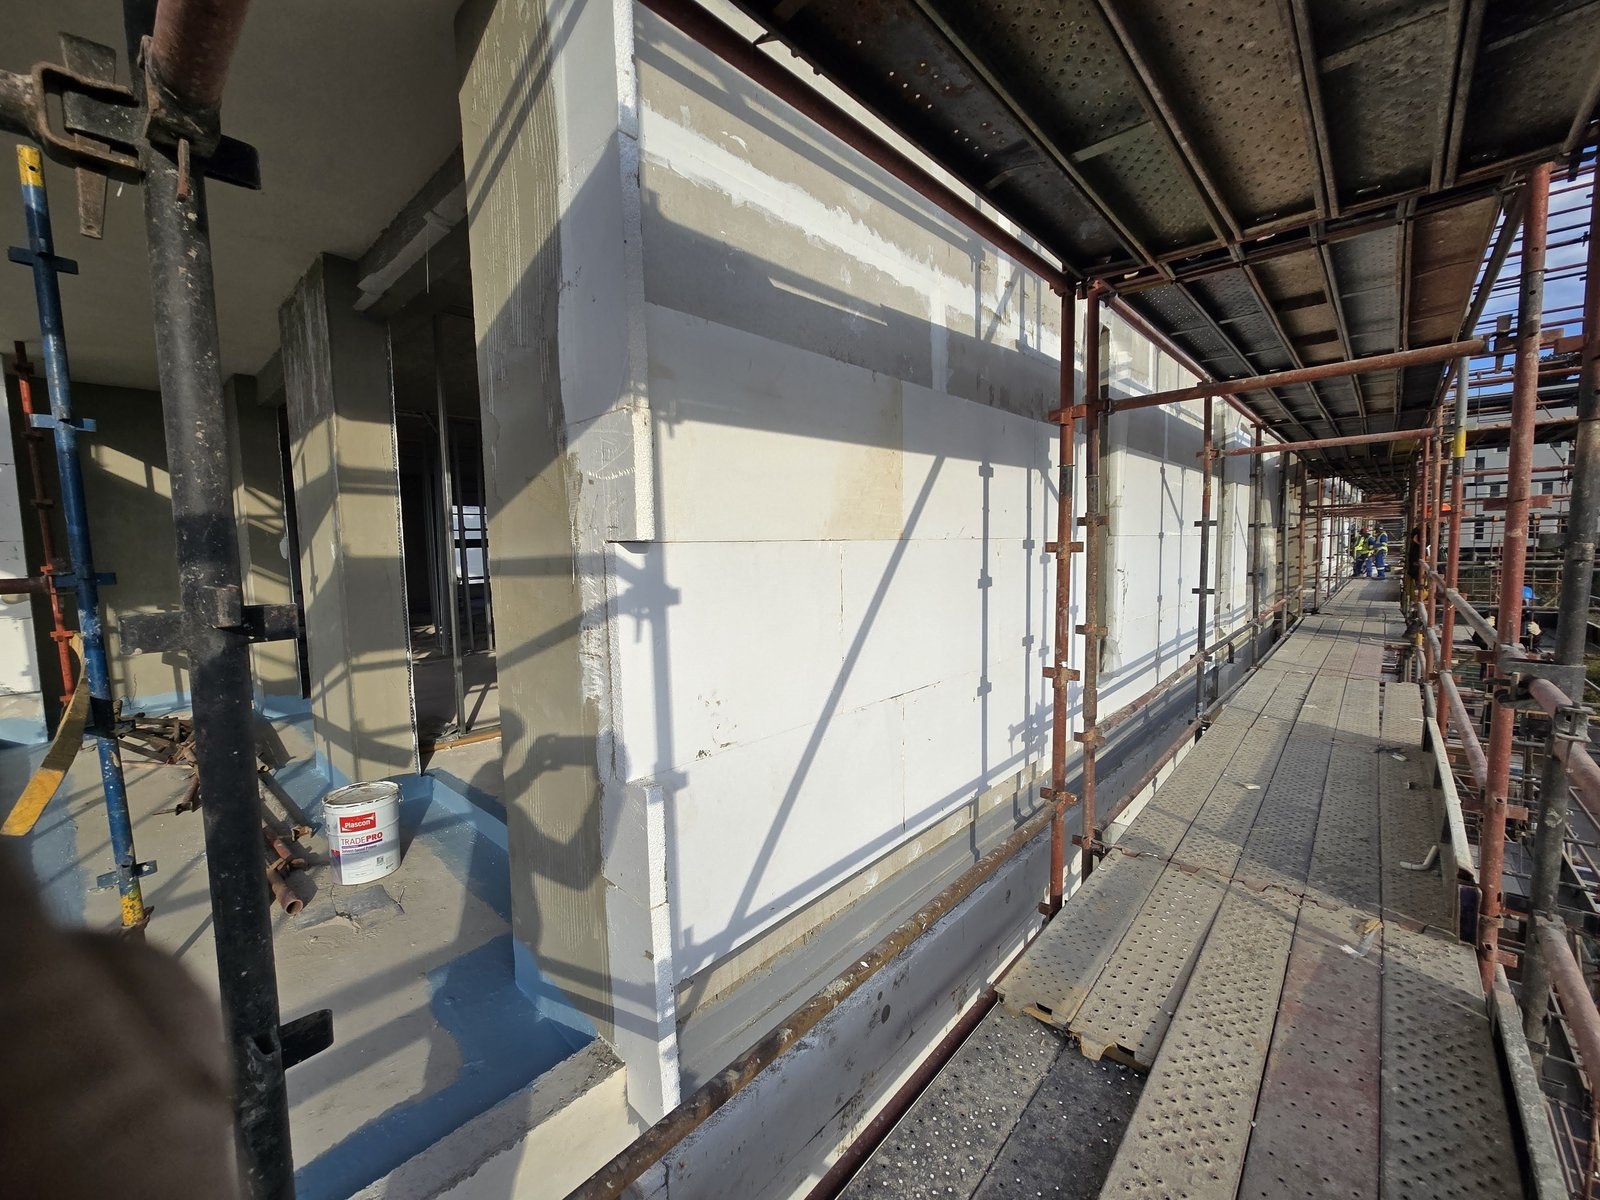
EPS-clad column ready for paint, tin of Plascon Tradepro on the scaffold deckPHOTO
EPS-clad column ready for paint, tin of Plascon Tradepro on the scaffold deckEIFS/ETICS External Wall Insulation
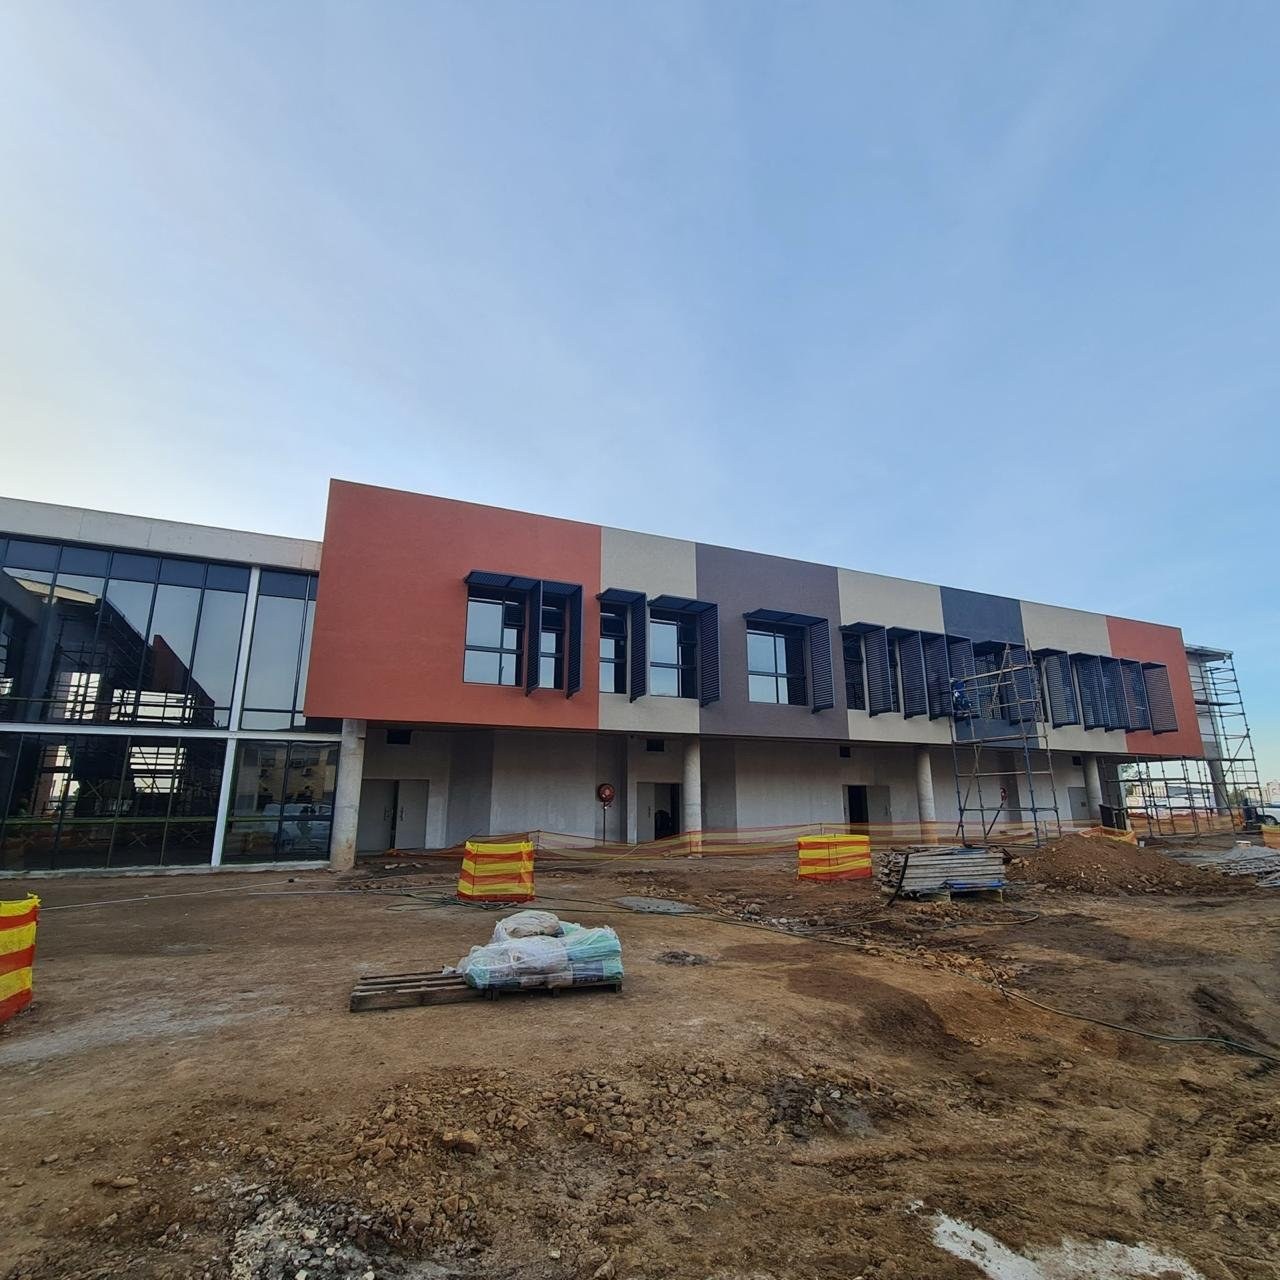
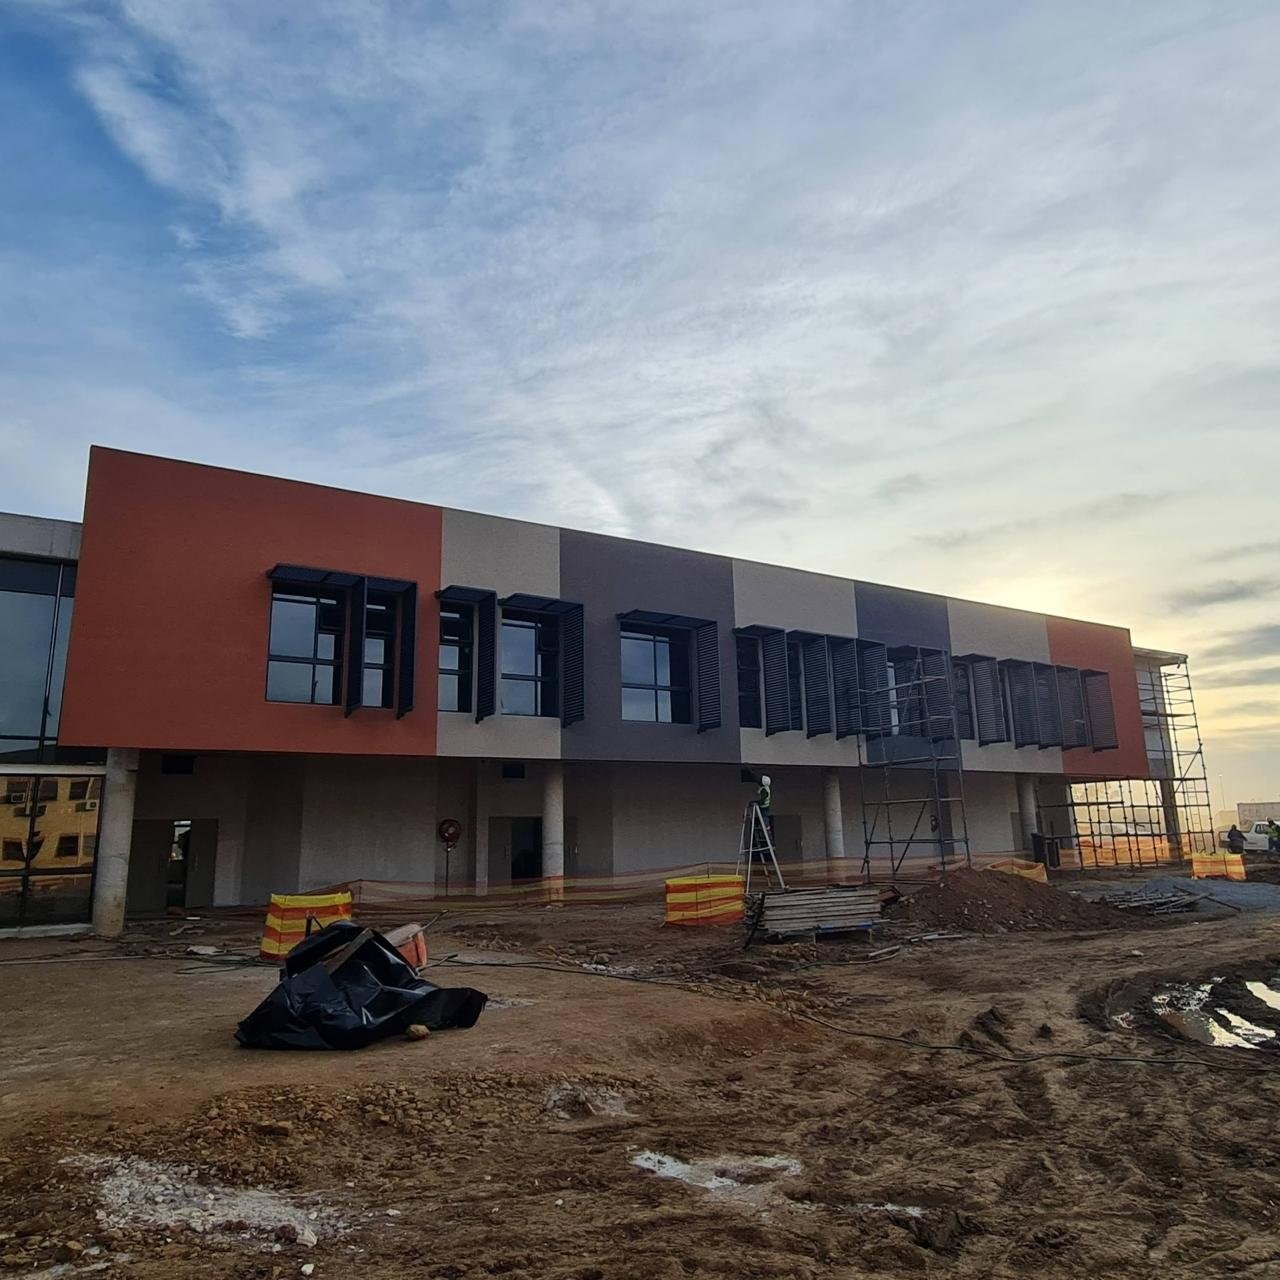
Completed colour-banded render facade on a two-storey buildingPHOTO
Completed colour-banded render facade on a two-storey buildingEIFS/ETICS External Wall Insulation
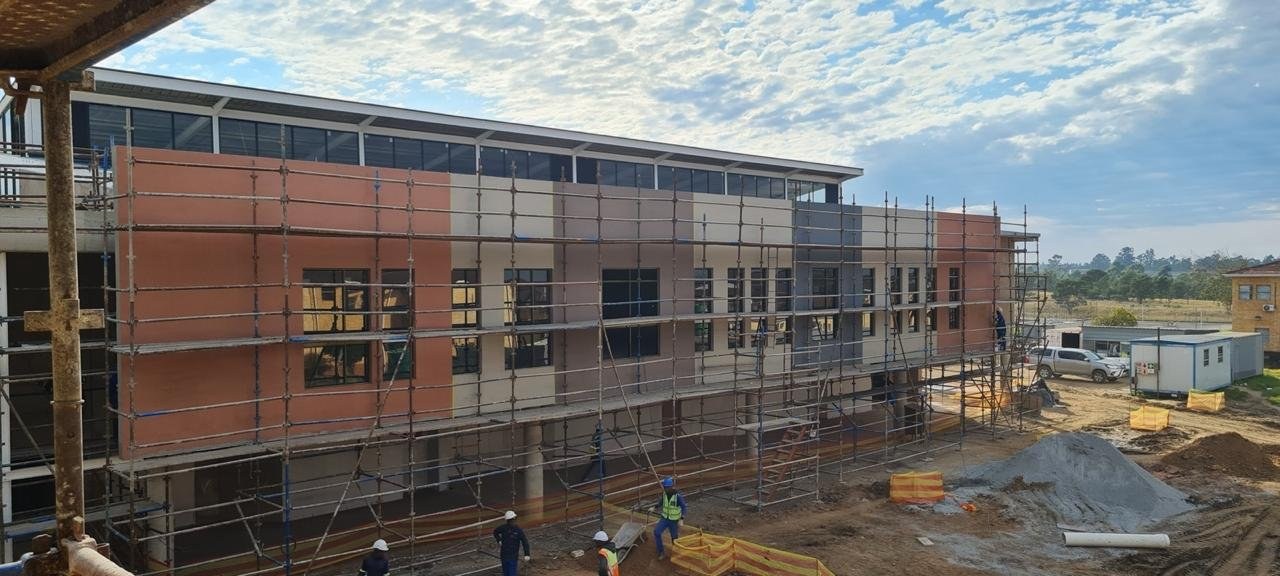
Colour-banded render facade still under scaffold, evening lightPHOTO
Colour-banded render facade still under scaffold, evening lightEIFS/ETICS External Wall Insulation
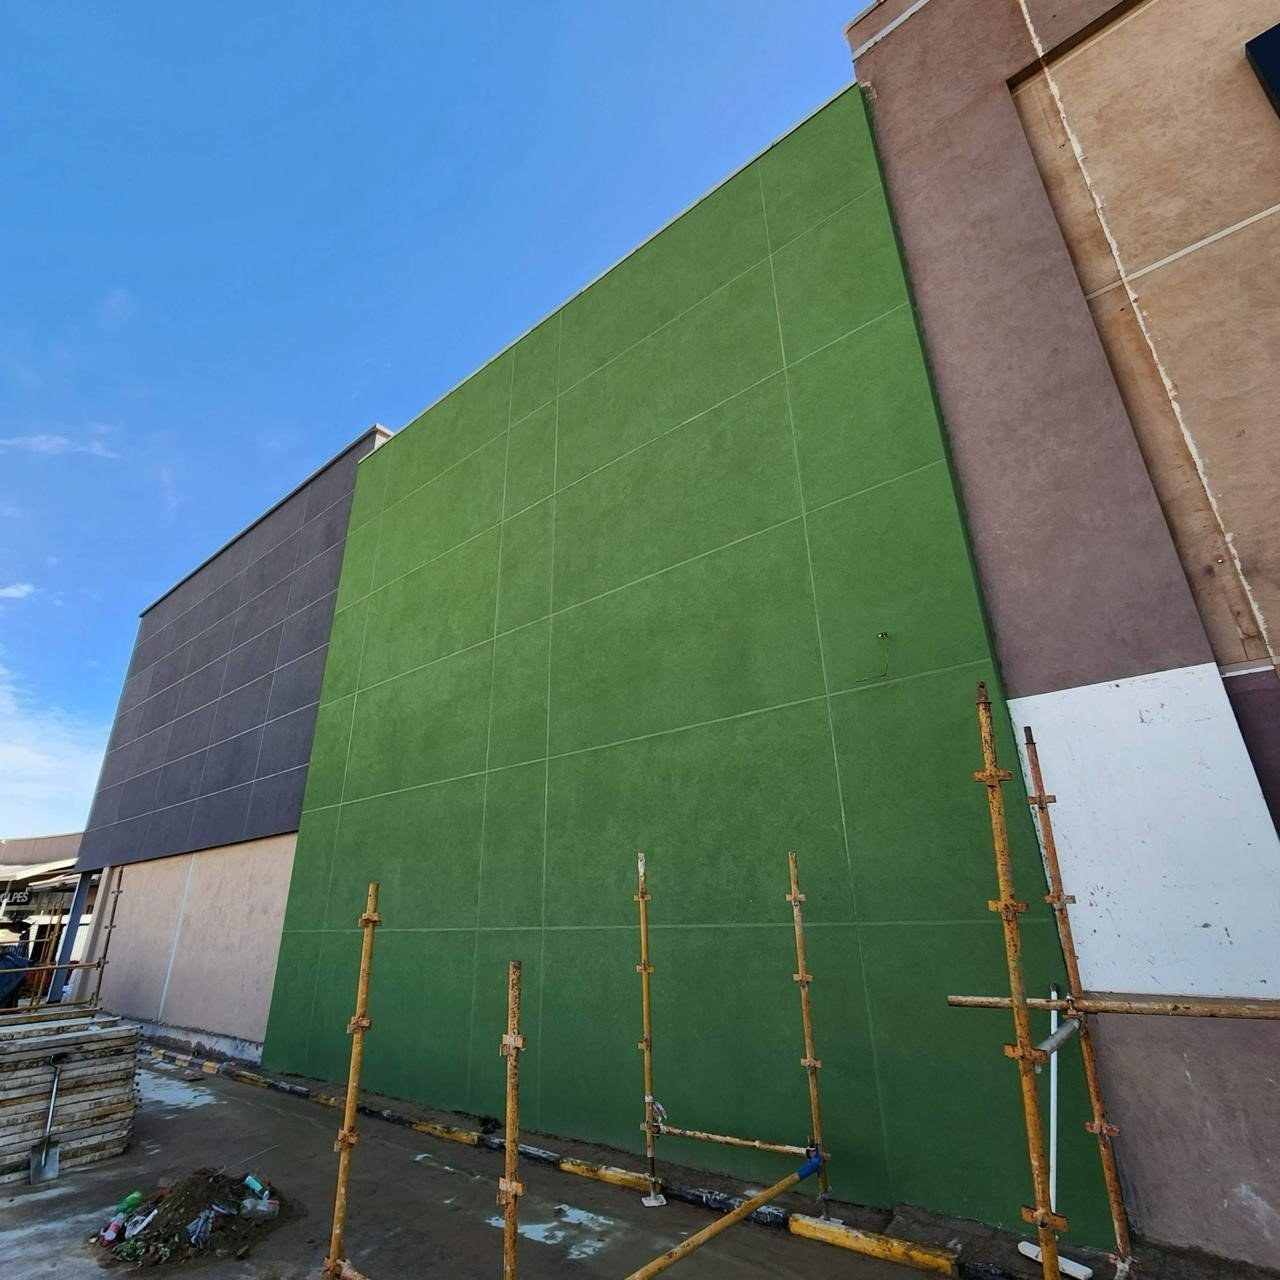
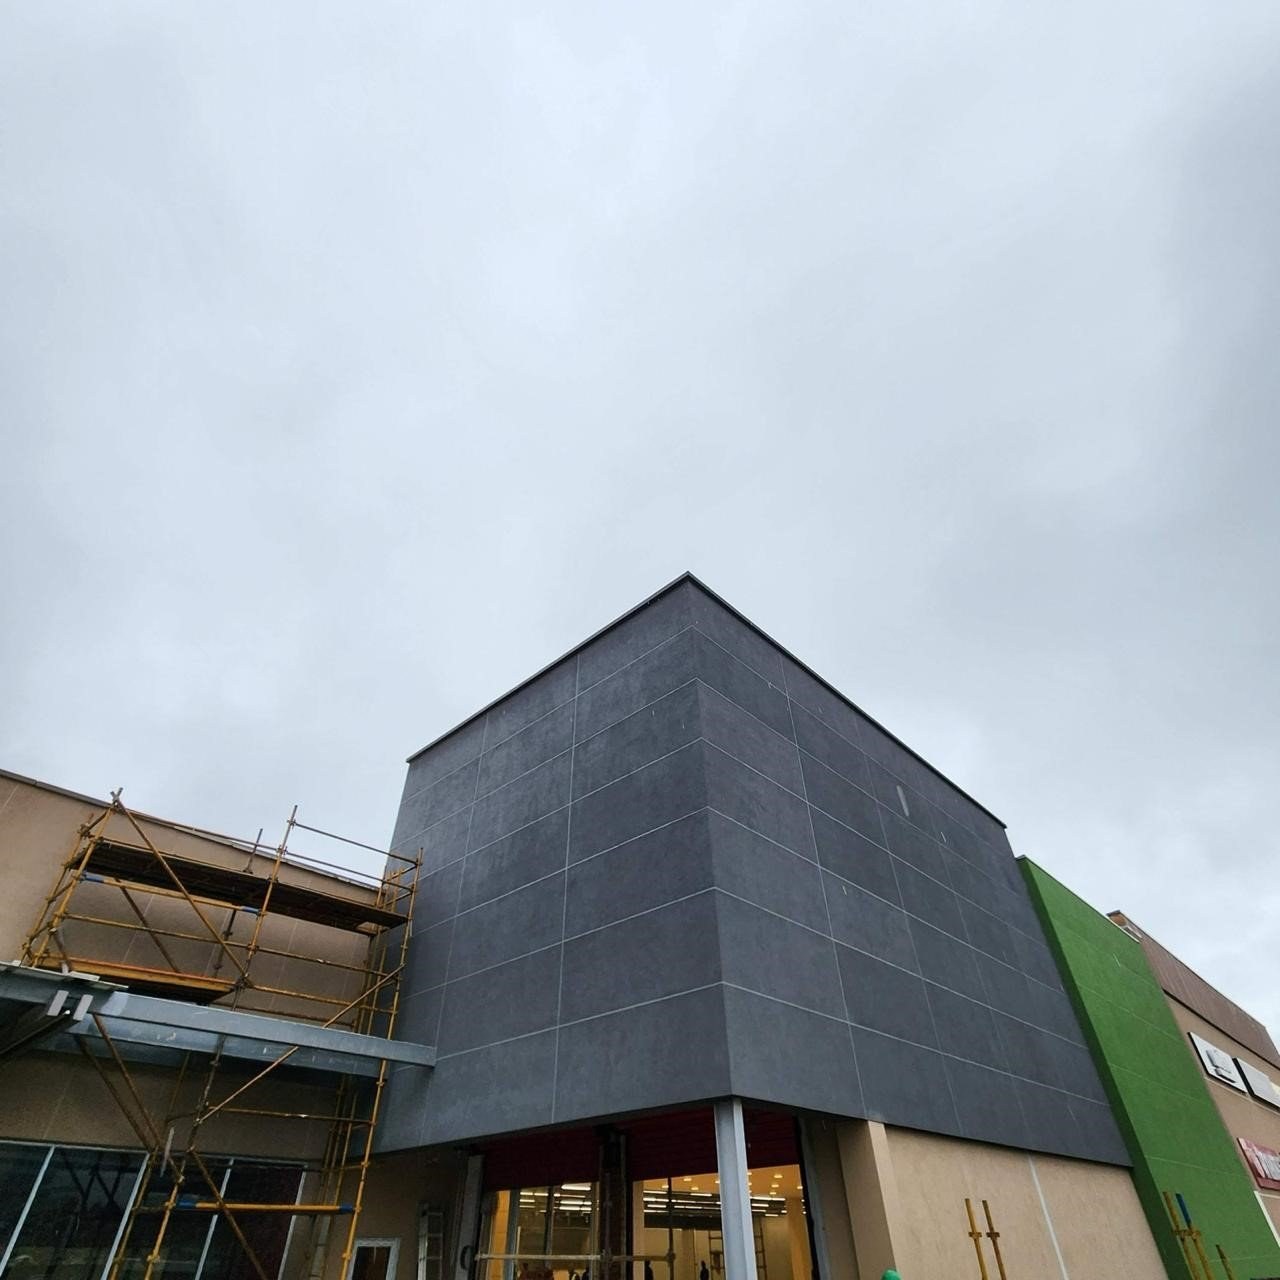
Completed render finish in a vivid green colour on a retail building wallPHOTO
Completed render finish in a vivid green colour on a retail building wallEIFS/ETICS External Wall Insulation
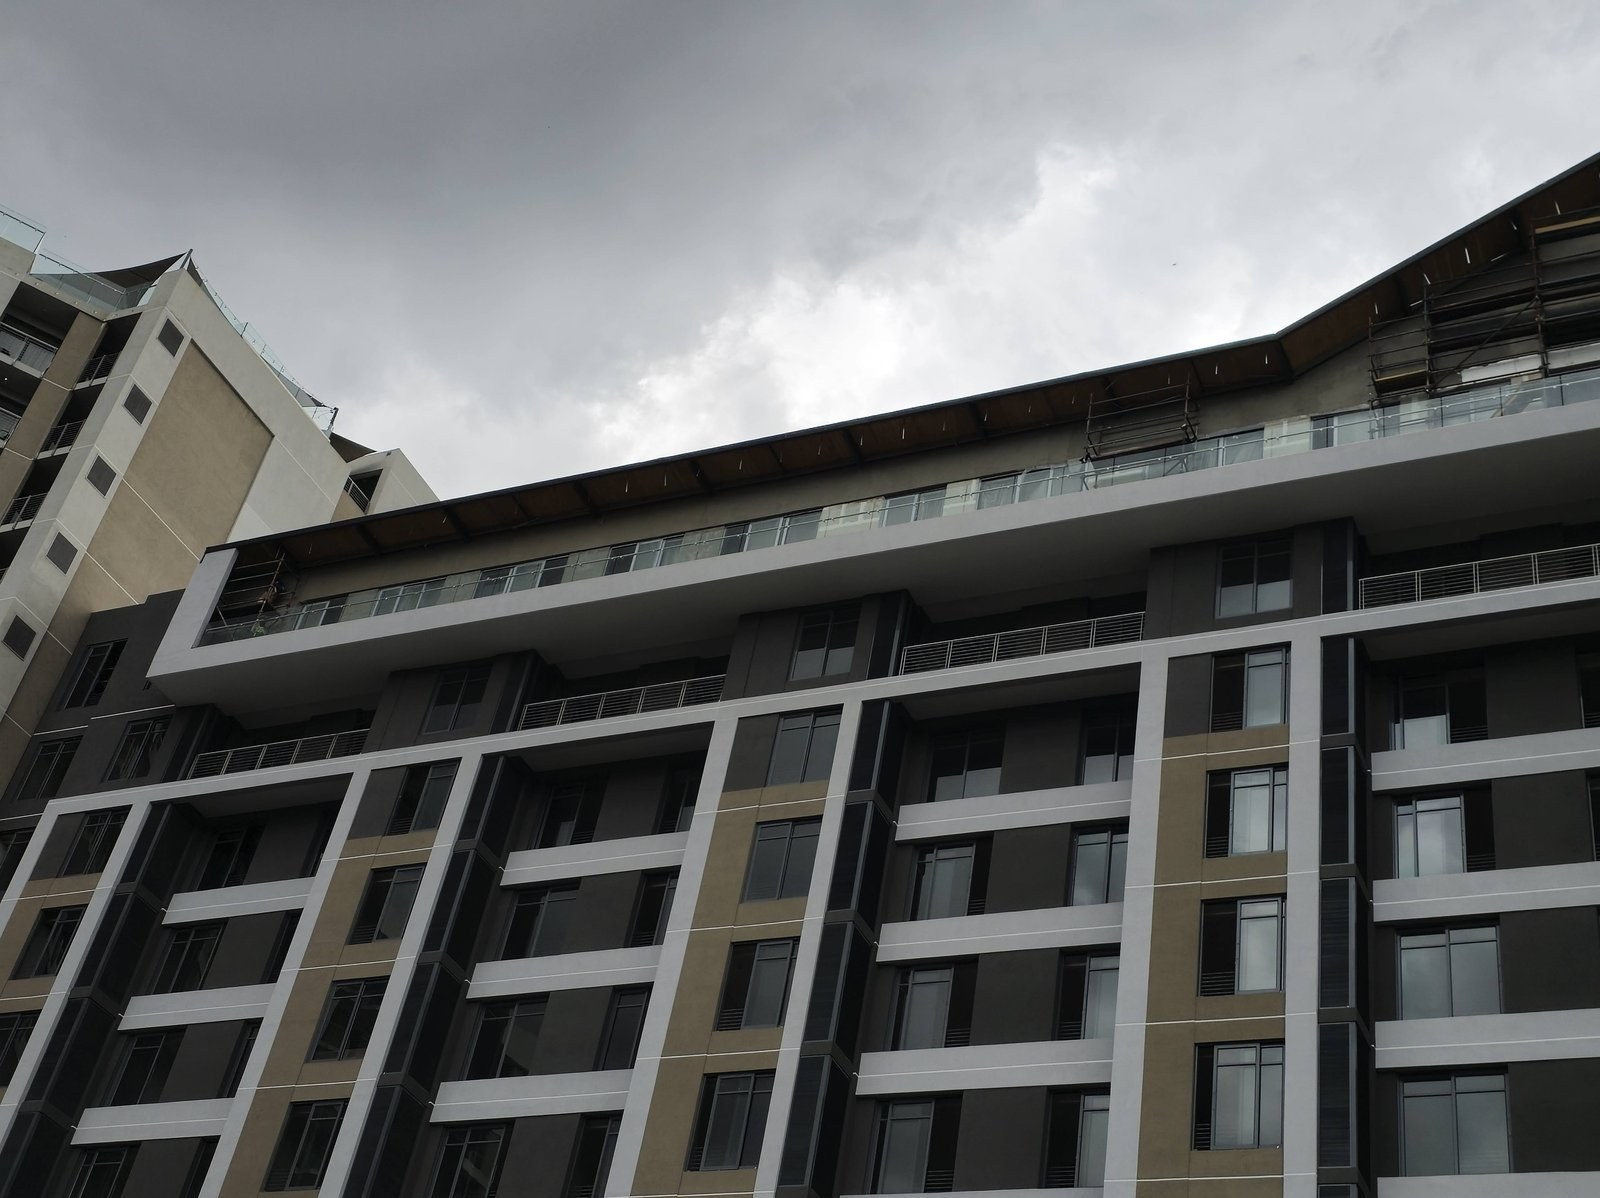
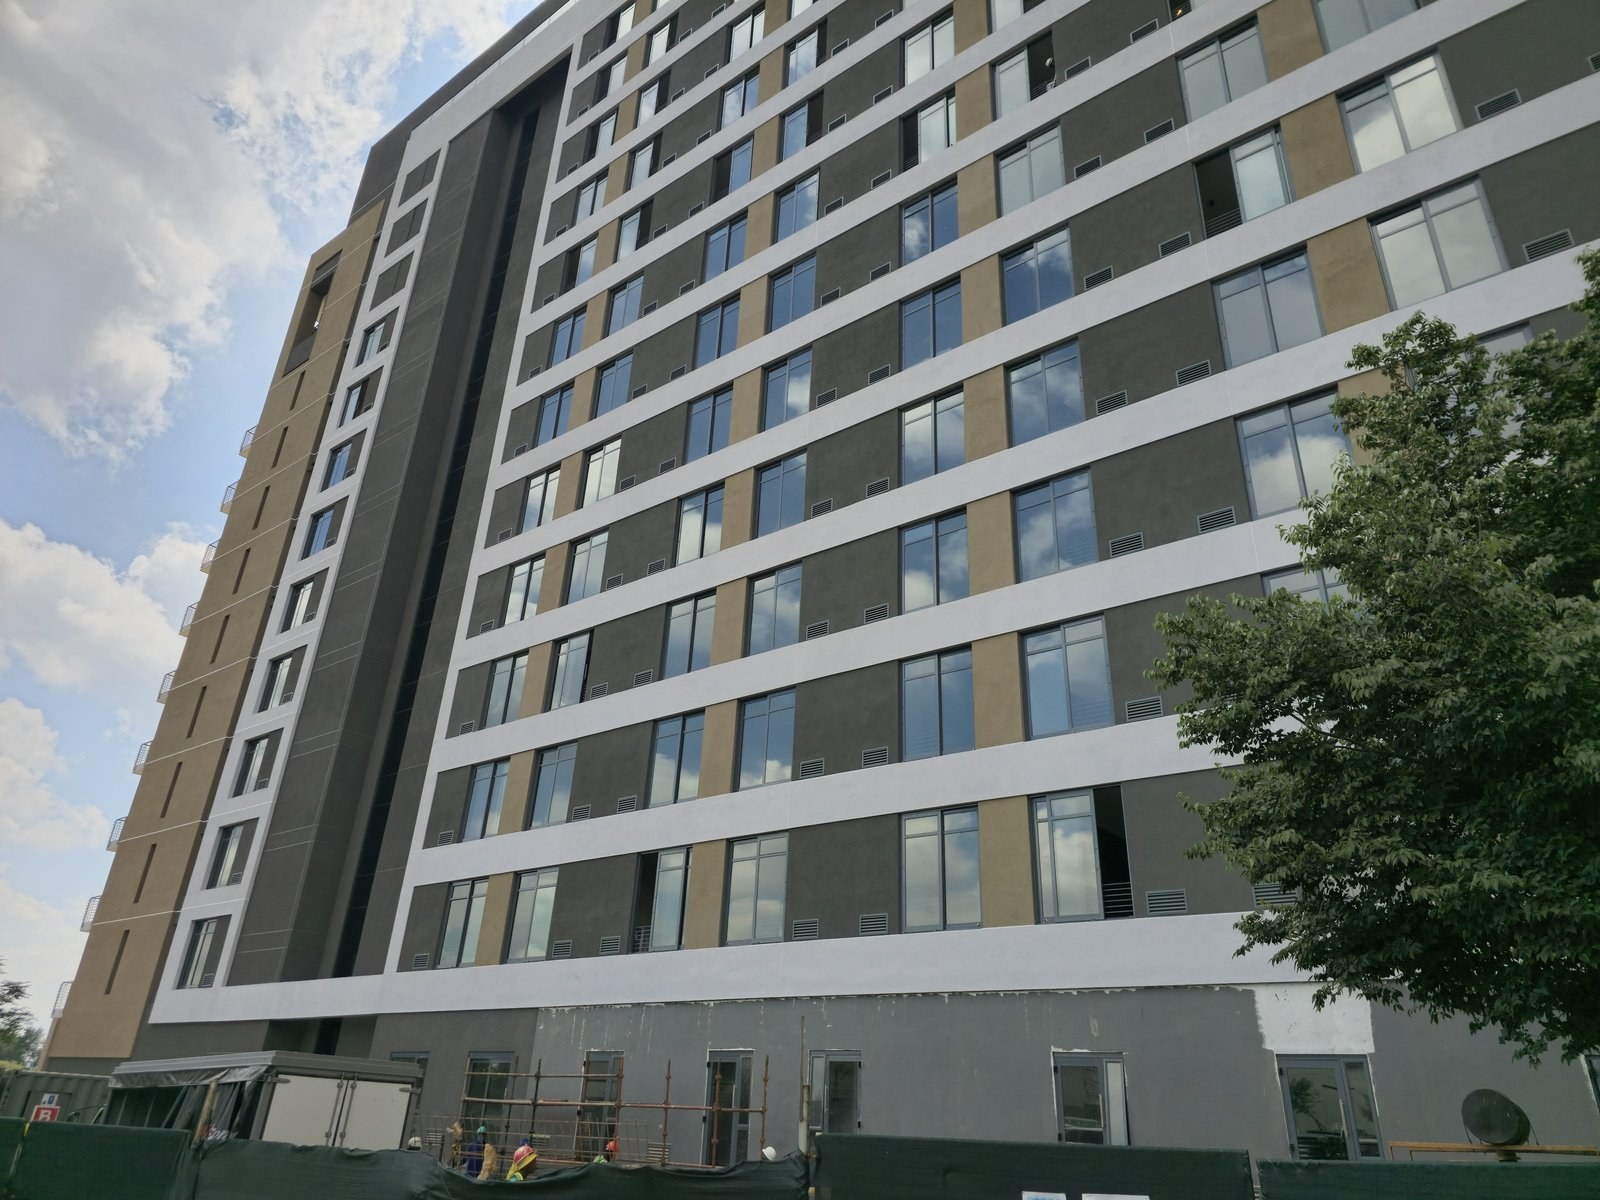
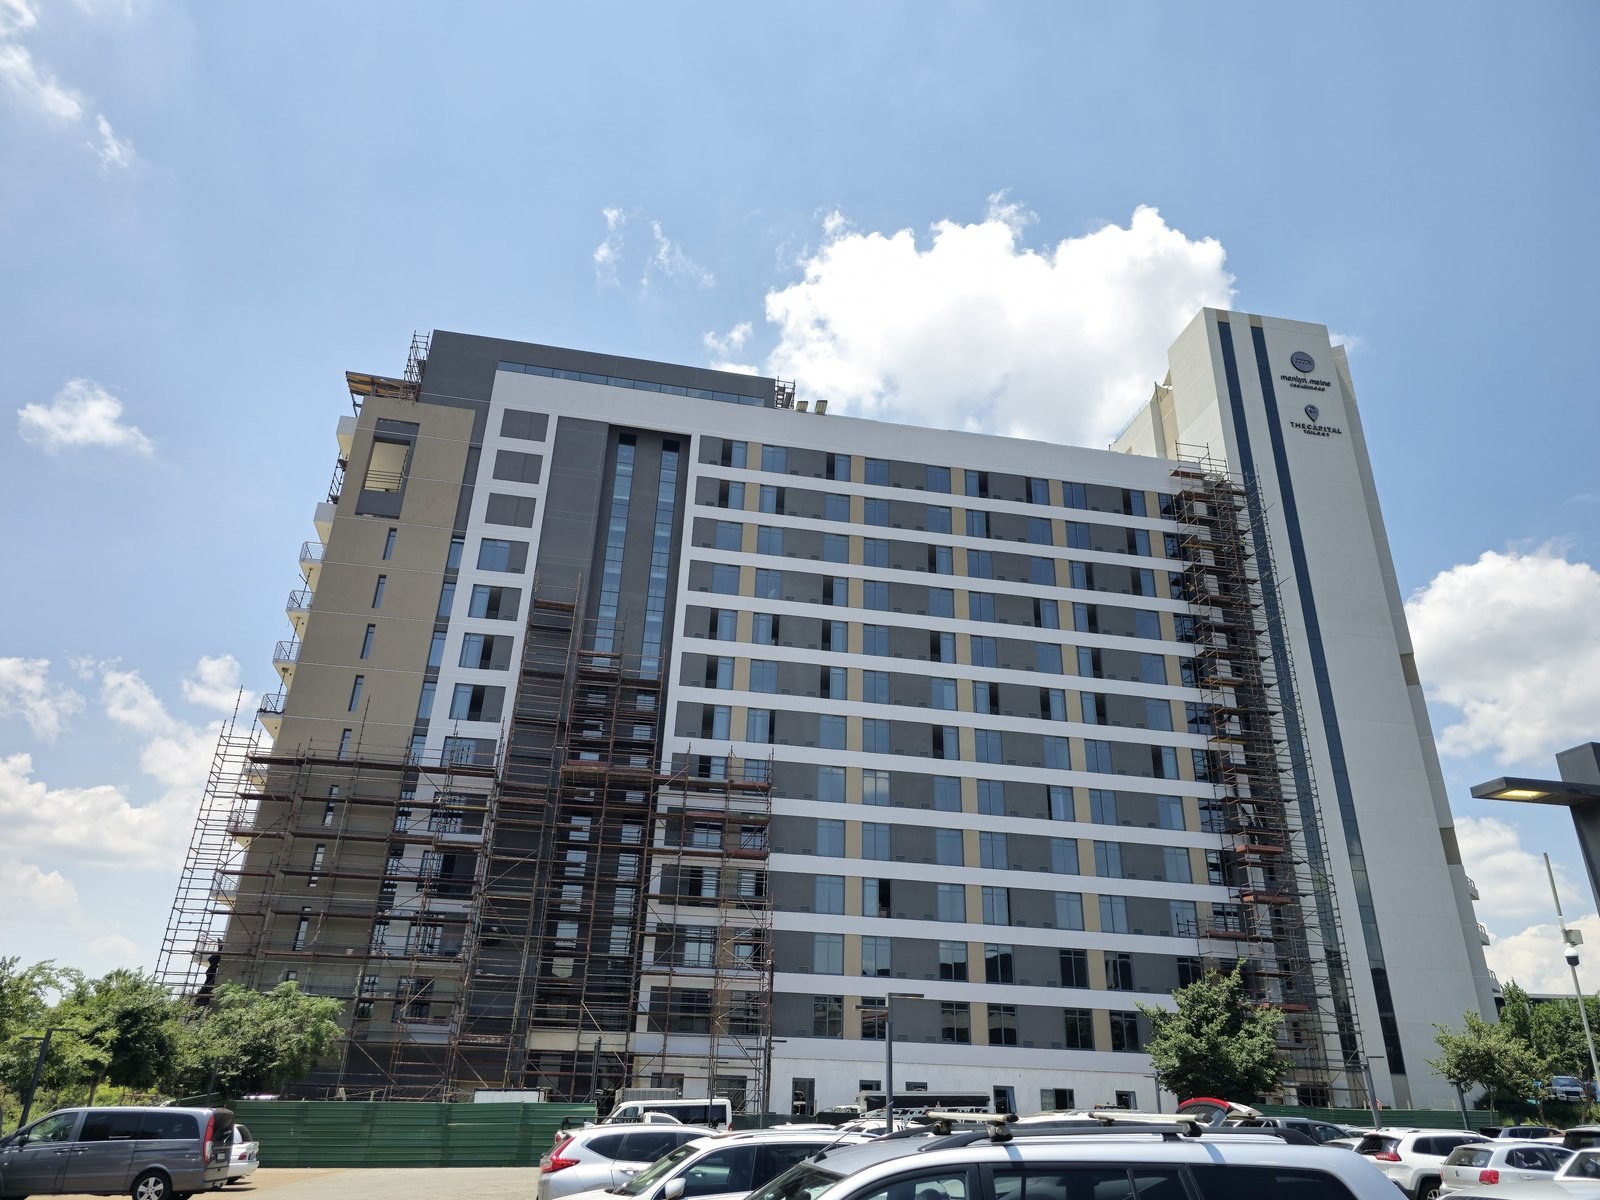
Completed render facade on a high-rise residential towerPHOTO
Completed render facade on a high-rise residential towerEIFS/ETICS External Wall Insulation
PHOTO
EIFS/ETICS External Wall Insulation
PHOTO
EIFS/ETICS External Wall Insulation
PHOTO
EIFS/ETICS External Wall Insulation
PHOTO
EIFS/ETICS External Wall Insulation
PHOTO
EIFS/ETICS External Wall Insulation
PHOTO
EIFS/ETICS External Wall Insulation
PHOTO
EIFS/ETICS External Wall Insulation
PHOTO
EIFS/ETICS External Wall Insulation
PHOTO
EIFS/ETICS External Wall Insulation
PHOTO
EIFS/ETICS External Wall Insulation
PHOTO
EIFS/ETICS External Wall Insulation
PHOTO
EIFS/ETICS External Wall Insulation
PHOTO
EIFS/ETICS External Wall Insulation
PHOTO
EIFS/ETICS External Wall Insulation
PHOTO
EIFS/ETICS External Wall Insulation
PHOTO
EIFS/ETICS External Wall Insulation
PHOTO
EIFS/ETICS External Wall Insulation
PHOTO
EIFS/ETICS External Wall Insulation
PHOTO
EIFS/ETICS External Wall Insulation
PHOTO
EIFS/ETICS External Wall Insulation
PHOTO
EIFS/ETICS External Wall Insulation
PHOTO
EIFS/ETICS External Wall Insulation
PHOTO
EIFS/ETICS External Wall Insulation
PHOTO
EIFS/ETICS External Wall Insulation
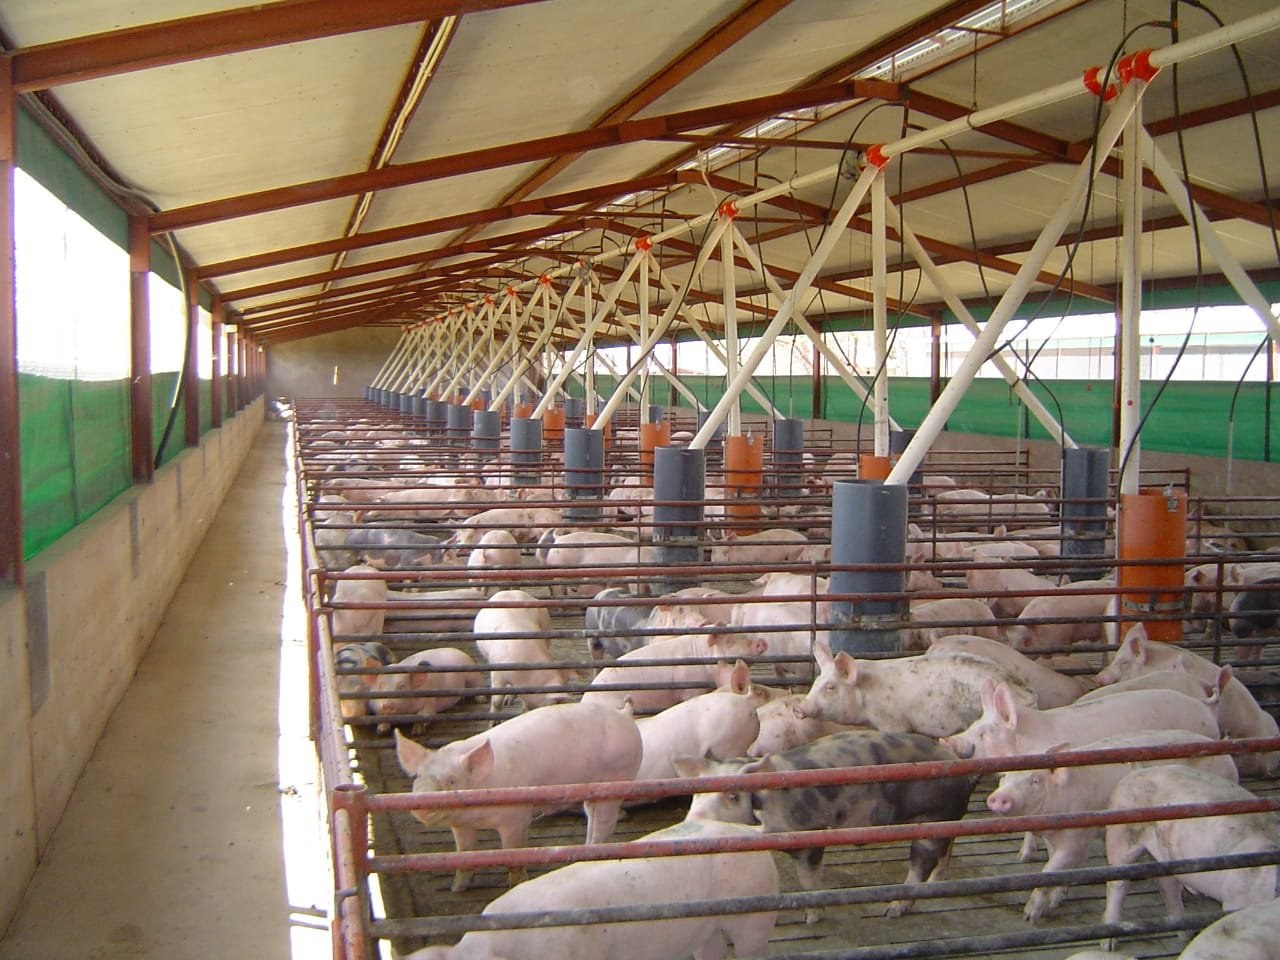
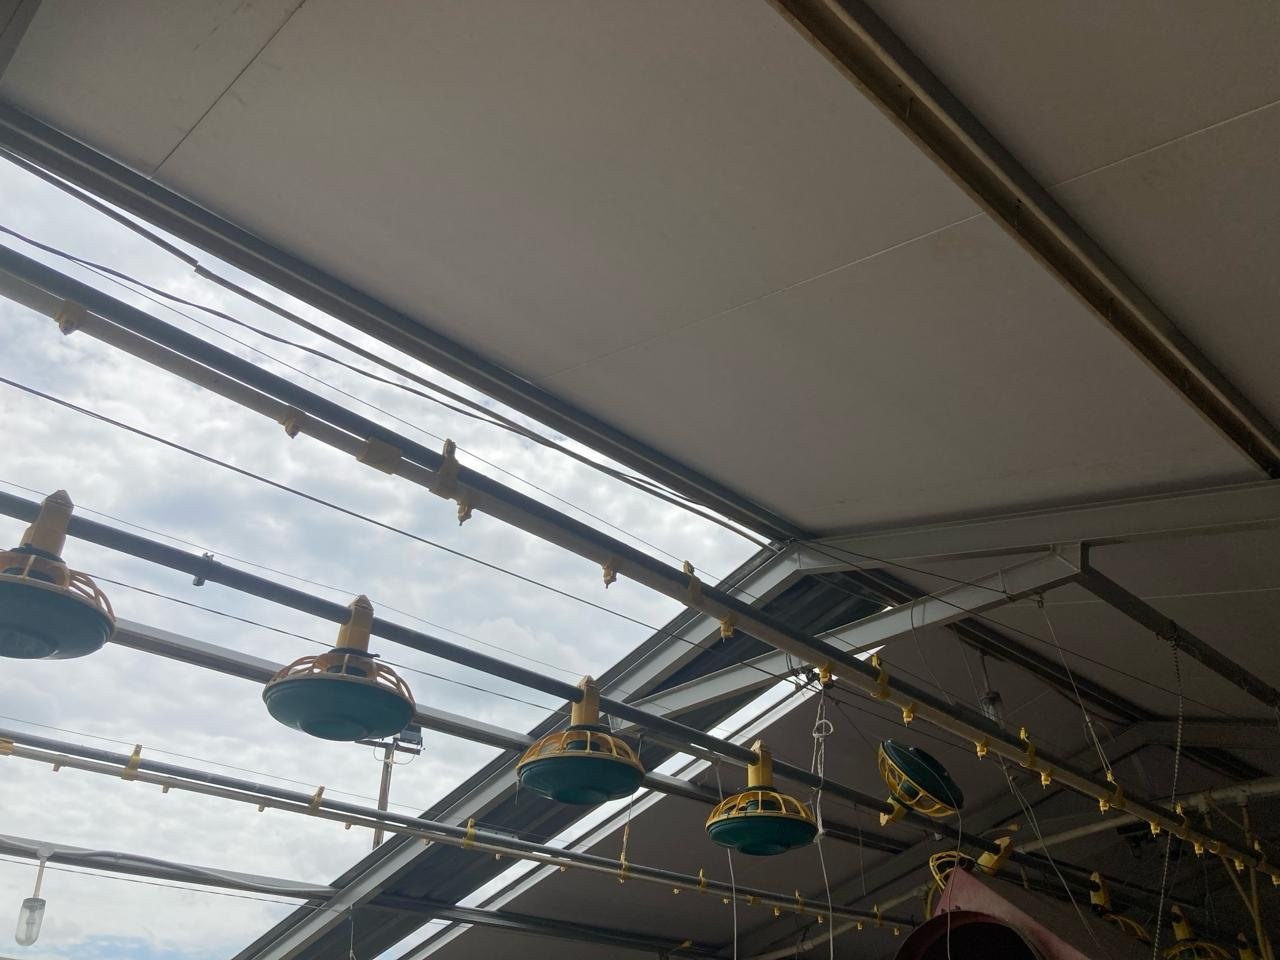
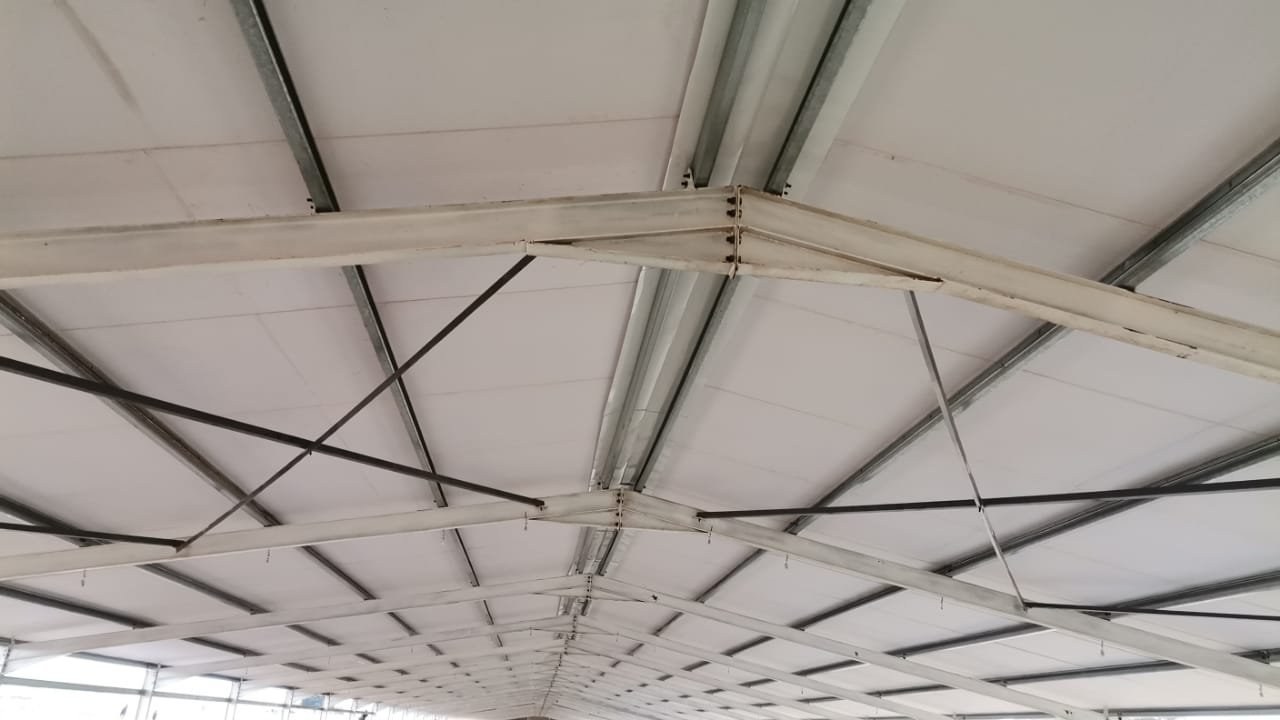
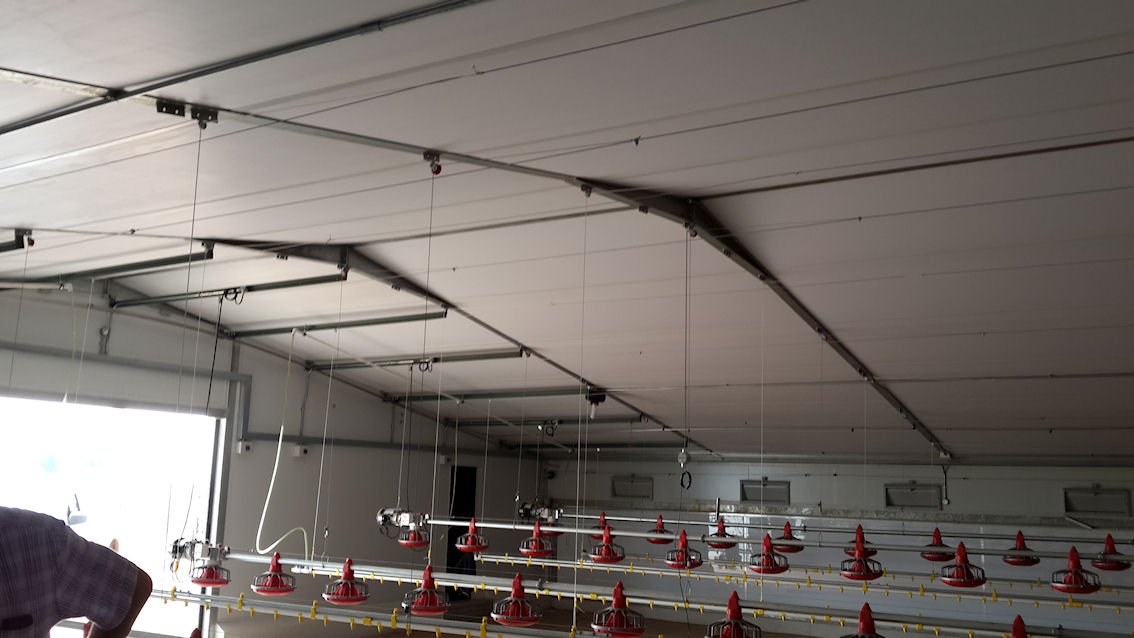
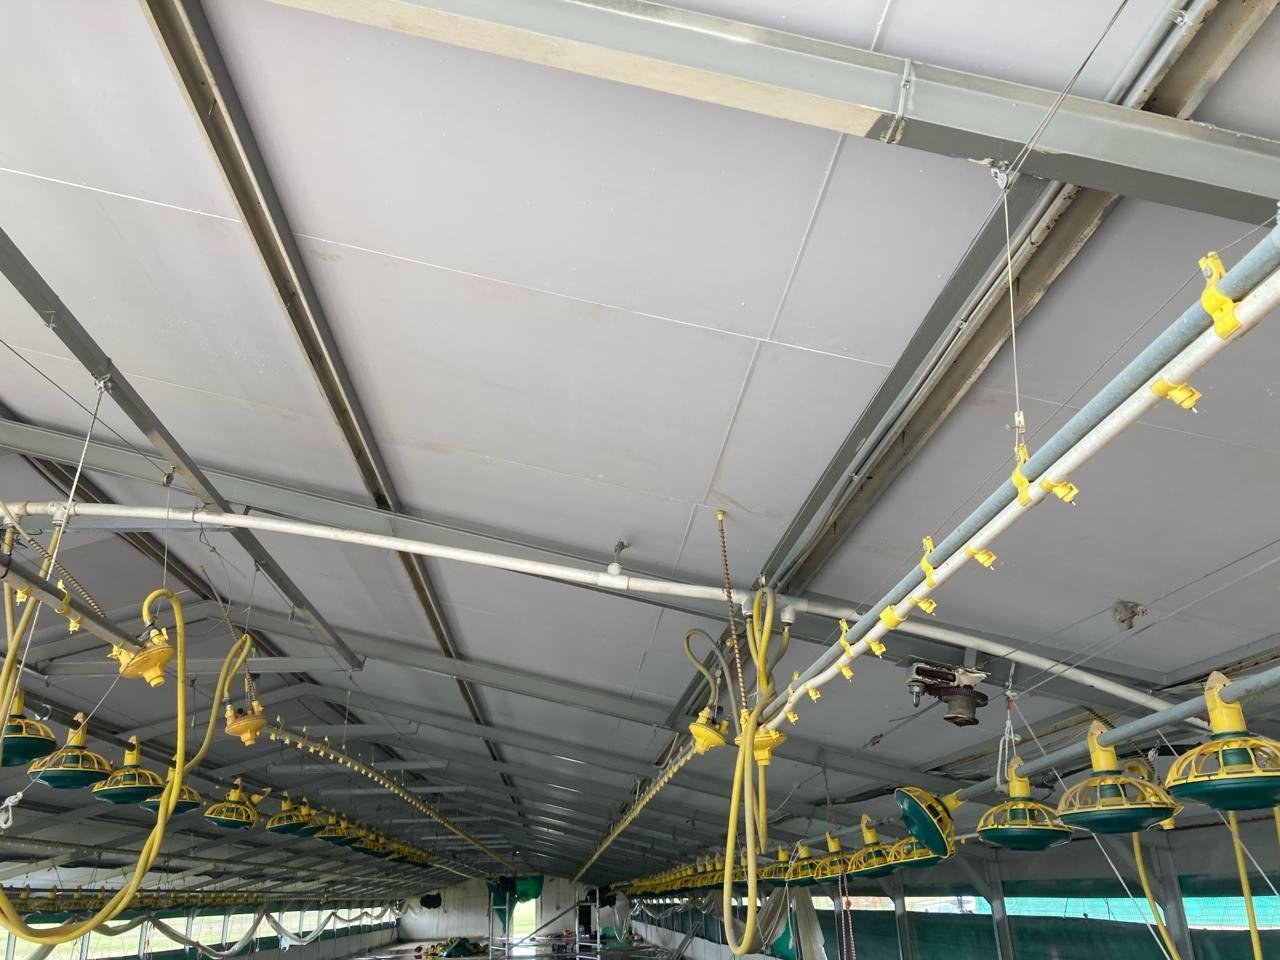
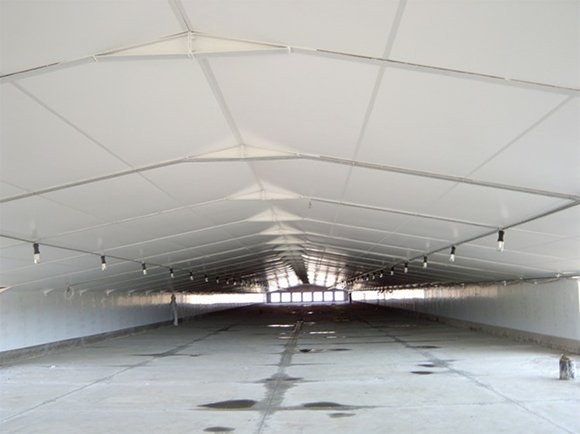
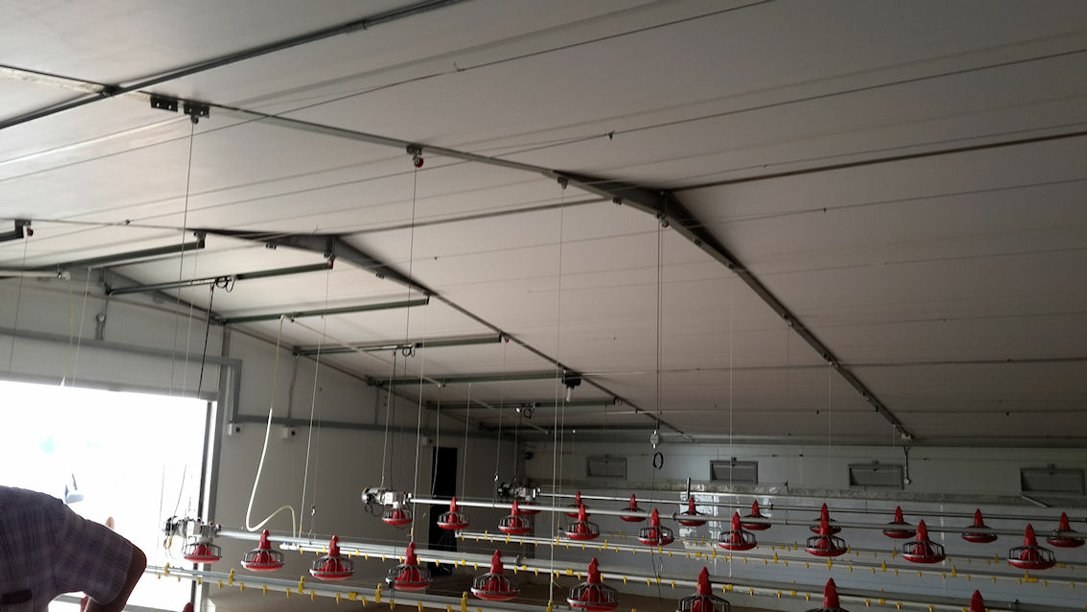
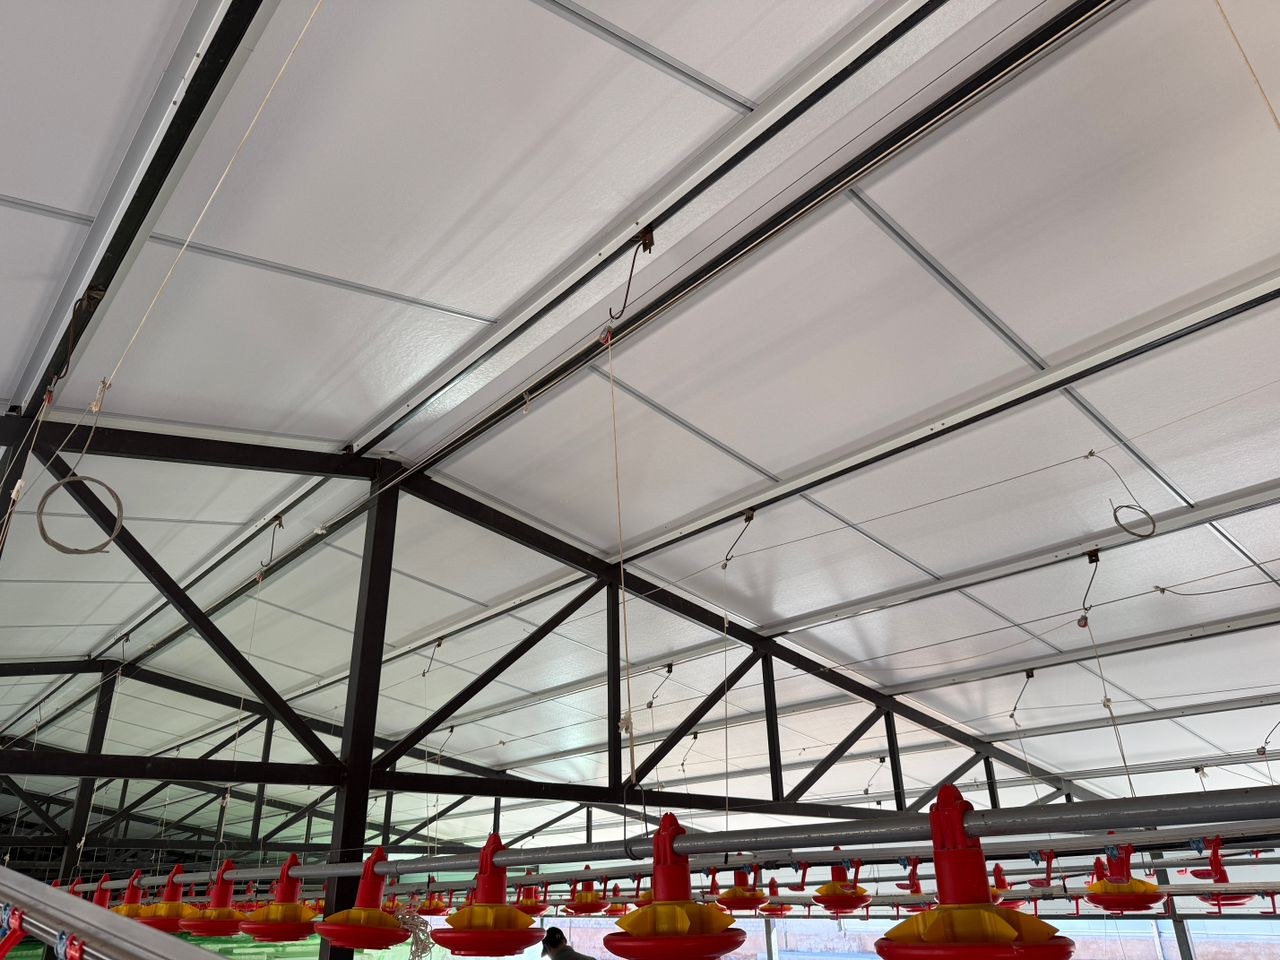
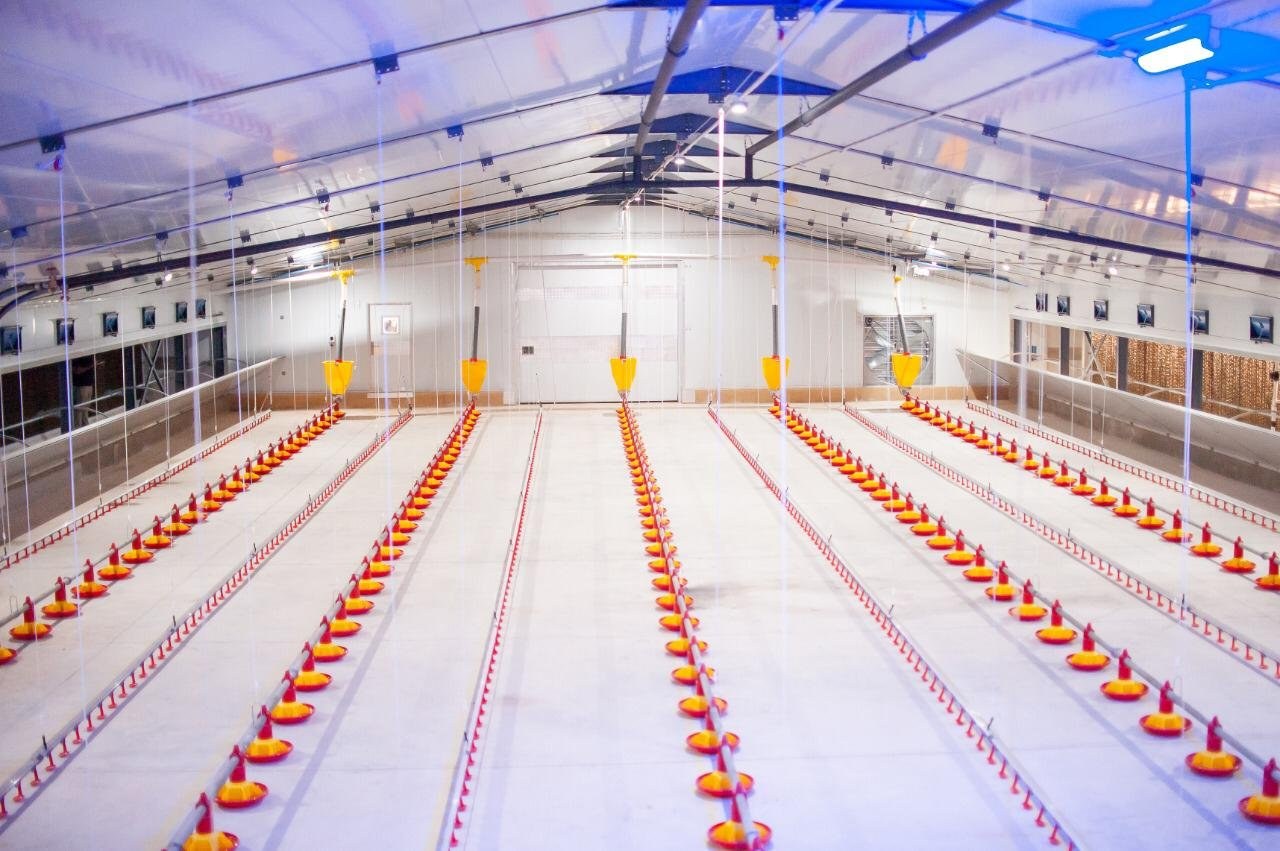
White faced ceiling panels fitted bay-by-bay between the steel trusses of a poultry house, with the suspended feed pans and drinker line hanging below.PHOTO
White faced ceiling panels fitted bay-by-bay between the steel trusses of a poultry house, with the suspended feed pans and drinker line hanging below.PolyCool & SuperCool
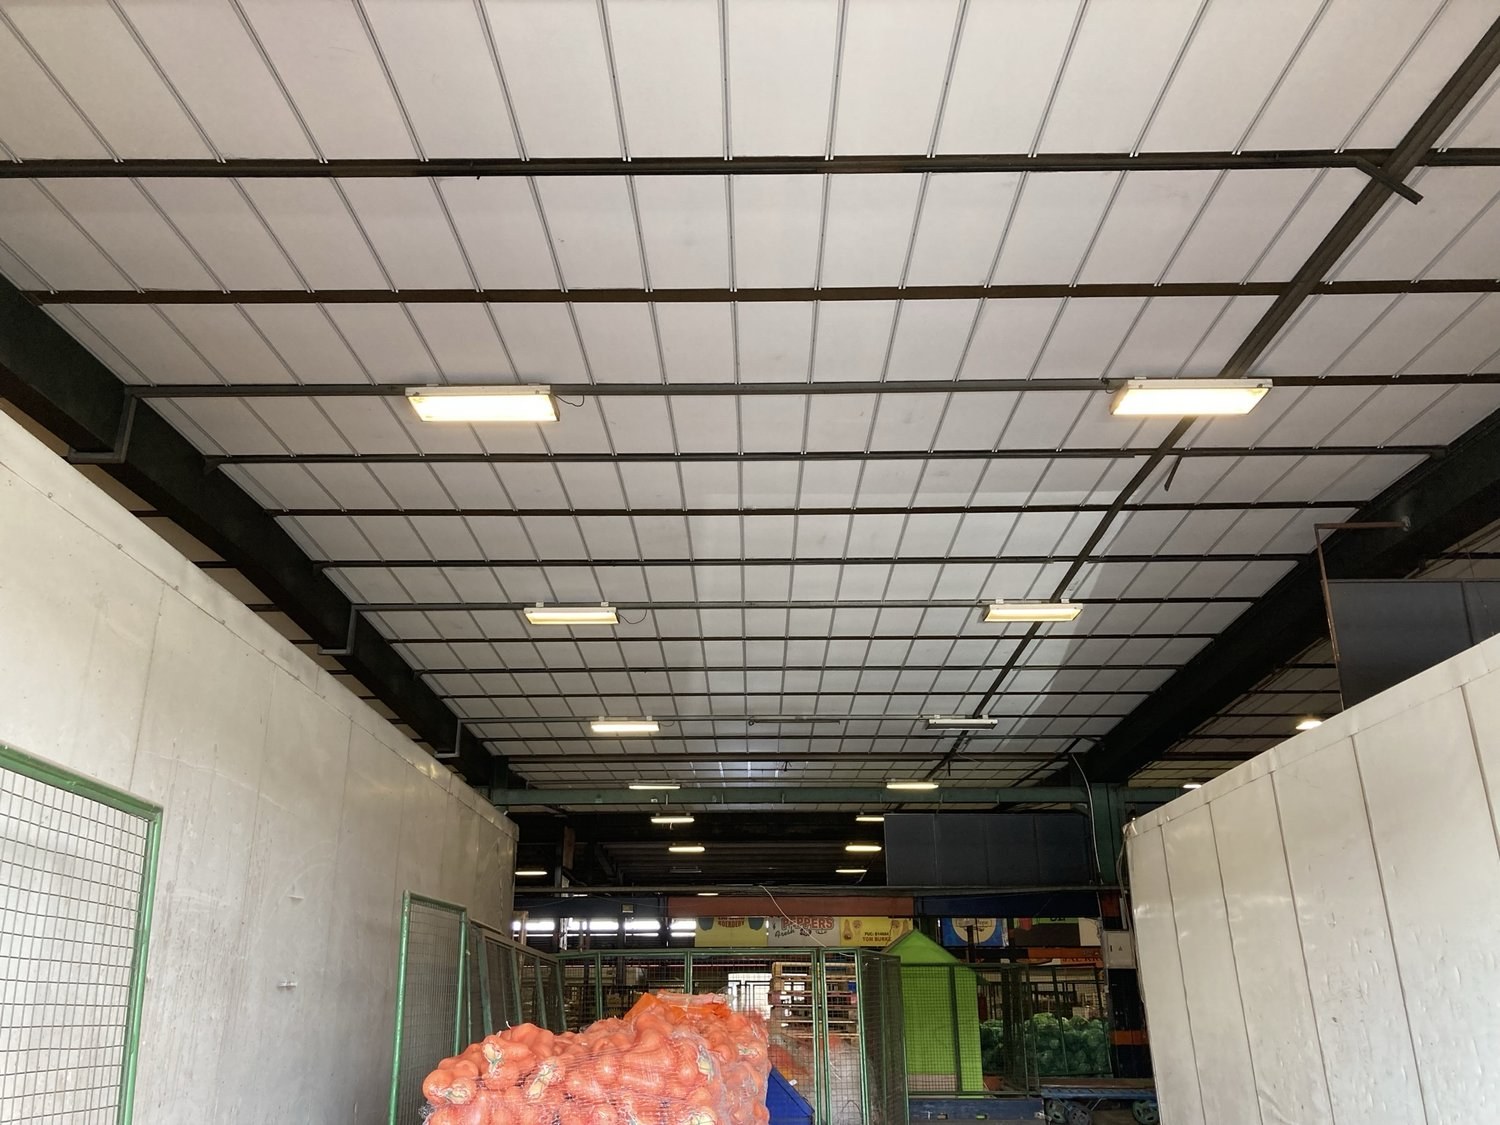
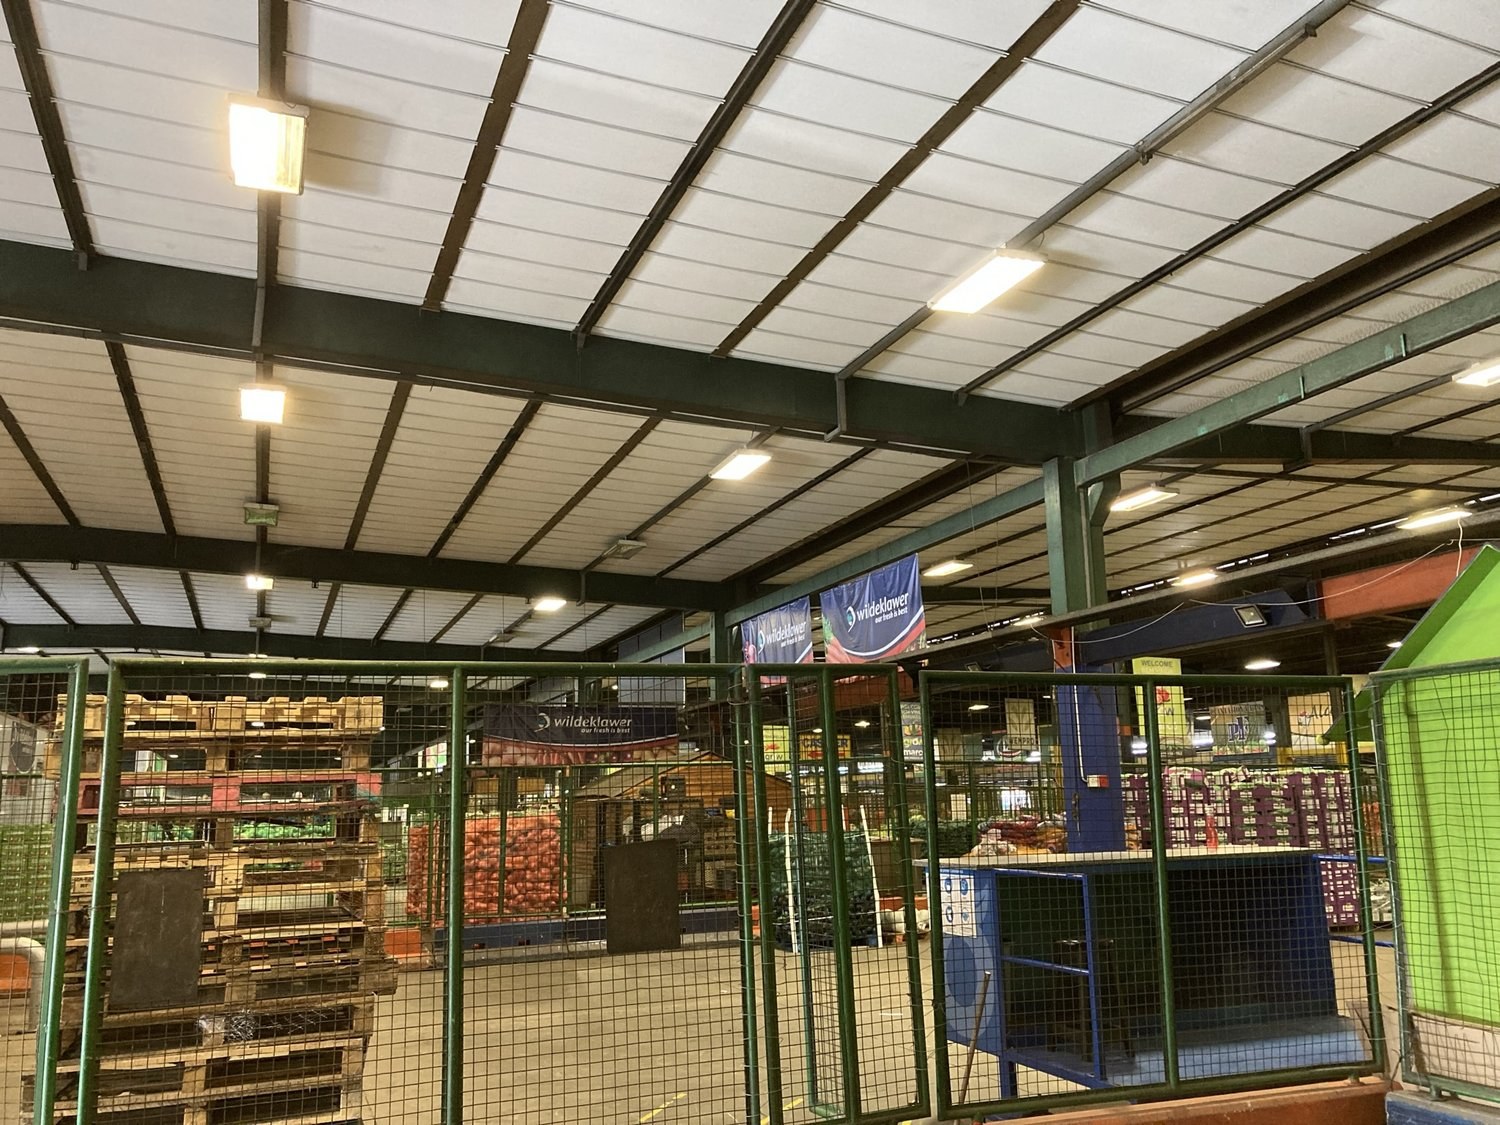
White panels installed between the green steel purlins of a fresh-produce market hall, over mesh cages and pallets of onions on the trading floor.PHOTO
White panels installed between the green steel purlins of a fresh-produce market hall, over mesh cages and pallets of onions on the trading floor.PolyCool & SuperCool
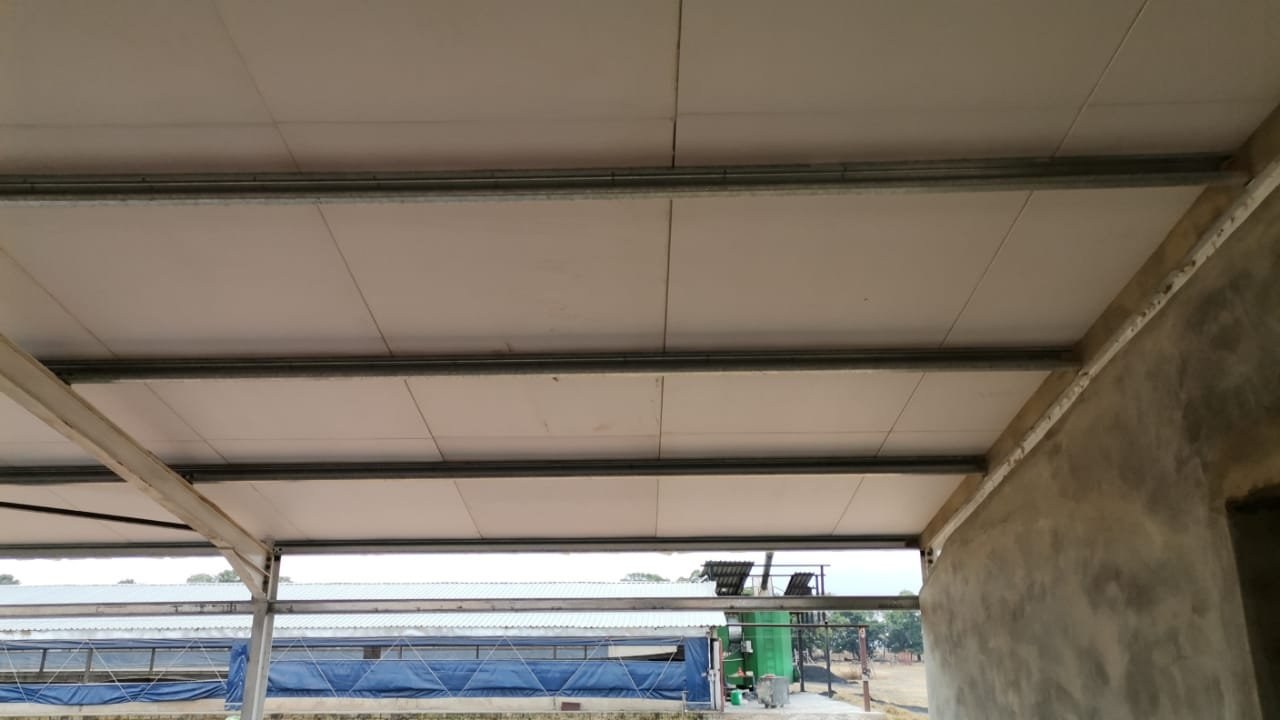
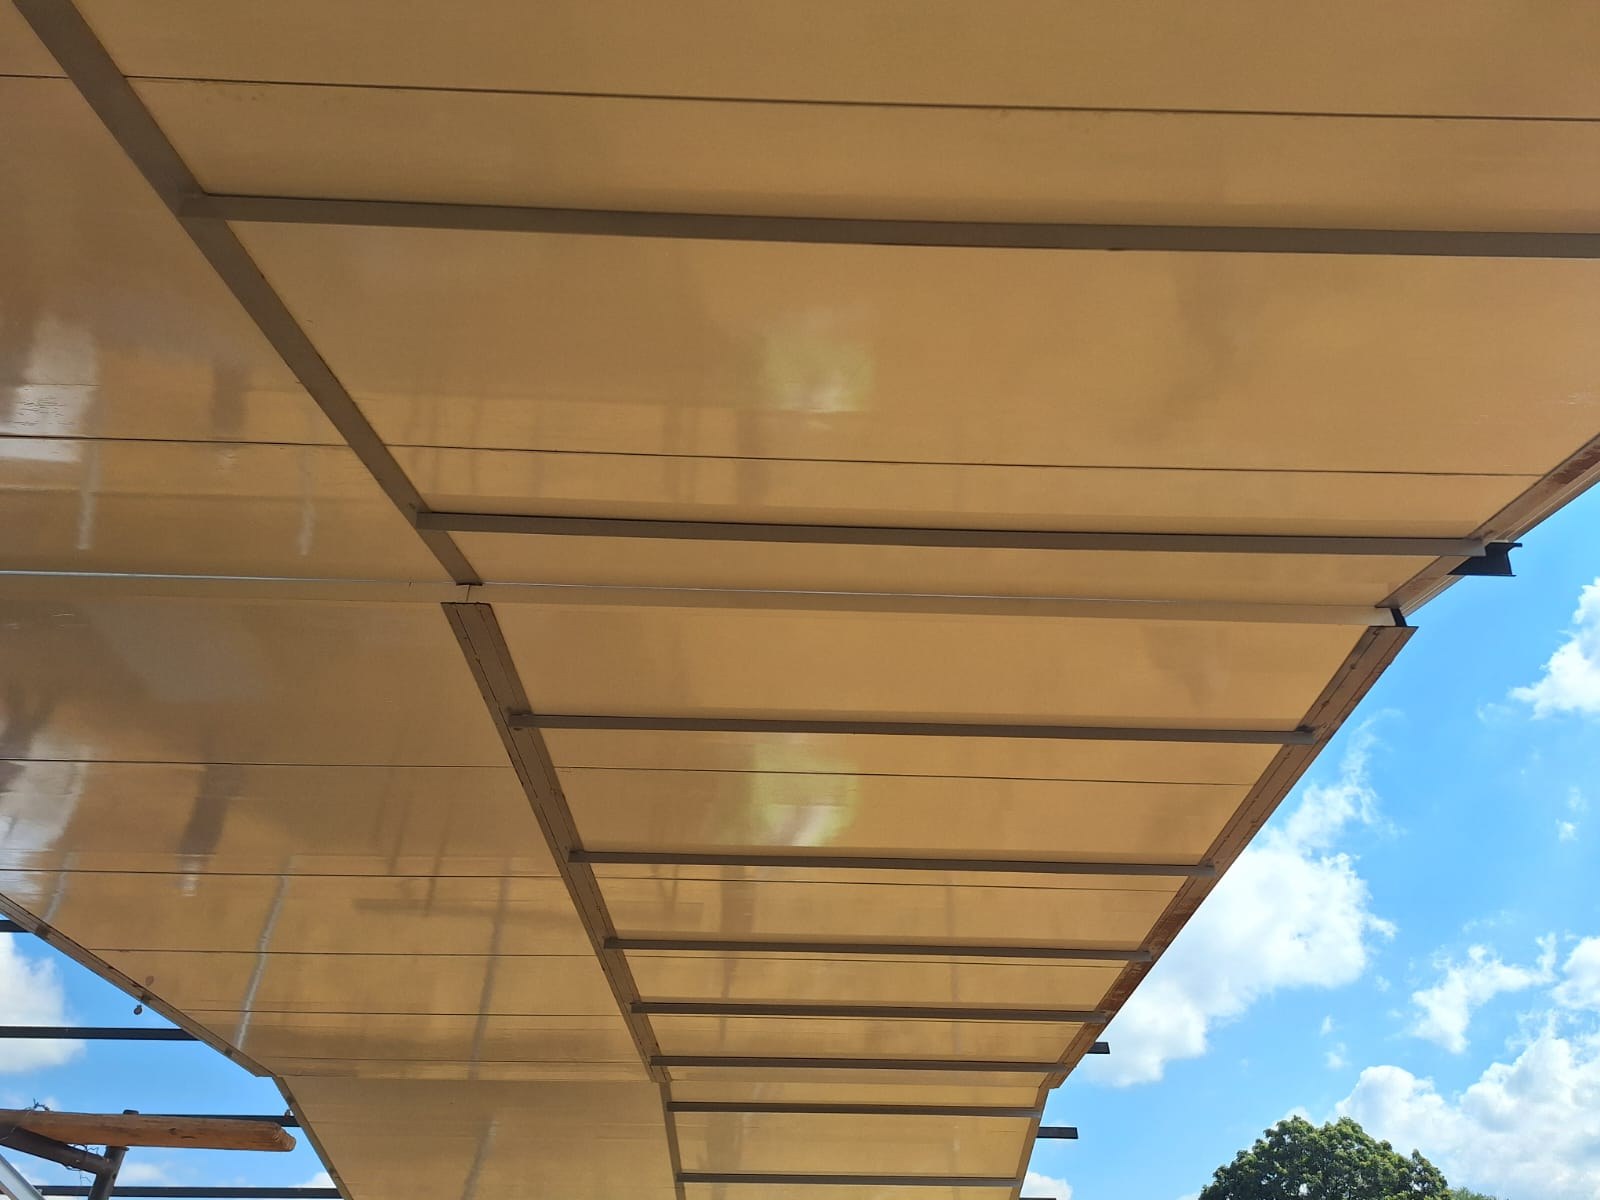
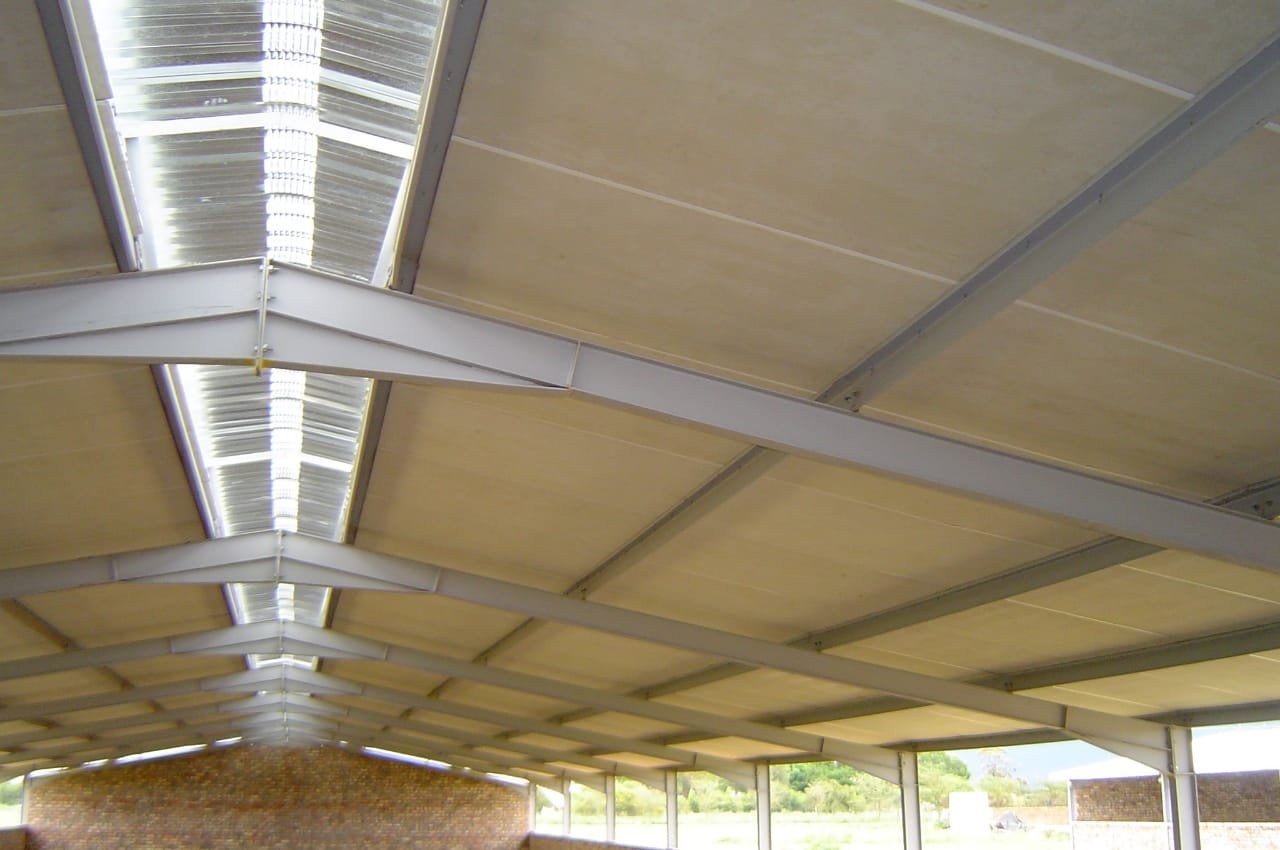
Underside of the cream faced panels seen from outside the building, fixed in bays between the purlins of the roof overhang.PHOTO
Underside of the cream faced panels seen from outside the building, fixed in bays between the purlins of the roof overhang.PolyCool & SuperCool
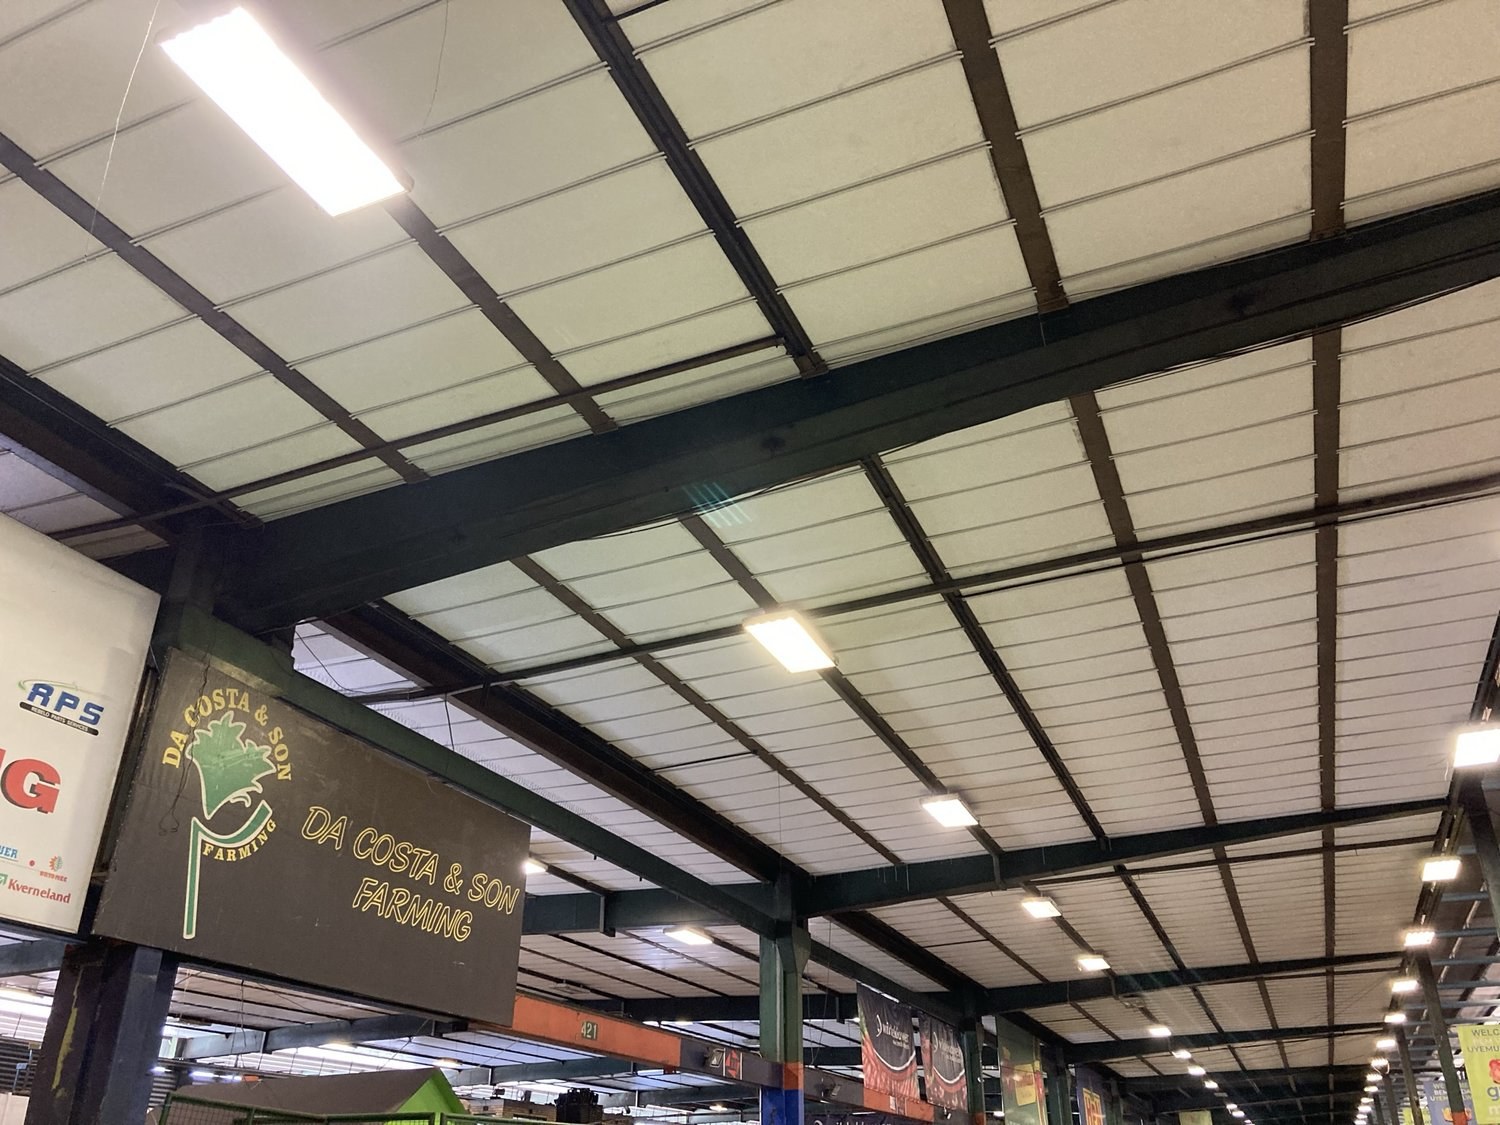
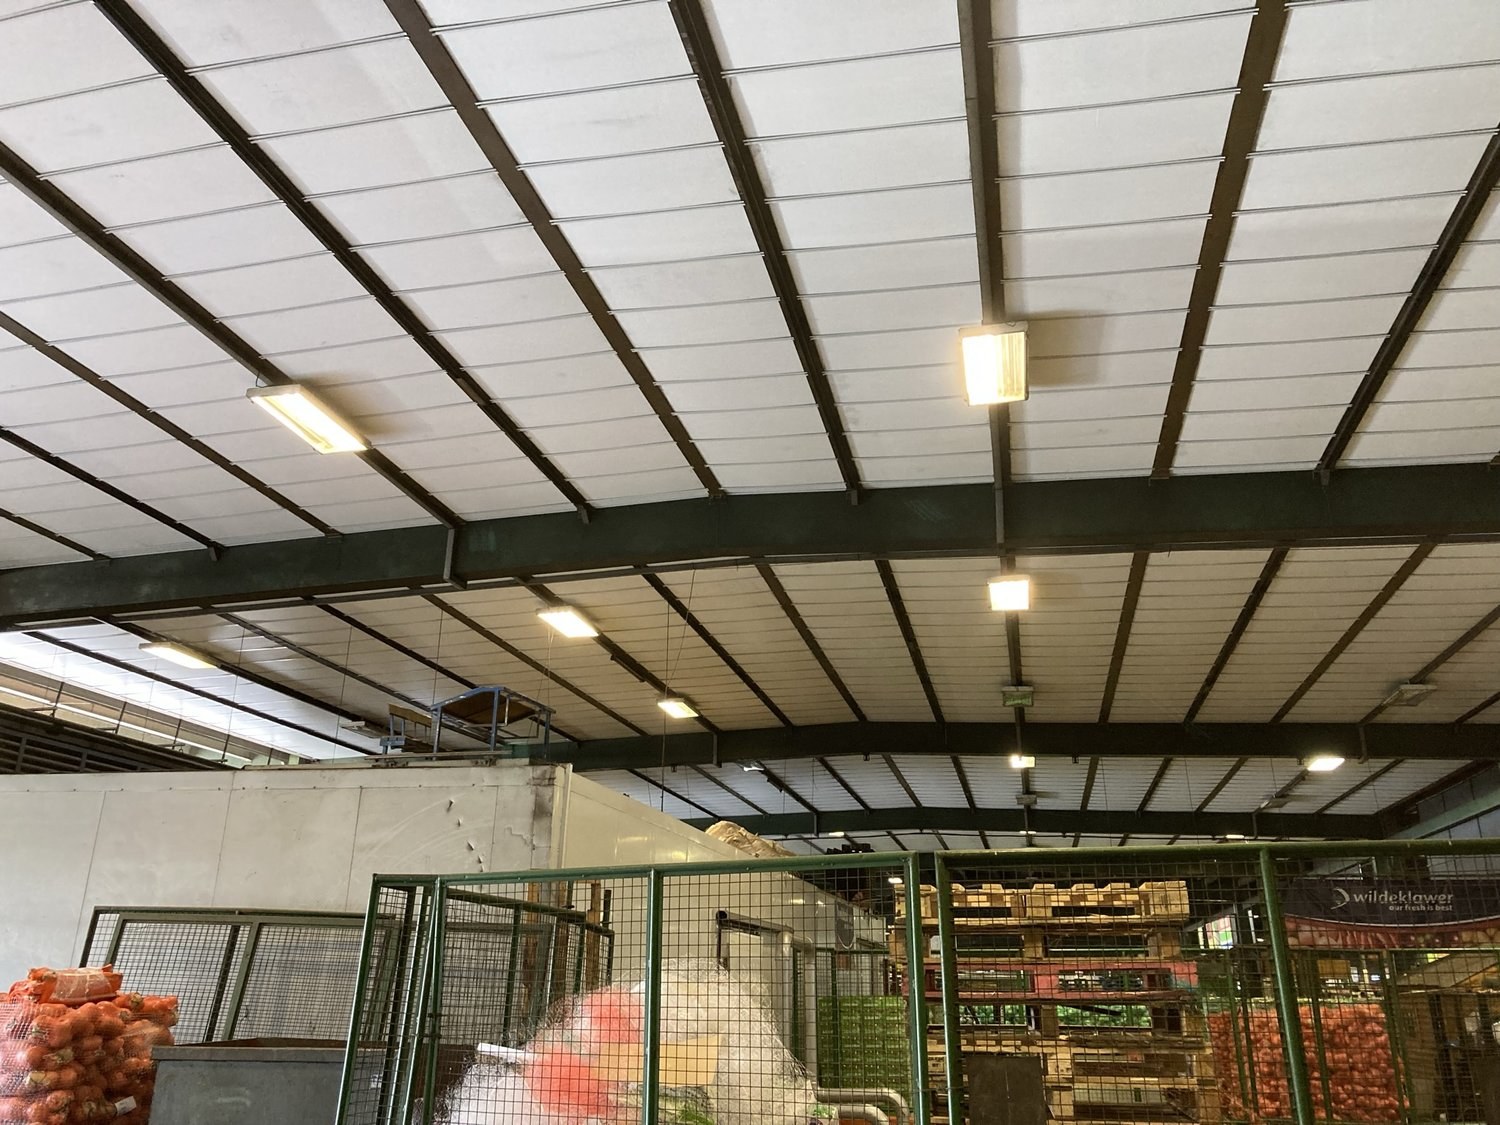
White panels covering the full ceiling field of a market trading aisle, between the steel beams and surface-mounted light fittings, above the produce cages.PHOTO
White panels covering the full ceiling field of a market trading aisle, between the steel beams and surface-mounted light fittings, above the produce cages.PolyCool & SuperCool
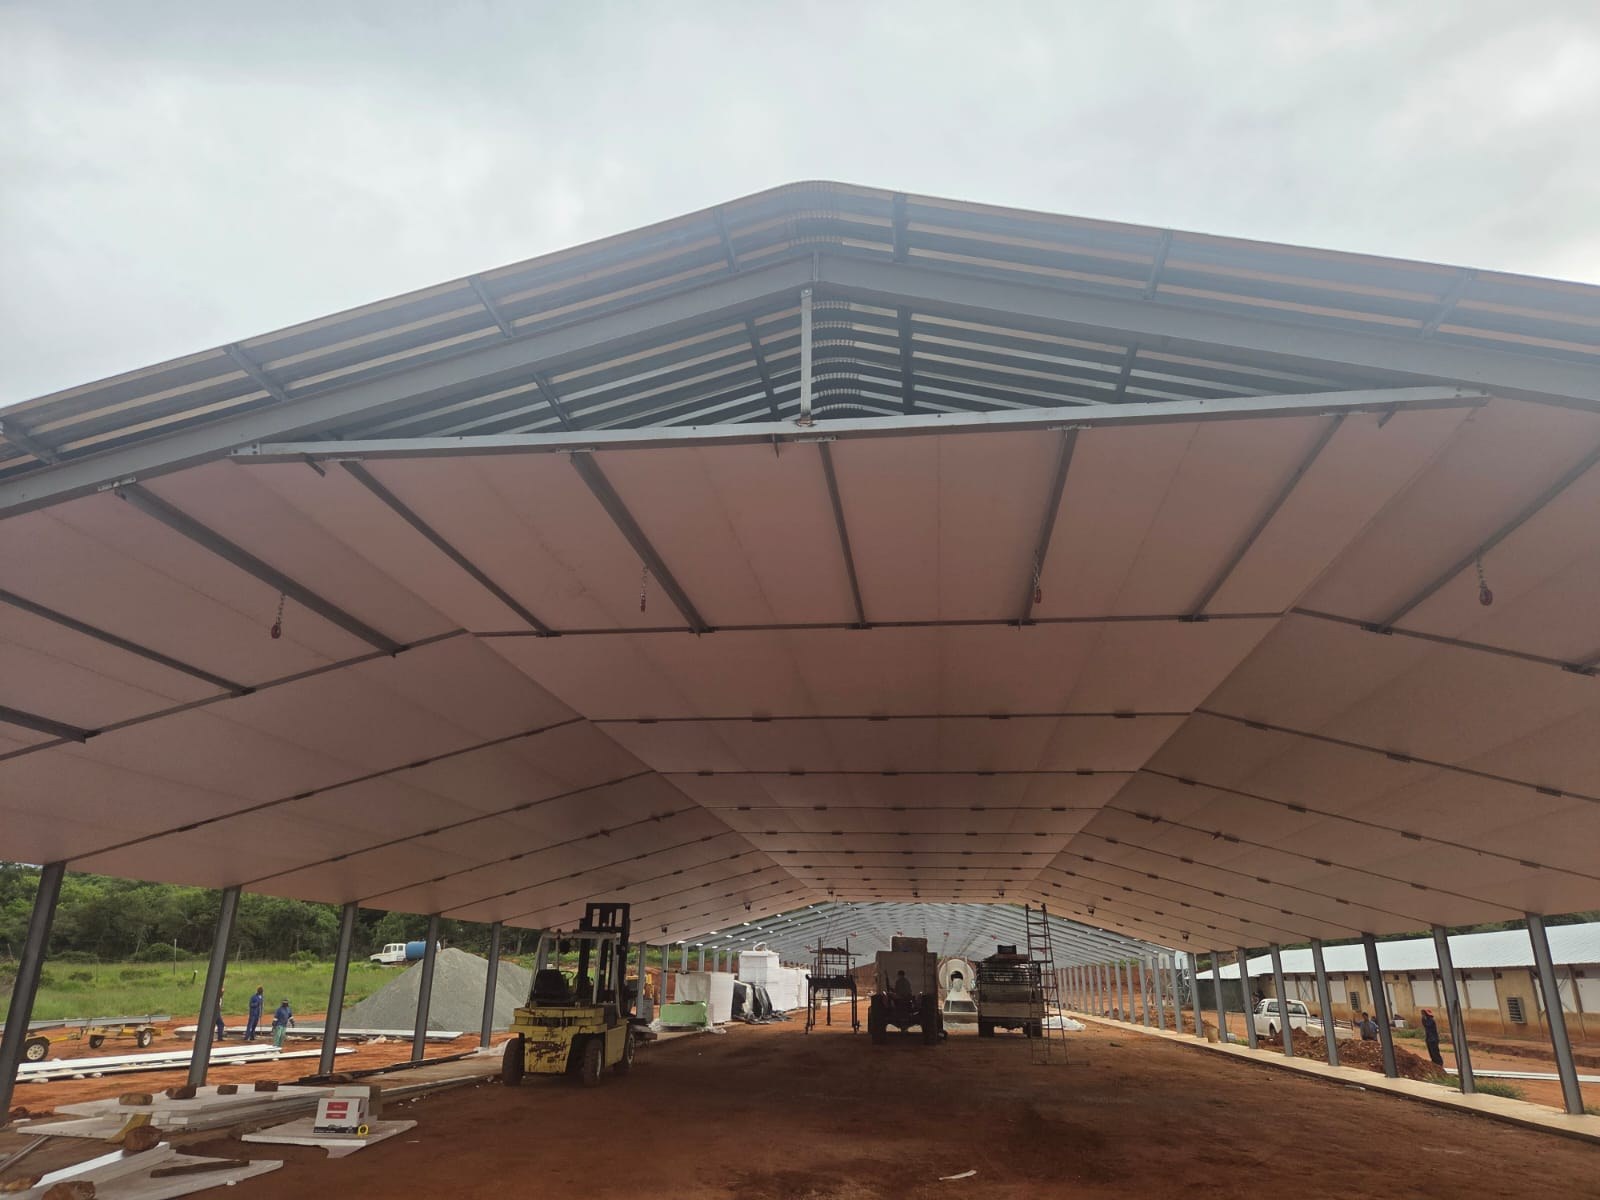
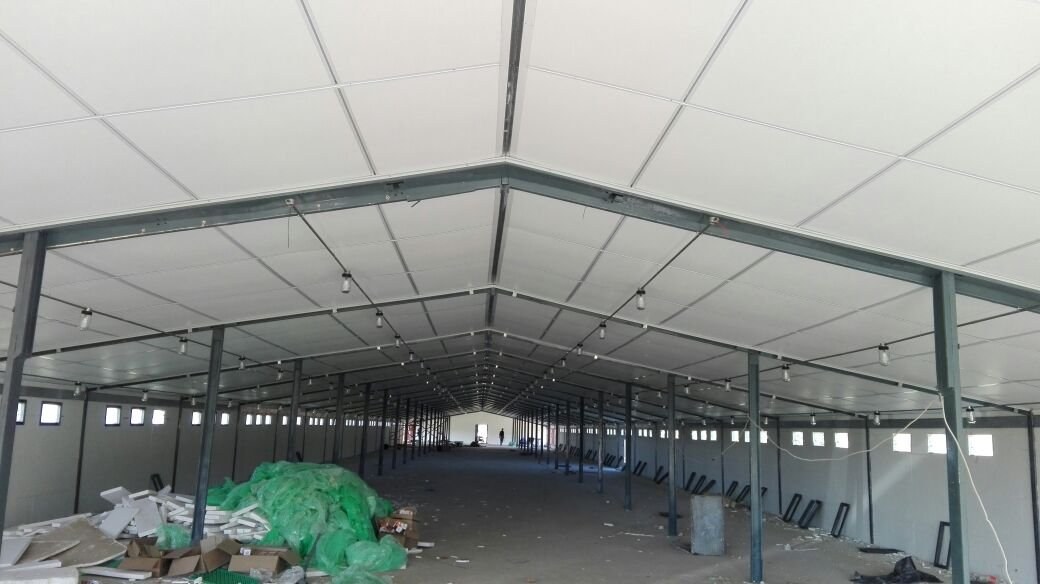
Cream faced panels being installed across both roof slopes of a wide-span agricultural building, with the apex bay still open and stacked boards and a forklift on the ground below.PHOTO
Cream faced panels being installed across both roof slopes of a wide-span agricultural building, with the apex bay still open and stacked boards and a forklift on the ground below.PolyCool & SuperCool
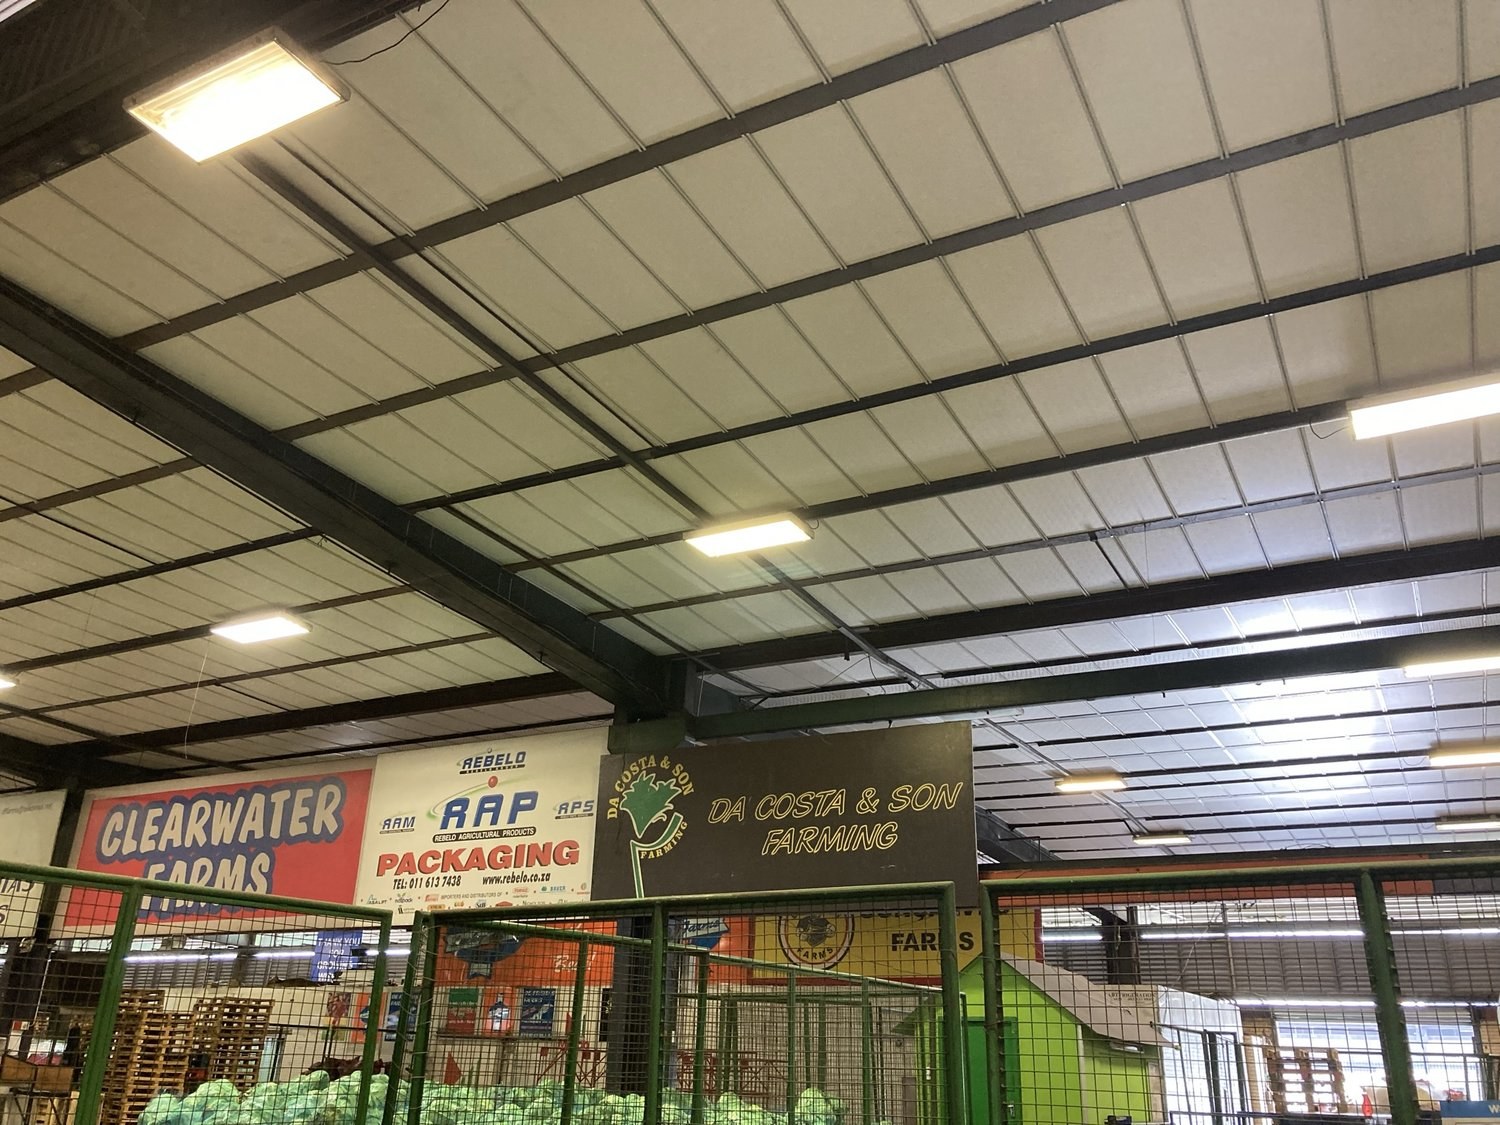
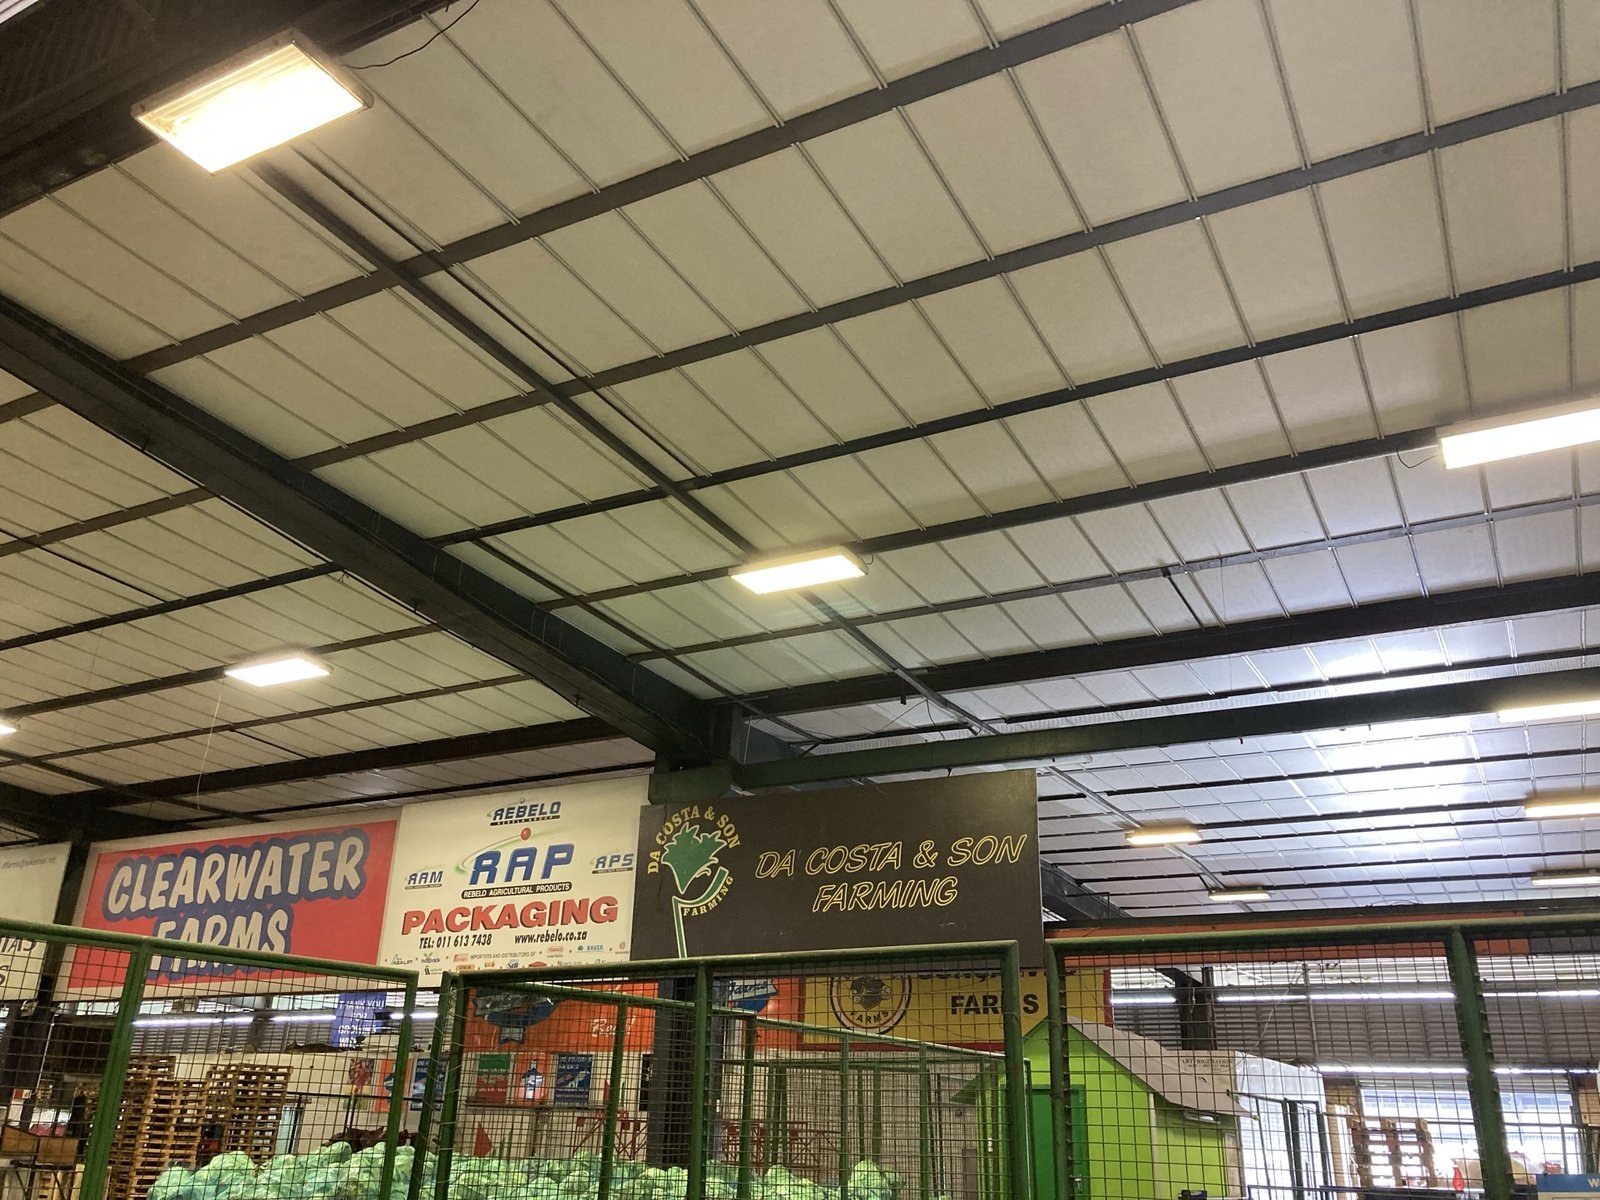
Insulated ceiling panels overhead in an agricultural packhouse, farm and packaging company signage on the walls belowPHOTO
Insulated ceiling panels overhead in an agricultural packhouse, farm and packaging company signage on the walls belowPolyCool & SuperCool
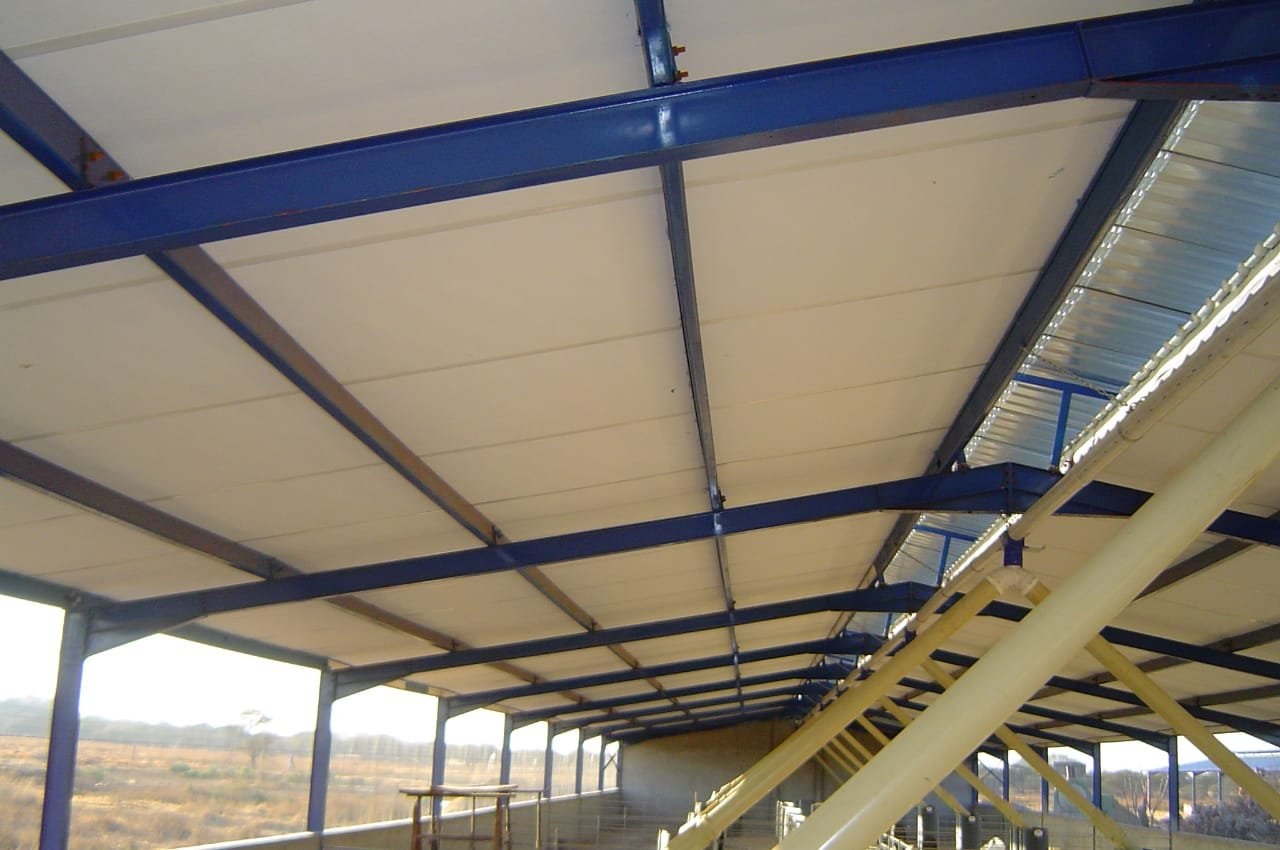
Insulated ceiling panels fitted under blue steel roof trusses, feed auger pipes running the length of the shedPHOTO
Insulated ceiling panels fitted under blue steel roof trusses, feed auger pipes running the length of the shedPolyCool & SuperCool
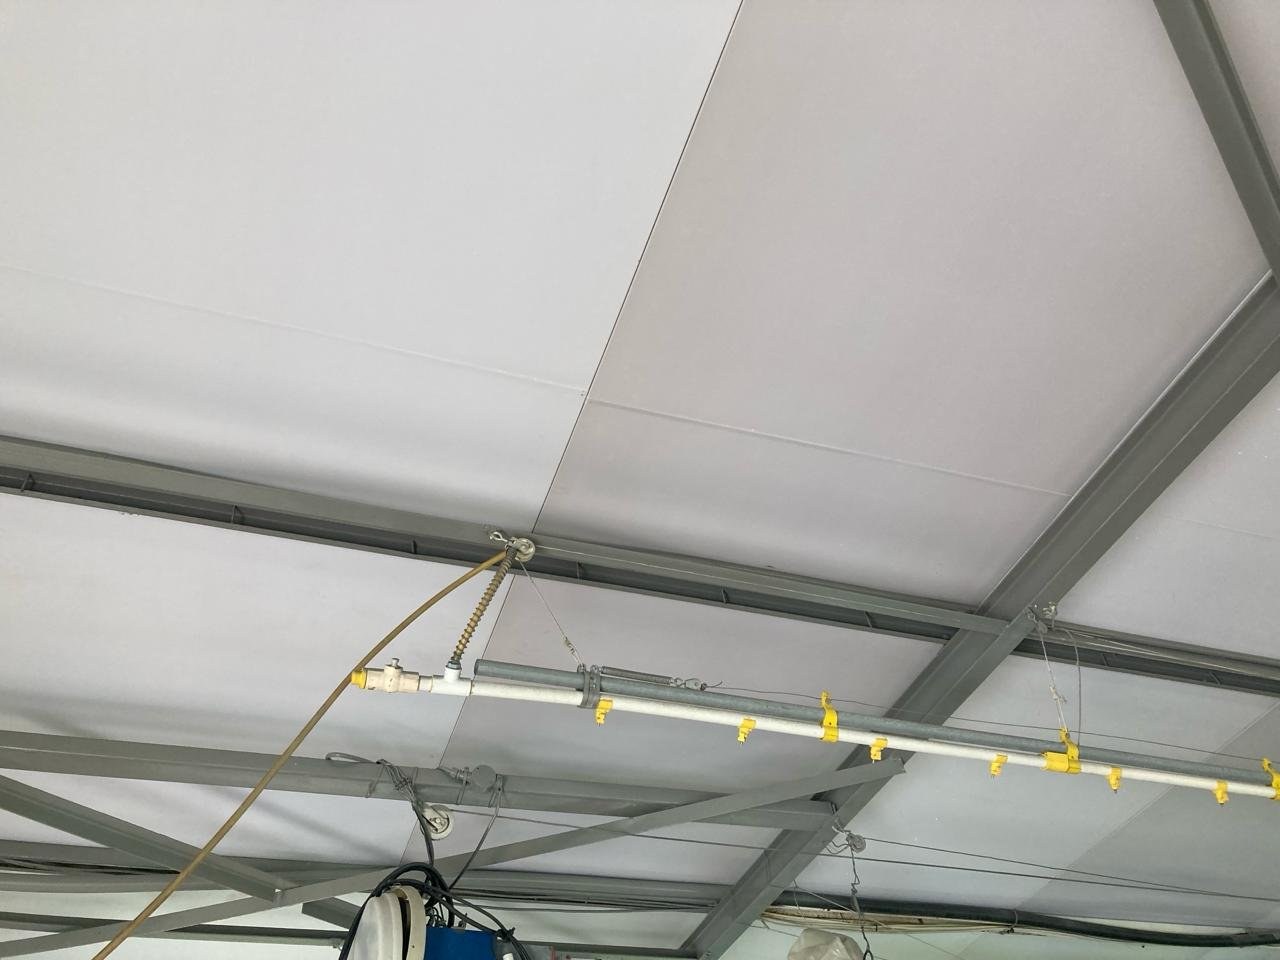
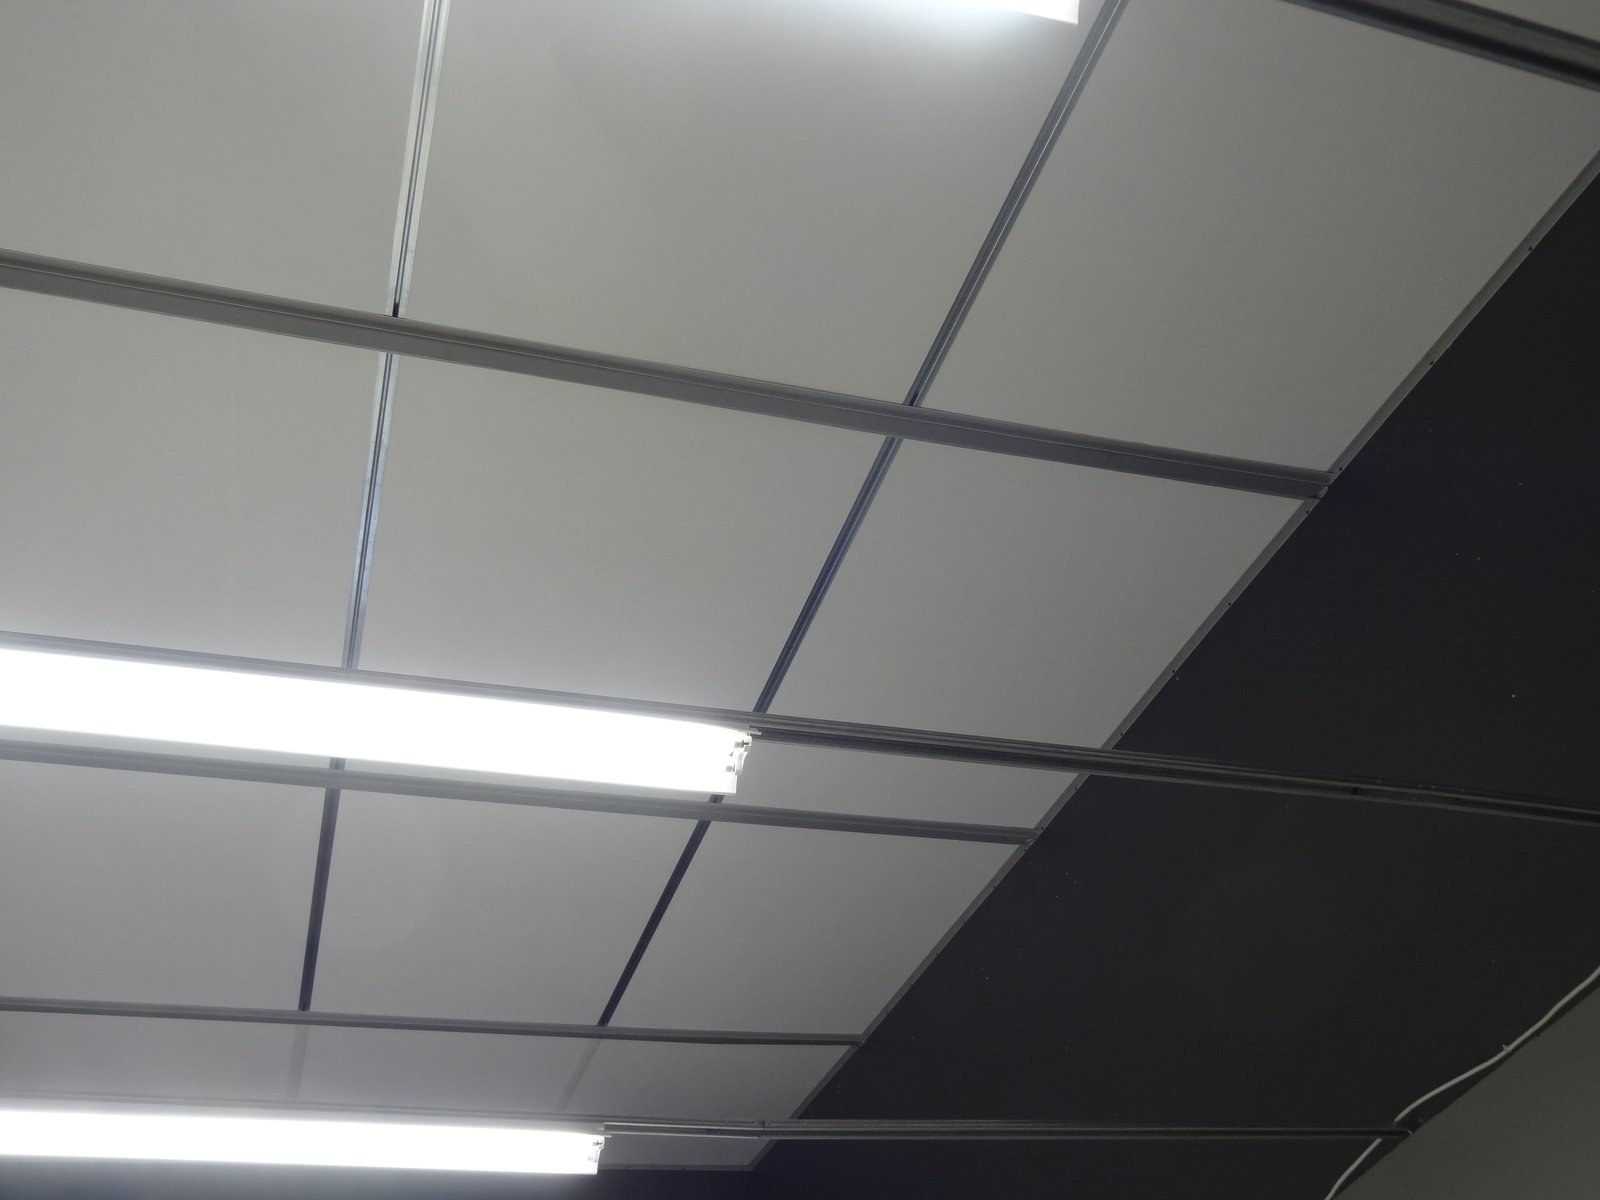
Close-up of ceiling panel joints with light fittings mounted along the seamsPHOTO
Close-up of ceiling panel joints with light fittings mounted along the seamsPolyCool & SuperCool
Wall and ceiling panel join at a roof skylight opening, building still under constructionPHOTO
Wall and ceiling panel join at a roof skylight opening, building still under constructionPolyCool & SuperCool
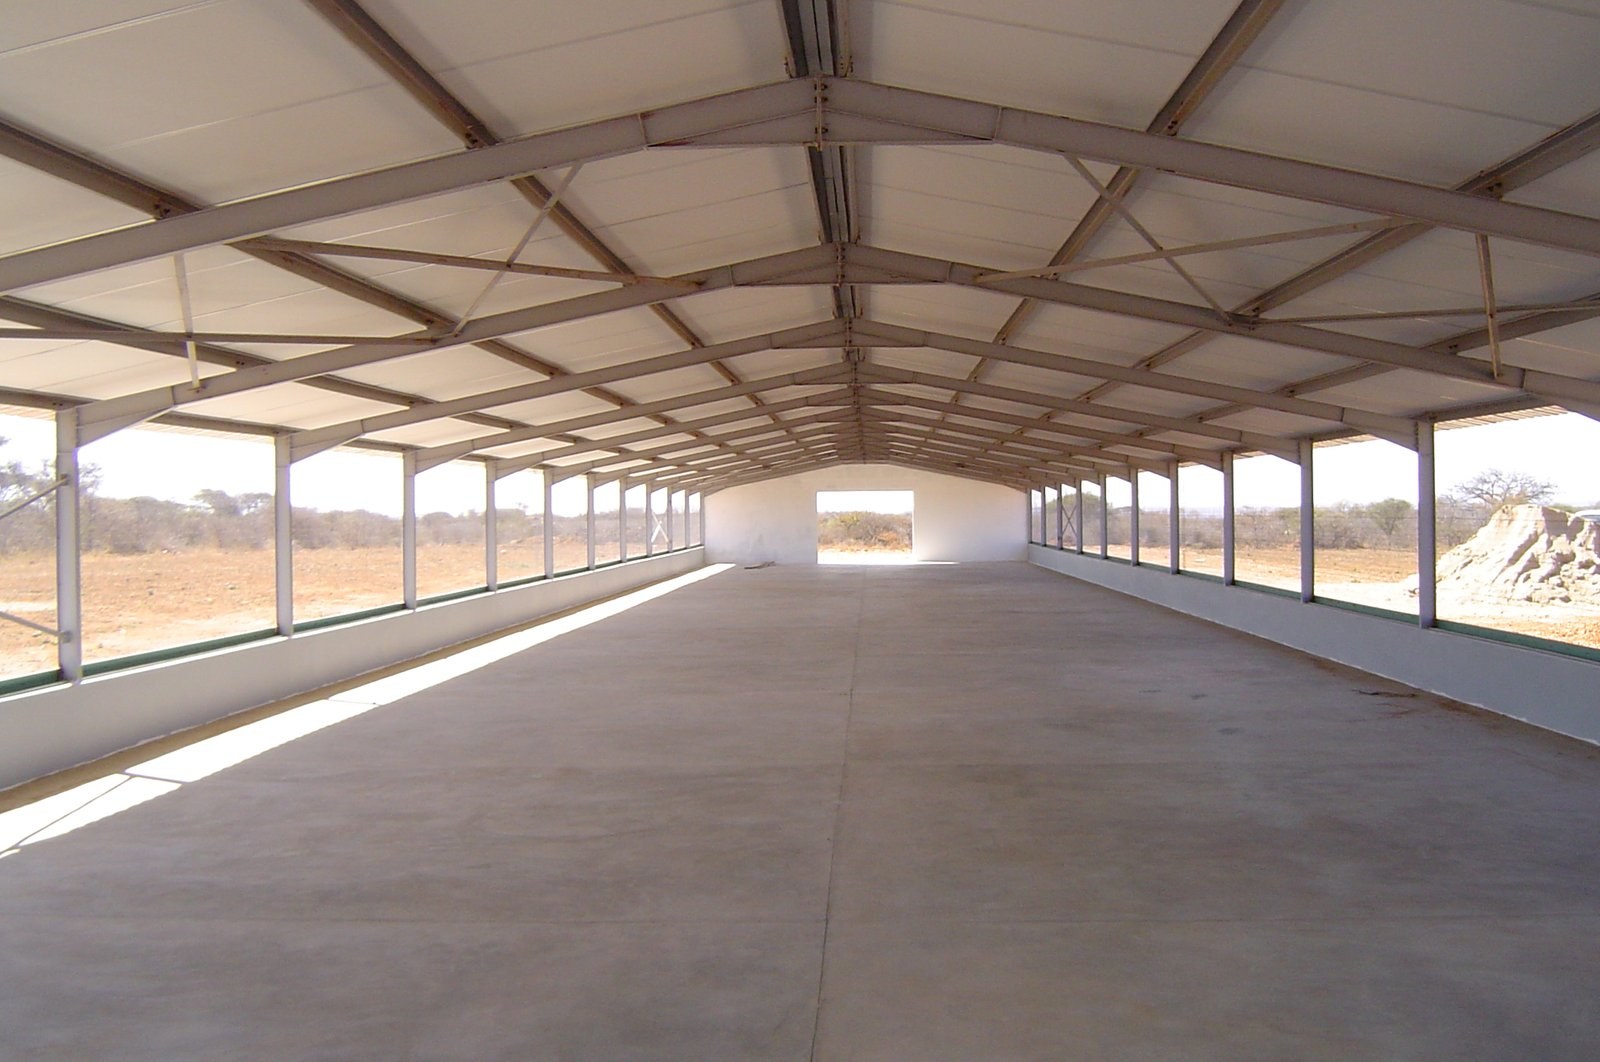
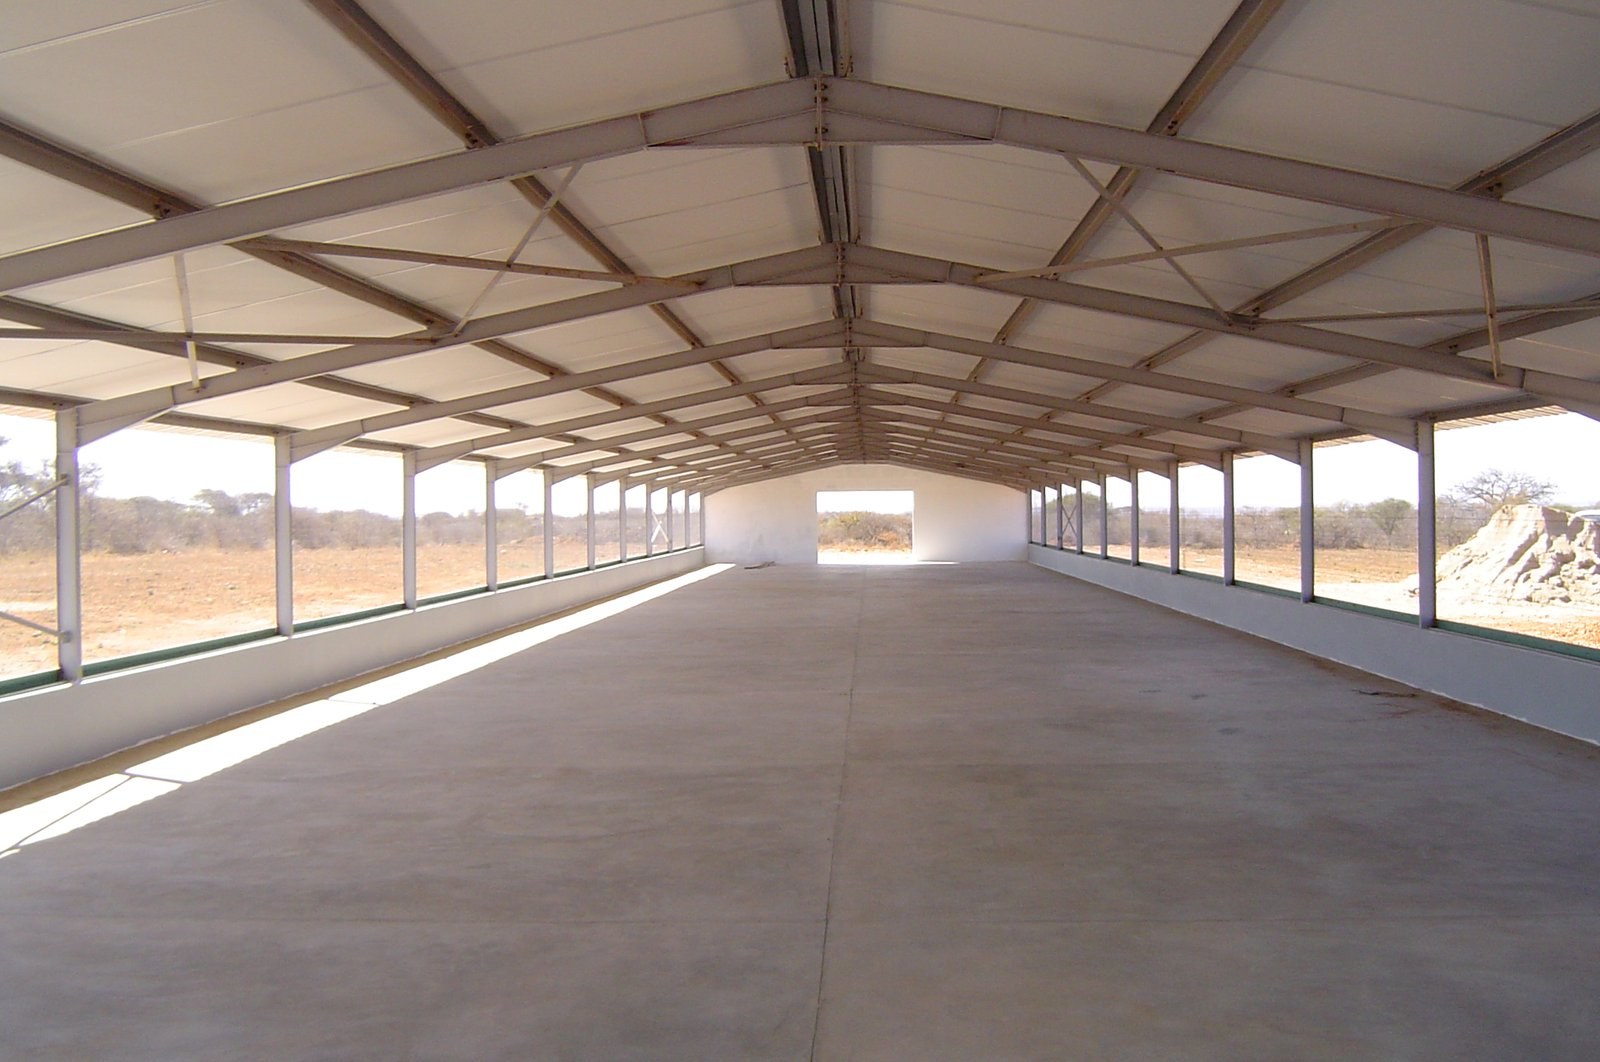
Completed open-sided shed with insulated roof panels over brick knee walls, veld settingPHOTO
Completed open-sided shed with insulated roof panels over brick knee walls, veld settingPolyCool & SuperCool
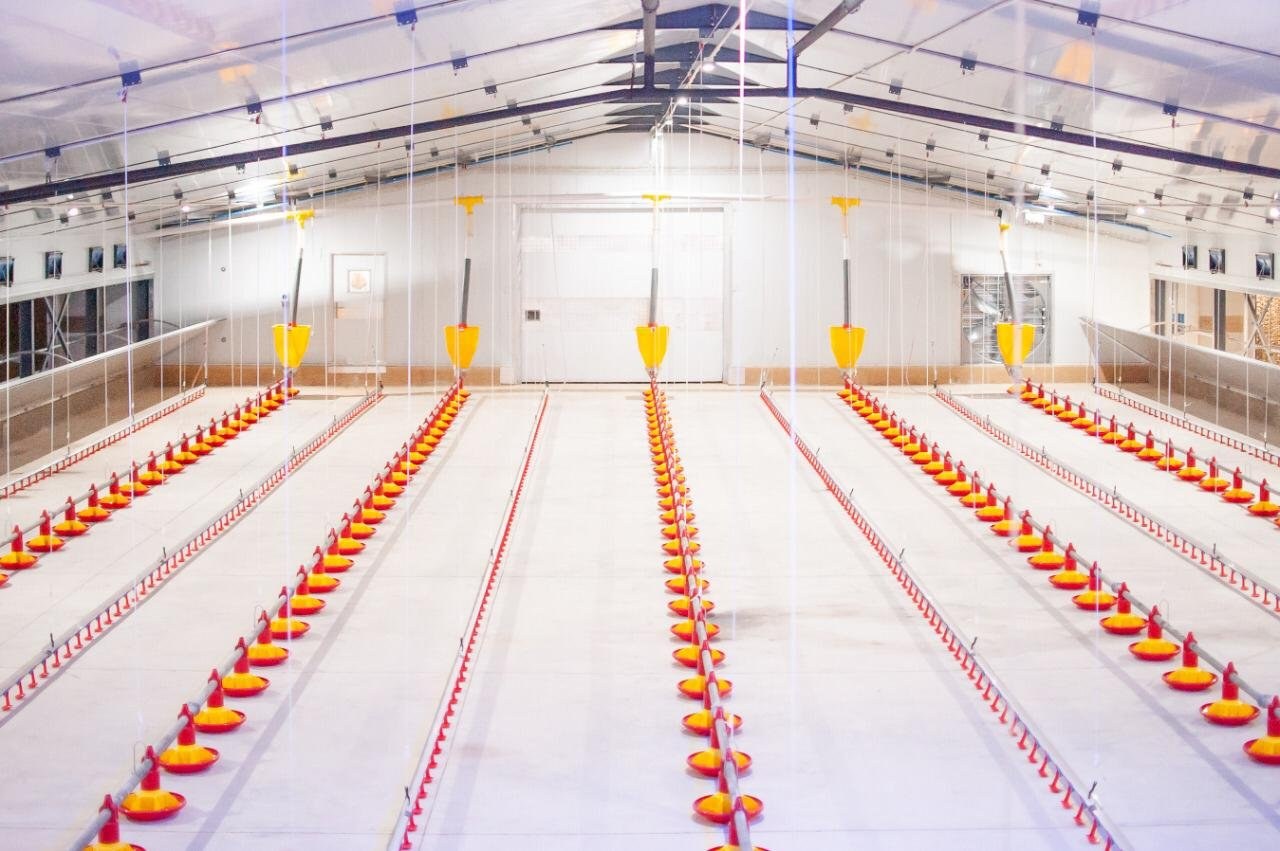
Poultry house interior with insulated ceiling and a ridge skylight, feeder pans in rows belowPHOTO
Poultry house interior with insulated ceiling and a ridge skylight, feeder pans in rows belowPolyCool & SuperCool
Poultry house aisle with insulated ceiling panels, tunnel ventilation fans lit at the far endPHOTO
Poultry house aisle with insulated ceiling panels, tunnel ventilation fans lit at the far endPolyCool & SuperCool
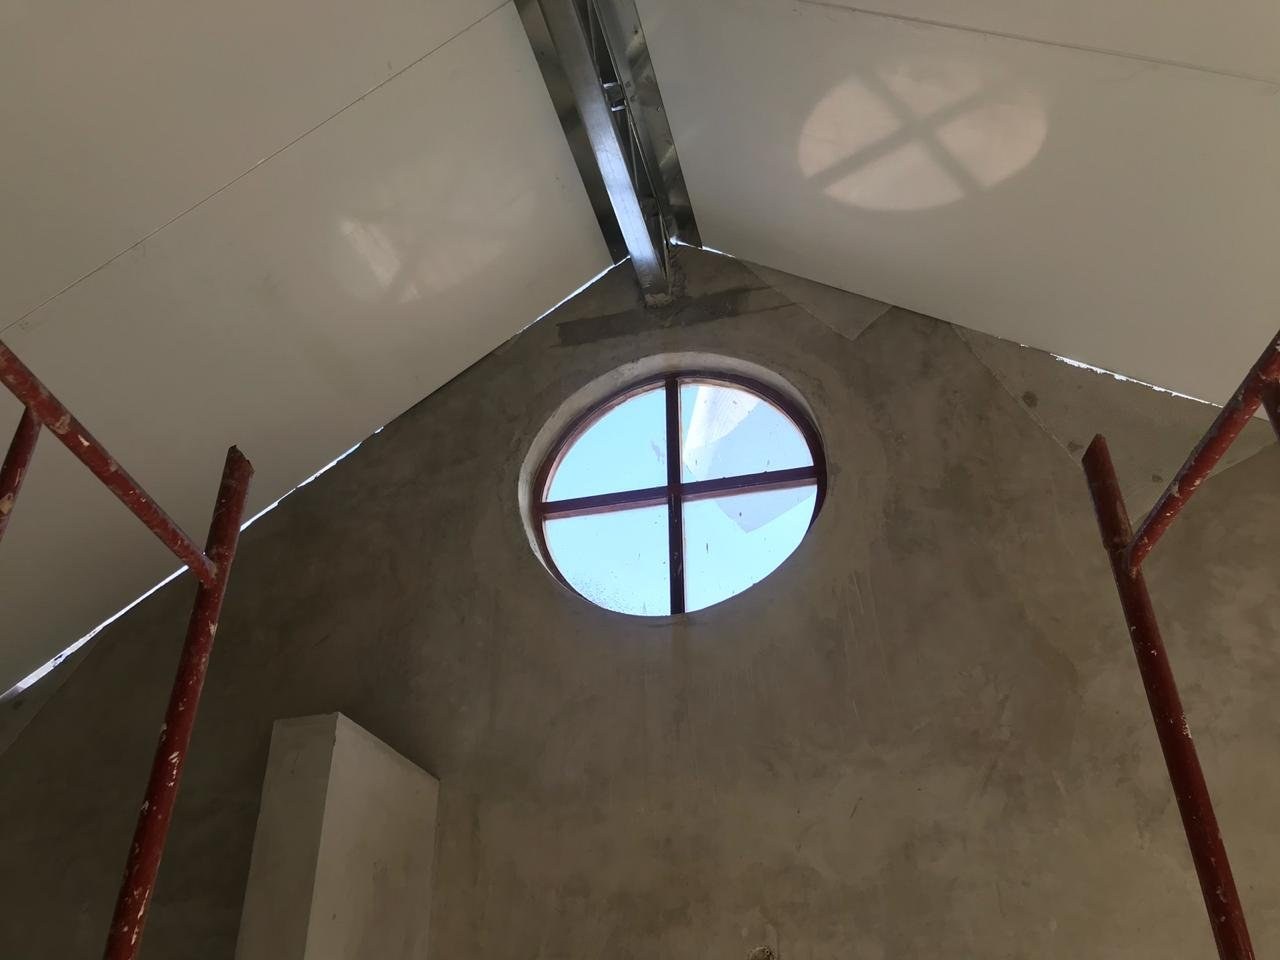
Roof apex and skylight joint on an insulated ceiling, brick gable wall belowPHOTO
Roof apex and skylight joint on an insulated ceiling, brick gable wall belowPolyCool & SuperCool
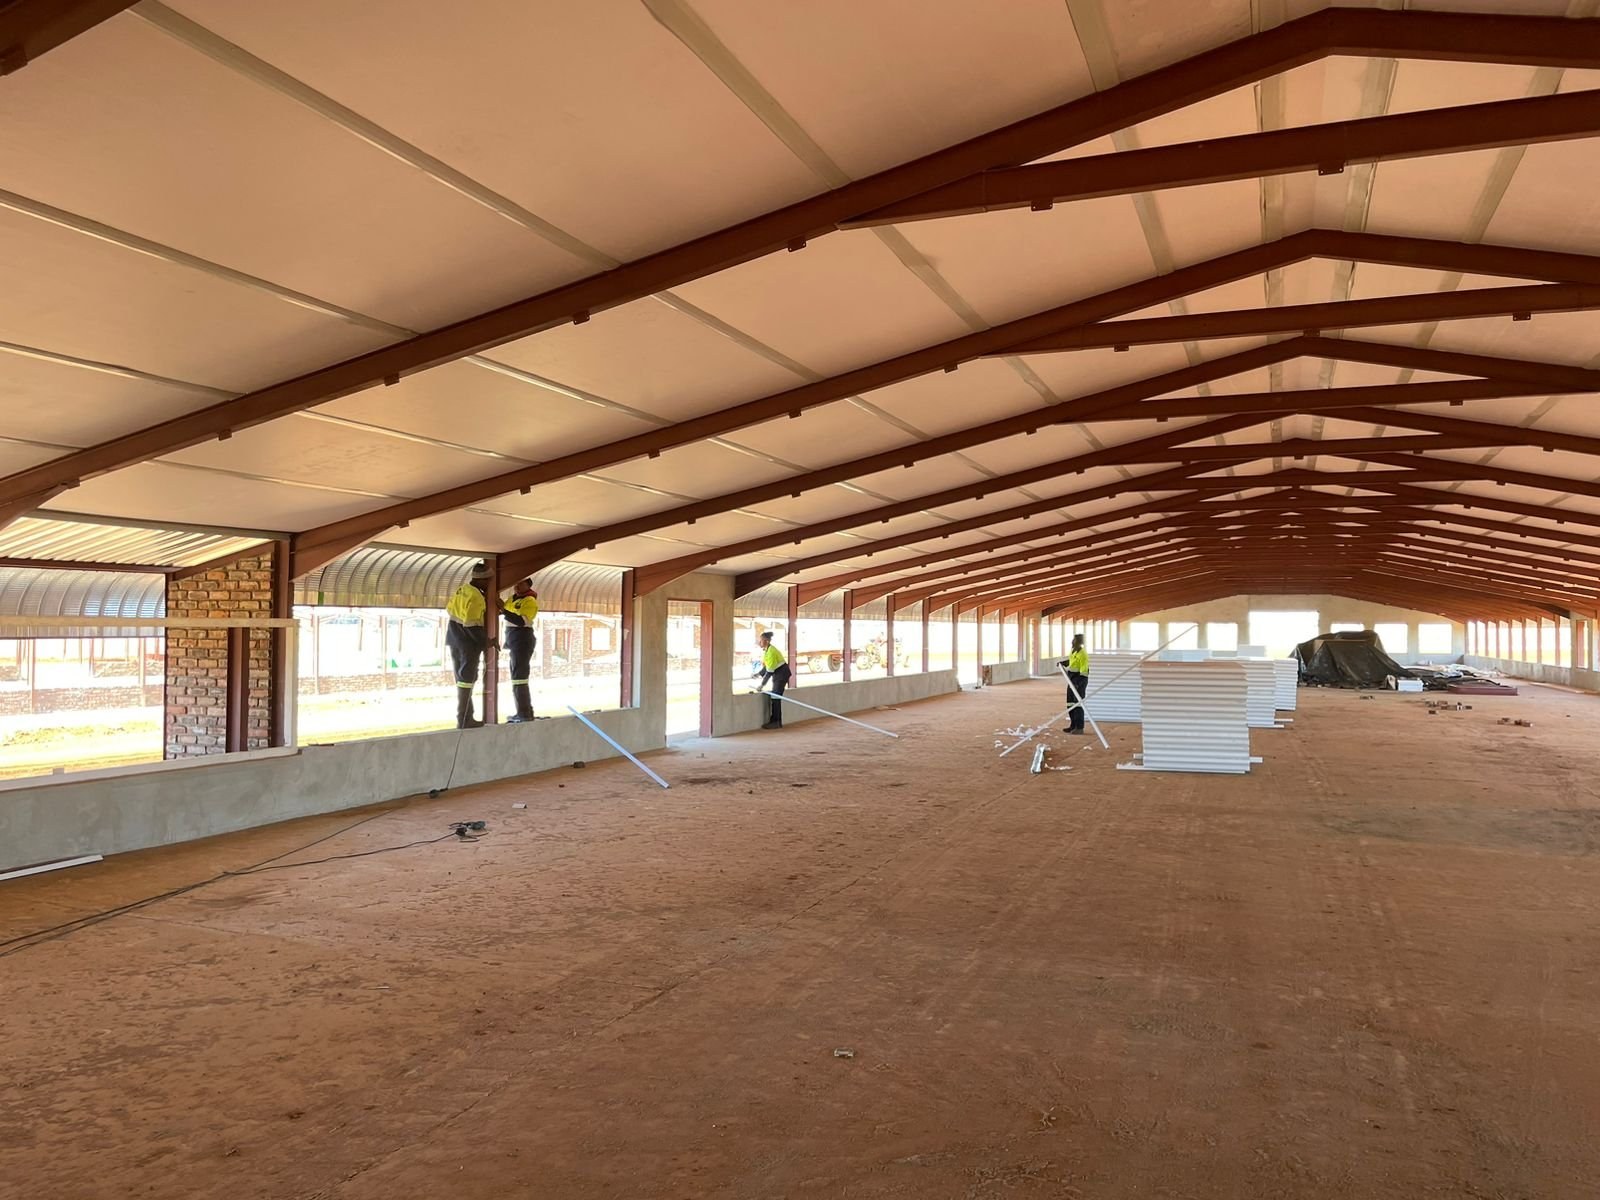
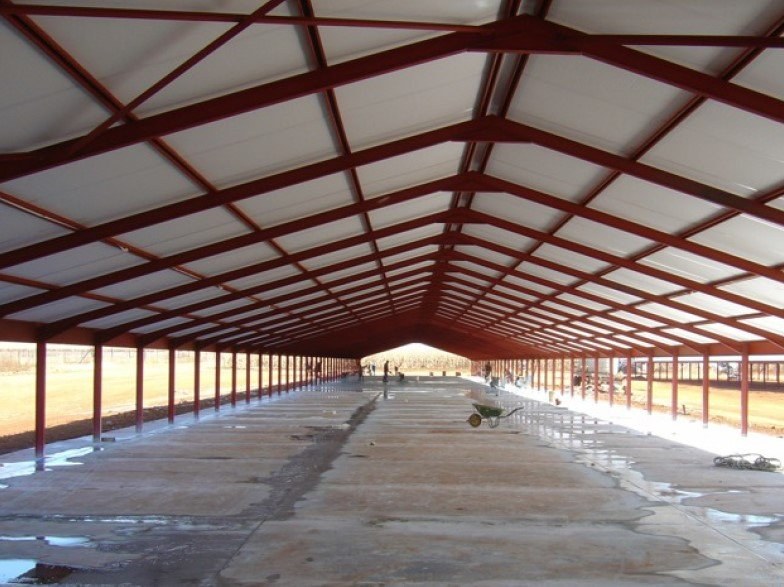
Shed under construction with red steel trusses and insulated ceiling panels overhead, workers moving a wheelbarrow across the wet concrete floorPHOTO
Shed under construction with red steel trusses and insulated ceiling panels overhead, workers moving a wheelbarrow across the wet concrete floorPolyCool & SuperCool
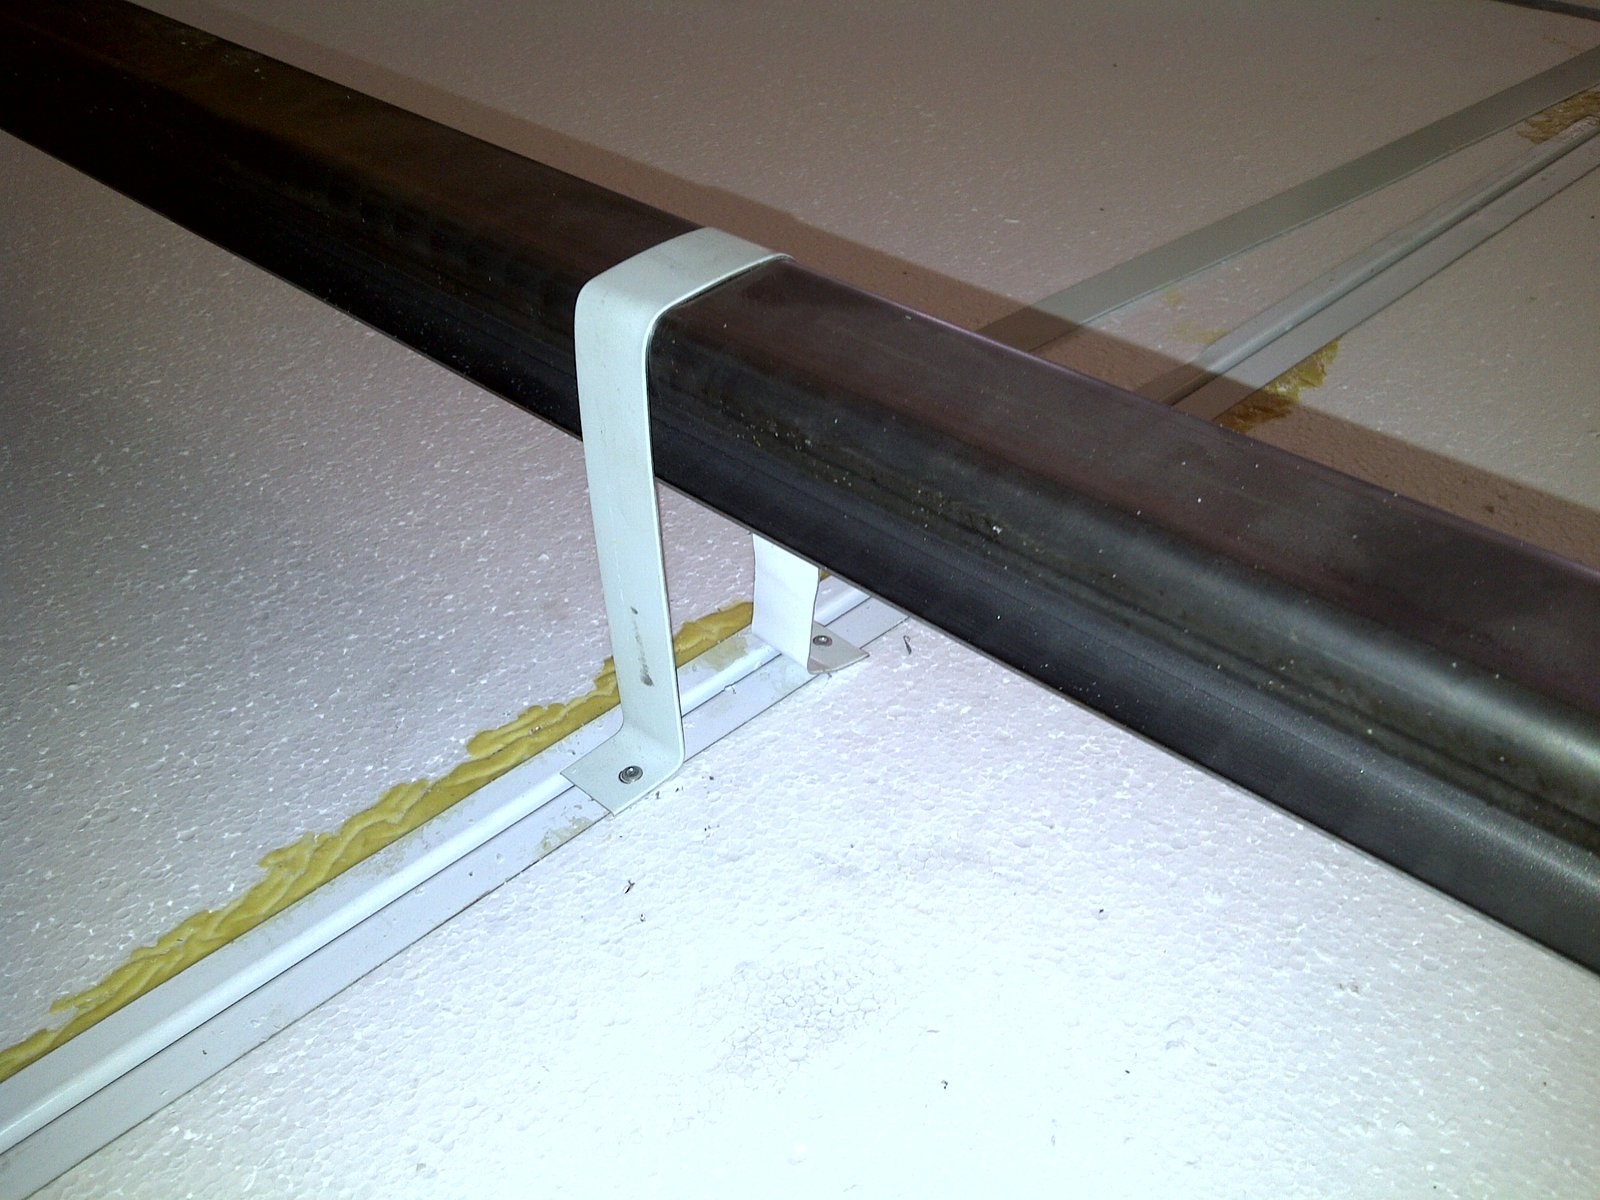
Close-up of a clip bracket securing a ridge bar over an insulated panel seamPHOTO
Close-up of a clip bracket securing a ridge bar over an insulated panel seamPolyCool & SuperCool
Top-down view of a steel panel frame with EPS core boards assembled inside, workshop floorPHOTO
Top-down view of a steel panel frame with EPS core boards assembled inside, workshop floorPolyCool & SuperCool
Close-up of a panel edge joint with adhesive applied along the seamPHOTO
Close-up of a panel edge joint with adhesive applied along the seamPolyCool & SuperCool
Close-up of a tongue-and-groove edge profile on an EPS panelPHOTO
Close-up of a tongue-and-groove edge profile on an EPS panelPolyCool & SuperCool
Worker finishing the edge of an EPS panel in the workshopPHOTO
Worker finishing the edge of an EPS panel in the workshopPolyCool & SuperCool
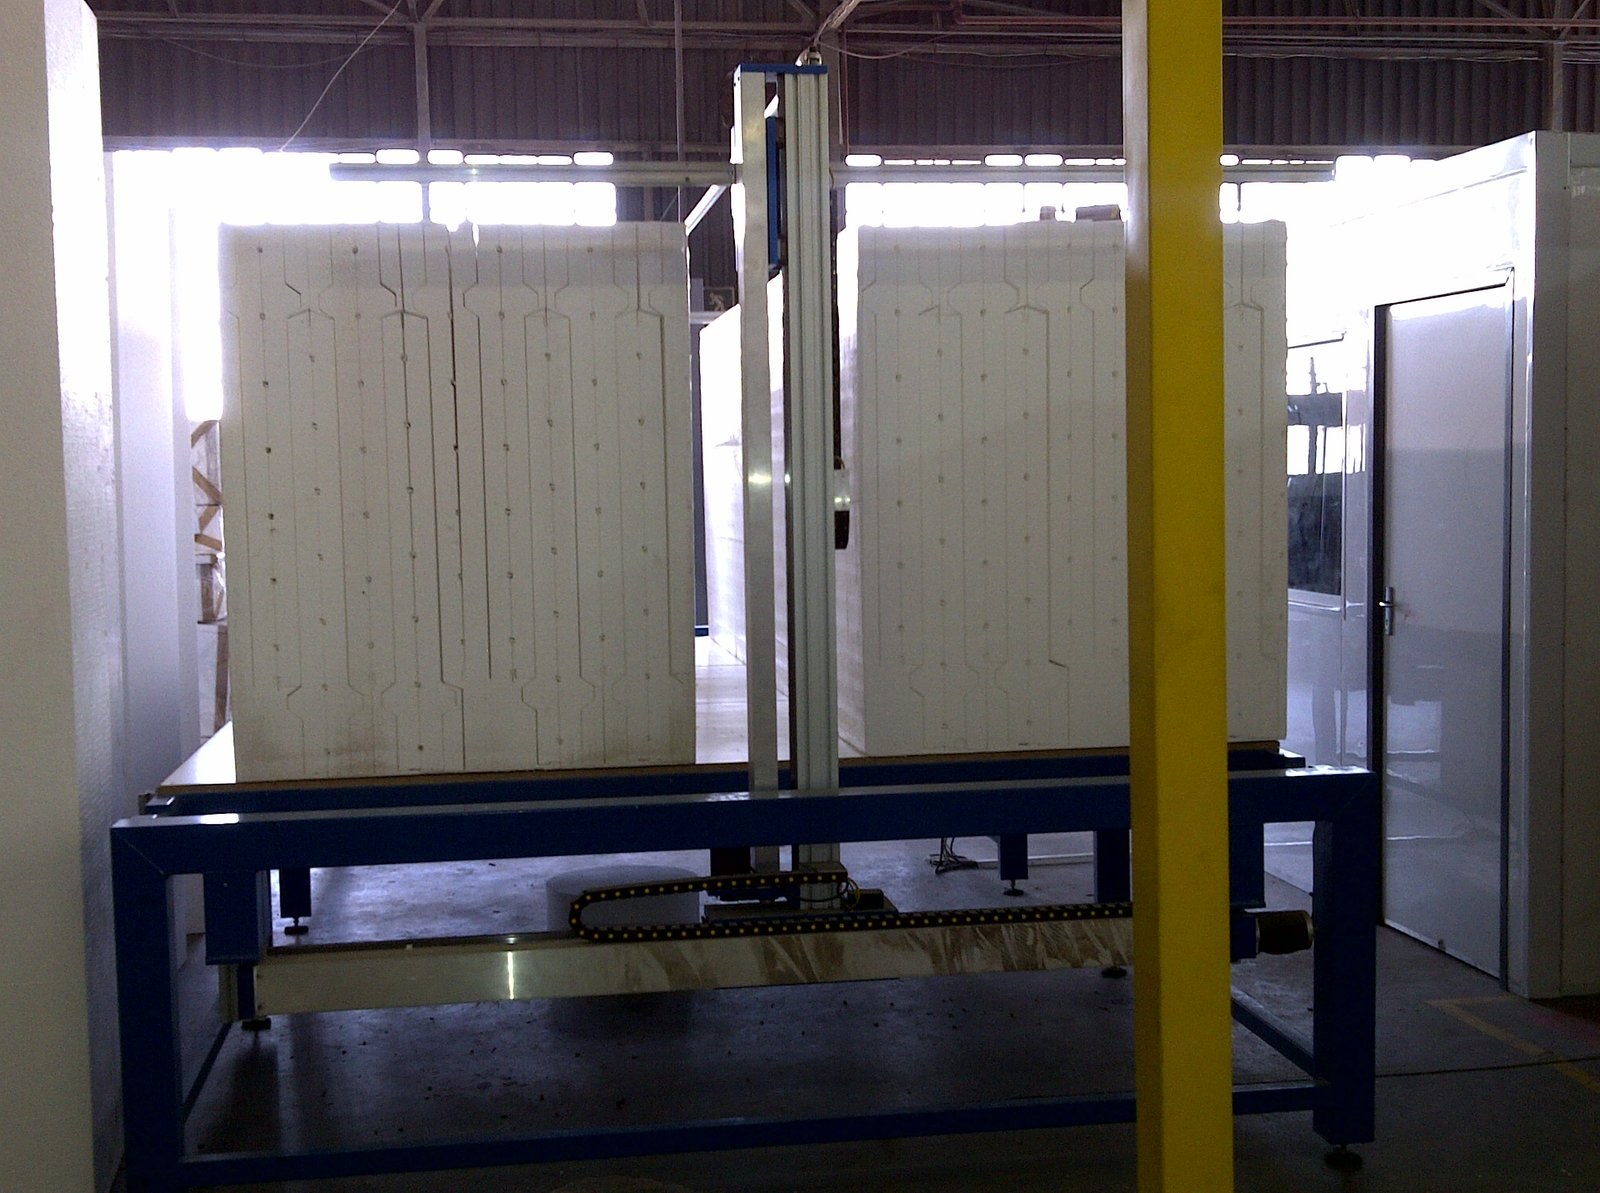
Large EPS core blocks with interlocking grooves cut, on a gantry rig in the factoryPHOTO
Large EPS core blocks with interlocking grooves cut, on a gantry rig in the factoryPolyCool & SuperCool
Workers strapping insulated roof panels onto a flatbed delivery truckPHOTO
Workers strapping insulated roof panels onto a flatbed delivery truckPolyCool & SuperCool
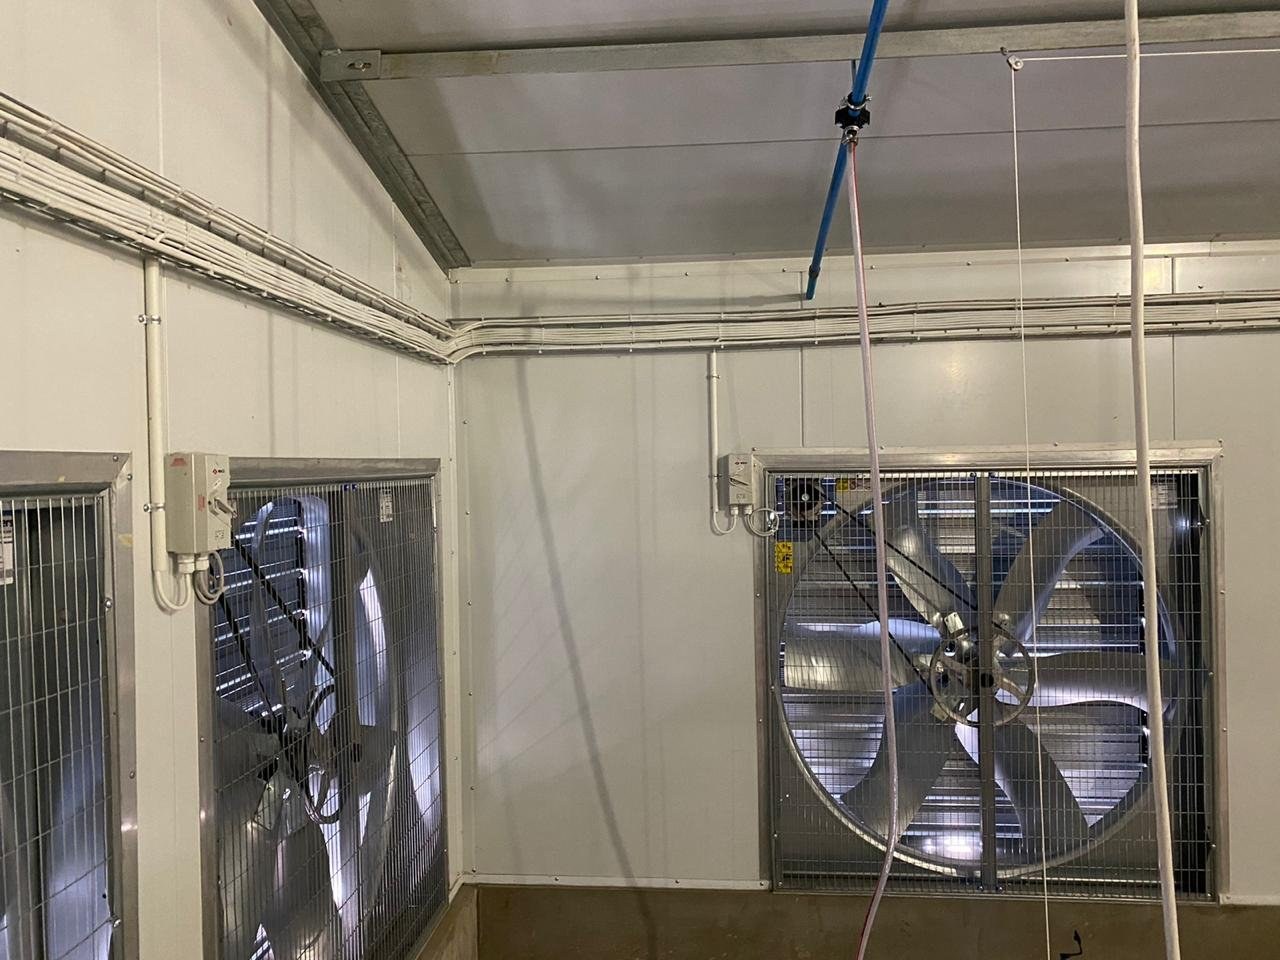
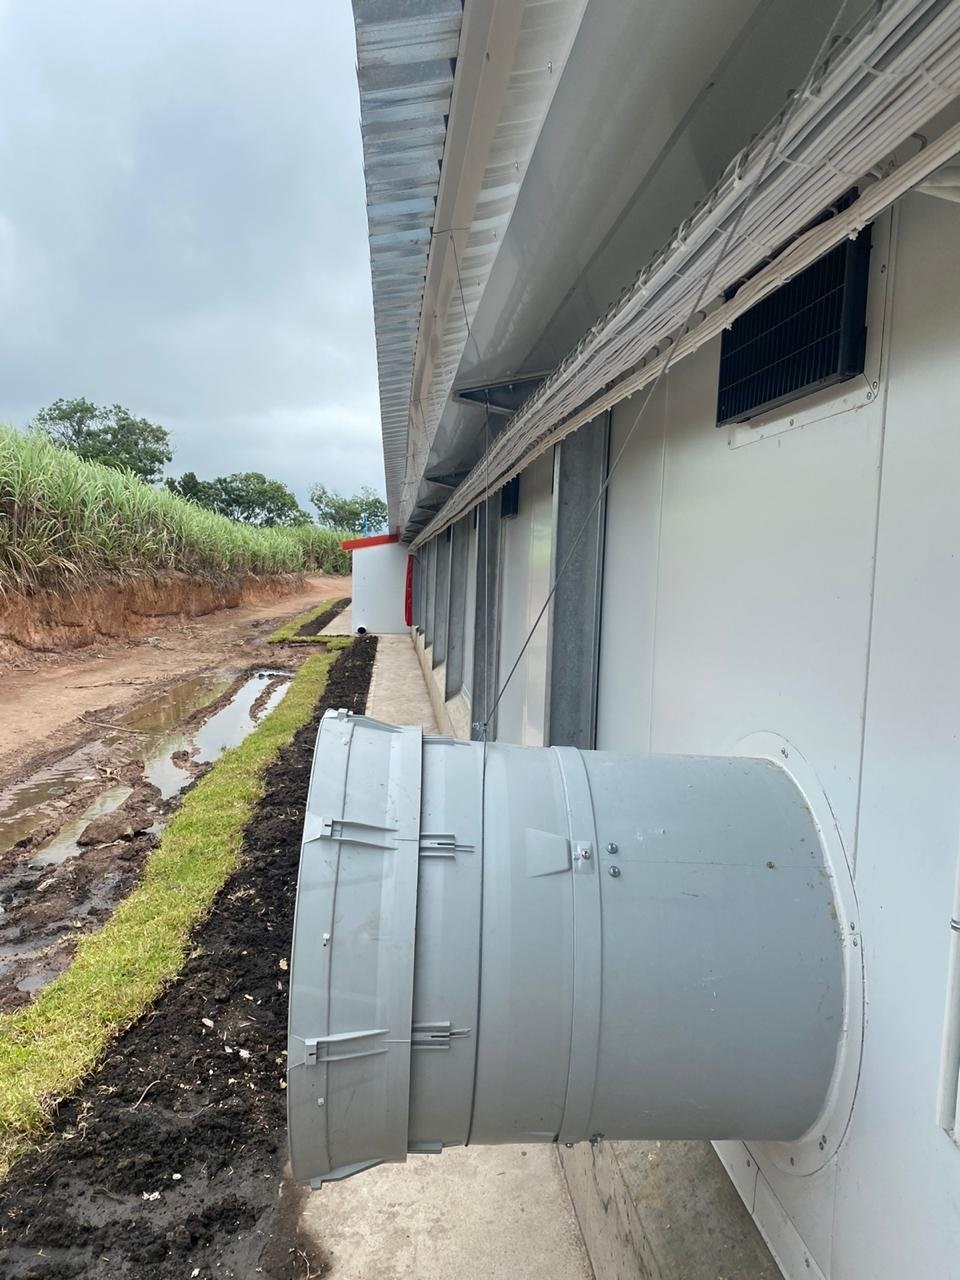
Exterior wall of a broiler house with a ventilation air-inlet cone fitted into an insulated panelPHOTO
Exterior wall of a broiler house with a ventilation air-inlet cone fitted into an insulated panelPolyCool & SuperCool
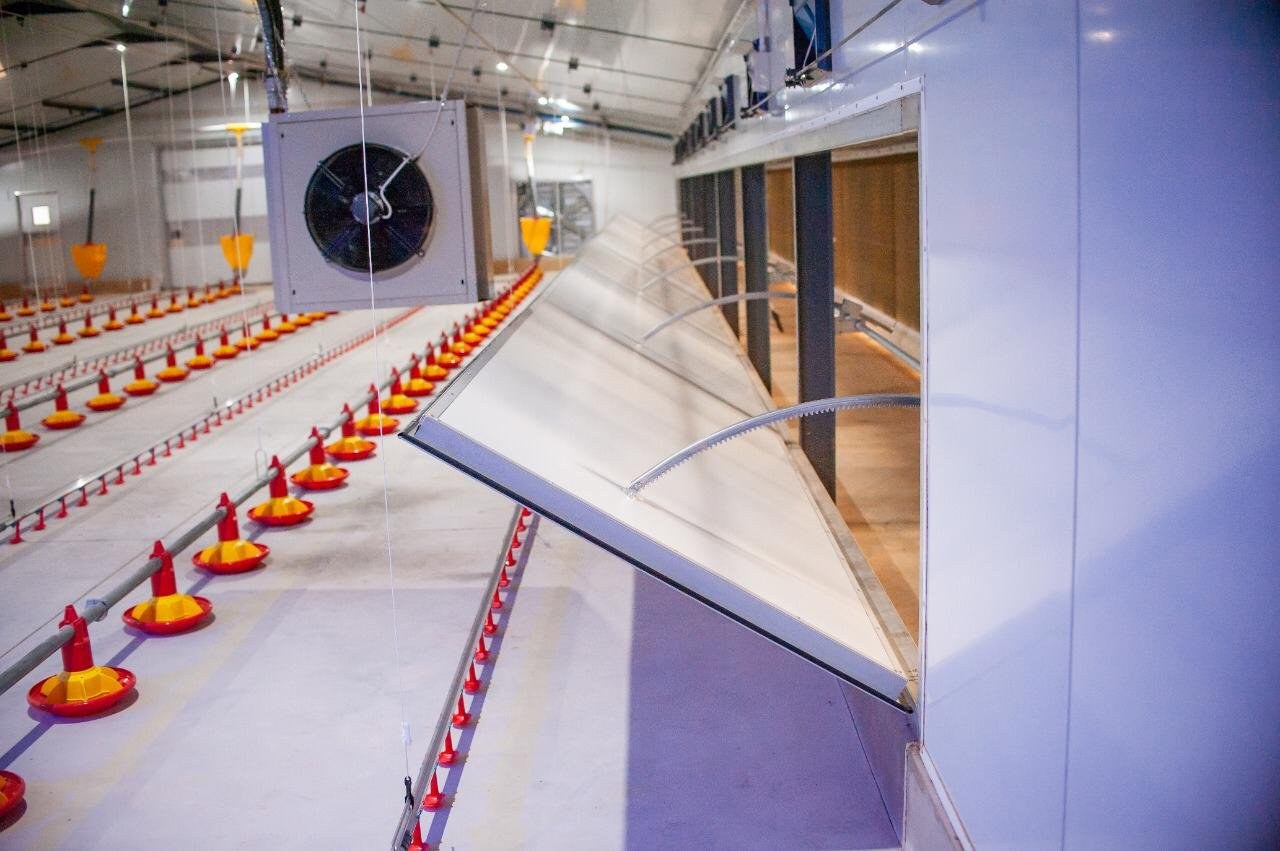
Interior view of an open air-inlet damper in an insulated wall panel, feeder lines belowPHOTO
Interior view of an open air-inlet damper in an insulated wall panel, feeder lines belowPolyCool & SuperCool
Poultry house interior with insulated ceiling, catwalk galleries either side of the feeder rowsPHOTO
Poultry house interior with insulated ceiling, catwalk galleries either side of the feeder rowsPolyCool & SuperCool
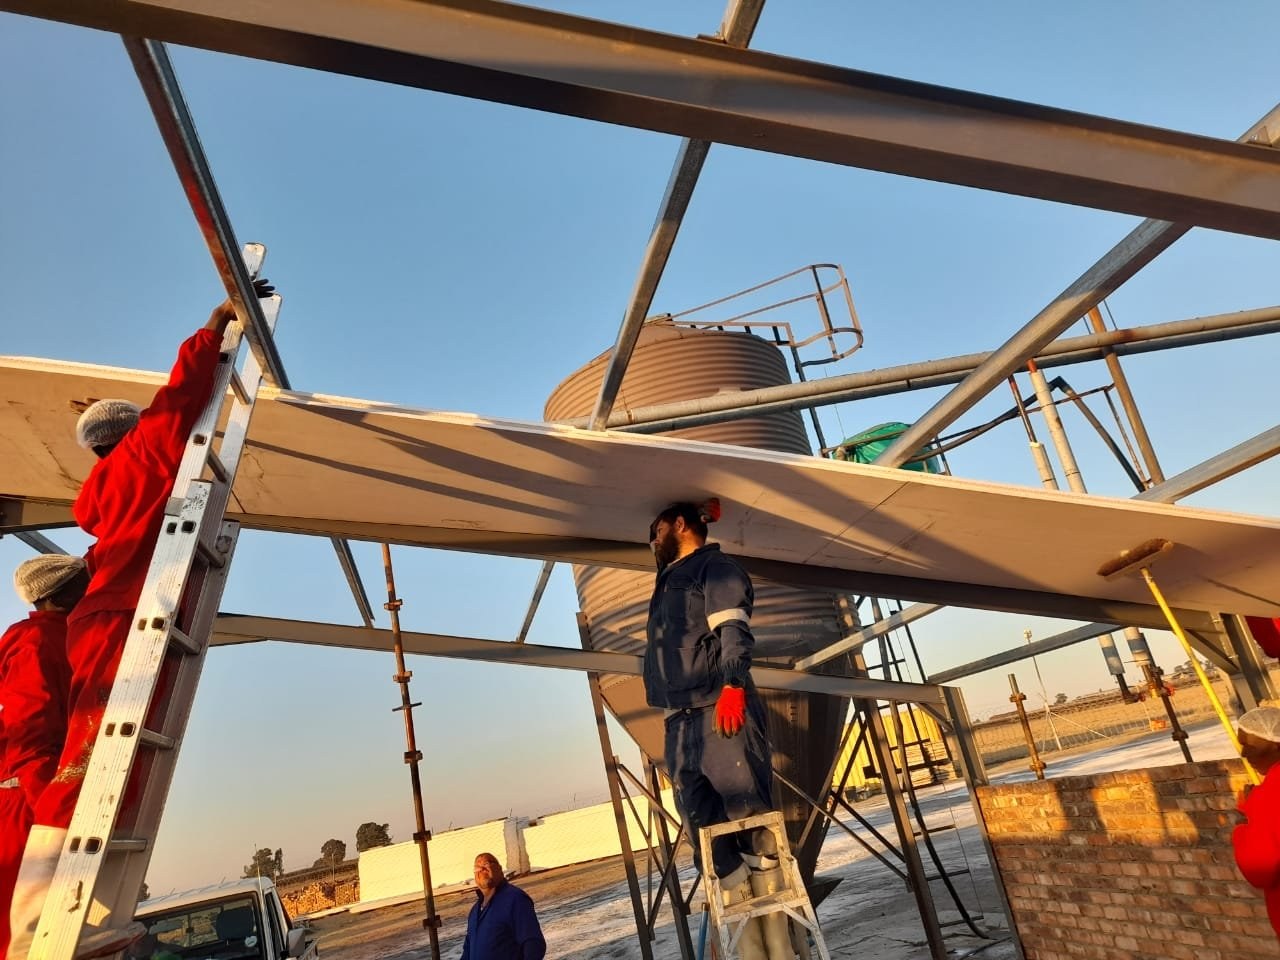
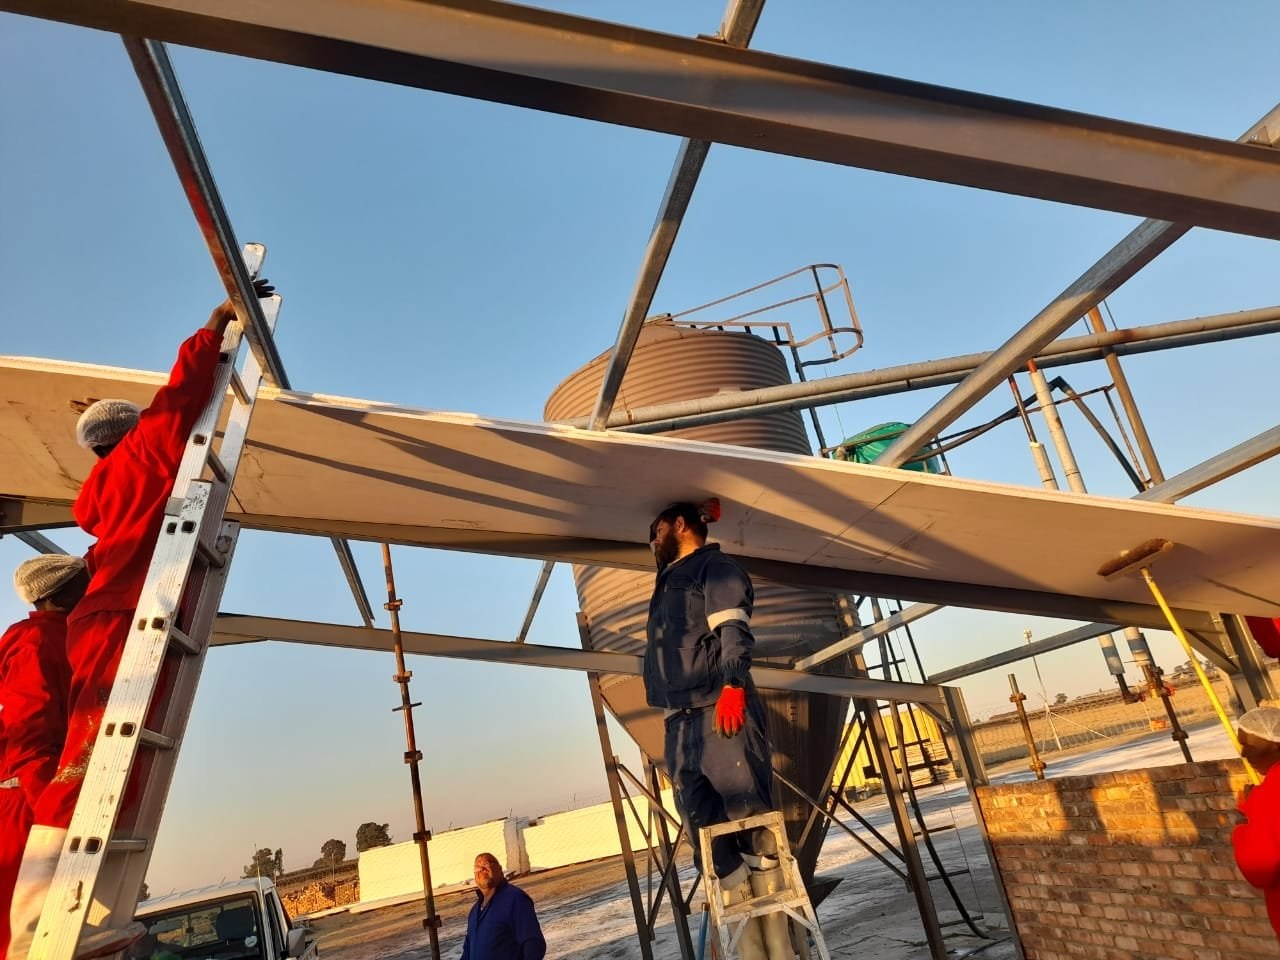
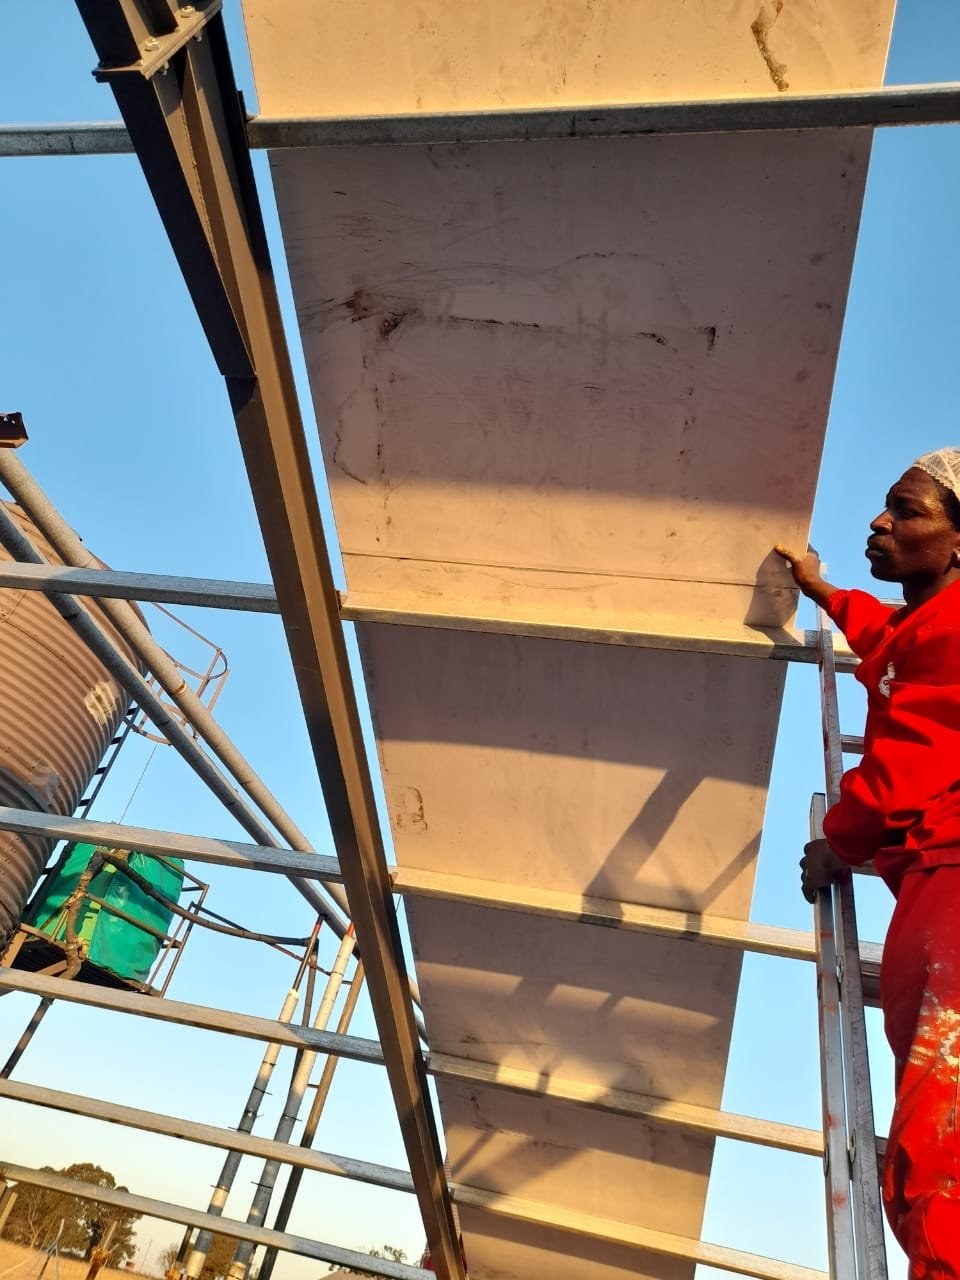
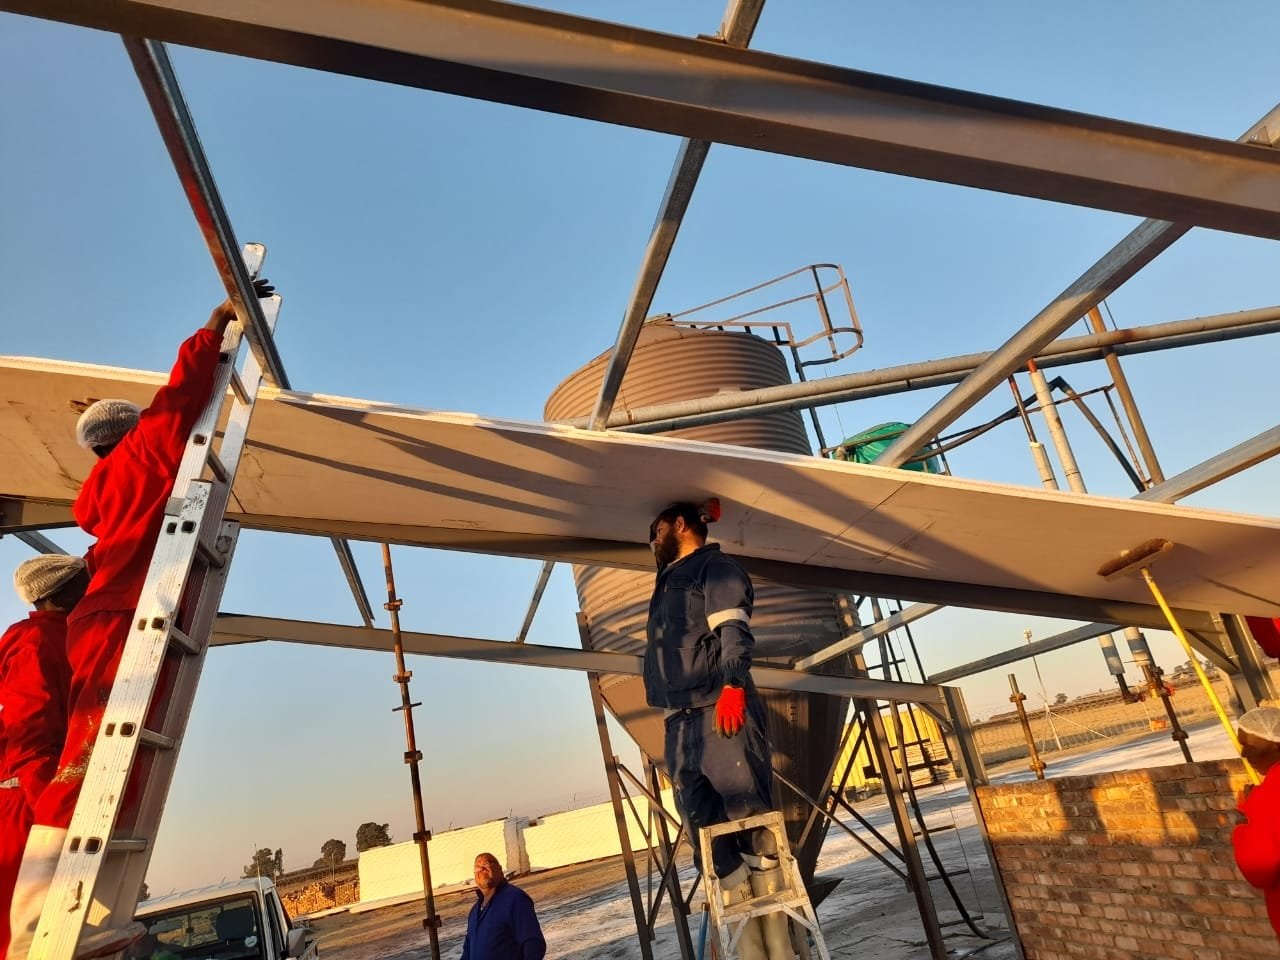
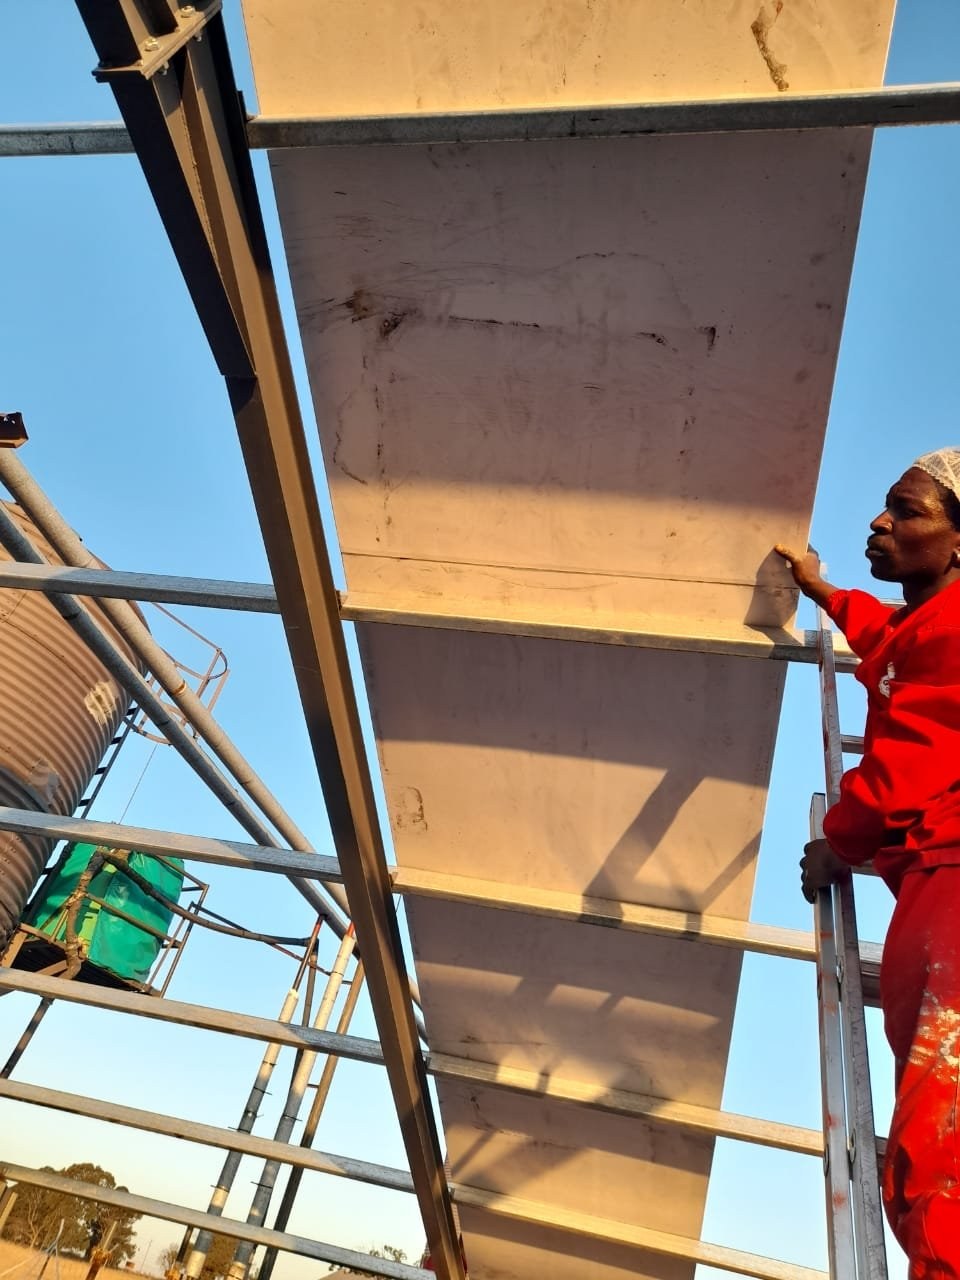
Team installing a long insulated roof panel onto a steel frame beside a feed siloPHOTO
Team installing a long insulated roof panel onto a steel frame beside a feed siloPolyCool & SuperCool
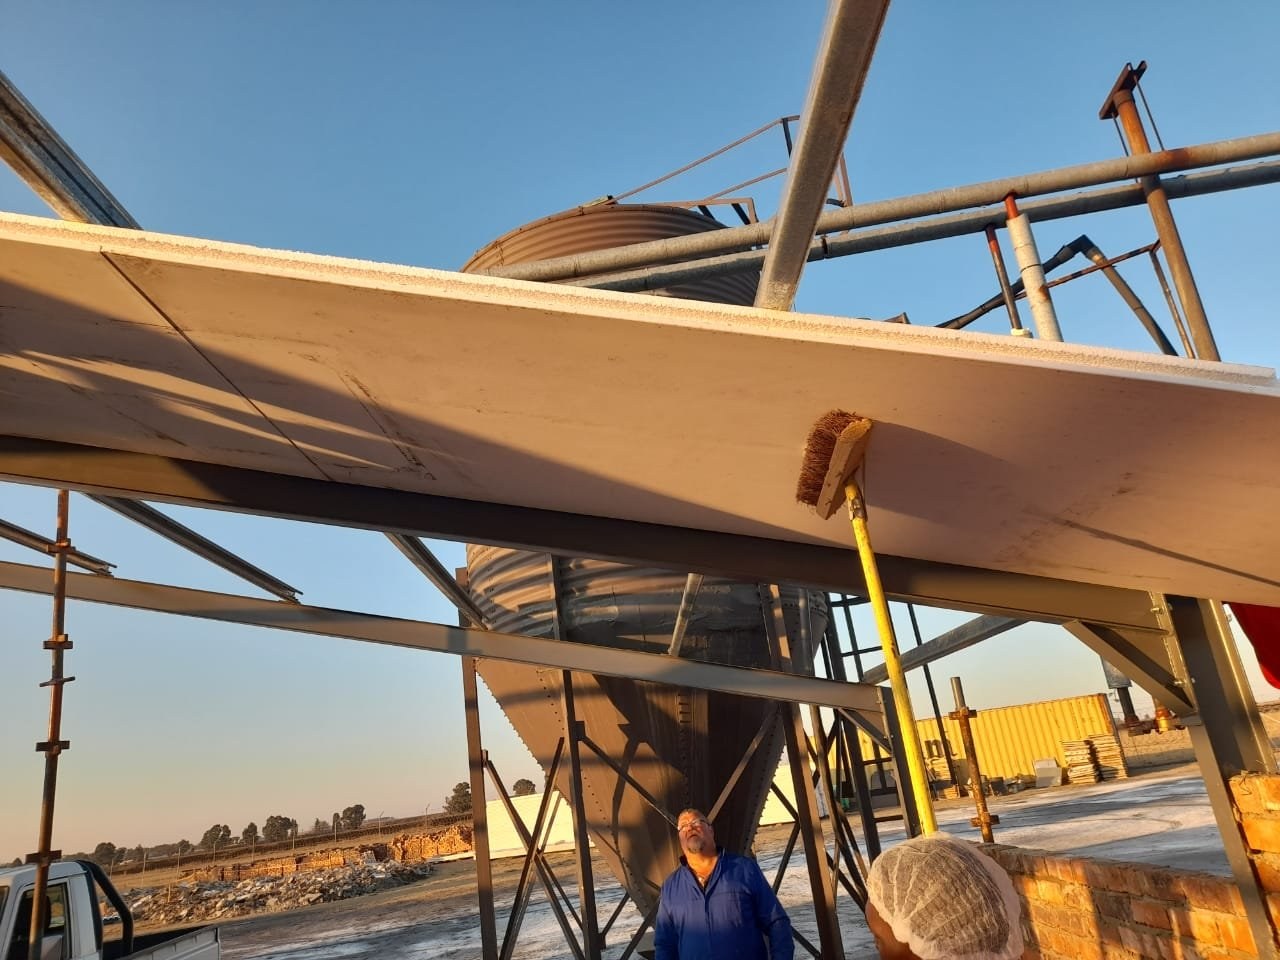
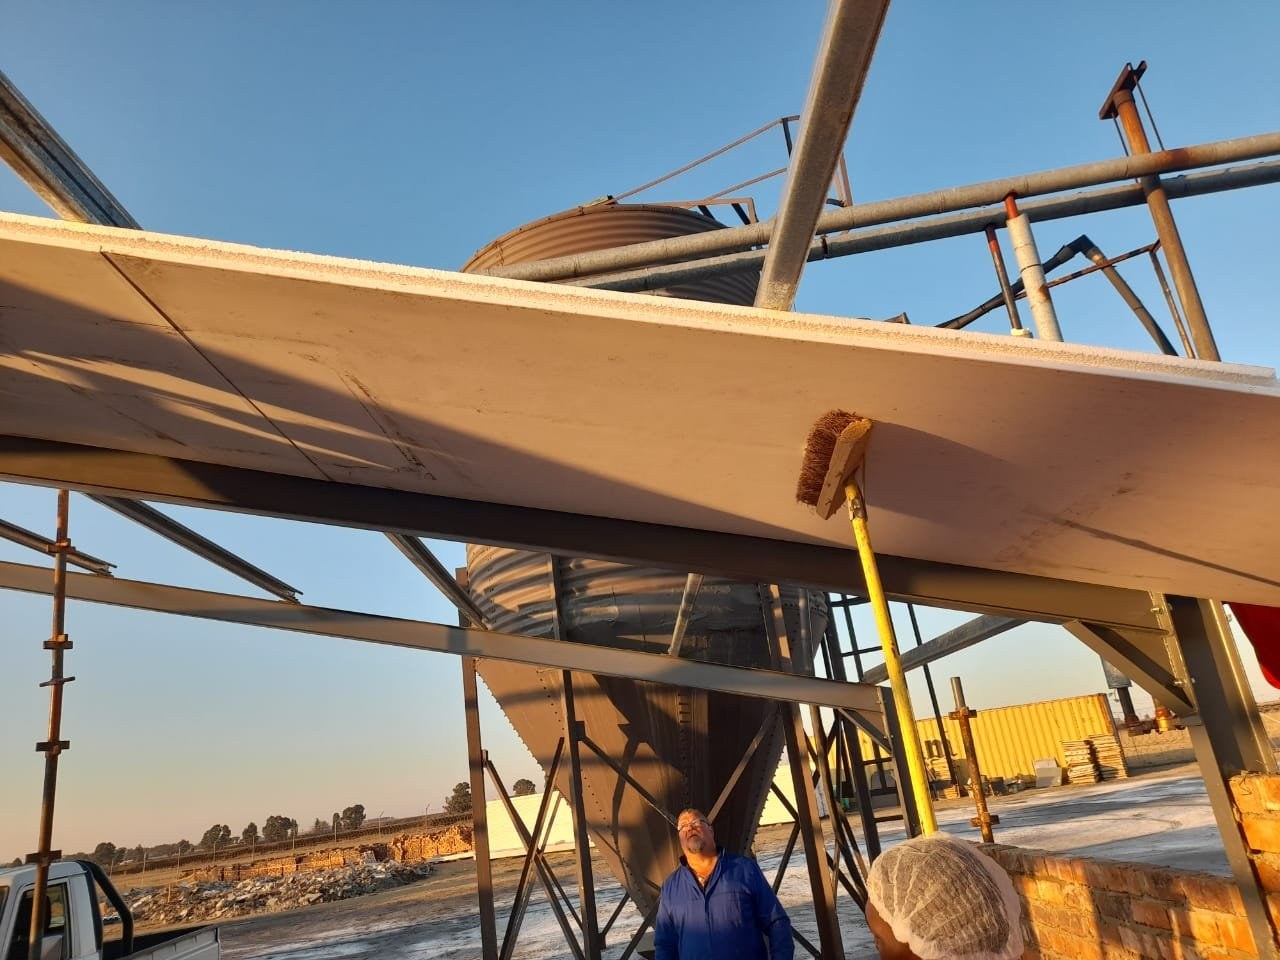
Worker brushing down the edge of a roof panel installed over a feed siloPHOTO
Worker brushing down the edge of a roof panel installed over a feed siloPolyCool & SuperCool
PHOTO
PolyCool & SuperCool
PHOTO
PolyCool & SuperCool
PHOTO
PolyCool & SuperCool
PHOTO
PolyCool & SuperCool
PHOTO
PolyCool & SuperCool
PHOTO
PolyCool & SuperCool
PHOTO
PolyCool & SuperCool
PHOTO
PolyCool & SuperCool
PHOTO
PolyCool & SuperCool
PHOTO
PolyCool & SuperCool
PHOTO
PolyCool & SuperCool
PHOTO
PolyCool & SuperCool
PHOTO
PolyCool & SuperCool
PHOTO
PolyCool & SuperCool
PHOTO
PolyCool & SuperCool
PHOTO
PolyCool & SuperCool
PHOTO
PolyCool & SuperCool
PHOTO
PolyCool & SuperCool
PHOTO
PolyCool & SuperCool
PHOTO
PolyCool & SuperCool
PHOTO
PolyCool & SuperCool
PHOTO
PolyCool & SuperCool
PHOTO
PolyCool & SuperCool
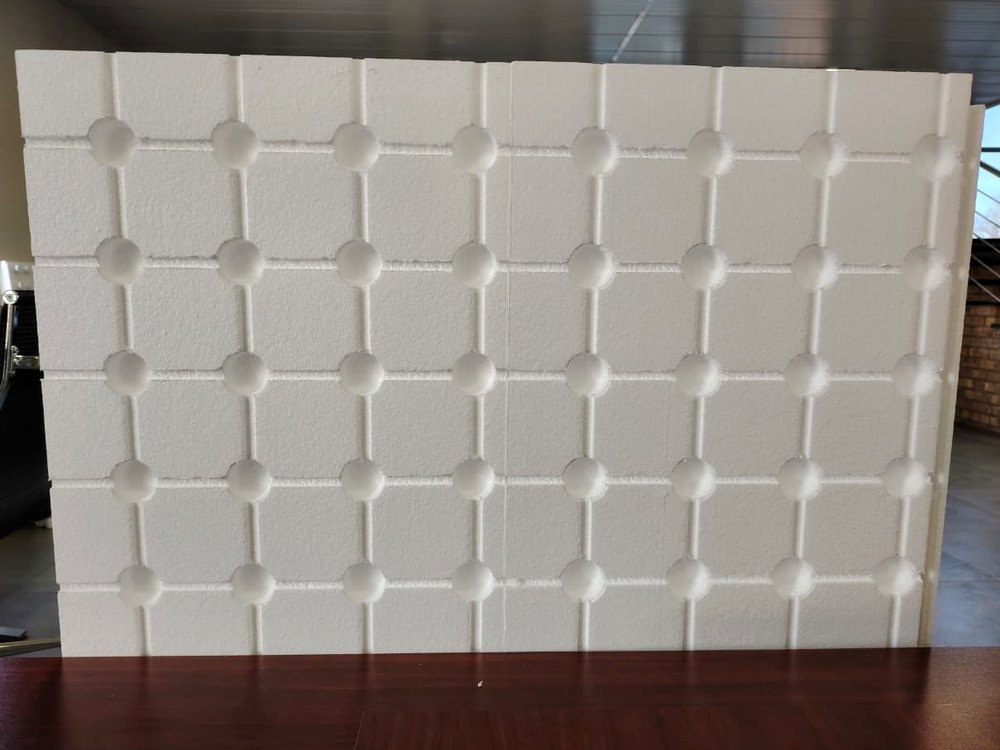
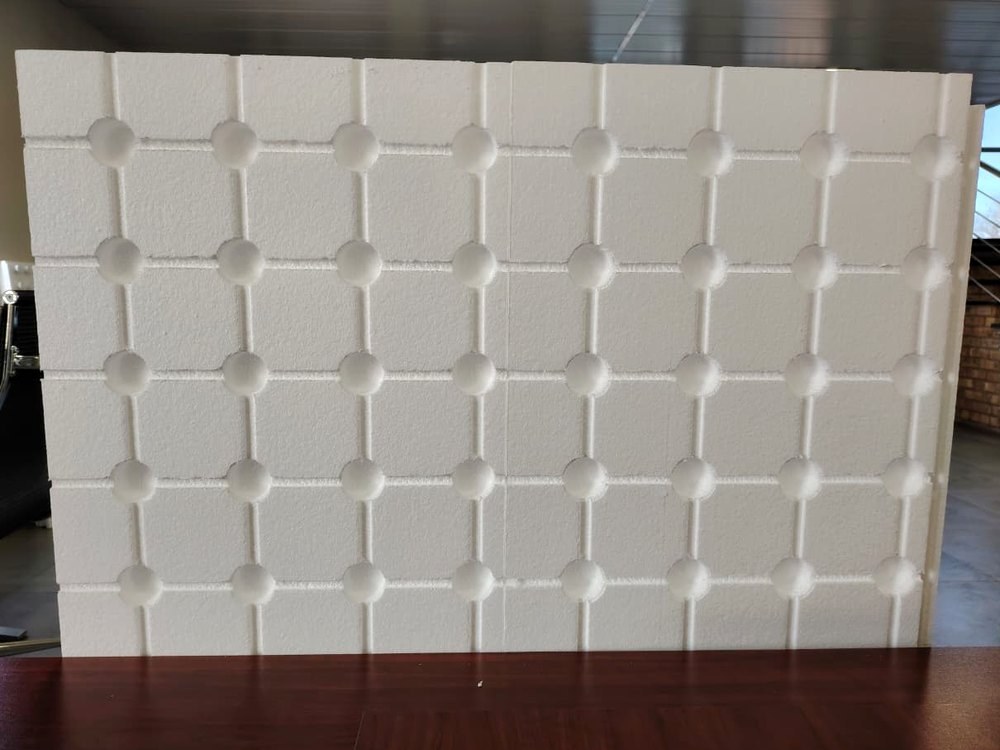
The board face, showing the moulded dimple grid that holds it off the inner leaf and keeps the drainage path in the cavity clear.PHOTO
The board face, showing the moulded dimple grid that holds it off the inner leaf and keeps the drainage path in the cavity clear.LiteCel Cavity & Drainage System
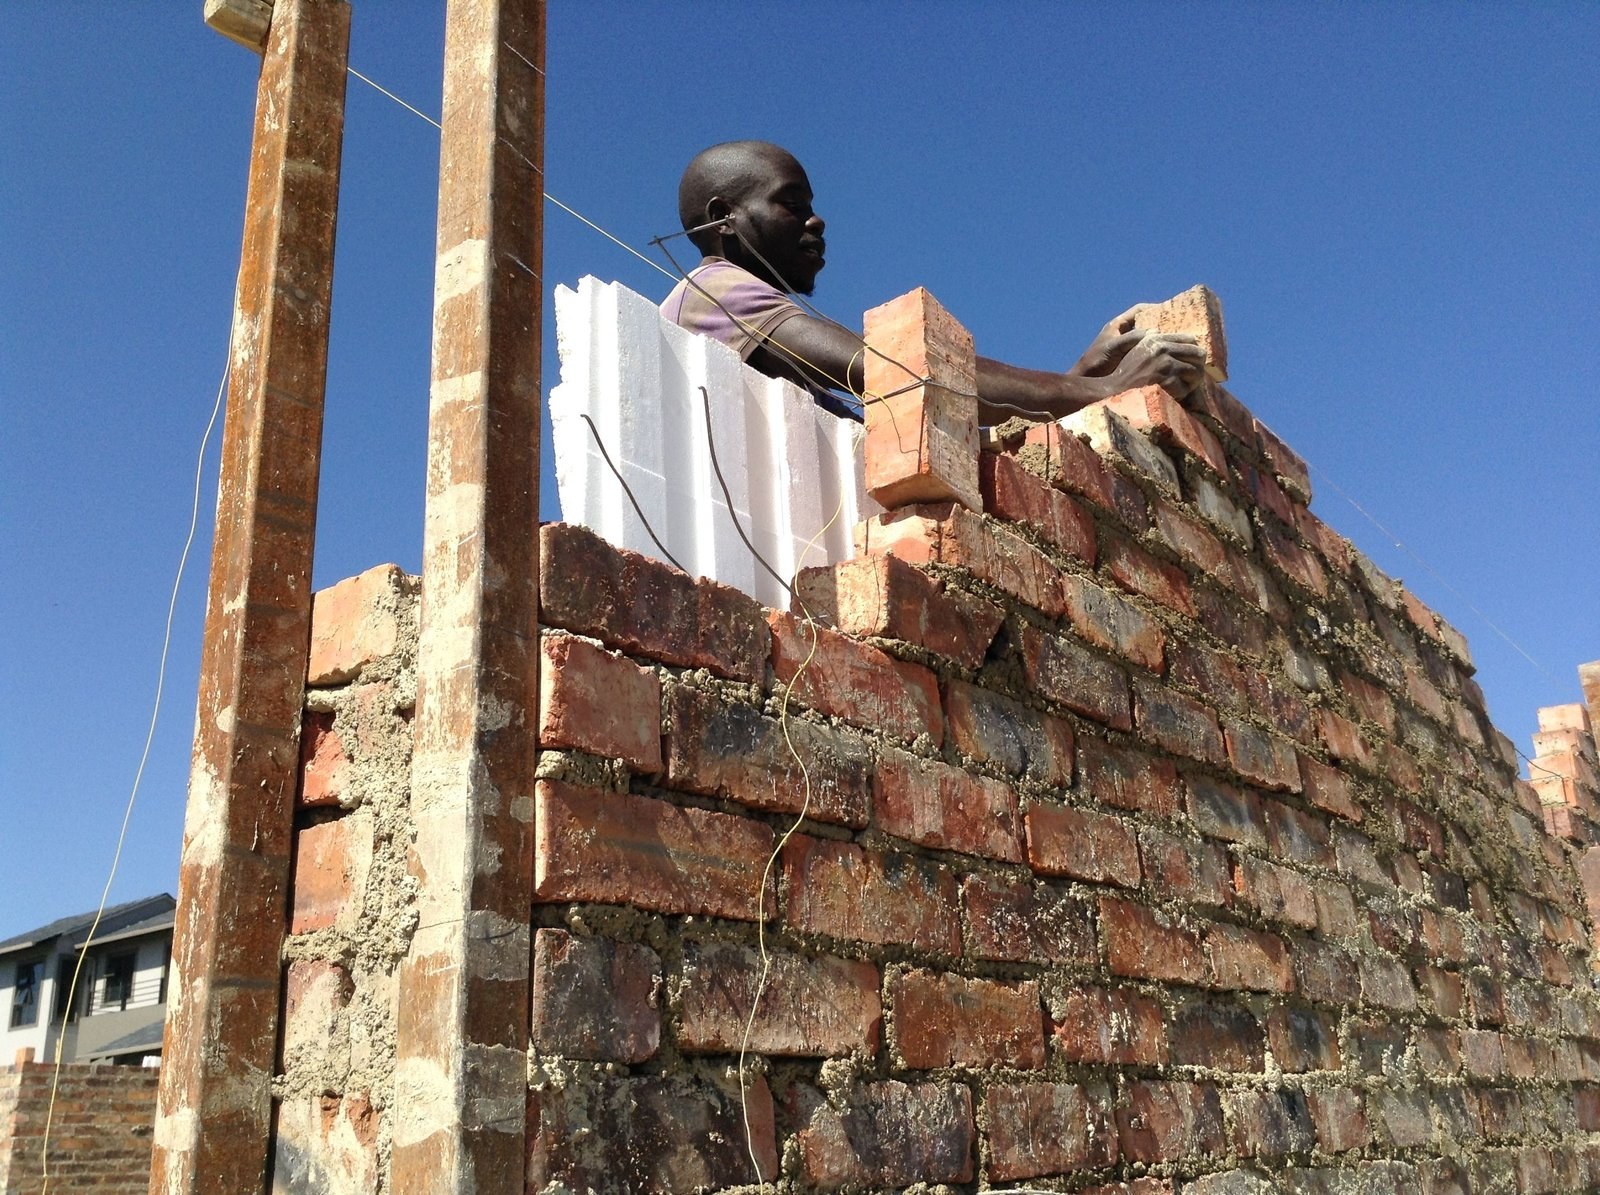
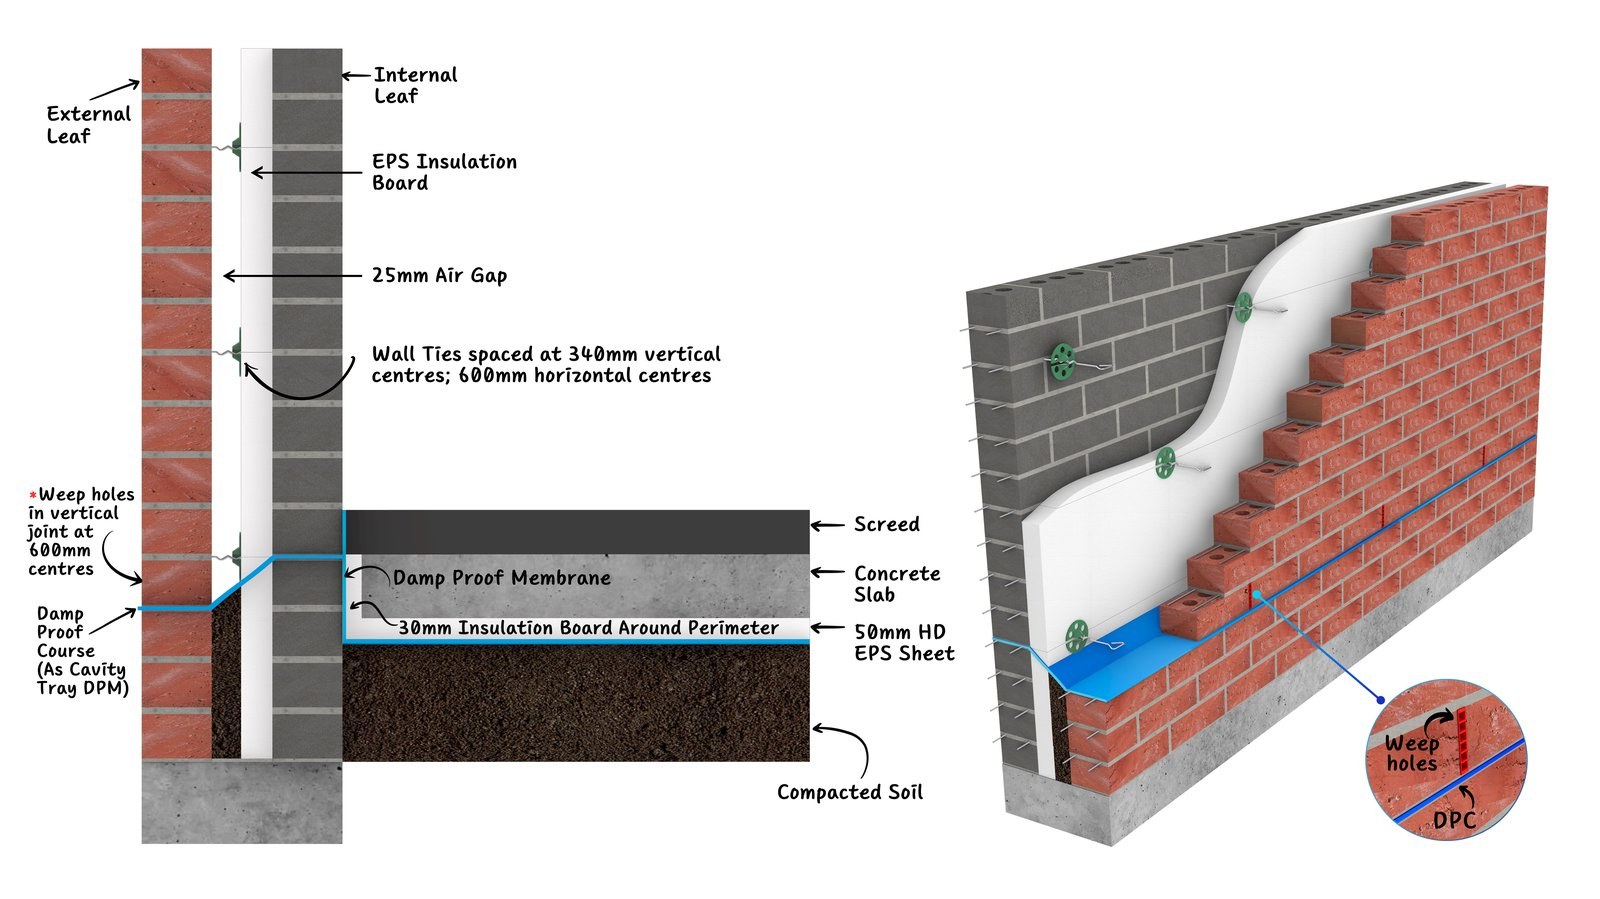
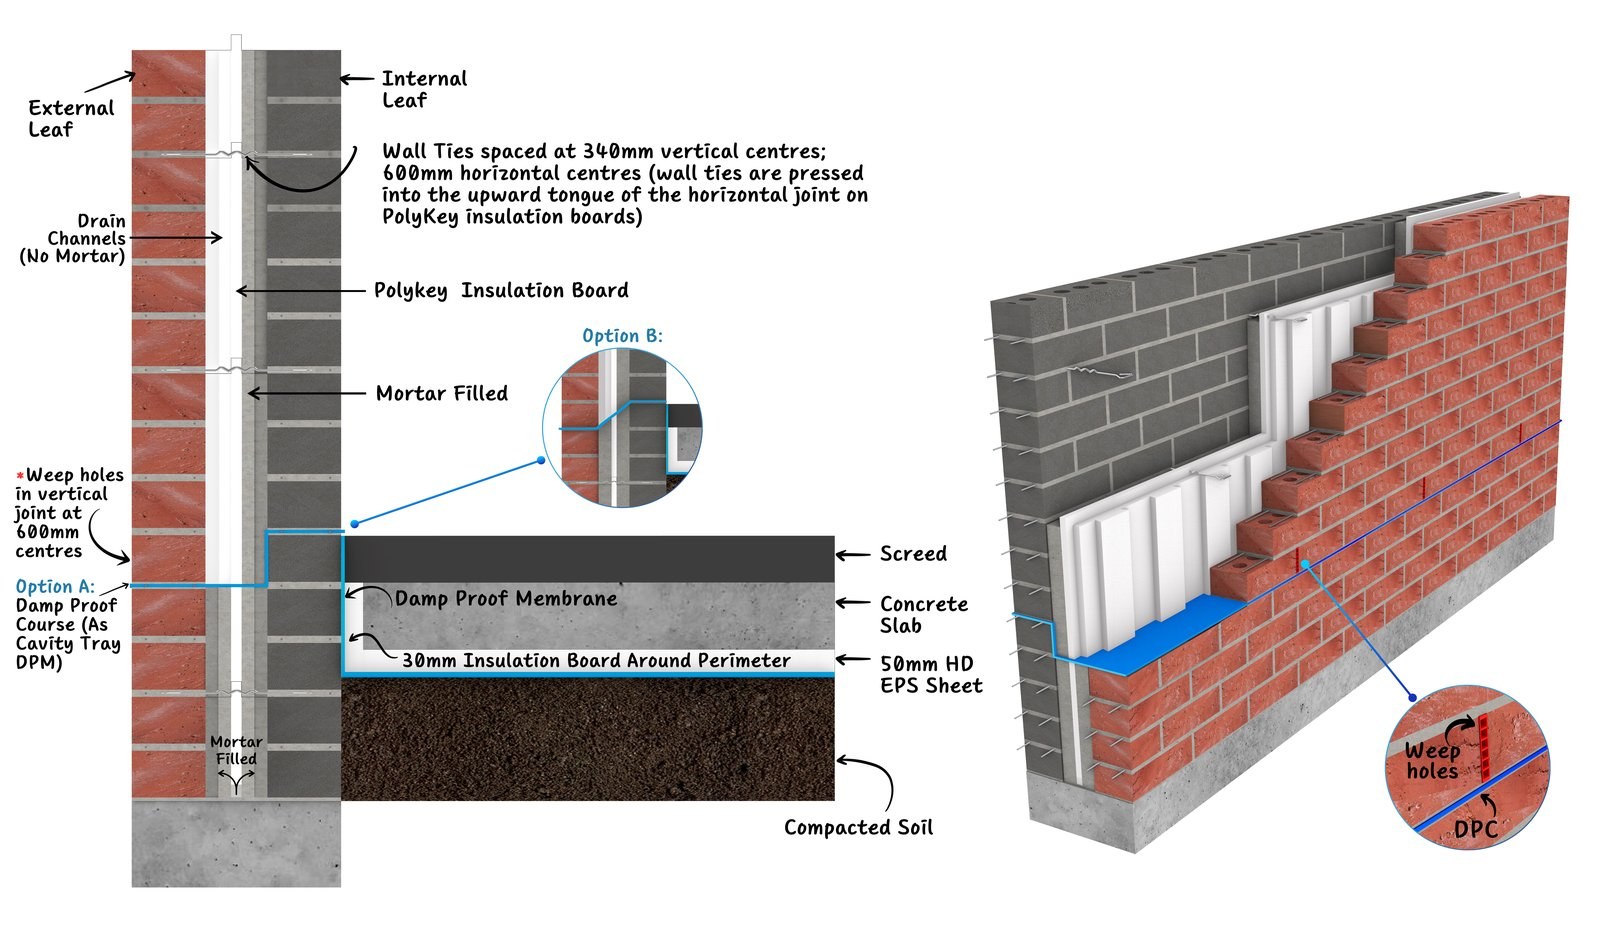
White EPS boards standing on edge in the cavity of a part-built wall, with the perforated clay-brick inner leaf on one side and the mortared brick outer leaf on the other. Steel frame and brick piers of the house behind.PHOTO
White EPS boards standing on edge in the cavity of a part-built wall, with the perforated clay-brick inner leaf on one side and the mortared brick outer leaf on the other. Steel frame and brick piers of the house behind.Polykey Cavity Insulation
A continuous run of white EPS boards standing along the top of the cavity above a completed course of face brickwork, on a coastal site with the sea behind.PHOTO
A continuous run of white EPS boards standing along the top of the cavity above a completed course of face brickwork, on a coastal site with the sea behind.Polykey Cavity Insulation
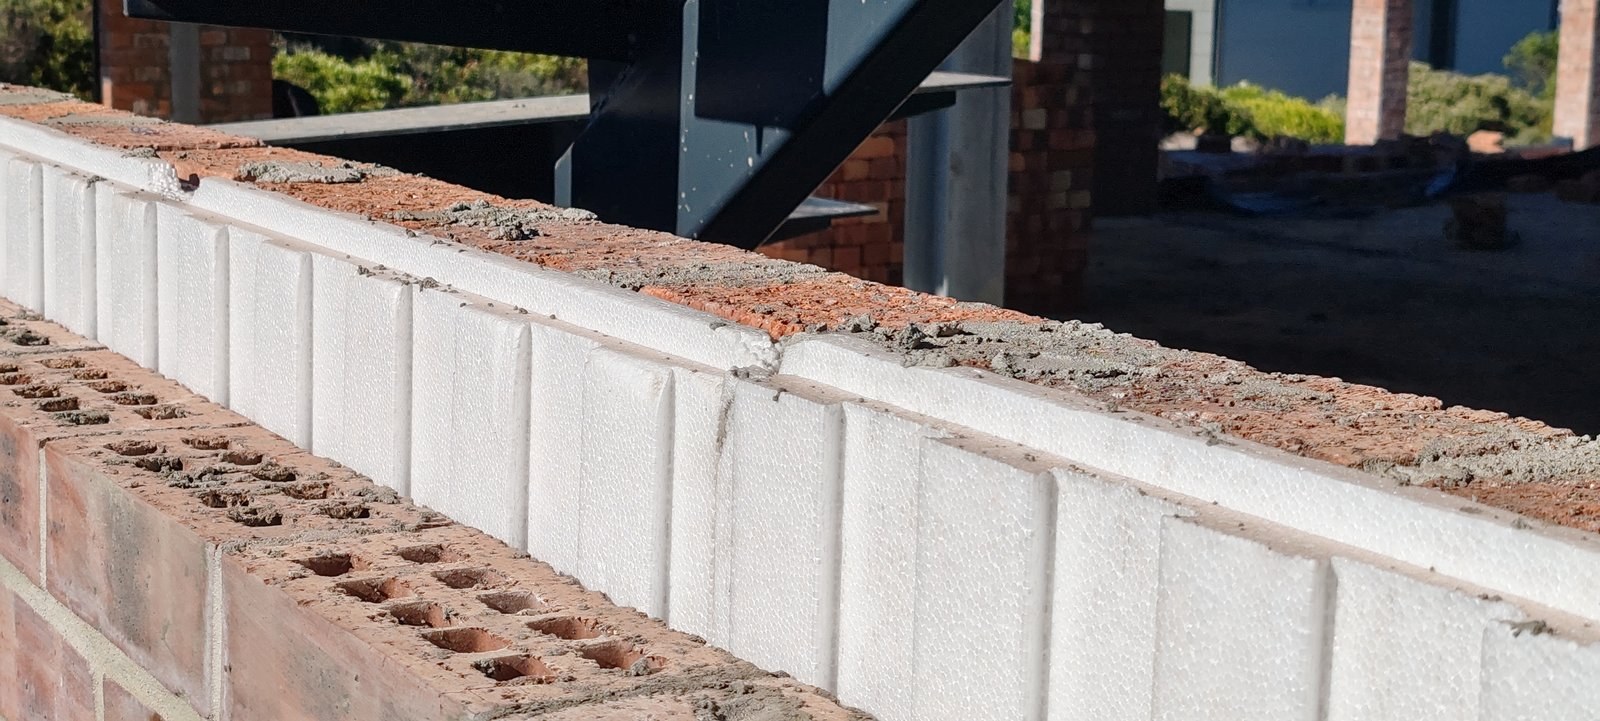
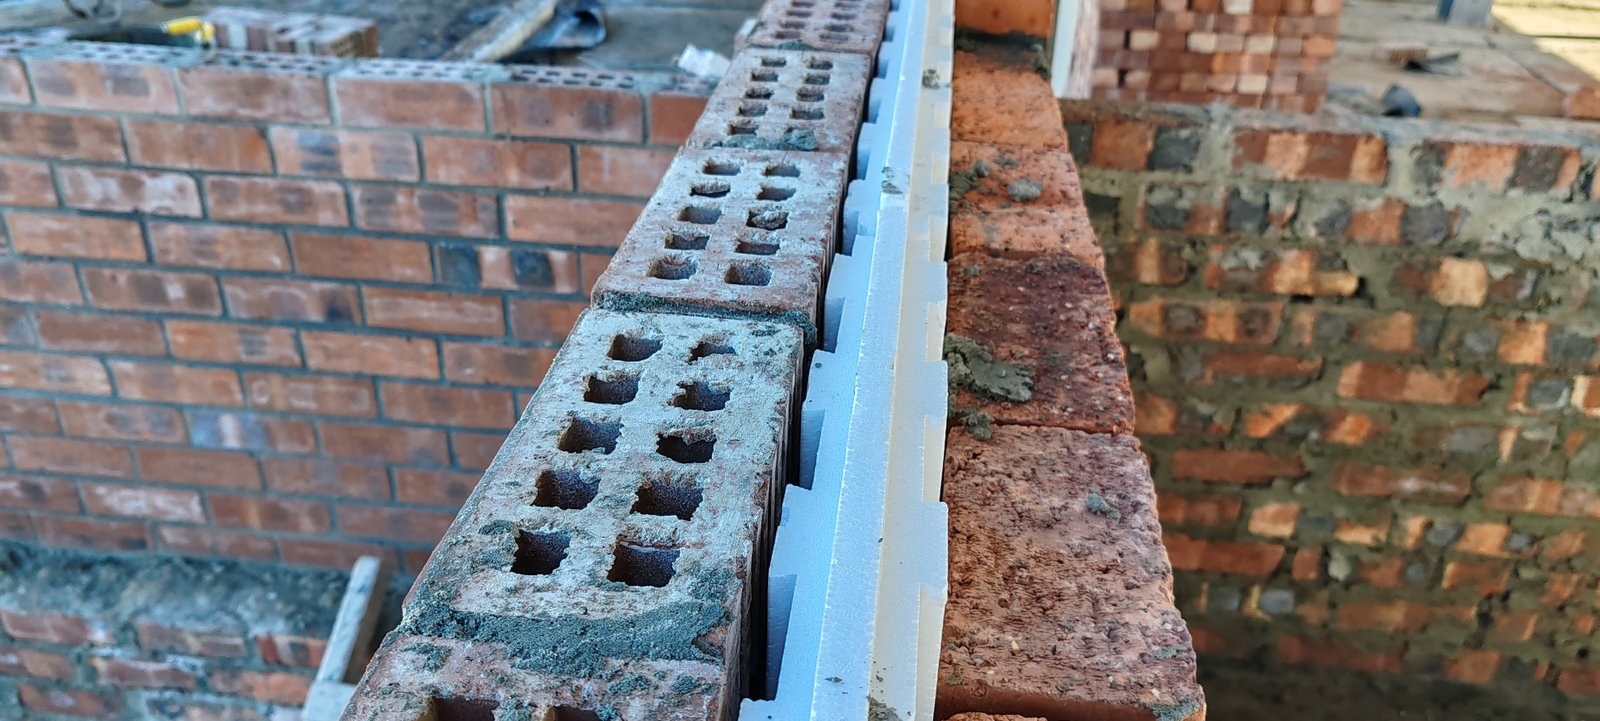
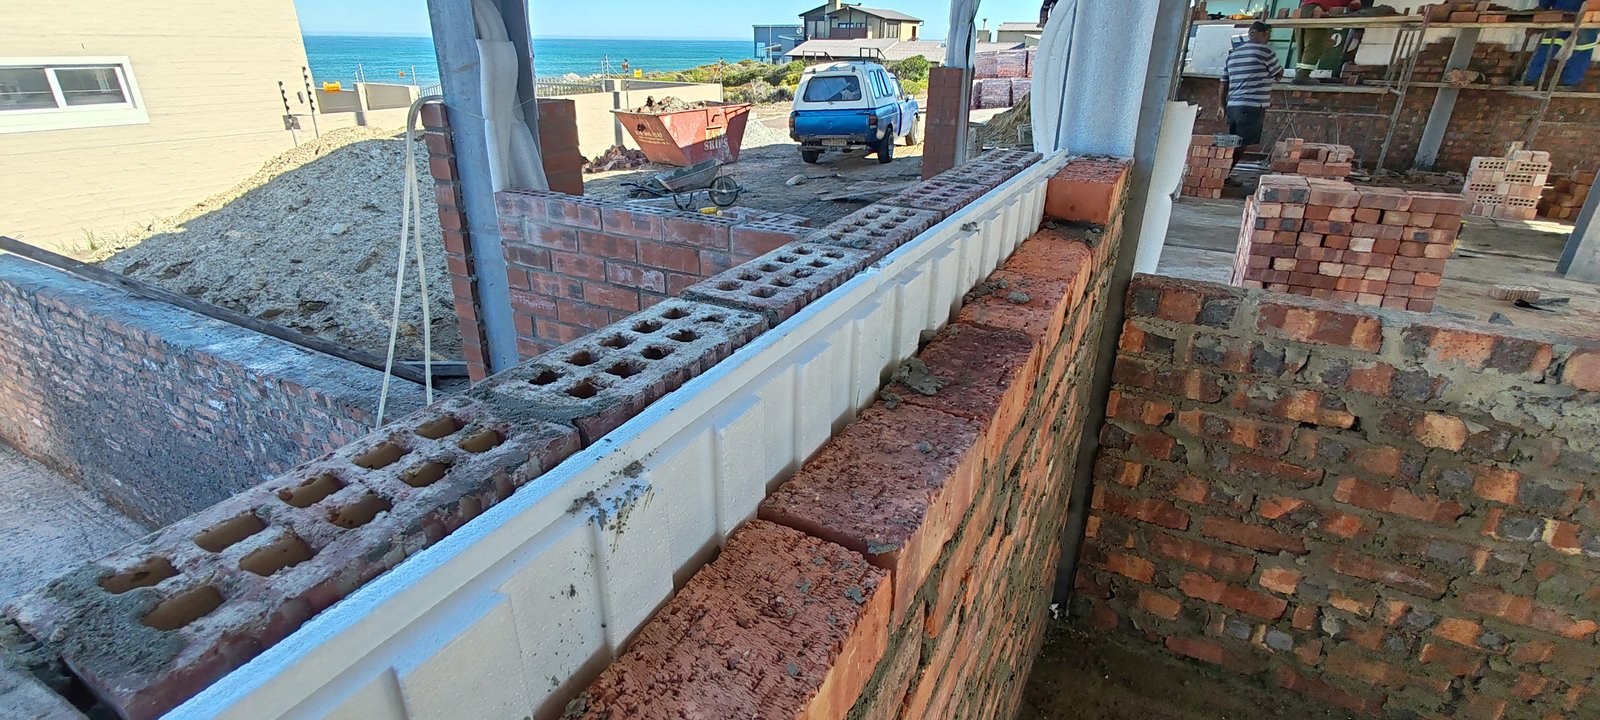
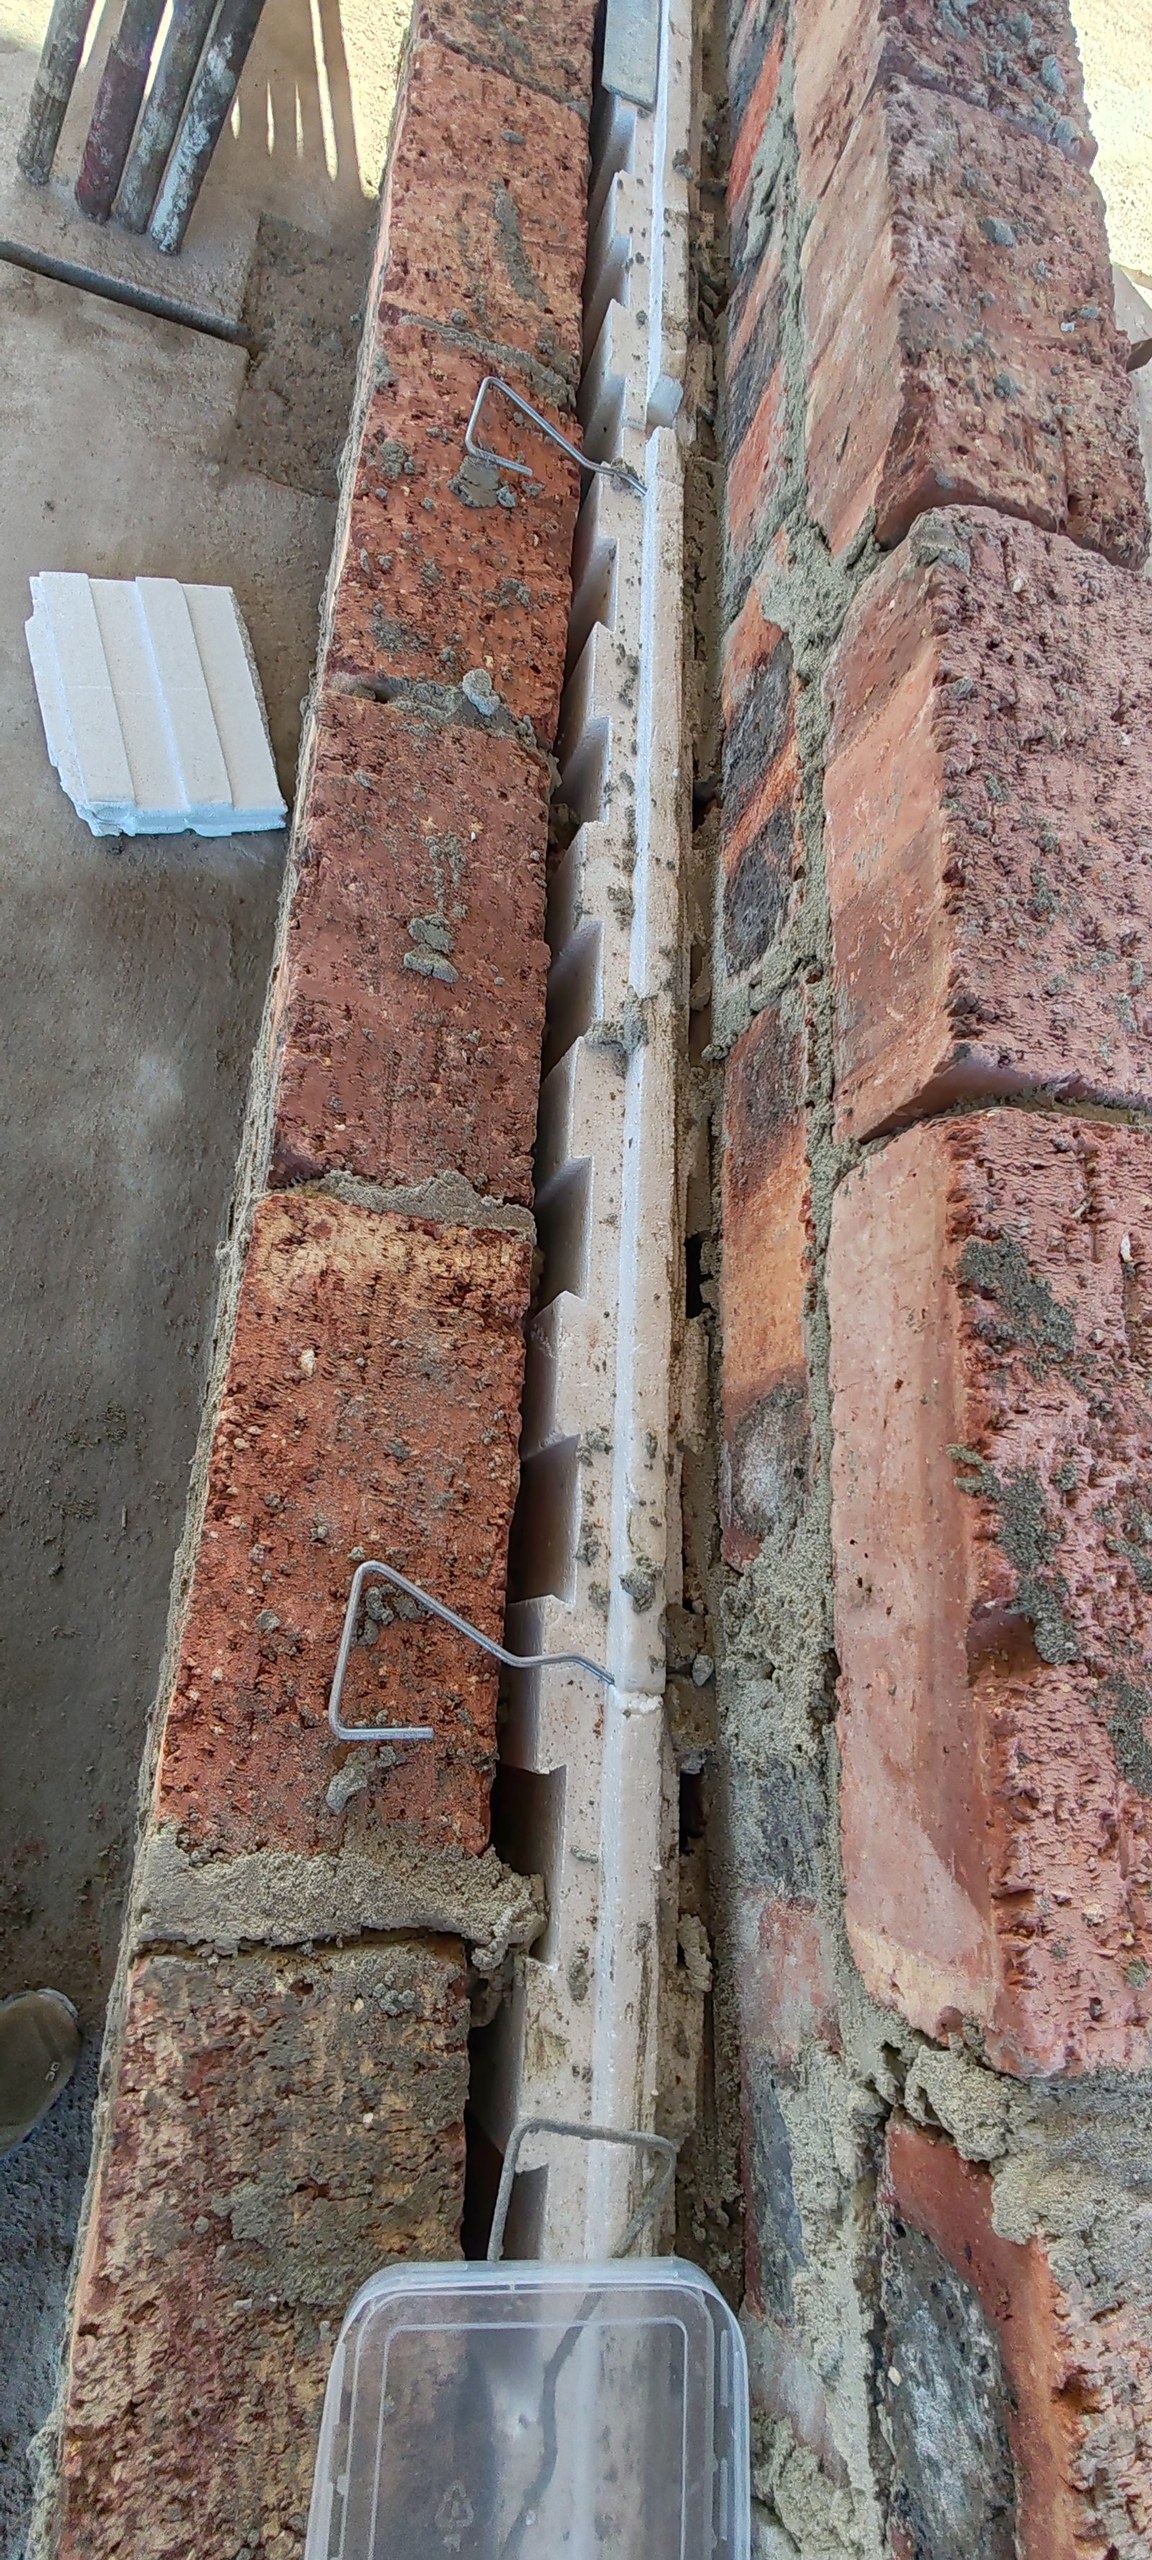
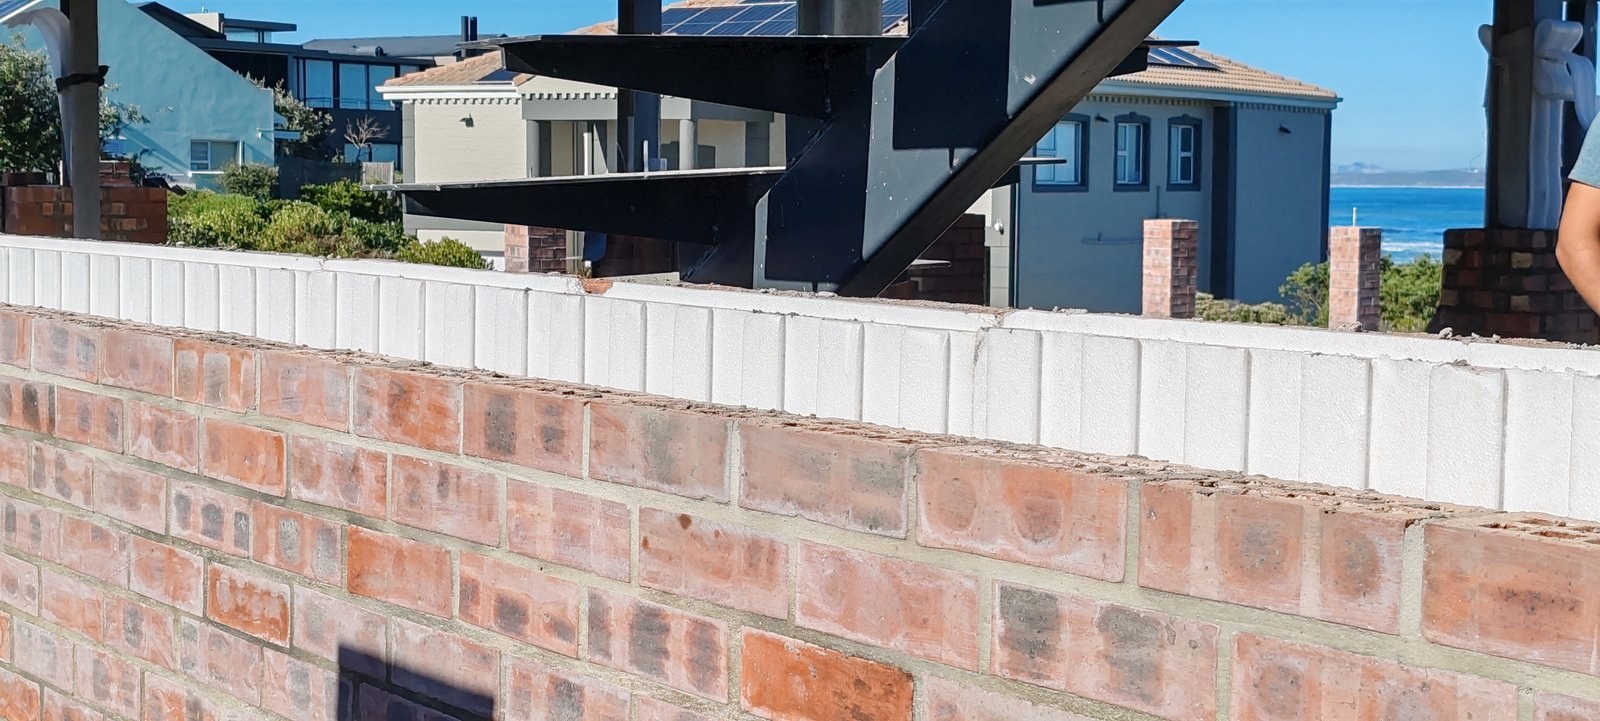
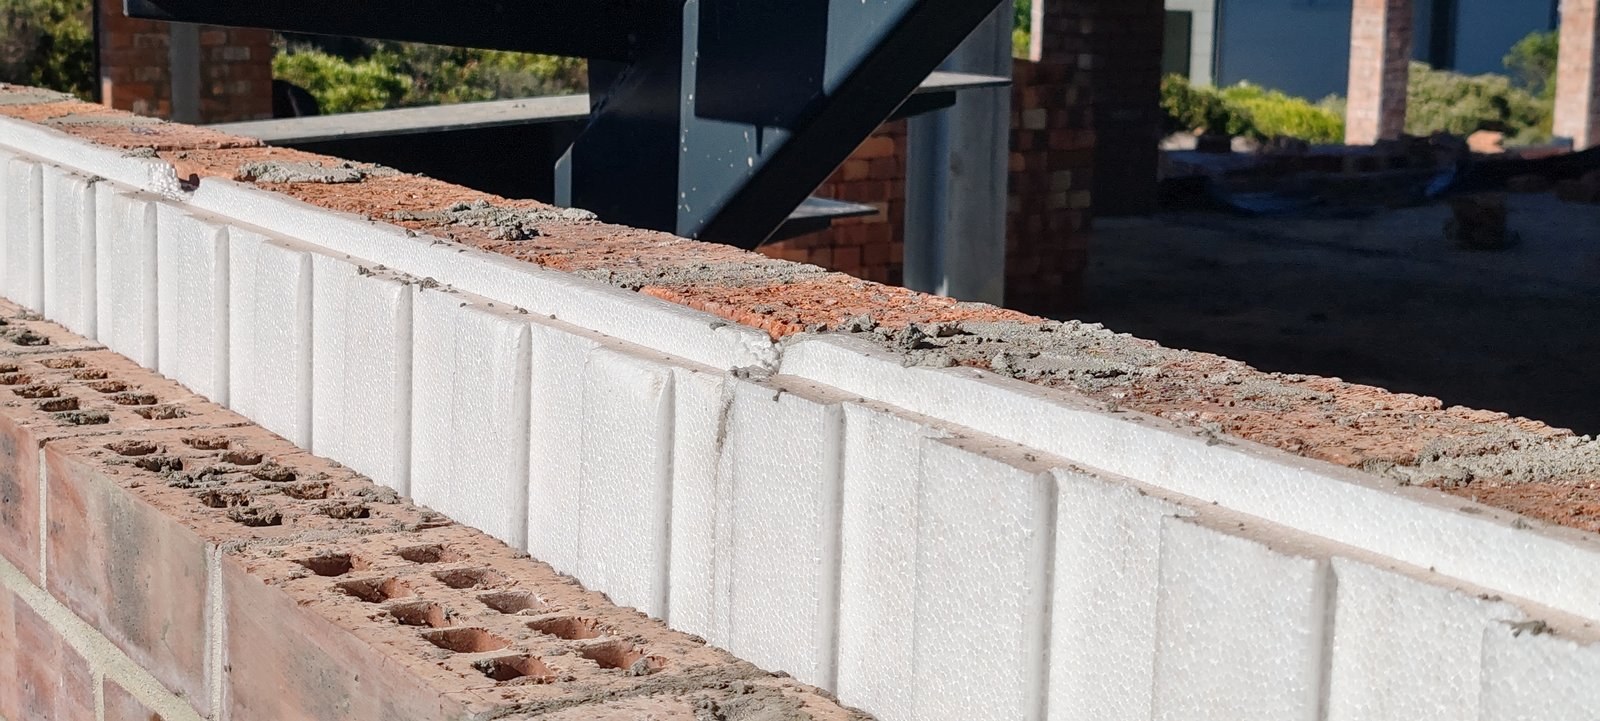
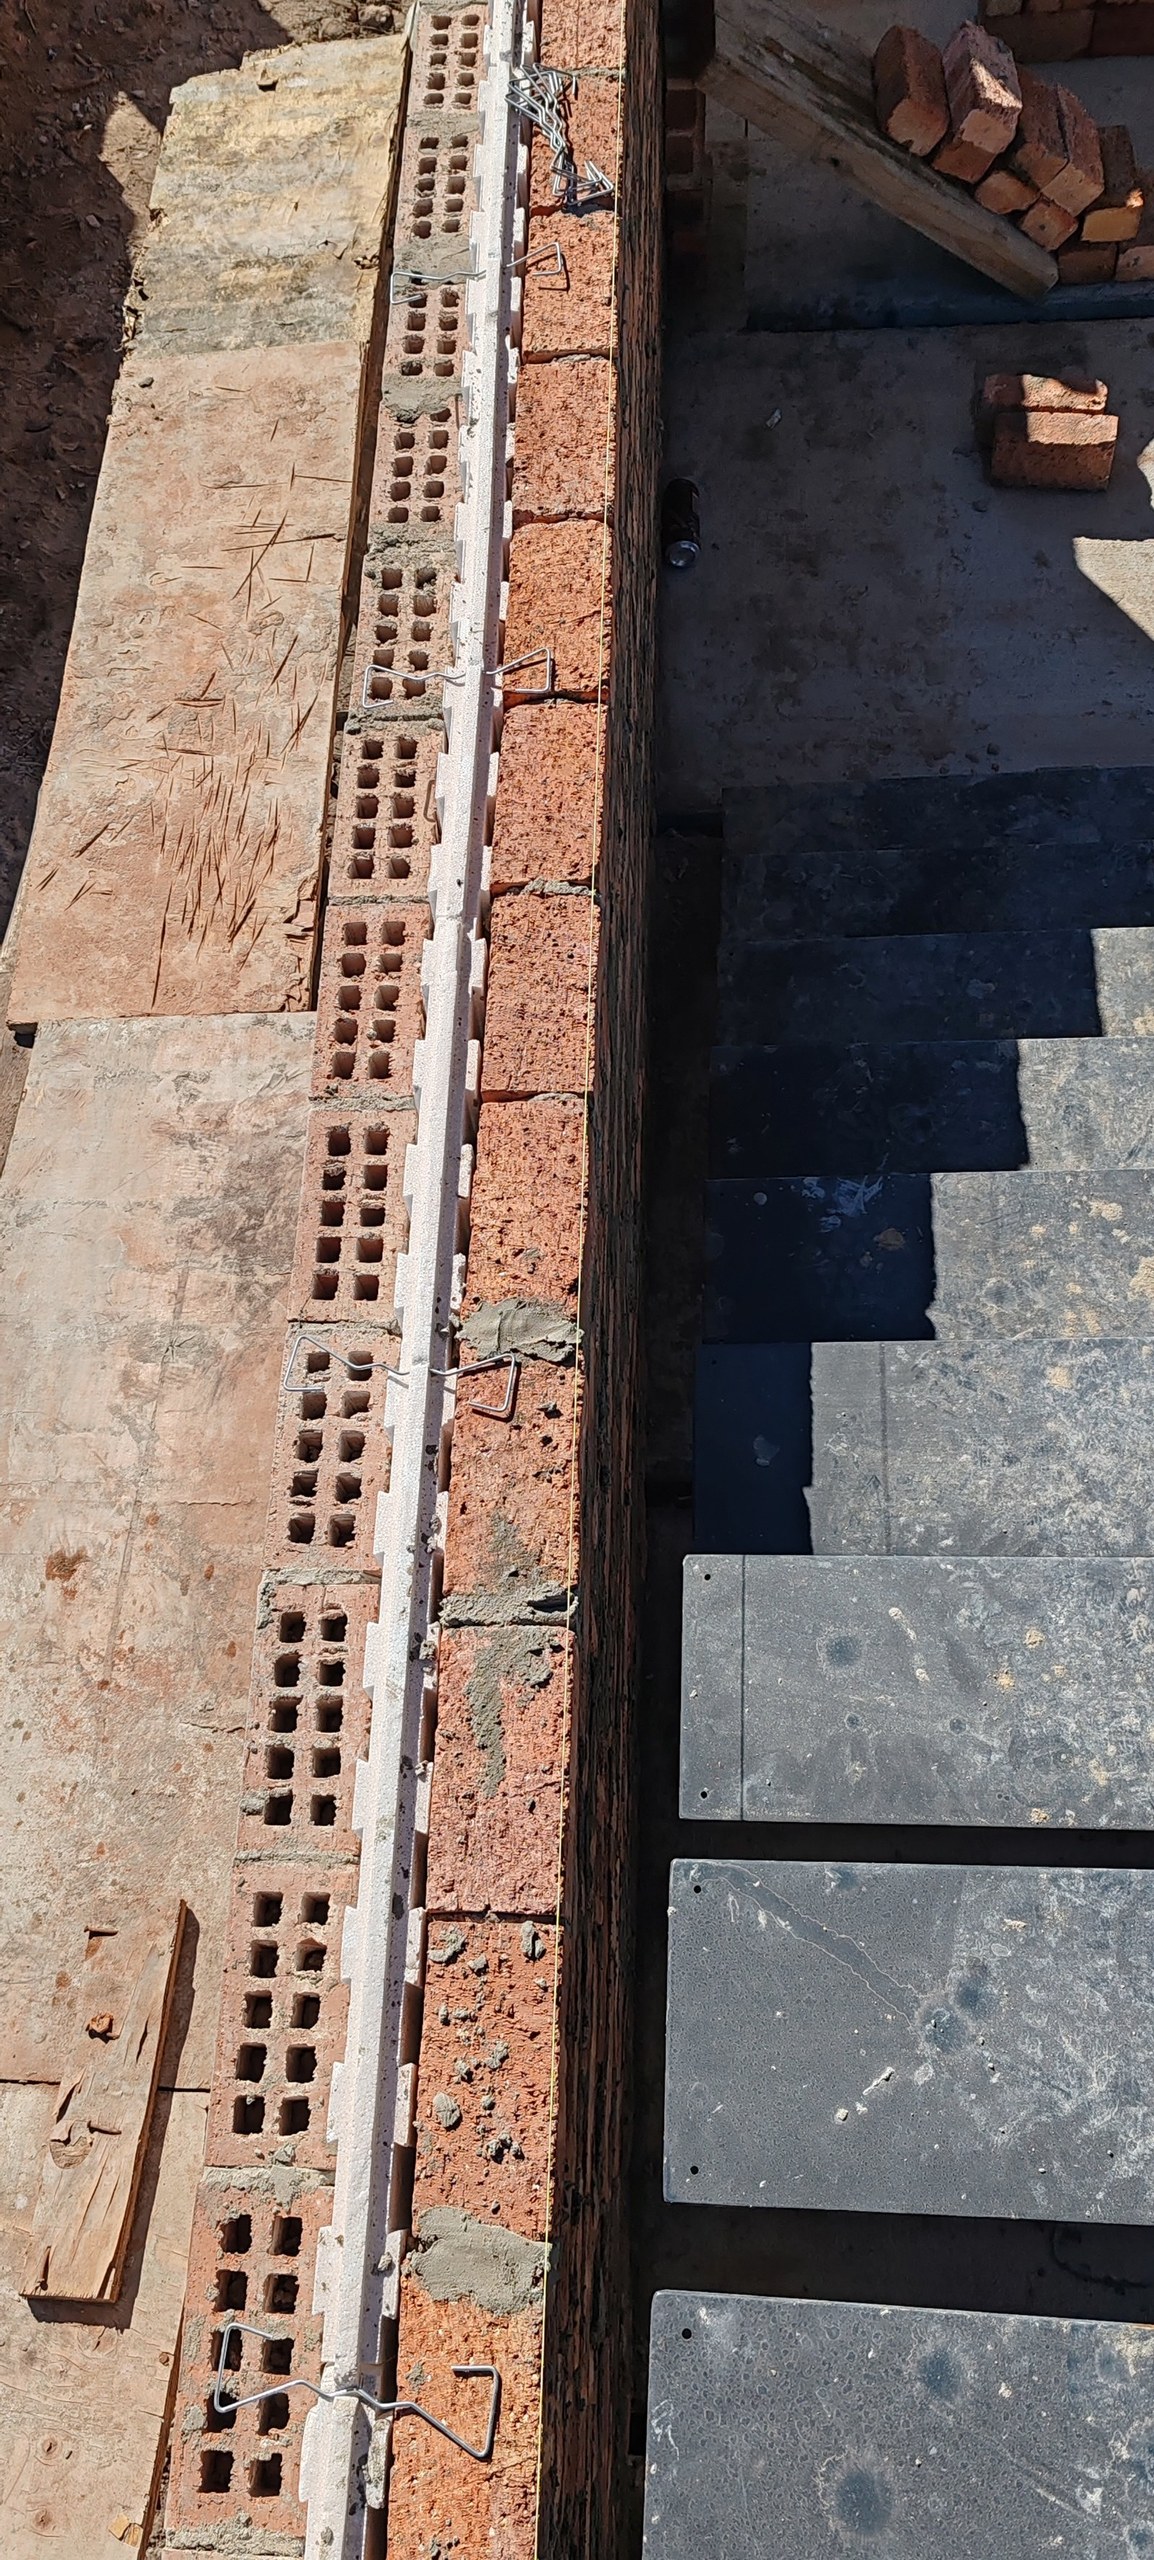
Looking down the top of a cavity wall: the white keyed EPS board sits between a perforated clay-brick leaf and the brick outer leaf, its stepped castellated edge visible along the top.PHOTO
Looking down the top of a cavity wall: the white keyed EPS board sits between a perforated clay-brick leaf and the brick outer leaf, its stepped castellated edge visible along the top.Polykey Cavity Insulation
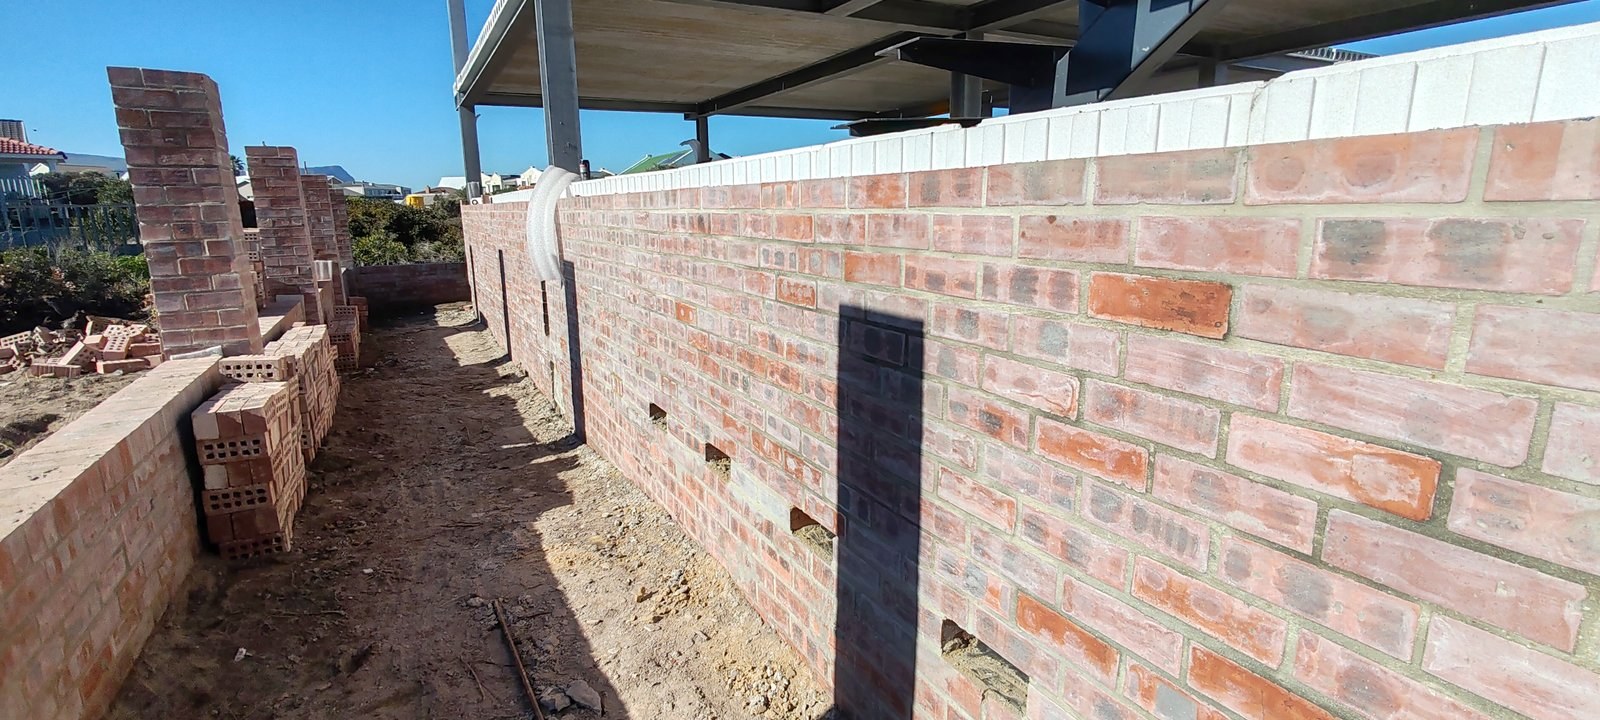
A long run of face brickwork on site with the white EPS boards continuing along the top of the cavity; stacked perforated clay bricks and the steel frame of the house alongside.PHOTO
A long run of face brickwork on site with the white EPS boards continuing along the top of the cavity; stacked perforated clay bricks and the steel frame of the house alongside.Polykey Cavity Insulation
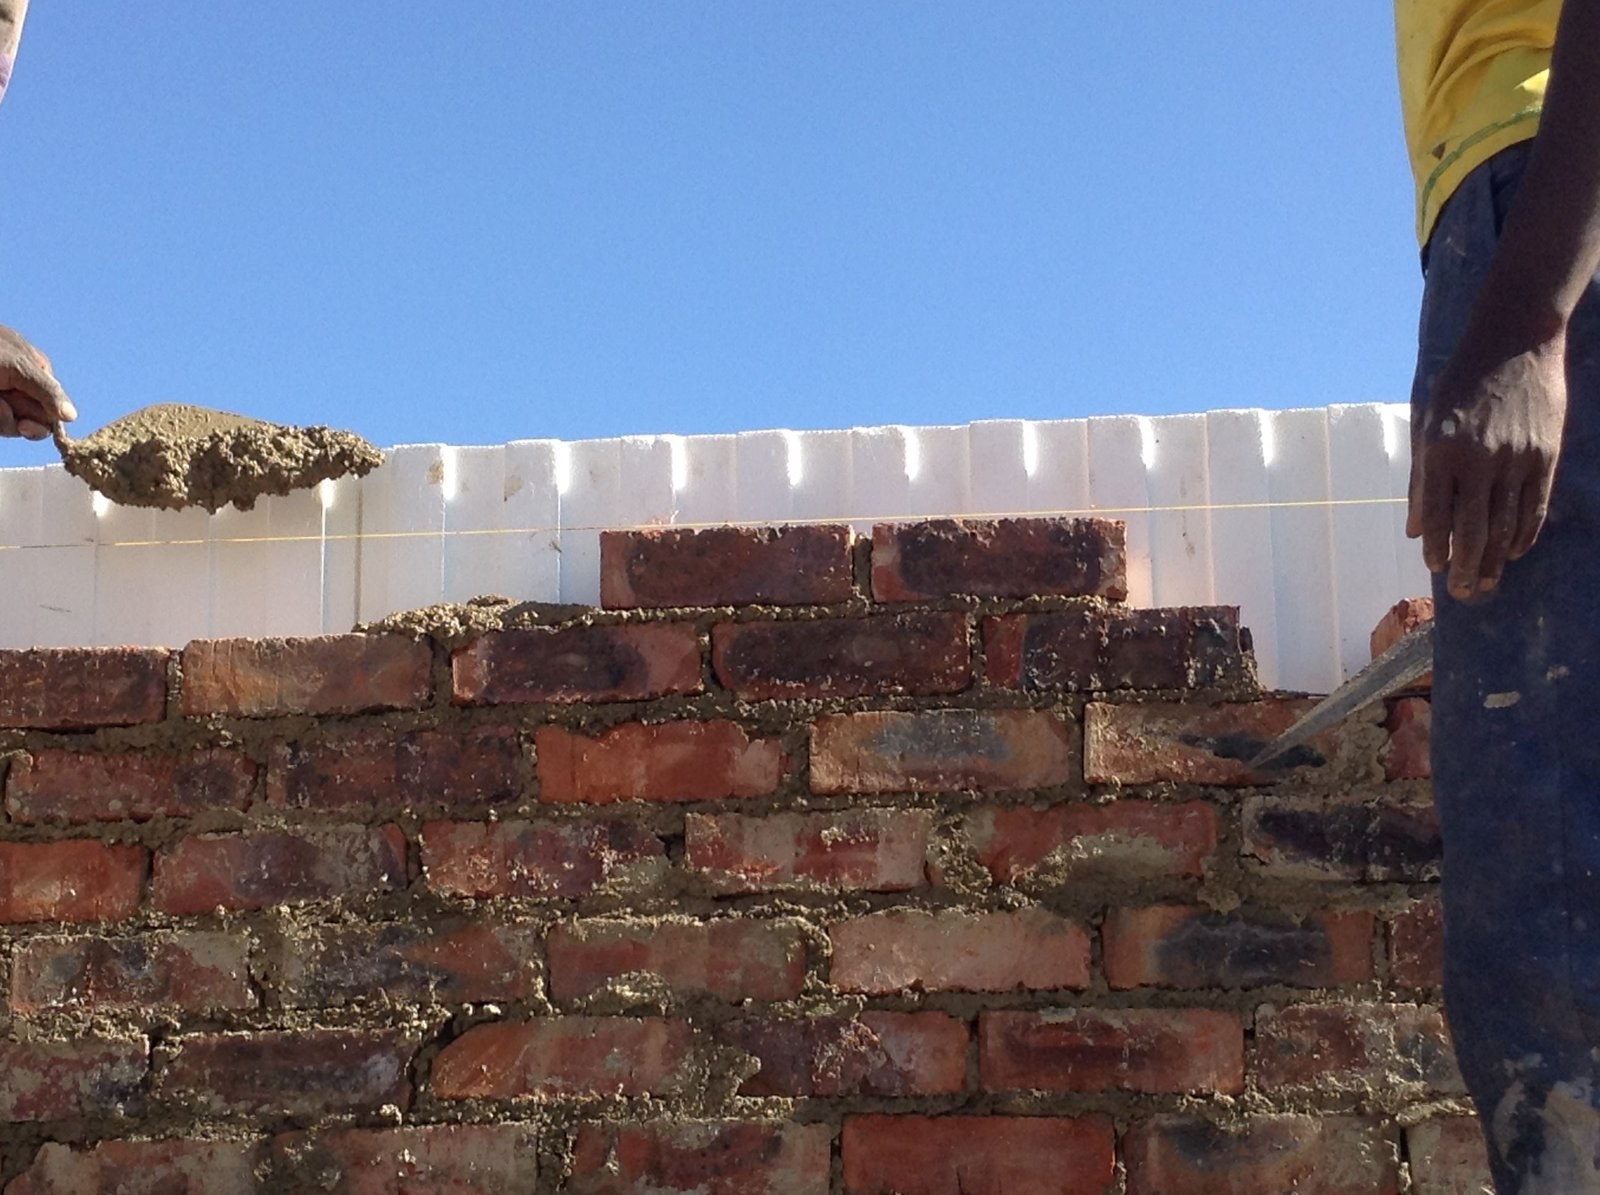
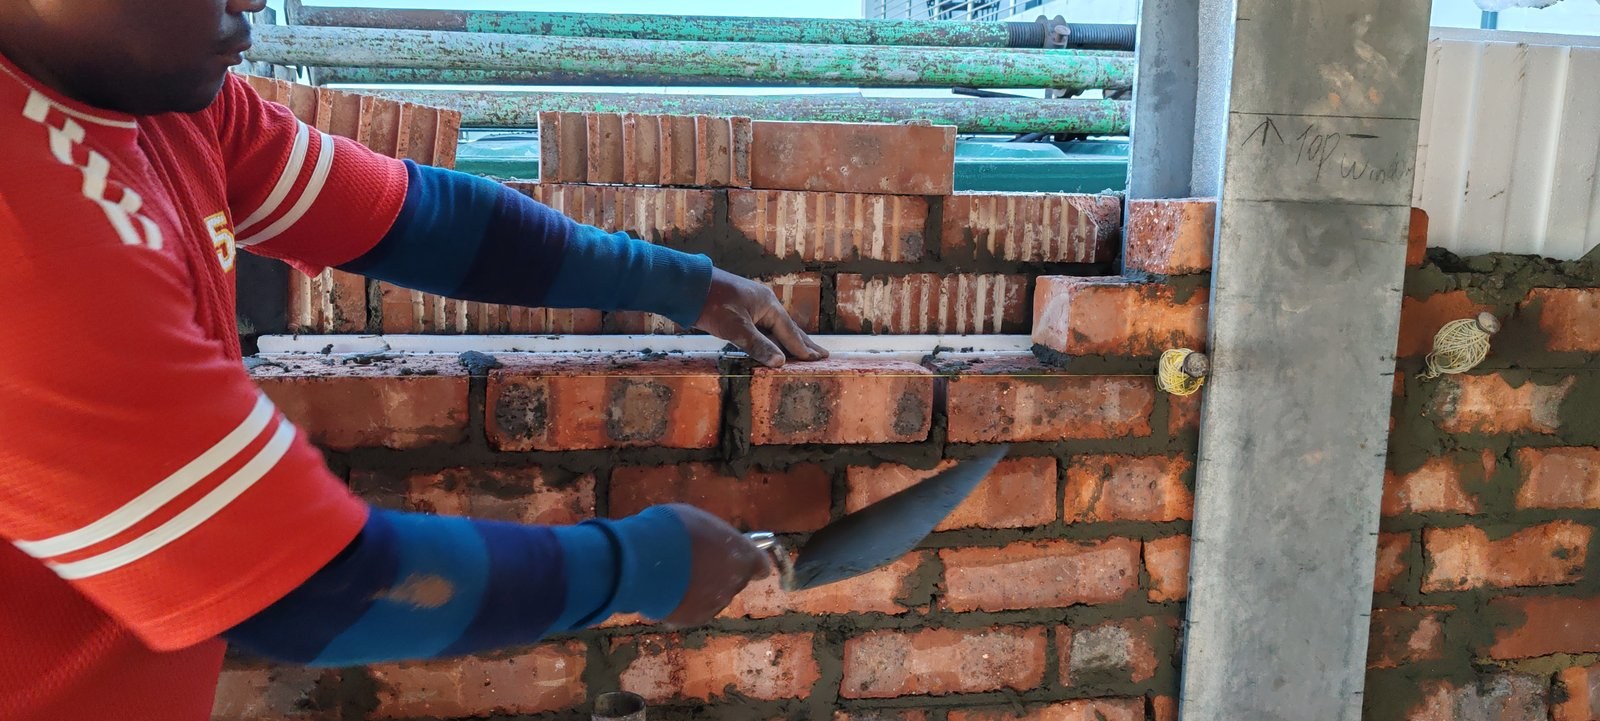
Bricklayer pointing mortar above an EPS cavity board in the outer wall leafPHOTO
Bricklayer pointing mortar above an EPS cavity board in the outer wall leafPolykey Cavity Insulation
Wire wall tie over an EPS cavity board, closeupPHOTO
Wire wall tie over an EPS cavity board, closeupPolykey Cavity Insulation
Mason laying brick over an EPS cavity board, house under constructionPHOTO
Mason laying brick over an EPS cavity board, house under constructionPolykey Cavity Insulation
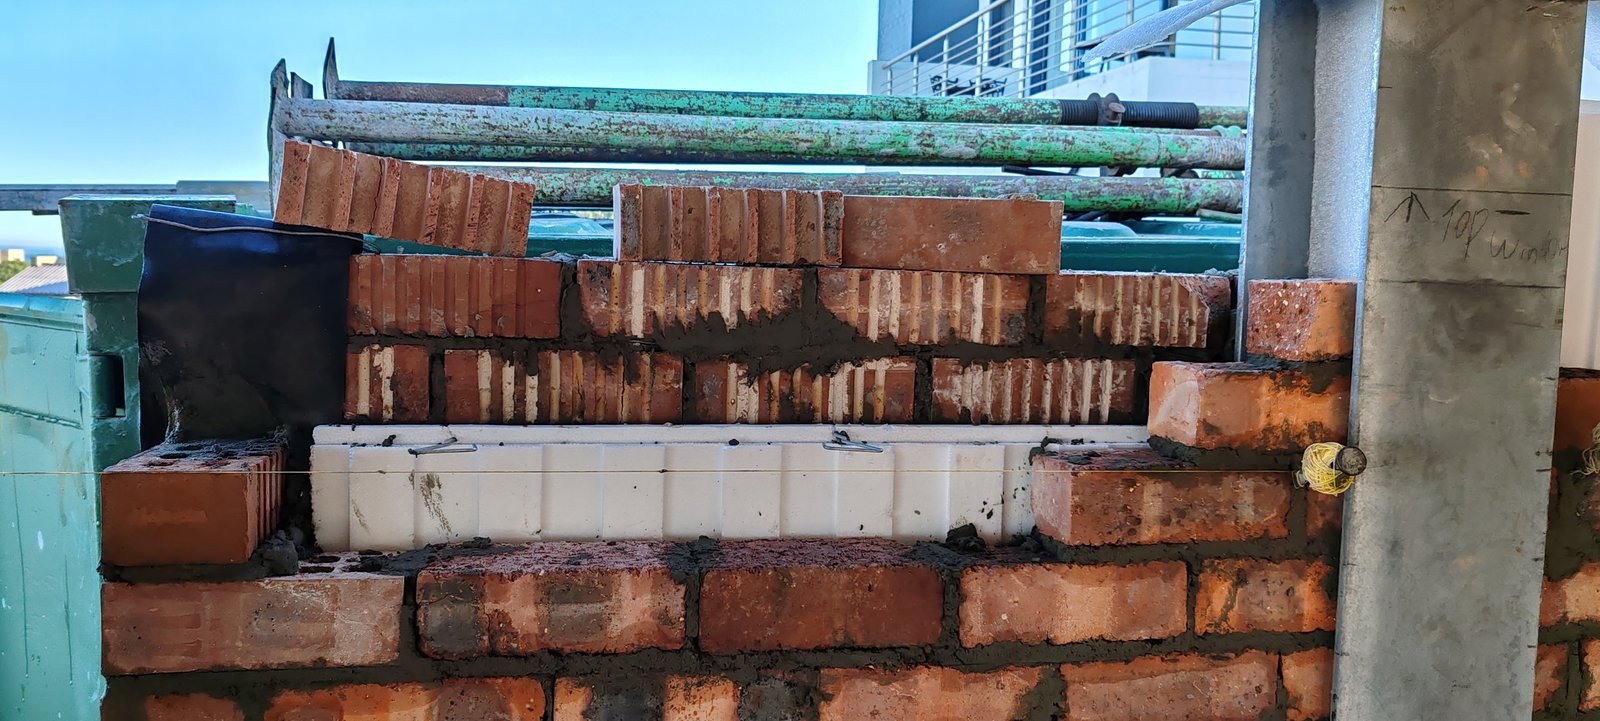
Fitting a Polykey cavity board against a DPC membrane, coastal sitePHOTO
Fitting a Polykey cavity board against a DPC membrane, coastal sitePolykey Cavity Insulation
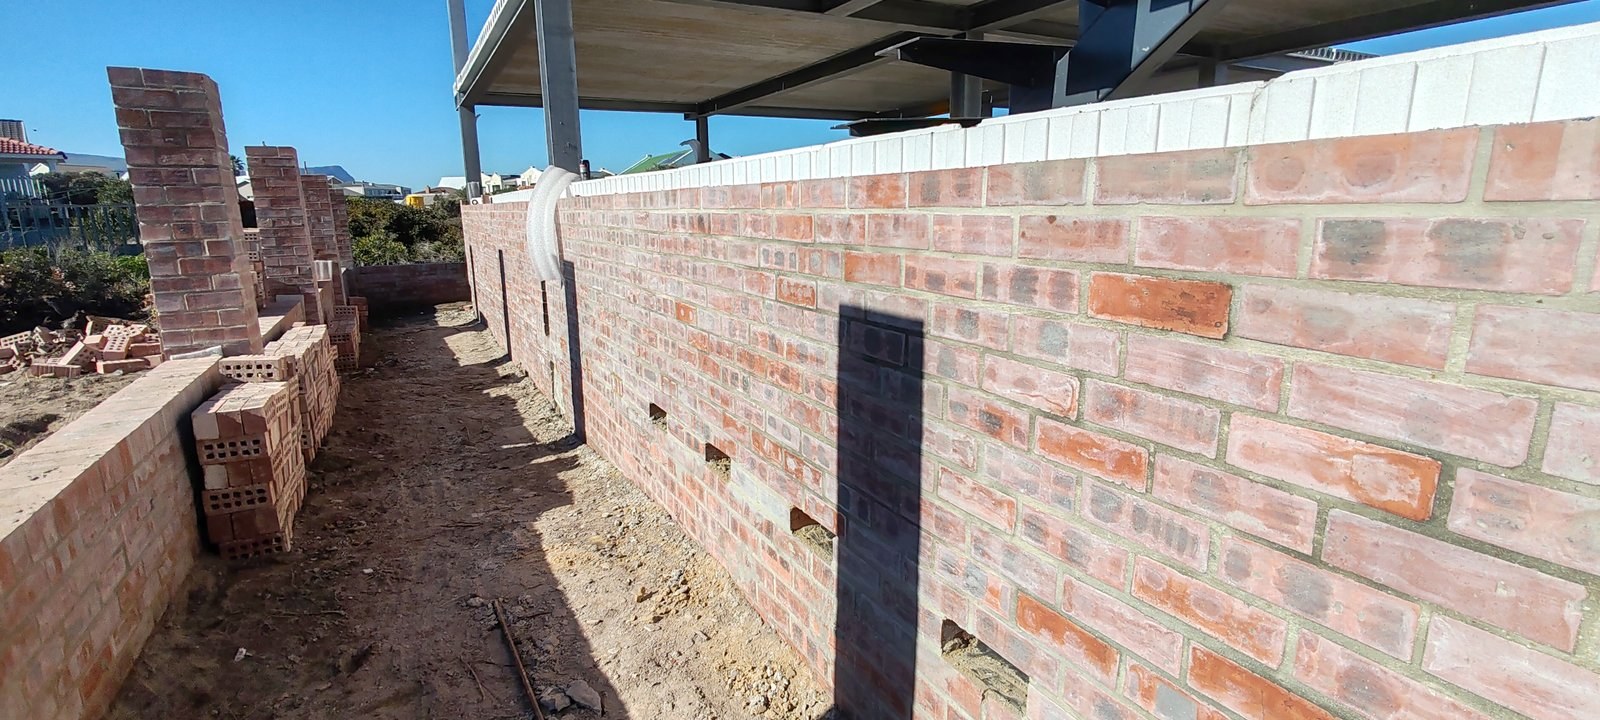
Brick boundary wall with Polykey board as insulated coping along the top coursePHOTO
Brick boundary wall with Polykey board as insulated coping along the top coursePolykey Cavity Insulation
Bricklayer pointing mortar over a cavity board above a window lintelPHOTO
Bricklayer pointing mortar over a cavity board above a window lintelPolykey Cavity Insulation
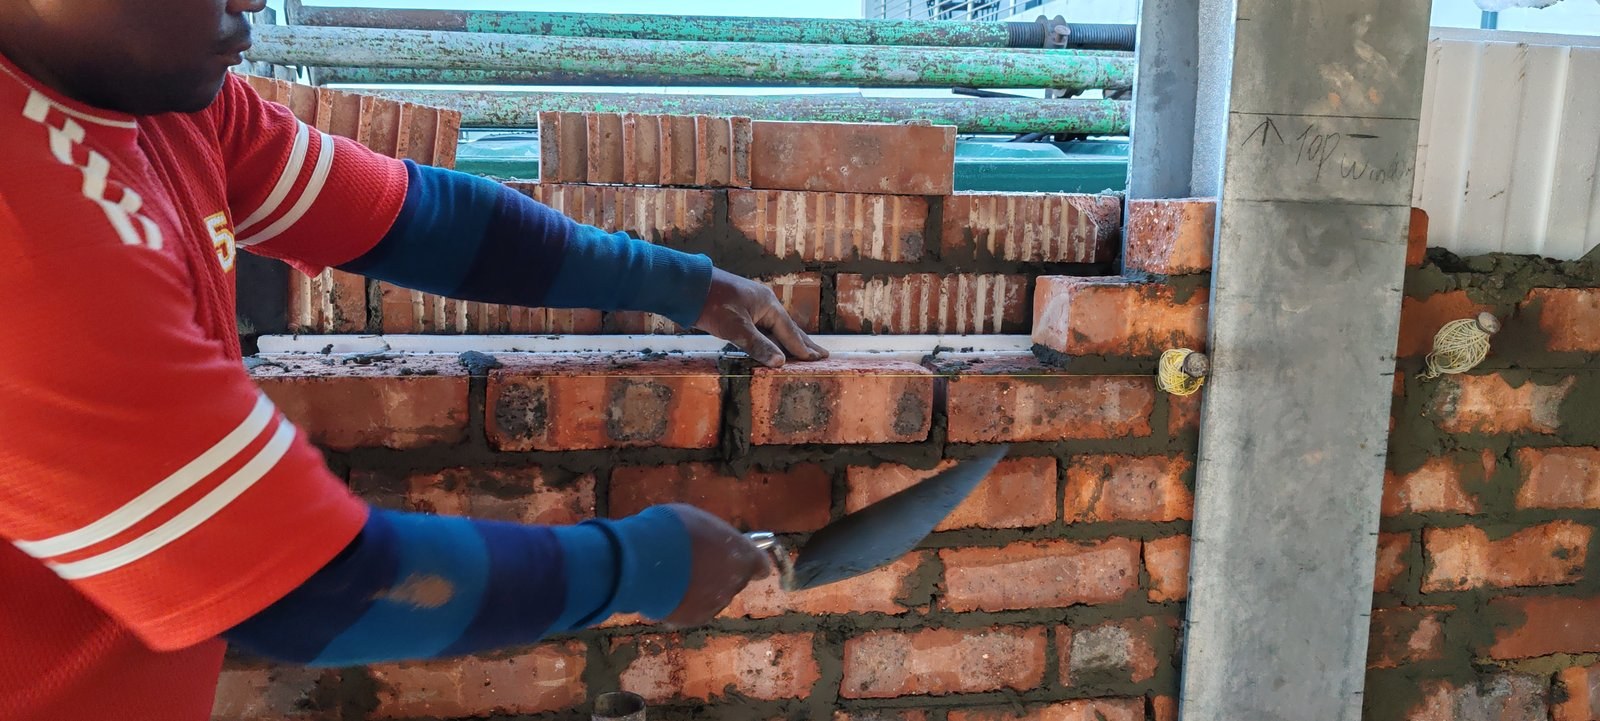
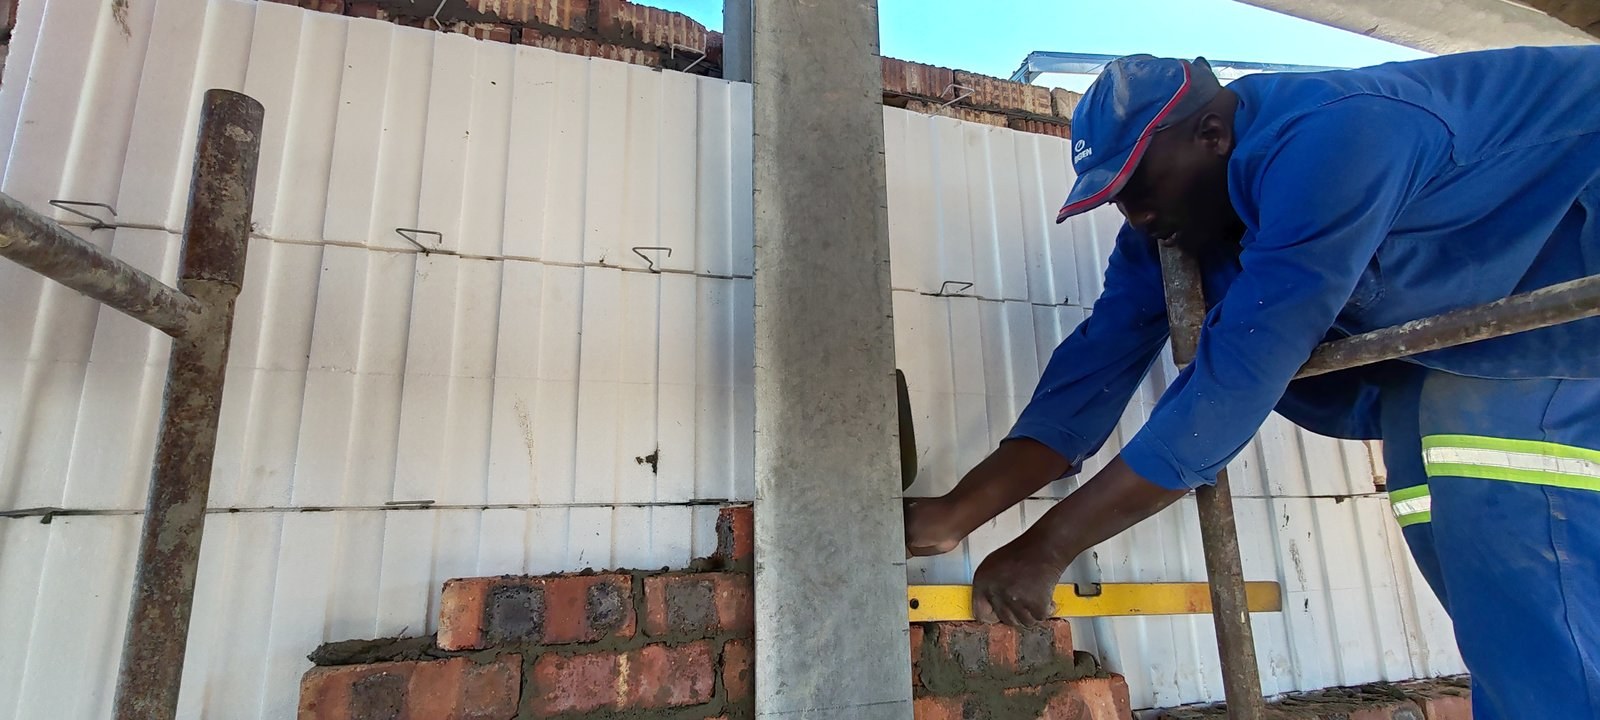
Checking brick level against a cavity board wall next to a steel columnPHOTO
Checking brick level against a cavity board wall next to a steel columnPolykey Cavity Insulation
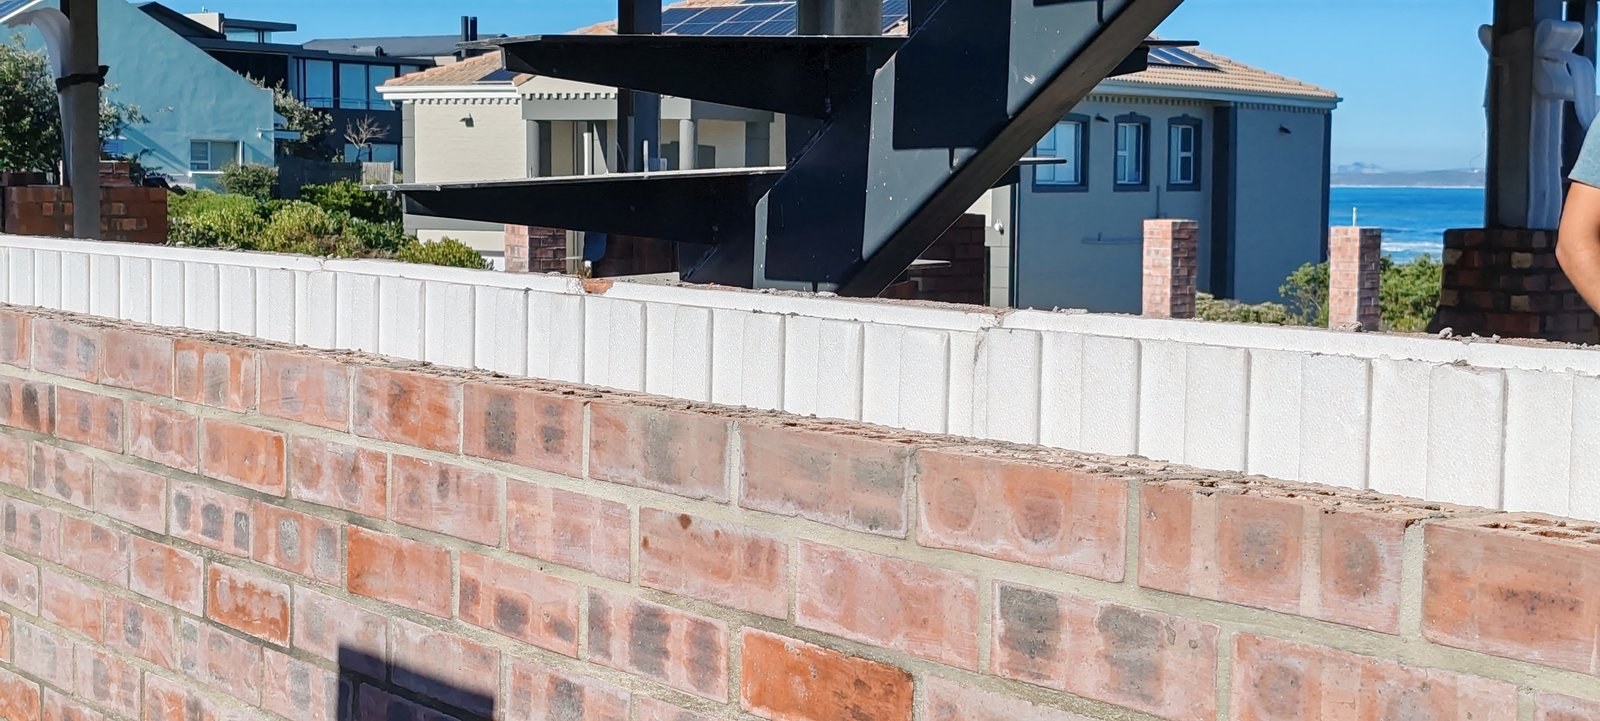
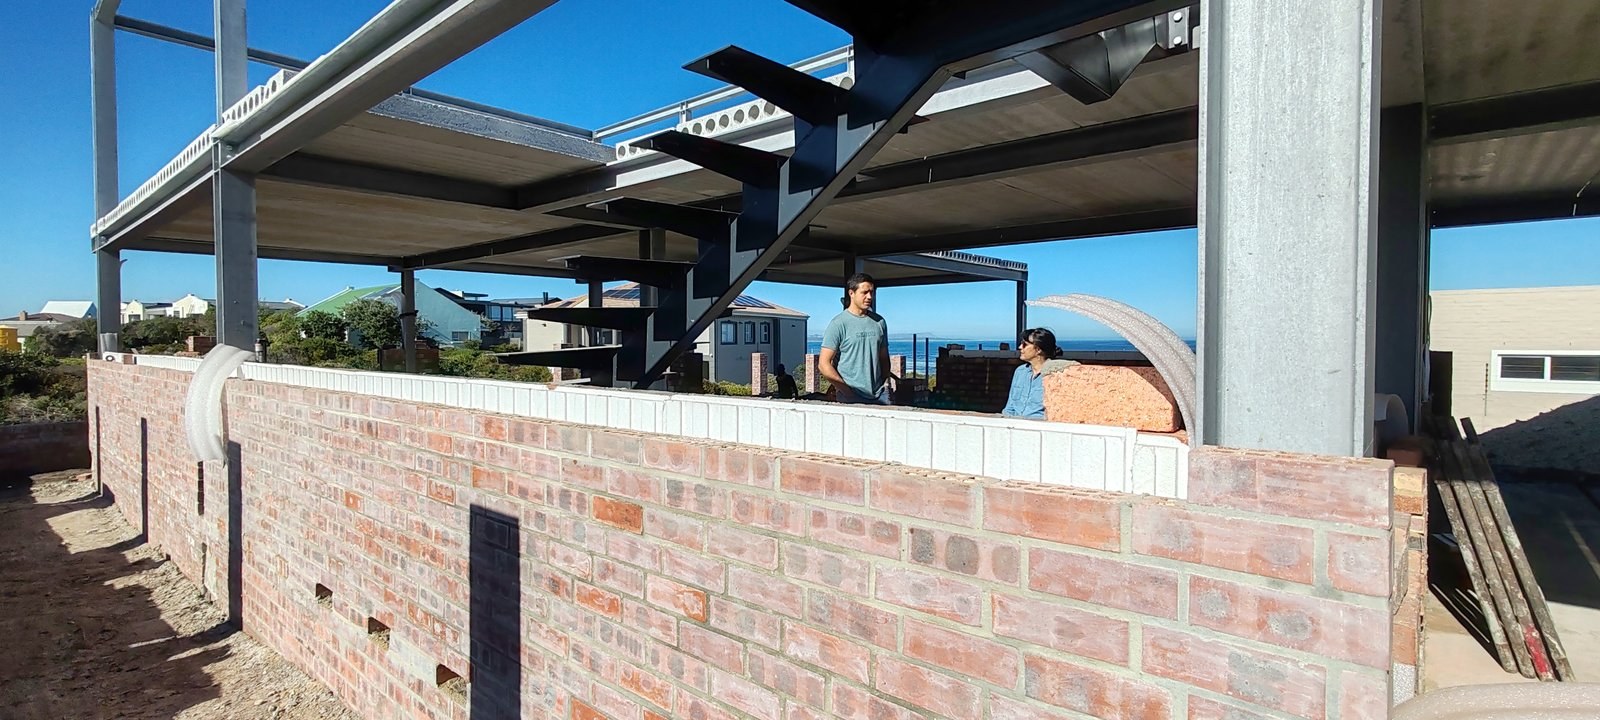
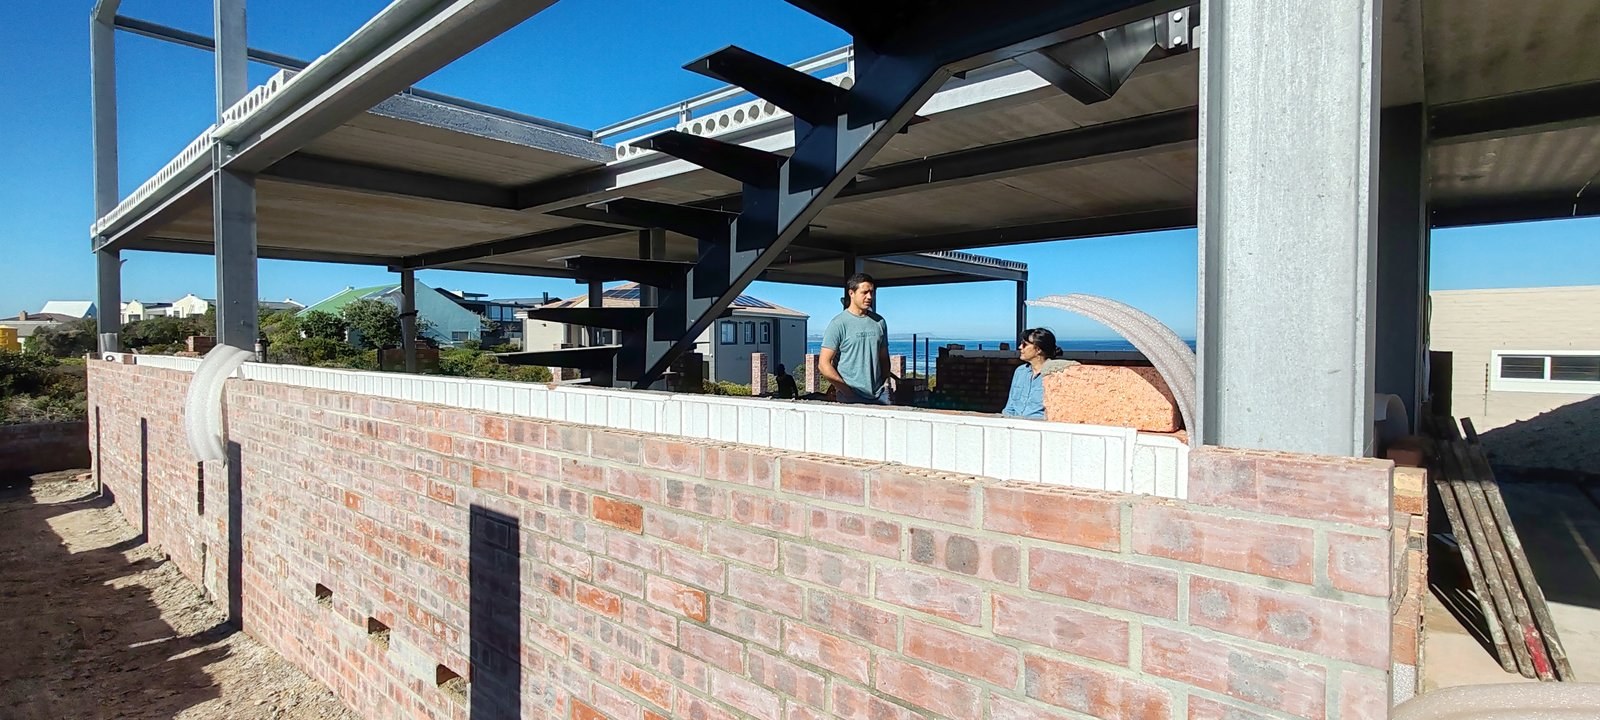
Insulated brick parapet wall under a steel floor structure, coastal sitePHOTO
Insulated brick parapet wall under a steel floor structure, coastal sitePolykey Cavity Insulation
Brick and cavity board boundary wall under construction, coastal site with delivery truck and skip binPHOTO
Brick and cavity board boundary wall under construction, coastal site with delivery truck and skip binPolykey Cavity Insulation
Interlocking cavity board edge fitted between two brick leaves, closeupPHOTO
Interlocking cavity board edge fitted between two brick leaves, closeupPolykey Cavity Insulation
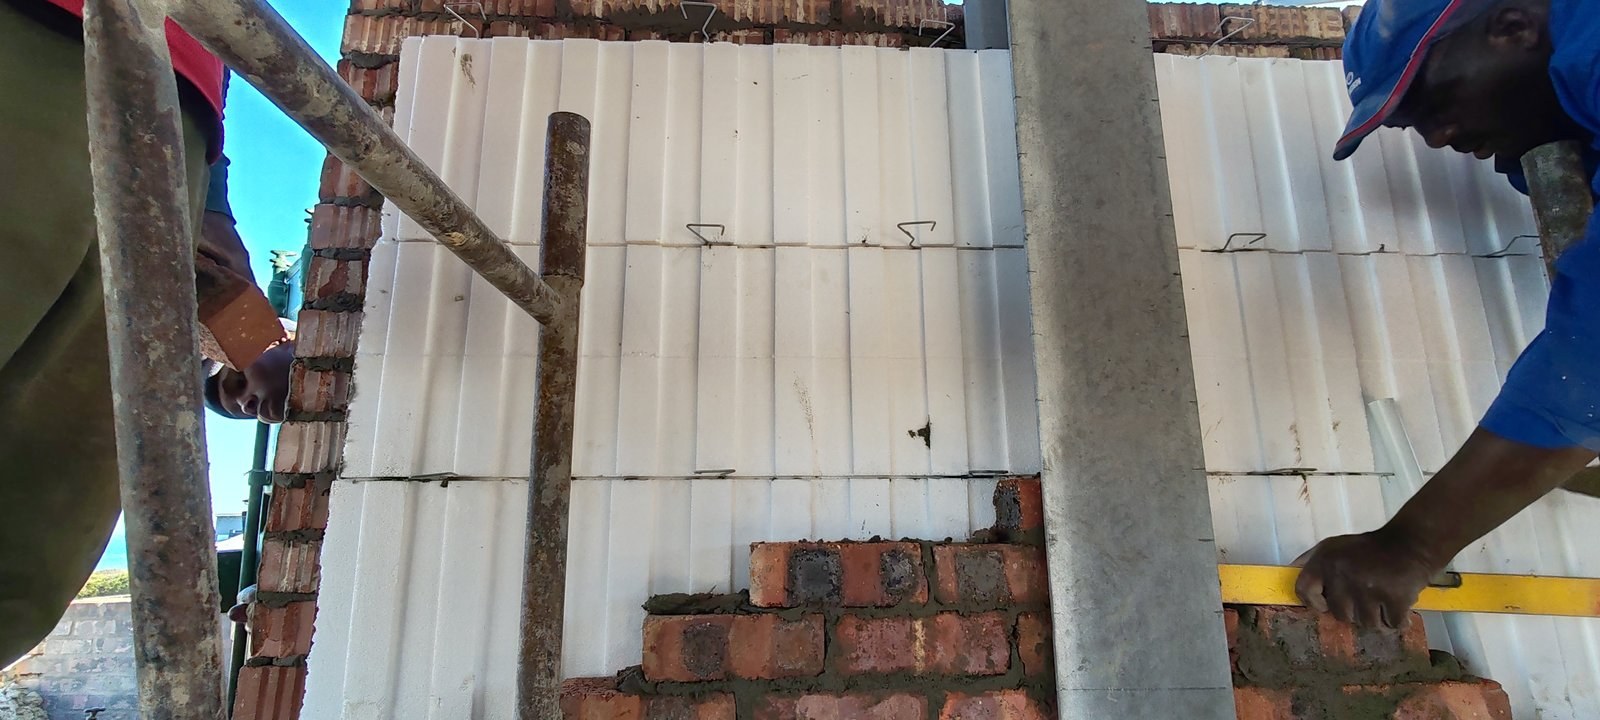
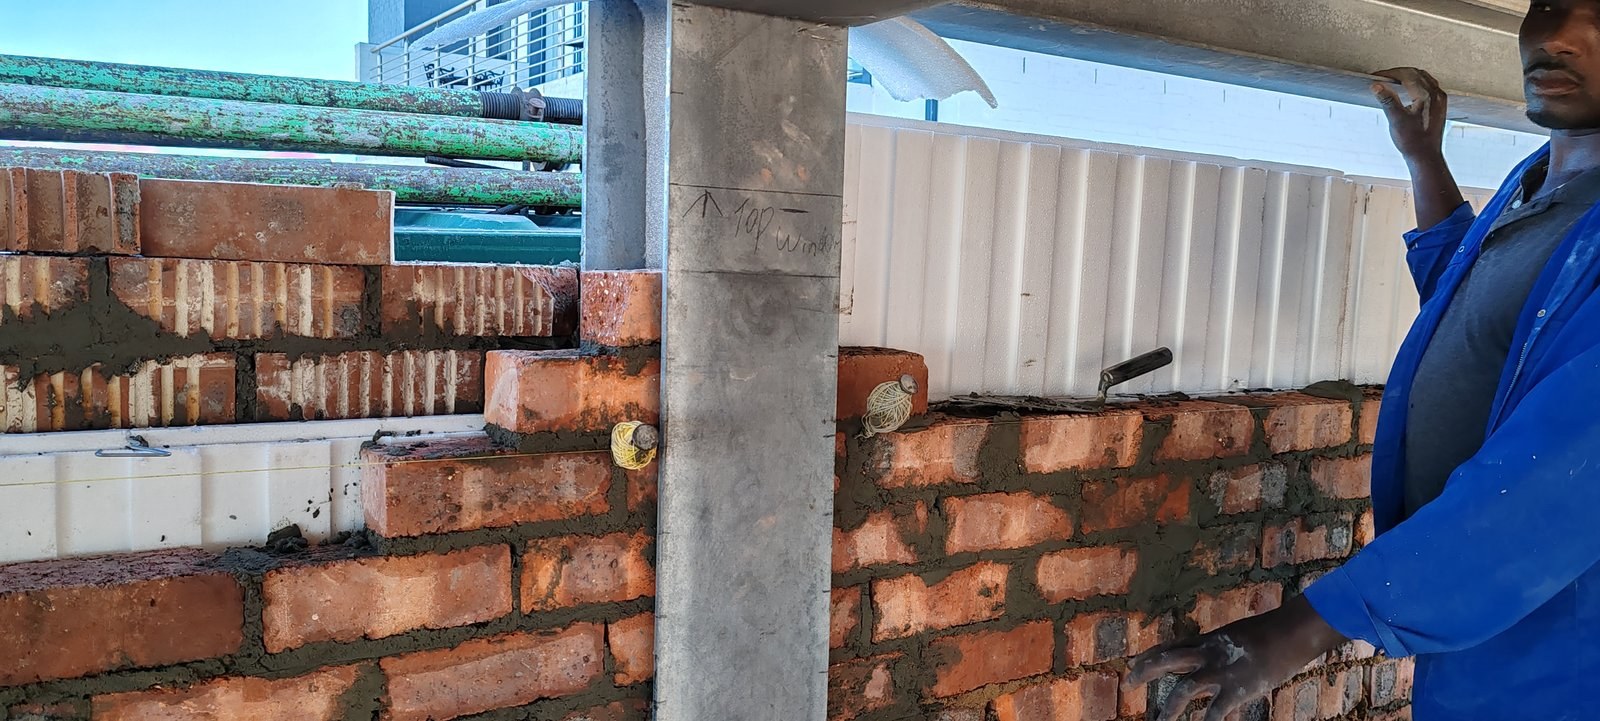
Cavity board fitted above a lintel, "top window" marked on the steel columnPHOTO
Cavity board fitted above a lintel, "top window" marked on the steel columnPolykey Cavity Insulation
Checking brick level against a cavity board wall, high-rise buildings in backgroundPHOTO
Checking brick level against a cavity board wall, high-rise buildings in backgroundPolykey Cavity Insulation
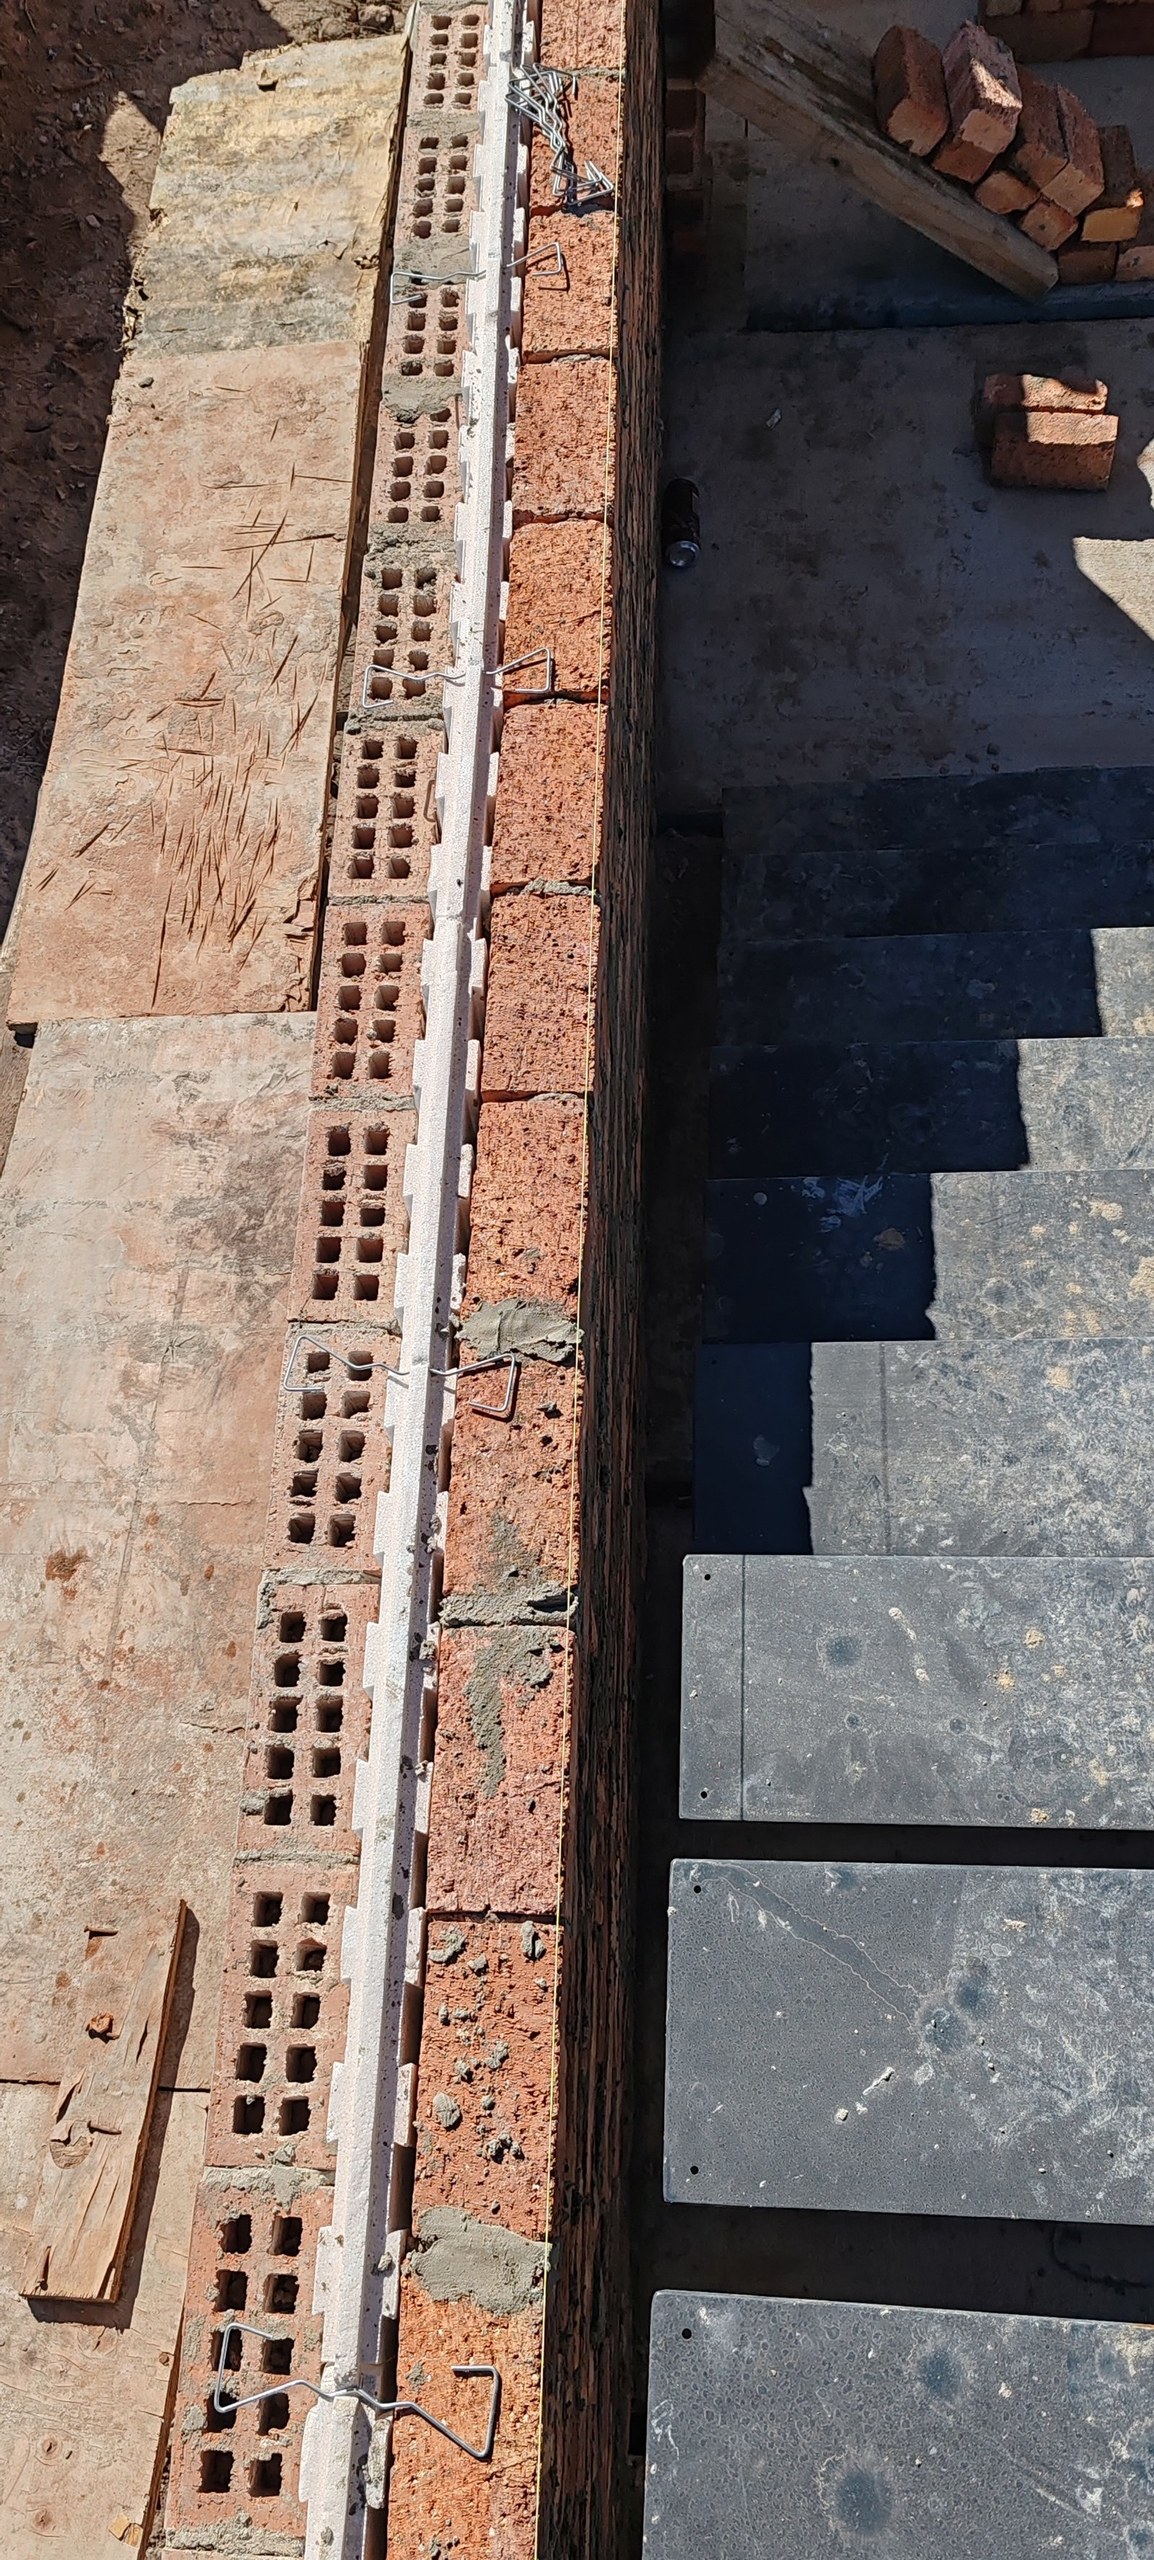
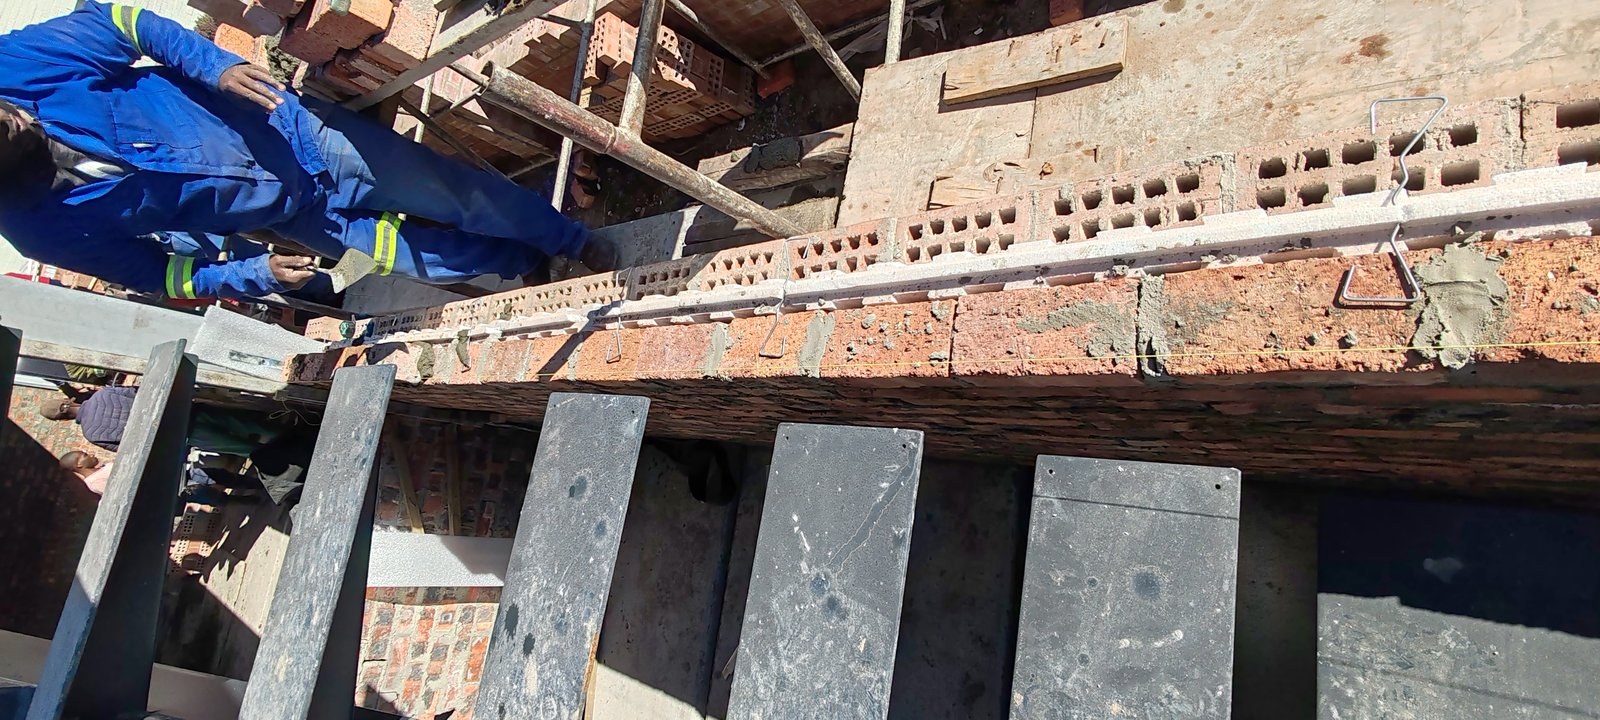
Overhead view along a brick and cavity board wall, paving slabs stacked belowPHOTO
Overhead view along a brick and cavity board wall, paving slabs stacked belowPolykey Cavity Insulation
Insulated brick parapet wall under a steel roof structure, coastal houses in backgroundPHOTO
Insulated brick parapet wall under a steel roof structure, coastal houses in backgroundPolykey Cavity Insulation
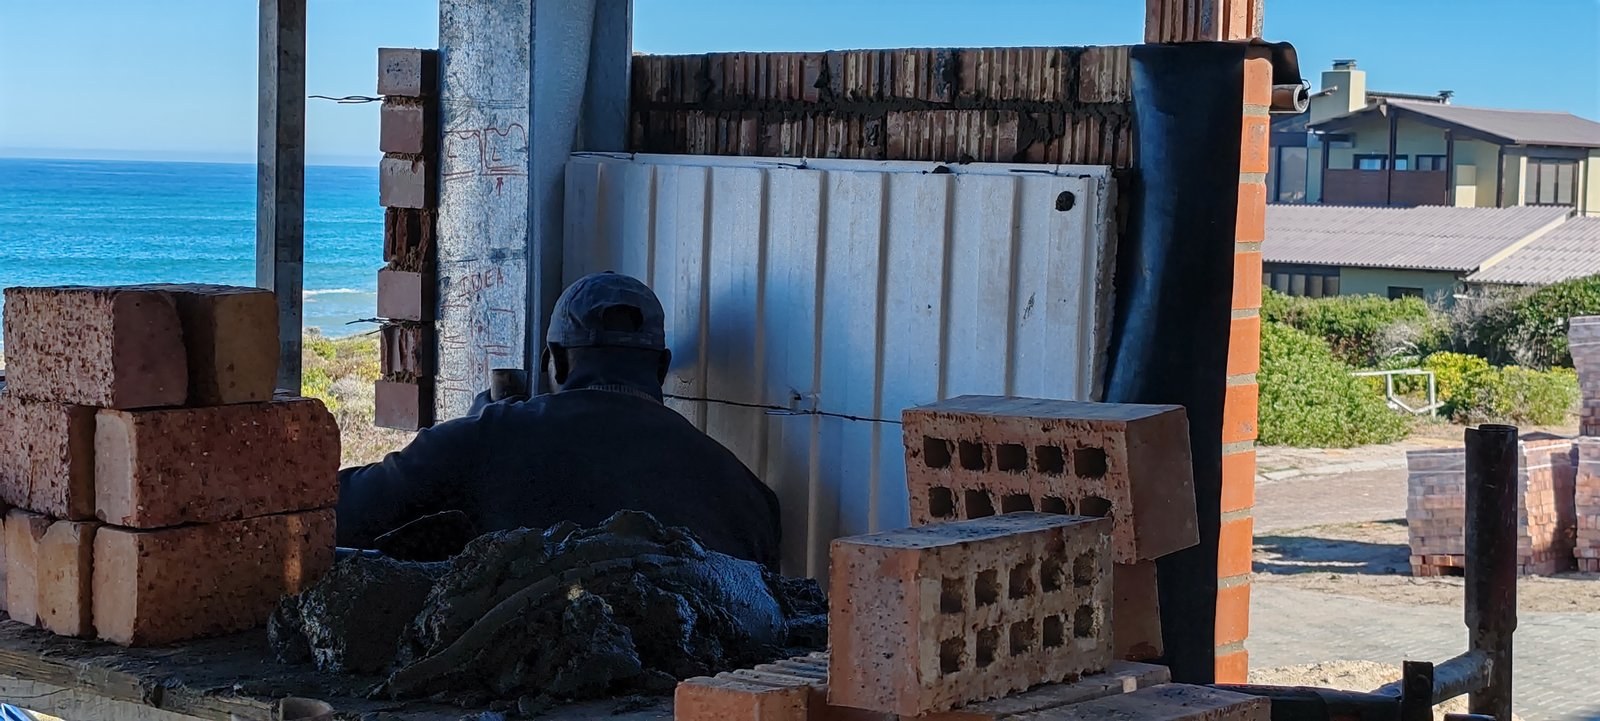
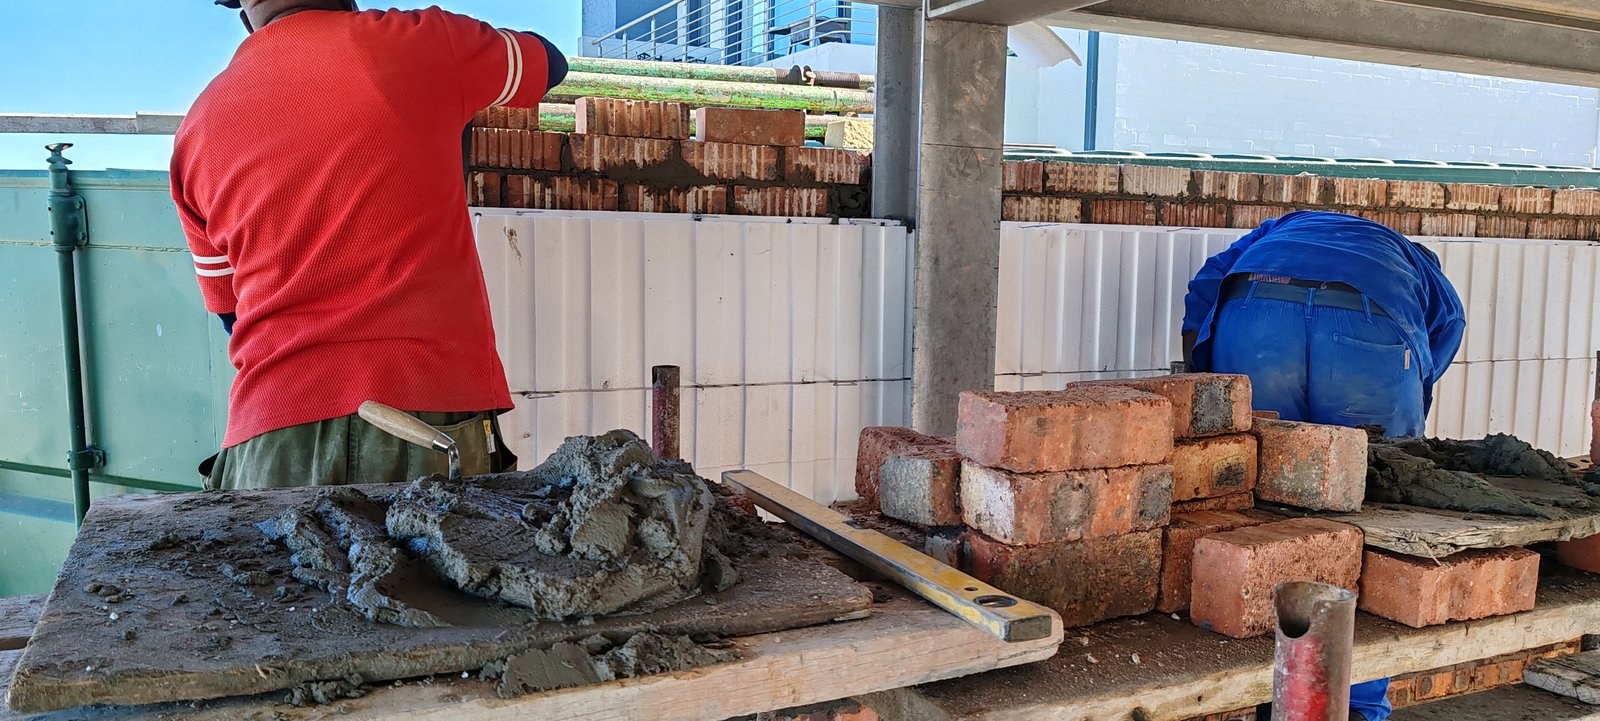
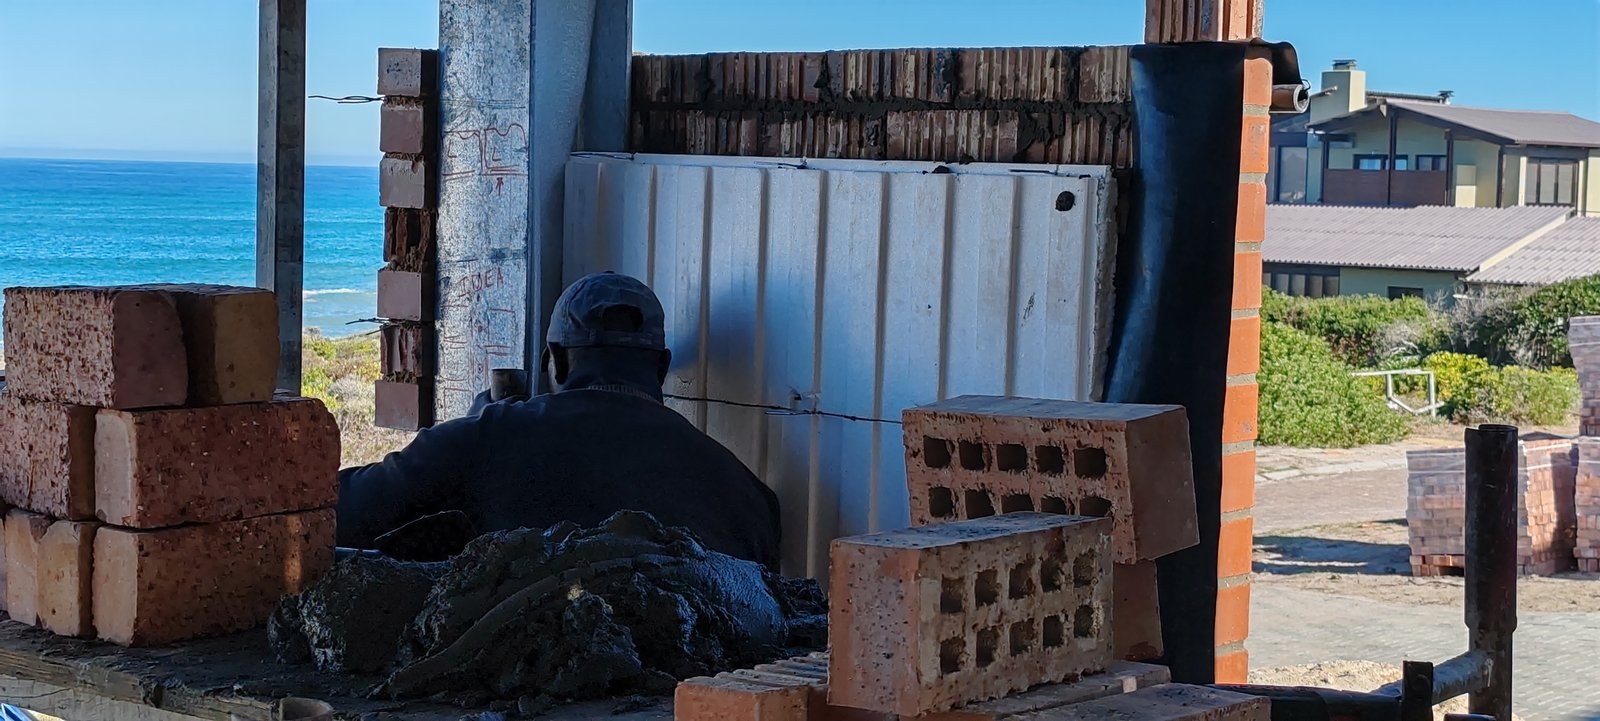
Two masons laying brick over cavity board at a mortar benchPHOTO
Two masons laying brick over cavity board at a mortar benchPolykey Cavity Insulation
Cavity board capping along the top of a brick wall, steel beam abovePHOTO
Cavity board capping along the top of a brick wall, steel beam abovePolykey Cavity Insulation
Positioning a cavity board over a lintel marked "top window"PHOTO
Positioning a cavity board over a lintel marked "top window"Polykey Cavity Insulation
Worker walking along the top of an unfinished cavity board wall, paving slabs stacked belowPHOTO
Worker walking along the top of an unfinished cavity board wall, paving slabs stacked belowPolykey Cavity Insulation
PHOTO
Polykey Cavity Insulation
PHOTO
Polykey Cavity Insulation
PHOTO
Polykey Cavity Insulation
PHOTO
Polykey Cavity Insulation
PHOTO
Polykey Cavity Insulation
PHOTO
Polykey Cavity Insulation
PHOTO
Polykey Cavity Insulation
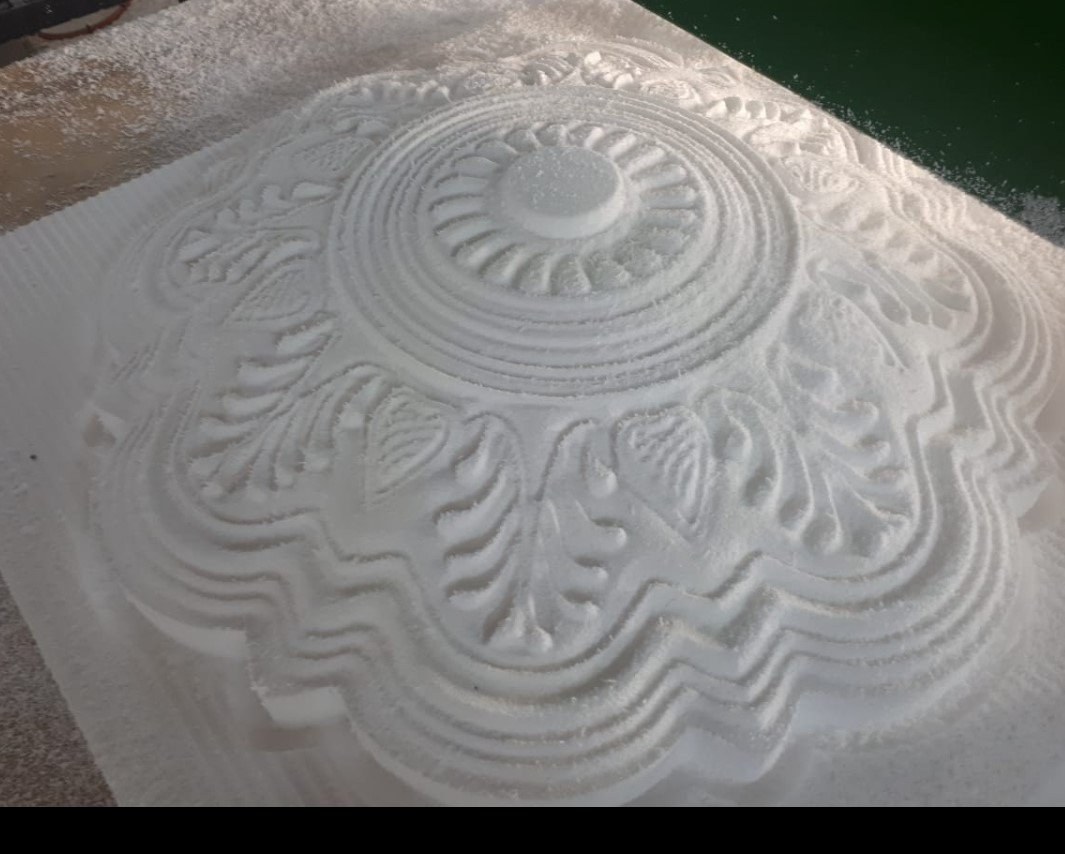
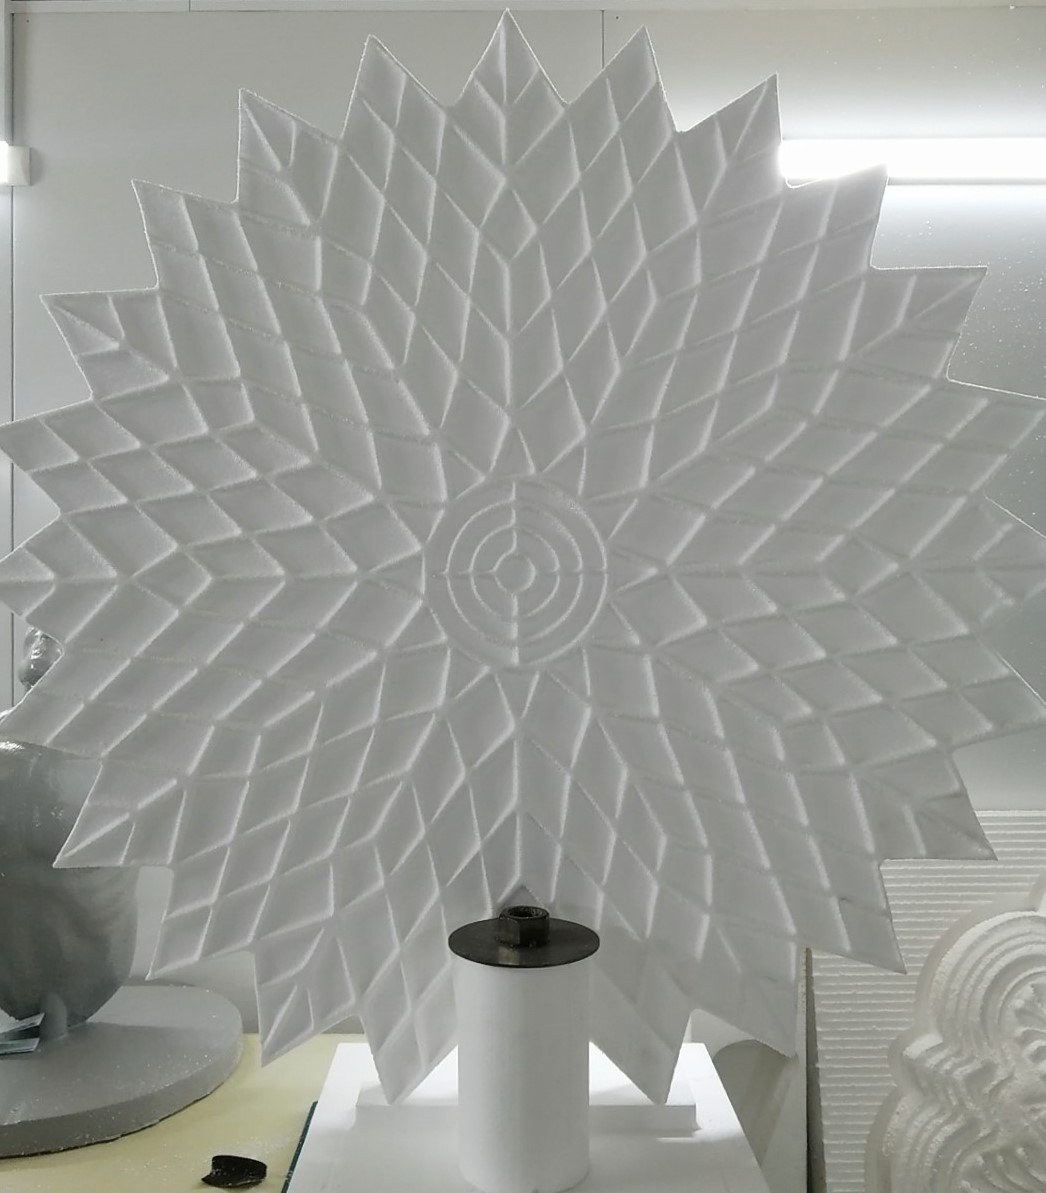
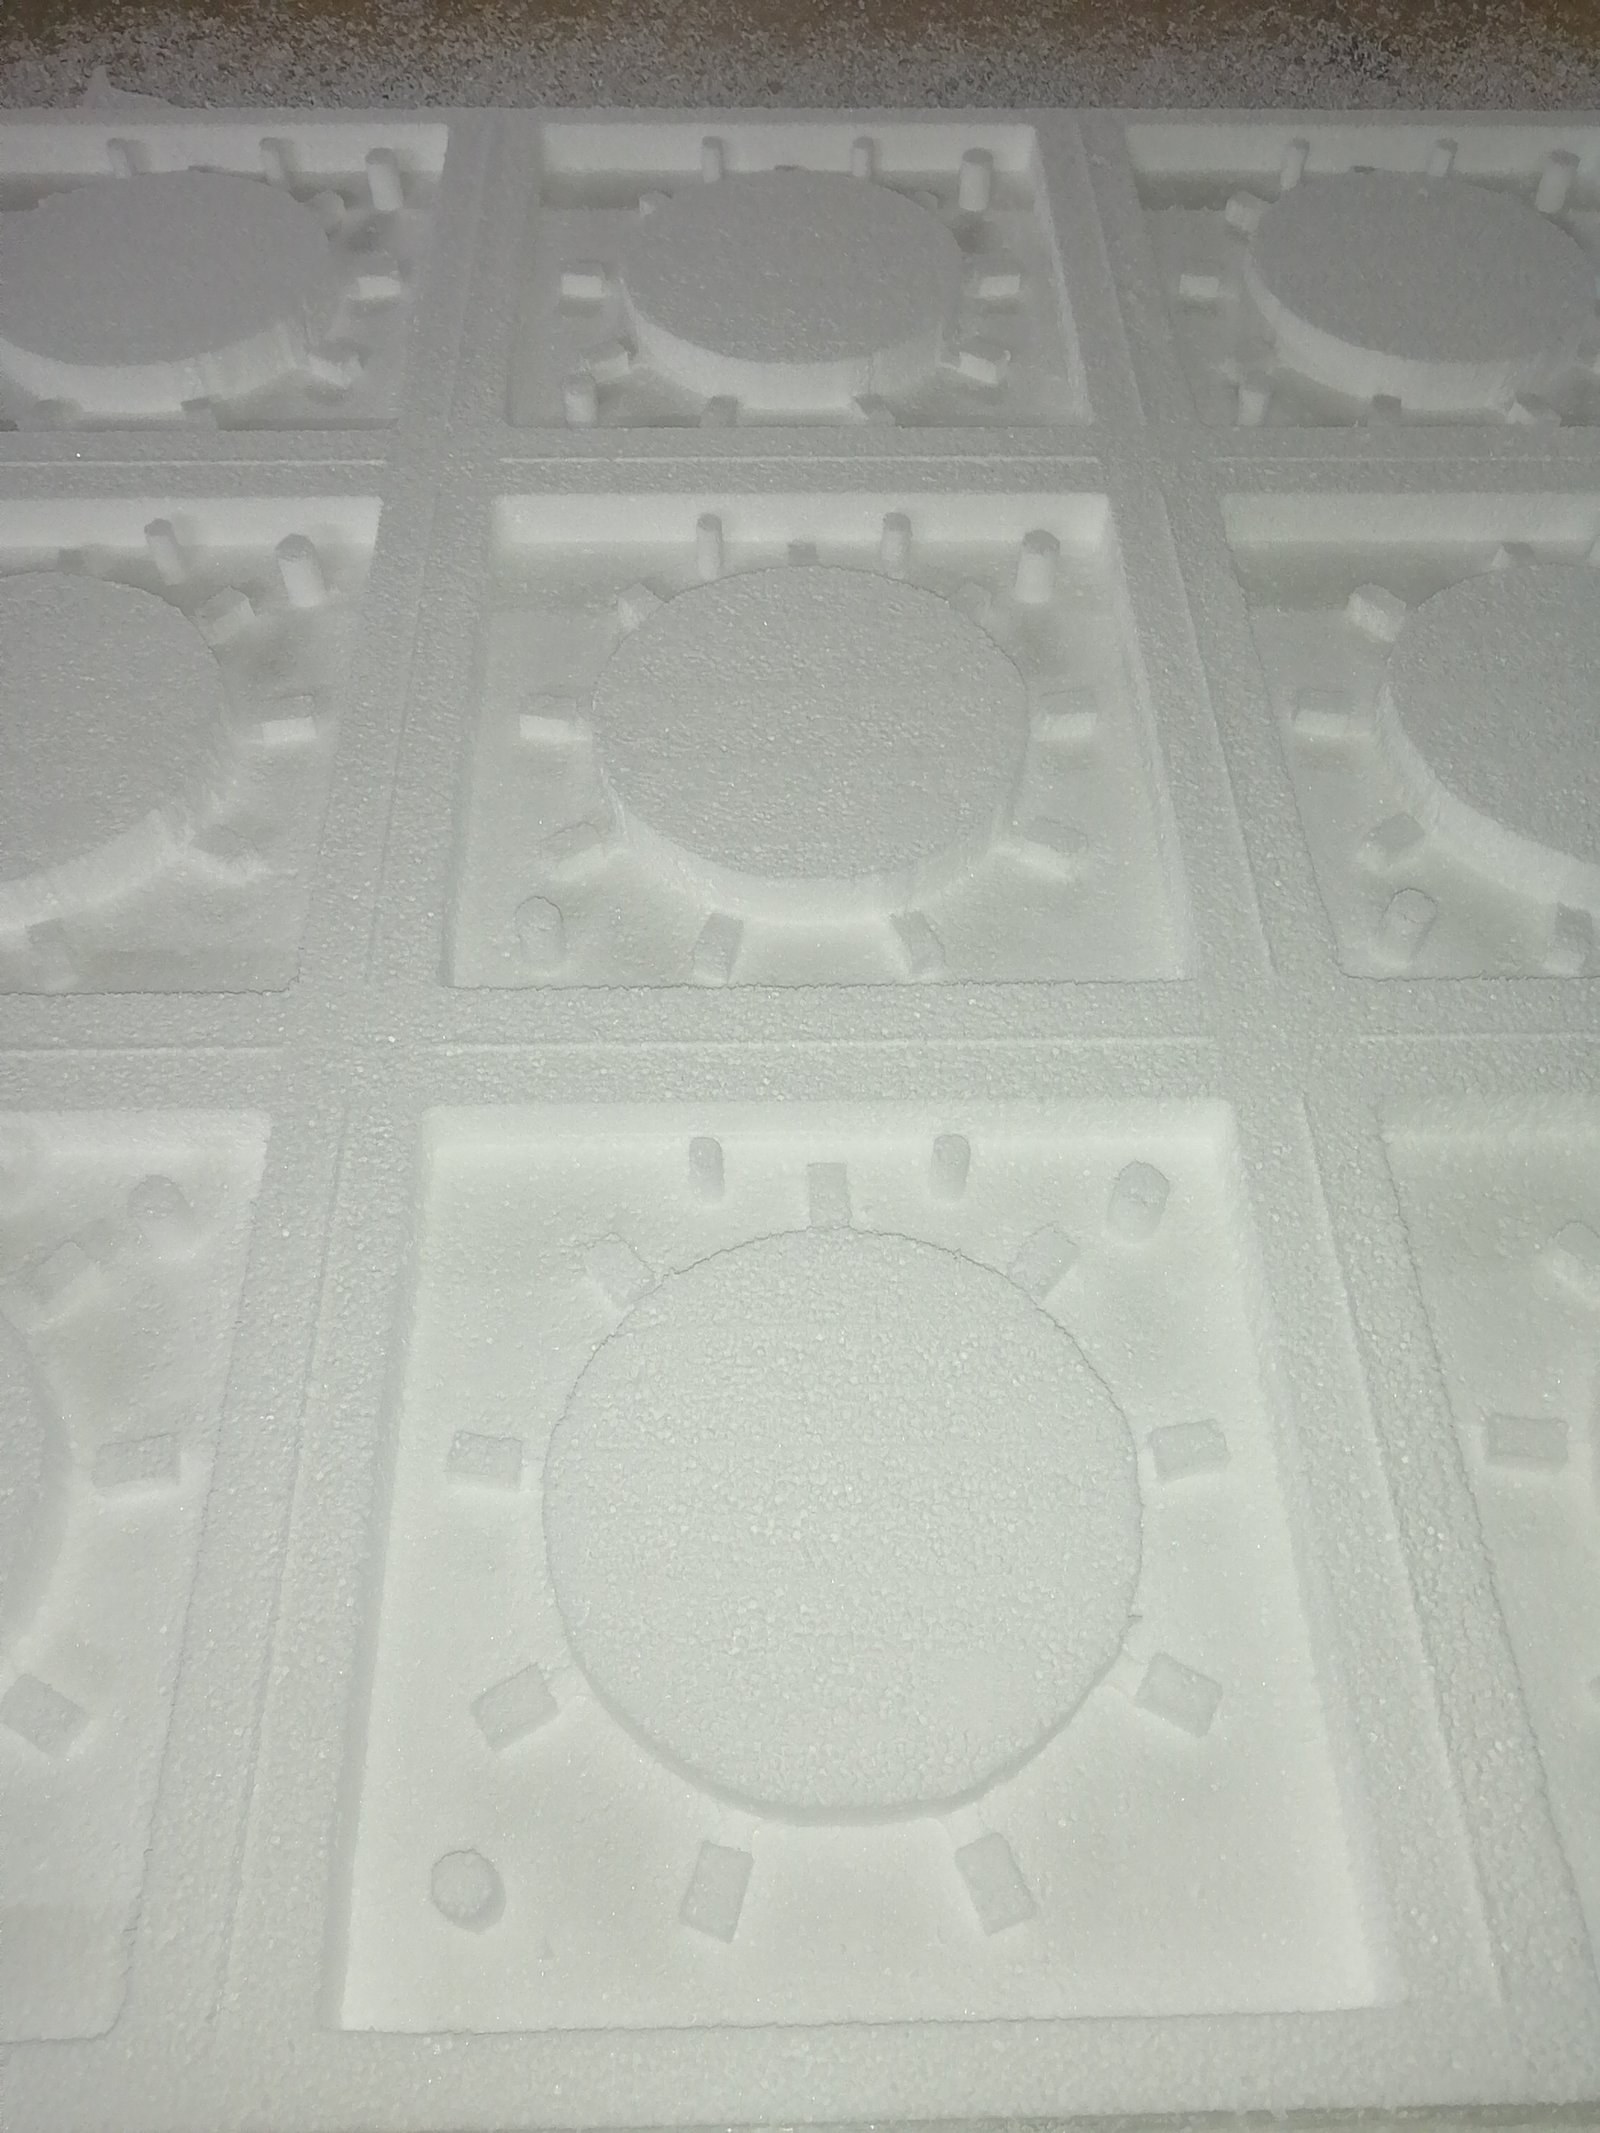
A circular floral relief pattern machined into a white EPS slab, still sitting in the parent block with cutting dust across the surface. Raw and uncoated, straight off the machine bed.PHOTO
A circular floral relief pattern machined into a white EPS slab, still sitting in the parent block with cutting dust across the surface. Raw and uncoated, straight off the machine bed.EPS Cornices
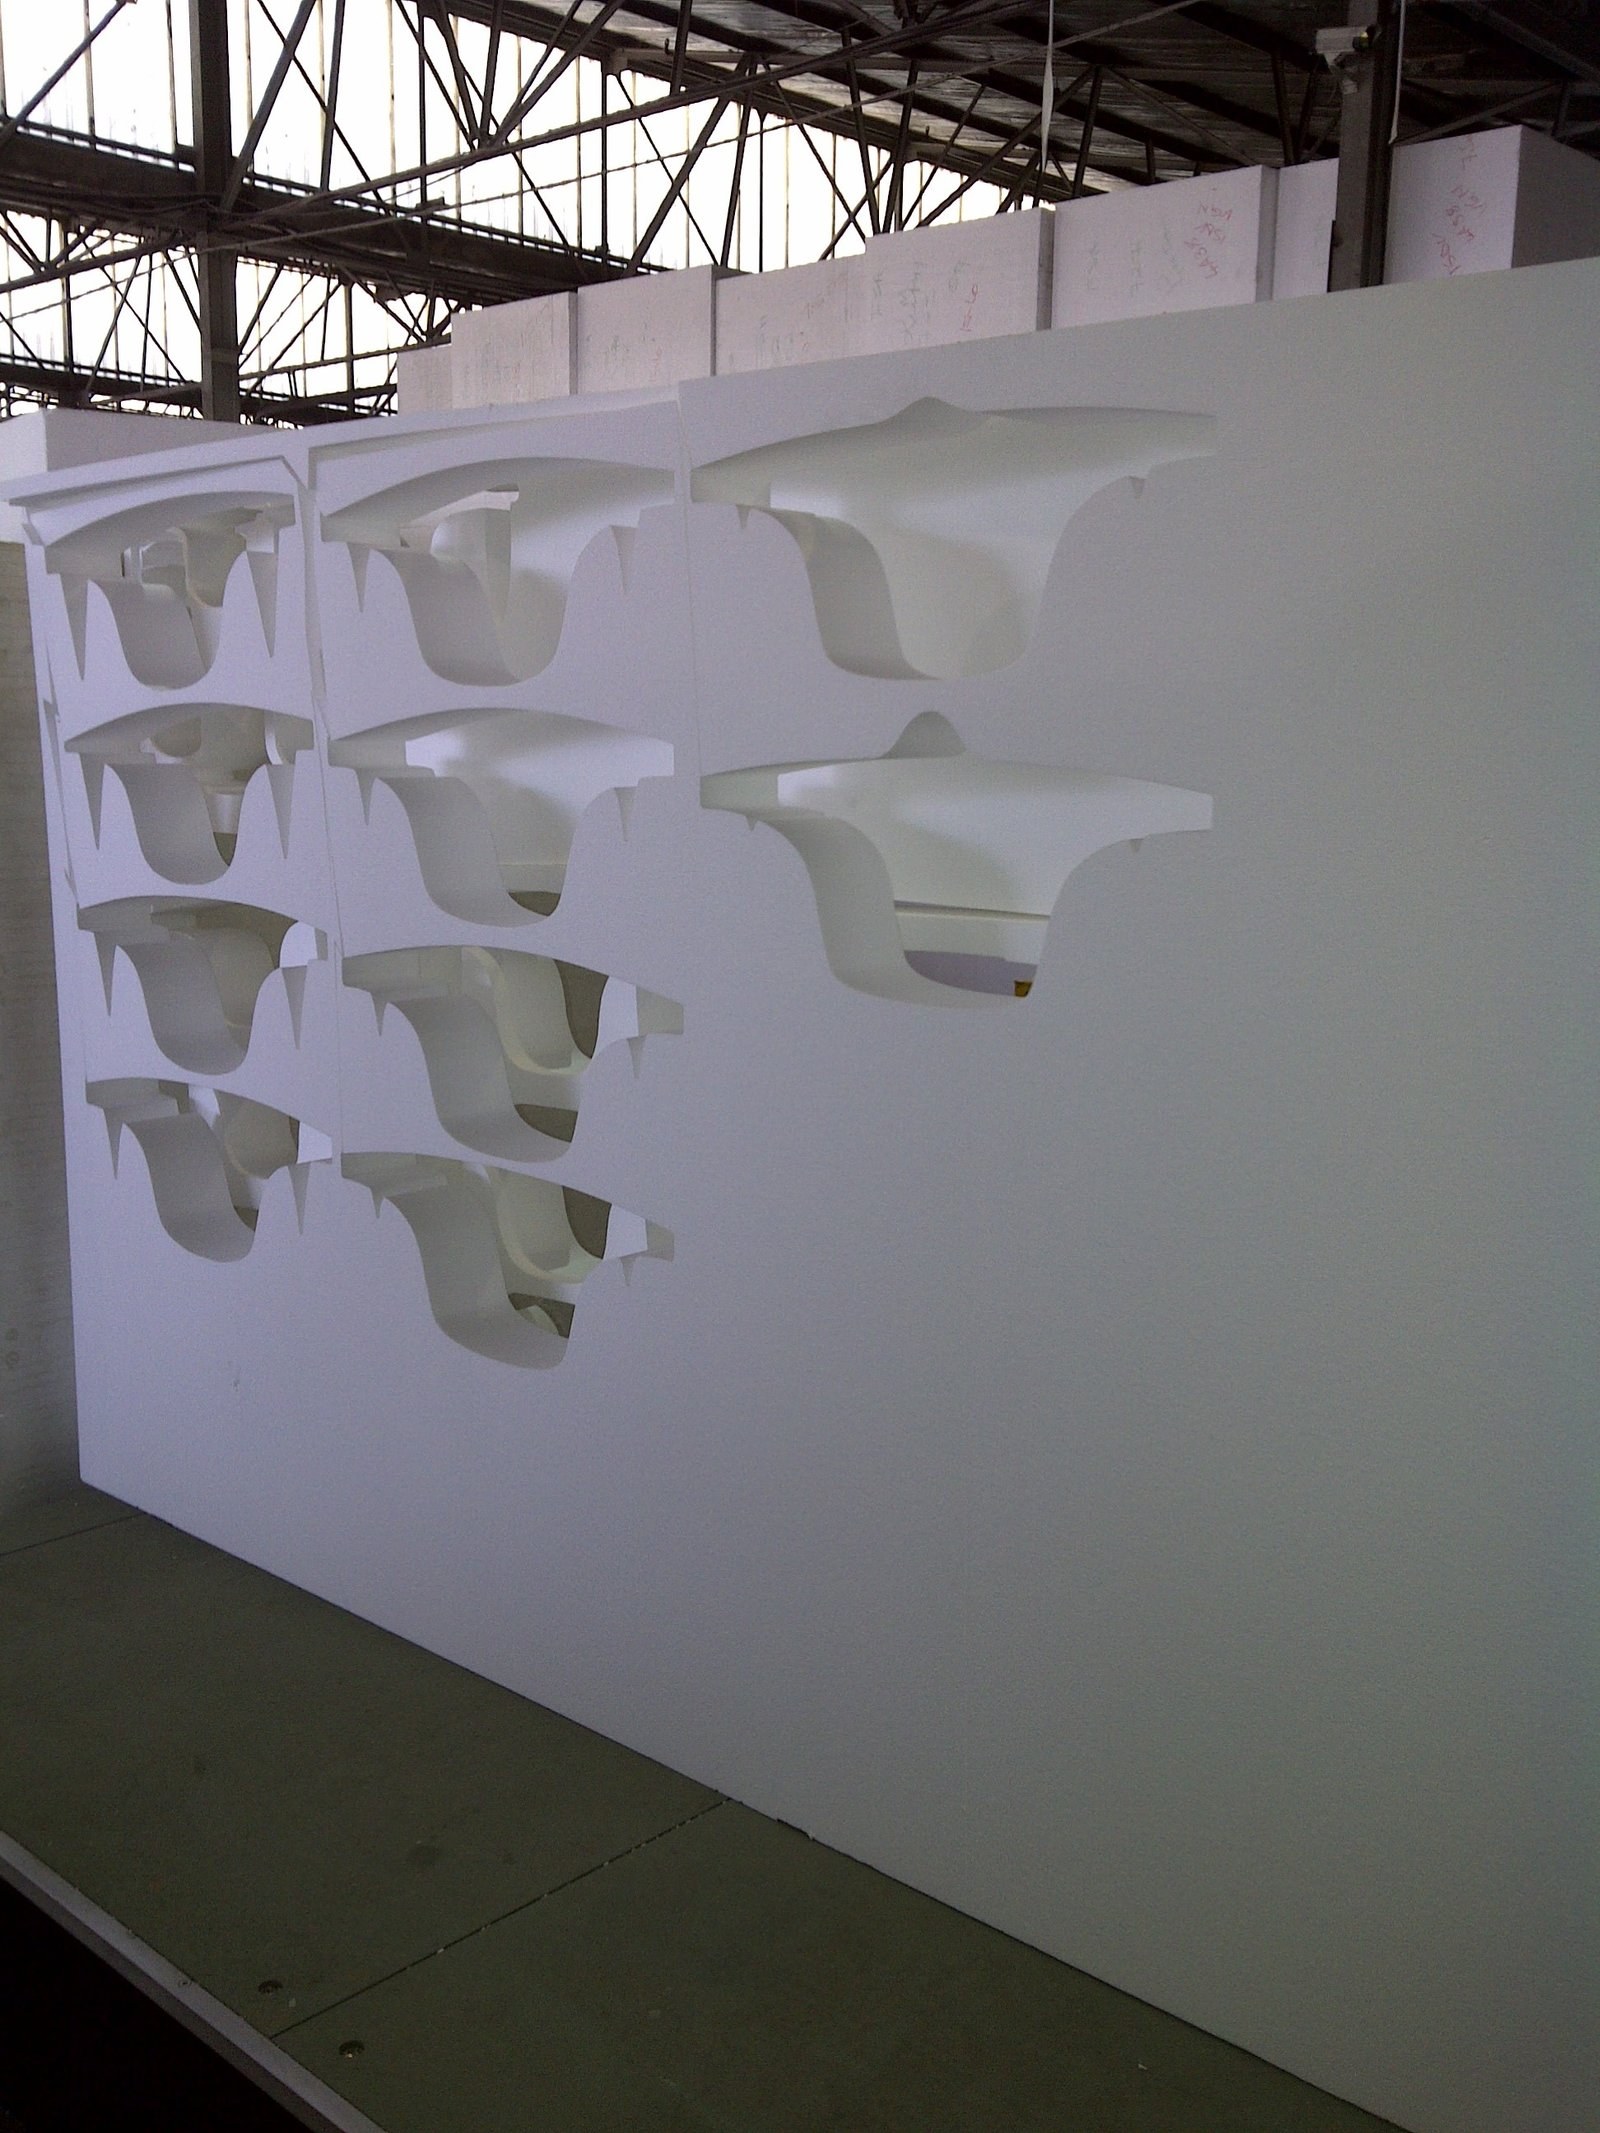
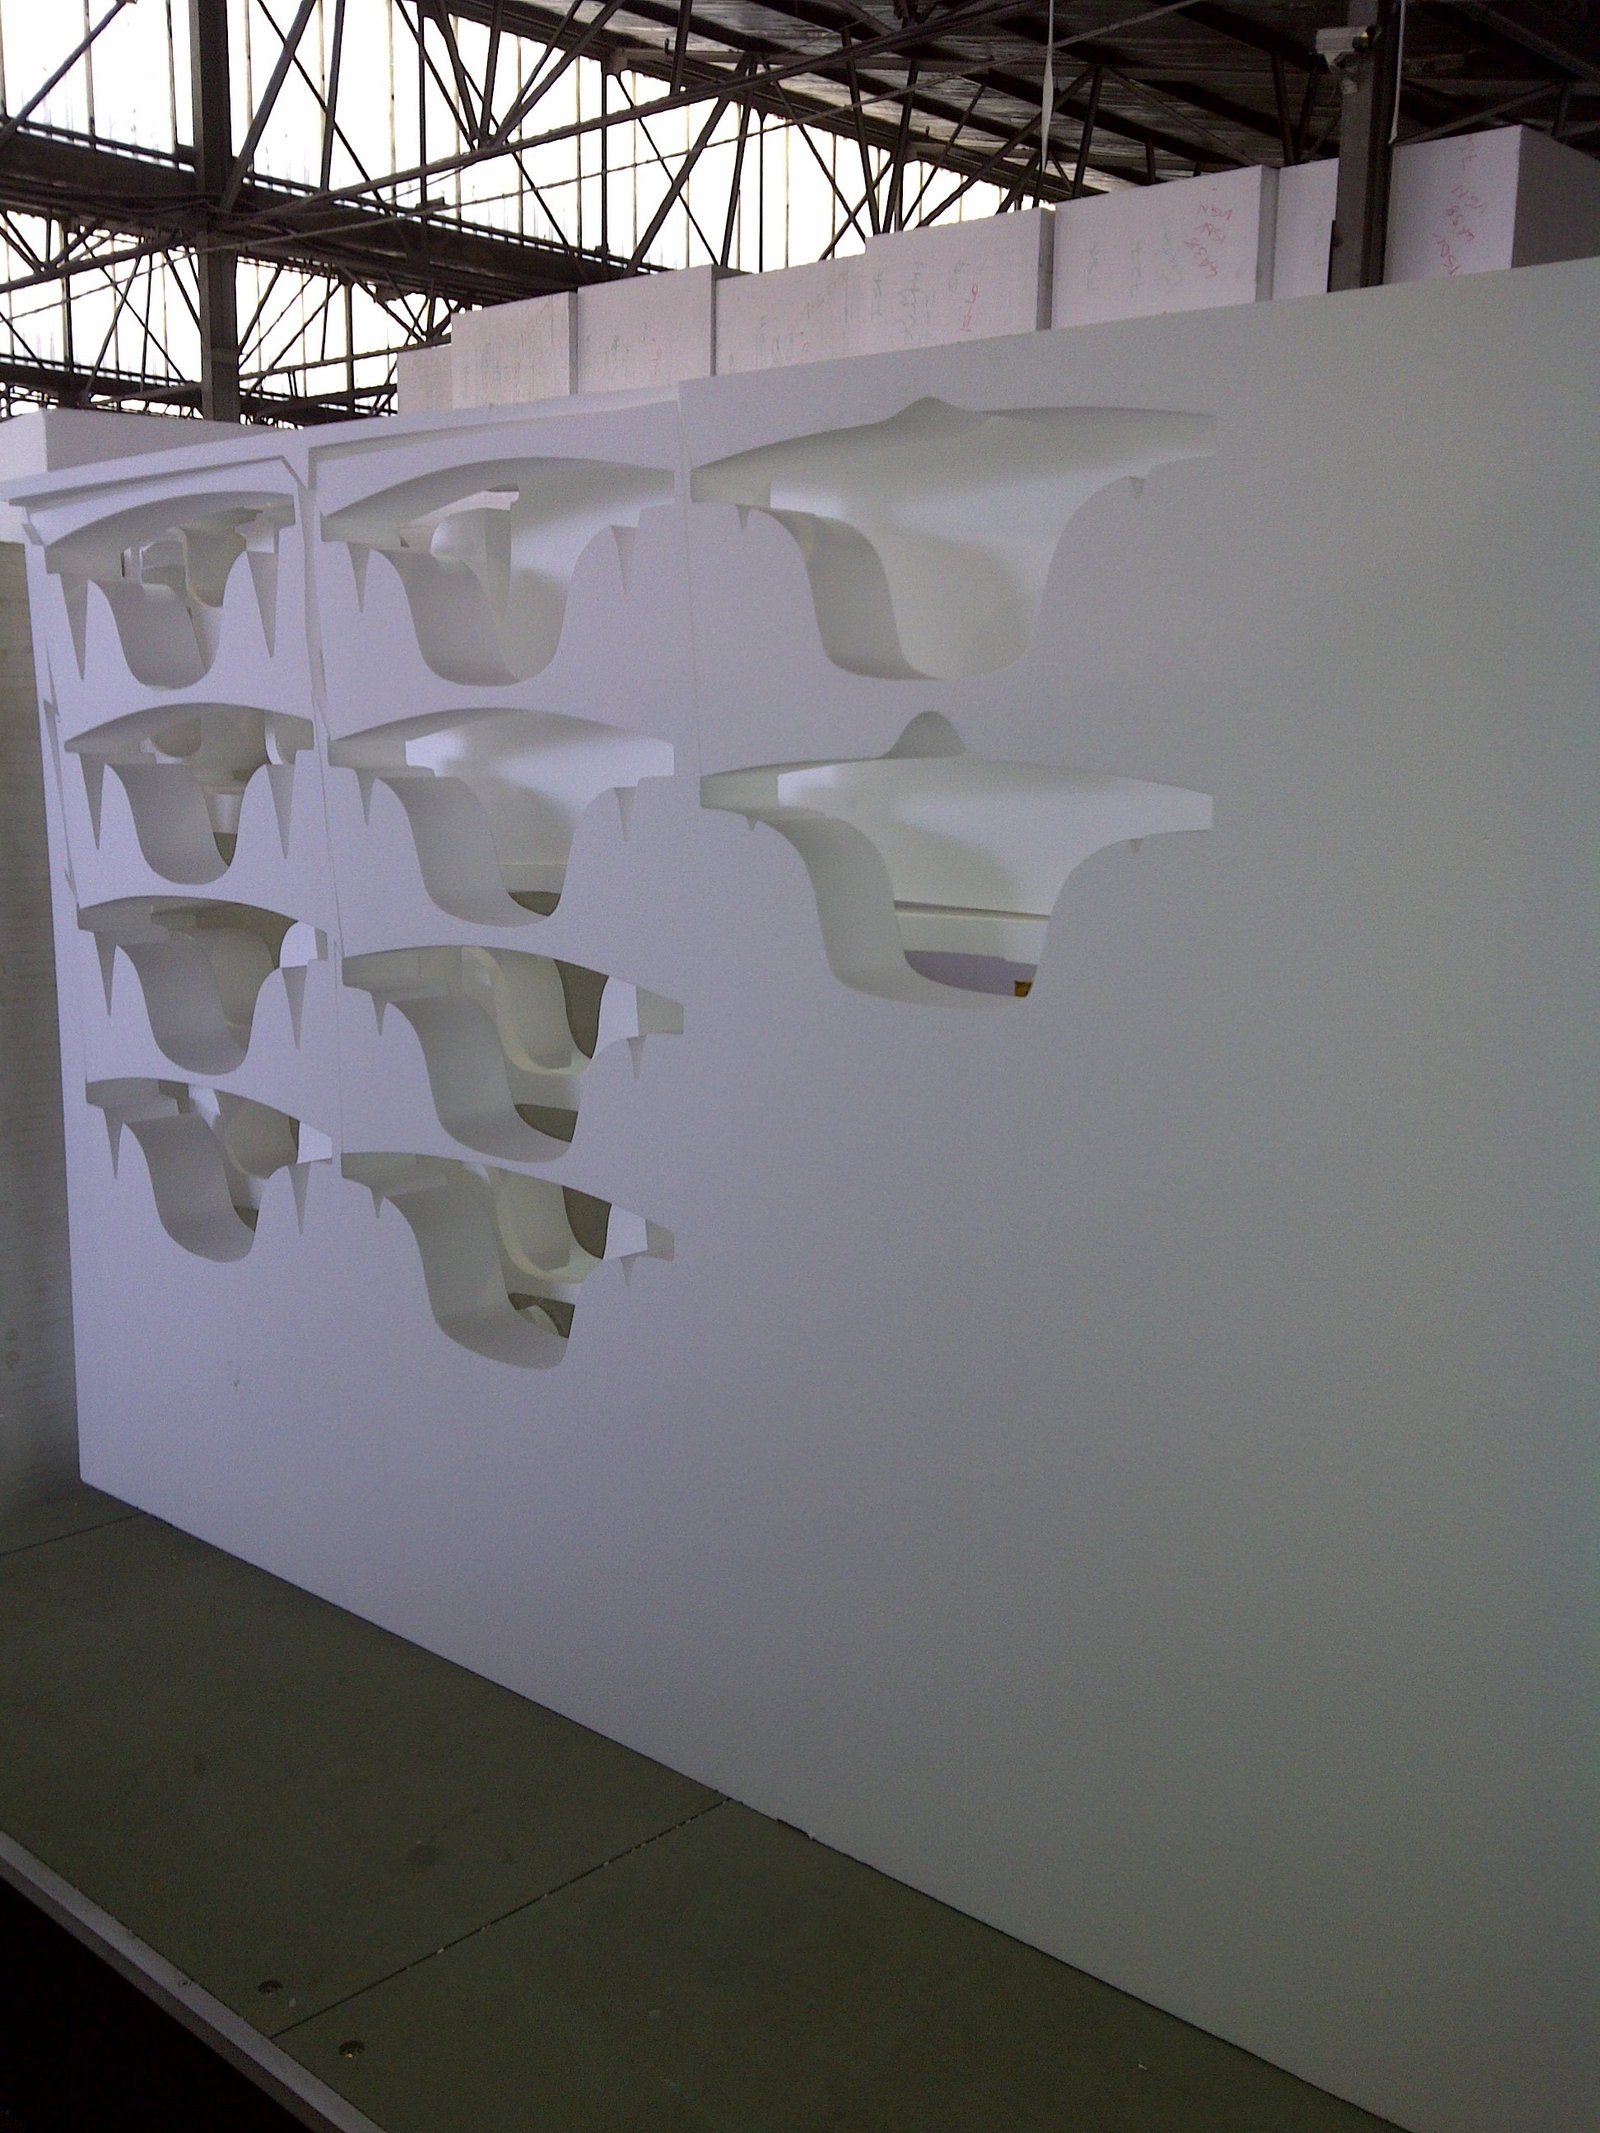
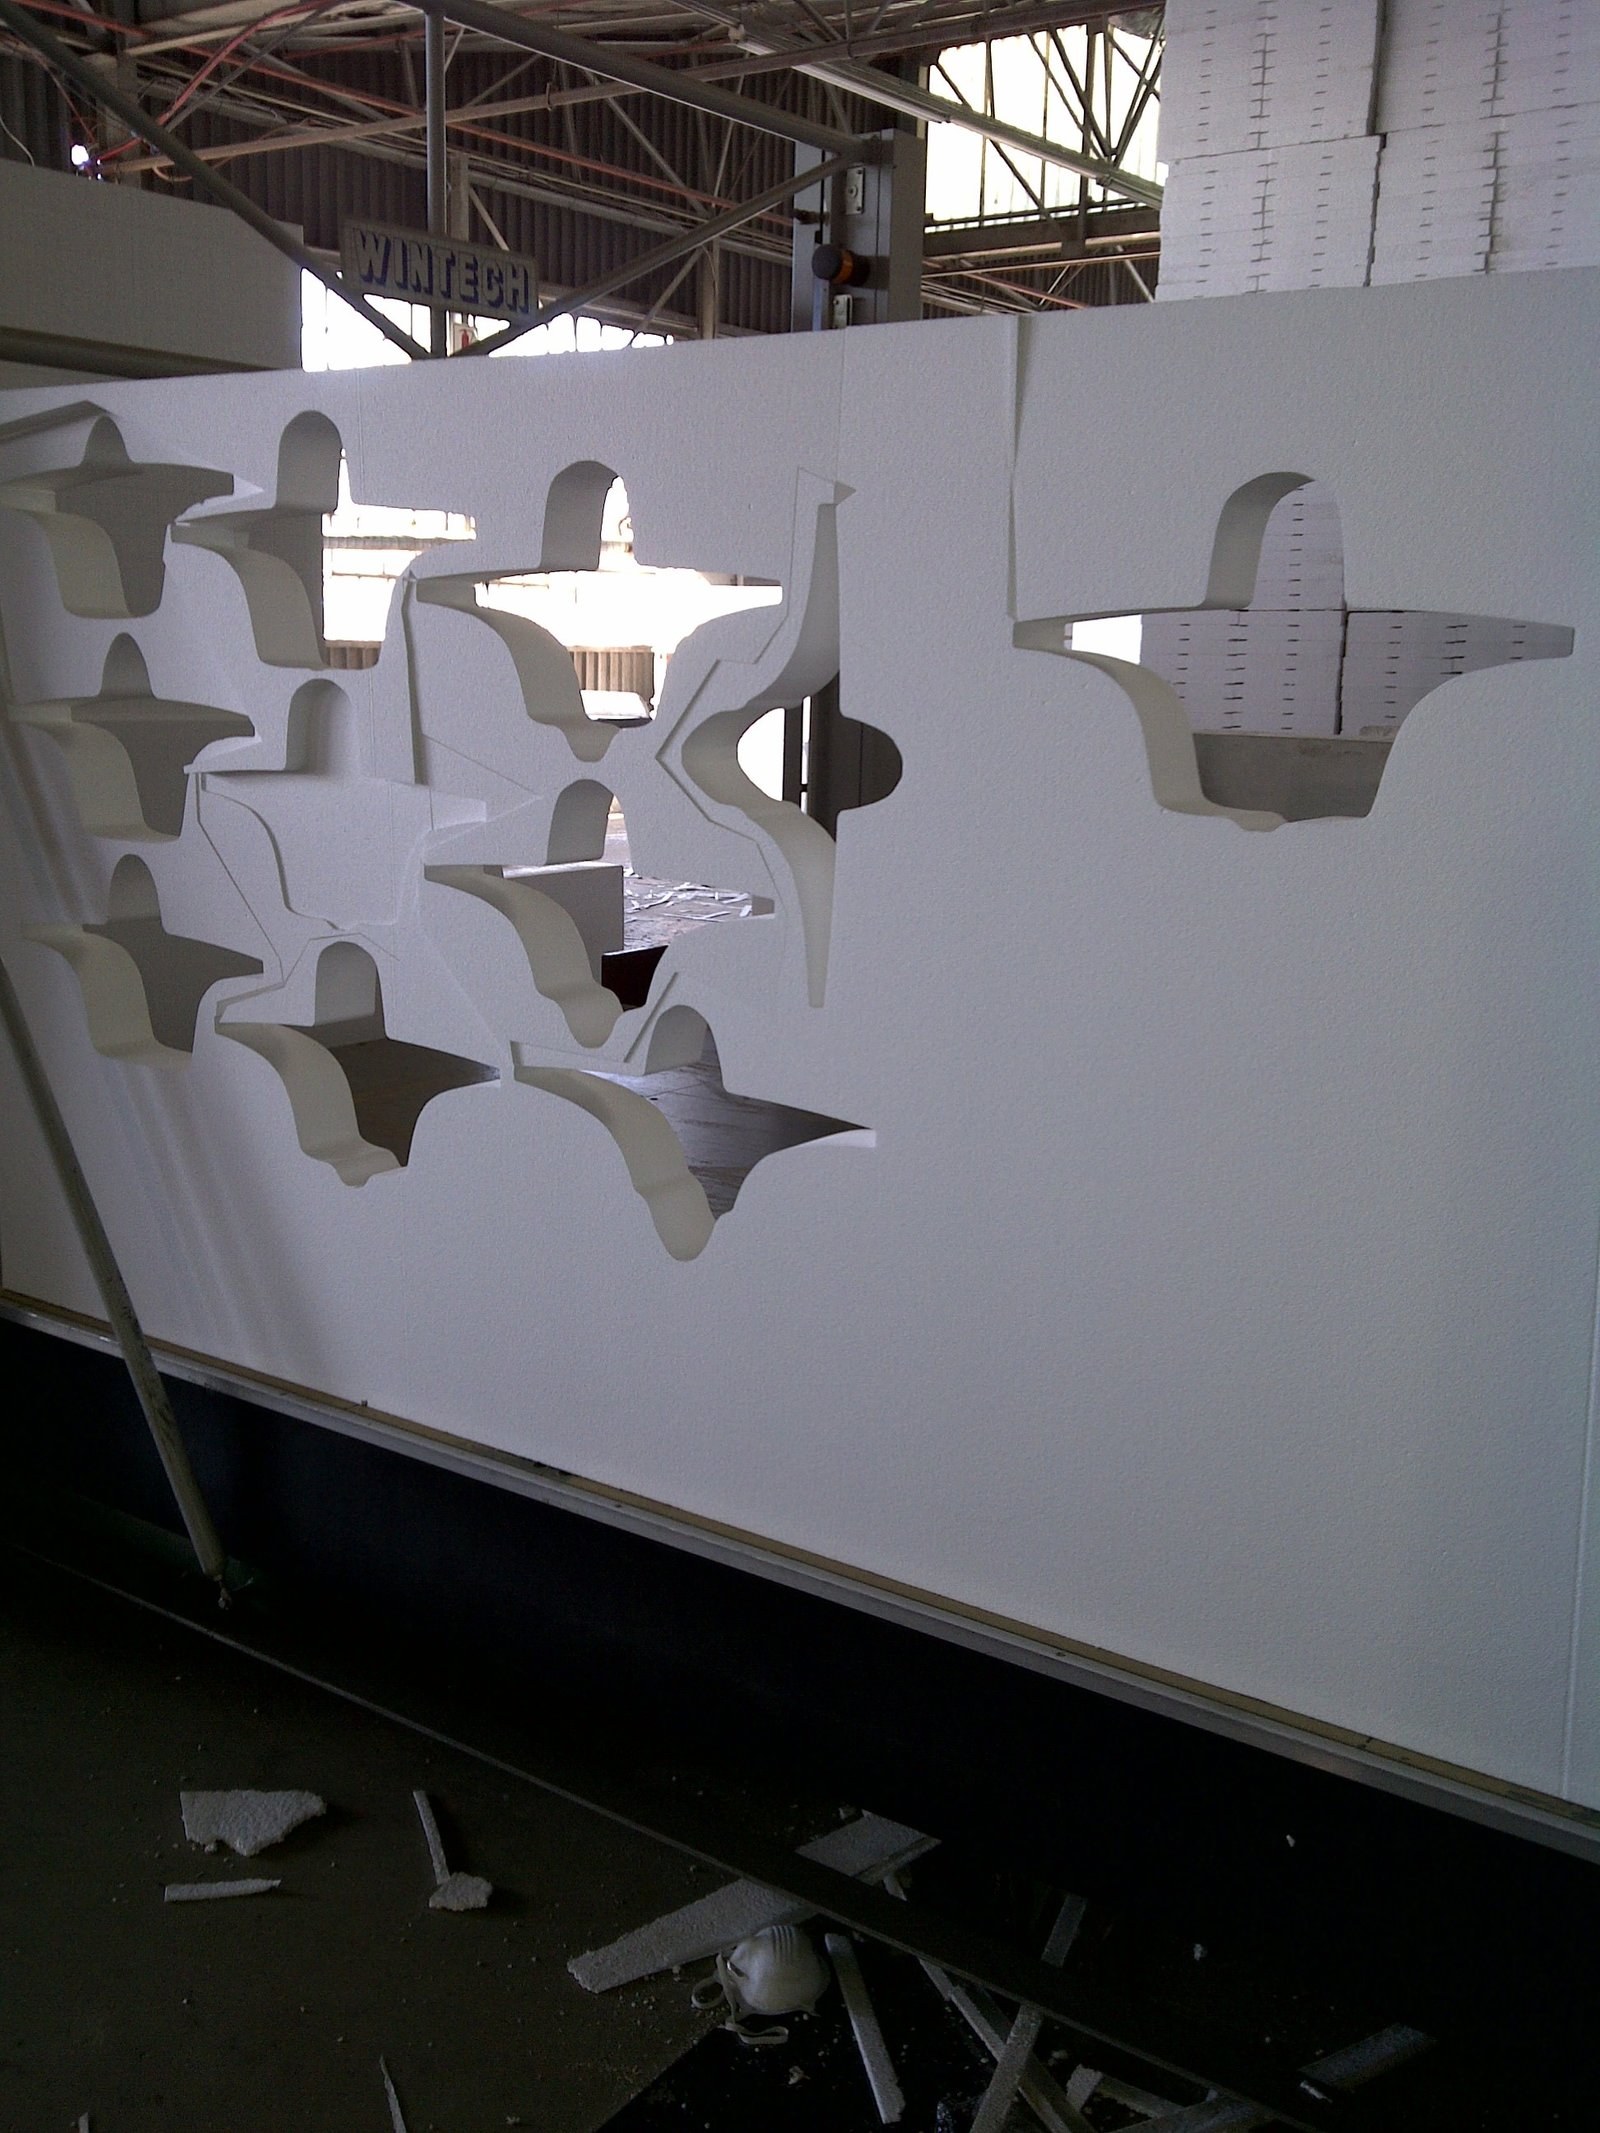
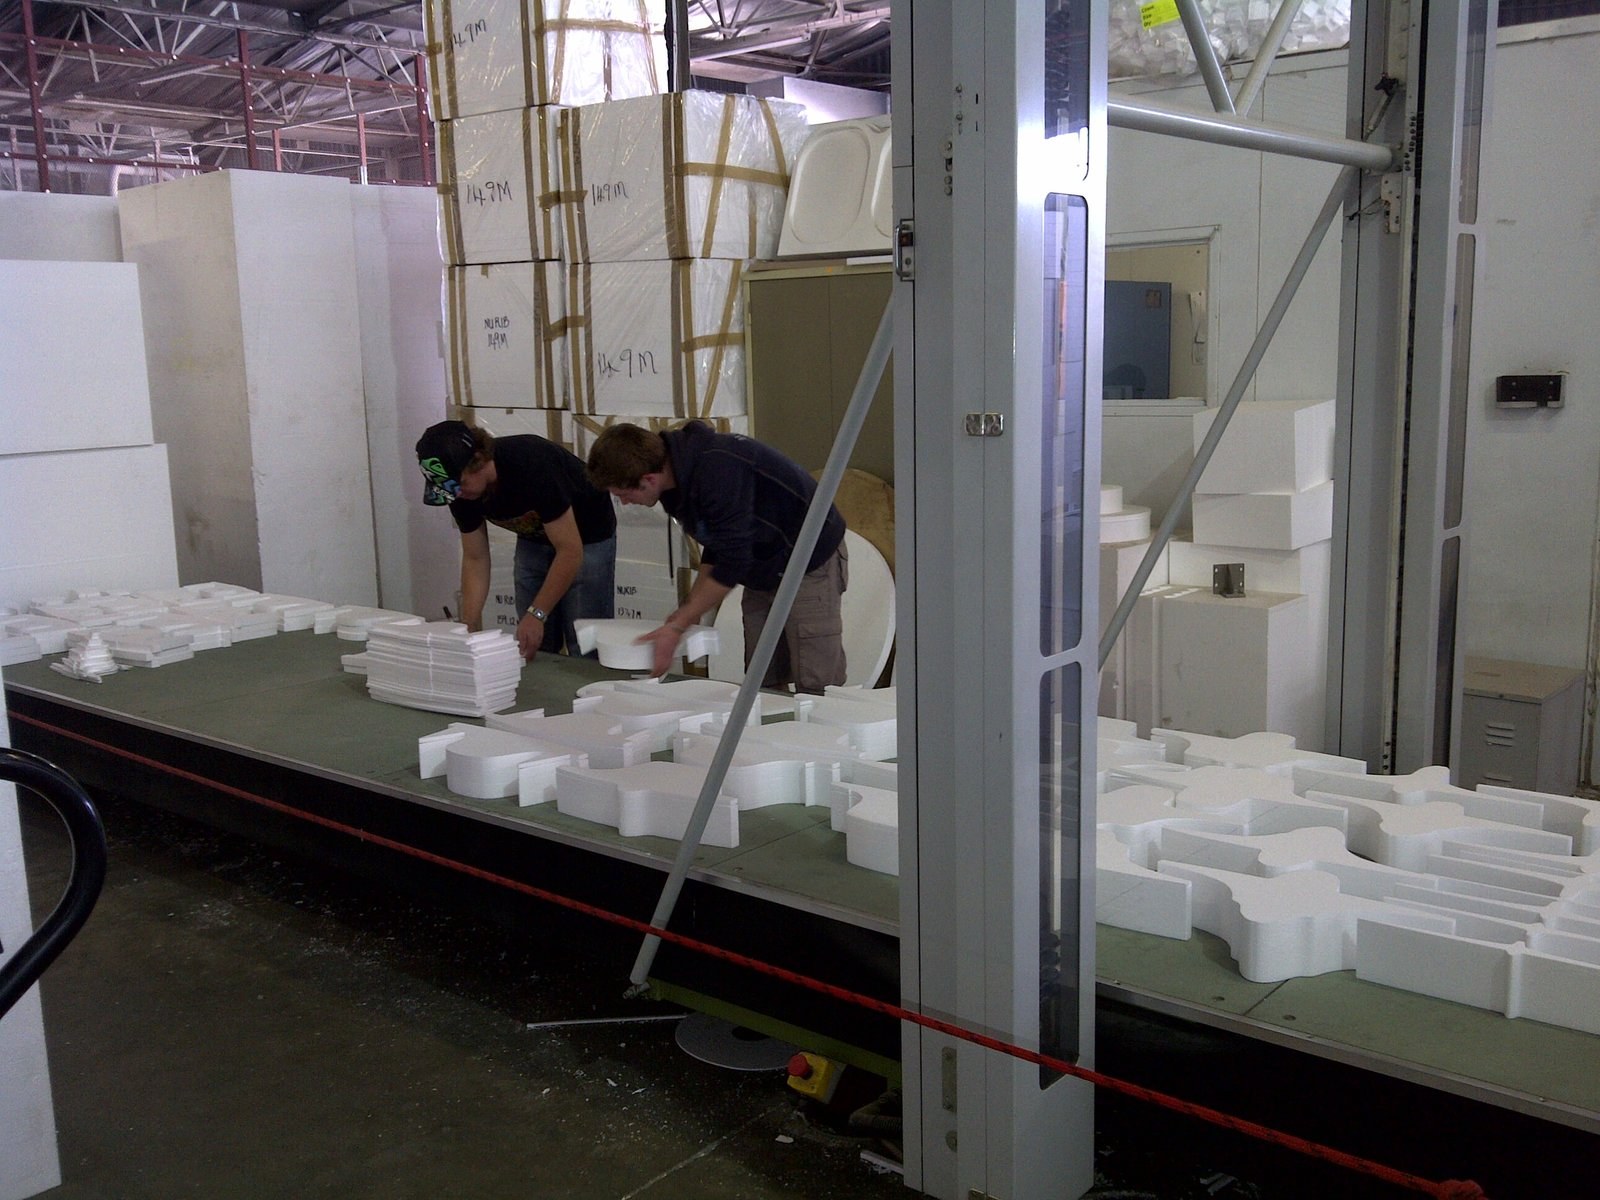
Curved corbel and bracket profiles hot-wire cut through the face of standing EPS blocks, each piece still resting in its own cut-out. Shot on the cutting table under the factory roof trusses; the foam is raw and uncoated at this stage.PHOTO
Curved corbel and bracket profiles hot-wire cut through the face of standing EPS blocks, each piece still resting in its own cut-out. Shot on the cutting table under the factory roof trusses; the foam is raw and uncoated at this stage.EPS Cornices
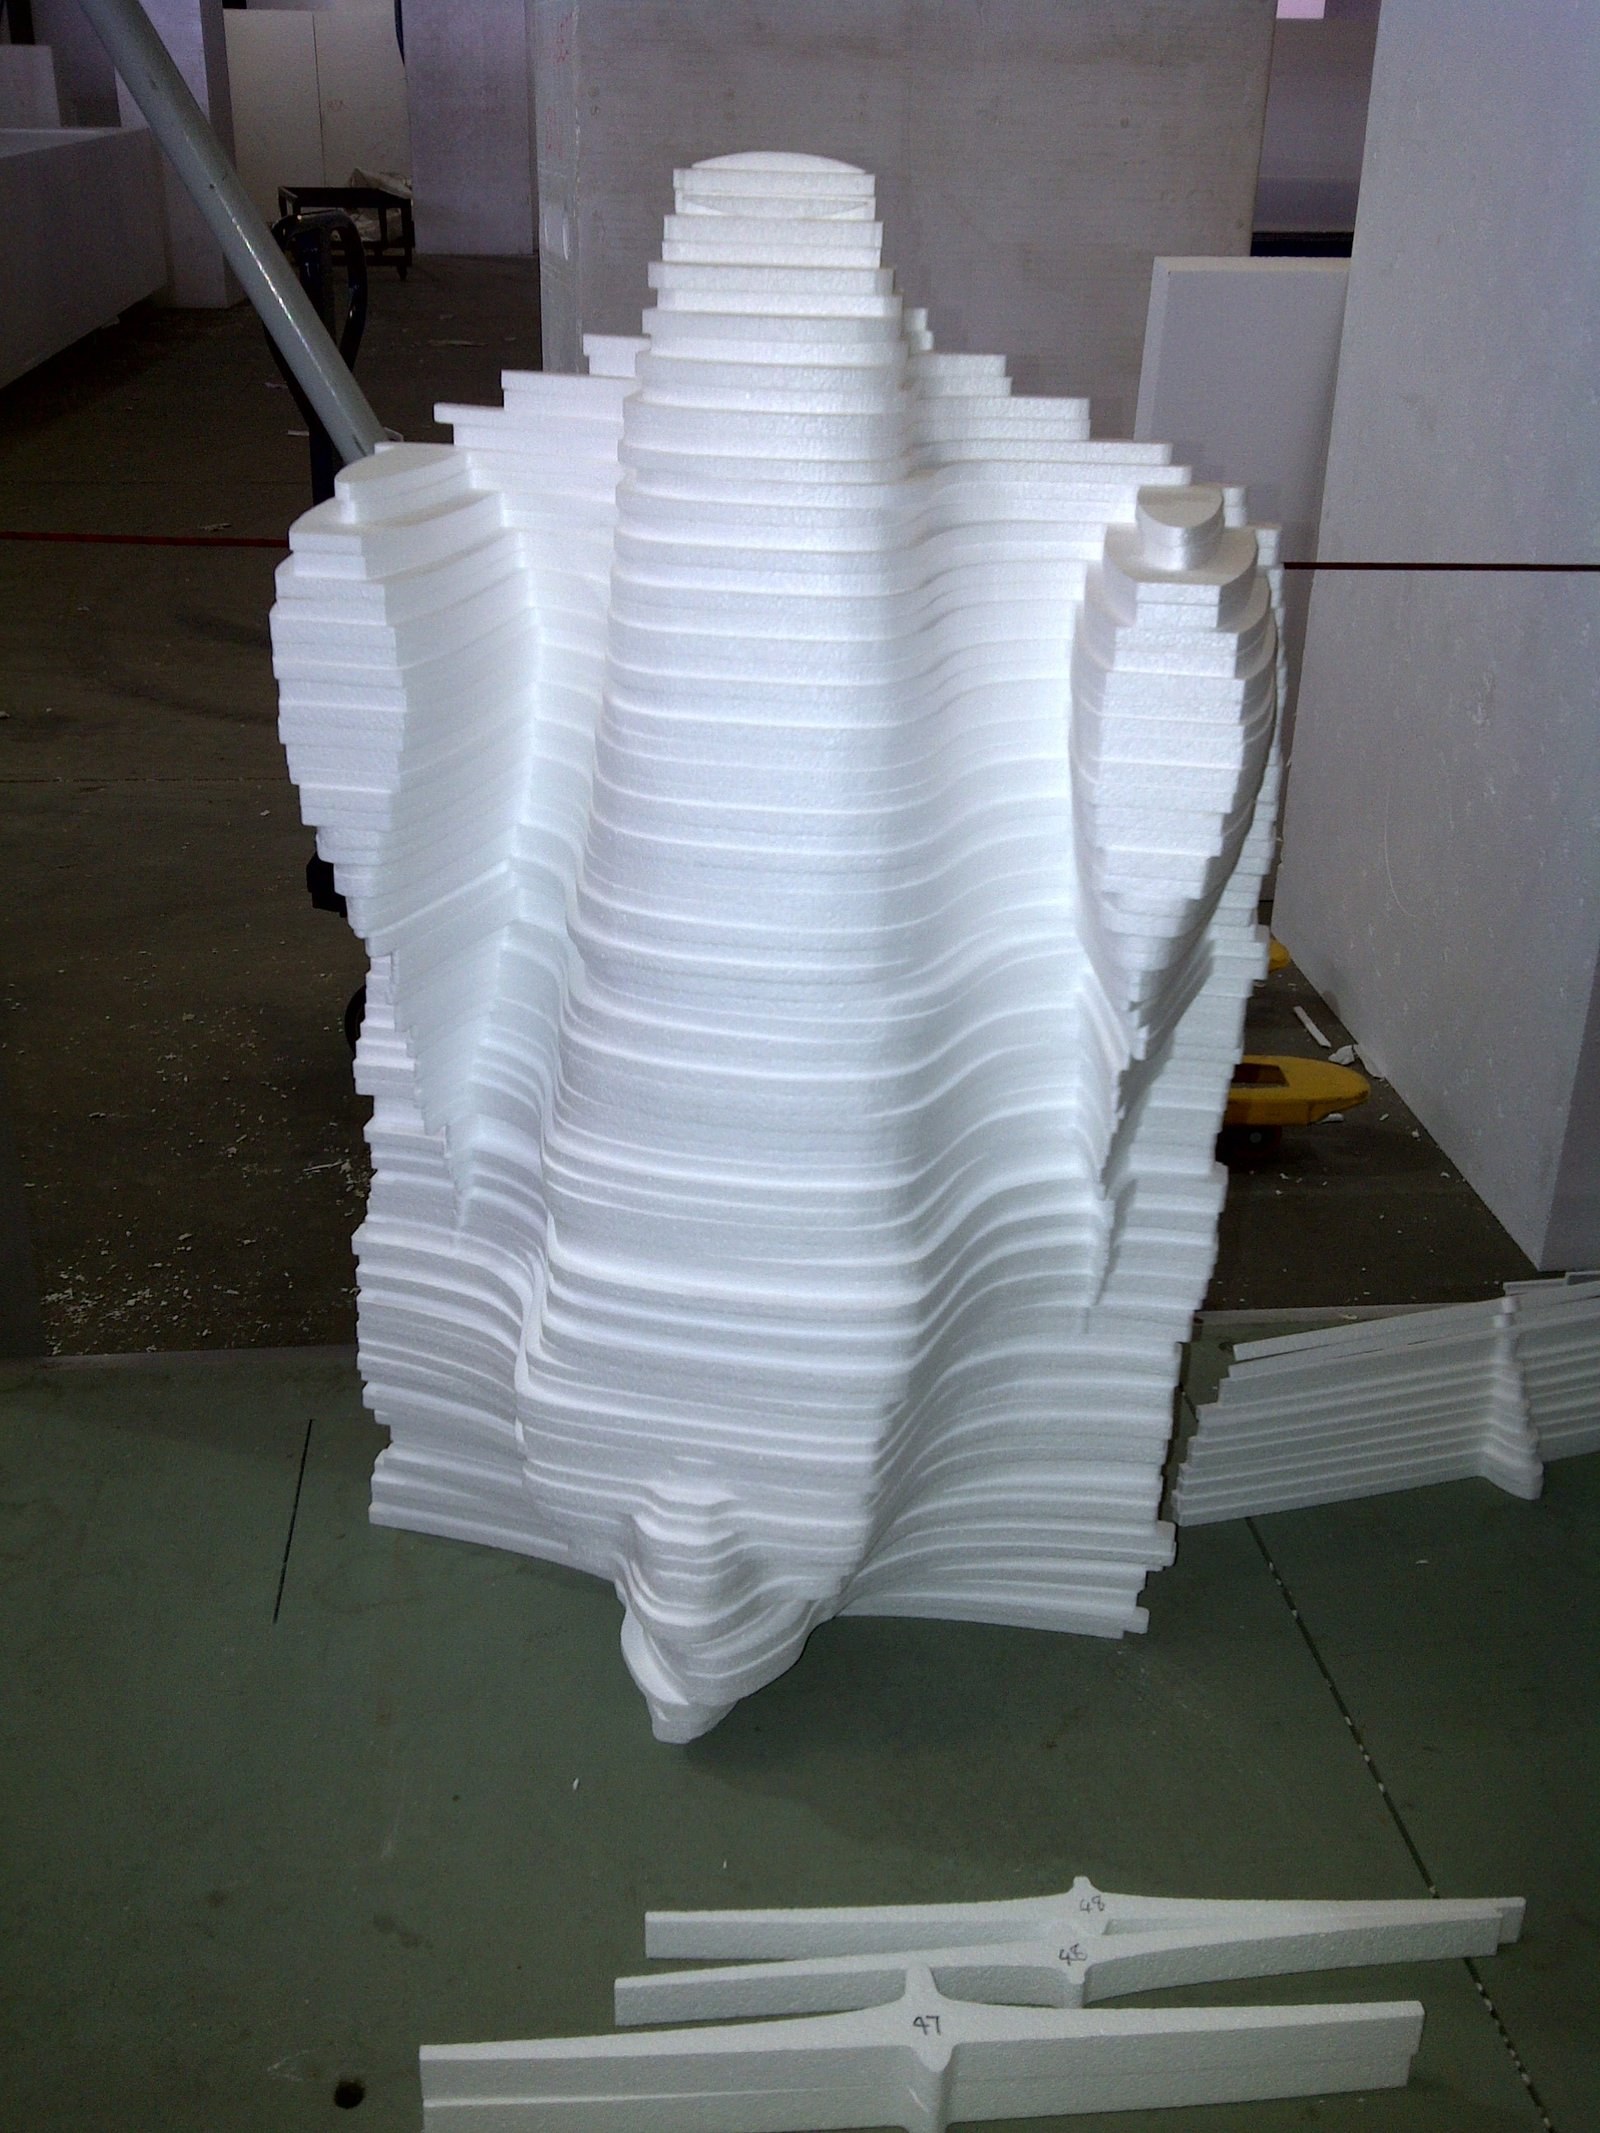
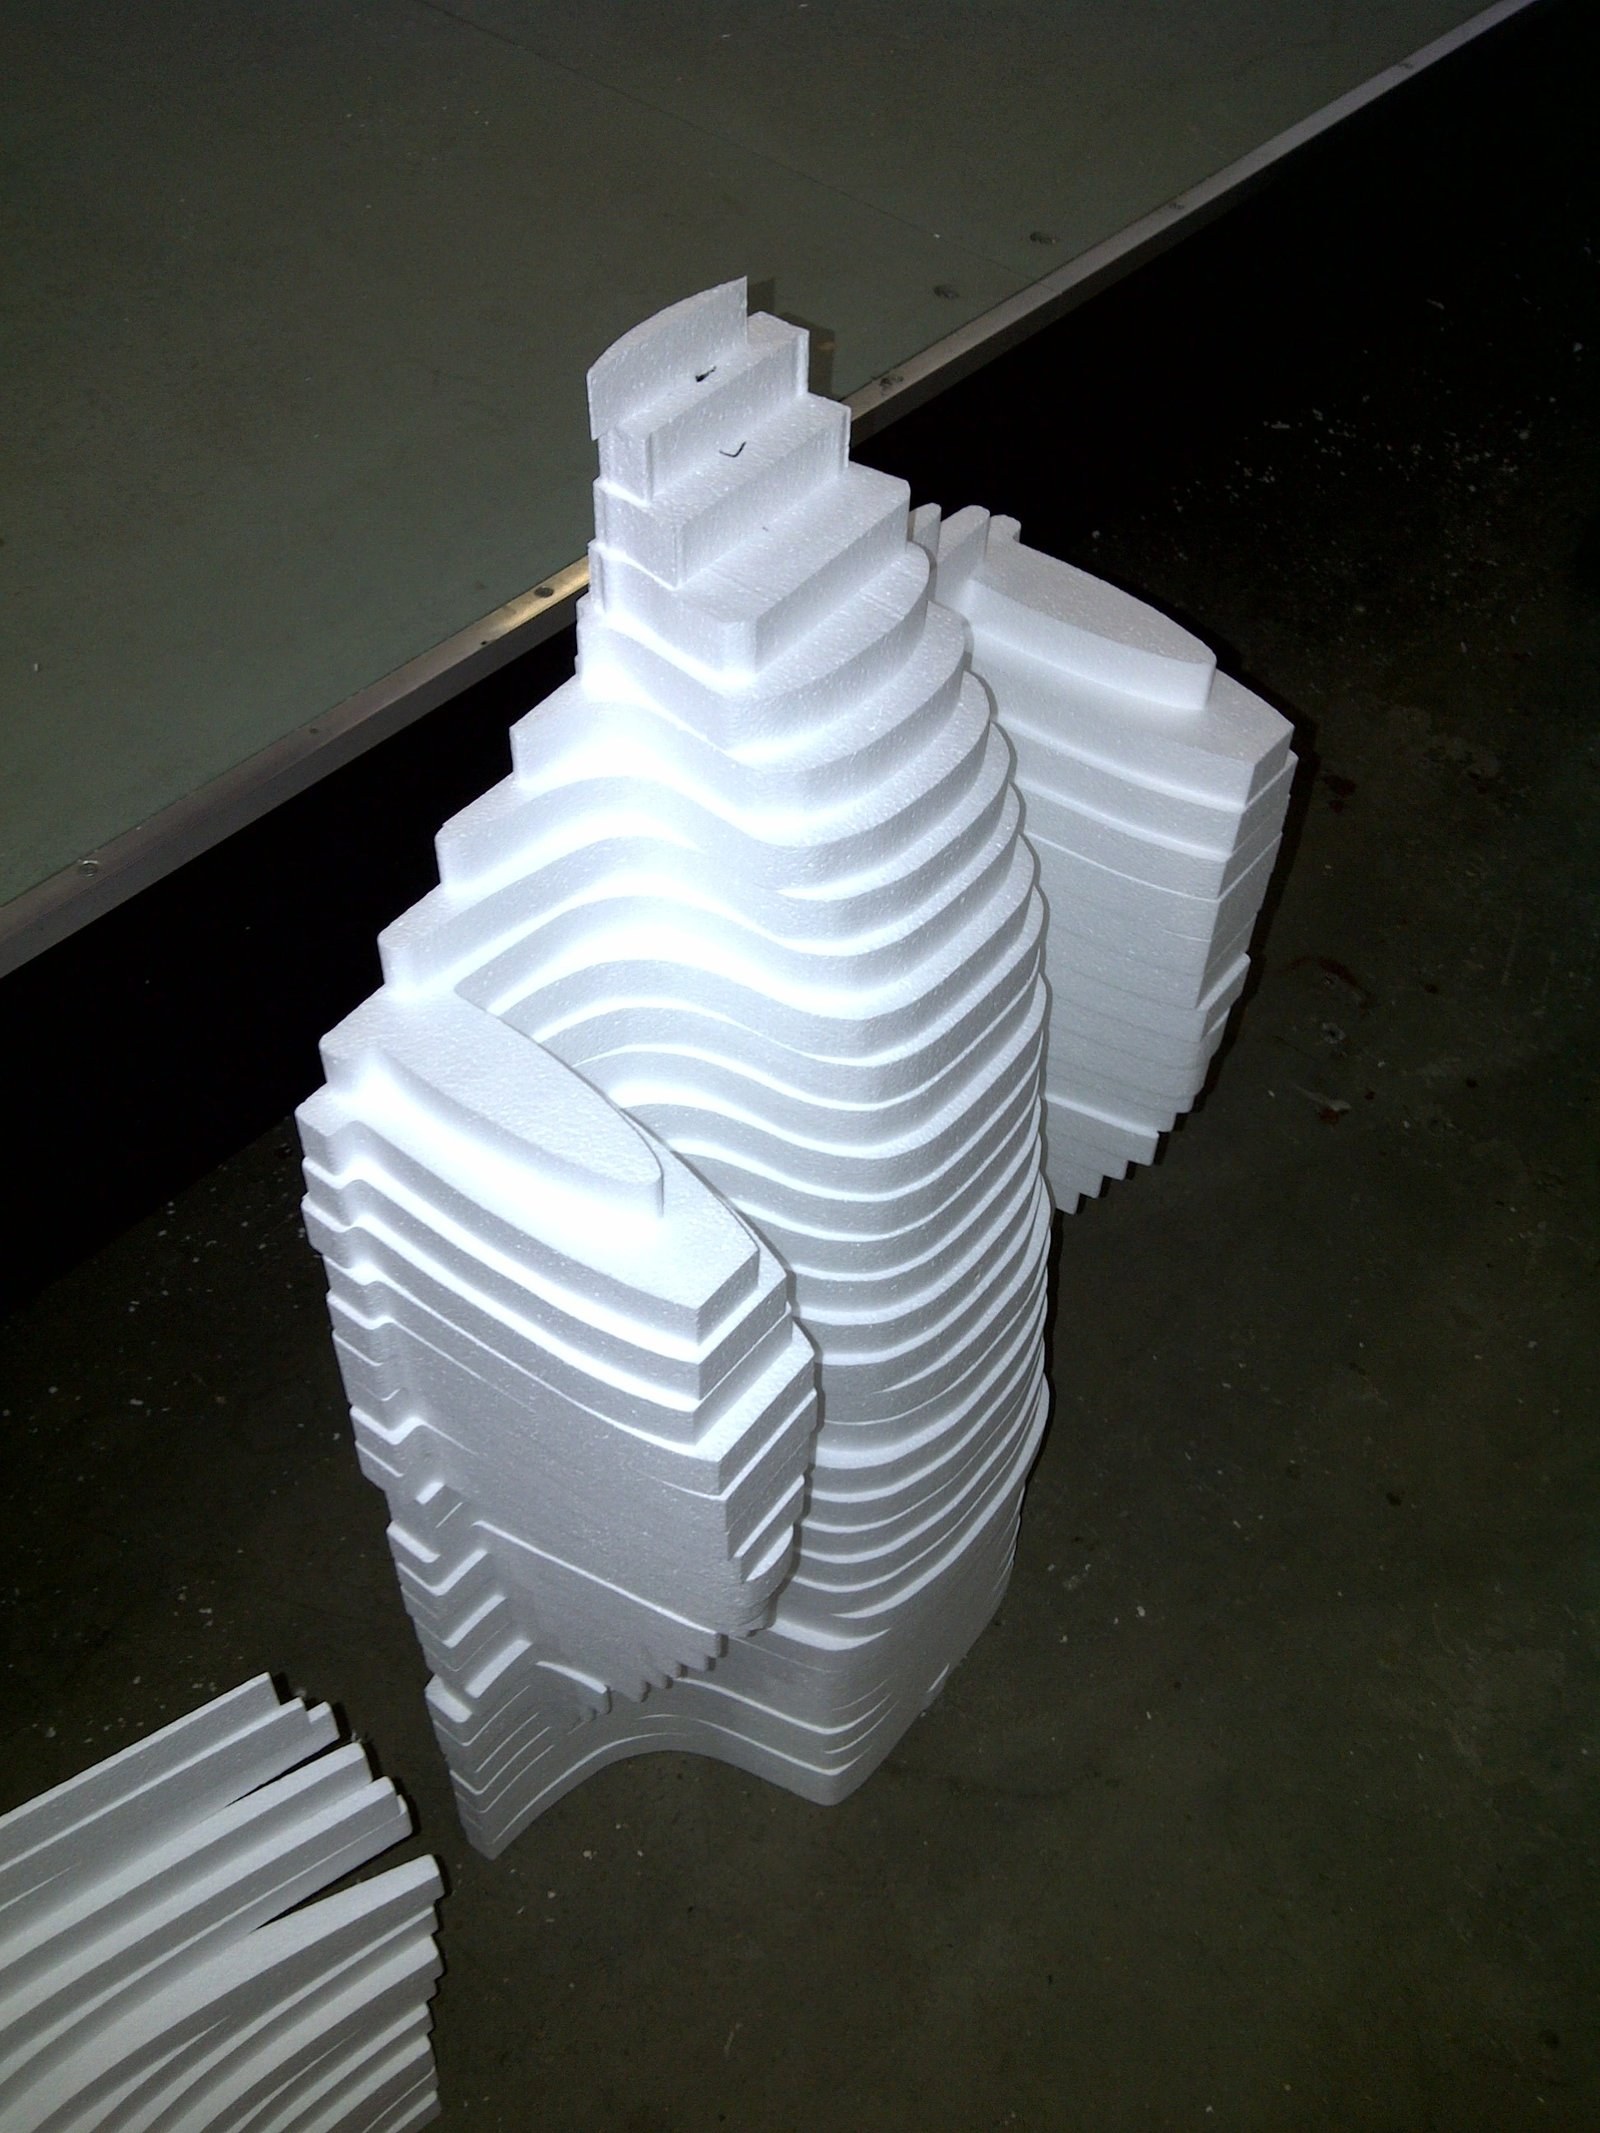
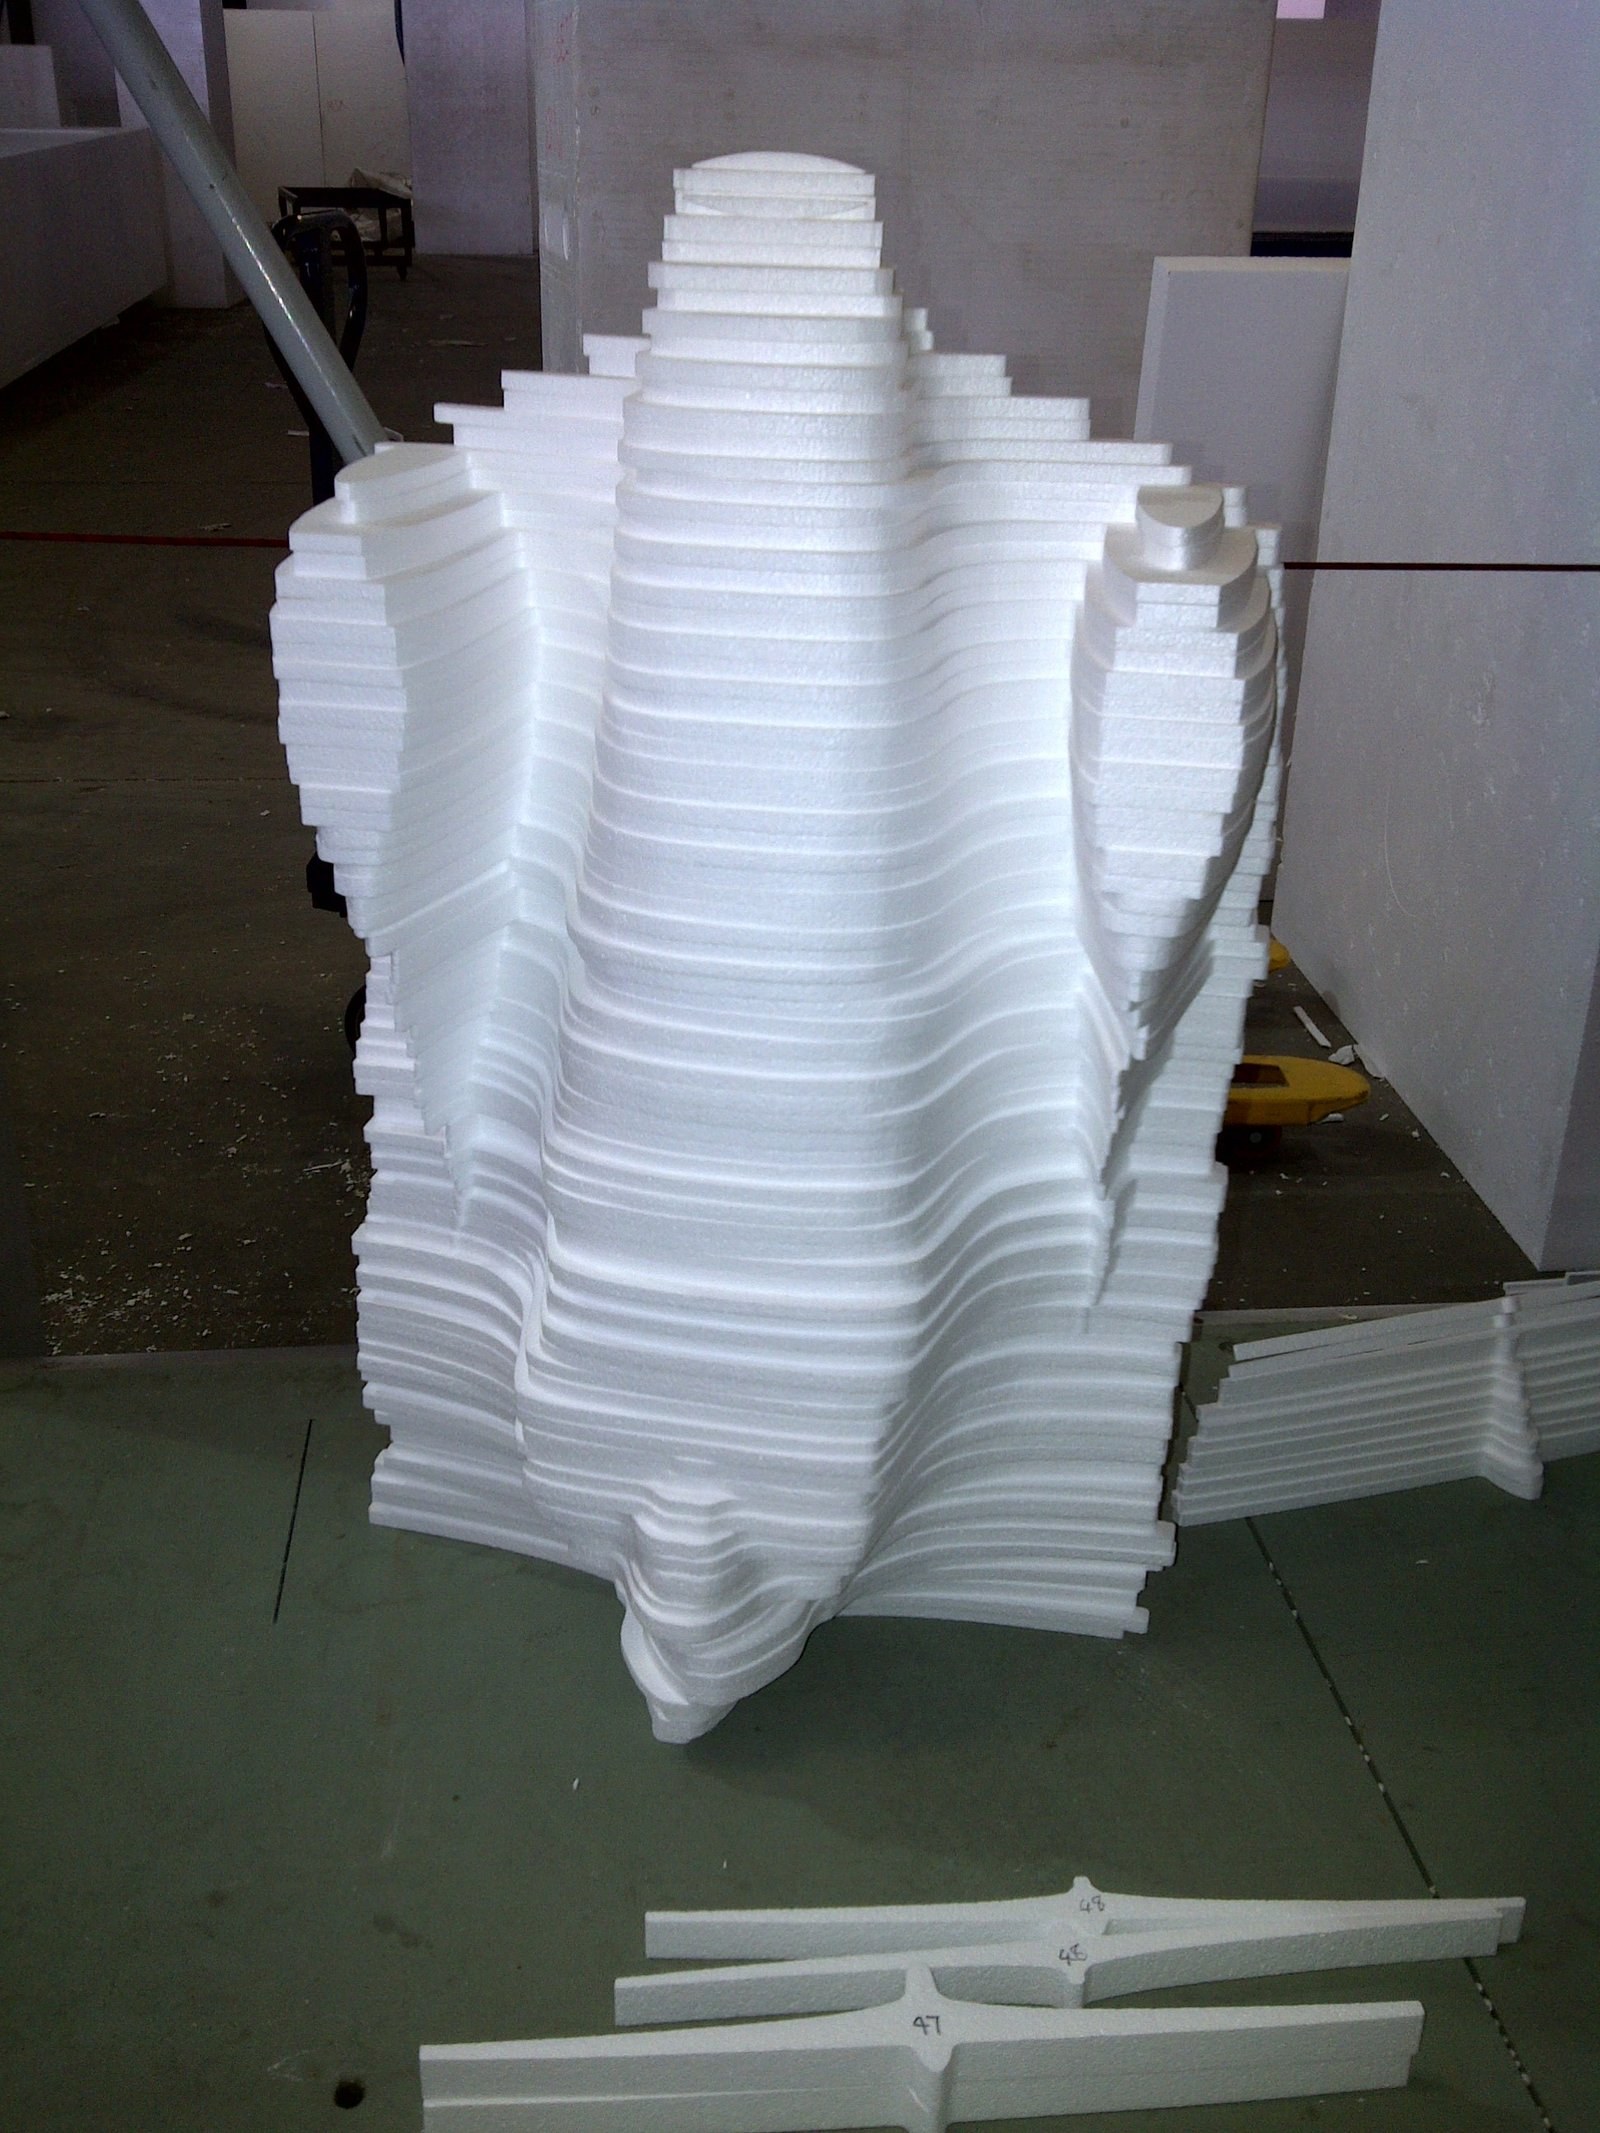
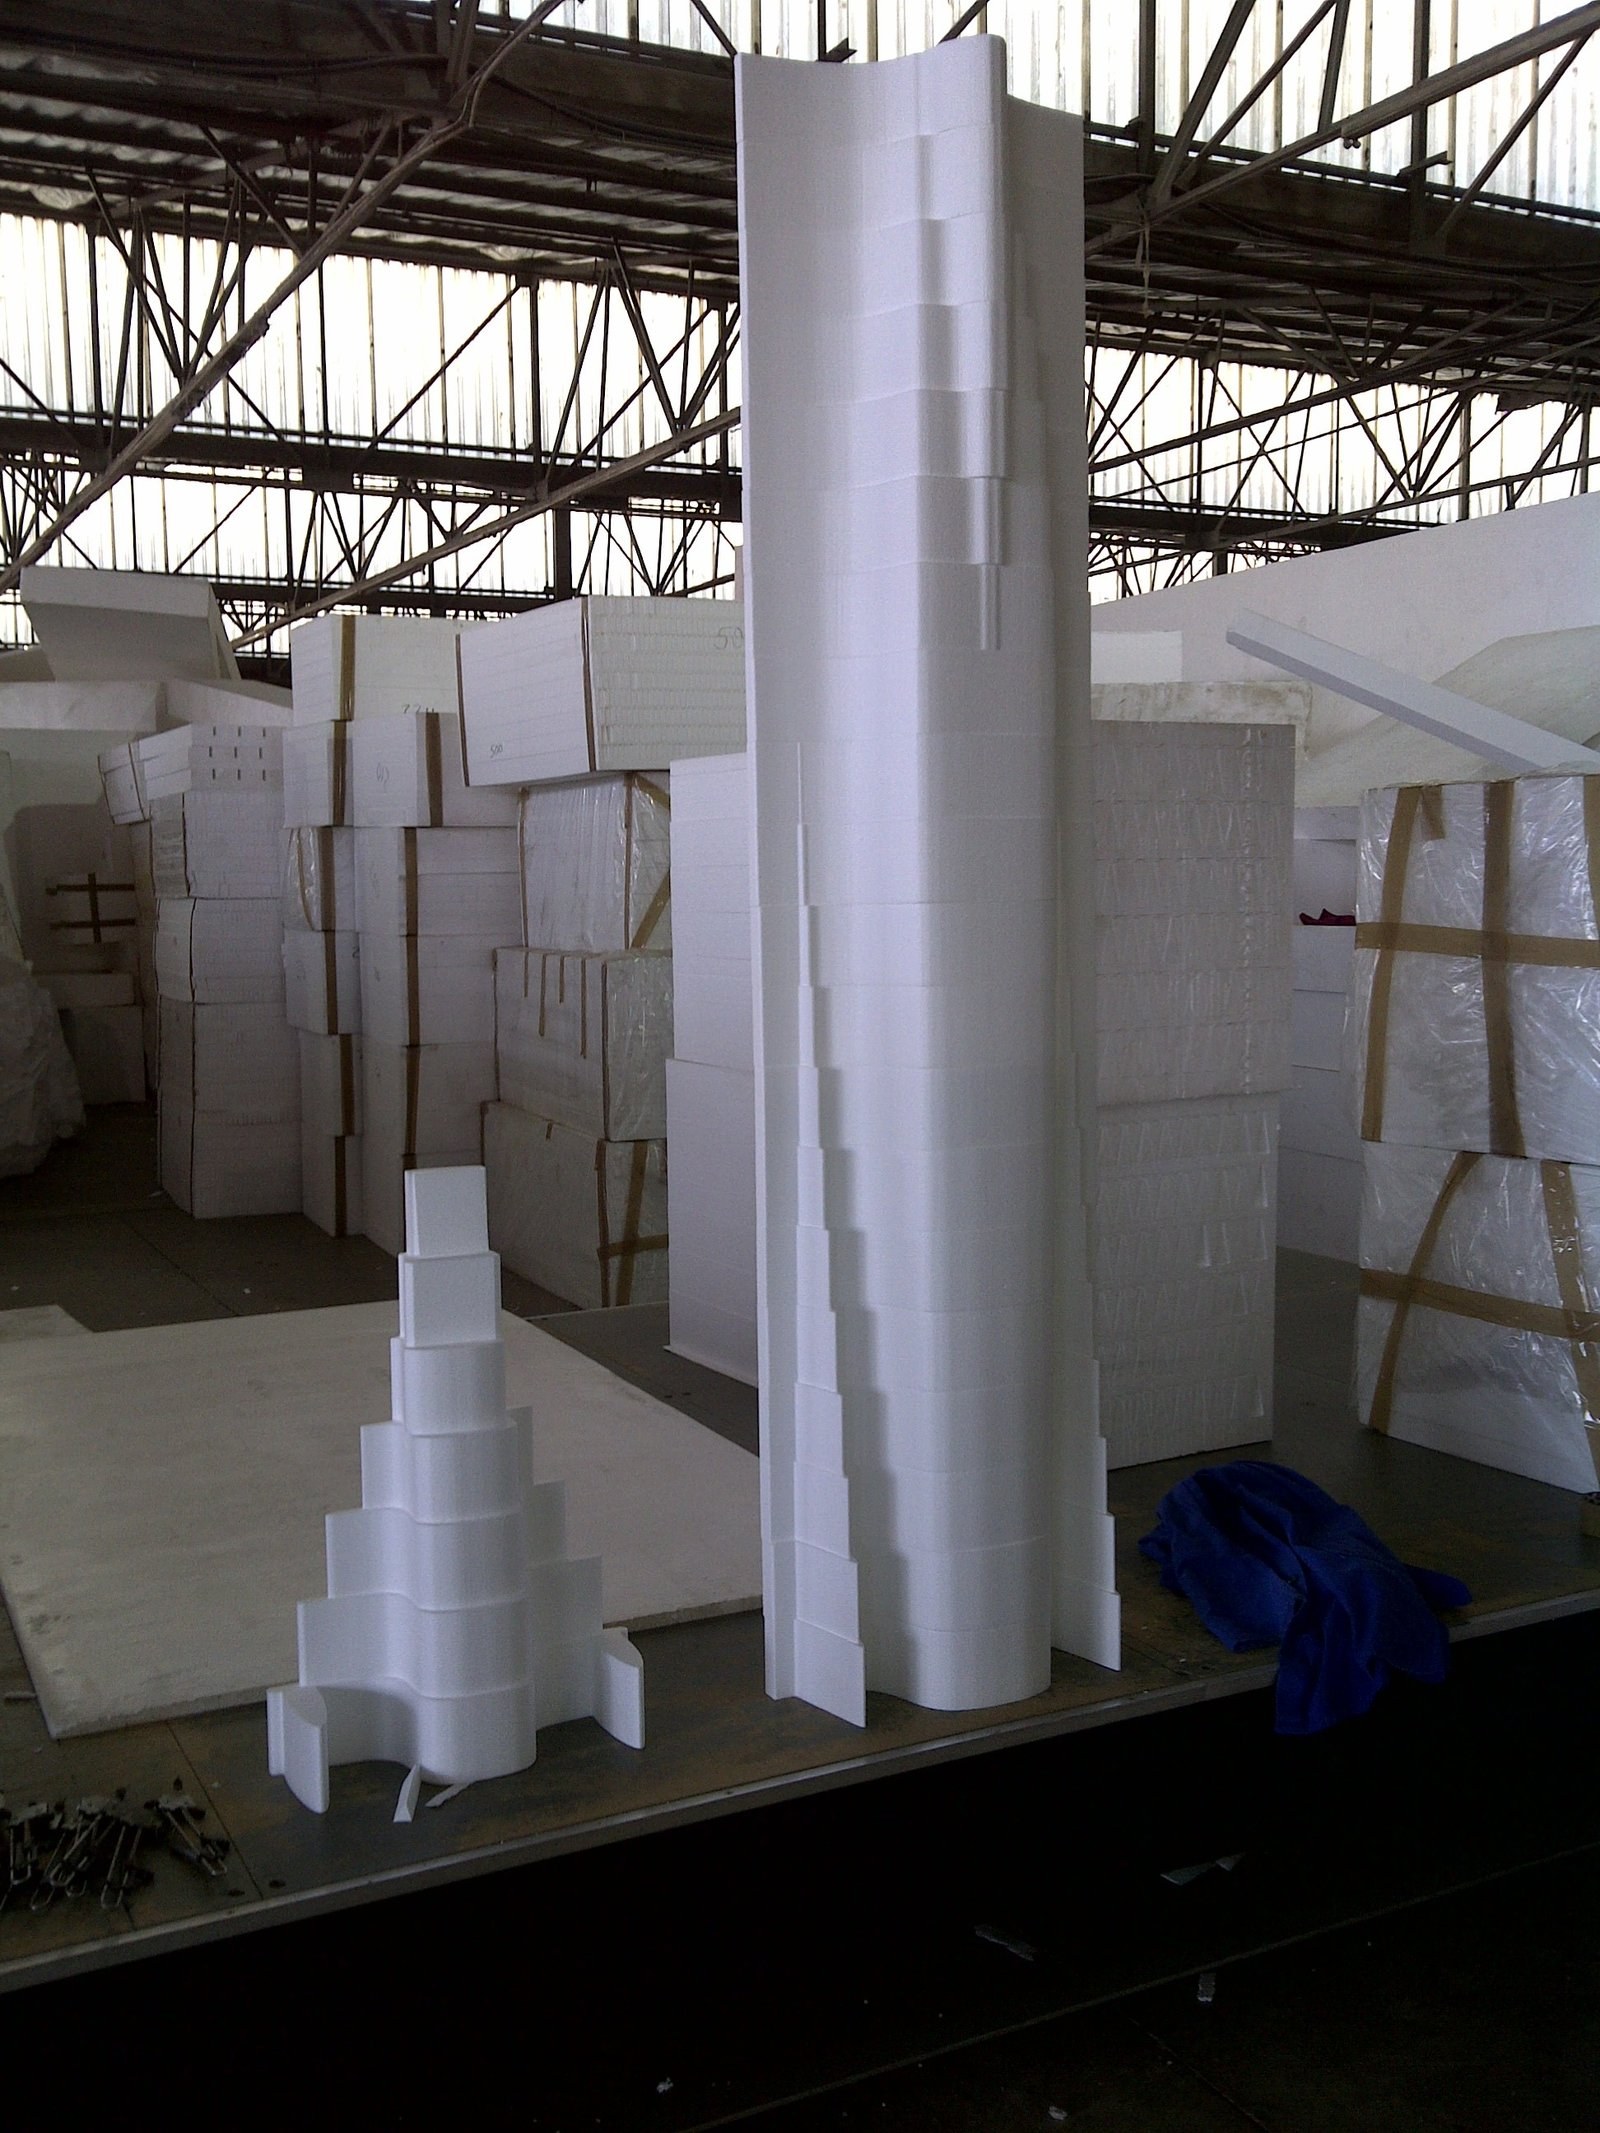
In the factory: a tall decorative element built up from stacked hot-wire-cut EPS layers, the stepped edges forming a fluted shape. Raw uncoated foam, bead texture visible. Numbered cut strips (47, 48) lie on the floor in front.PHOTO
In the factory: a tall decorative element built up from stacked hot-wire-cut EPS layers, the stepped edges forming a fluted shape. Raw uncoated foam, bead texture visible. Numbered cut strips (47, 48) lie on the floor in front.EPS Cornices
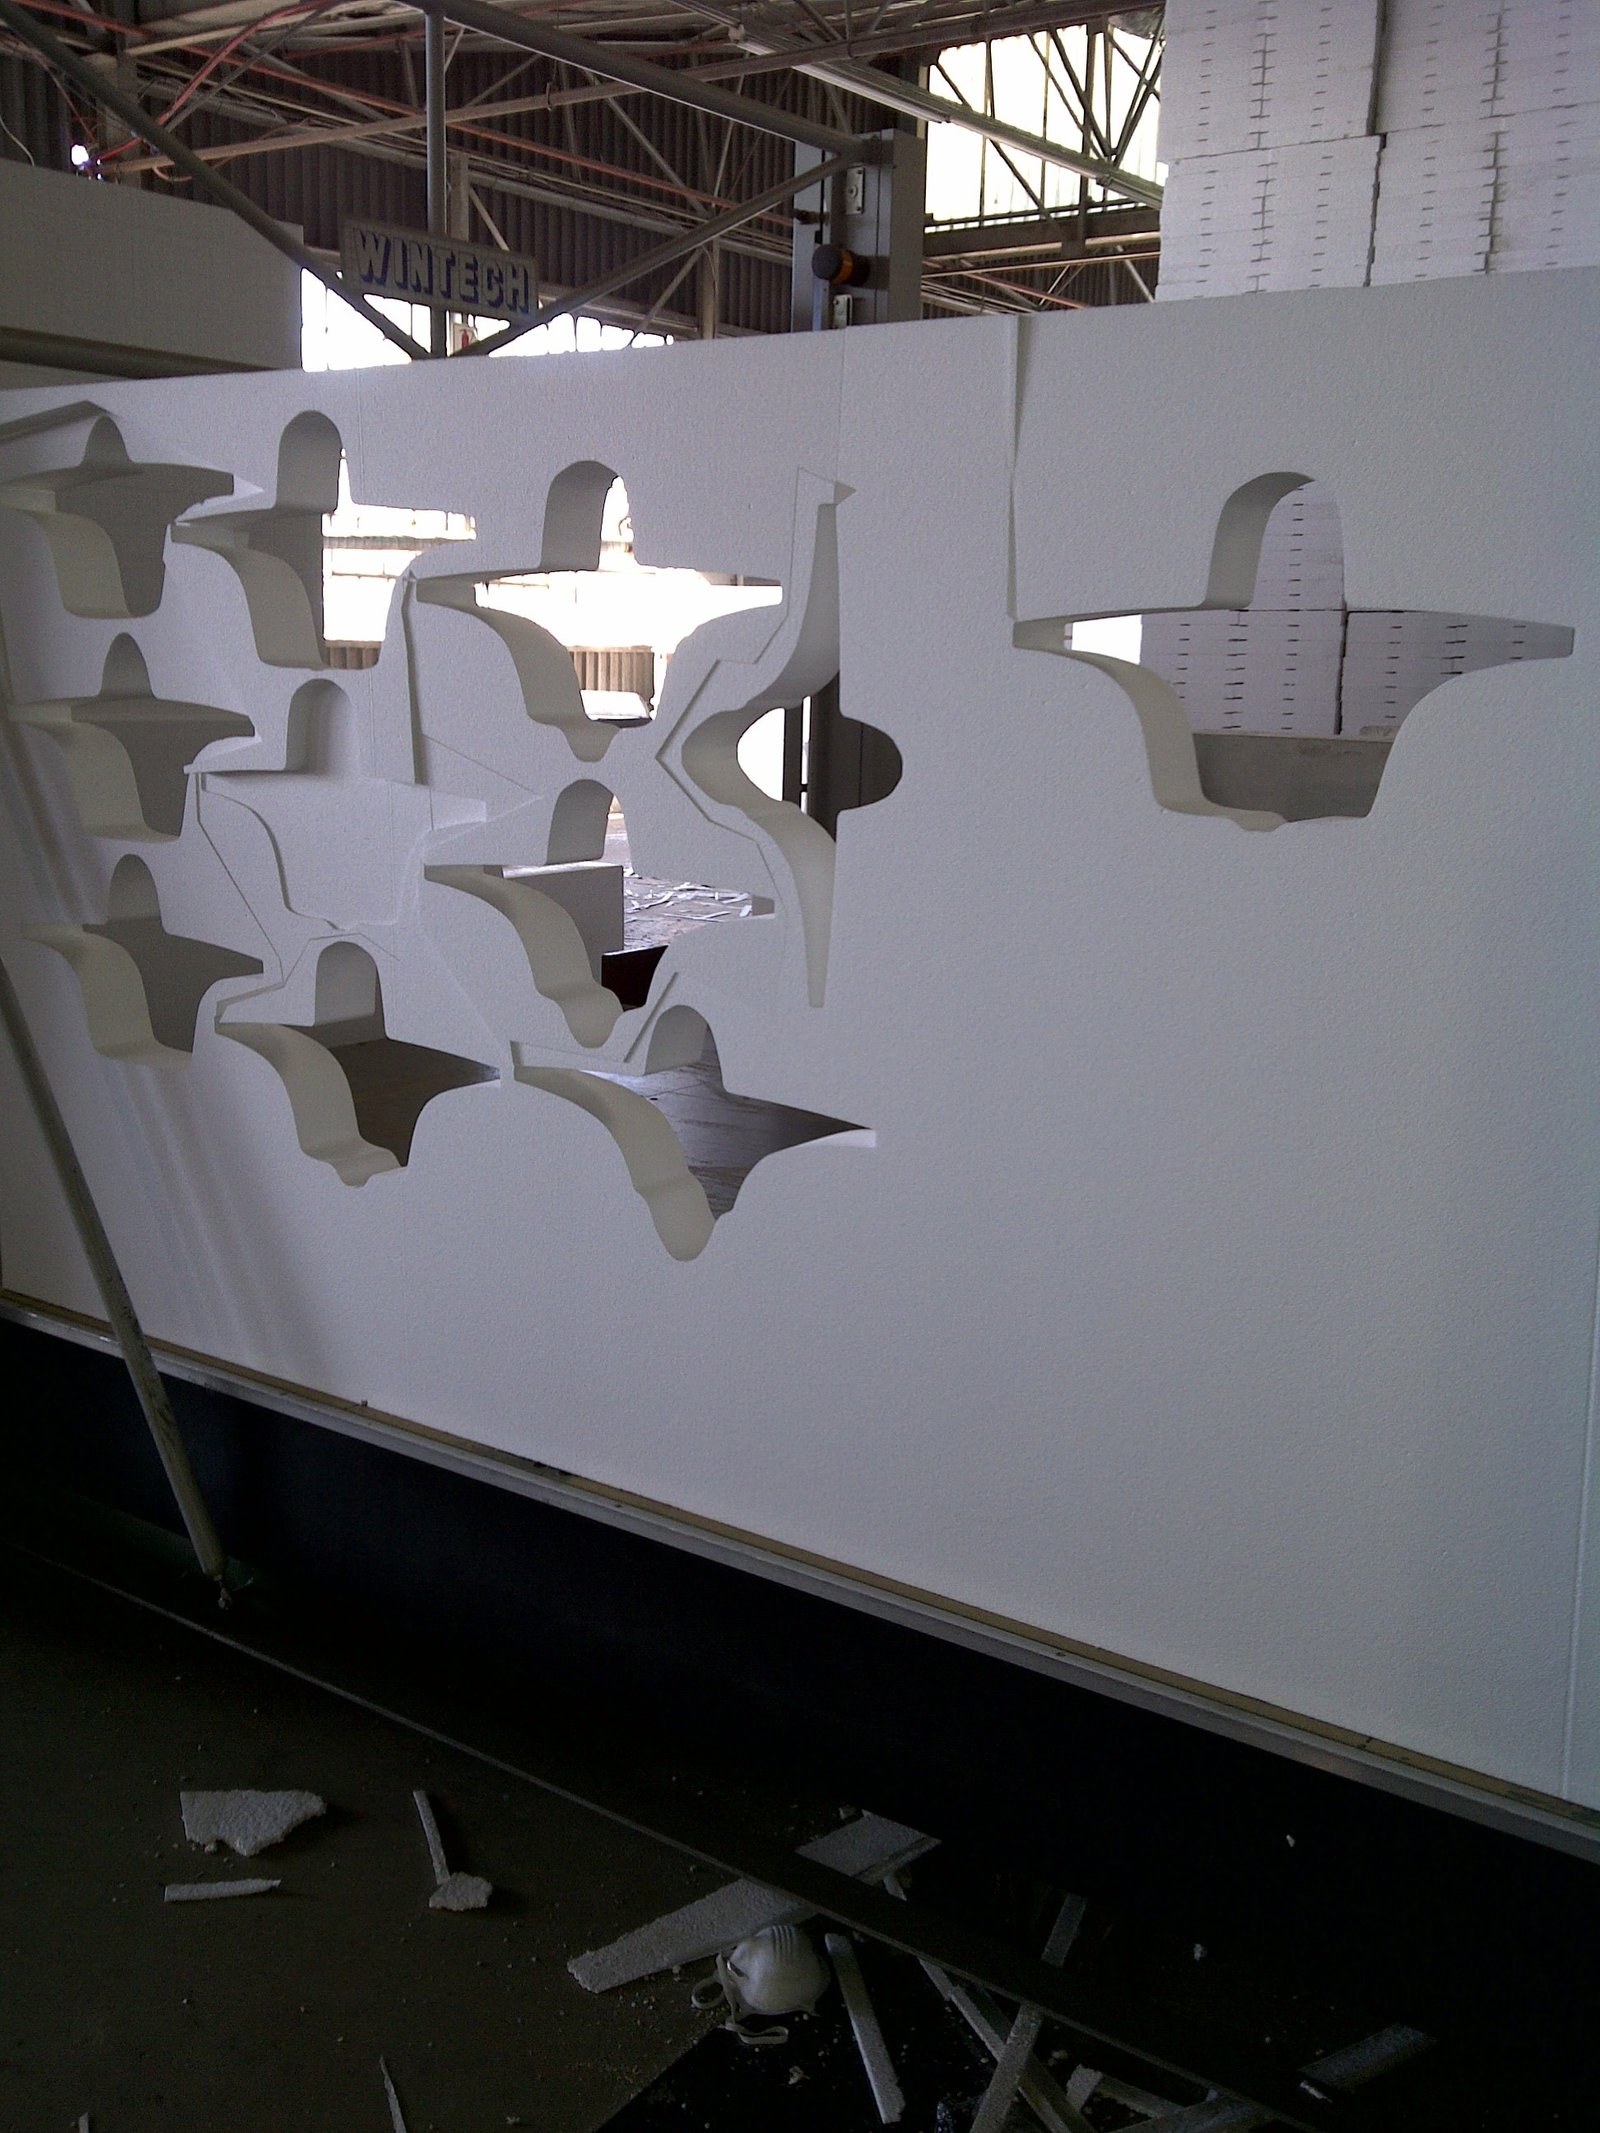
Corbel bracket shapes cut from EPS panels, wider view of the cutting floor with foam board stock stacked behindPHOTO
Corbel bracket shapes cut from EPS panels, wider view of the cutting floor with foam board stock stacked behindEPS Cornices
Cornice and corbel profile samples mounted in rows for display in the factoryPHOTO
Cornice and corbel profile samples mounted in rows for display in the factoryEPS Cornices
Stack of cut stepped, curved cornice moulding profiles set on the factory floorPHOTO
Stack of cut stepped, curved cornice moulding profiles set on the factory floorEPS Cornices
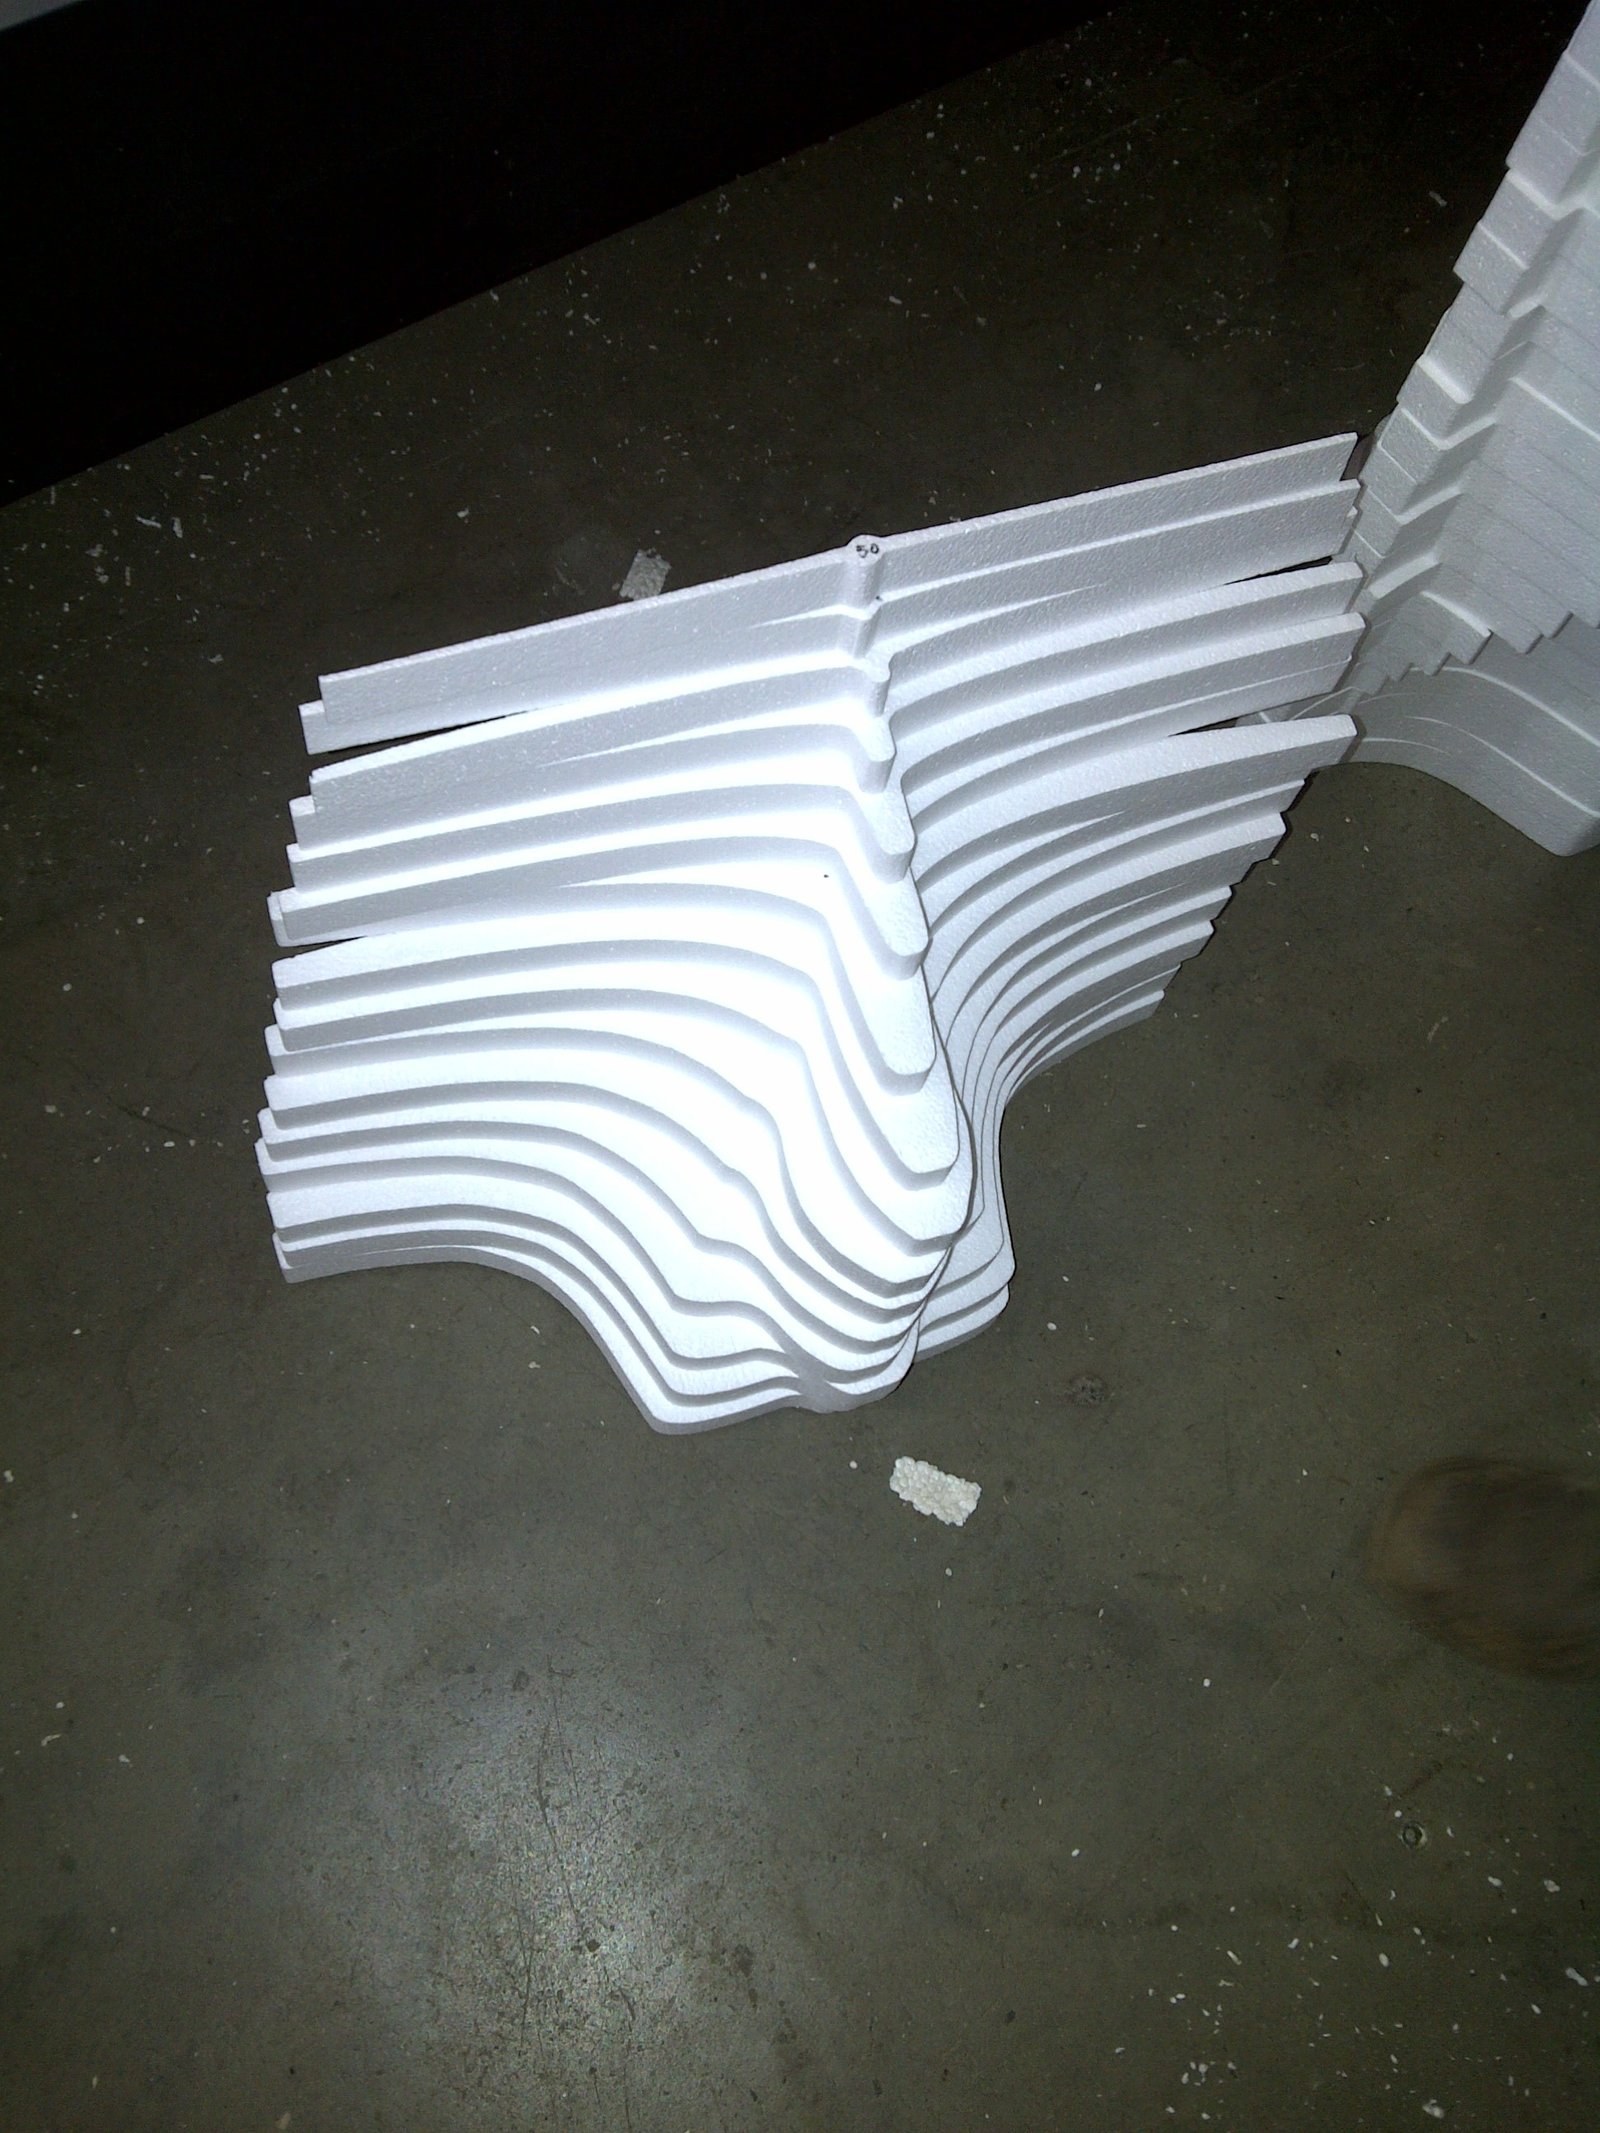
Stack of cut wavy ribbed cornice moulding profiles set on the factory floorPHOTO
Stack of cut wavy ribbed cornice moulding profiles set on the factory floorEPS Cornices
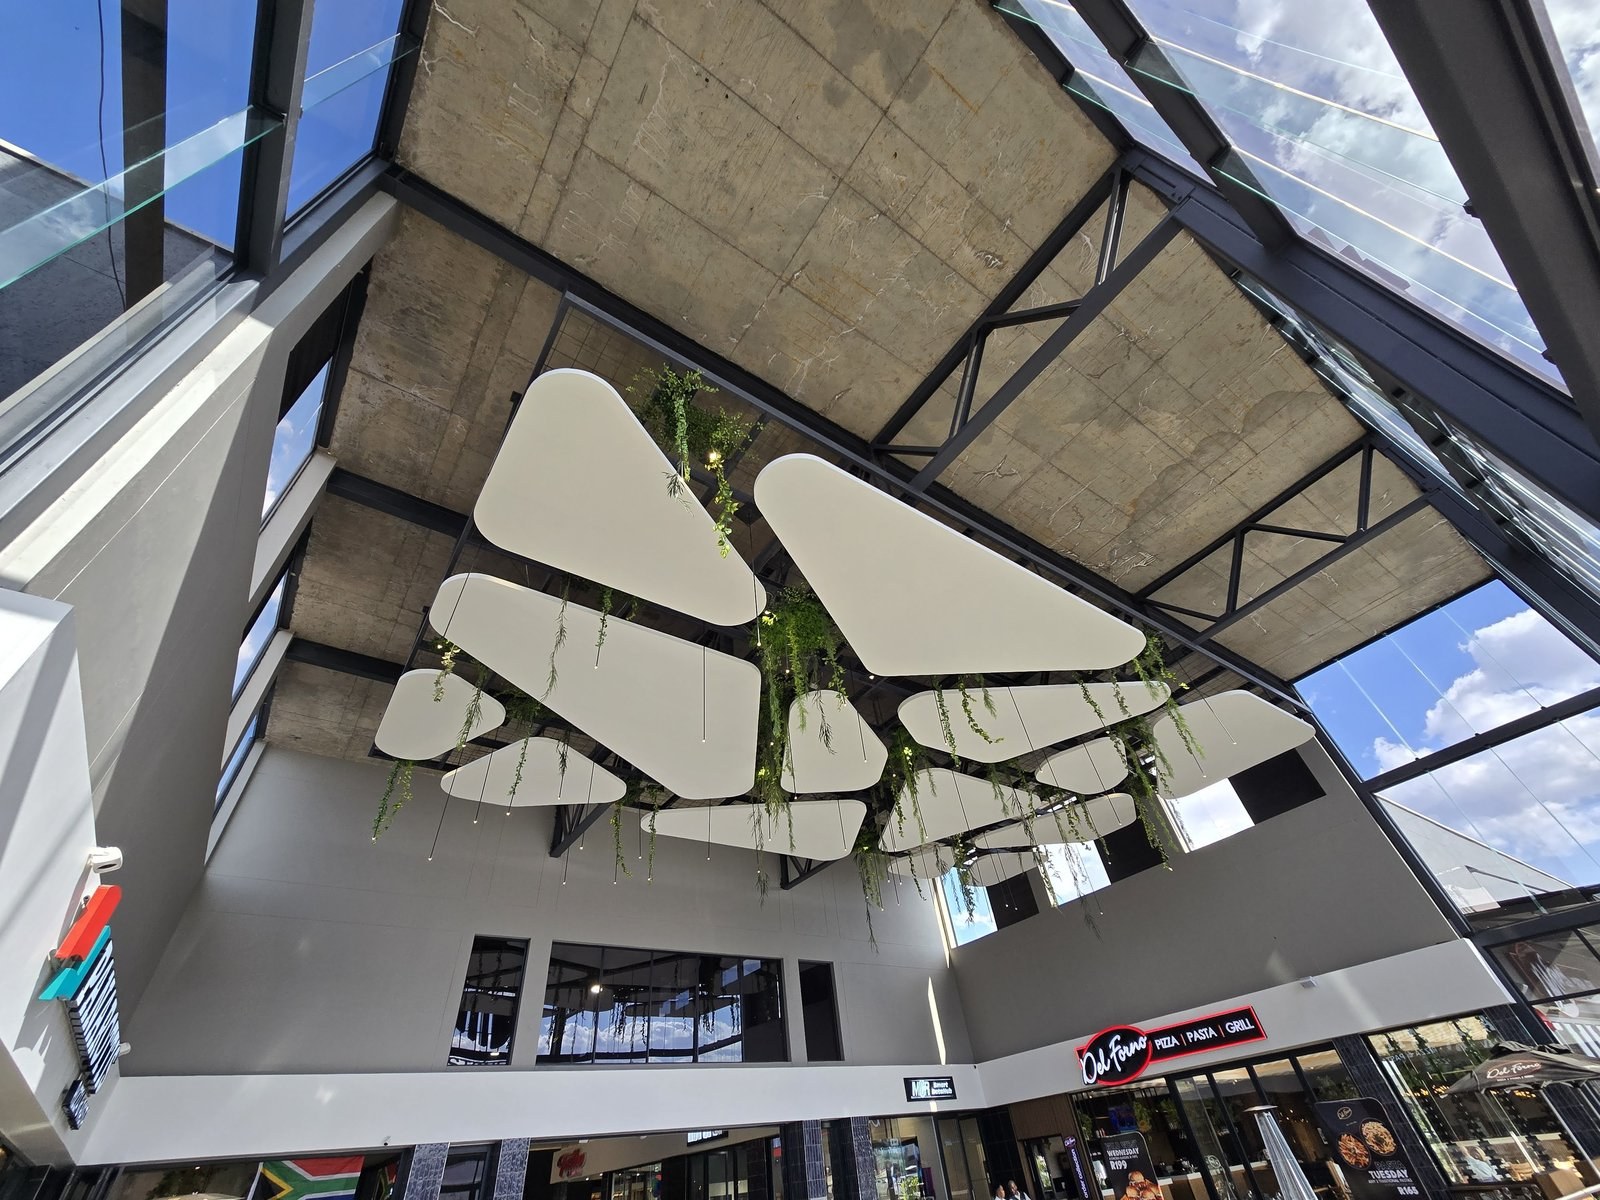
Looking straight up at a mall atrium: flat white shapes with rounded-corner profiles hang on cables below the glazed roof and steel structure, with foliage and downlights threaded between them.PHOTO
Looking straight up at a mall atrium: flat white shapes with rounded-corner profiles hang on cables below the glazed roof and steel structure, with foliage and downlights threaded between them.2D Shapes & Sheets
A cluster of flat cut shapes suspended on cables beneath a concrete soffit and steel trusses, over the shopfronts of a mall street.PHOTO
A cluster of flat cut shapes suspended on cables beneath a concrete soffit and steel trusses, over the shopfronts of a mall street.2D Shapes & Sheets
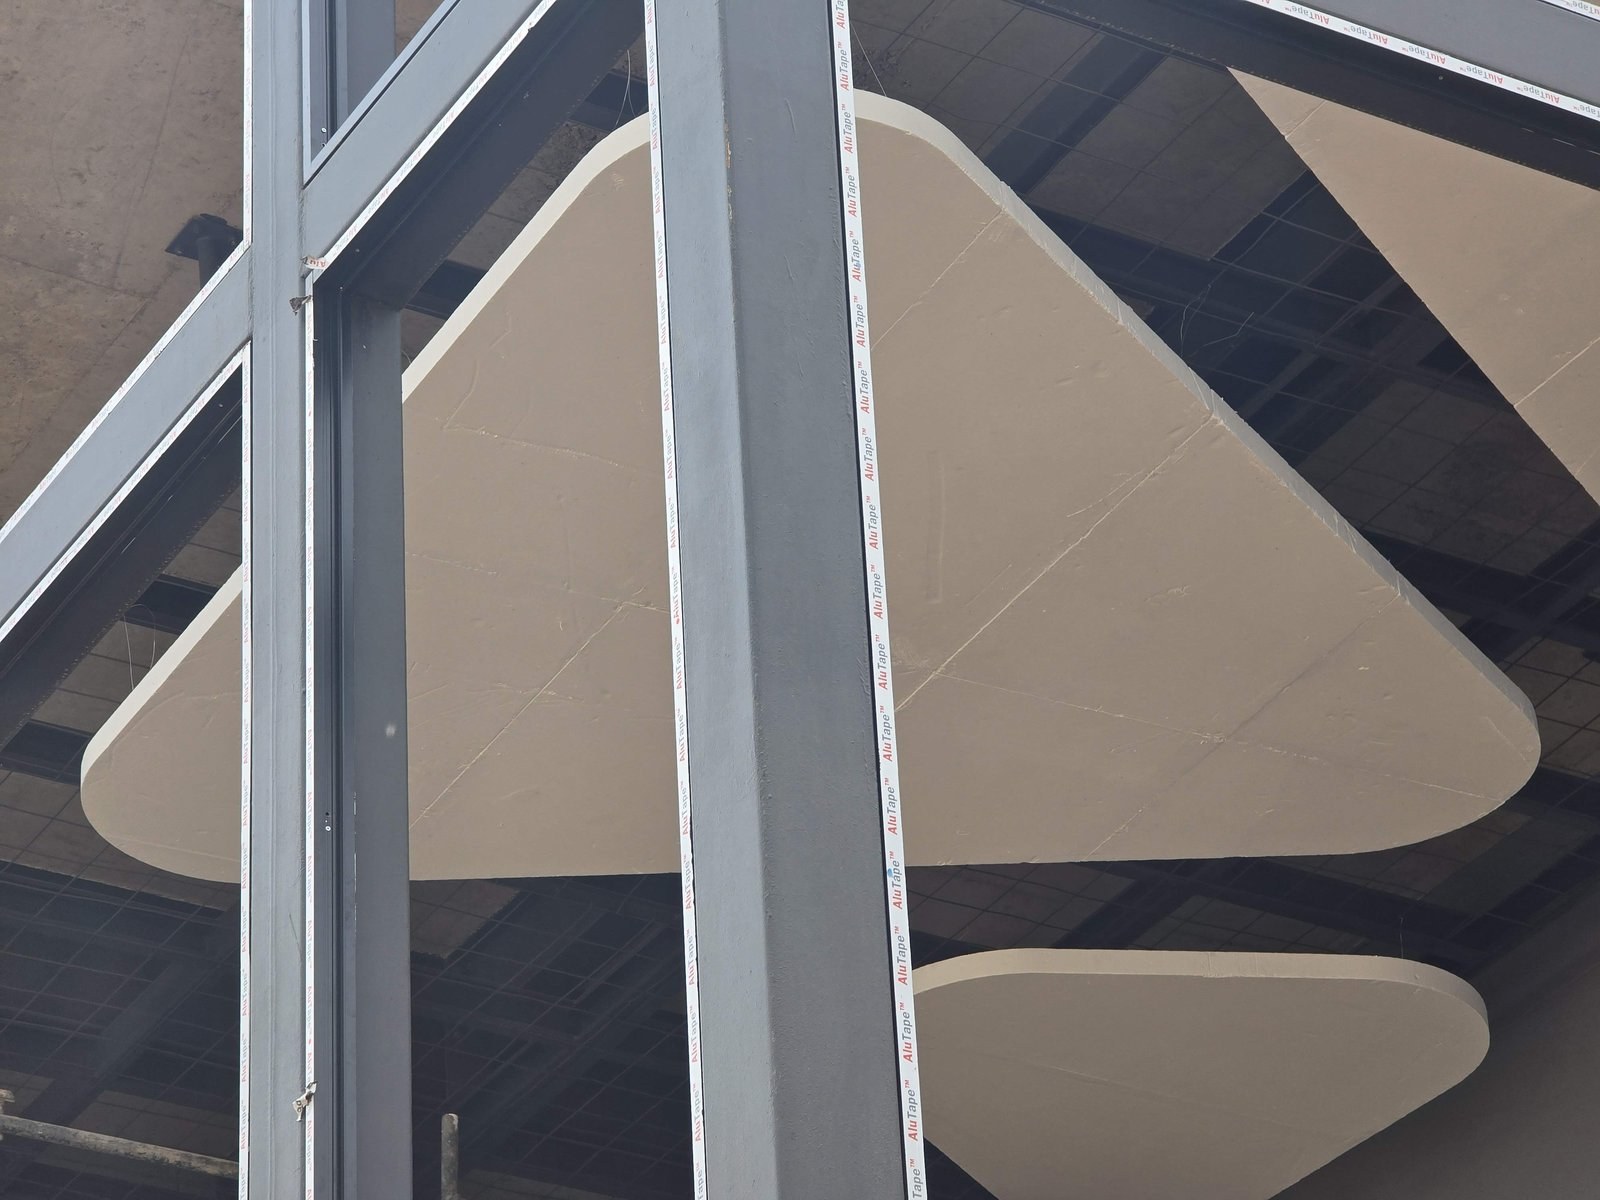
Close-up of two of the suspended shapes past a steel column: thick square edges, rounded corners and a smooth coated face, with faint joint lines across the panel.PHOTO
Close-up of two of the suspended shapes past a steel column: thick square edges, rounded corners and a smooth coated face, with faint joint lines across the panel.2D Shapes & Sheets
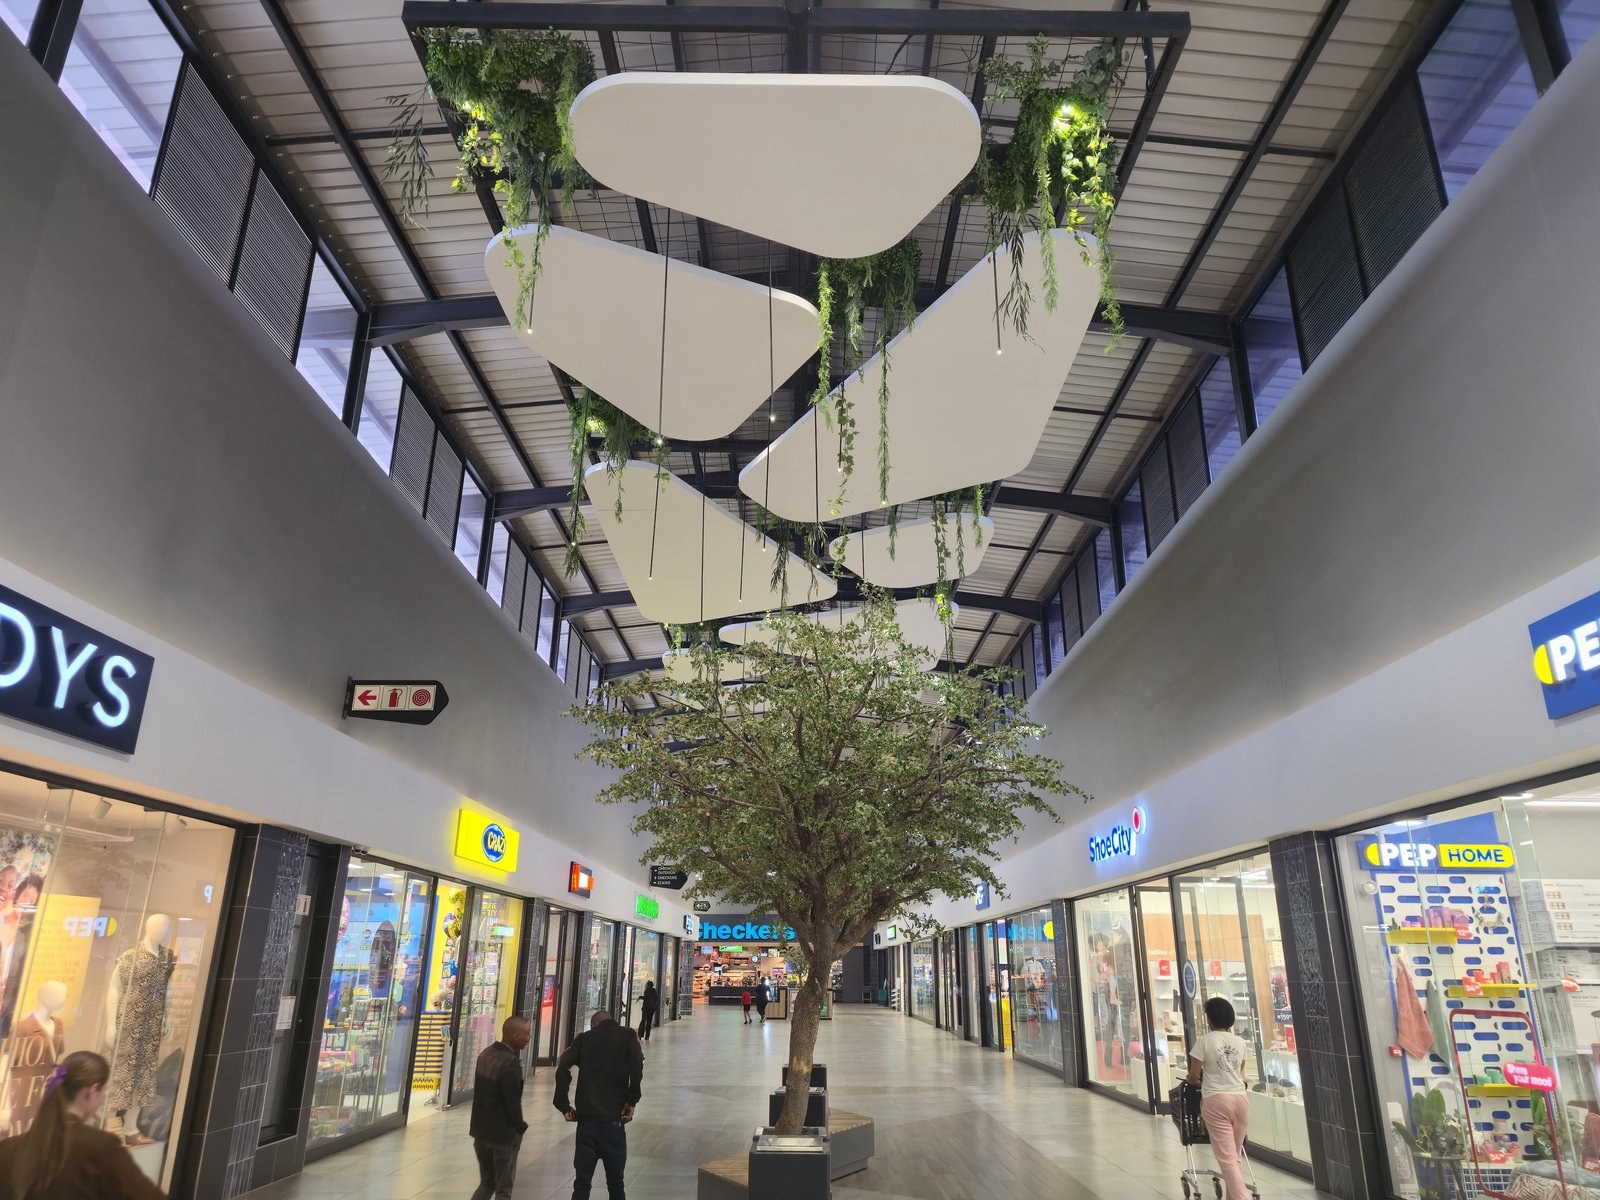
The shapes in use: flat white profiles hung at staggered heights above a mall walkway, between the steel frame and the shopfronts below.PHOTO
The shapes in use: flat white profiles hung at staggered heights above a mall walkway, between the steel frame and the shopfronts below.2D Shapes & Sheets
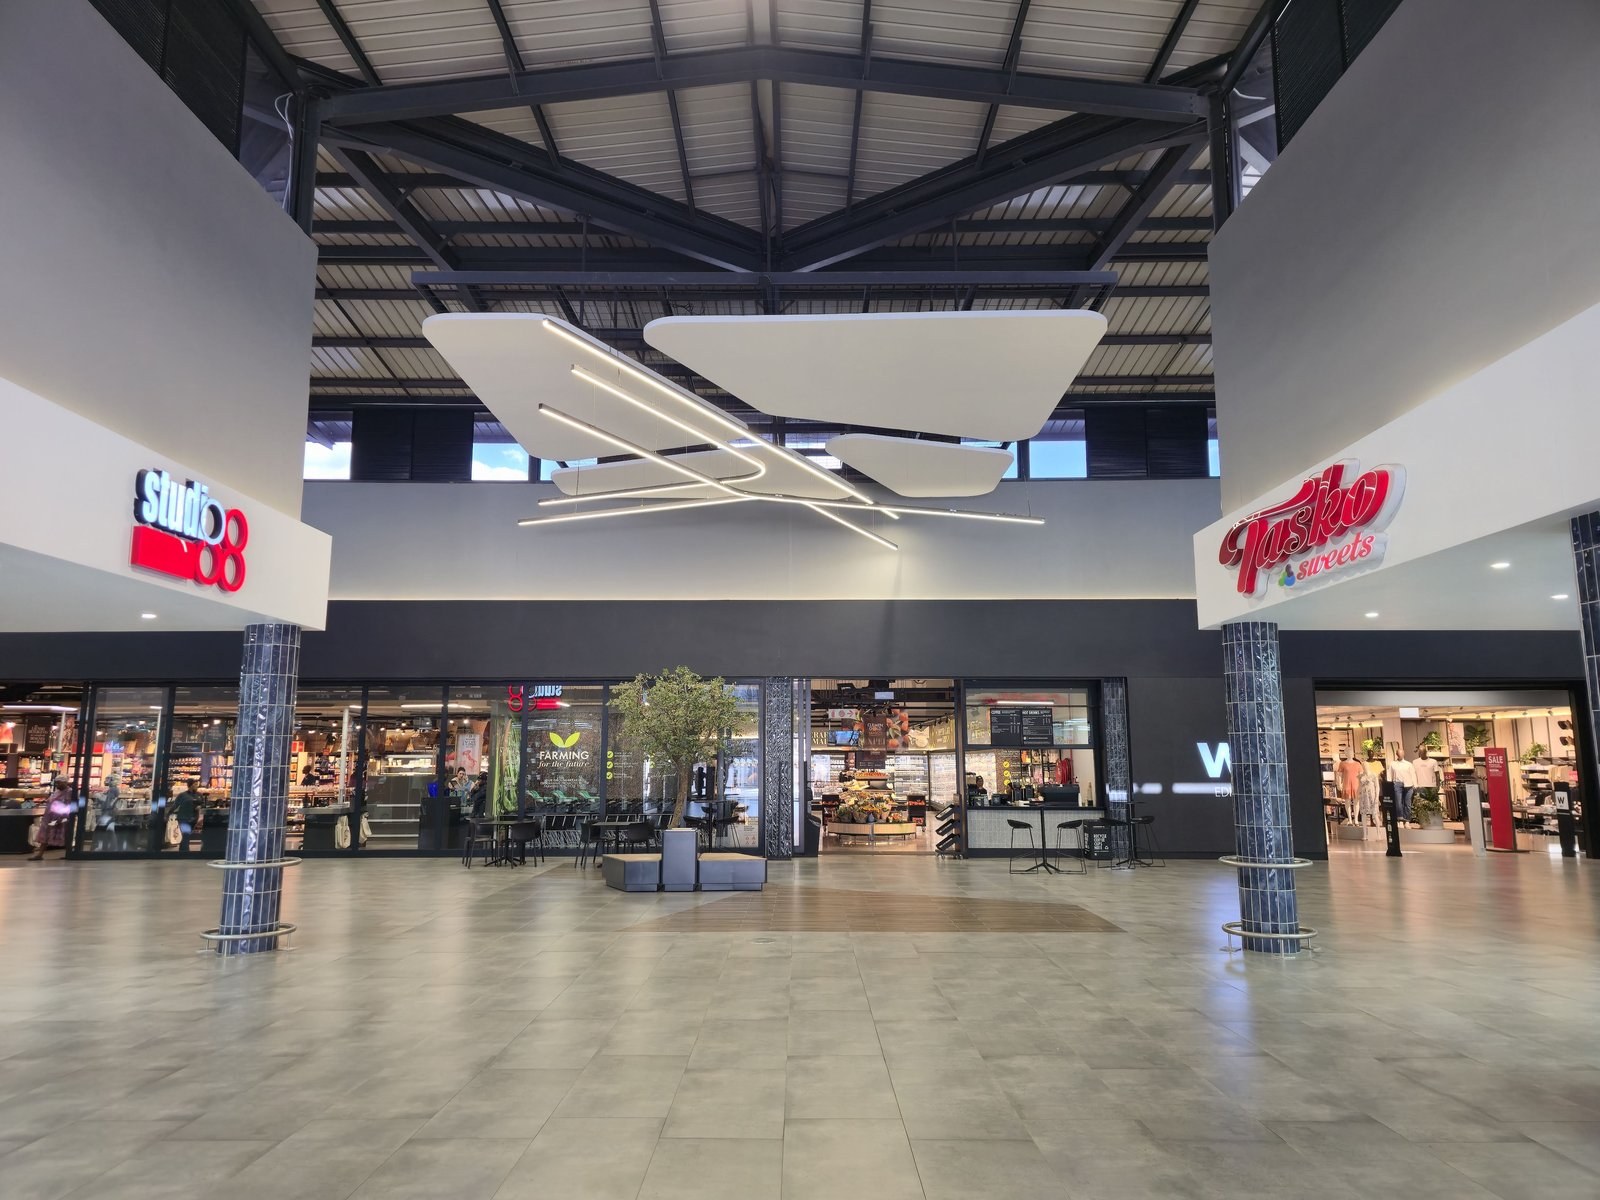
Long, slender cut shapes assembled into a hanging sculpture with linear light bars, in the double-volume court beneath an exposed steel roof.PHOTO
Long, slender cut shapes assembled into a hanging sculpture with linear light bars, in the double-volume court beneath an exposed steel roof.2D Shapes & Sheets
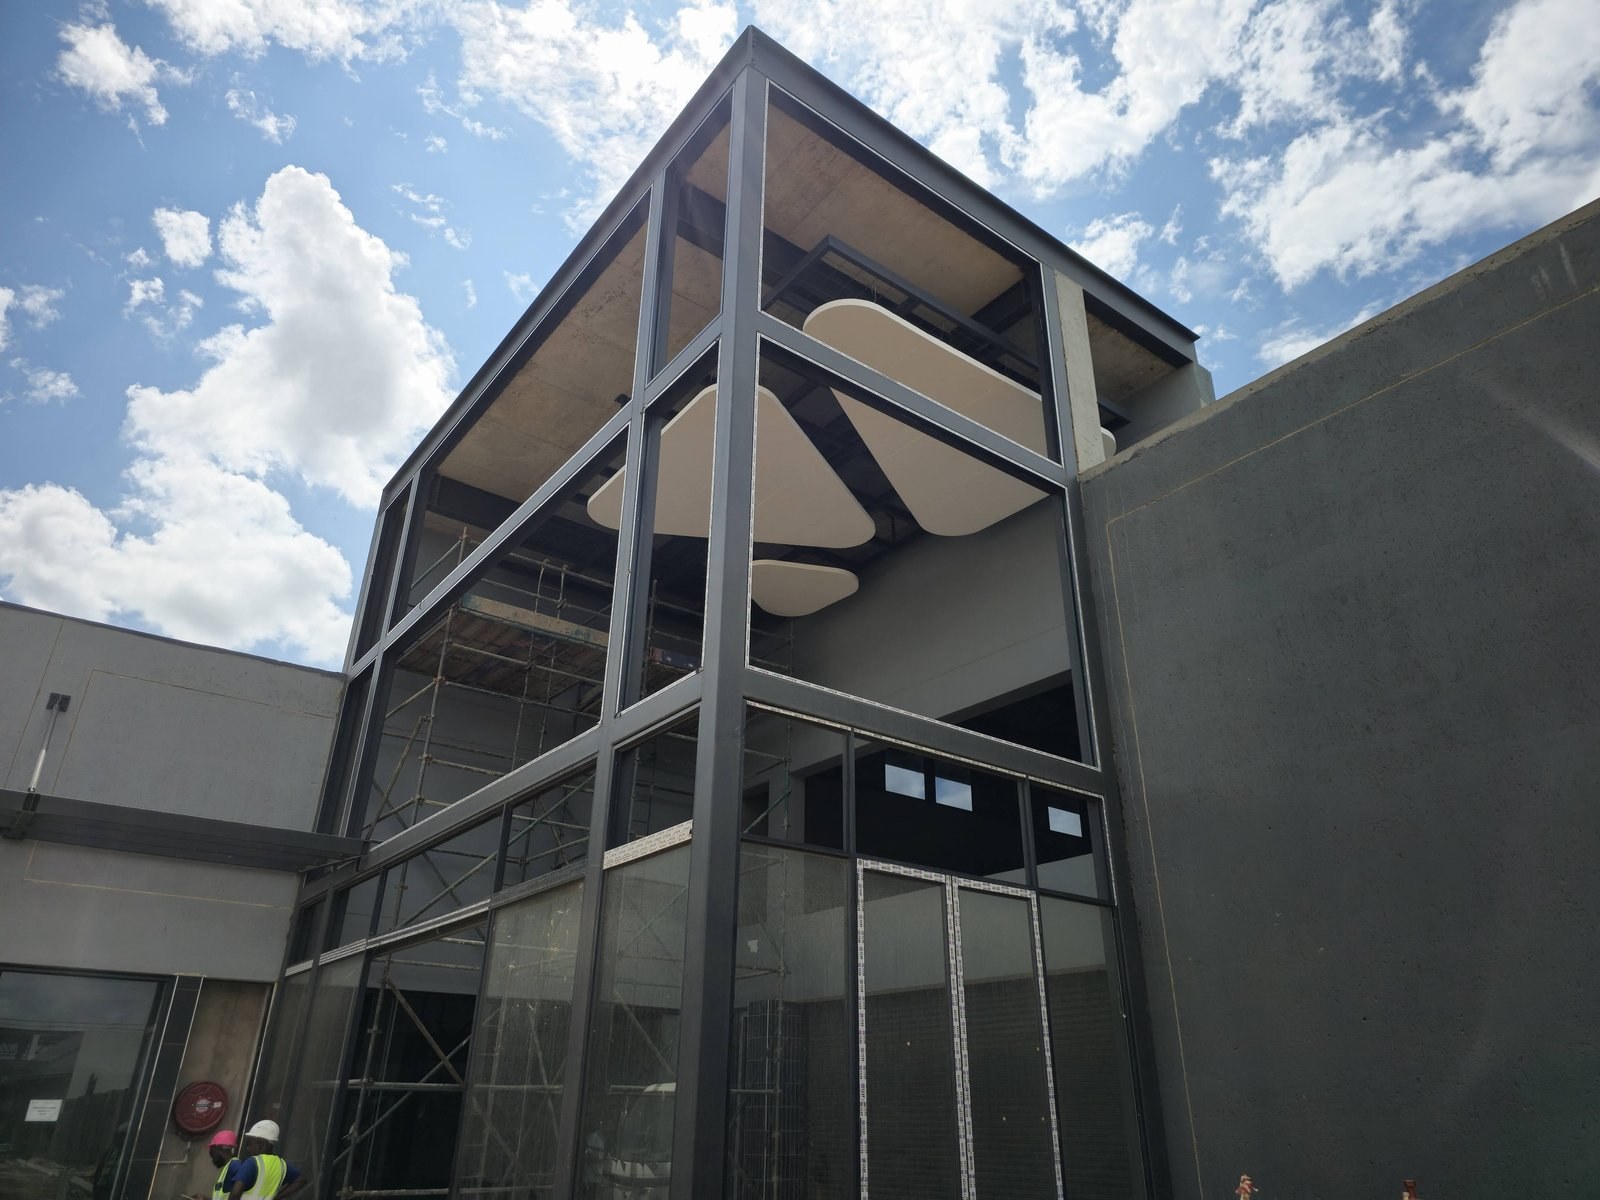
The same shapes seen from outside during construction - hanging inside the glazed entrance tower, with scaffolding still up behind the glass.PHOTO
The same shapes seen from outside during construction - hanging inside the glazed entrance tower, with scaffolding still up behind the glass.2D Shapes & Sheets
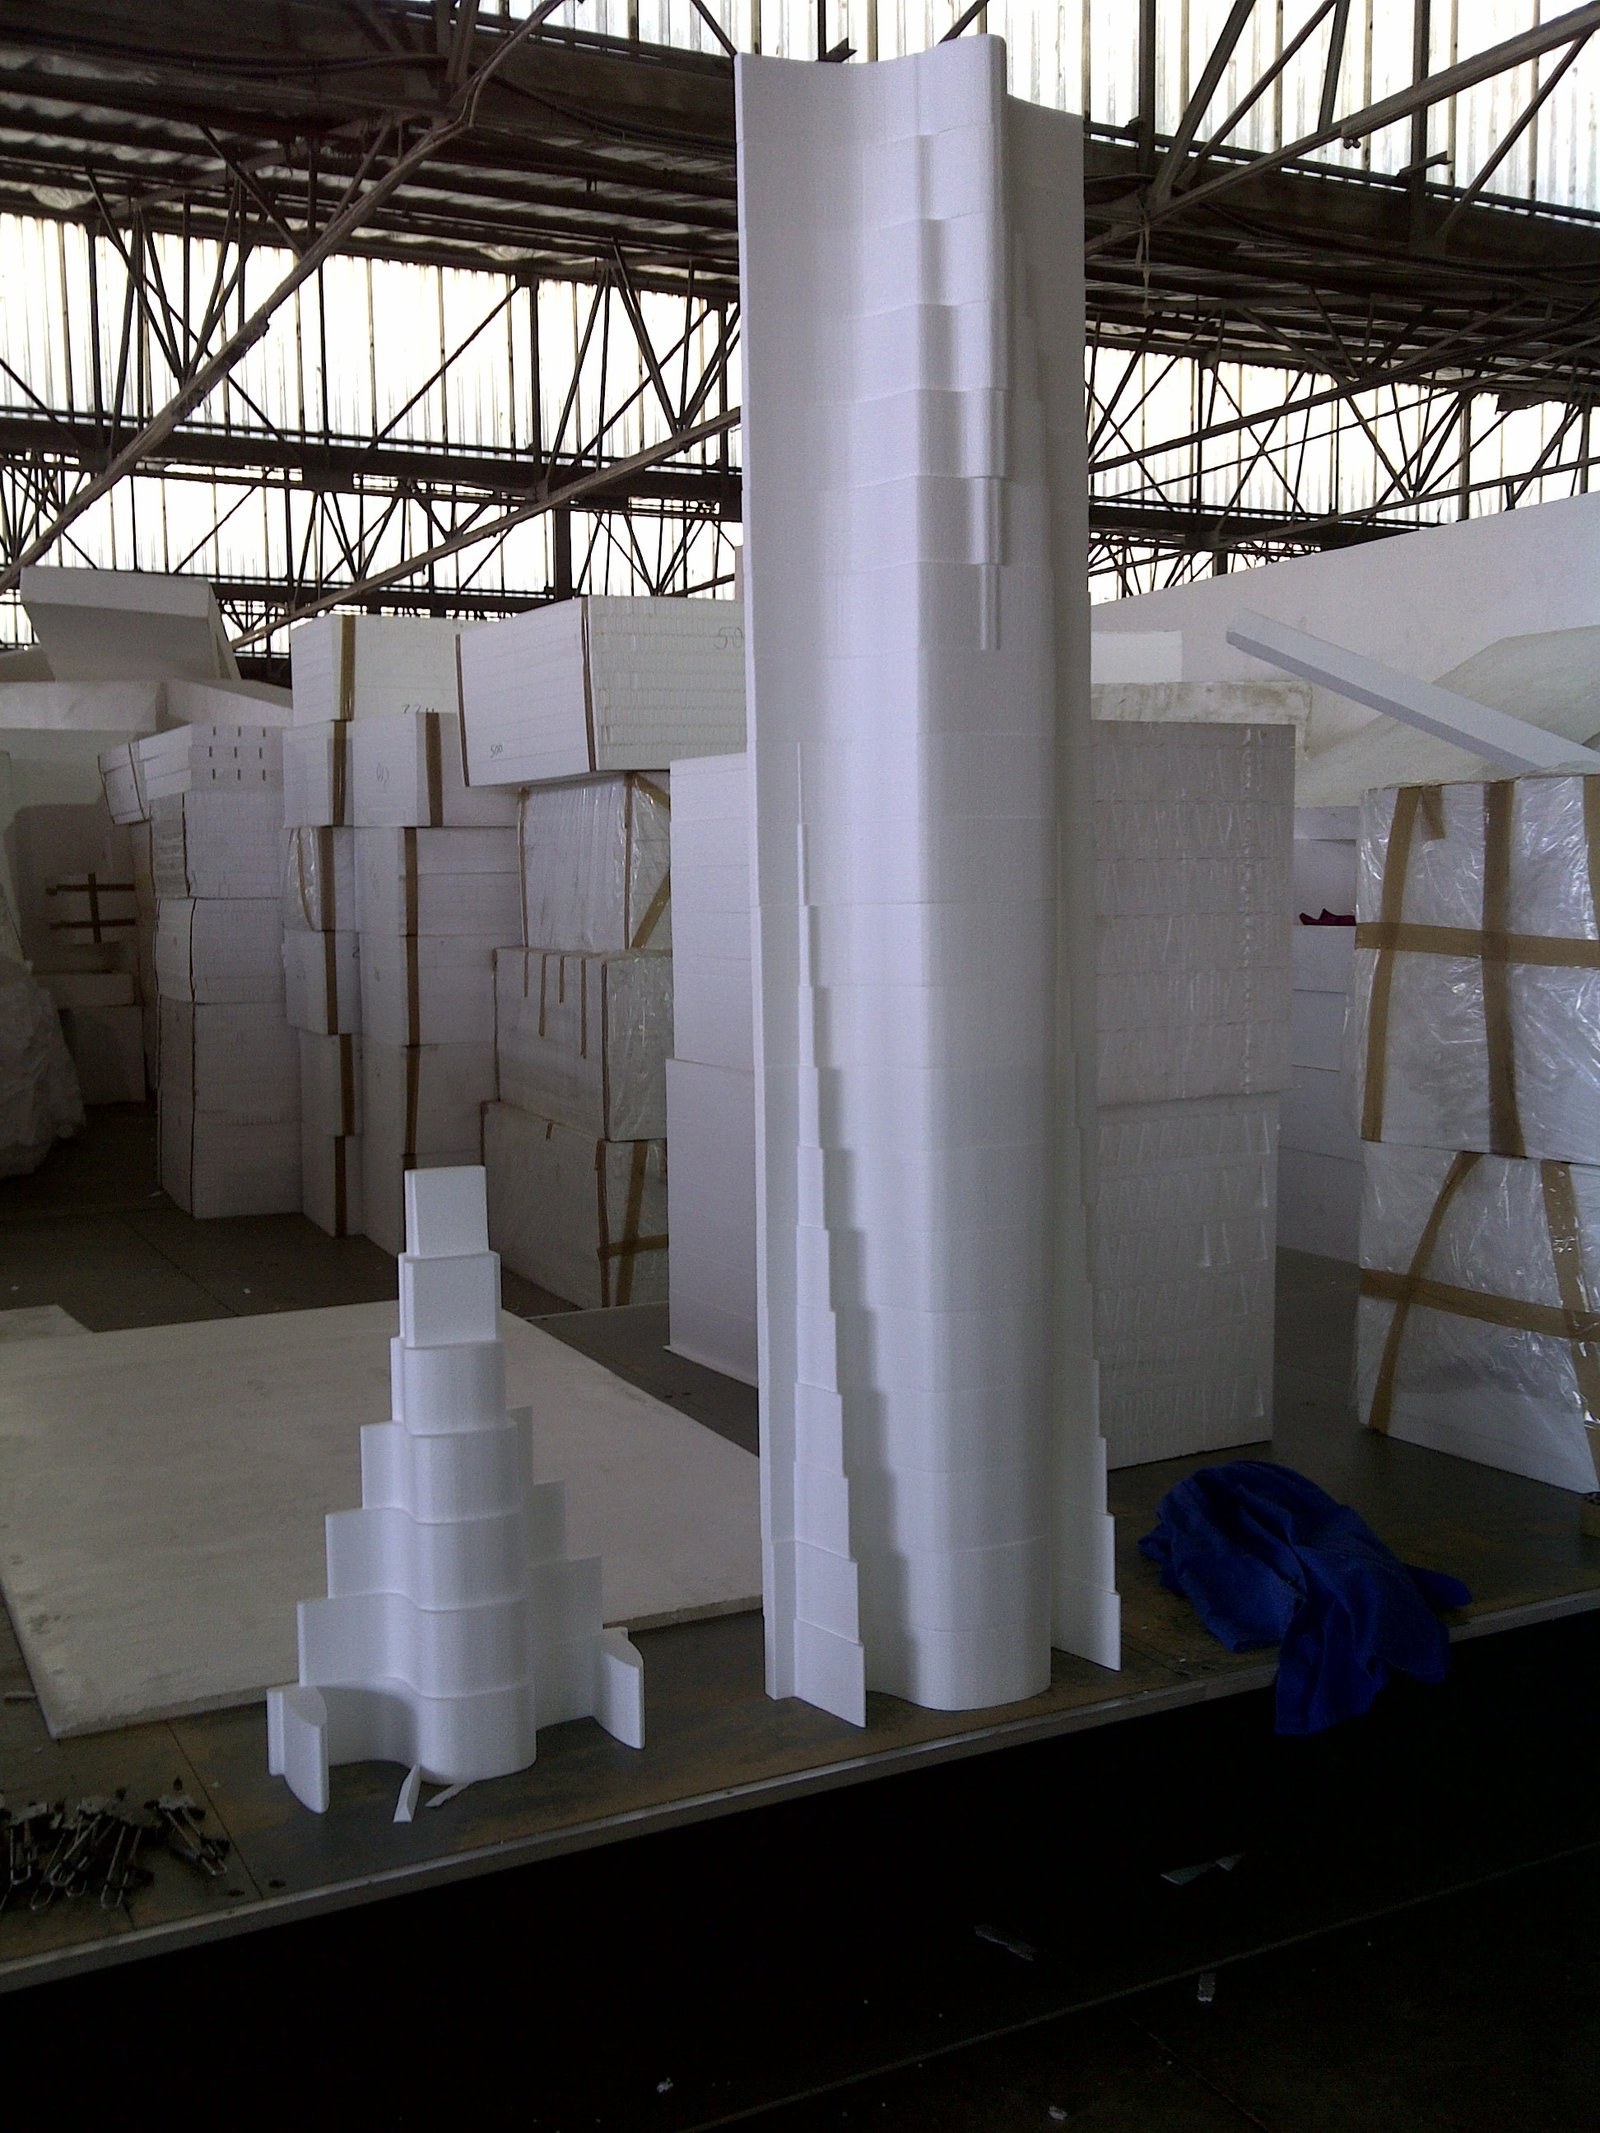
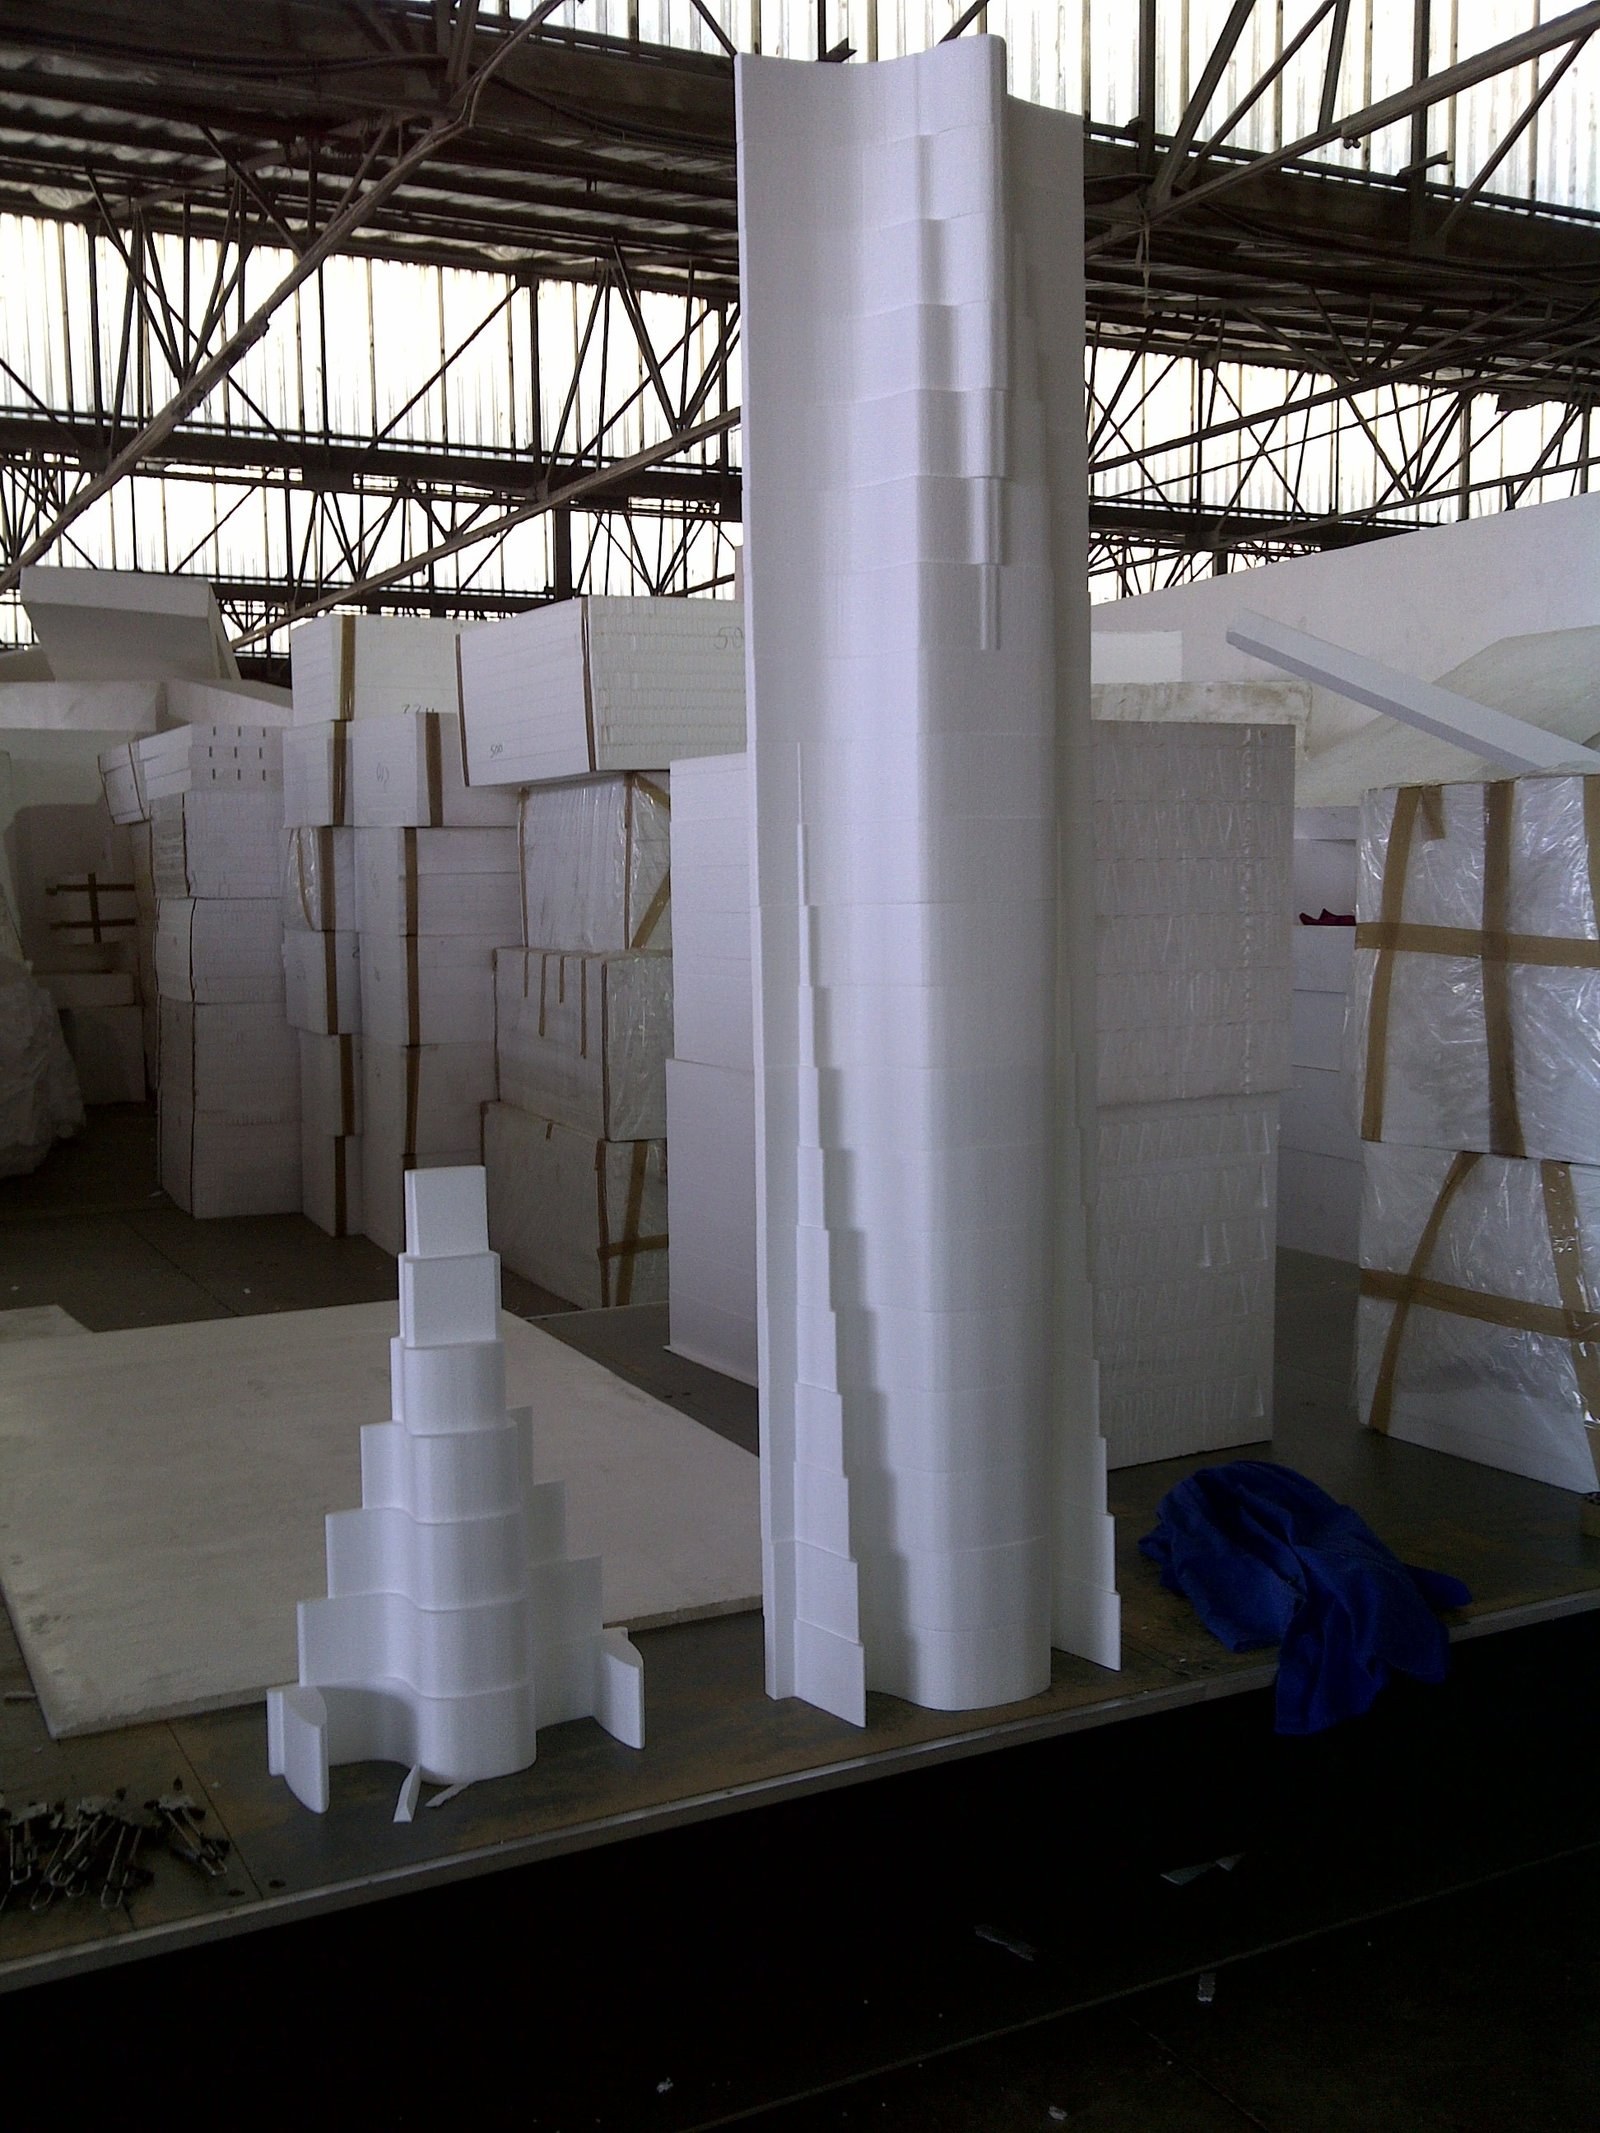
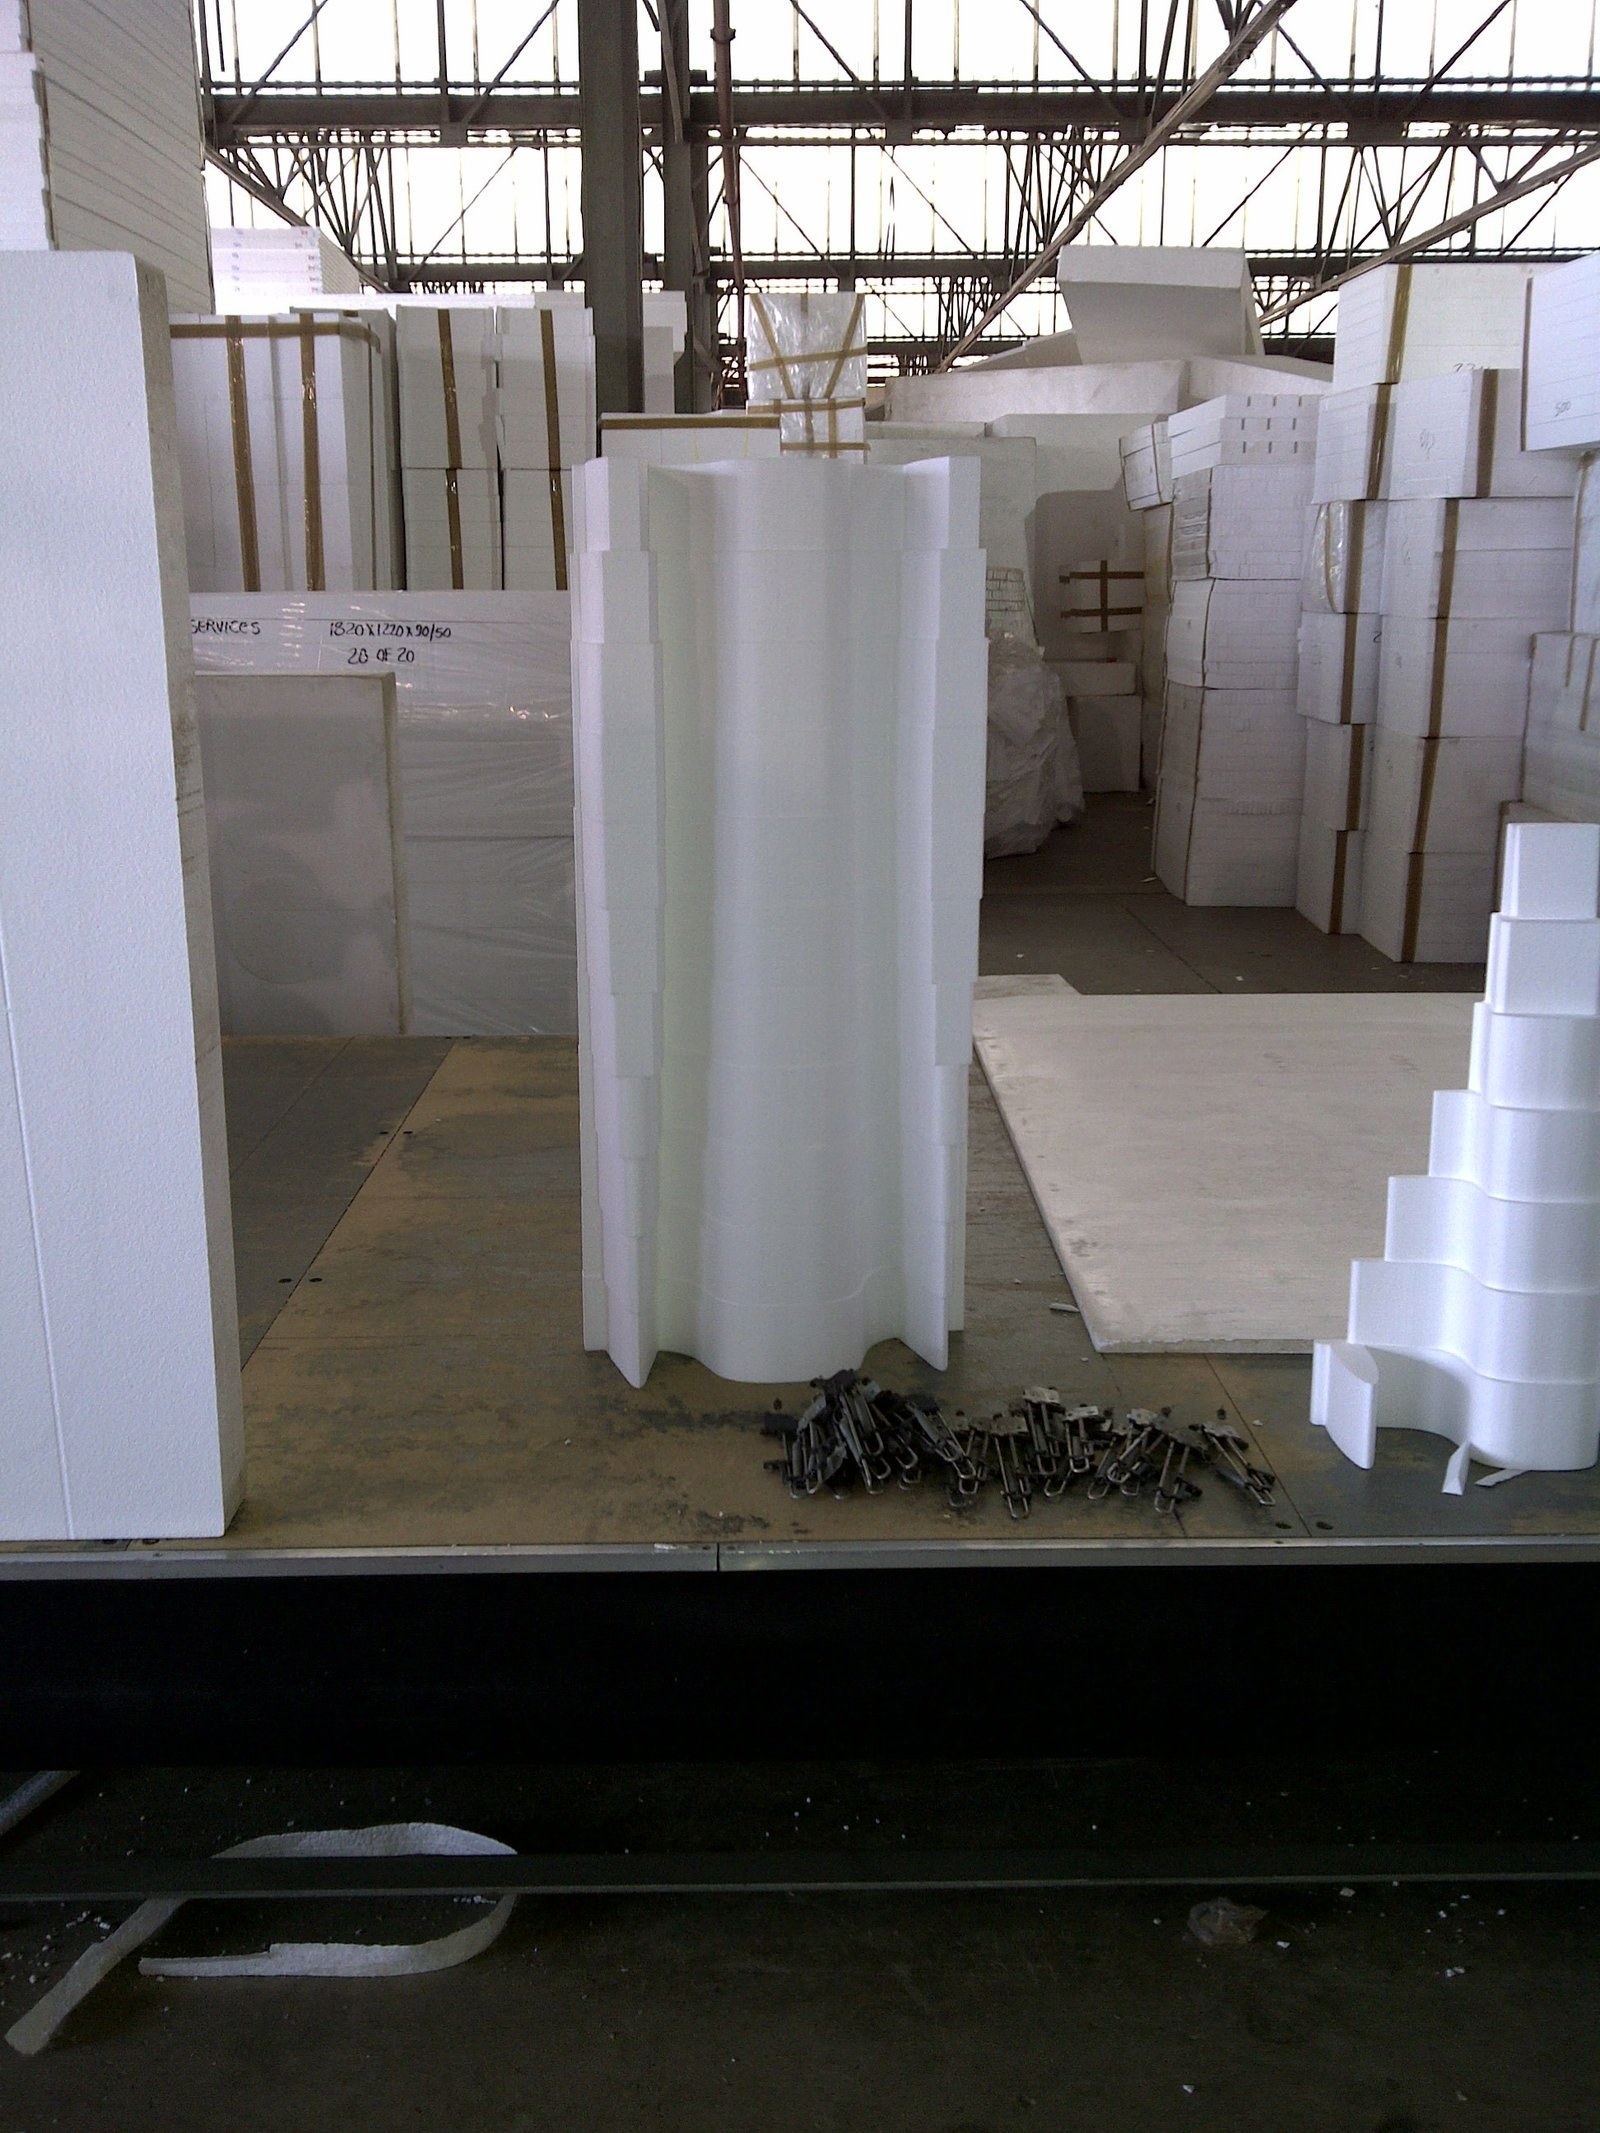
Large sculpted EPS column and a stepped spiral piece on a workbench, with stacked wrapped EPS block inventory in the warehouse behind.PHOTO
Large sculpted EPS column and a stepped spiral piece on a workbench, with stacked wrapped EPS block inventory in the warehouse behind.2D Shapes & Sheets
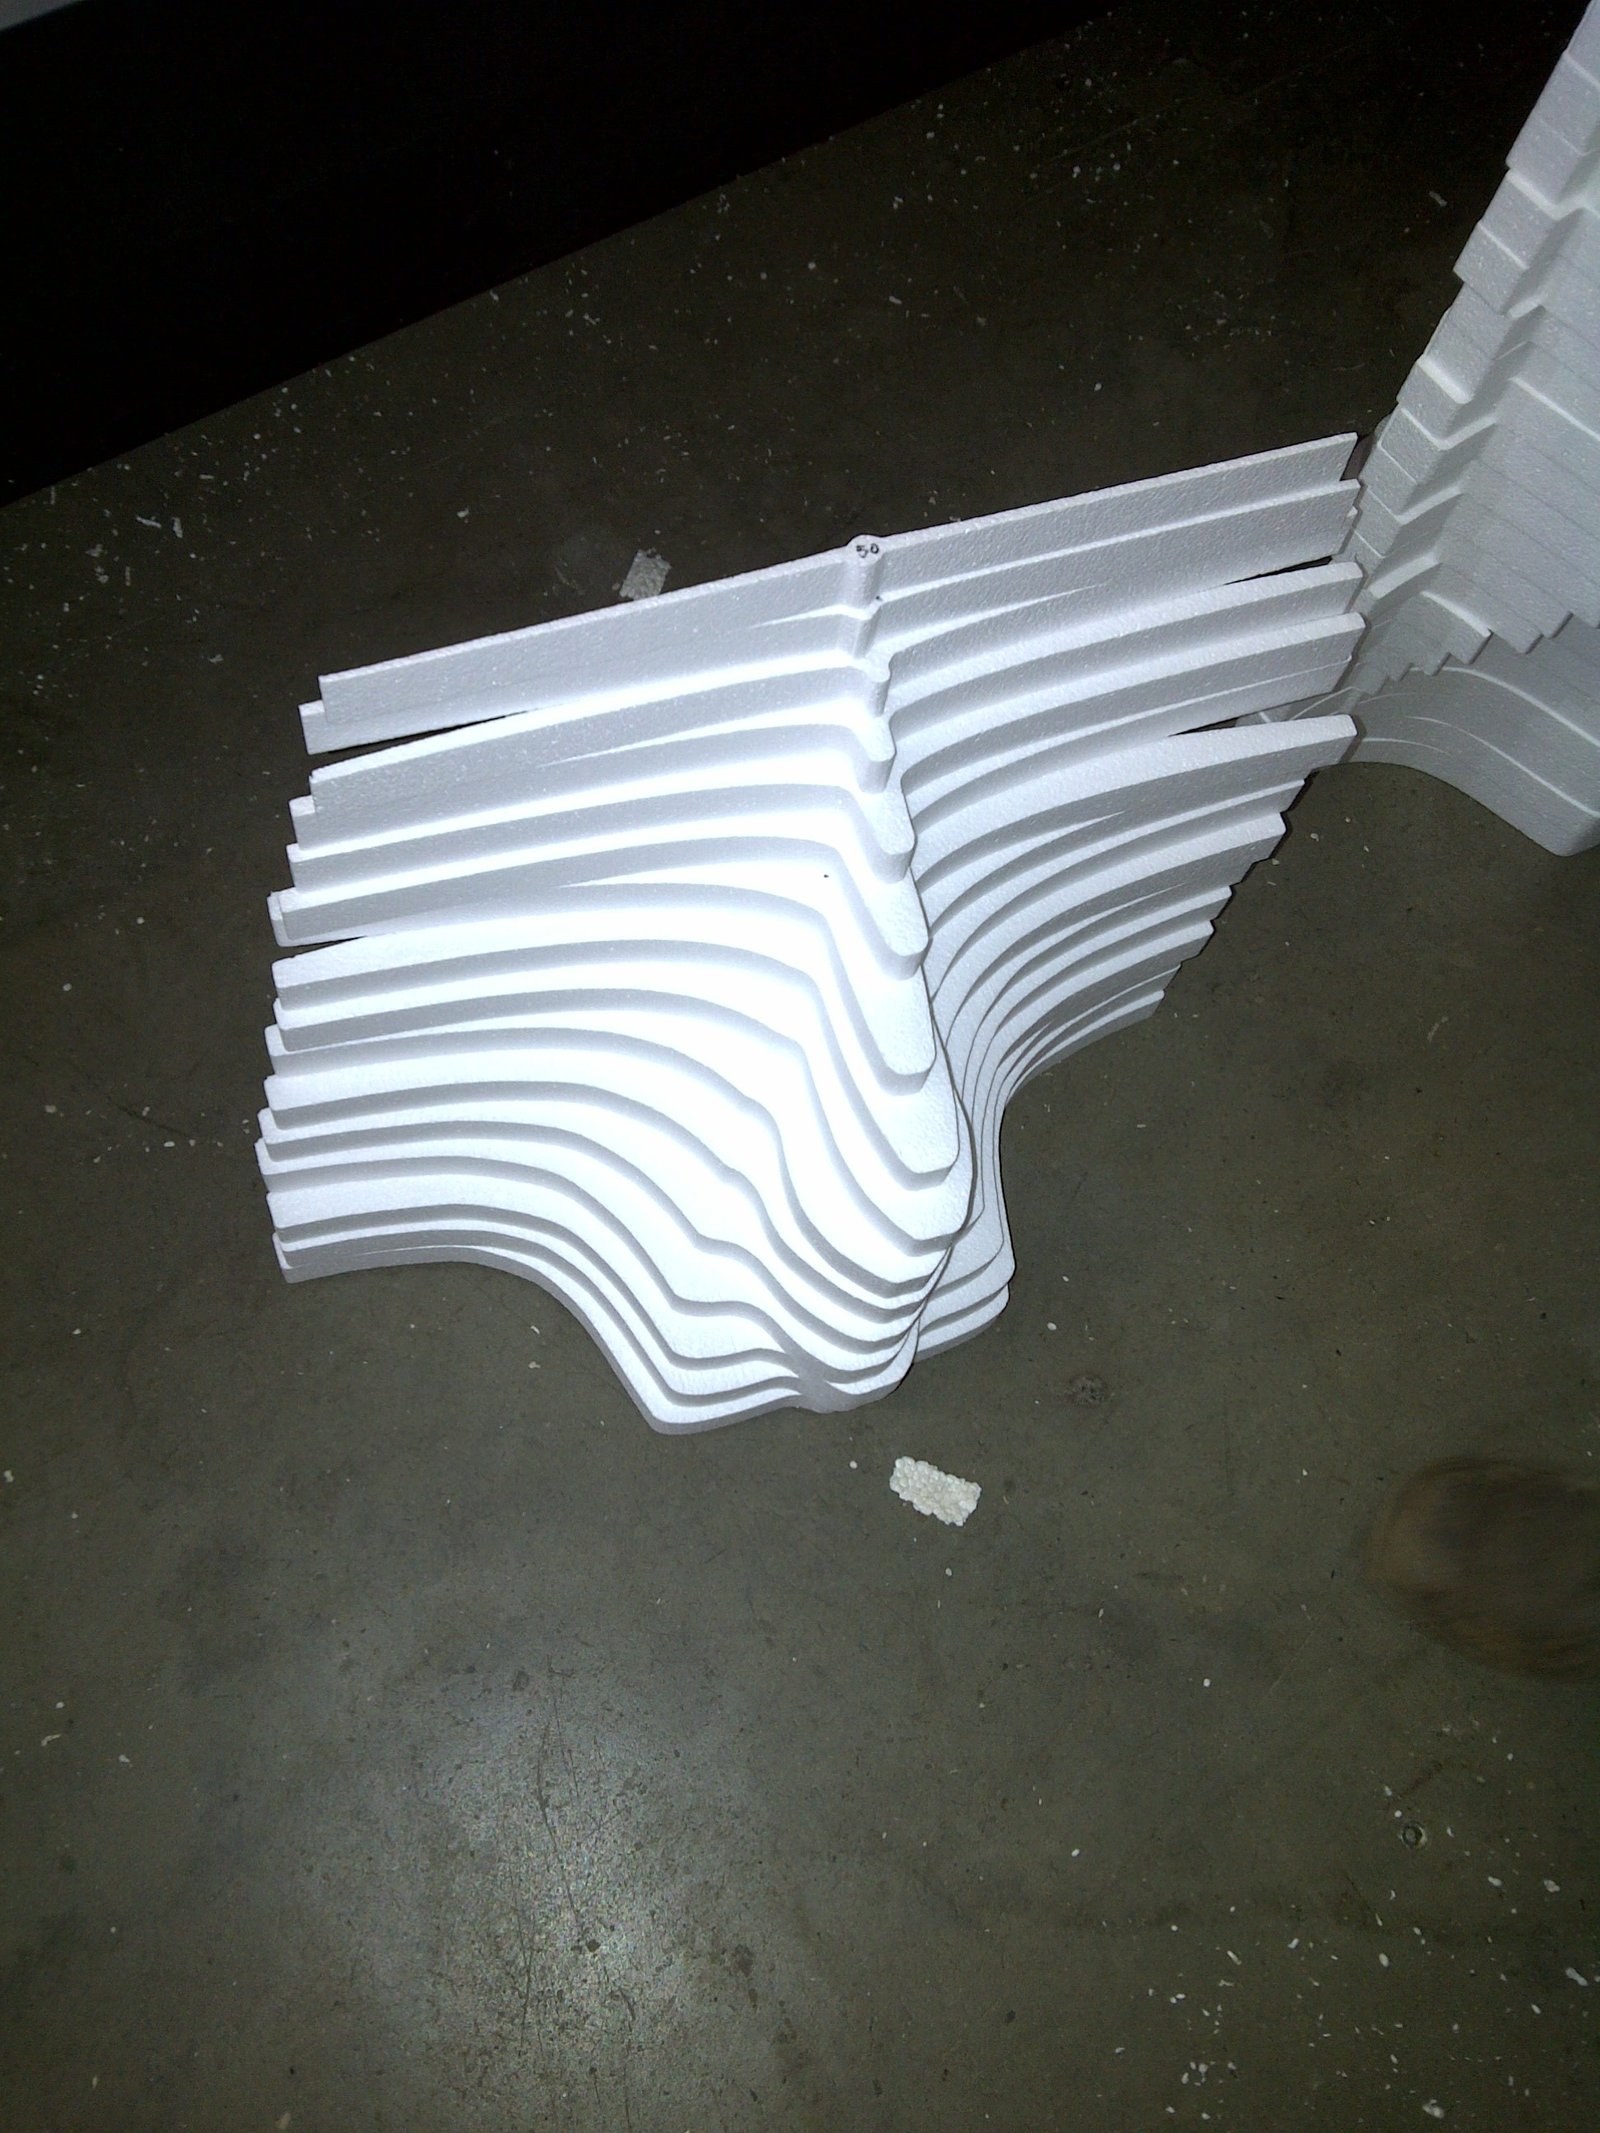
Close-up of a stack of CNC-cut wavy-edged EPS profile sheets, showing the cut edges.PHOTO
Close-up of a stack of CNC-cut wavy-edged EPS profile sheets, showing the cut edges.2D Shapes & Sheets
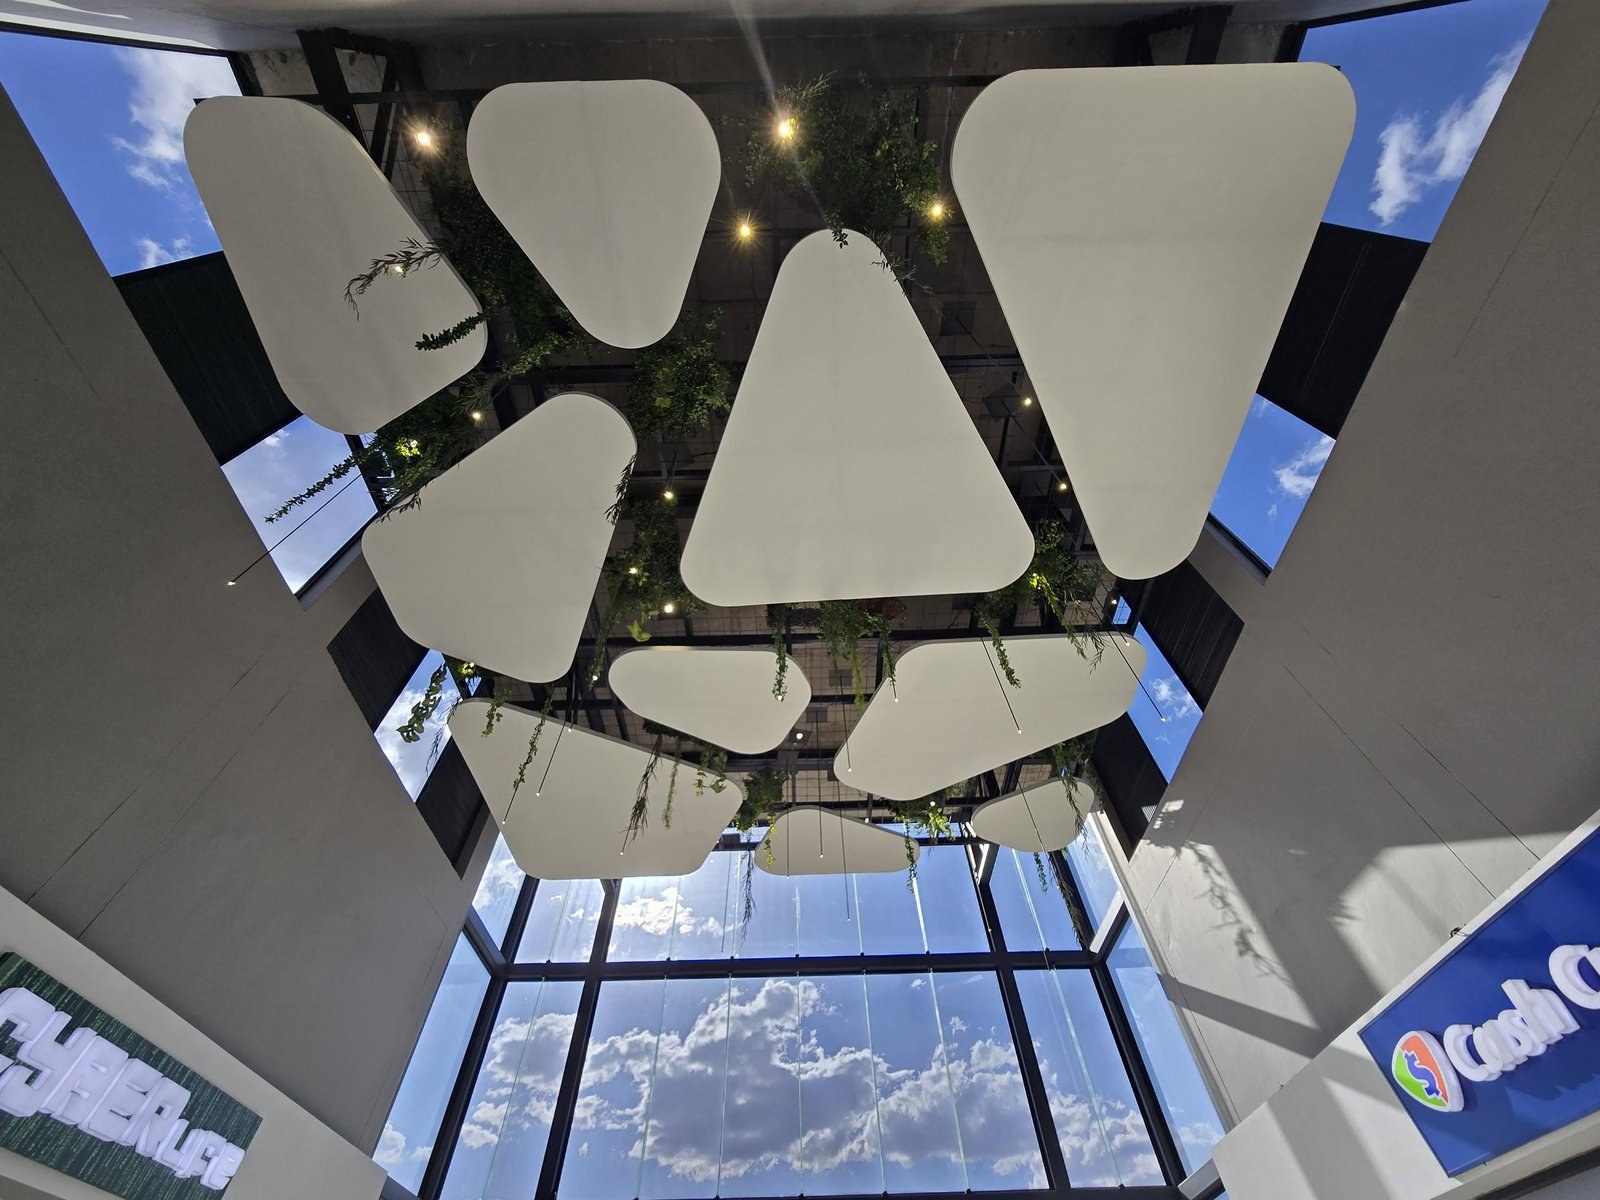
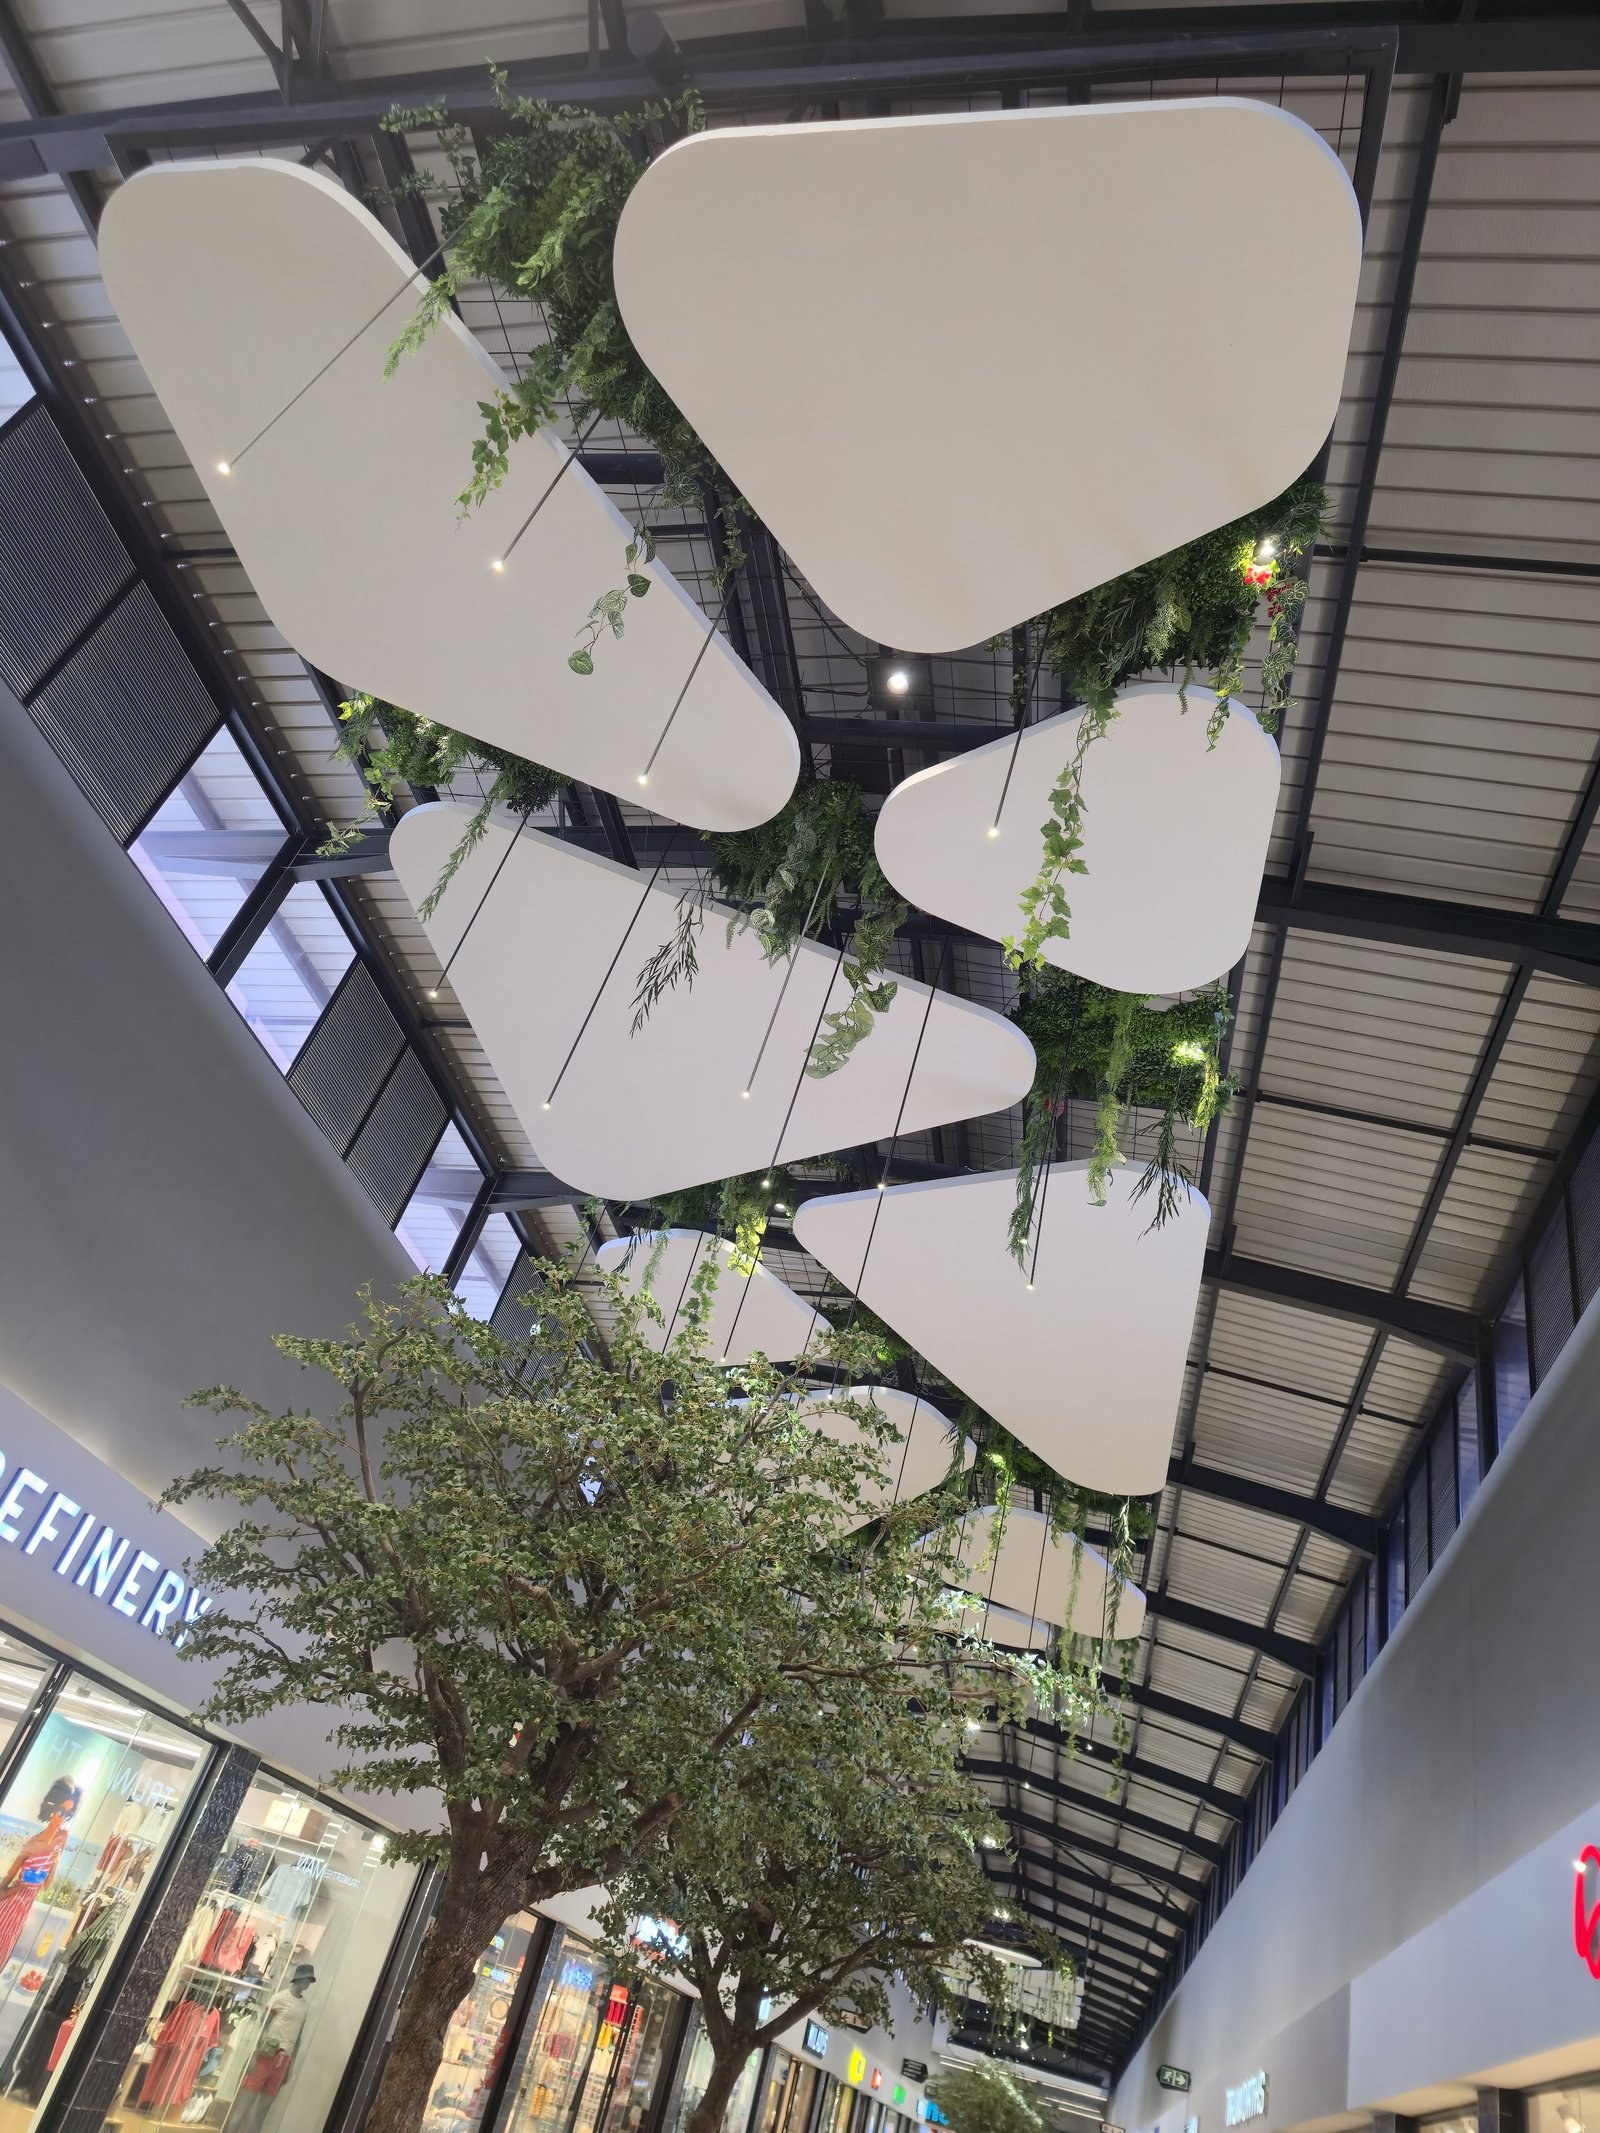
Rounded-triangle EPS ceiling shapes with trailing artificial greenery, viewed looking up above The Refinery store at Riverstone Mall.PHOTO
Rounded-triangle EPS ceiling shapes with trailing artificial greenery, viewed looking up above The Refinery store at Riverstone Mall.2D Shapes & Sheets
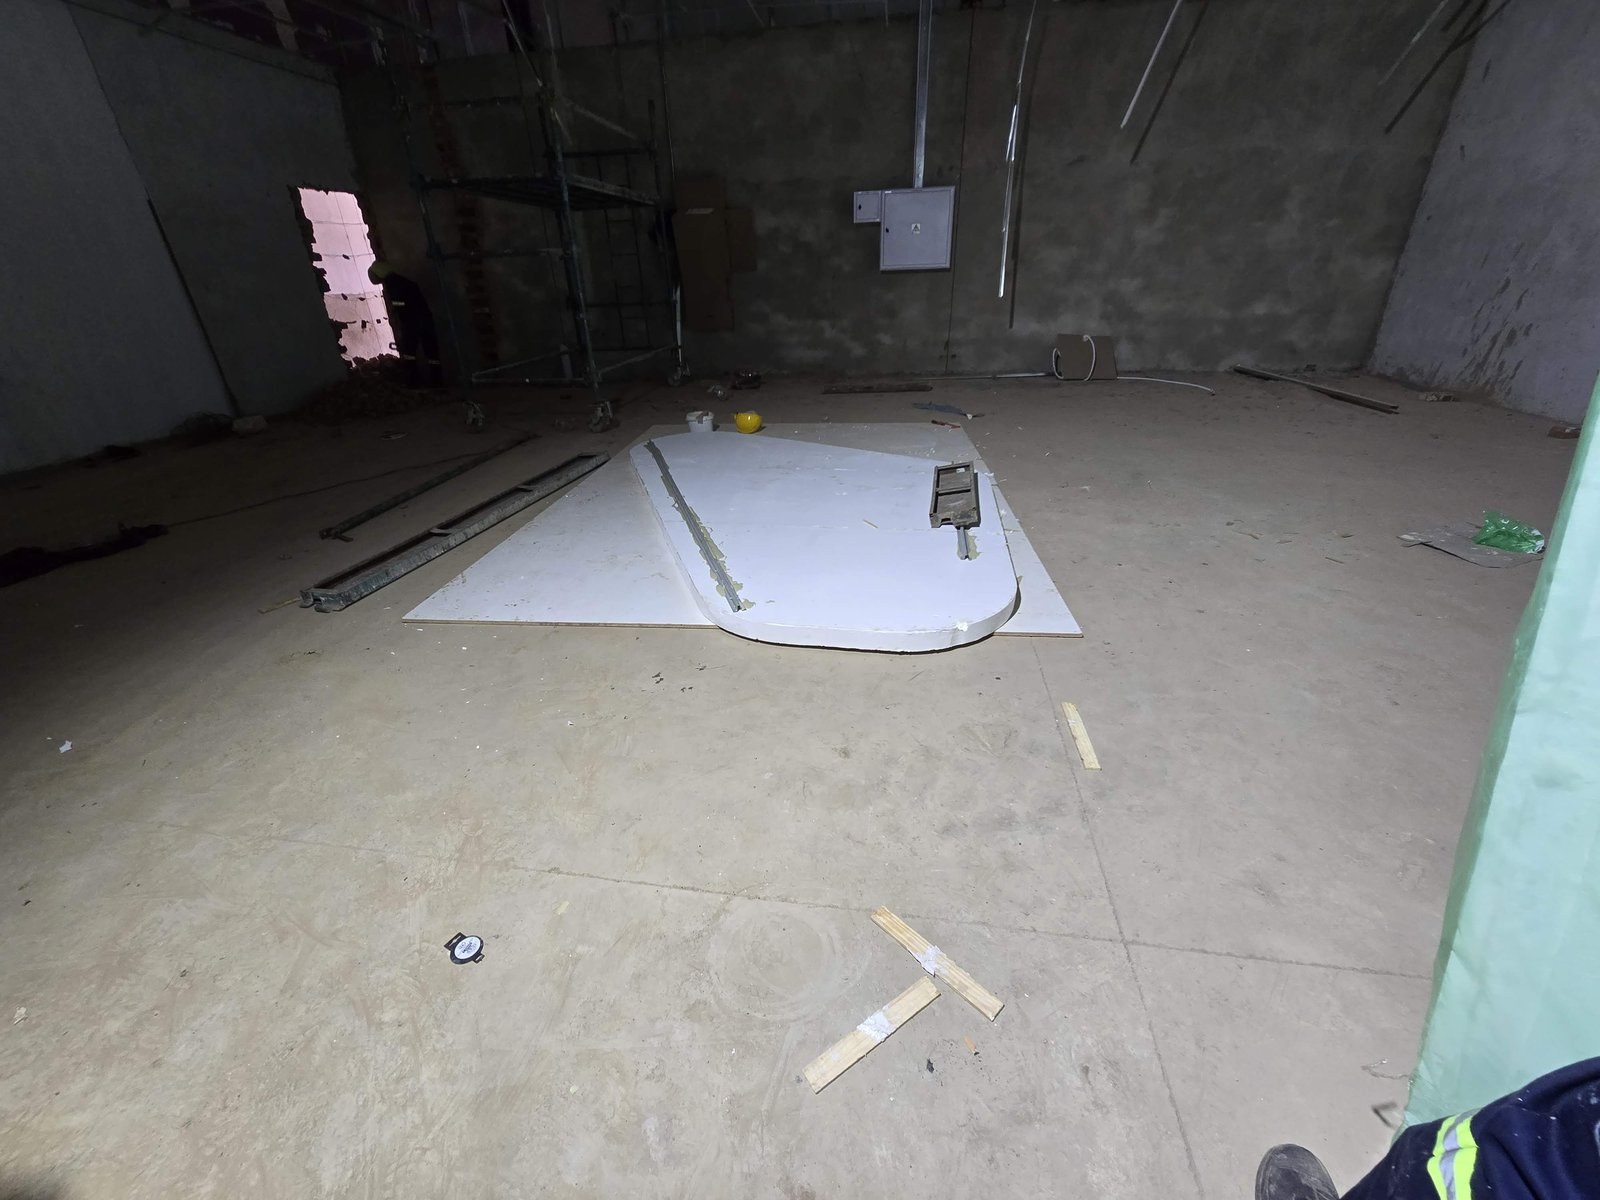
Curved triangular EPS shape cut and laid out on the floor of a bare concrete unit before installation.PHOTO
Curved triangular EPS shape cut and laid out on the floor of a bare concrete unit before installation.2D Shapes & Sheets
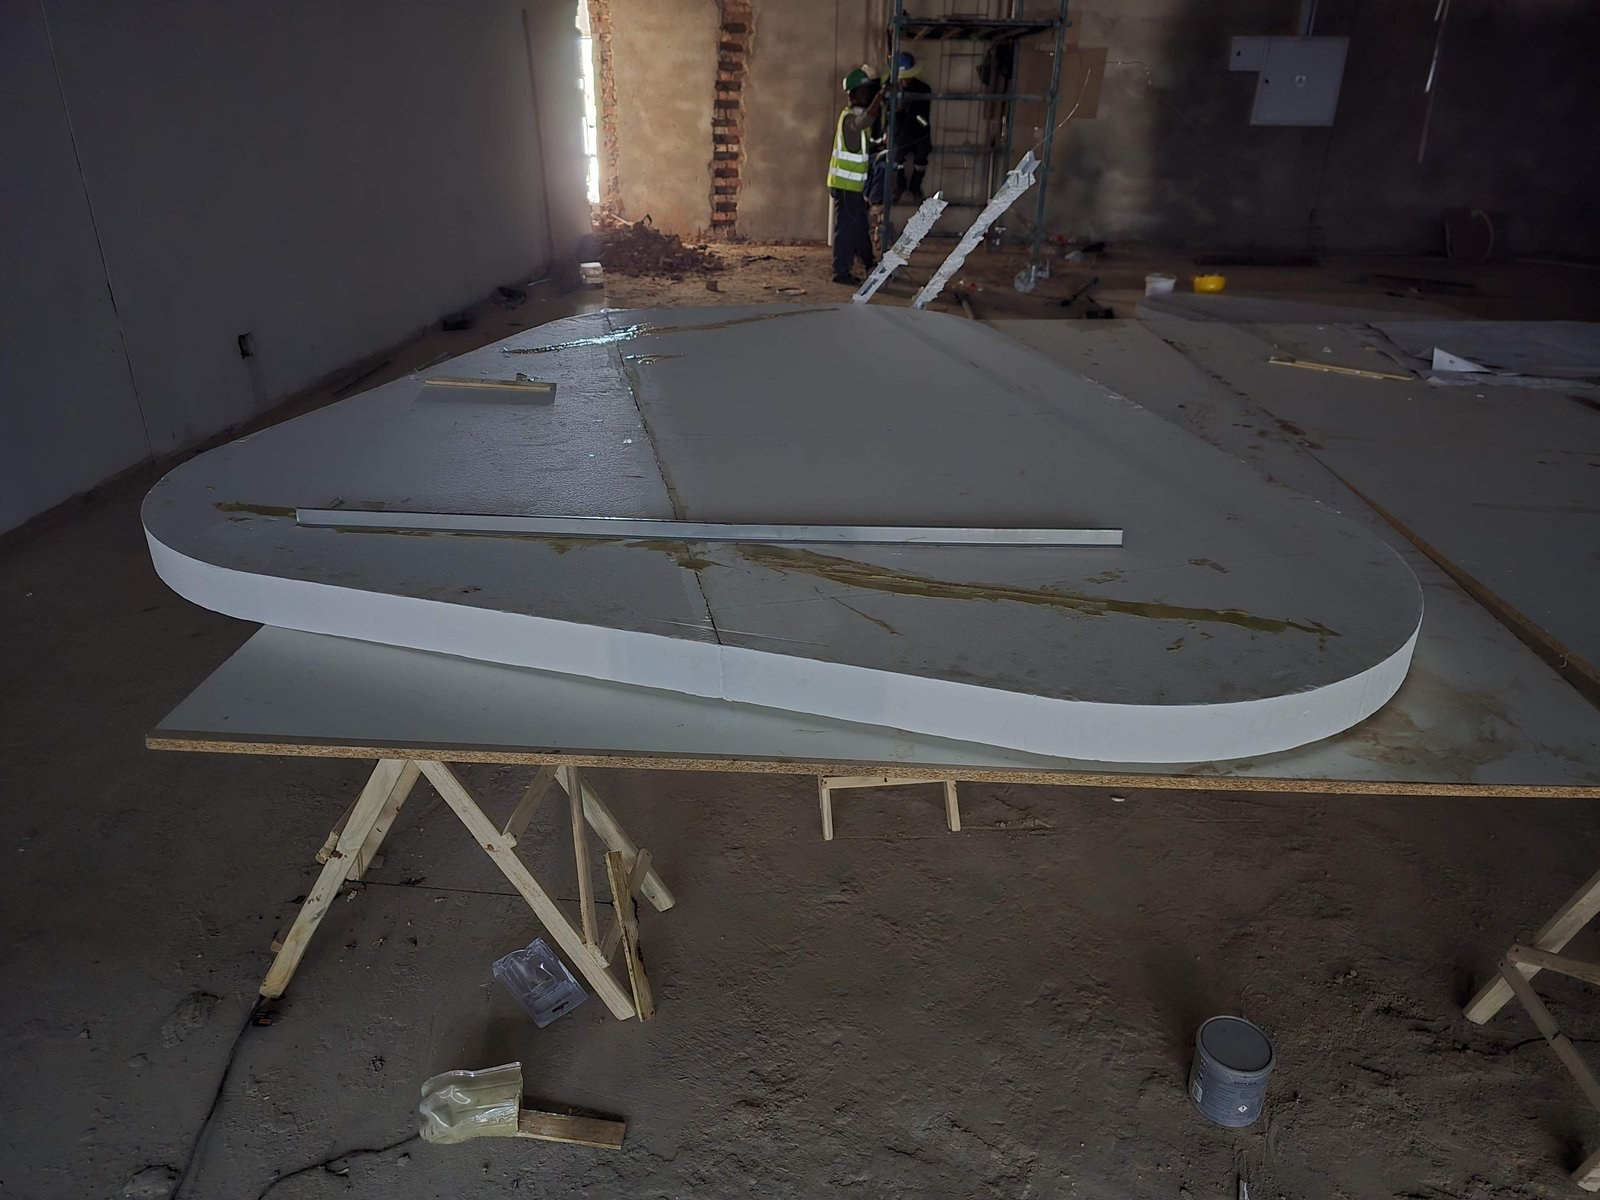
Rounded EPS shape resting on a sawhorse trestle table on site, with construction workers visible in the background.PHOTO
Rounded EPS shape resting on a sawhorse trestle table on site, with construction workers visible in the background.2D Shapes & Sheets
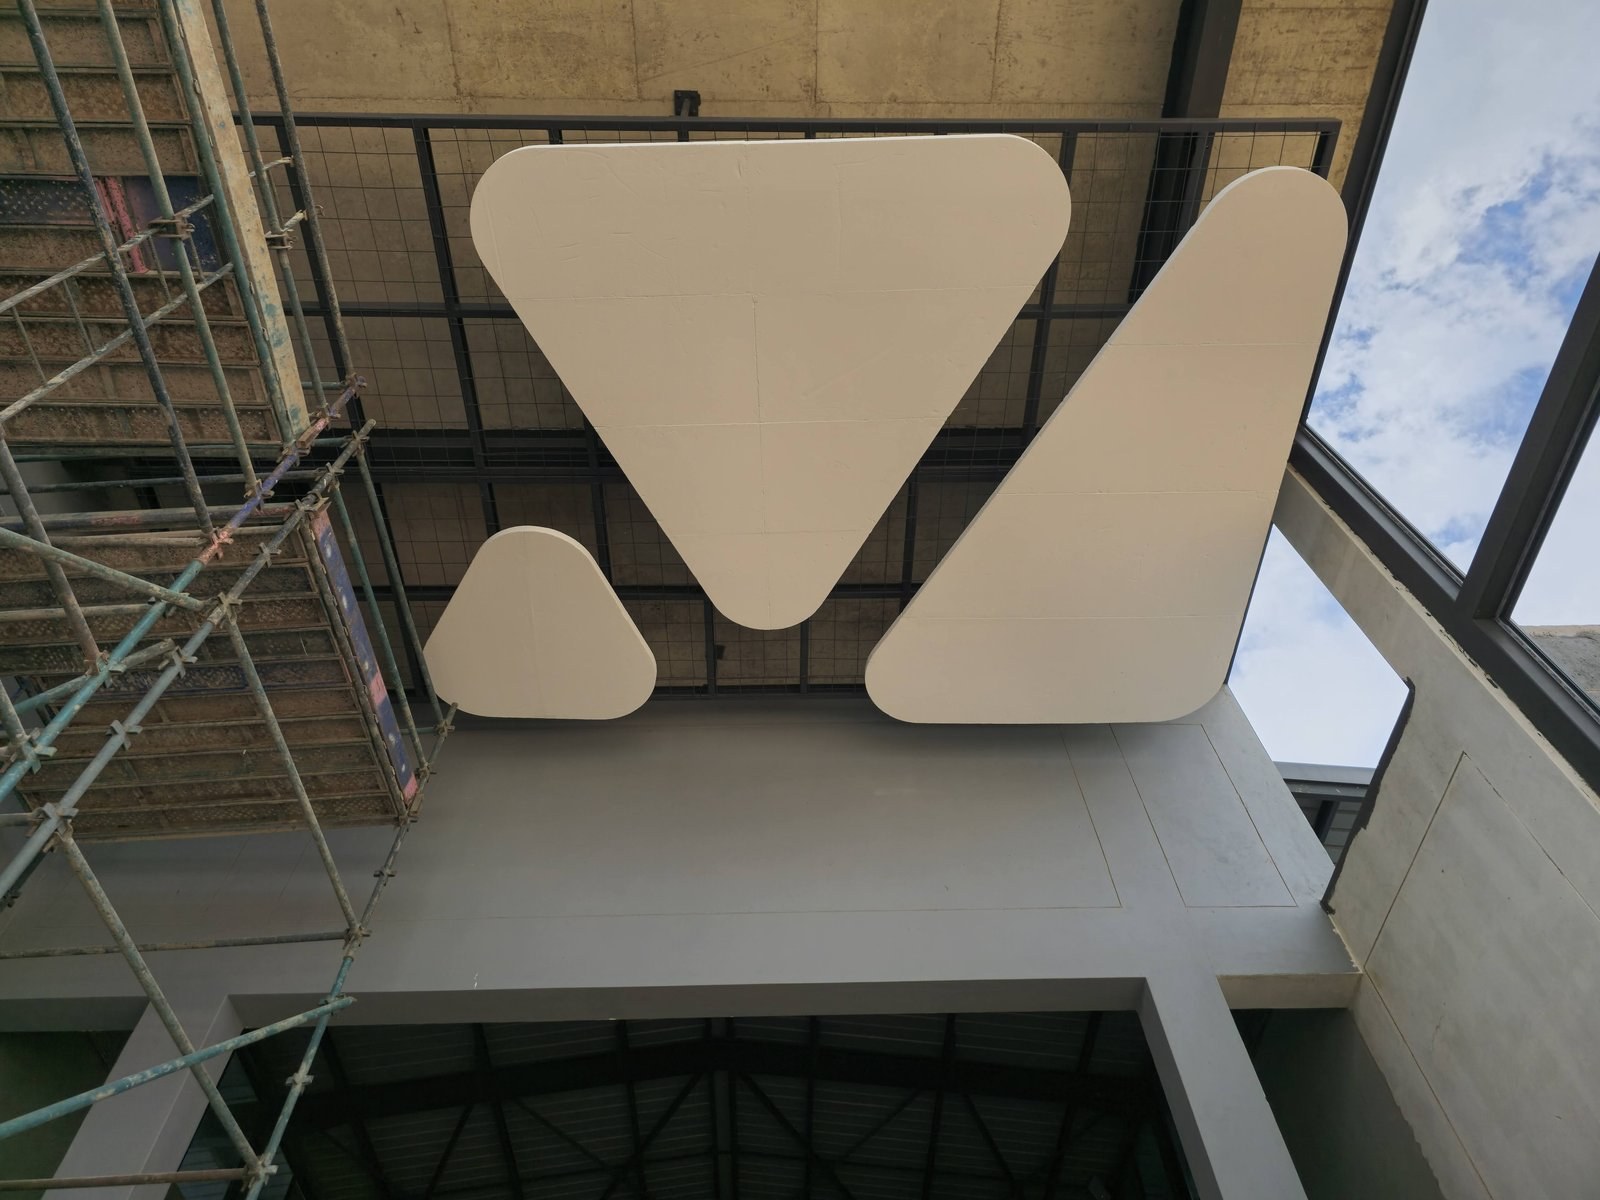
Unpainted triangular EPS shapes fixed to overhead steel mesh framing during installation, scaffolding alongside.PHOTO
Unpainted triangular EPS shapes fixed to overhead steel mesh framing during installation, scaffolding alongside.2D Shapes & Sheets
PHOTO
2D Shapes & Sheets
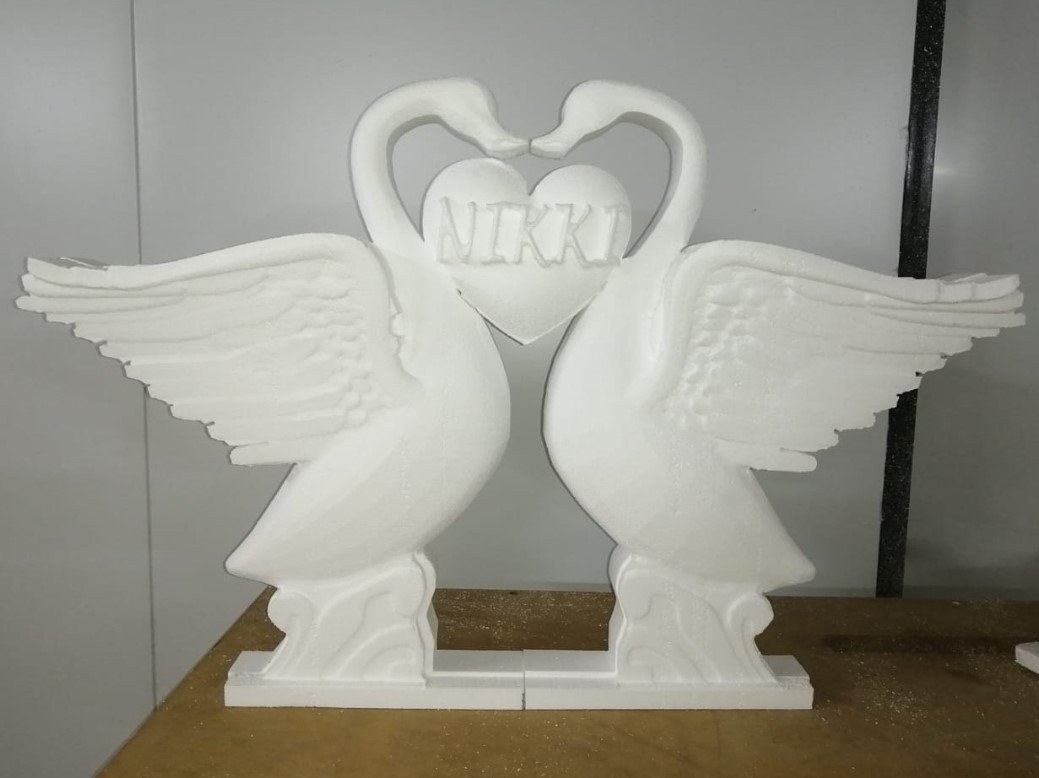
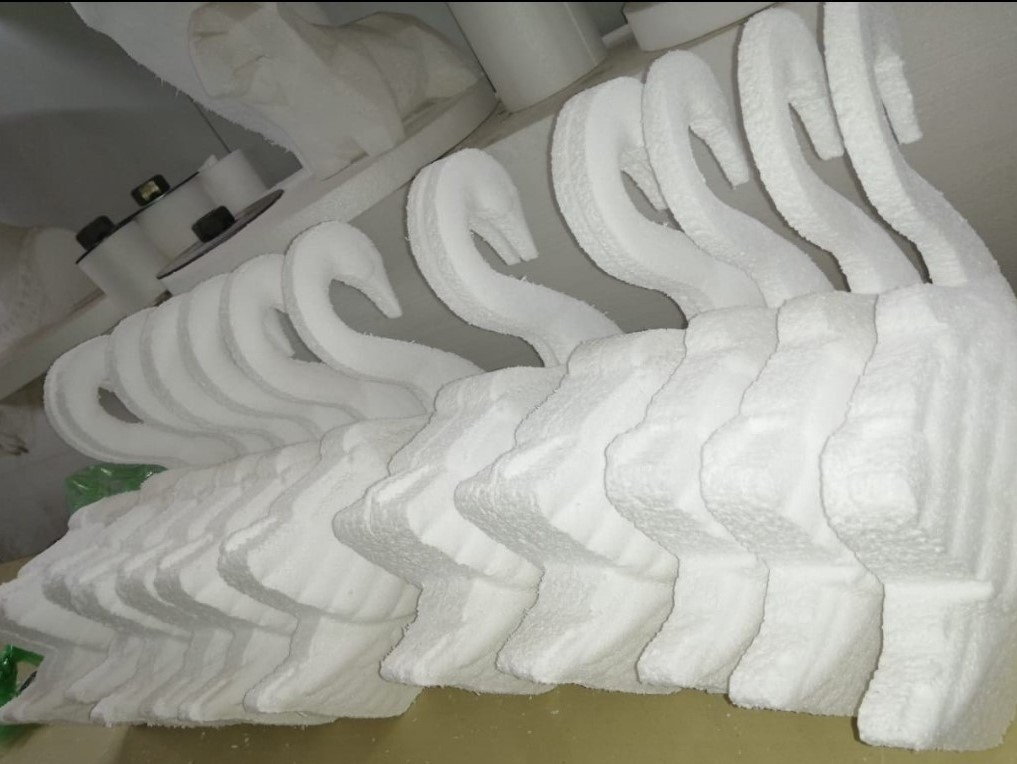
Two EPS swans milled so their necks meet to form a heart, with the name NIKKI carved into the heart panel between them. Stepped feather detail on the wings, scrolled pedestals, and a two-piece base plate; photographed on the workbench with cutting dust still on it.PHOTO
Two EPS swans milled so their necks meet to form a heart, with the name NIKKI carved into the heart panel between them. Stepped feather detail on the wings, scrolled pedestals, and a two-piece base plate; photographed on the workbench with cutting dust still on it.3D Milling
A trophy cup milled in EPS - bowl, turned stem, stepped square plinth and scrolled acanthus handles cut as one sculpted form. Shown unfinished, with the raw bead texture of the foam still visible on every surface.PHOTO
A trophy cup milled in EPS - bowl, turned stem, stepped square plinth and scrolled acanthus handles cut as one sculpted form. Shown unfinished, with the raw bead texture of the foam still visible on every surface.3D Milling
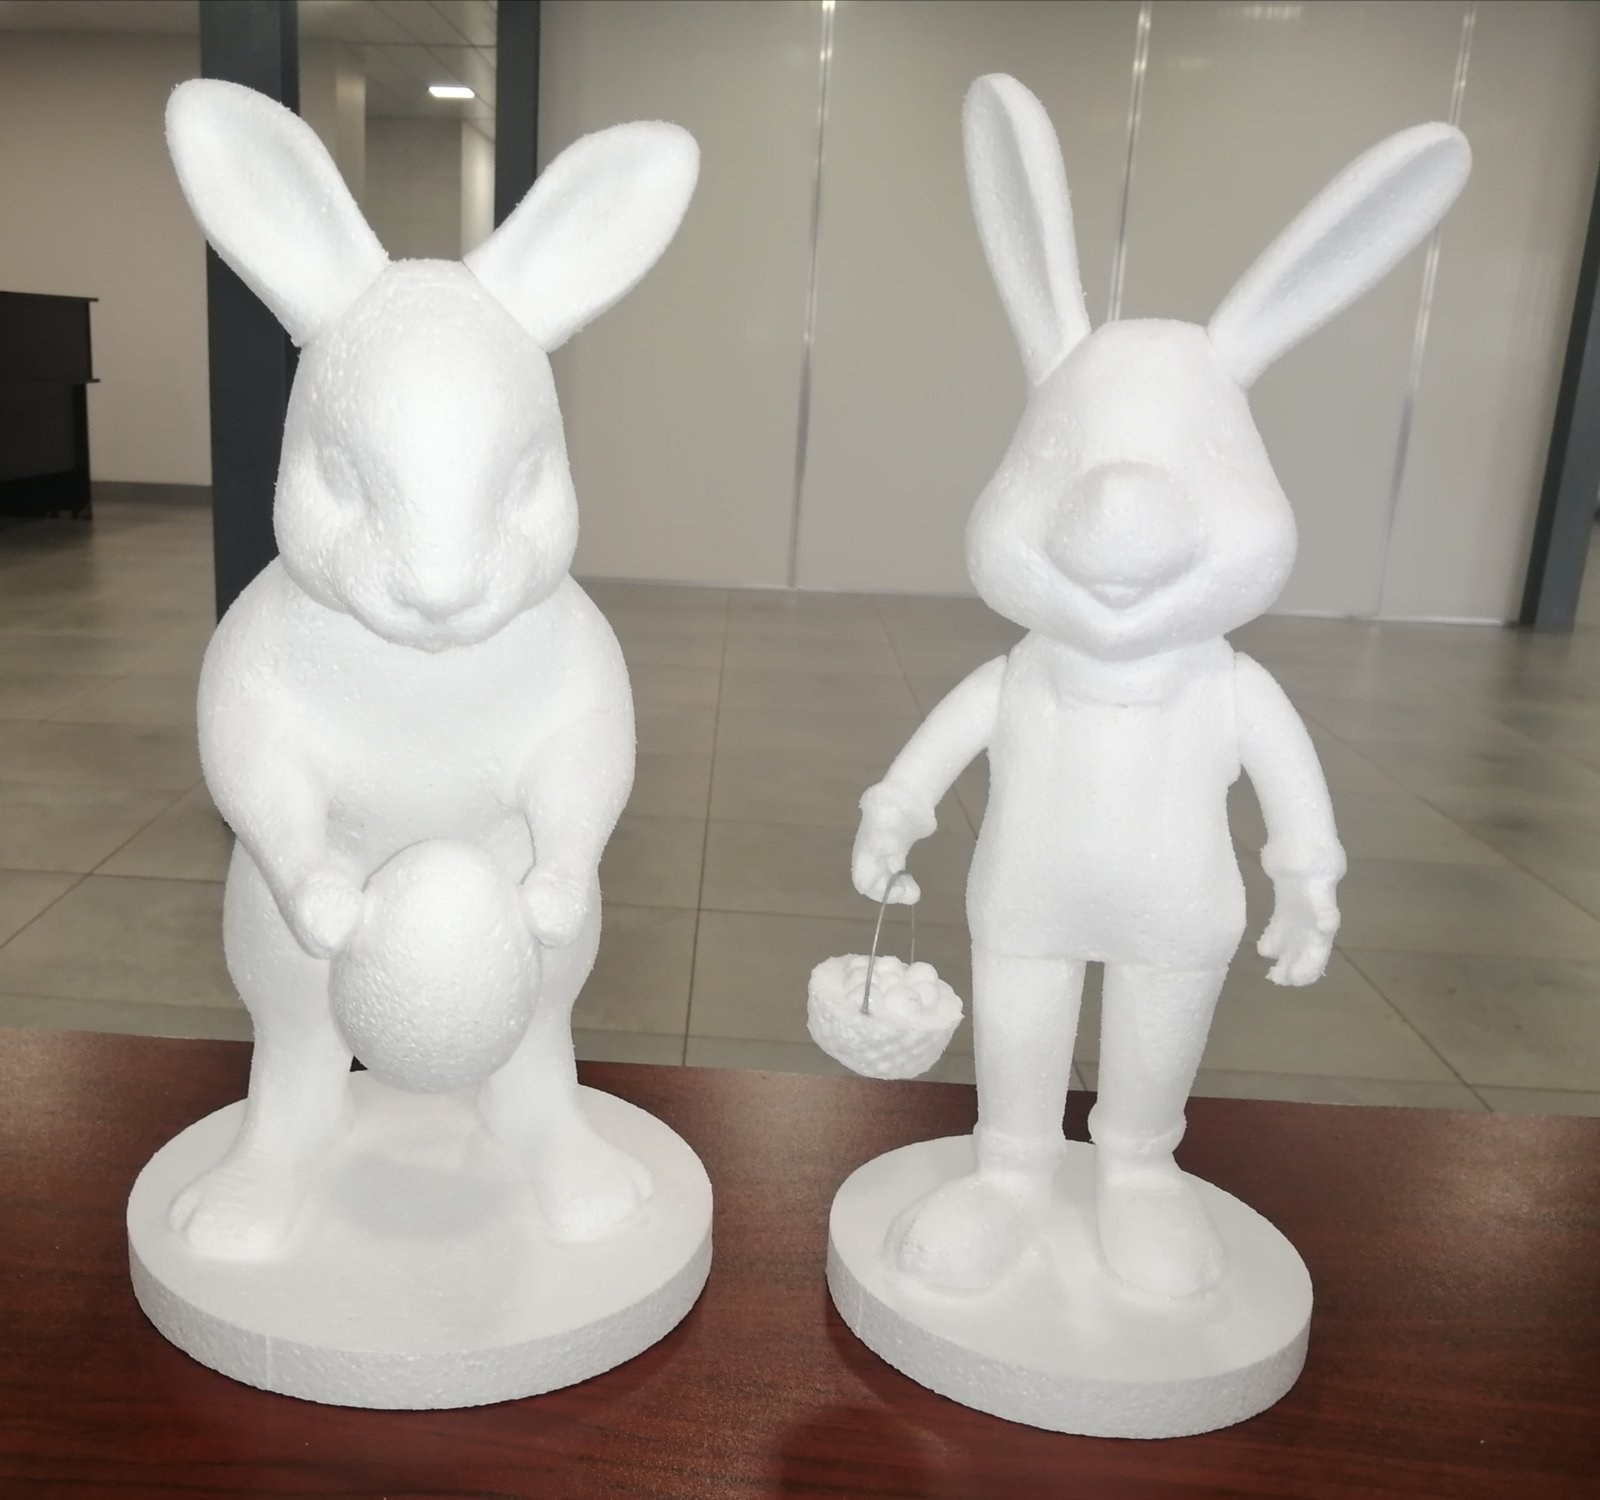
Two rabbit figures milled in EPS on round bases - one crouching with an egg, one standing in clothes carrying a basket of eggs. Both are shown raw off the machine, with the foam bead texture and soft facial modelling still unfinished.PHOTO
Two rabbit figures milled in EPS on round bases - one crouching with an egg, one standing in clothes carrying a basket of eggs. Both are shown raw off the machine, with the foam bead texture and soft facial modelling still unfinished.3D Milling
A star rosette milled in EPS - concentric rings of sloped diamond facets radiating from a turned centre, with a spiked outer edge. Stood up in the workshop next to other milled pieces, including a grey-coated bird sculpture at left.PHOTO
A star rosette milled in EPS - concentric rings of sloped diamond facets radiating from a turned centre, with a spiked outer edge. Stood up in the workshop next to other milled pieces, including a grey-coated bird sculpture at left.3D Milling
Close-up of an EPS panel with a plank-and-knot wood-grain texture milled into its face - fine grain lines, swirls and knots cut directly into the foam. The frame is filled by the panel, so there is no size reference in the shot.PHOTO
Close-up of an EPS panel with a plank-and-knot wood-grain texture milled into its face - fine grain lines, swirls and knots cut directly into the foam. The frame is filled by the panel, so there is no size reference in the shot.3D Milling
An oversized decorative bow milled from EPS - two loops, a centre knot and swallow-tailed ribbon ends - standing on the workshop floor beside the machine, with cutting debris still around it.PHOTO
An oversized decorative bow milled from EPS - two loops, a centre knot and swallow-tailed ribbon ends - standing on the workshop floor beside the machine, with cutting debris still around it.3D Milling
A golf-ball dome milled in EPS, the dimples cut individually into the curved surface. It sits on the machine bed with the join line between the two stacked foam slabs still visible, and fresh milling shavings on the table.PHOTO
A golf-ball dome milled in EPS, the dimples cut individually into the curved surface. It sits on the machine bed with the join line between the two stacked foam slabs still visible, and fresh milling shavings on the table.3D Milling
CNC router mid-cut on a dragon sculpture, spindle still bearing down on the EPS blockPHOTO
CNC router mid-cut on a dragon sculpture, spindle still bearing down on the EPS block3D Milling
Abstract faceted sculpture on a circular EPS base, workshop floorPHOTO
Abstract faceted sculpture on a circular EPS base, workshop floor3D Milling
EPS panel CNC-milled with a running-bond brick patternPHOTO
EPS panel CNC-milled with a running-bond brick pattern3D Milling
Painted foam letters forming a game-show logo, installed on an event stage backdropPHOTO
Painted foam letters forming a game-show logo, installed on an event stage backdrop3D Milling
Oversized chess king piece carved from EPS, other carved pieces visible in the workshop behind itPHOTO
Oversized chess king piece carved from EPS, other carved pieces visible in the workshop behind it3D Milling
Large stiletto shoe carved from an EPS block, unpainted surface, workshop settingPHOTO
Large stiletto shoe carved from an EPS block, unpainted surface, workshop setting3D Milling
Life-size human figure carved from EPS, arms raised, plastic film over the torso, standing in a workshop cornerPHOTO
Life-size human figure carved from EPS, arms raised, plastic film over the torso, standing in a workshop corner3D Milling
Muscular male figure sculpture used as a lamp base, lampshade visible abovePHOTO
Muscular male figure sculpture used as a lamp base, lampshade visible above3D Milling
Photo of a child on a bicycle turned into a 3D relief carving, set against a milled brick-pattern backgroundPHOTO
Photo of a child on a bicycle turned into a 3D relief carving, set against a milled brick-pattern background3D Milling
Batch of swan-shaped corbel brackets, CNC-milled and stacked togetherPHOTO
Batch of swan-shaped corbel brackets, CNC-milled and stacked together3D Milling
Two oversized valve-shaped props carved from EPS, standing against a workshop wallPHOTO
Two oversized valve-shaped props carved from EPS, standing against a workshop wall3D Milling
Large wave-patterned 3D wall panel milled from a single EPS blockPHOTO
Large wave-patterned 3D wall panel milled from a single EPS block3D Milling
Oval CNC-cut sign with cursive logo lettering raised from the backing panelPHOTO
Oval CNC-cut sign with cursive logo lettering raised from the backing panel3D Milling
Tall stepped sculptural column and a smaller stepped pyramid form on a factory floor stacked with EPS boardPHOTO
Tall stepped sculptural column and a smaller stepped pyramid form on a factory floor stacked with EPS board3D Milling
Rows of star- and cross-shaped CNC-cut pieces laid out on a trestle table, worker inspecting the batchPHOTO
Rows of star- and cross-shaped CNC-cut pieces laid out on a trestle table, worker inspecting the batch3D Milling
CNC-milled fluted column section stood upright amid stacked EPS board in the factoryPHOTO
CNC-milled fluted column section stood upright amid stacked EPS board in the factory3D Milling
Stack of fluted cylindrical column sections beside factory processing machineryPHOTO
Stack of fluted cylindrical column sections beside factory processing machinery3D Milling
Block of EPS with rows of bracket-shaped pieces CNC-cut, some already removed and others still nested in the panelPHOTO
Block of EPS with rows of bracket-shaped pieces CNC-cut, some already removed and others still nested in the panel3D Milling
Tall draped, wave-form sculptural carving with smaller numbered cut sections stacked at its basePHOTO
Tall draped, wave-form sculptural carving with smaller numbered cut sections stacked at its base3D Milling
Two workers handling CNC-cut cross-shaped foam pieces on a factory tablePHOTO
Two workers handling CNC-cut cross-shaped foam pieces on a factory table3D Milling
Large angular, faceted EPS sculptural form marked with red reference numbers, stacked against warehouse stockPHOTO
Large angular, faceted EPS sculptural form marked with red reference numbers, stacked against warehouse stock3D Milling
Curved EPS boards, dark graphite-enhanced material, coming off a factory forming linePHOTO
Curved EPS boards, dark graphite-enhanced material, coming off a factory forming line3D Milling
PHOTO
3D Milling
PHOTO
3D Milling
PHOTO
3D Milling
Moulded EPS pipe shells bundled for delivery. Each section is cut to the bore and wall thickness the job asked for, so nothing is fabricated on site.PHOTO
Moulded EPS pipe shells bundled for delivery. Each section is cut to the bore and wall thickness the job asked for, so nothing is fabricated on site.Pipe Lagging
A single white door leaf in an aluminium frame, hung in a cream ribbed sandwich-panel wall under a steel canopy. The panel face above the door head is torn open where it was cut in.PHOTO
A single white door leaf in an aluminium frame, hung in a cream ribbed sandwich-panel wall under a steel canopy. The panel face above the door head is torn open where it was cut in.Panel Doors
The same white door leaf and aluminium frame in the panel wall, seen from the galvanised access staircase. Grating step and chequer-plate threshold at the sill.PHOTO
The same white door leaf and aluminium frame in the panel wall, seen from the galvanised access staircase. Grating step and chequer-plate threshold at the sill.Panel Doors
Insulated wall panel joint being taped during installation, foam core and panel edge visible at the seamPHOTO
Insulated wall panel joint being taped during installation, foam core and panel edge visible at the seamPanel Doors
PHOTO
Panel Doors
PHOTO
Panel Doors

Photographs of Technopol products in manufacture and on site. Renders and diagrams are kept on the product and application pages, labelled as such.

Technical resource

Who should we send this to?

We release technical documentation to named engineers and specifiers so we can support you properly on the project. One entry unlocks everything.

We will email you this document, and we may follow up about it. We will not add you to anything else unless you tick the box. We do not share or sell your details. How we handle your information.